-
Selling Lenses 🛒
Selling lenses (and 📷) is easy. At least according to the offers from small and large camera dealers. Advertising with 'up to 70% of retail' should have the focus on 'up to'.
Here is my result: Quotes from camera sites and then selling at eBay at the average eBay price.
If the value is 0, they did not want the lens.Lens B&H Glazer's Kenmore MBP eBay 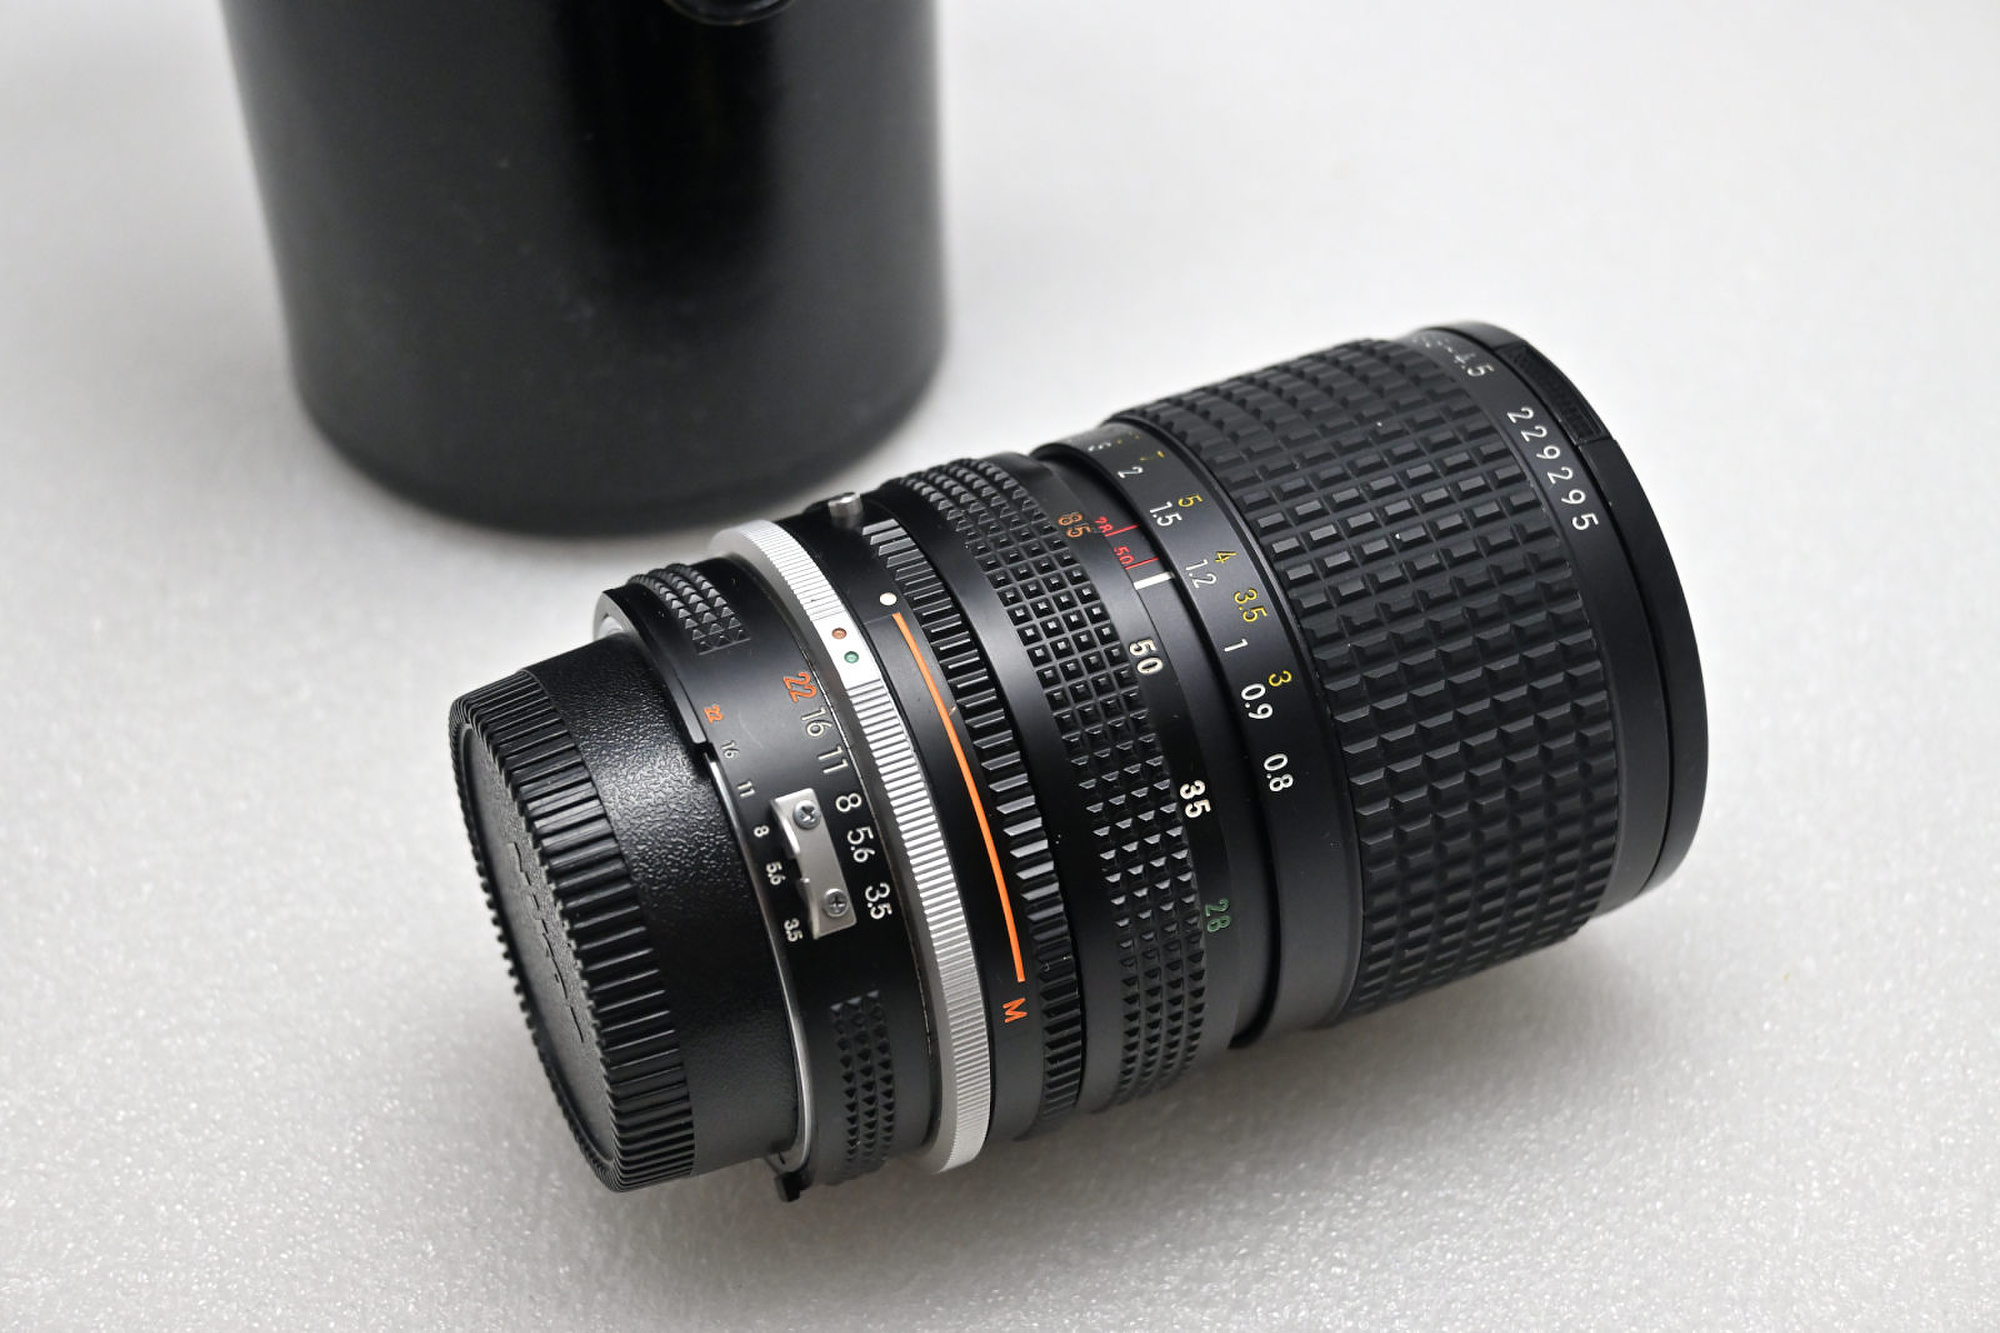
Nikon AI-S 28-85 f/3.5-4.5 125 35 30 0 95 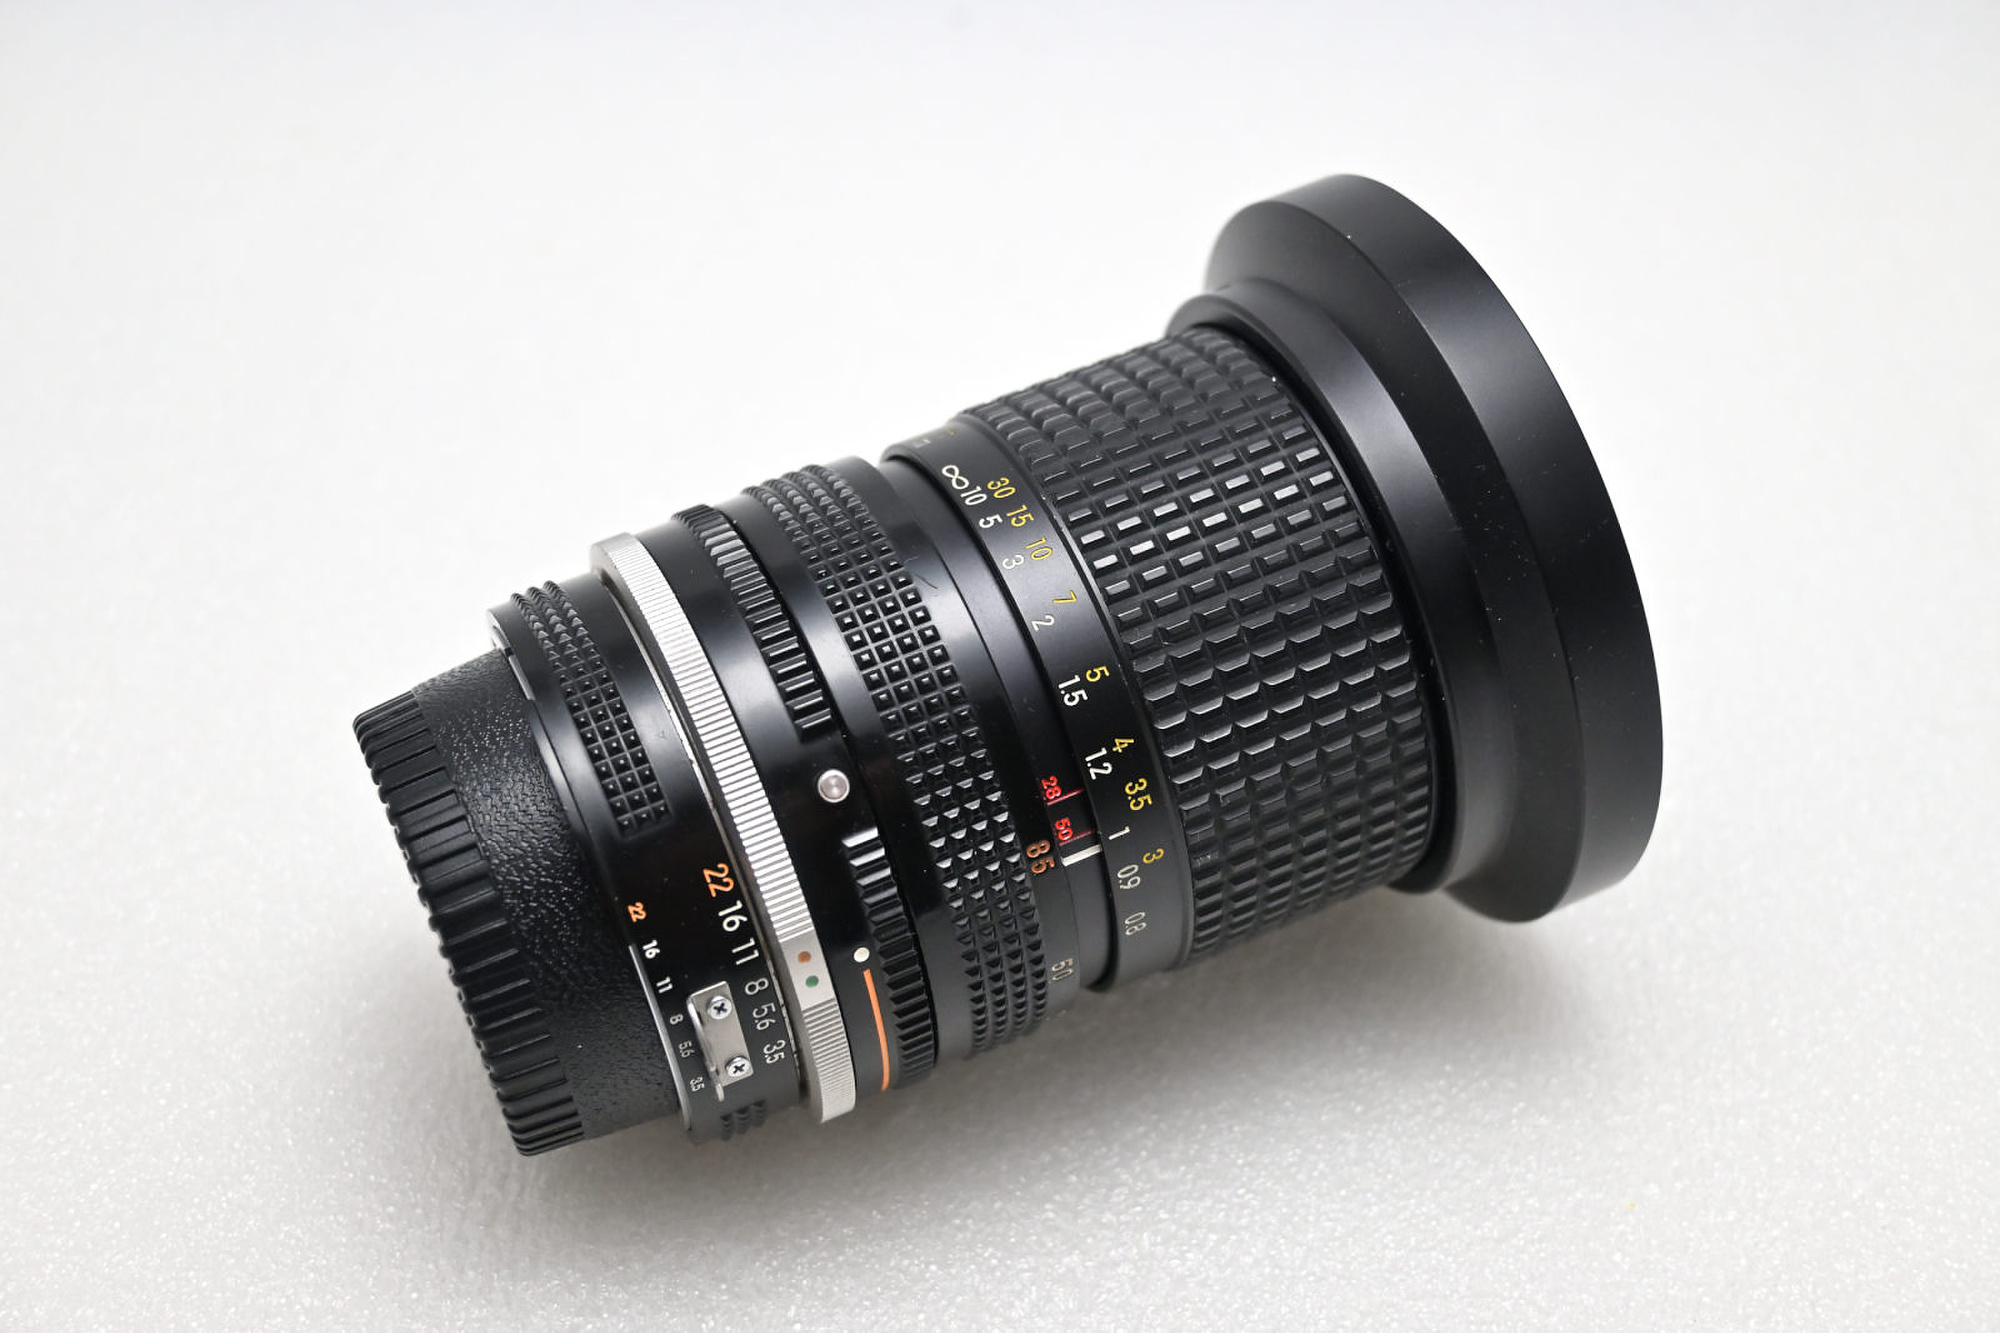
Nikon AI-S 28-85 f/3.5-4.5 125 35 30 0 95 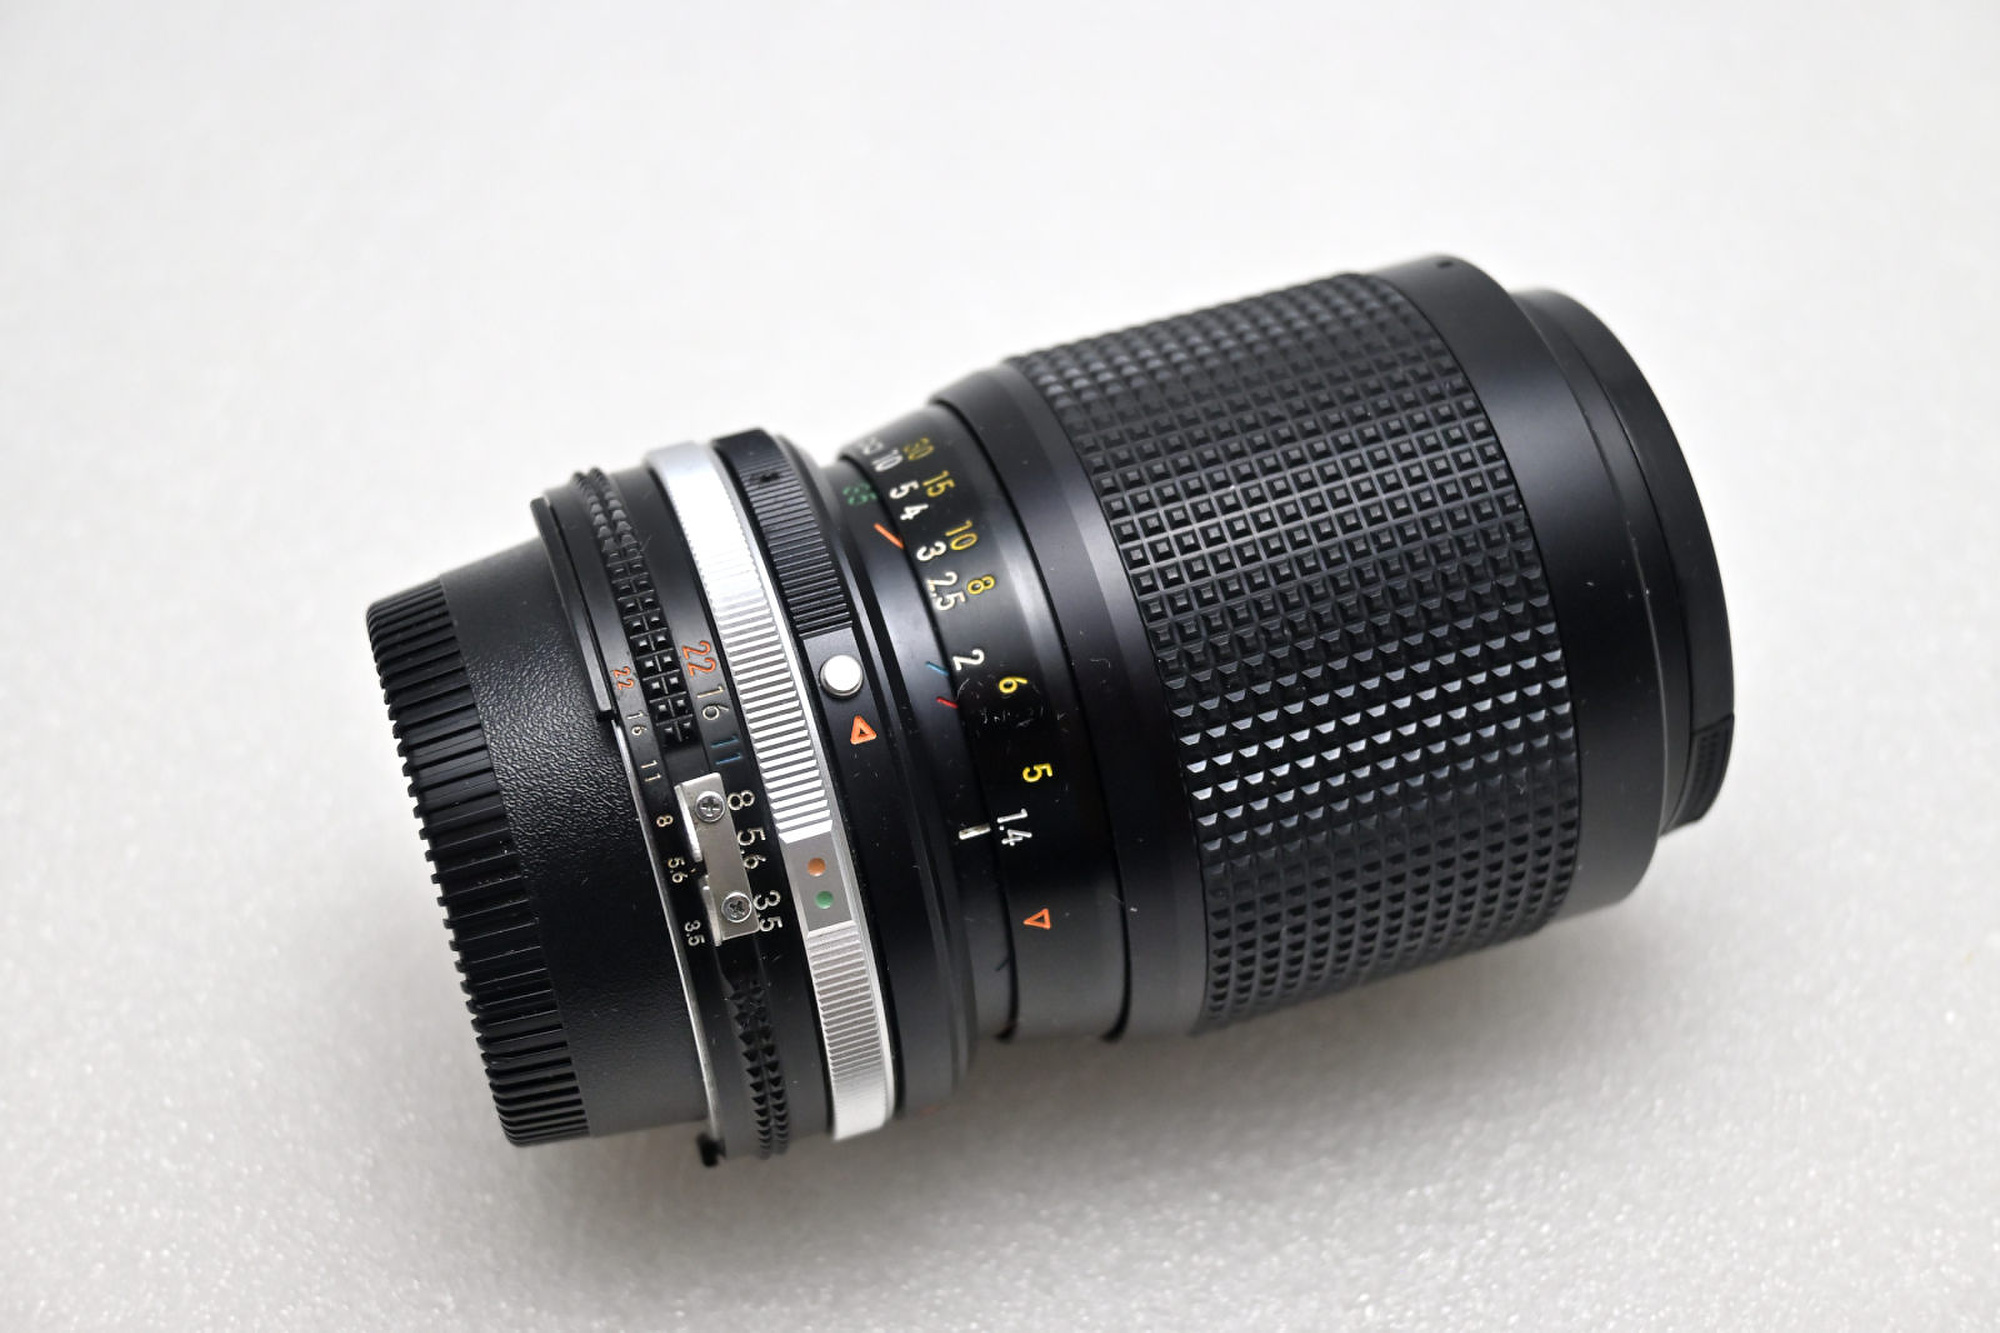
Nikon 35-105mm f/3.5-4.5 AI-S 25 15 15 28 145 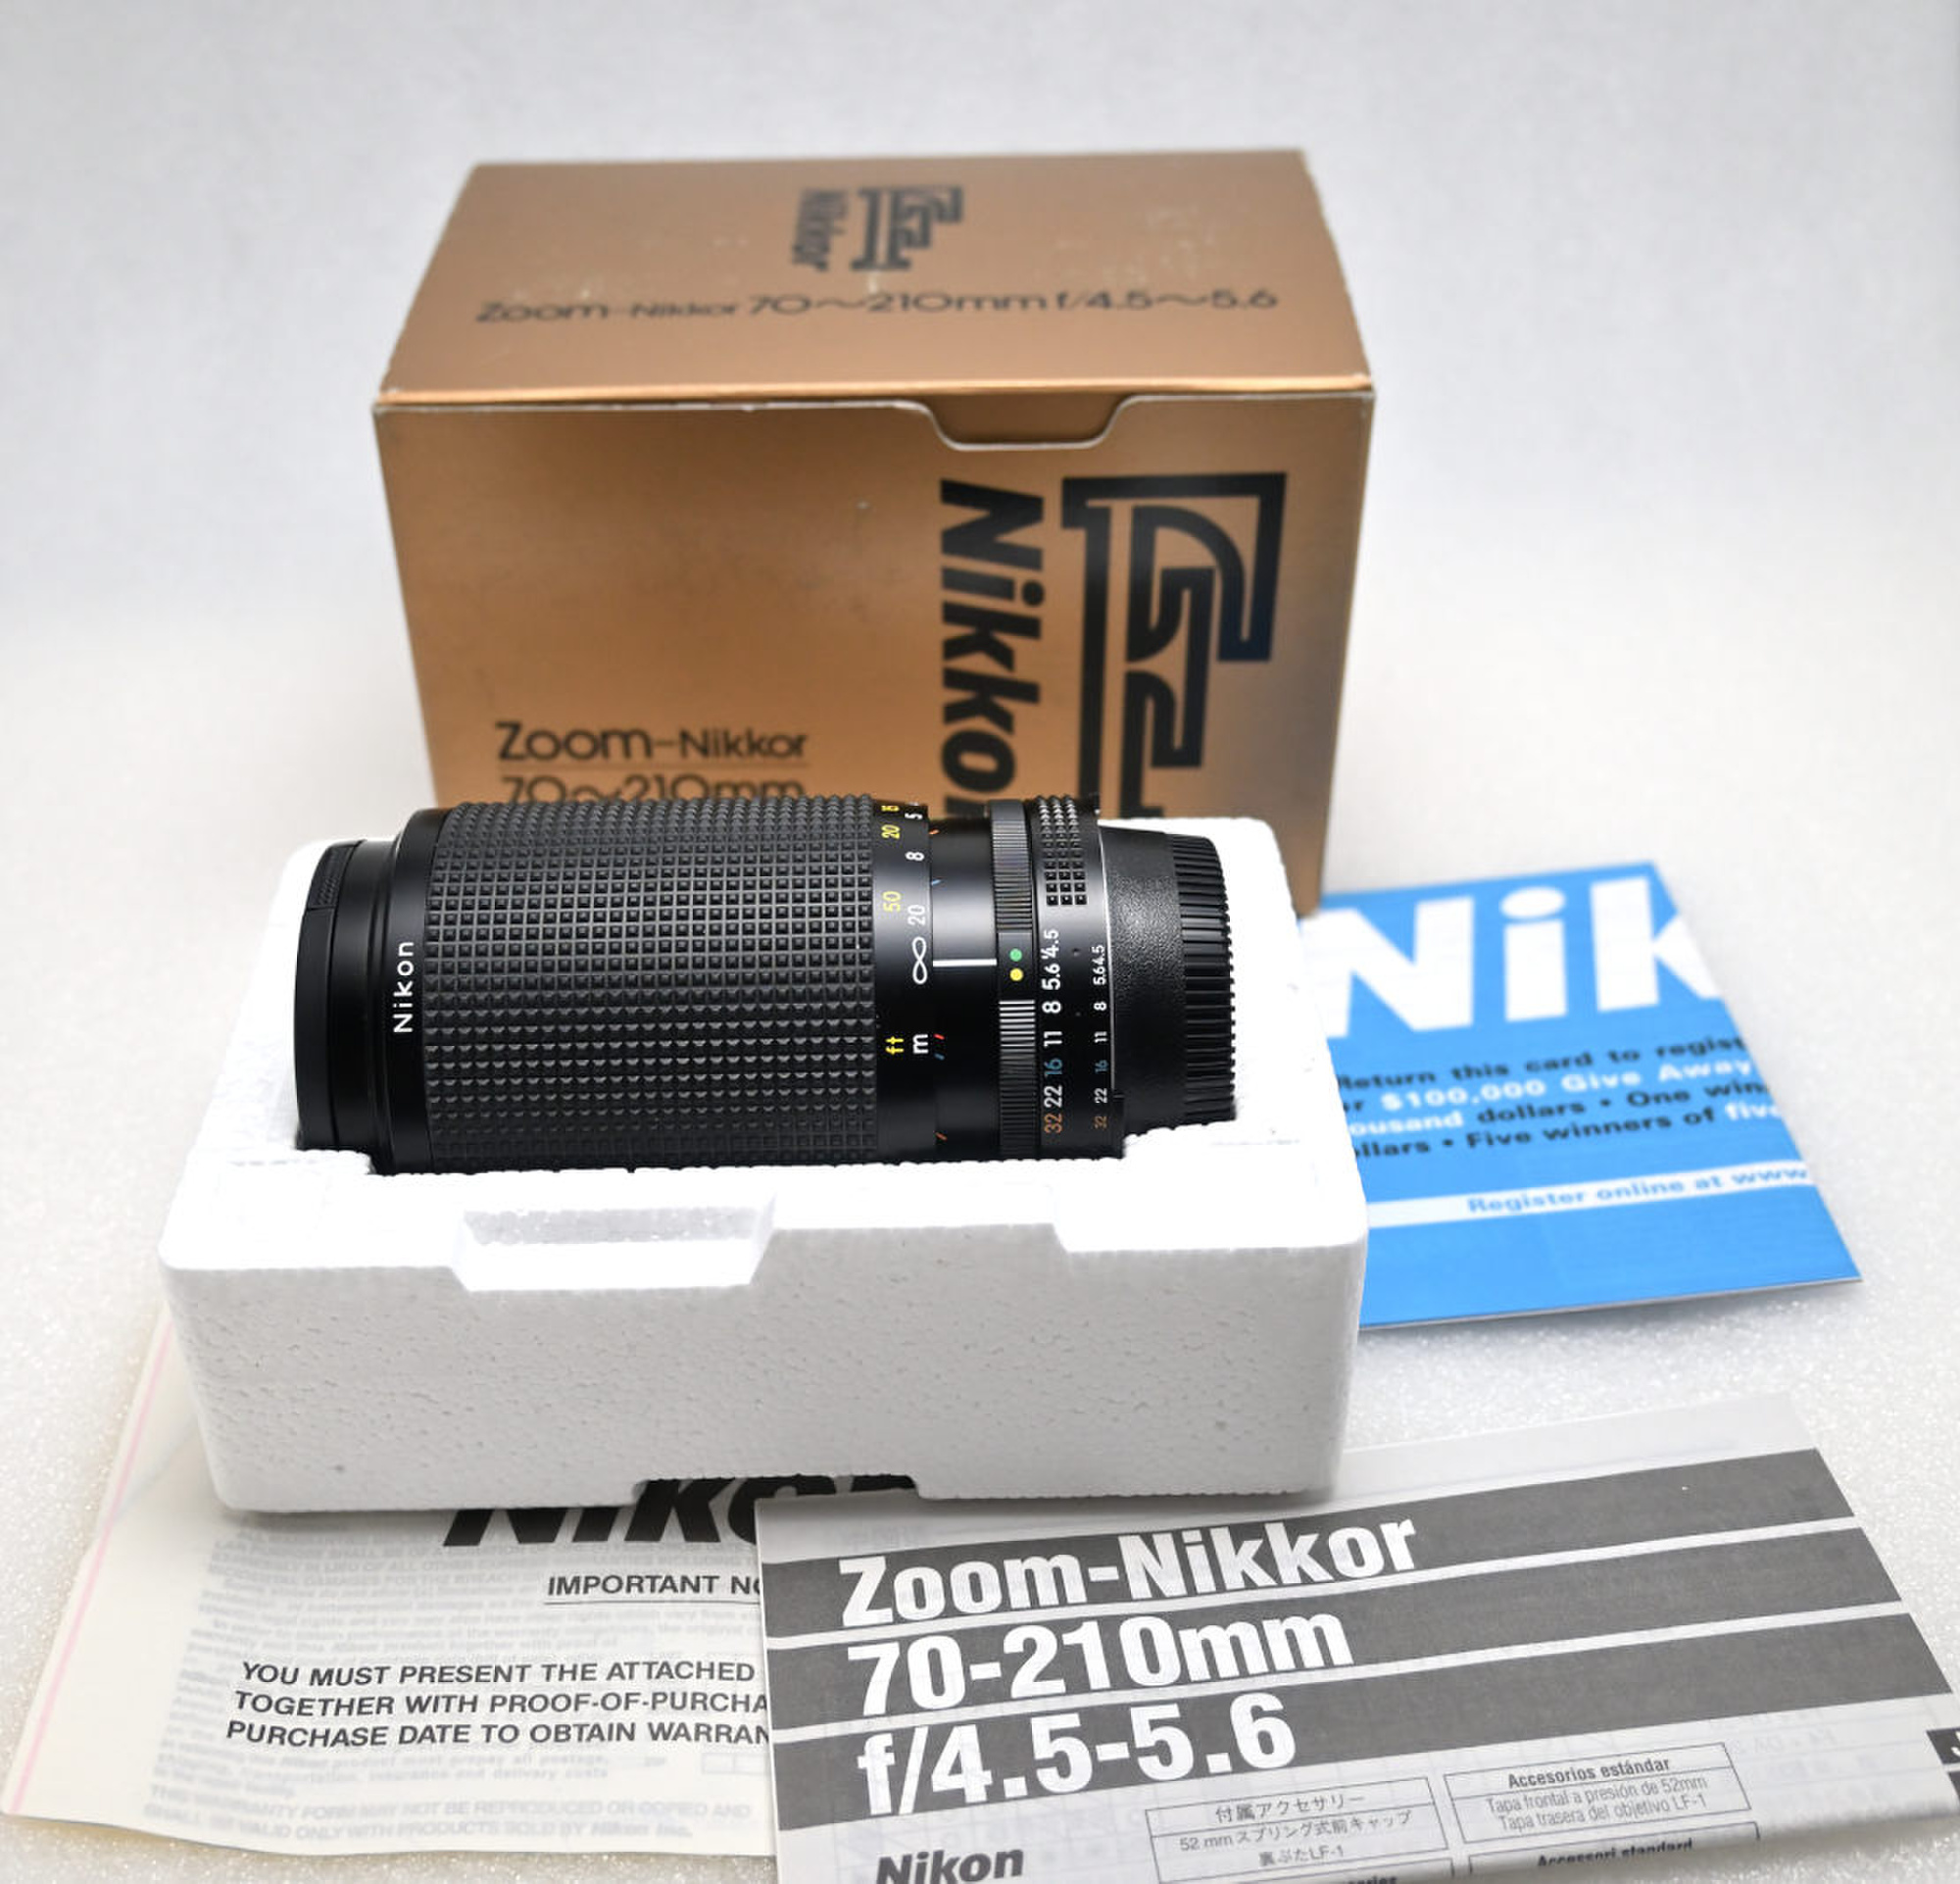
Nikon AI-S 70-210mm f/4.5-5.6 30 15 10 0 95 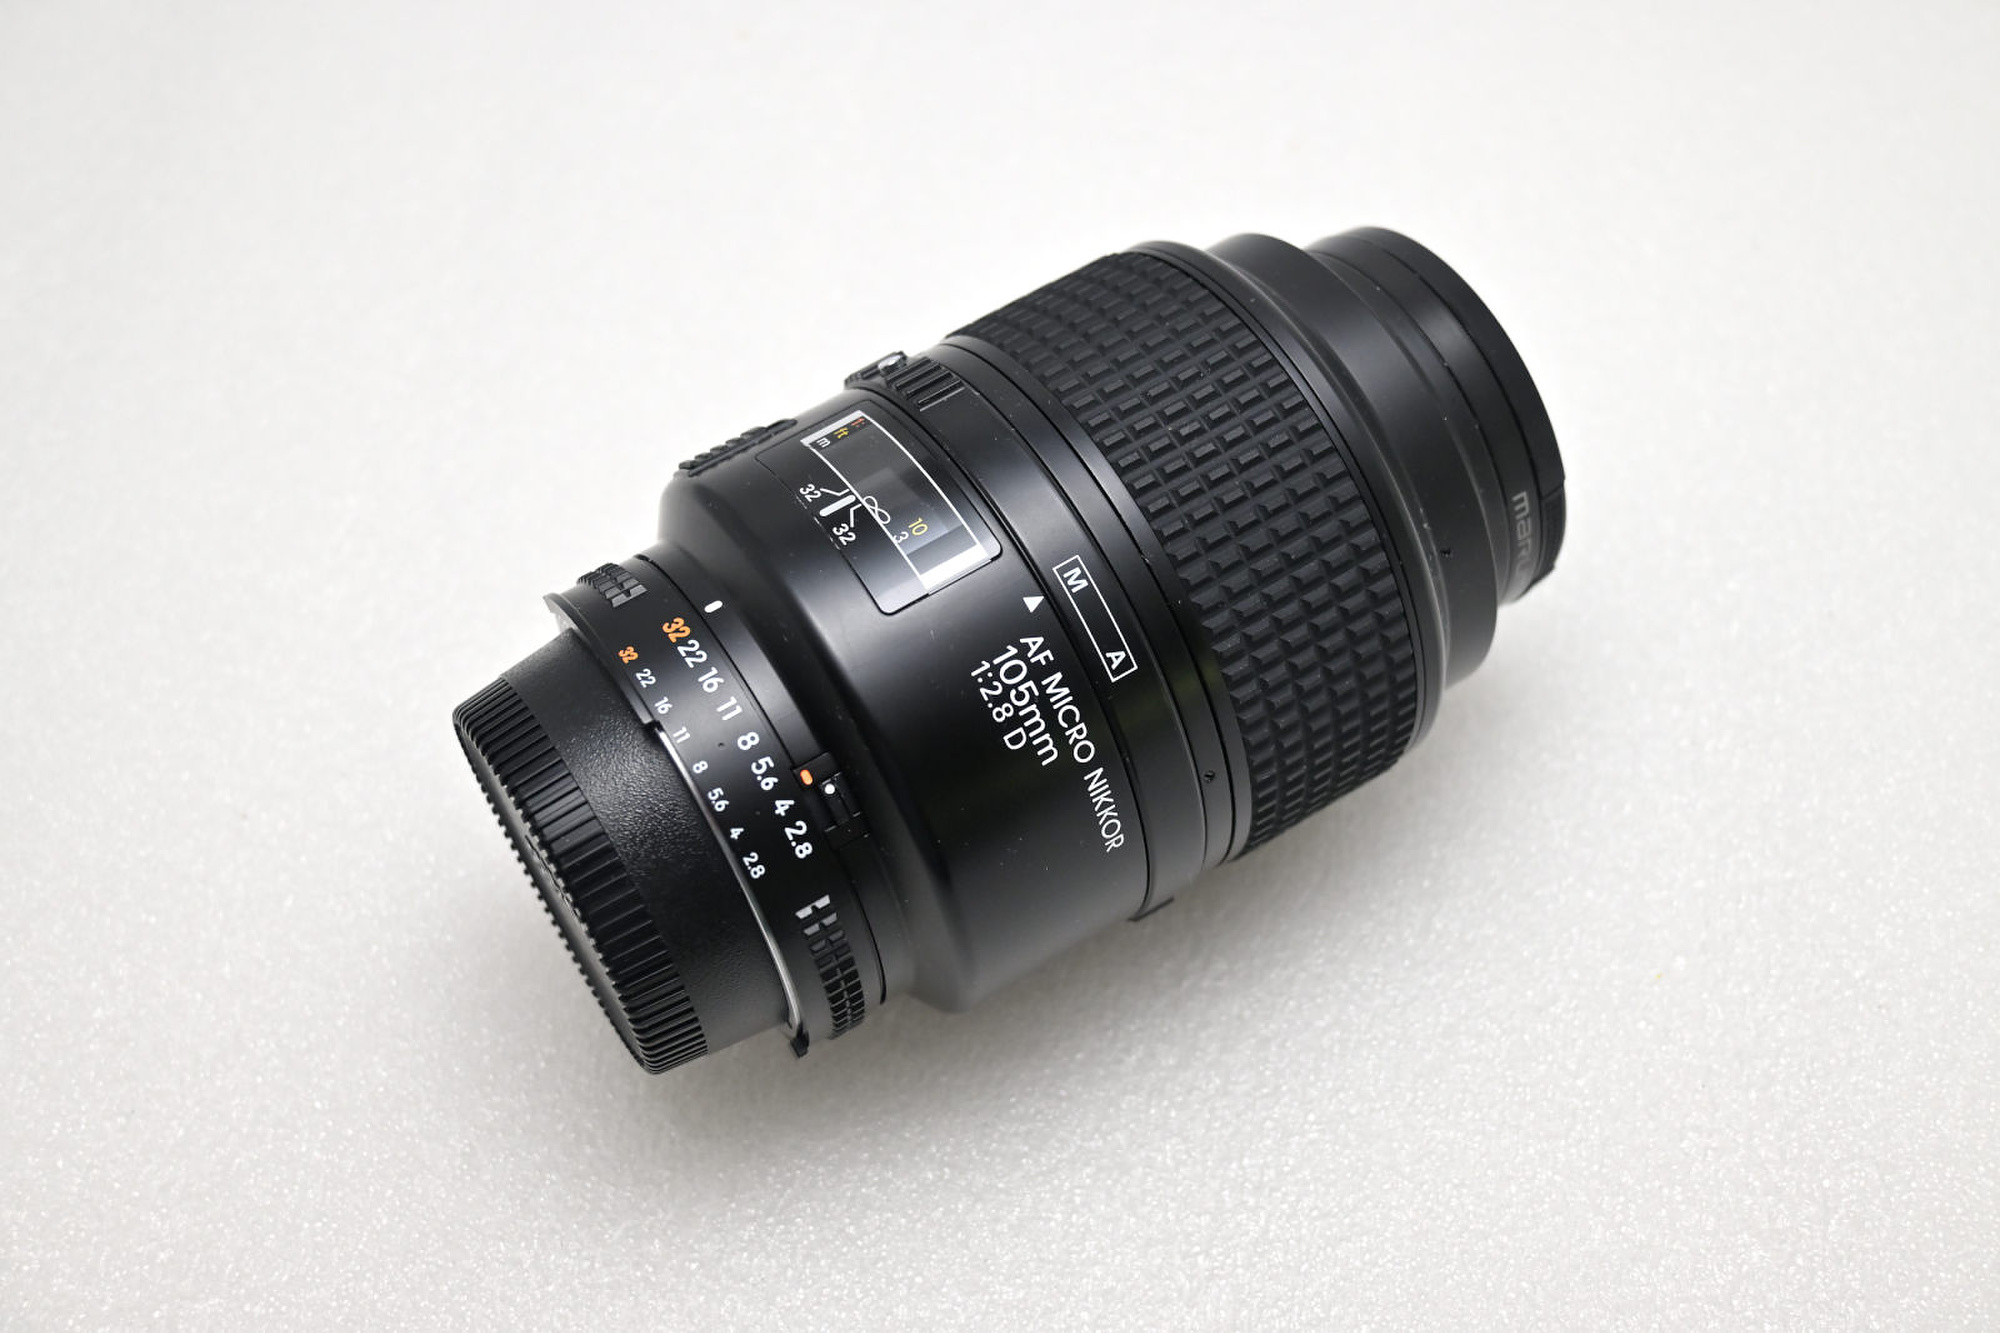
Nikon AF 105mm f/2.8 D Macro 75 72 100 118 185 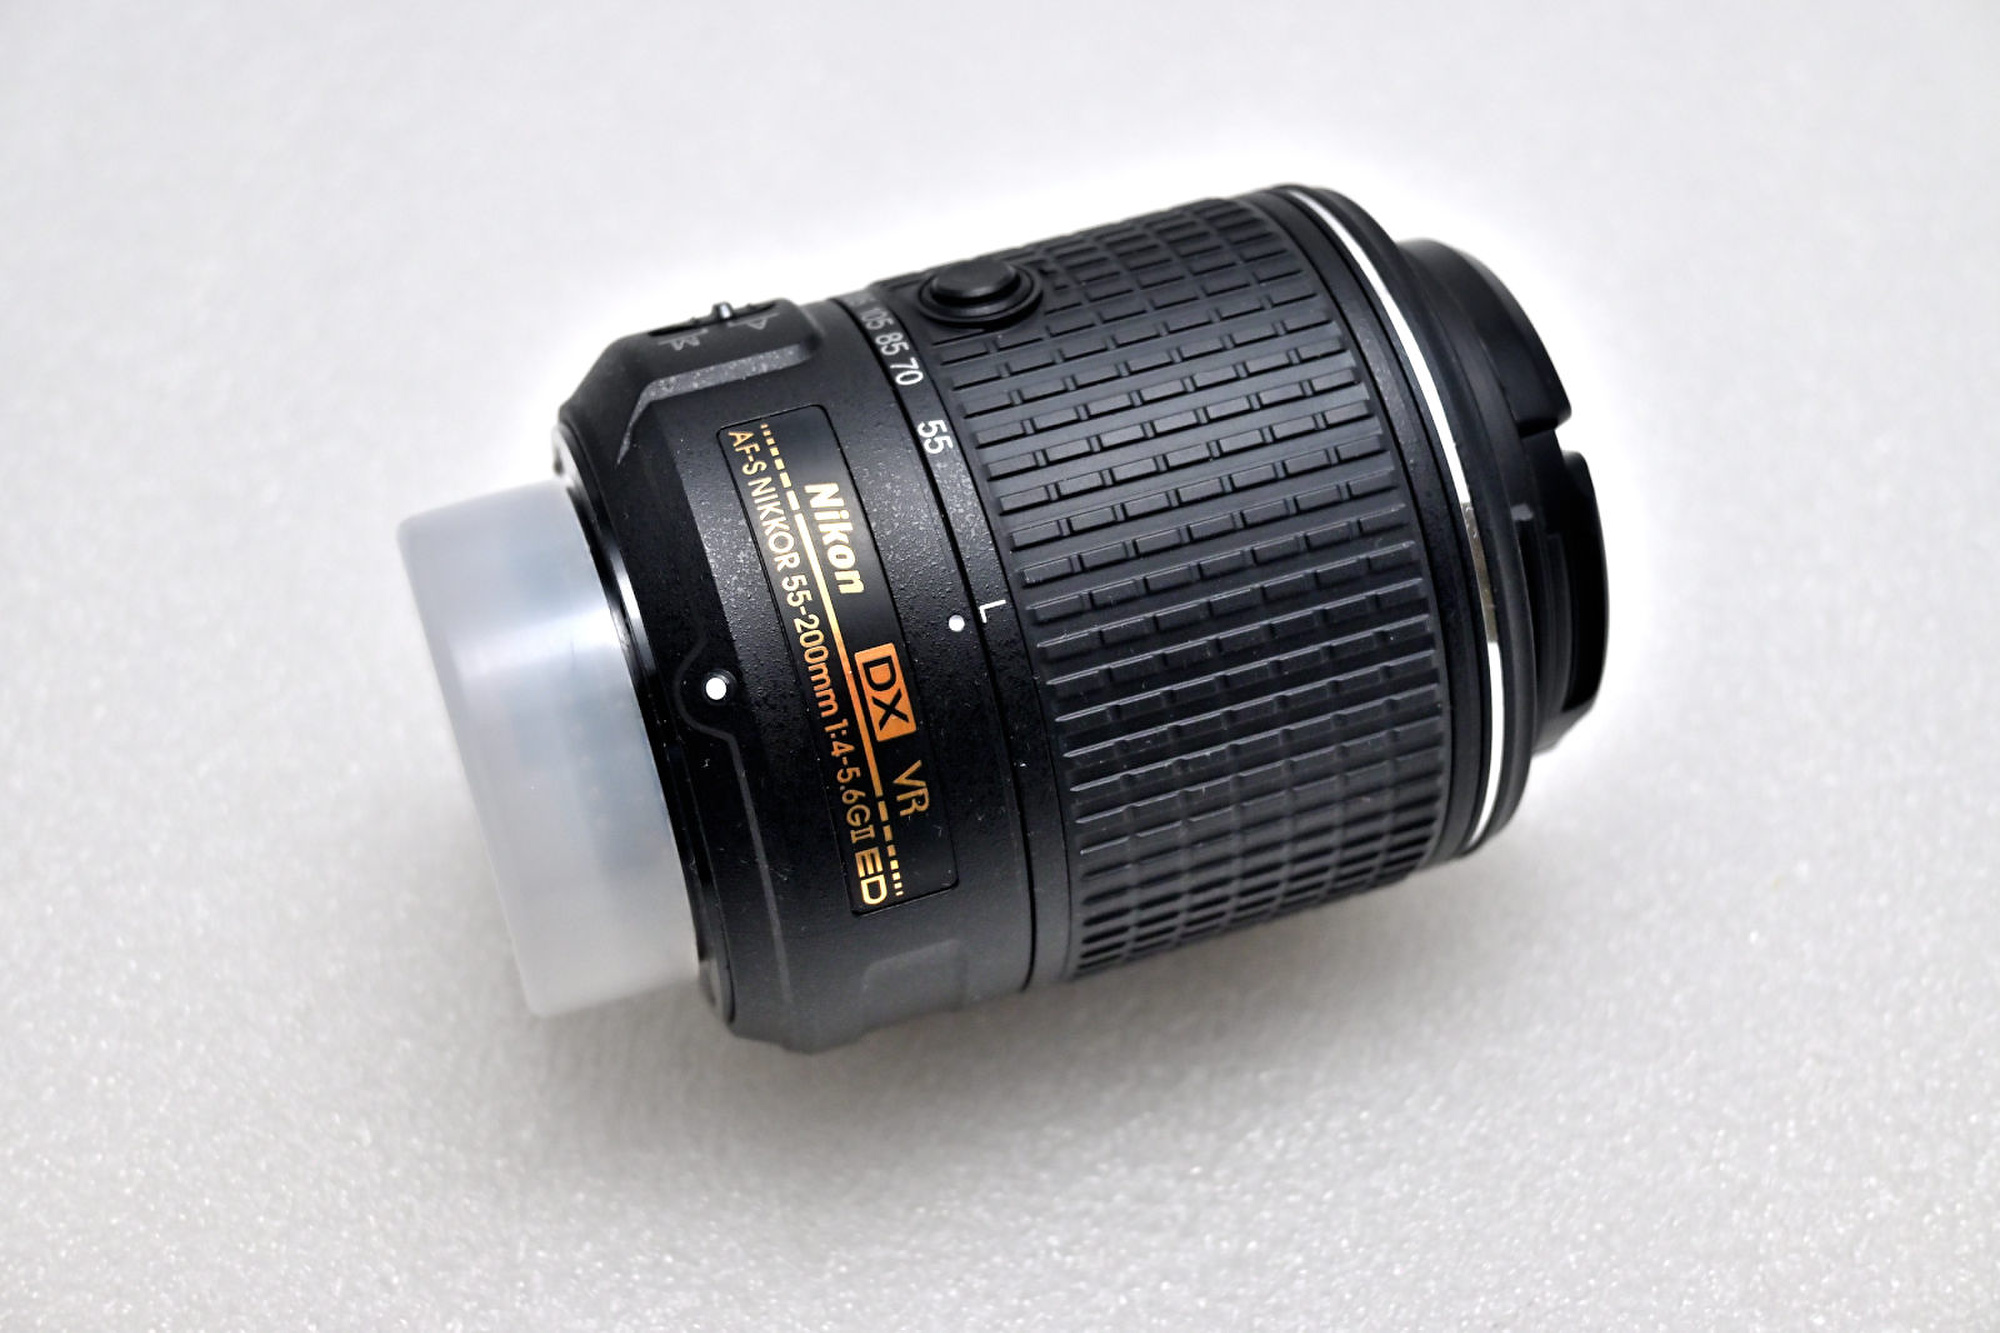
Nikon 55-200mm f/4-5.6G ED VR II AF-S D 50 27 10 42 115 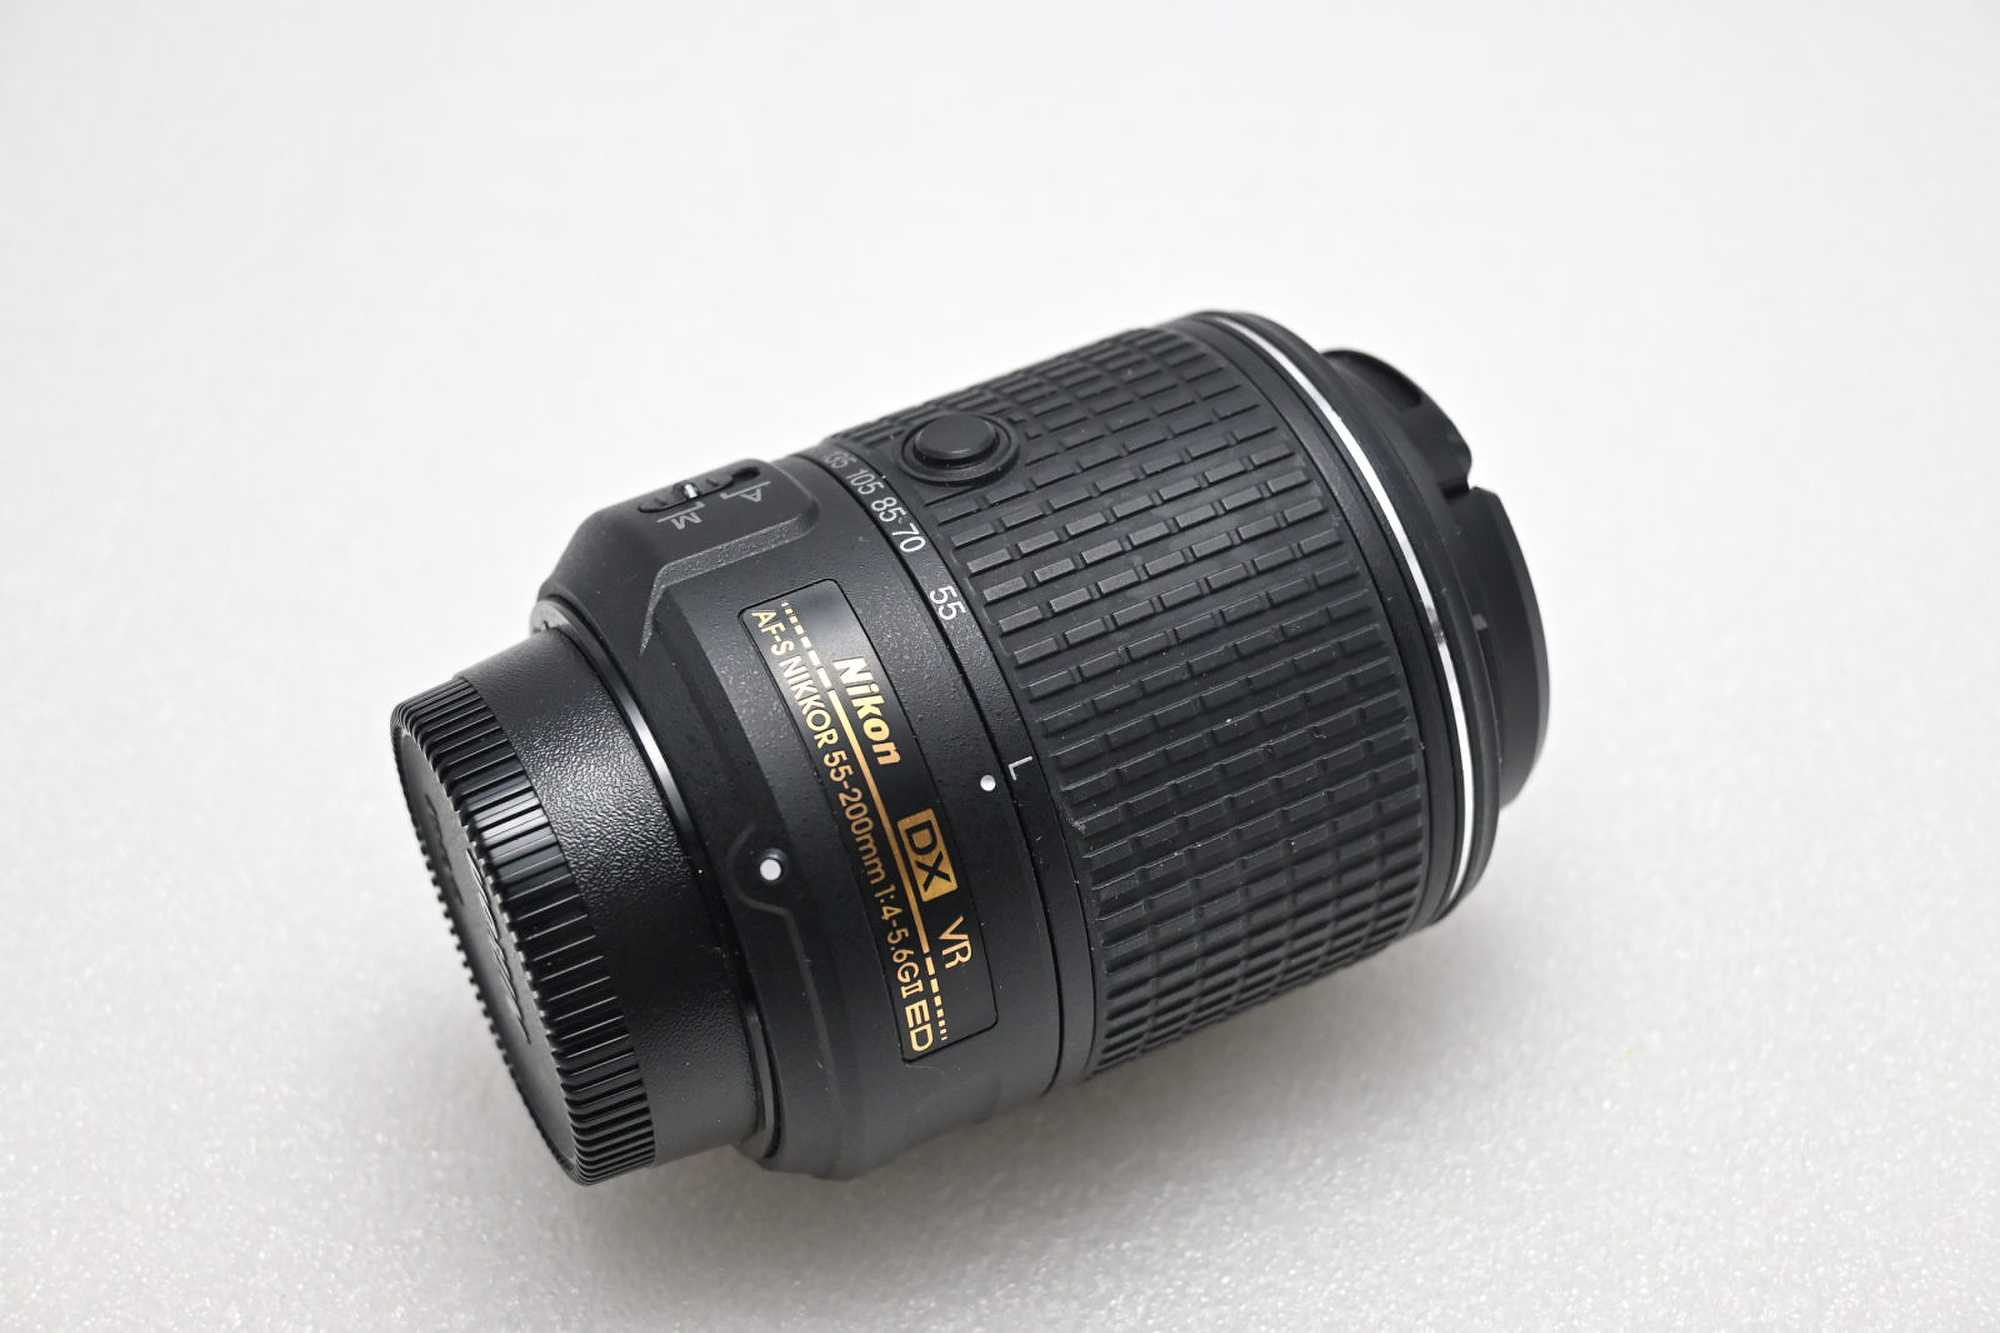
Nikon 55-200mm f/4-5.6G ED VR II AF-S D 50 27 10 42 115 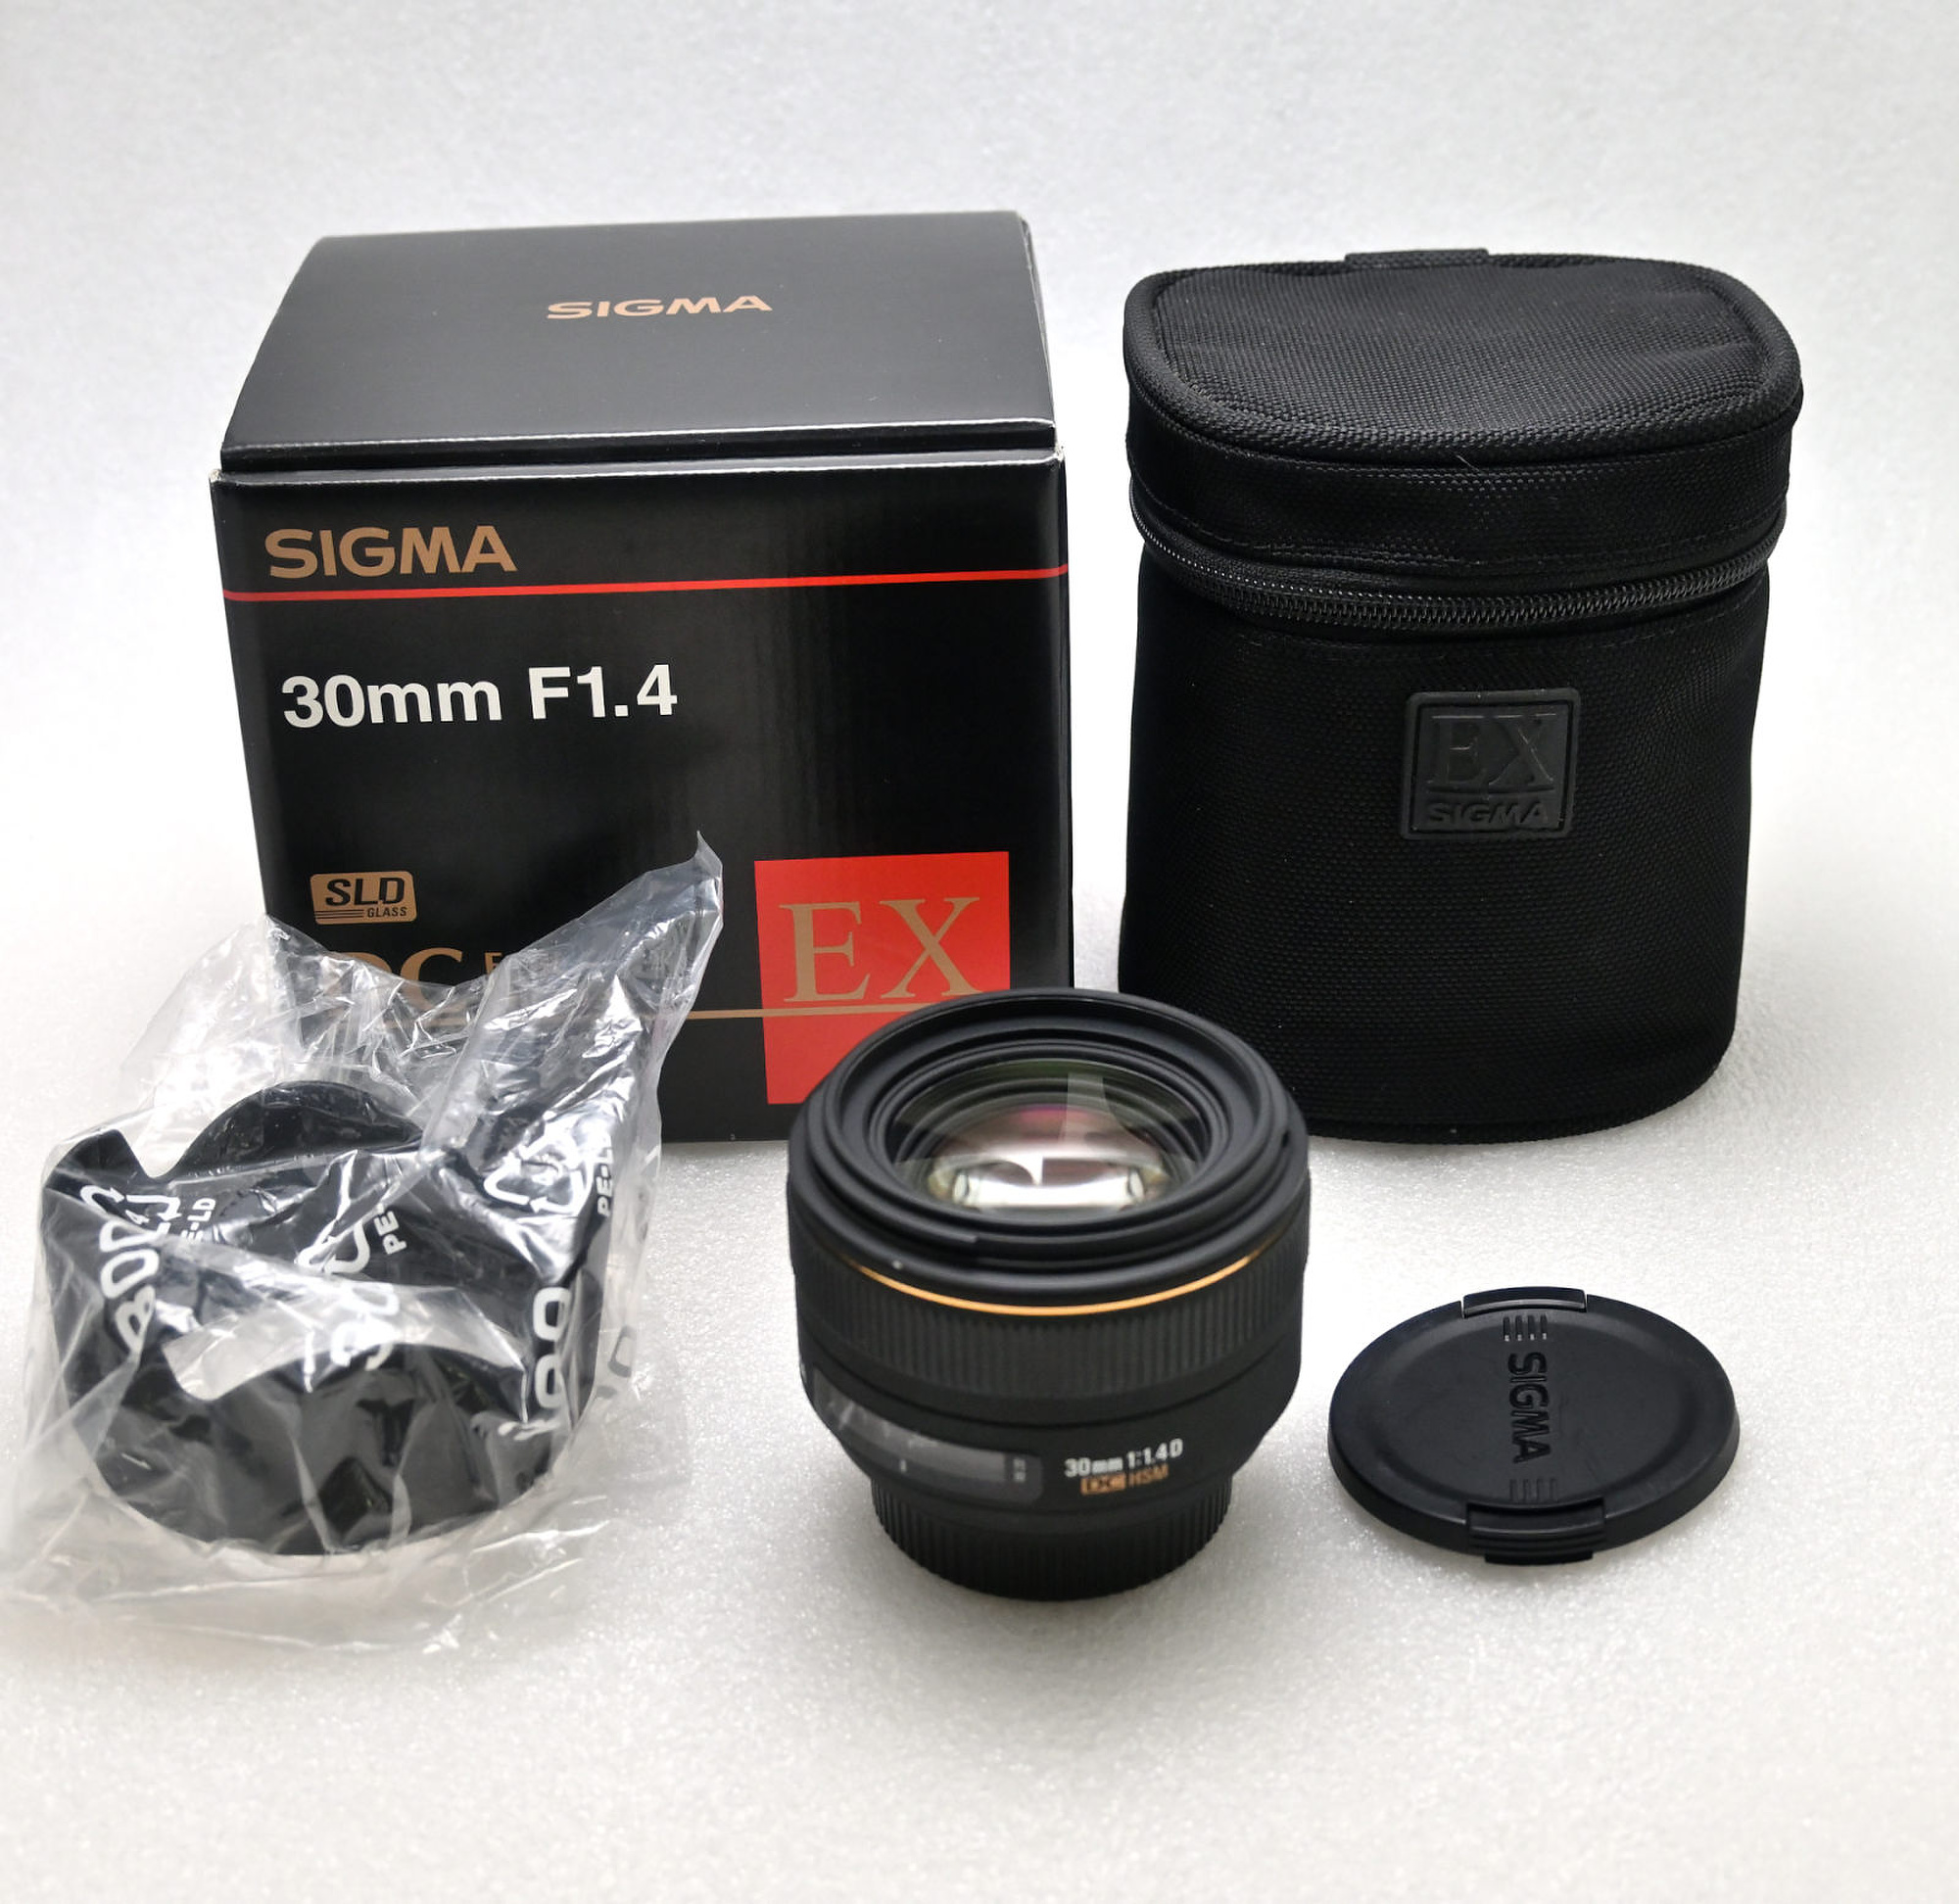
Sigma 30mm f/1.4 DC HSM 70 52 50 72 185 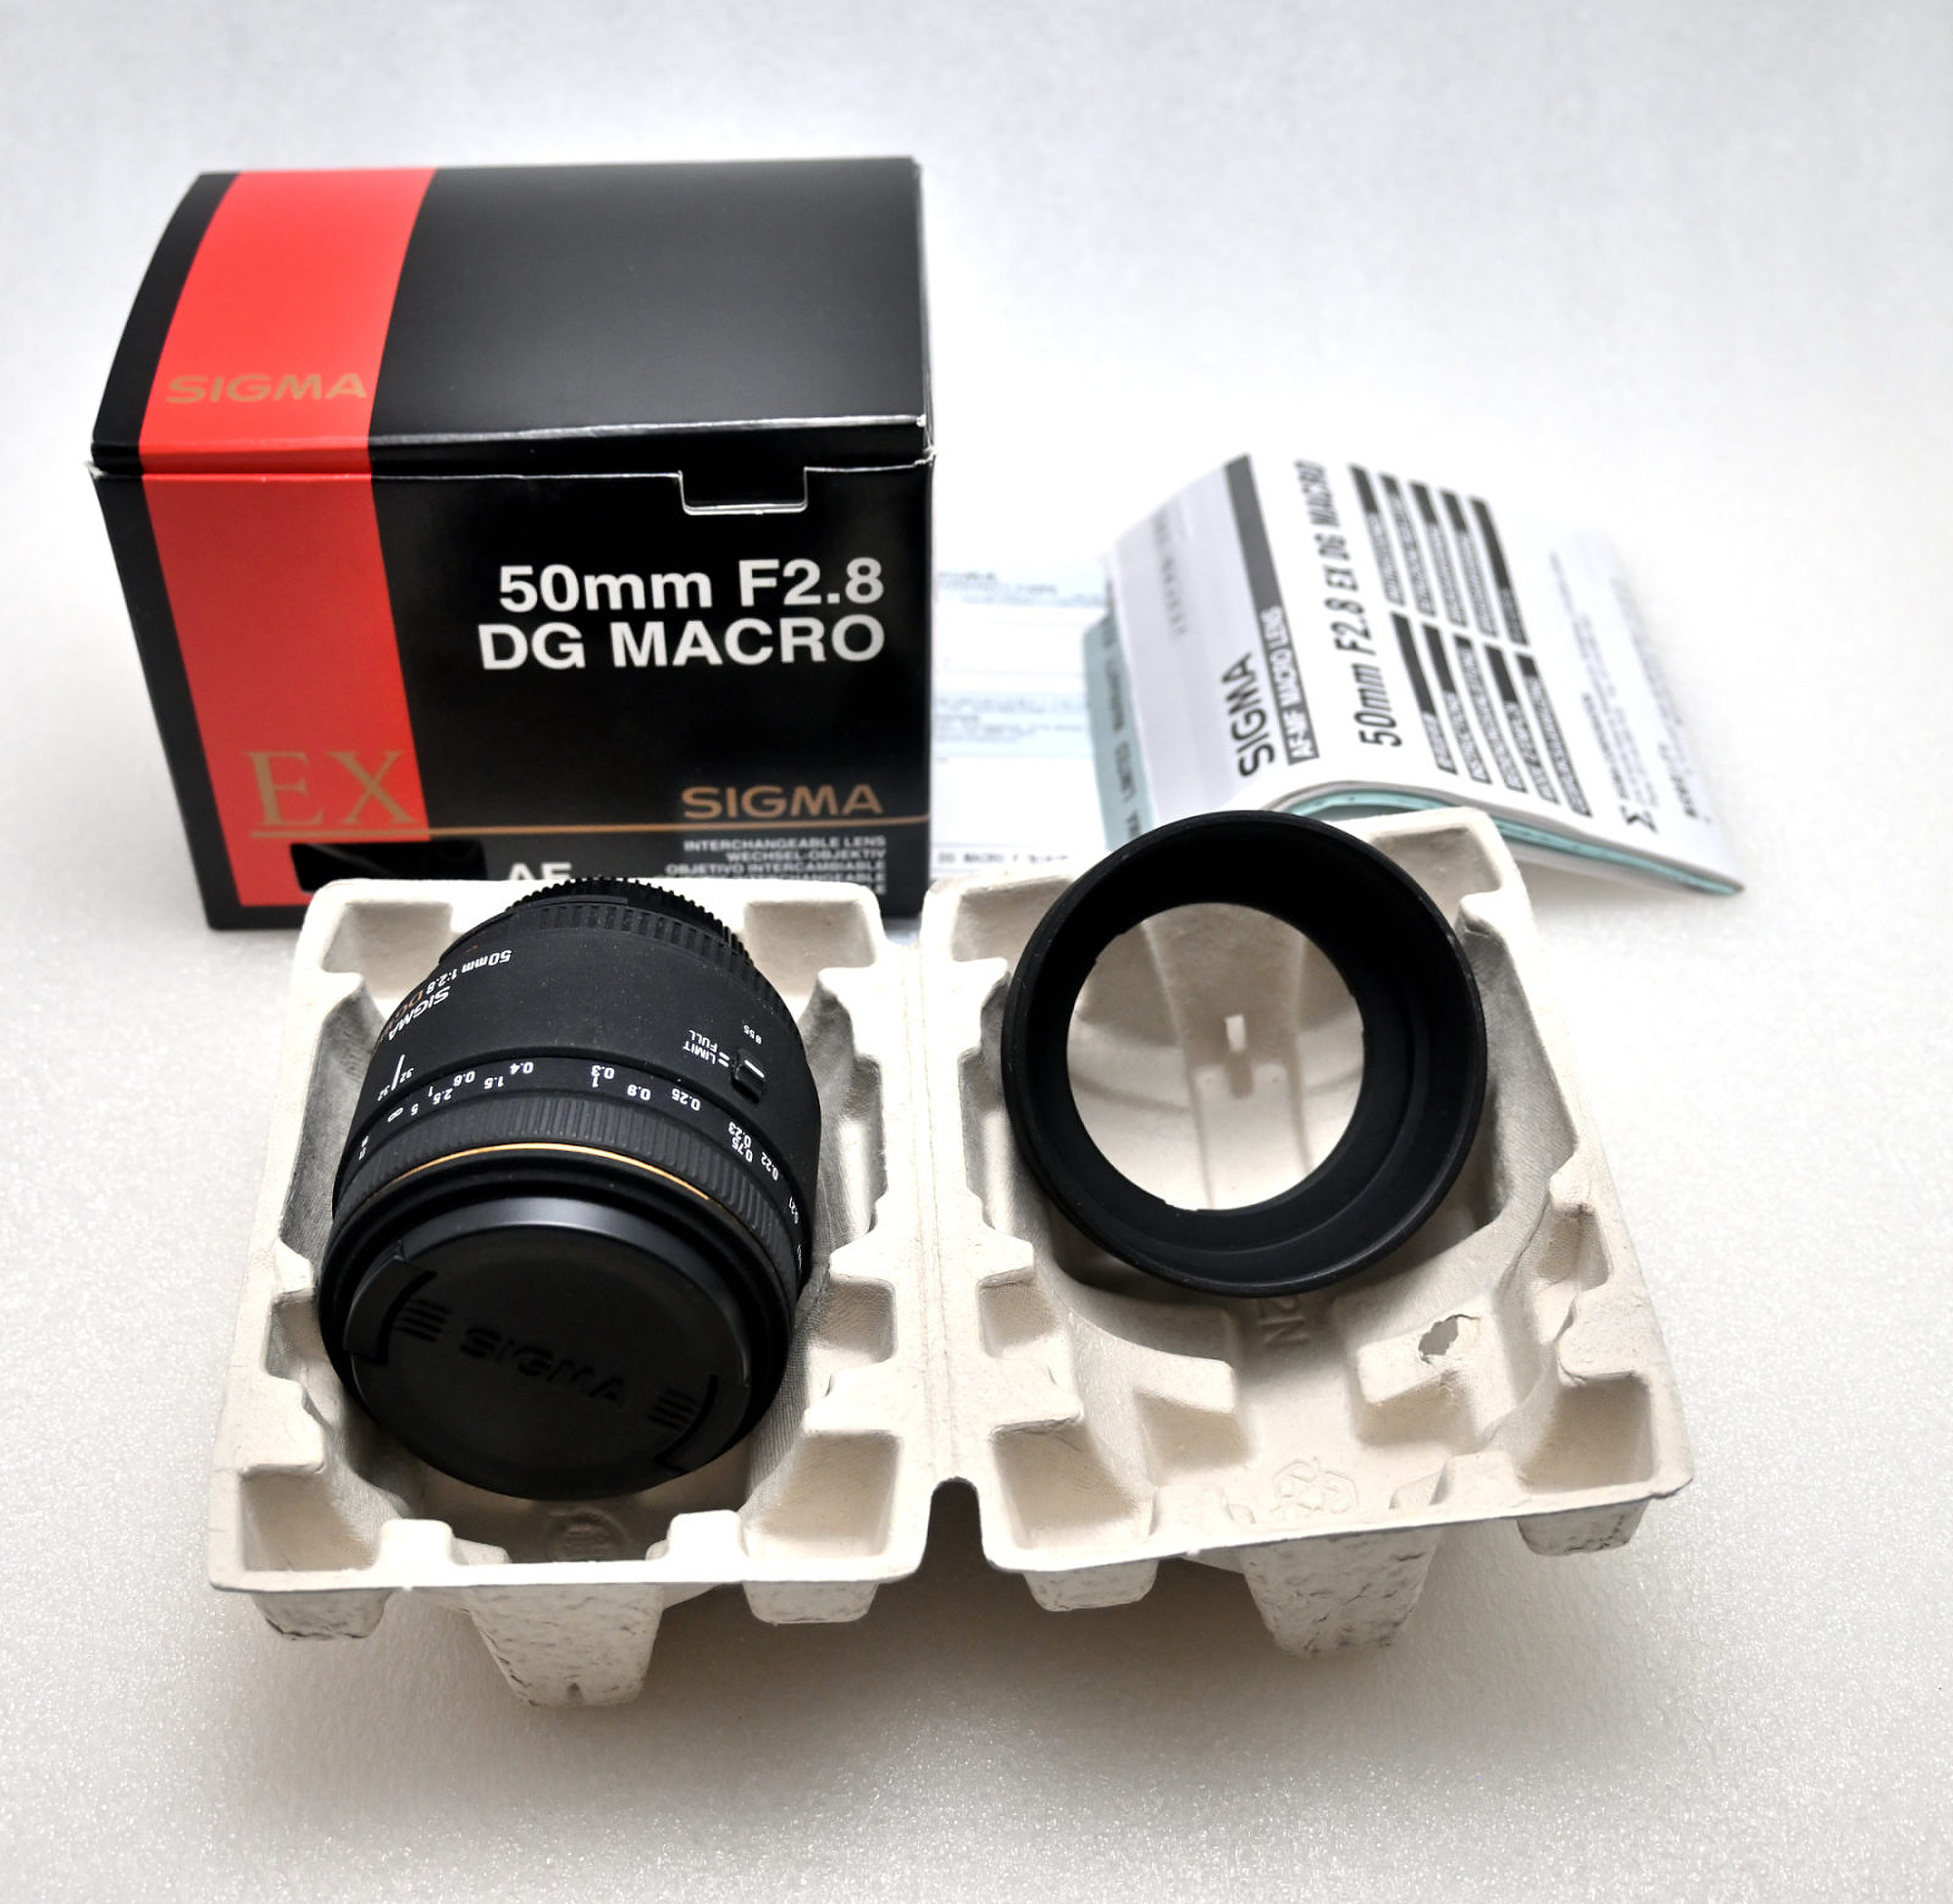
Sigma 50mm f/2.8 DG Macro 75 0 30 128 165 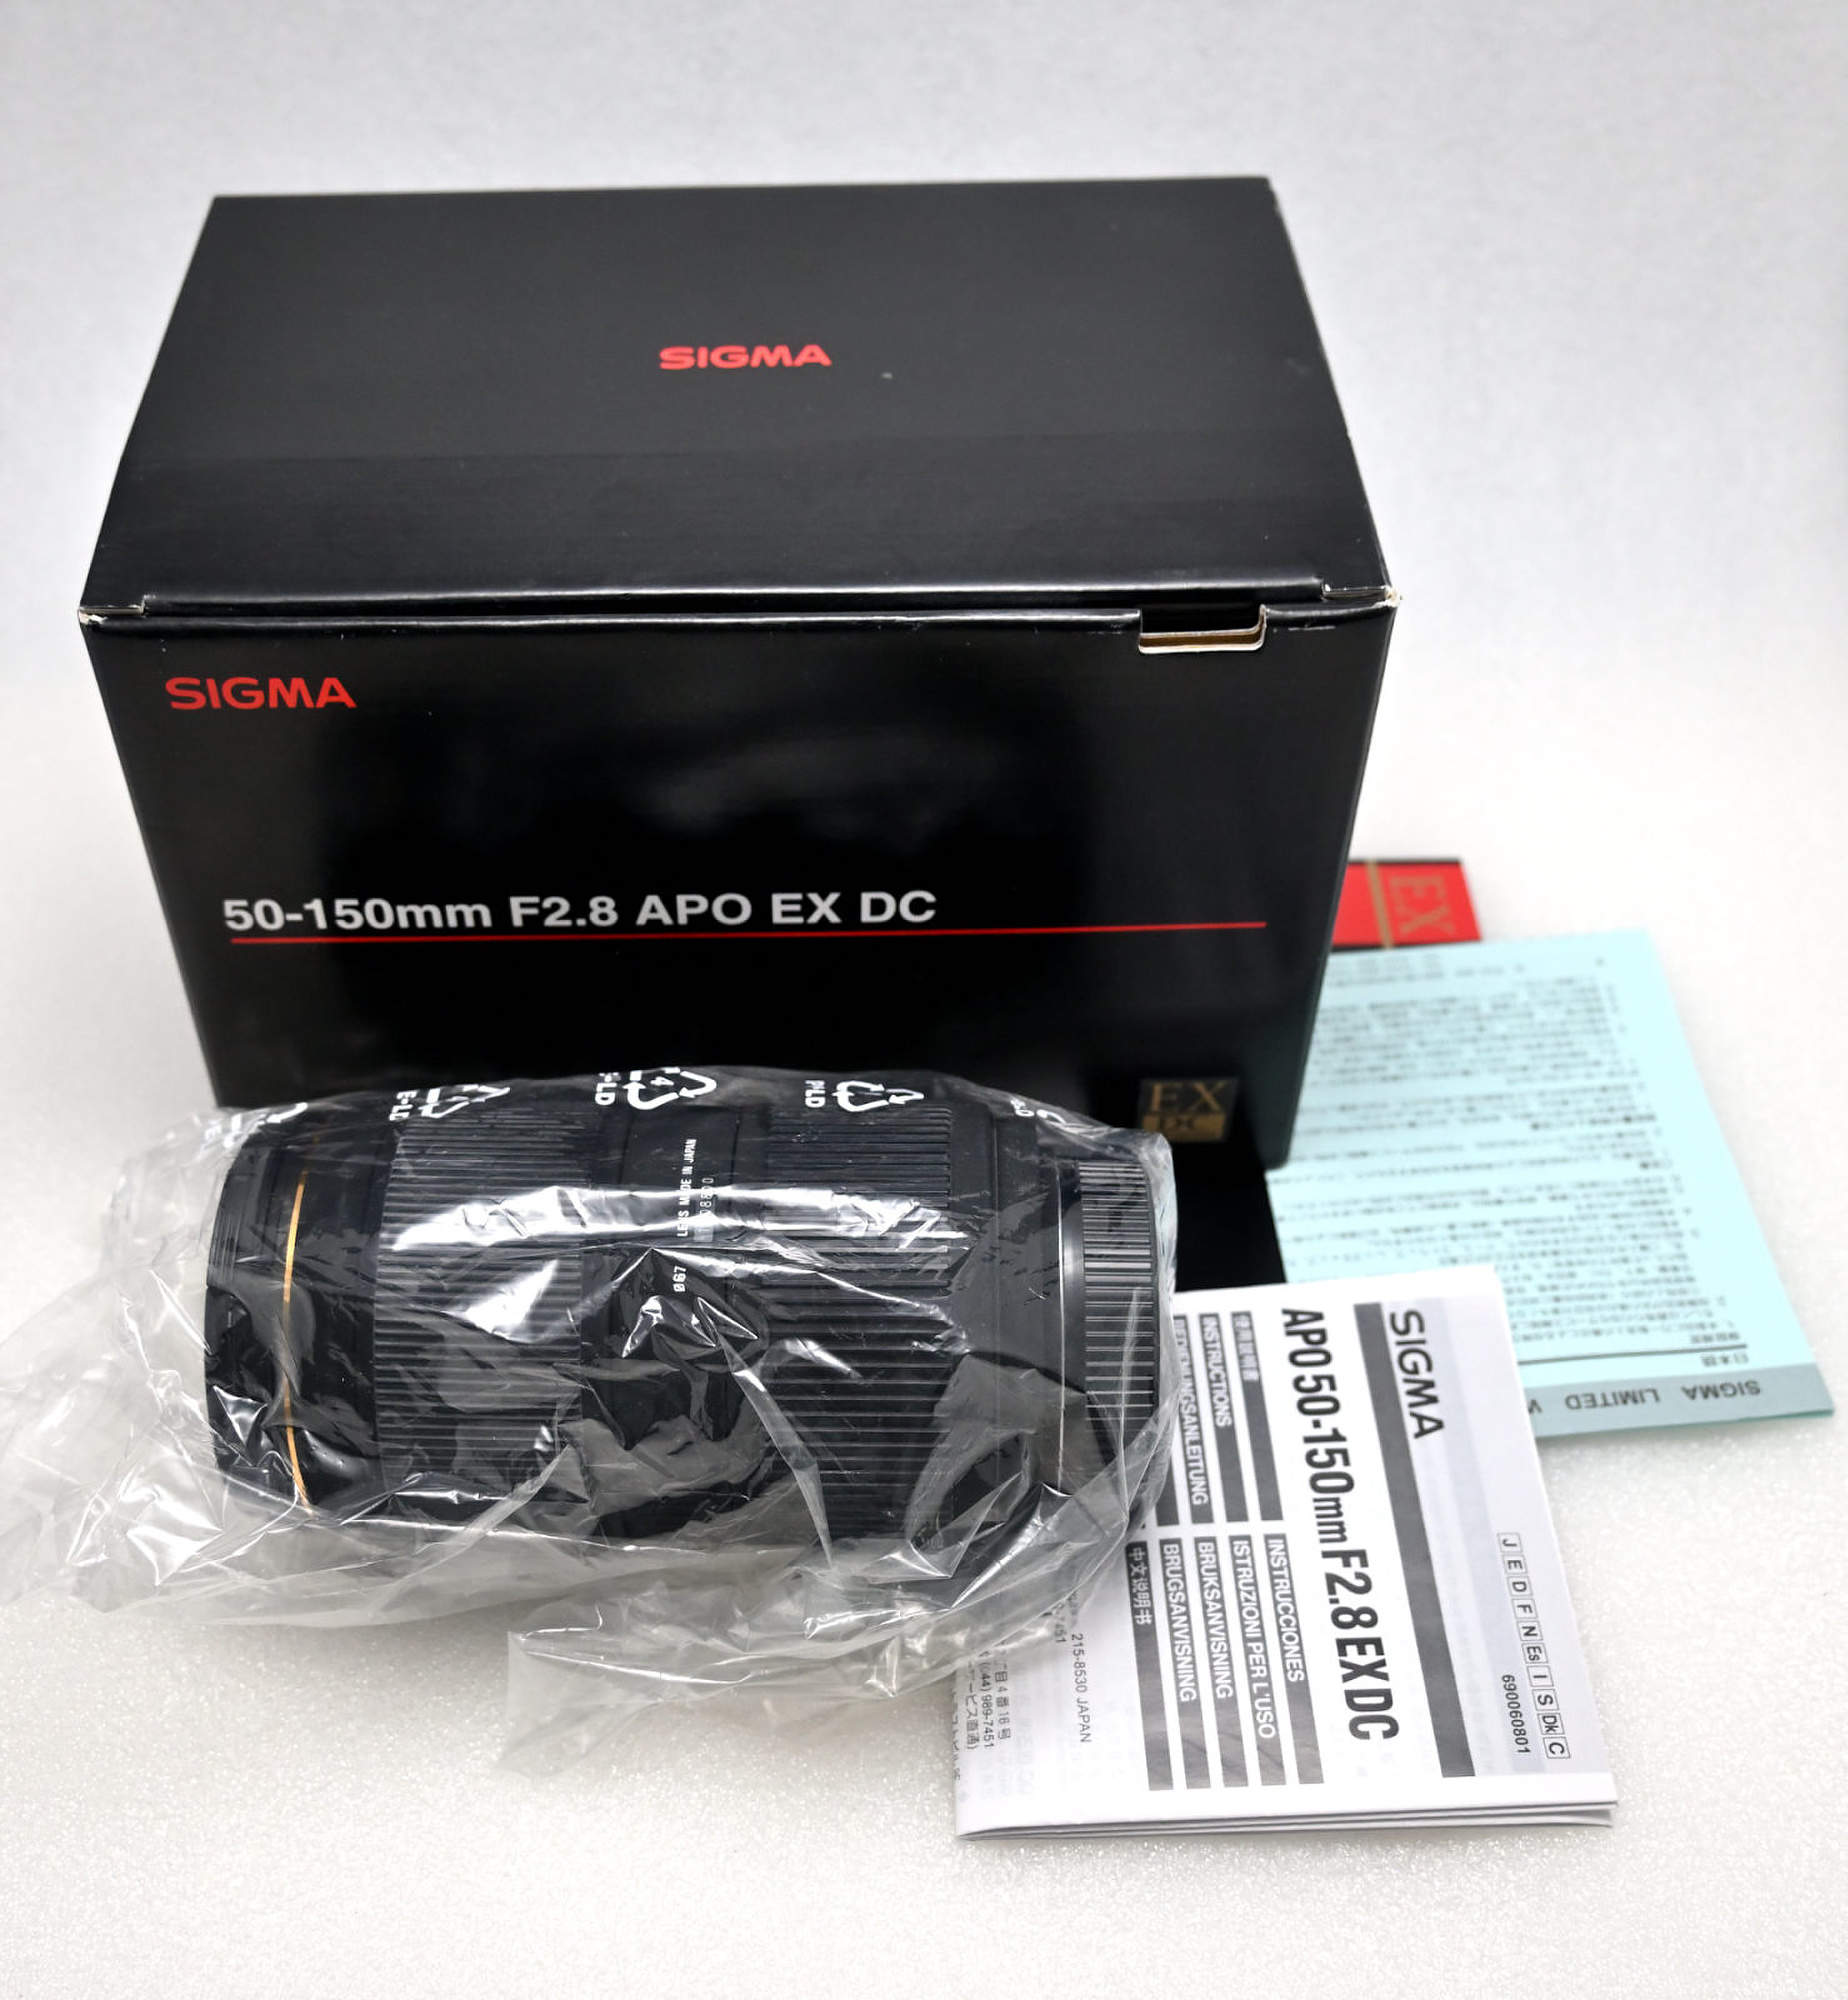
Sigma 50-150mm f/2.8 EX DC APO HSM 0 125 115 121 385 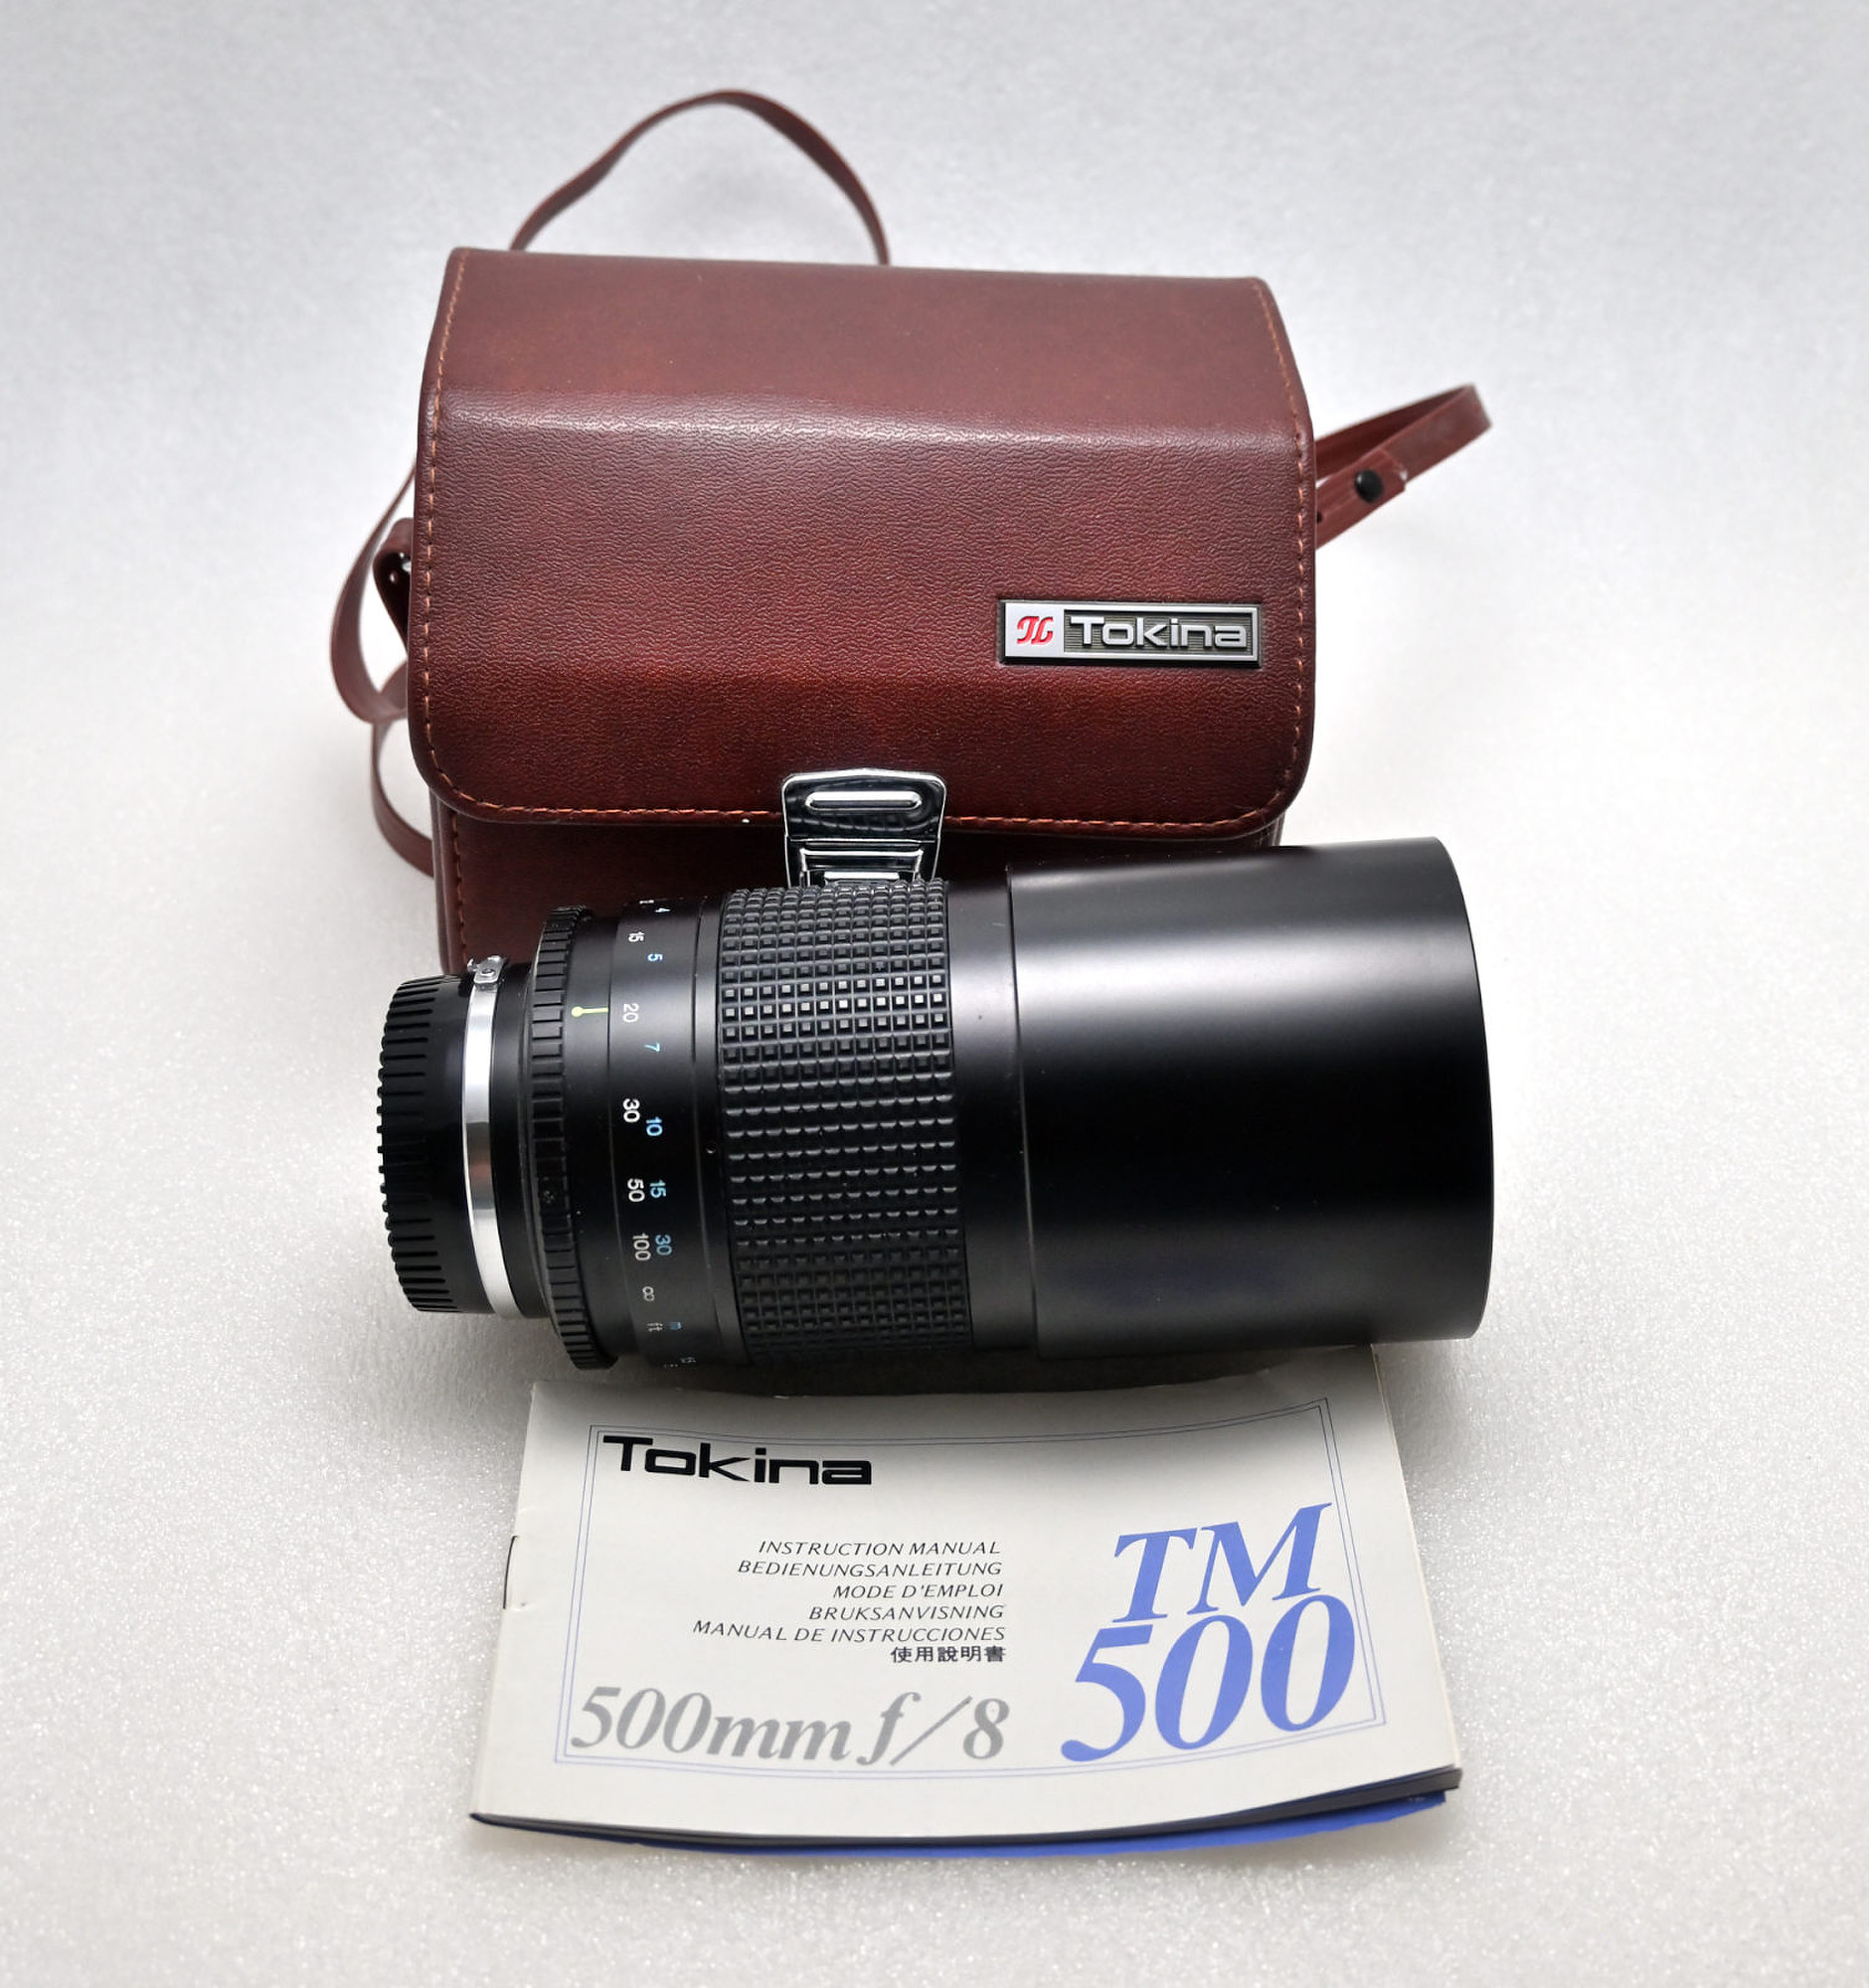
Tokina 500mm f/8.0 Mirror Lens for Nikon 0 0 35 125 165 Ʃ 625 403 435 676 1745 Sigma 8mm f/3.5 EX DG Fisheye 140 50 125 87 Nikon AF 50mm f1.4D 75 42 65 55 The quote from Adorama required to send in the lenses, but I was told the estimate would be around 500.
B&H's is similiar price, but there is an exception for the Nikon AI-S 28-85 f/3.5-4.5. Seems like a very sought-after lens, but not for MBP.
So far, B&H pays best for those (vintage) lenses.The last two lenses I decided to keep, but I had them added to the quote to check. Would you sell for this price?
Update:
Lenses have been sold on eBay, with an approximate 20-25% fee deducted. The only exceptions are the two Nikon AI-S 28-85mm f/3.5-4.5, which I traded to B&H for a tax-free voucher. They are still listed for sale there1, quietly gathering digital dust.
The lens shelf now looks more intentional and less like a clearance bin.
-
Both lenses were in like-new condition and nearly indistinguishable from each other, yet they are listed with noticeably different condition ratings and prices. So much for consistency in evaluations. ↩
-
-
Backup your pictures 💾
Backing Up a NAS via SSH and rsync
A practical guide to safely backing up large NAS file sets via SSH and rsync, including why some external USB hard drives slow down dramatically due to SMR technology.
NAS (Network Attached Storage) is a convenient solution for storing pictures, videos, and all your other files. The NAS device is typically configured as RAID-1, utilizing two disks so the system can continue operating if one disk fails, thereby improving availability. It connects to your local network, providing reliable and accessible storage, but it is not a backup.
Backing up files from a NAS device is very important to ensure data integrity and availability.
Many NAS systems, such as my Synology NAS, come equipped with backup software like Hyper-Backup. Unfortunately, this software tends to become slower over time during long backup runs, especially with very large file sets.Using PuTTY, a popular SSH client, and simple Linux commands, you can efficiently perform backups and verify them directly on the NAS. Here is a step-by-step guide.
Prerequisite
NAS devices typically feature USB ports, allowing you to connect an external hard drive of the required size directly to the NAS via USB. External drives are available in two main types: SSD (Solid State Drives) and HDD (Hard Disk Drives with spinning disks). I am using HDDs because of their long-term data retention capabilities, but SSDs are faster and maybe perfect for frequent short term backups.
The drive connects to the system with a path like /volumeUSB1/usbshare. Simply check with the
cdanddircommand.
On Synology systems, user data is typically located under /volume1, which will be used as the source path in the following examples.I recommend formatting the drive with NTFS. On large volumes, exFAT often uses very large allocation units, which can waste significant space when storing many small files.
Note on SMR-based external hard drives
Many modern 2.5" external USB hard drives use Shingled Magnetic Recording (SMR). With SMR, write performance may appear fast at first, because new data is written into a small sequential write area. Once this area fills up, the drive must internally reorganize and rewrite entire zones to place the data permanently. This consolidation happens in the background and can take a long time, during which the drive remains busy and write speeds drop significantly.
This behavior is a direct consequence of how SMR works. SMR increases storage density by partially overlapping adjacent magnetic tracks, similar to roof shingles. Because the write head is wider than the read head, writing a new track overwrites part of the previous one, which prevents individual tracks from being updated independently. To manage this, SMR drives group tracks into zones that are written sequentially. Updating existing data requires a read-modify-rewrite cycle of the full zone, which is handled entirely by the drive firmware in drive-managed SMR and is invisible to the operating system.
As a result, long periods of drive activity and reduced sustained write performance are expected with fragmented or many-file workloads. This behavior affects performance, not data integrity, and does not indicate failing hardware or reduced long-term backup safety.
Step 1: Connect to your NAS using PuTTY
Download and Install PuTTY.
Open PuTTY and enter the IP address of your NAS in the "Host Name (or IP address)" field. Default Port is 22.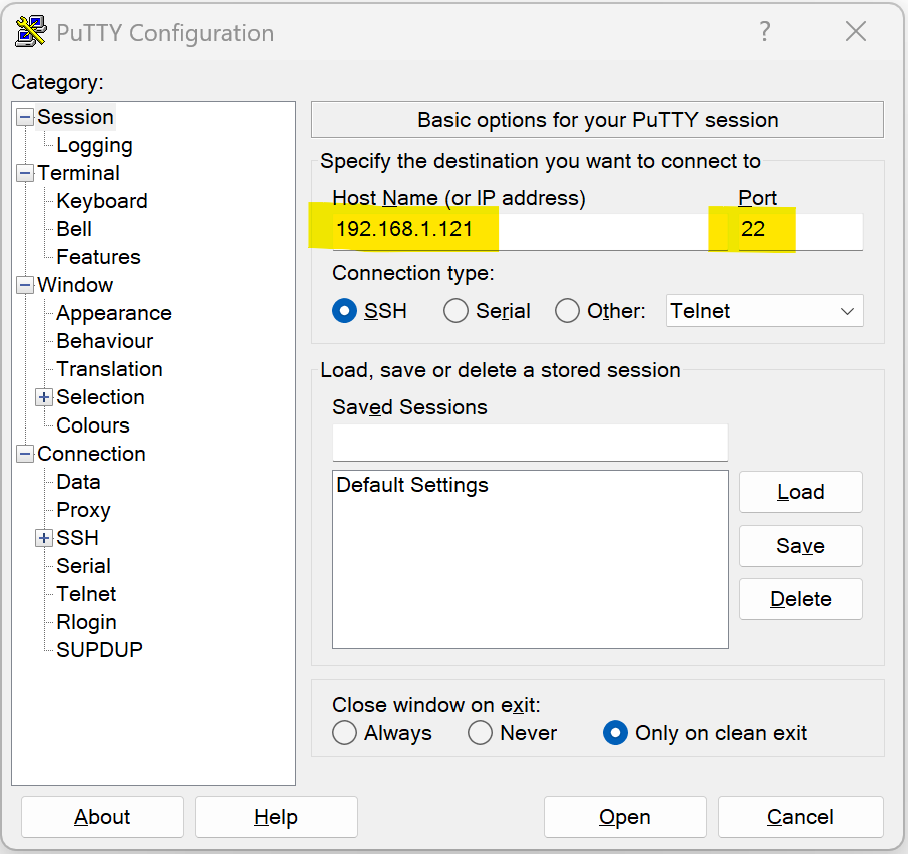
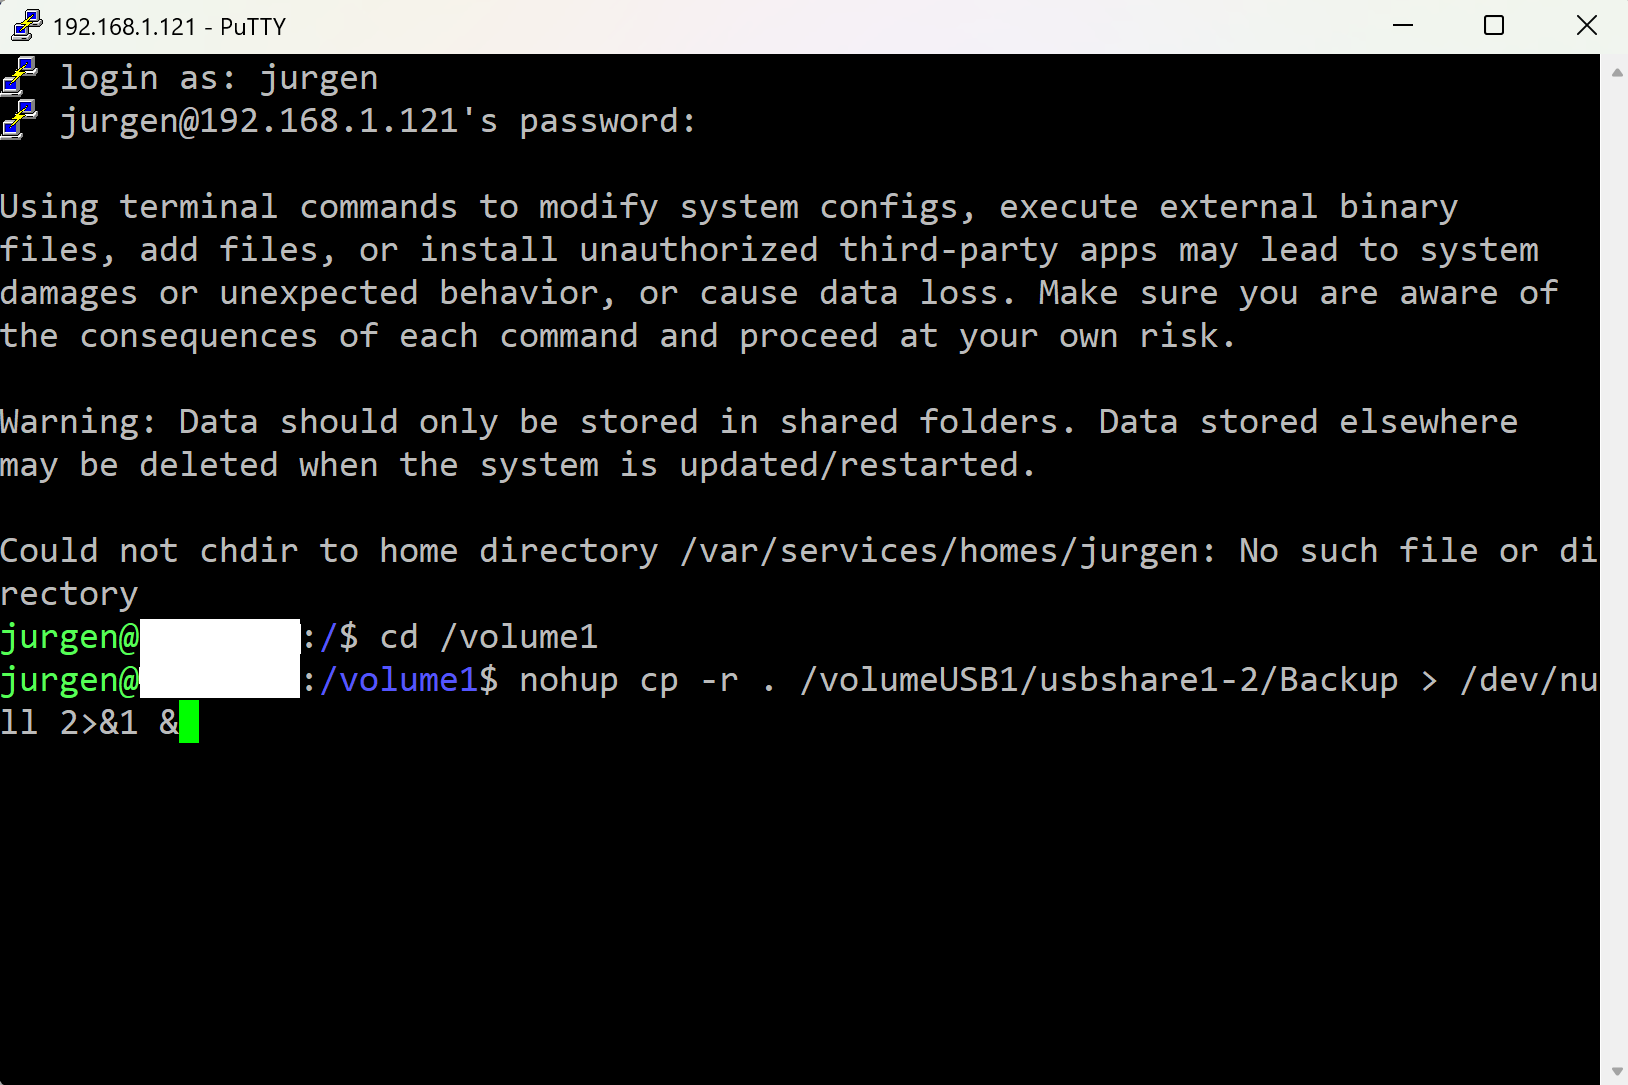
Login: Click "Open" and log in using your NAS credentials. You should now have access to the NAS embedded Linux console.
Step 2: Backup Files using the
rsynccommandThe
rsynccommand of the embedded Linux system of the NAS is used to copy files and directories.
To backup files from your NAS to another drive, follow these steps:Navigate to the Source Directory:
cd /volume1For large data sets, the copy process can take several days, and the PuTTY terminal may disconnect, closing the command. To prevent this, use the
nohupcommand to keep the process running even if the terminal disconnects.While commands like
screenortmuxcan be used to detach from the current terminal session, they are not always available on every system. At least, it is not available on the Synology NAS.Copy Files to the Backup Location using
rsynccommand withnohup. Thersynccommand has a visual progress and is a better choice for very large archives than thecpcmd.Copy folders 2023, 2024, 2025 and "folder with spaces" to the backup folder "Bilder":
nohup rsync -rltD -W --info=progress2 --no-owner --no-group --no-perms --no-times --no-inc-recursive 2023 2024 2025 "folder with spaces" /volumeUSB1/usbshare/Bilder/ &Note that source directories are specified without a trailing slash so that rsync creates the corresponding directories on the backup drive. Using a trailing slash on the source directory would copy only the contents of the folder and place all files directly into the target directory, flattening the structure. Always verify source and target paths before starting large copy operations.
The
nohupcommand immediately returns and provides a process ID (PID). You can use thepsorhtopcommand to check for this PID if it is still running in later sessions. Use thekillcommand with this PID to stop the backup.Use
iostat -x 1to observe disk activity. When running undernohup, progress output can be viewed usingcat nohup.out.For large archives and long-running backups,
rsynctypically provides better robustness and verification than simple copy commands.Step 3: Verify the Backup
After the backup has completed, it is important to verify that all files were copied successfully.
A practical and efficient way to do this is to run
rsyncin dry-run mode. This compares the source and destination and reports which files would still need to be copied, without making any changes:rsync -rltD --dry-run --ignore-existing /volume1/Archive/Bilder/ /volumeUSB1/usbshare/Bilder/ℹ️
--ignore-existingensures that rsync only reports what would be missing, without copying anything again.
ℹ️--dry-runmakes no changes.
ℹ️ This comparison checks file presence and timestamps, which is sufficient for most photo archives.For very large file sets, use
nohupso the verification is not interrupted by a disconnected terminal session:nohup rsync -rltD --dry-run --ignore-existing Bilder/ /volumeUSB1/usbshare/Bilder/ >verify.log 2>&1 &Additional quick sanity checks include comparing the number of files and the total size of both directories:
find Bilder -type f | wc -lfind /volumeUSB1/usbshare/Bilder -type f | wc -ldu -sb /volume1/Archive/Bilderdu -sb /volumeUSB1/usbshare/BilderSmall differences in reported size are normal, but large deviations should be investigated.
Finally, for a strict and exhaustive comparison, the
diffcommand can be used:diff -qr /volume1/Archive/Bilder /volumeUSB1/usbshare/Bilder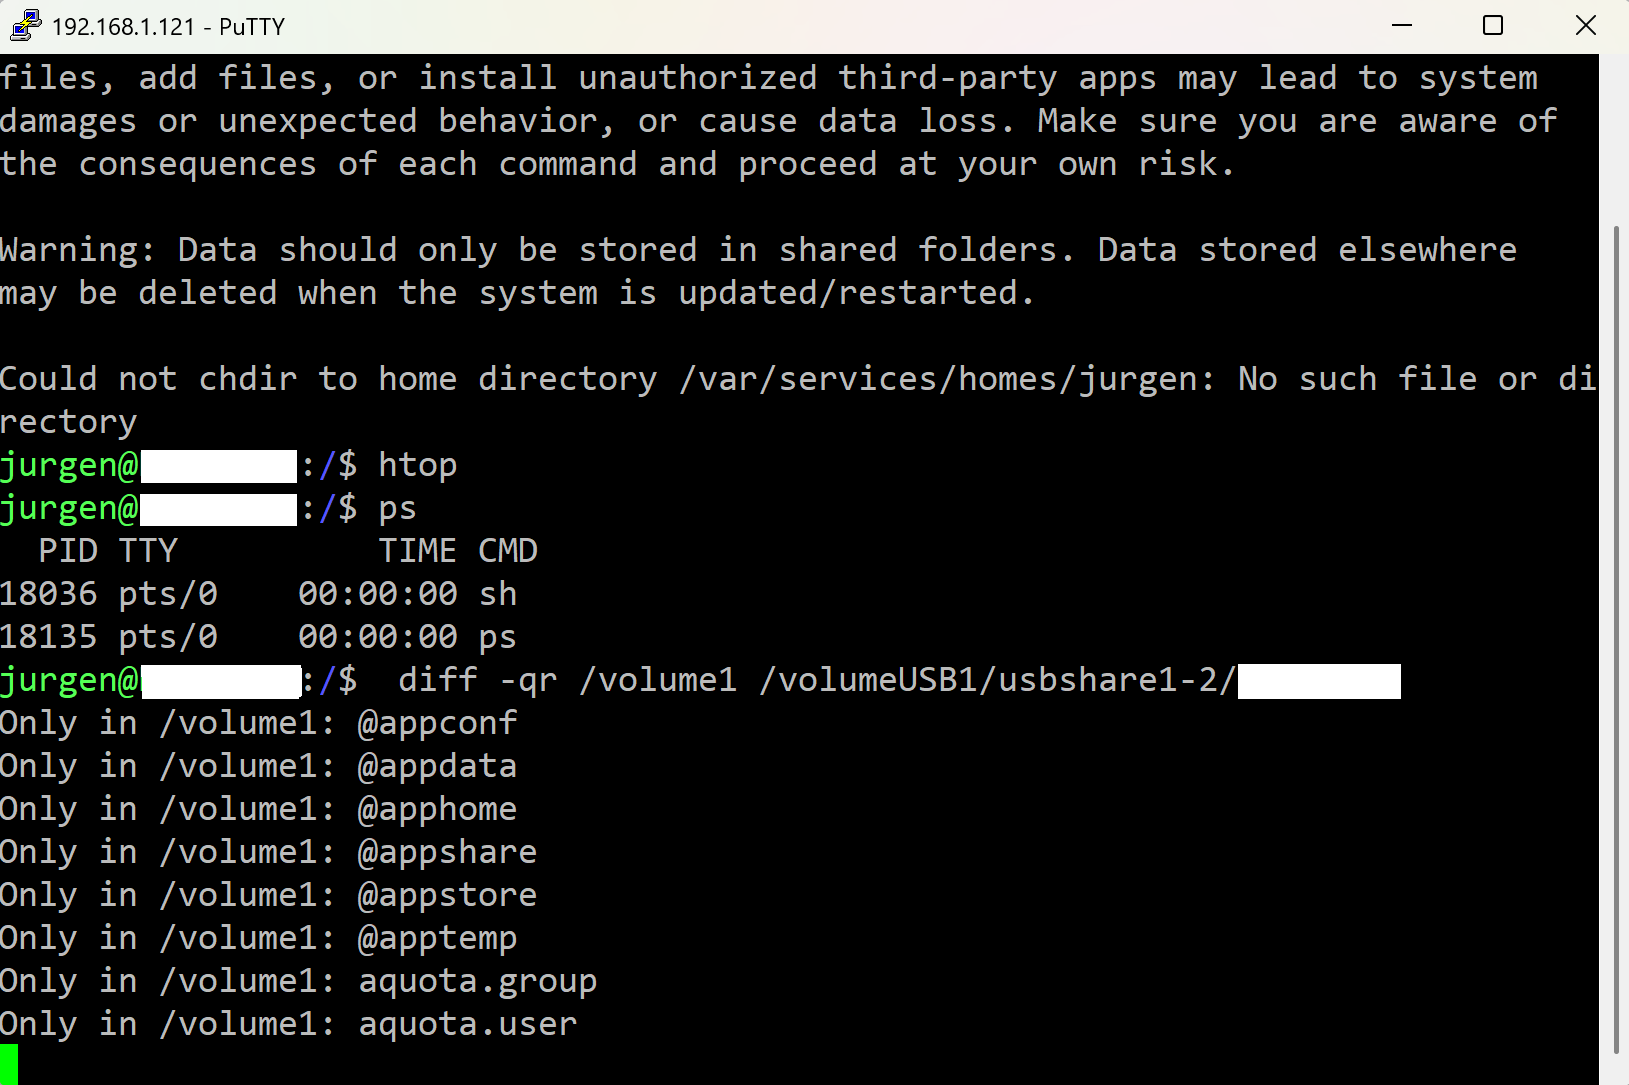
This performs a recursive comparison of the directory trees and may take a long time on large archives. For long-running checks, use
nohupand redirect the output to a file for later inspection.
My first digital camera was a Kodak DC-260, and I used 3.5" 💾 for backup.
-
00011001 << 1 🎂
Ein besonderer Tag, und dazu was besonderes.
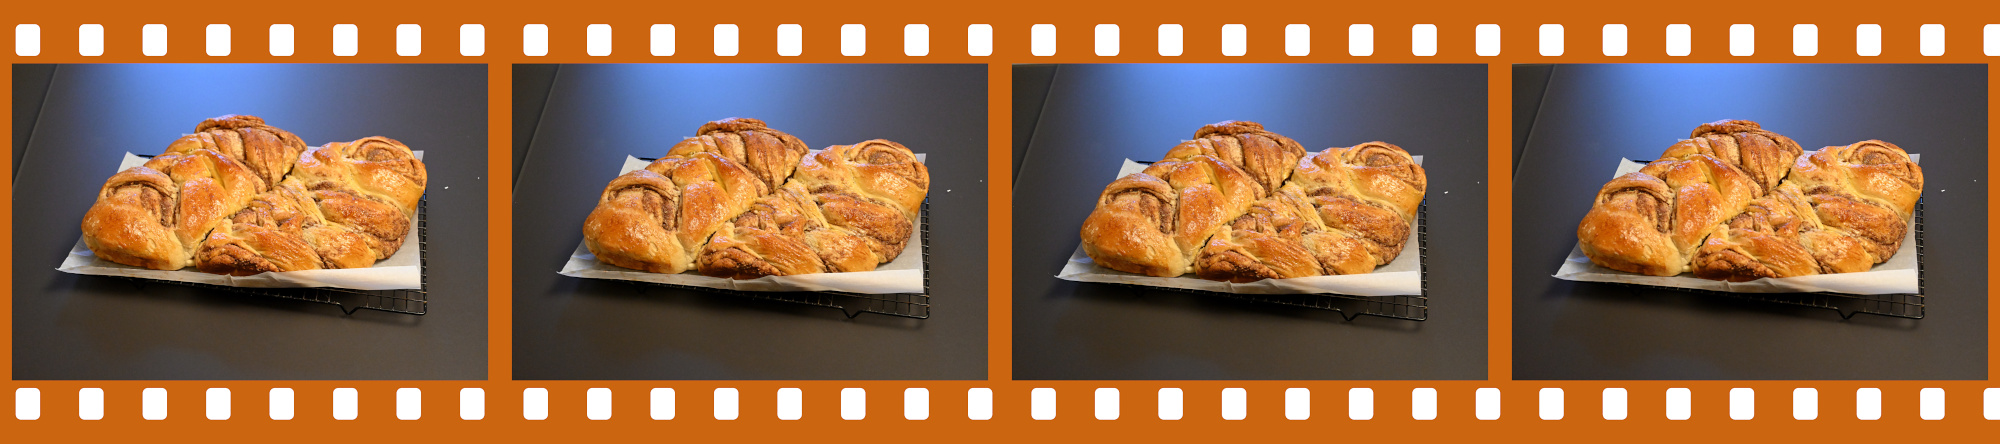
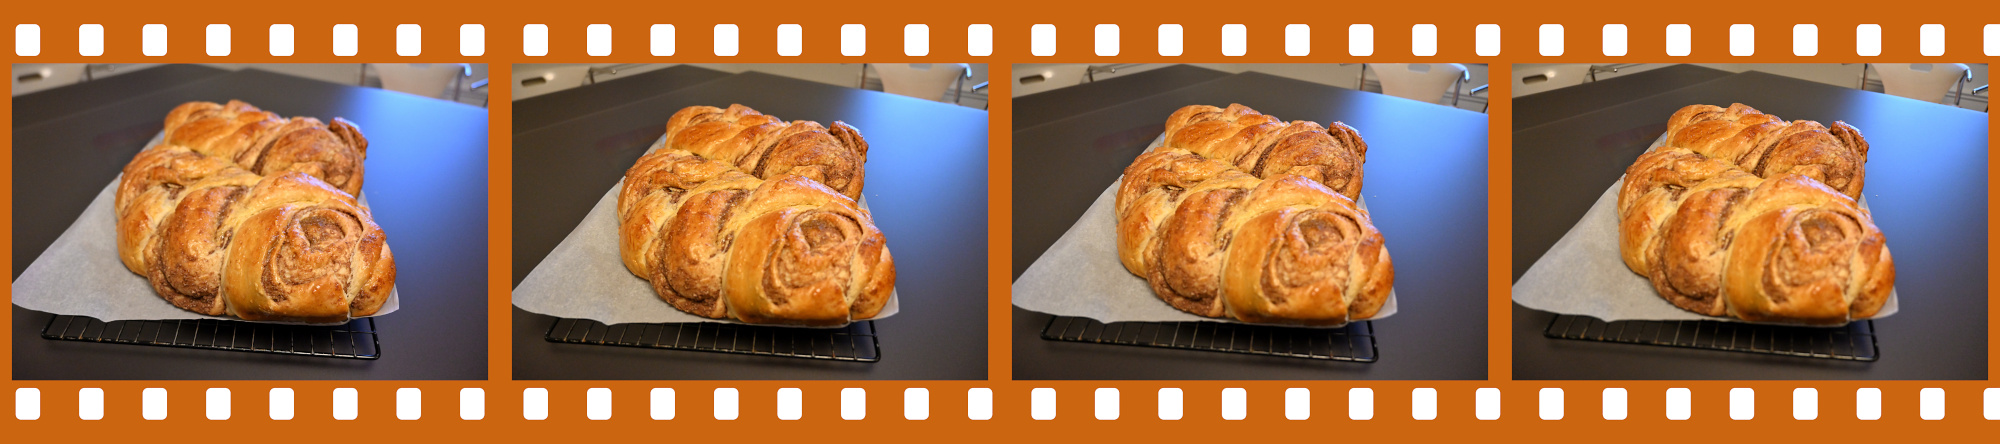
Zopf
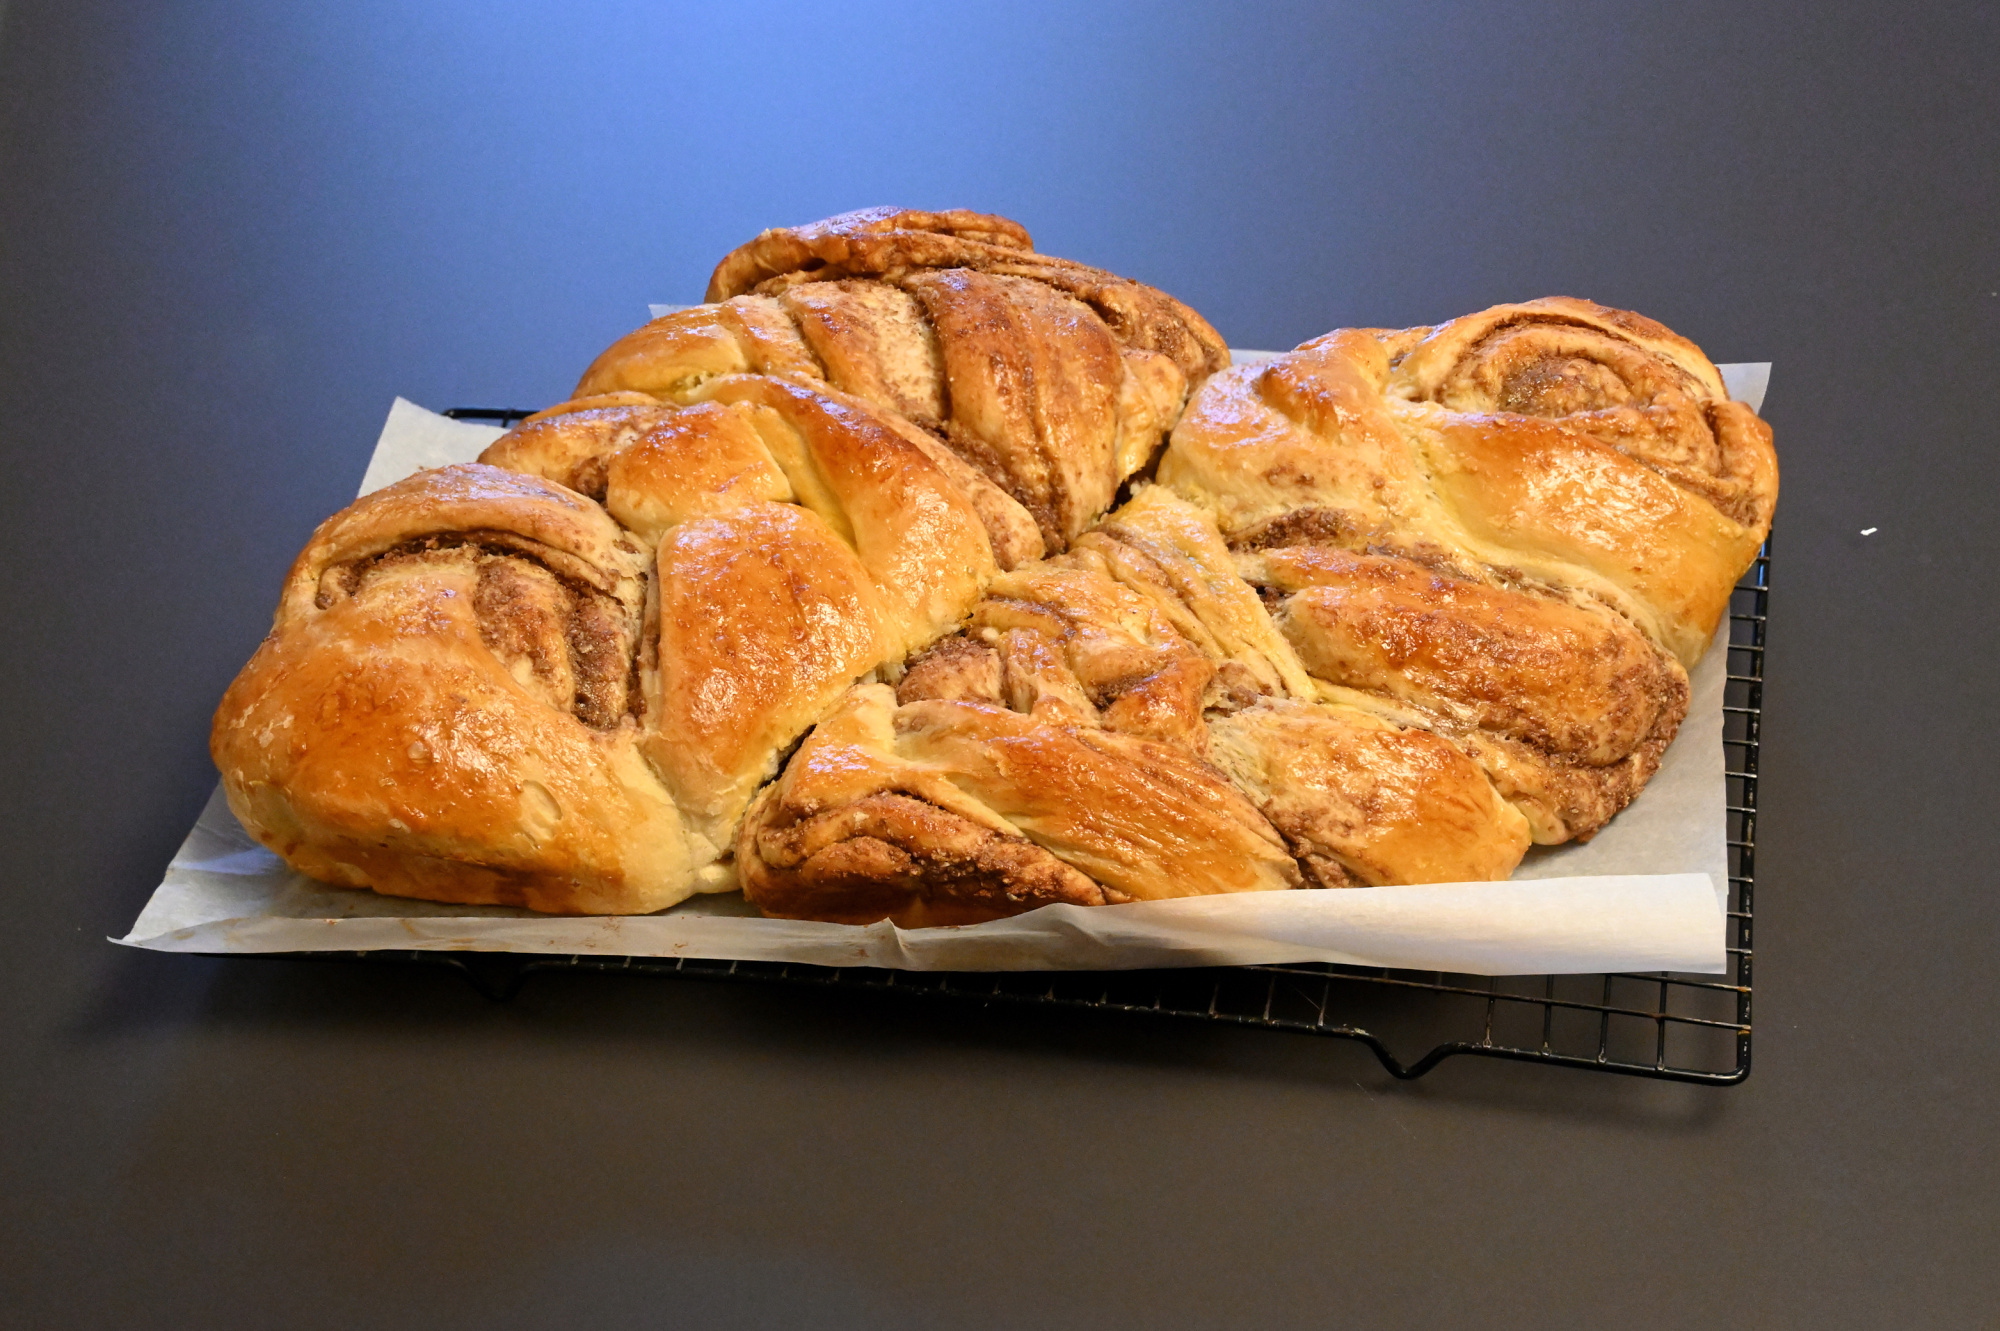
1/60s f/5 ISO 4000 16-50mm f/3,5-6,3 VR f=34mm/51mm
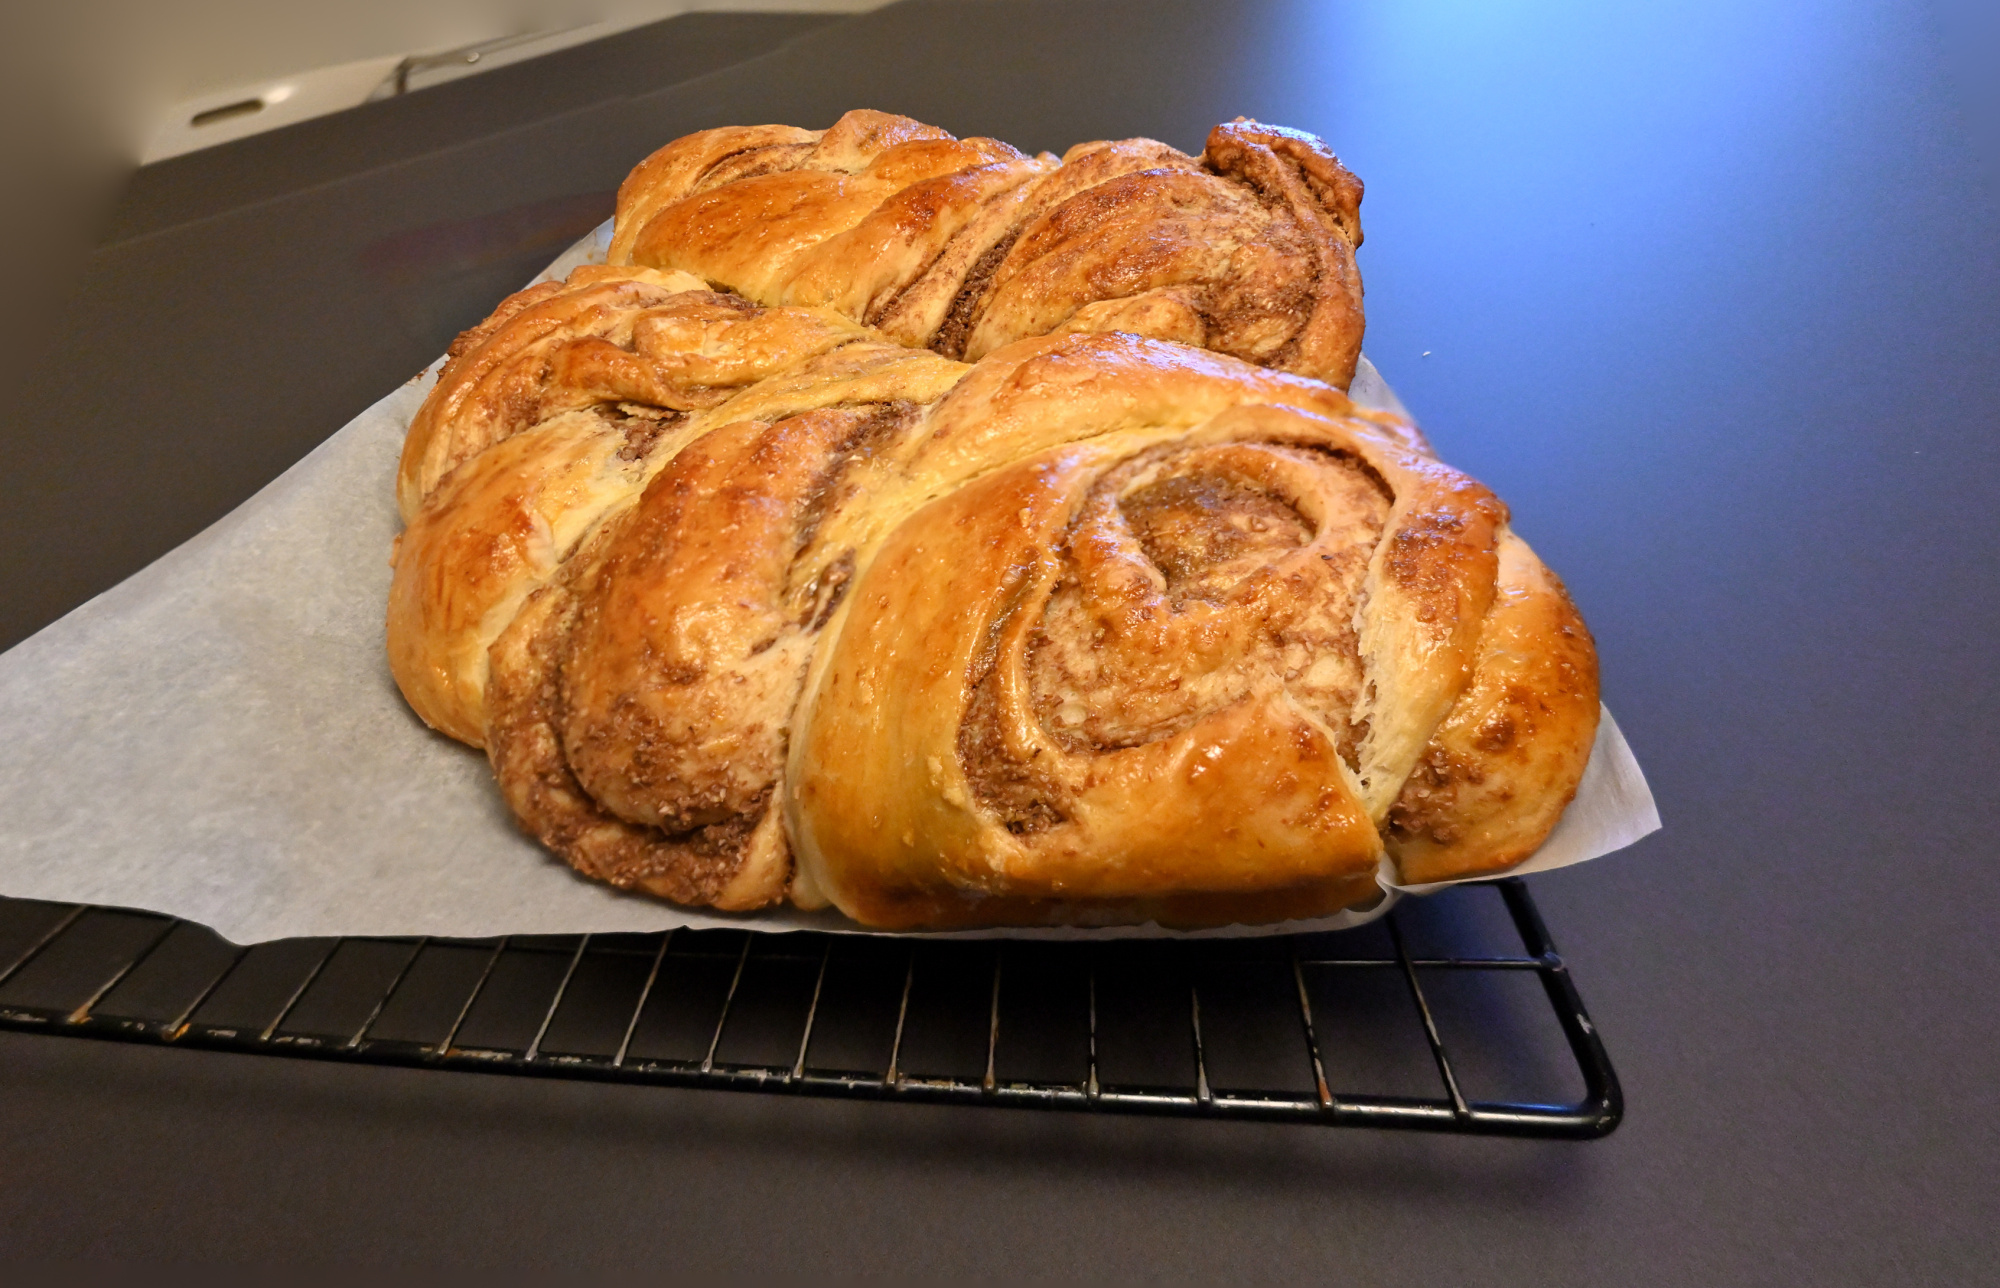
1/125s f/3,5 ISO 3200/36° 16-50mm f/3,5-6,3 VR f=16mm/24mm
Lagoon
Ohne Fokus-Stacking
1/80s f/4,8 ISO 3200/36° 16-50mm f/3,5-6,3 VR f=30mm/45mm

Mit Fokus-Stacking

1/80s f/4,5 ISO 3200/36° 16-50mm f/3,5-6,3 VR f=26mm/39mm

Siehe Combine pictures with PTGui, Focus stacking
Schokoladentorte
[1/60s f/4 ISO 100/21° 16-50mm f/3,5-6,3 VR f=21mm/31mm] [1/100s f/4,2 ISO 3200/36° 16-50mm f/3,5-6,3 VR f=25mm/37mm]

-
Birnen-Tart 🥧
Frisch aus dem Ofen
1/60s f/7,1 ISO 200/24° 16-50mm f/3,5-6,3 VR f=21mm/32mm

Fokus-Stacking, 1/125s f/5 ISO 200/24° 16-50mm f/3,5-6,3 VR f=30mm/45mm

In Bearbeitung

Fokus-Stacking, 1/125s f/5 ISO 200/24° 16-50mm f/3,5-6,3 VR f=30mm/45mm

Kaffeezeit

Ohne Fokus-Stacking

Fokus-Stacking, 1/60s f/5 ISO 250 16-50mm f/3,5-6,3 VR f=30mm/45mm

Siehe auch Combine pictures with PTGui, Focus stacking.
-
Minestrone 🍲
Besser geht's nicht. Auch mit dem Fokus-Stacking.

Dieses Bild wurde aus zwei Aufnahmen erstellt, die aus unterschiedlichen Blickwinkeln, Brennweiten und Entfernungen gemacht wurden.
Die Schritte mit PTGui sind einfach:
- automatisch Kontrollpunkte erstellen lassen, und alle Kontrollpunkte außerhalb des interessanten Bereiches (Tellers) entfernen
- ohne parameter a, b und c optimieren, also nur Blickwinkel und Gier-, Nick- und Rollwinkel, damit werden die verschiedenen Brennweiten automatisch erkannt und korrekt zusammengefügt

Die Bereiche in Fokus zur Verwendung grün malen (rote Bereiche dagegen werden ausgeschlossen):

Dadurch werden nur die jeweils scharf abgebildeten Bereiche verwendet:

Siehe Combine pictures with PTGui, Focus stacking
[1/60s f/4,8 ISO 100/21° 16-50mm f/3,5-6,3 VR f=30mm/45mm] [1/60s f/5 ISO 100/21° 16-50mm f/3,5-6,3 VR f=31mm/47mm]
#FF6347 RGB(255,99,71)
[1/60s f/5,3 ISO 250 16-50mm f/3,5-6,3 VR f=36mm/54mm] [1/60s f/5,6 ISO 250 16-50mm f/3,5-6,3 VR f=38mm/57mm]

Vor dem Teller
Alles vorbereitet. Fast zu ordentlich für etwas, das gleich im Topf verschwindet.
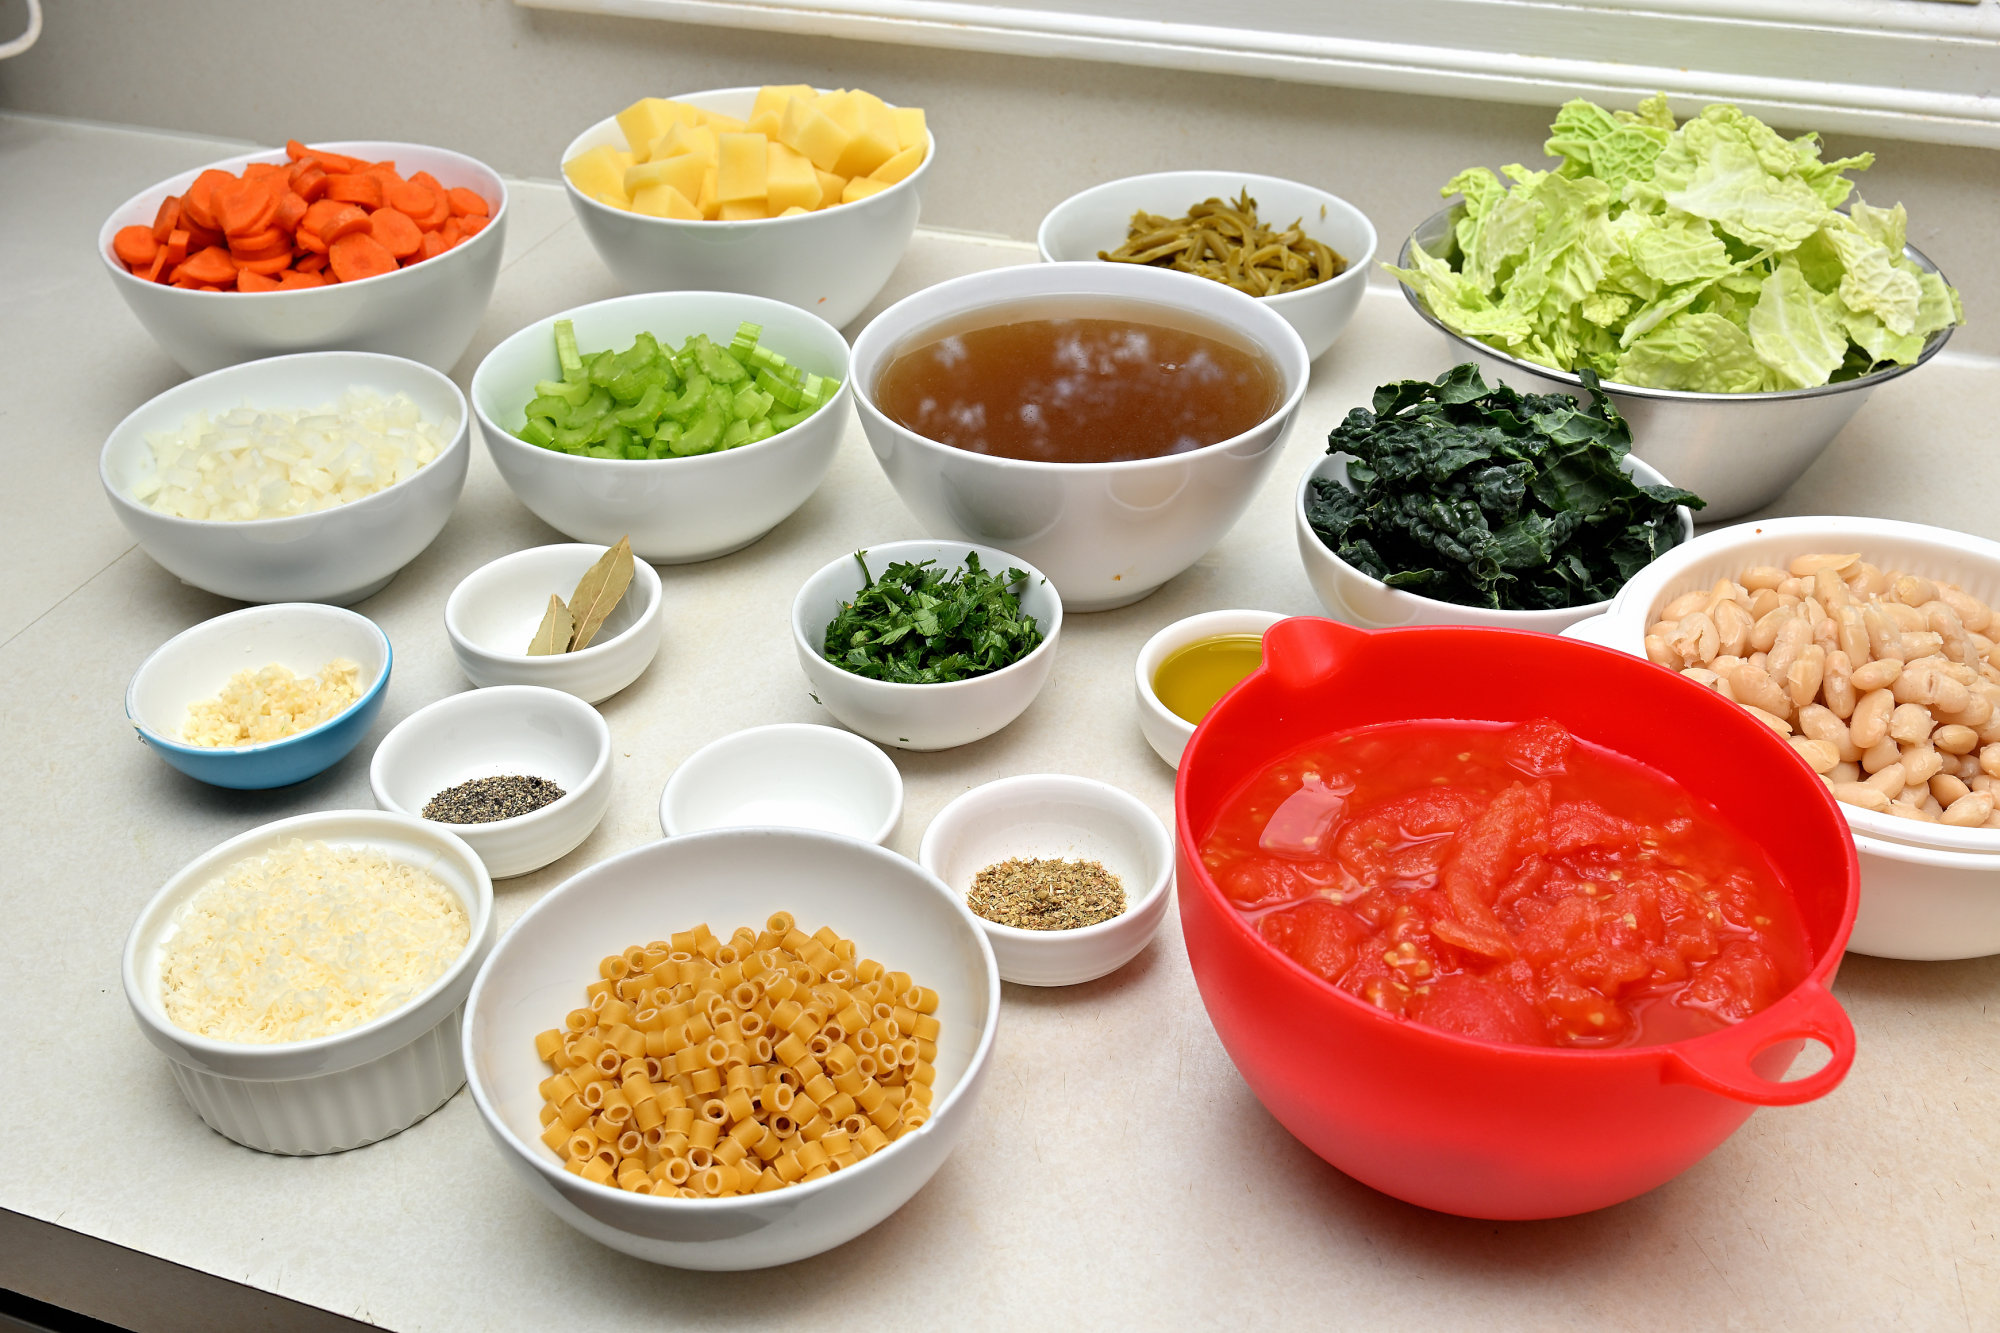
Gute Zutaten, kurz umgerührt. So beginnt Minestrone.
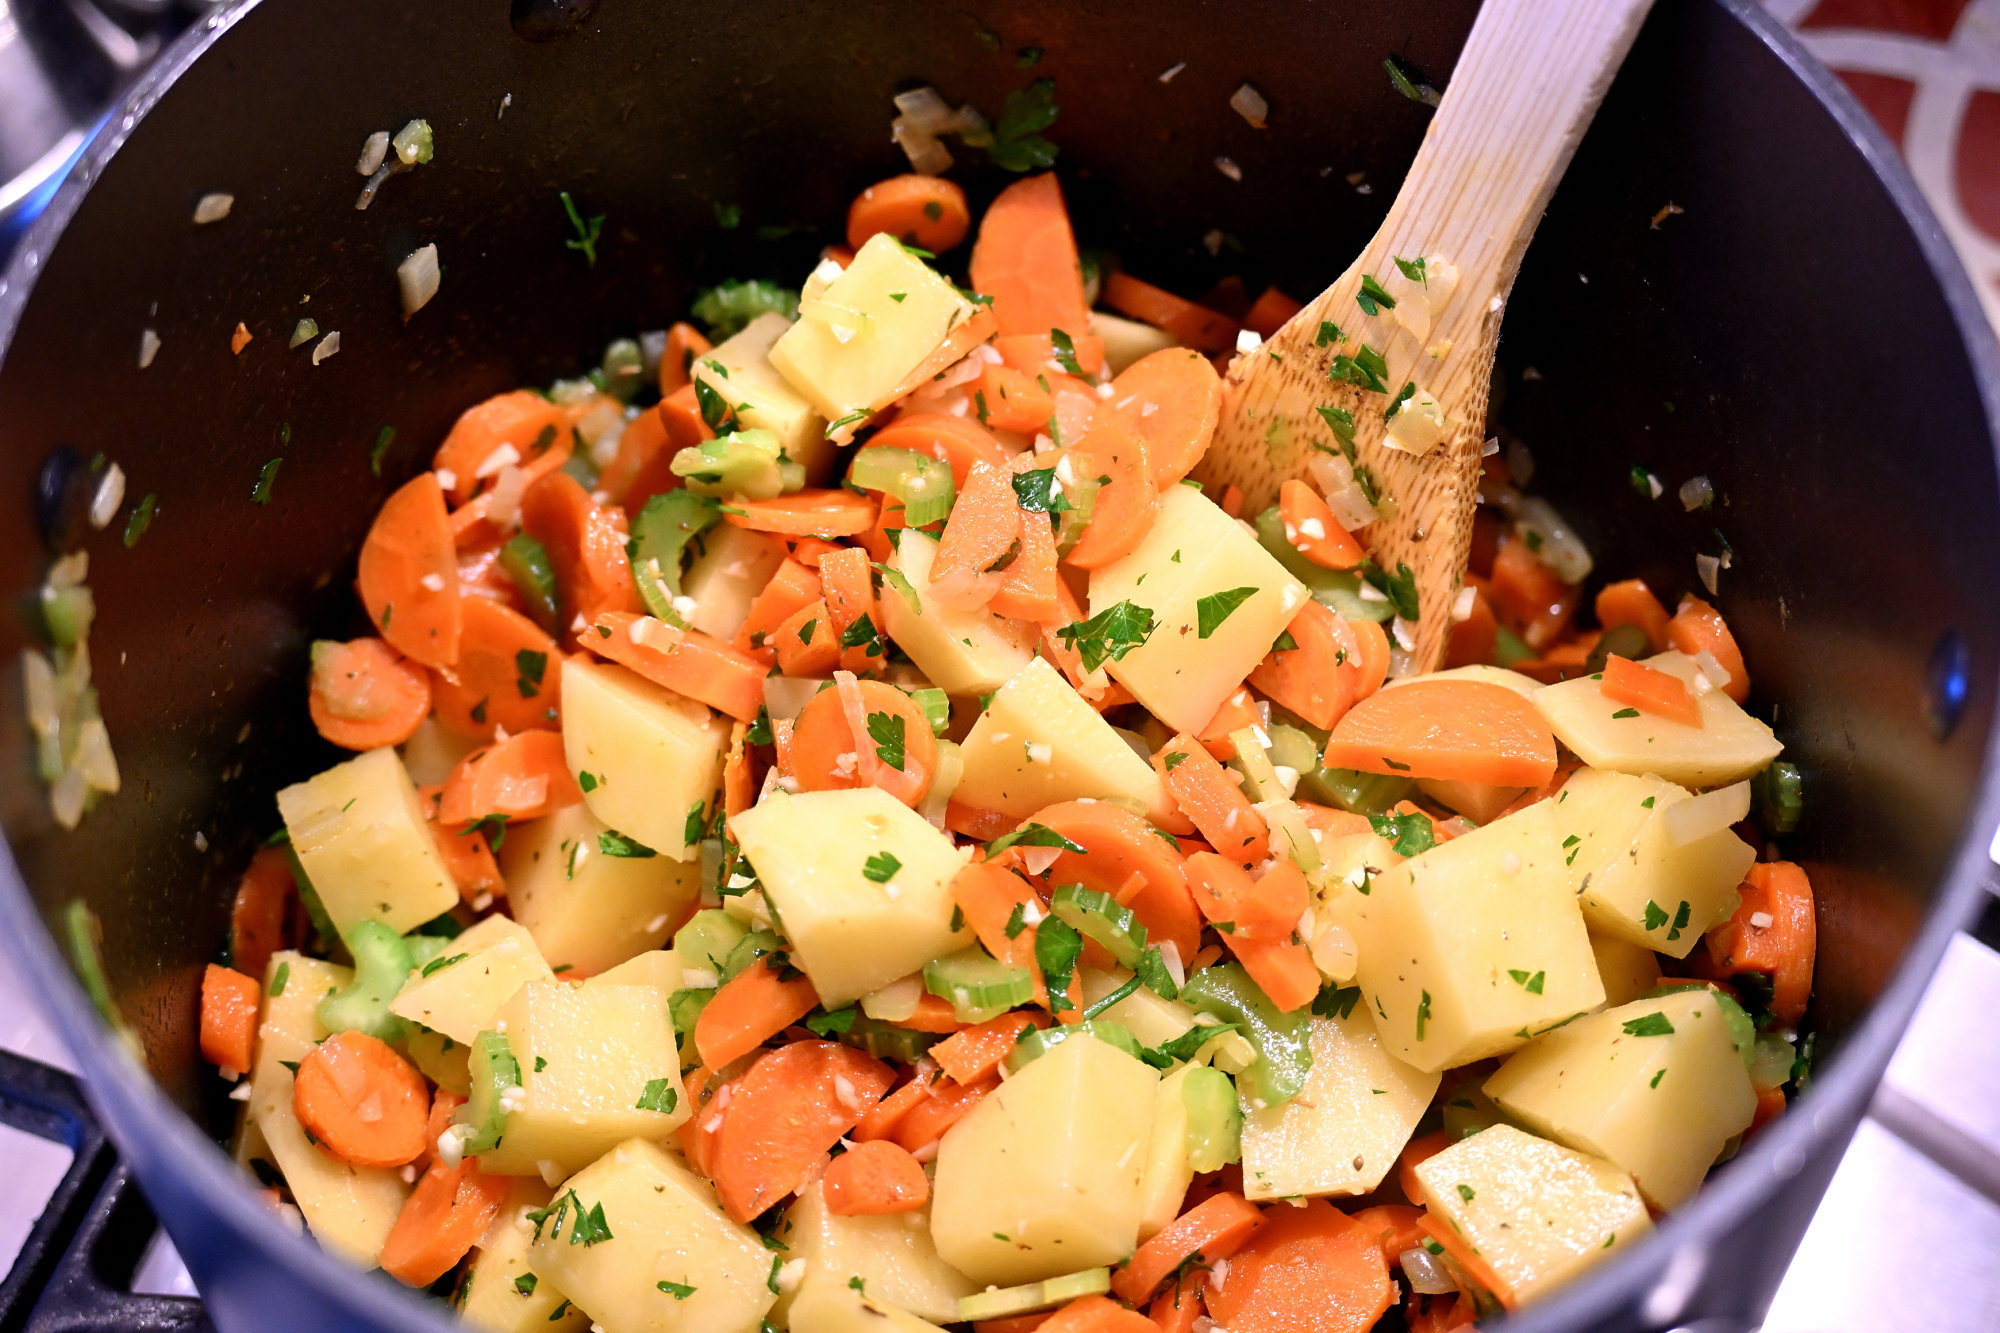
Alles ist drin. Jetzt wird aus Arbeit langsam Geschmack.