A New View for a Security Camera: Swapping the Lens
Sometimes seeing more is not the same as seeing better. A wide camera view is useful when you want to monitor a large area, but it can make distant details look small.
For my AREDN project, I wanted to give an existing Reolink RLC-510A a more focused view. It is an outdoor camera that can be accessed easily over HTTP and works without cloud services. Its fixed 4 mm lens covers about 80 degrees horizontally, which is wider than I need.
The camera uses a standard board with an M12 lens mount. For this project, I used a 12 mm replacement lens. 12 mm lenses are available in different quality levels. The inexpensive versions are mainly suitable for daytime use and have limited optical quality1. Higher-quality lenses are available from manufacturers such as Commonlands. Make sure that any replacement lens does not have an IR filter, because the Reolink camera already has one. This focal length was ideal for my project. After the swap, the horizontal field of view changed from about 80 degrees to about 28 degrees.
The following example images show the difference between the original 4 mm lens and the narrower view provided by the 12 mm lens.


Opening the Camera Housing
To access the lens, remove the three screws on the back of the housing. The front cover can then be removed to expose the lens board.
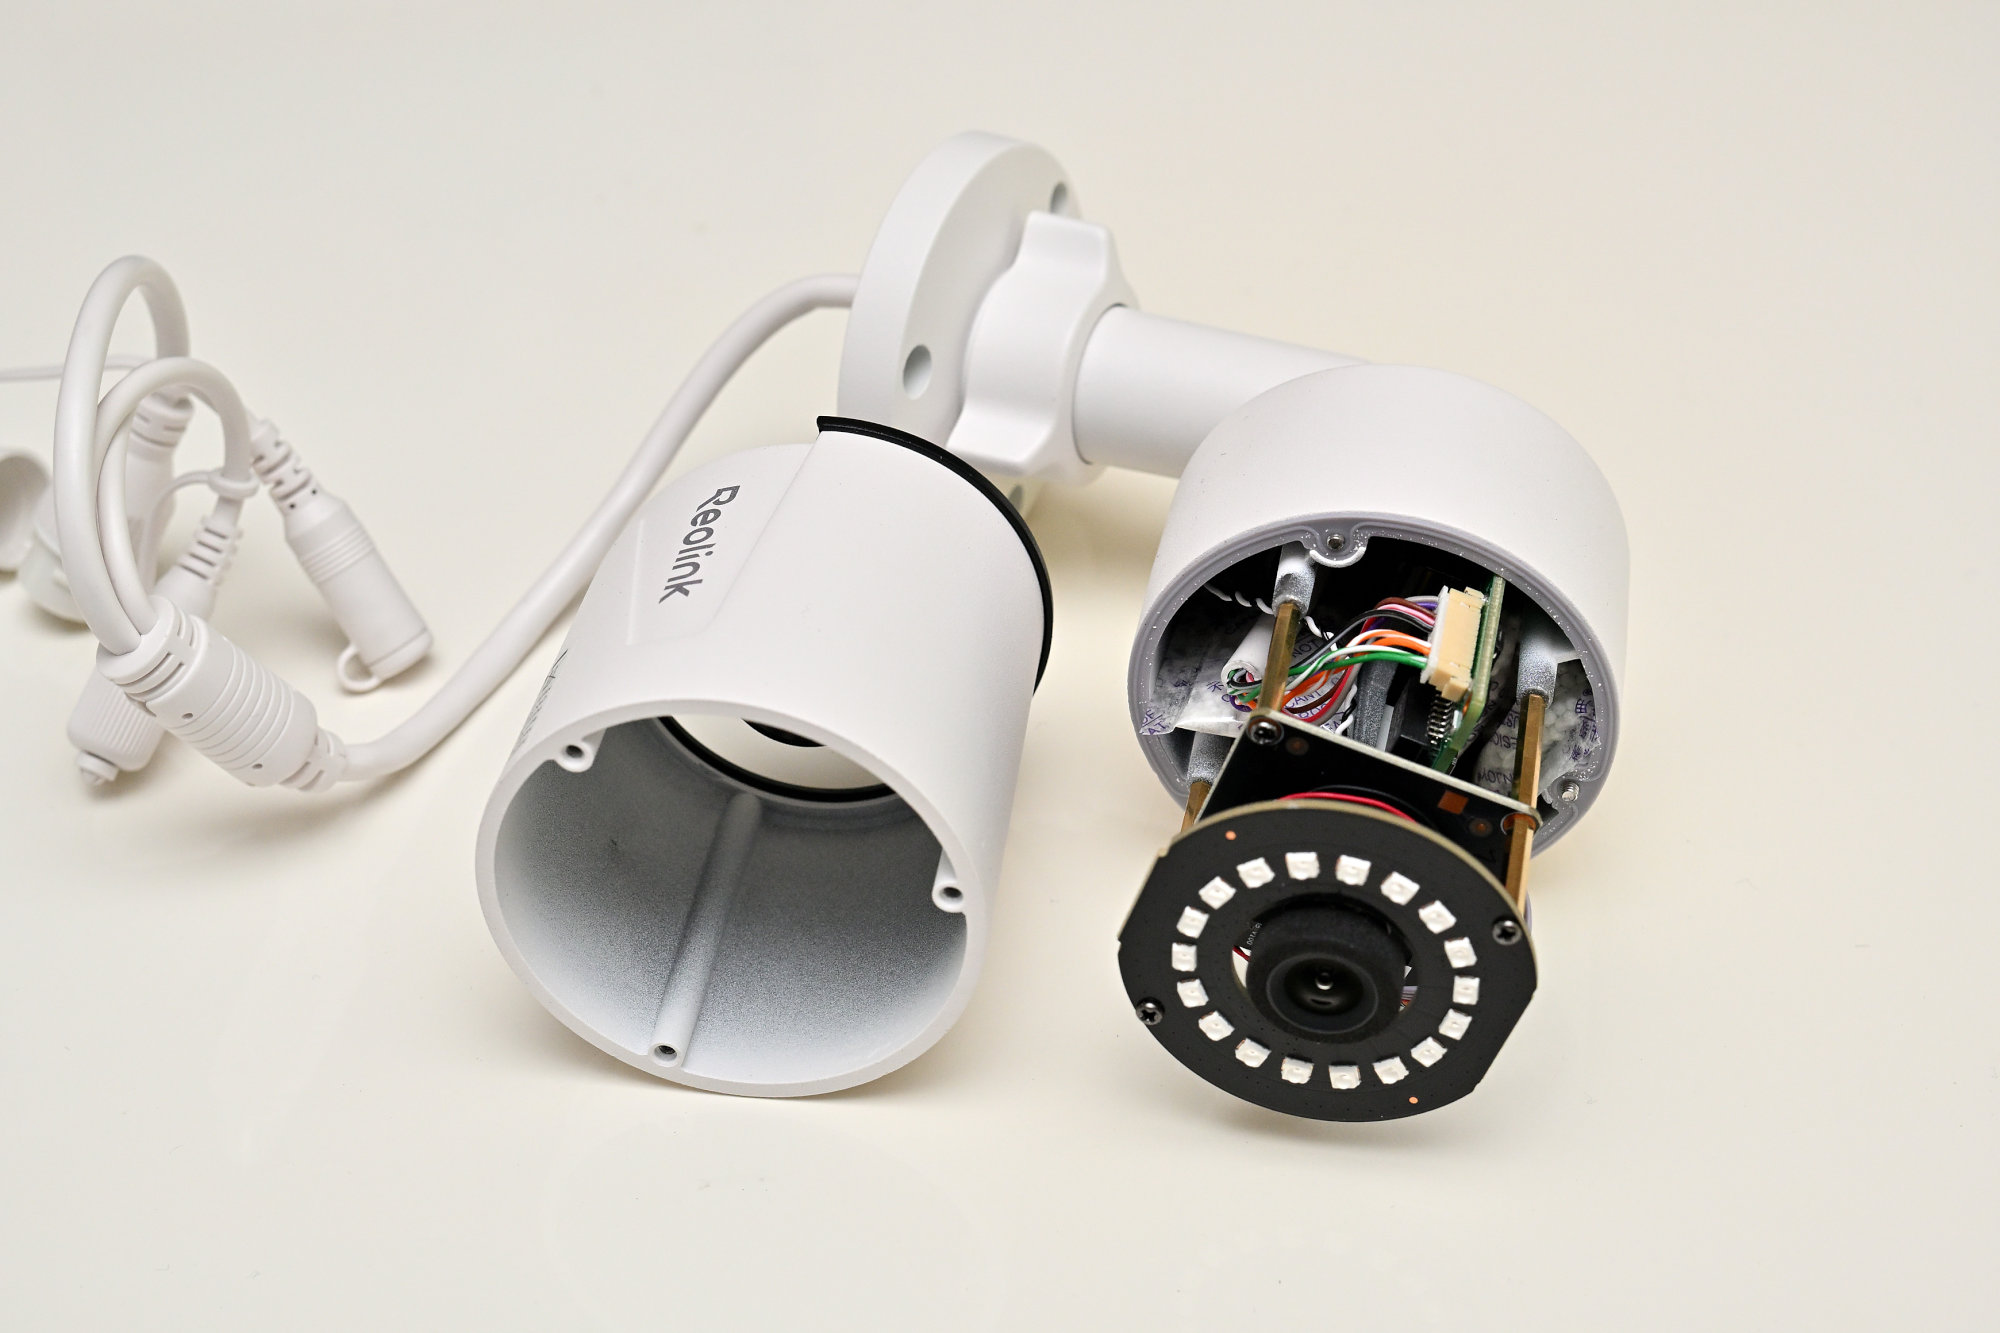
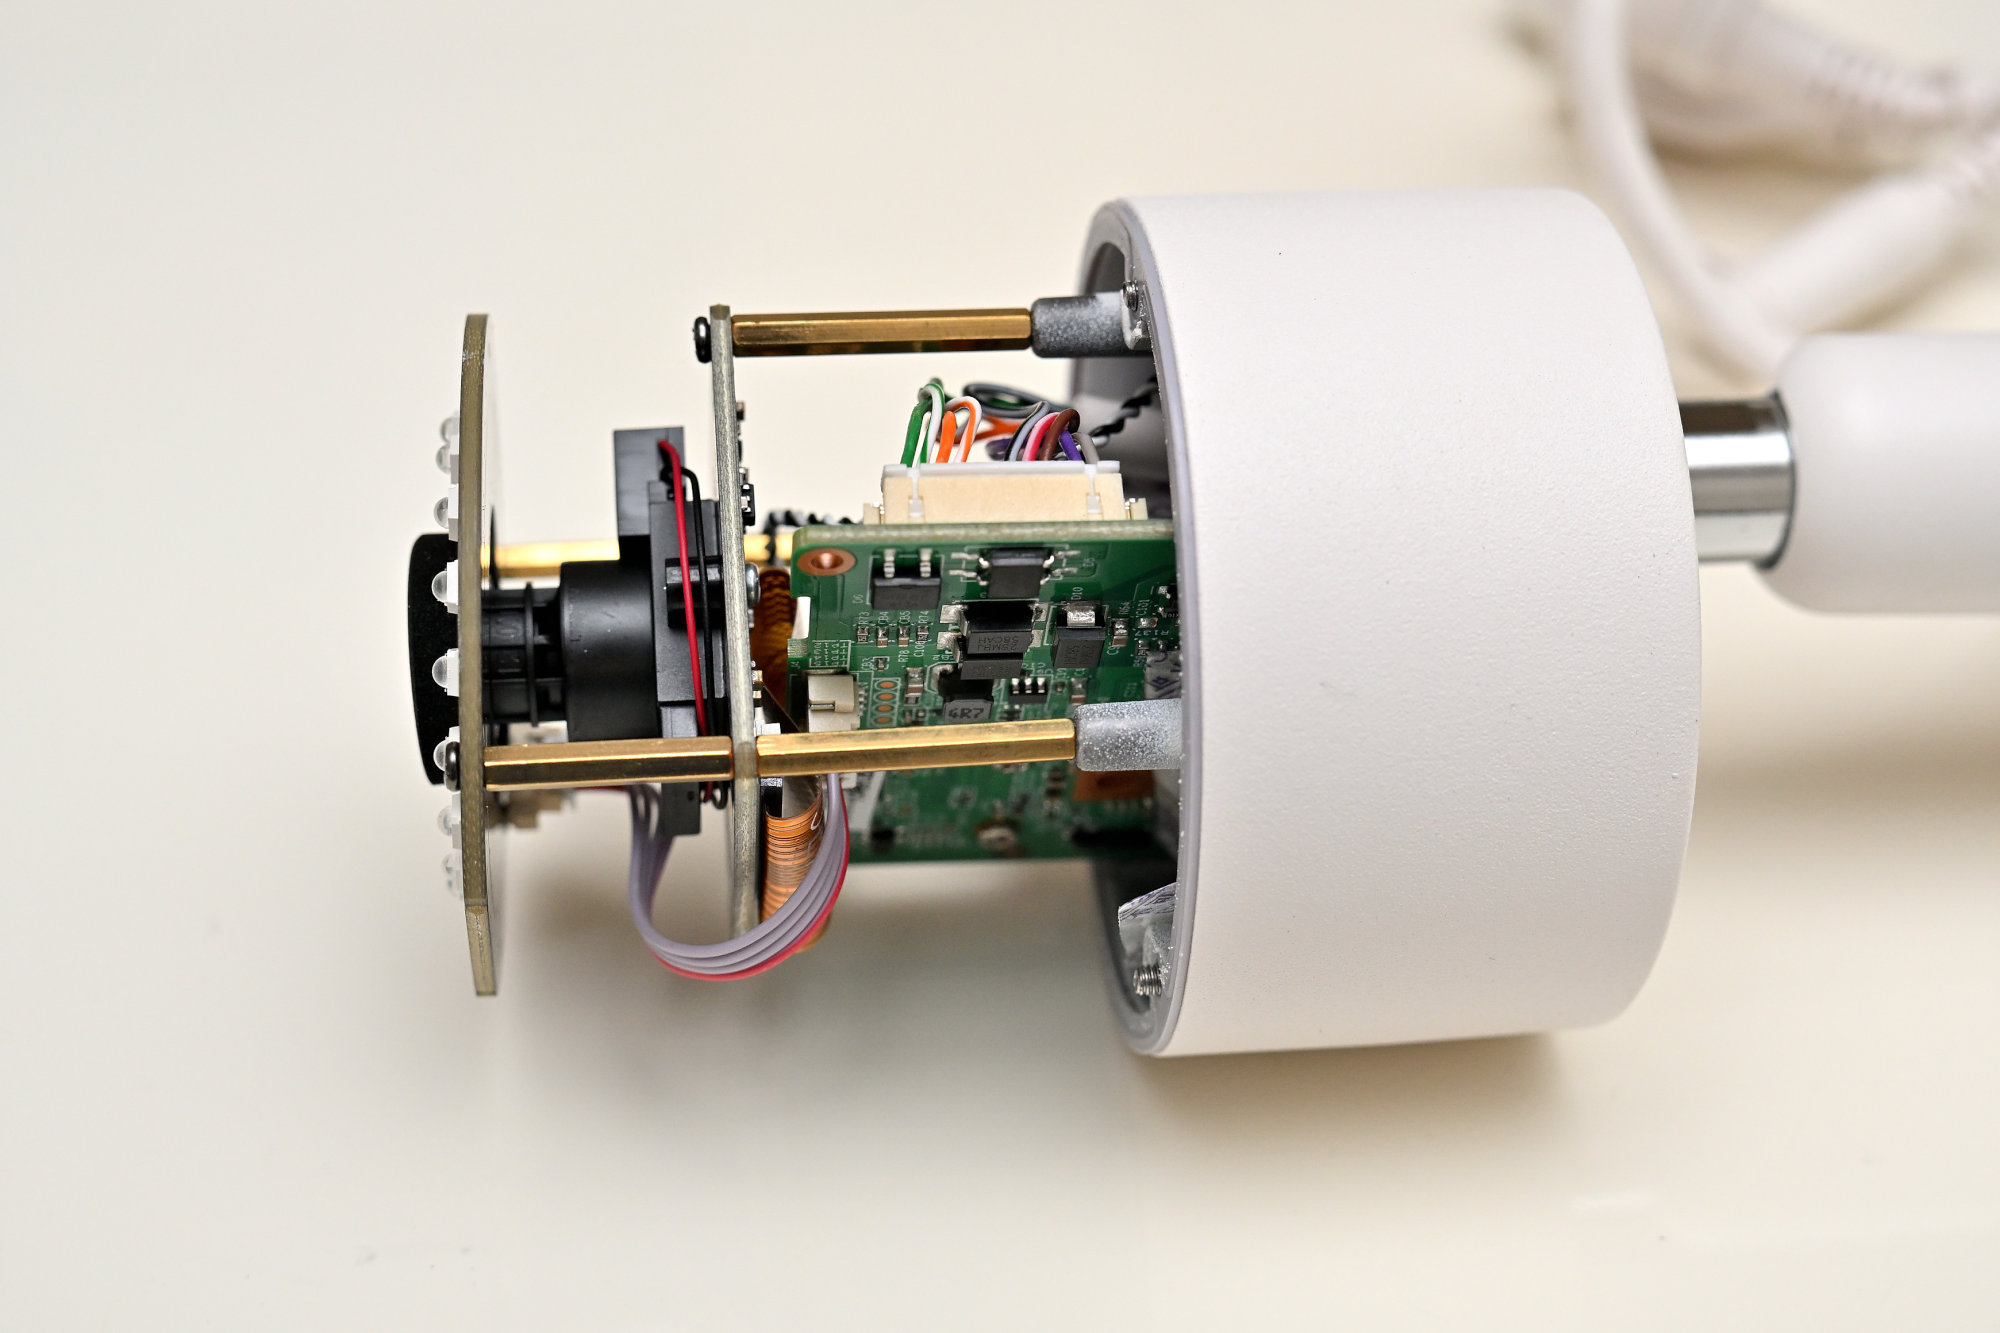
Unplug the IR board connector, then remove the board by unscrewing it.
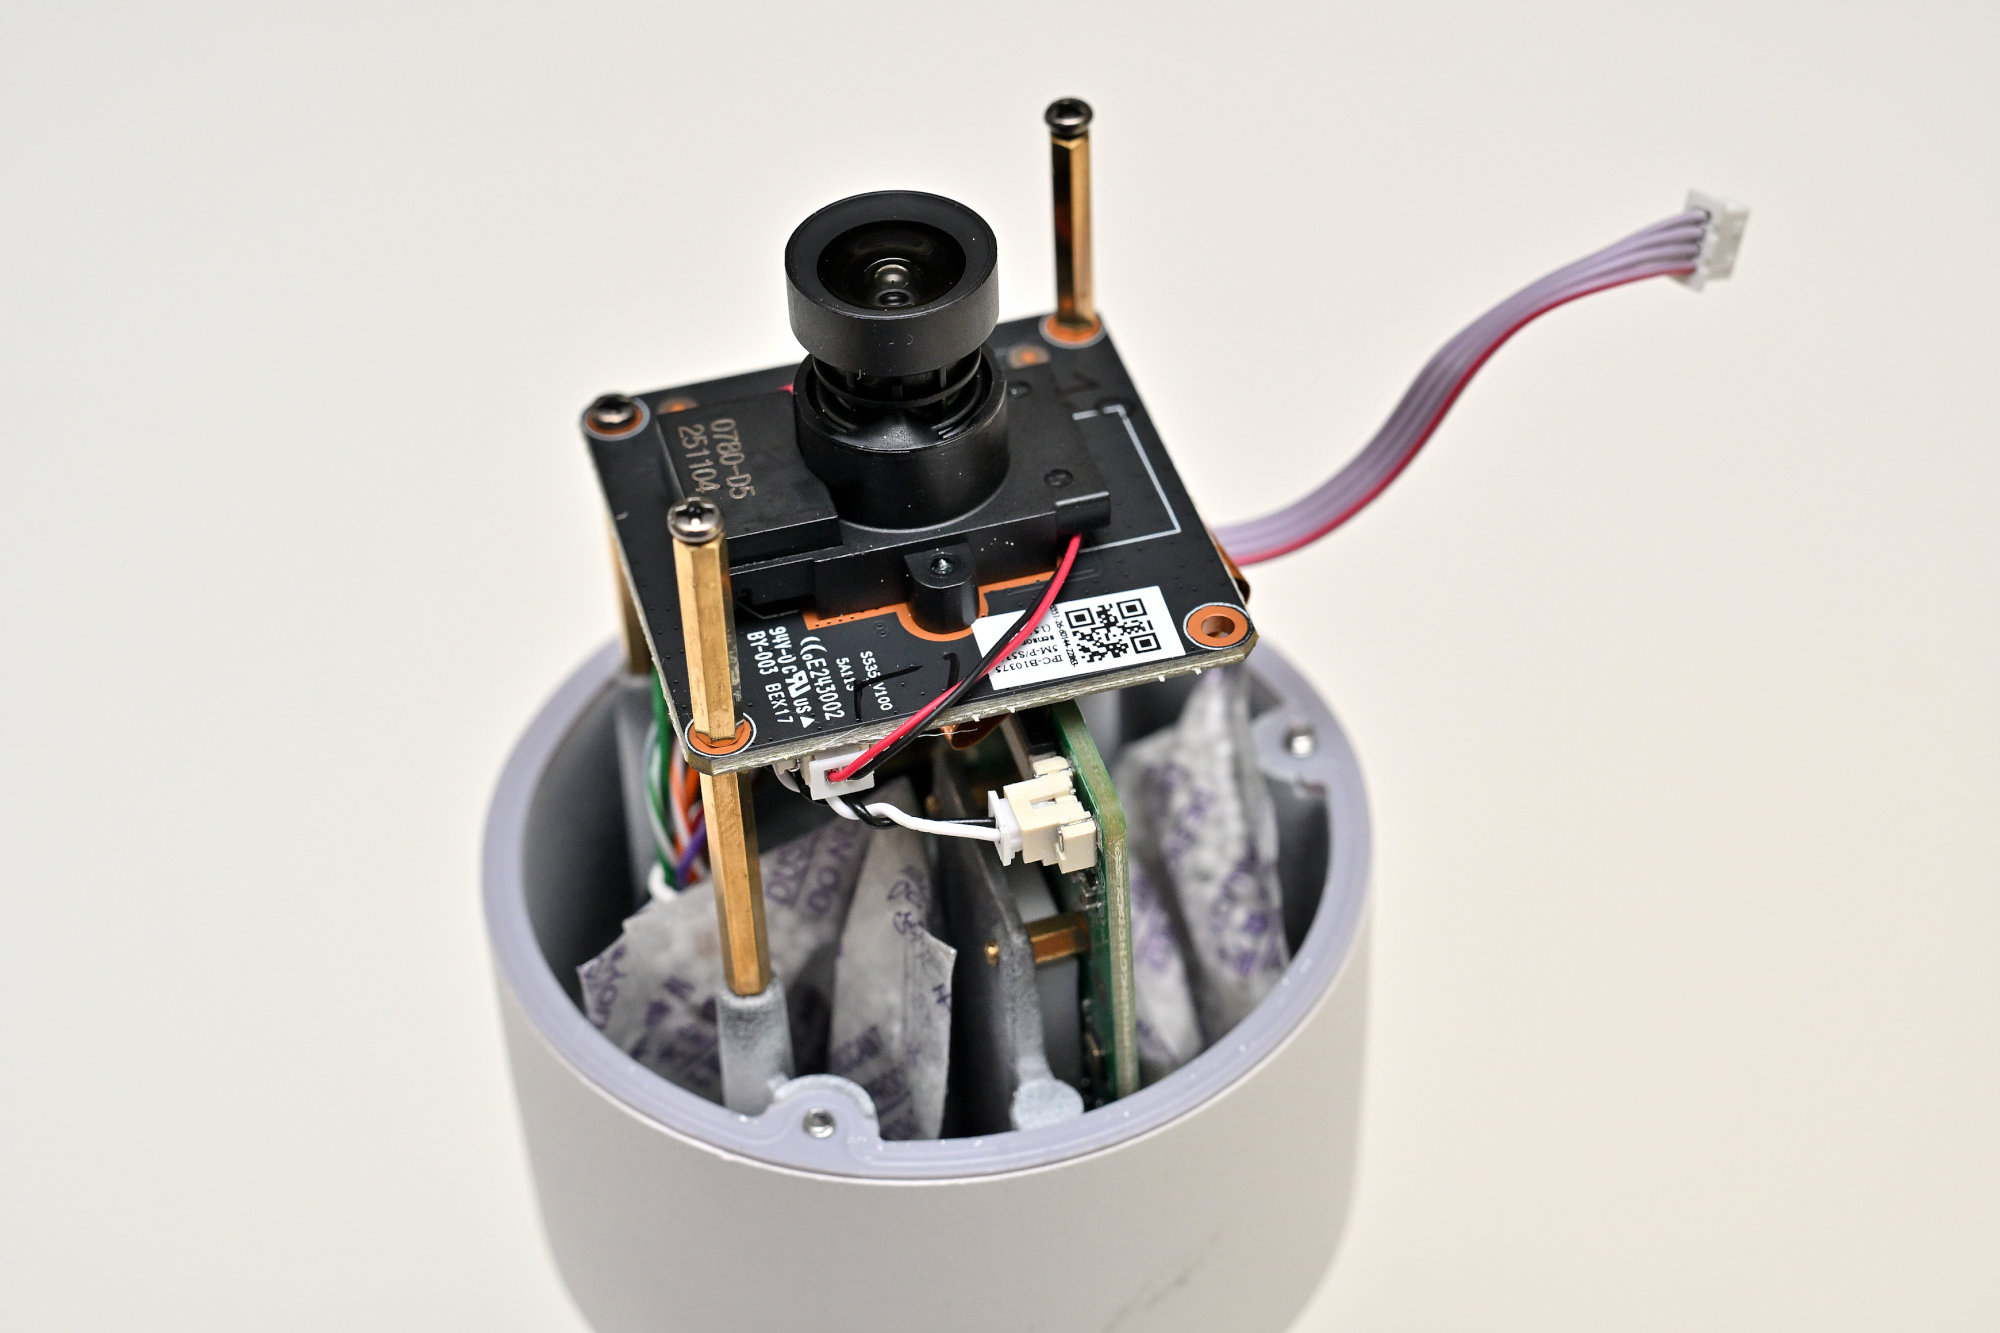
Removing the Factory Glue
The original lens is secured with a hard factory adhesive. The lens mount is made of ABS plastic, so acetone and other harsh chemicals are not suitable. They can melt the plastic threads.
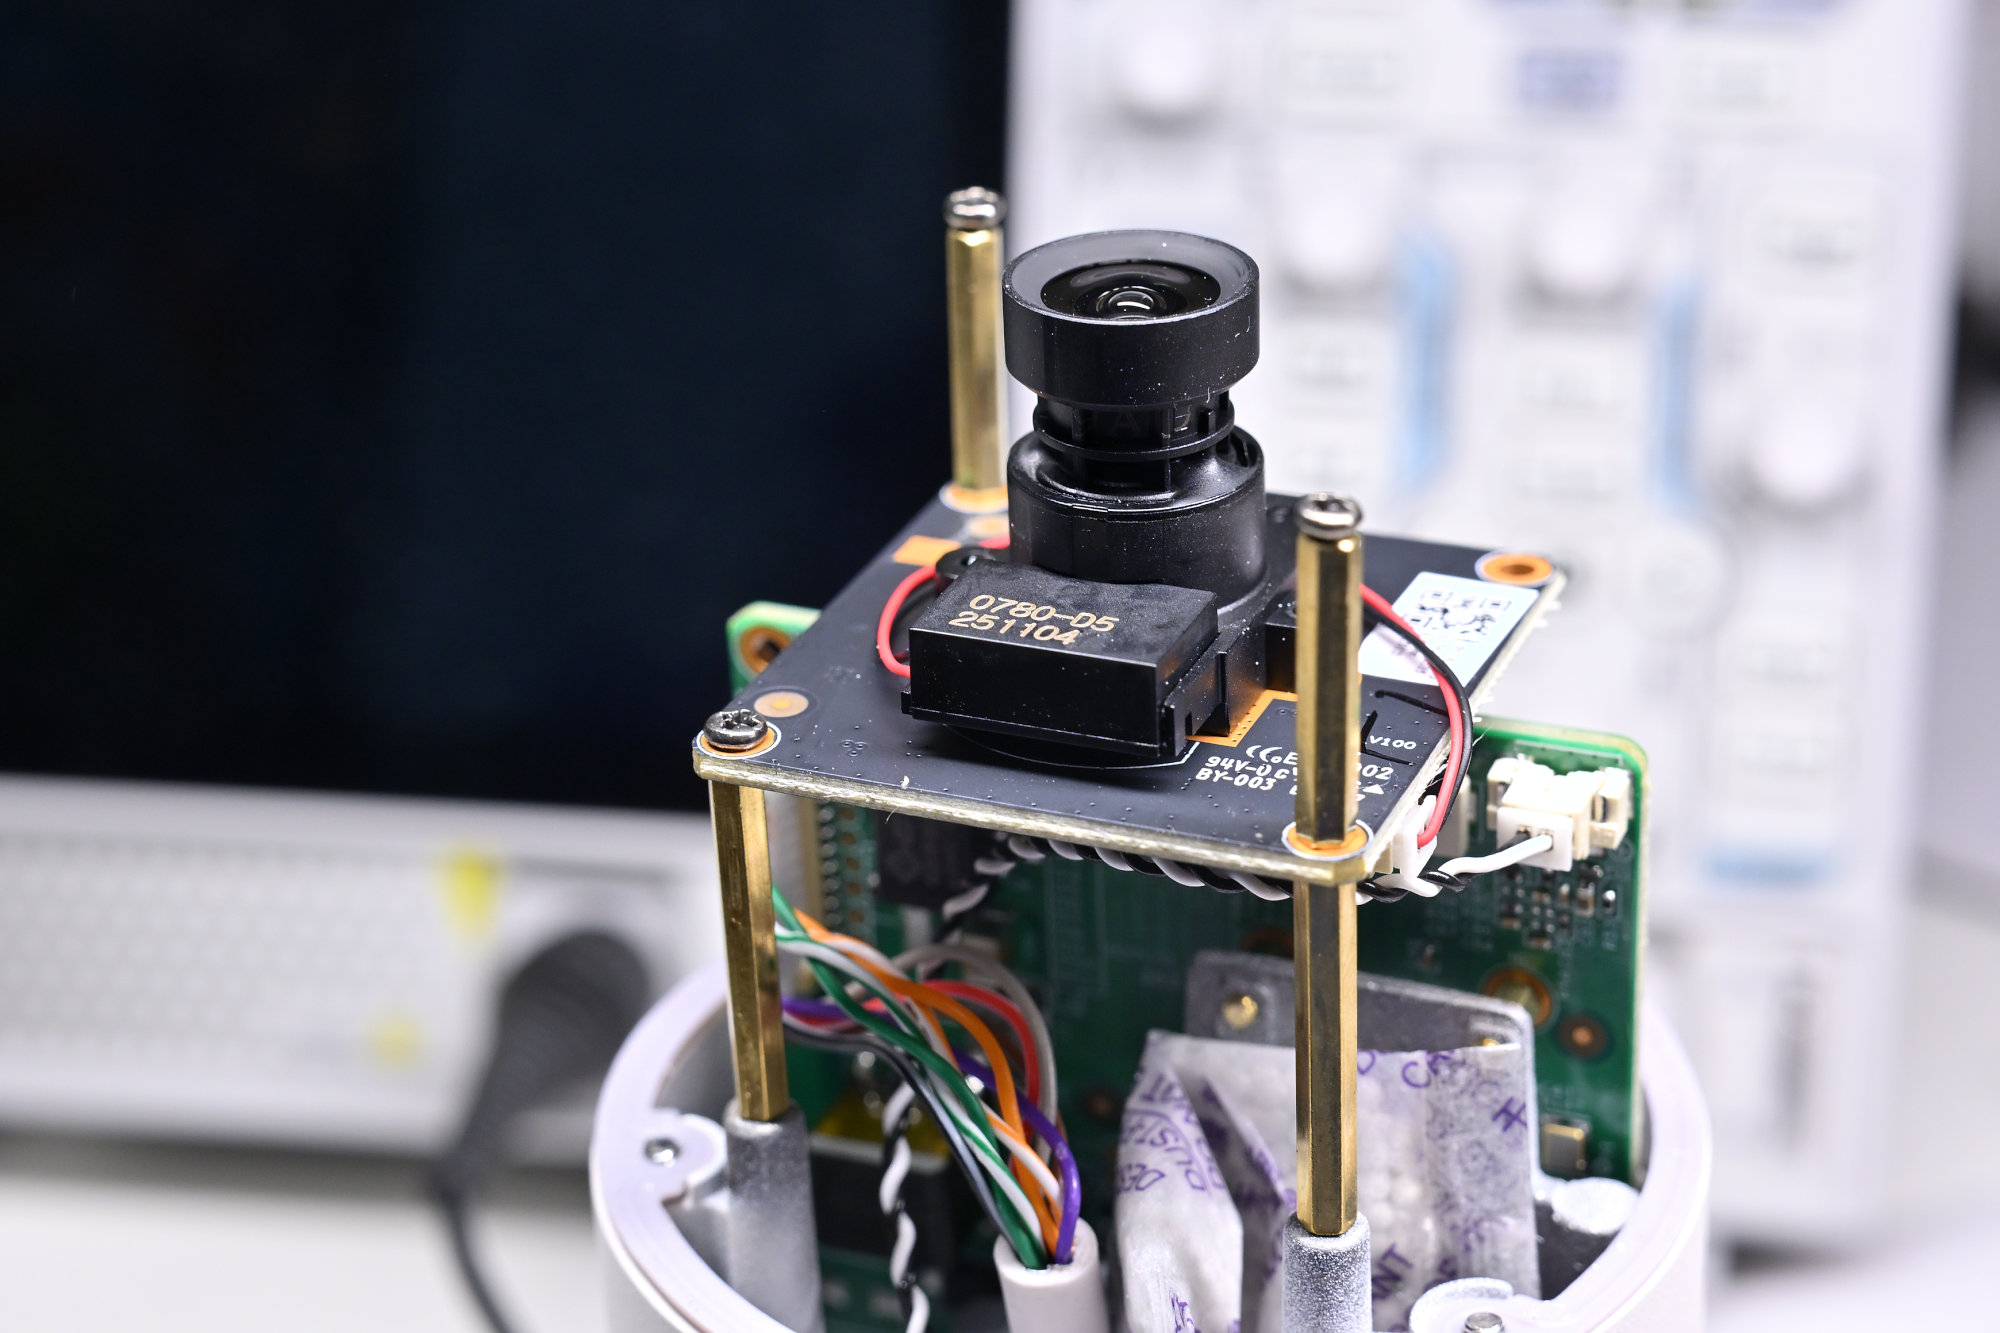
The safest approach is to remove the adhesive without using chemicals. Use a sharp knife to carefully scrape and lift it away from the lens mount. Take your time and avoid cutting into the plastic.
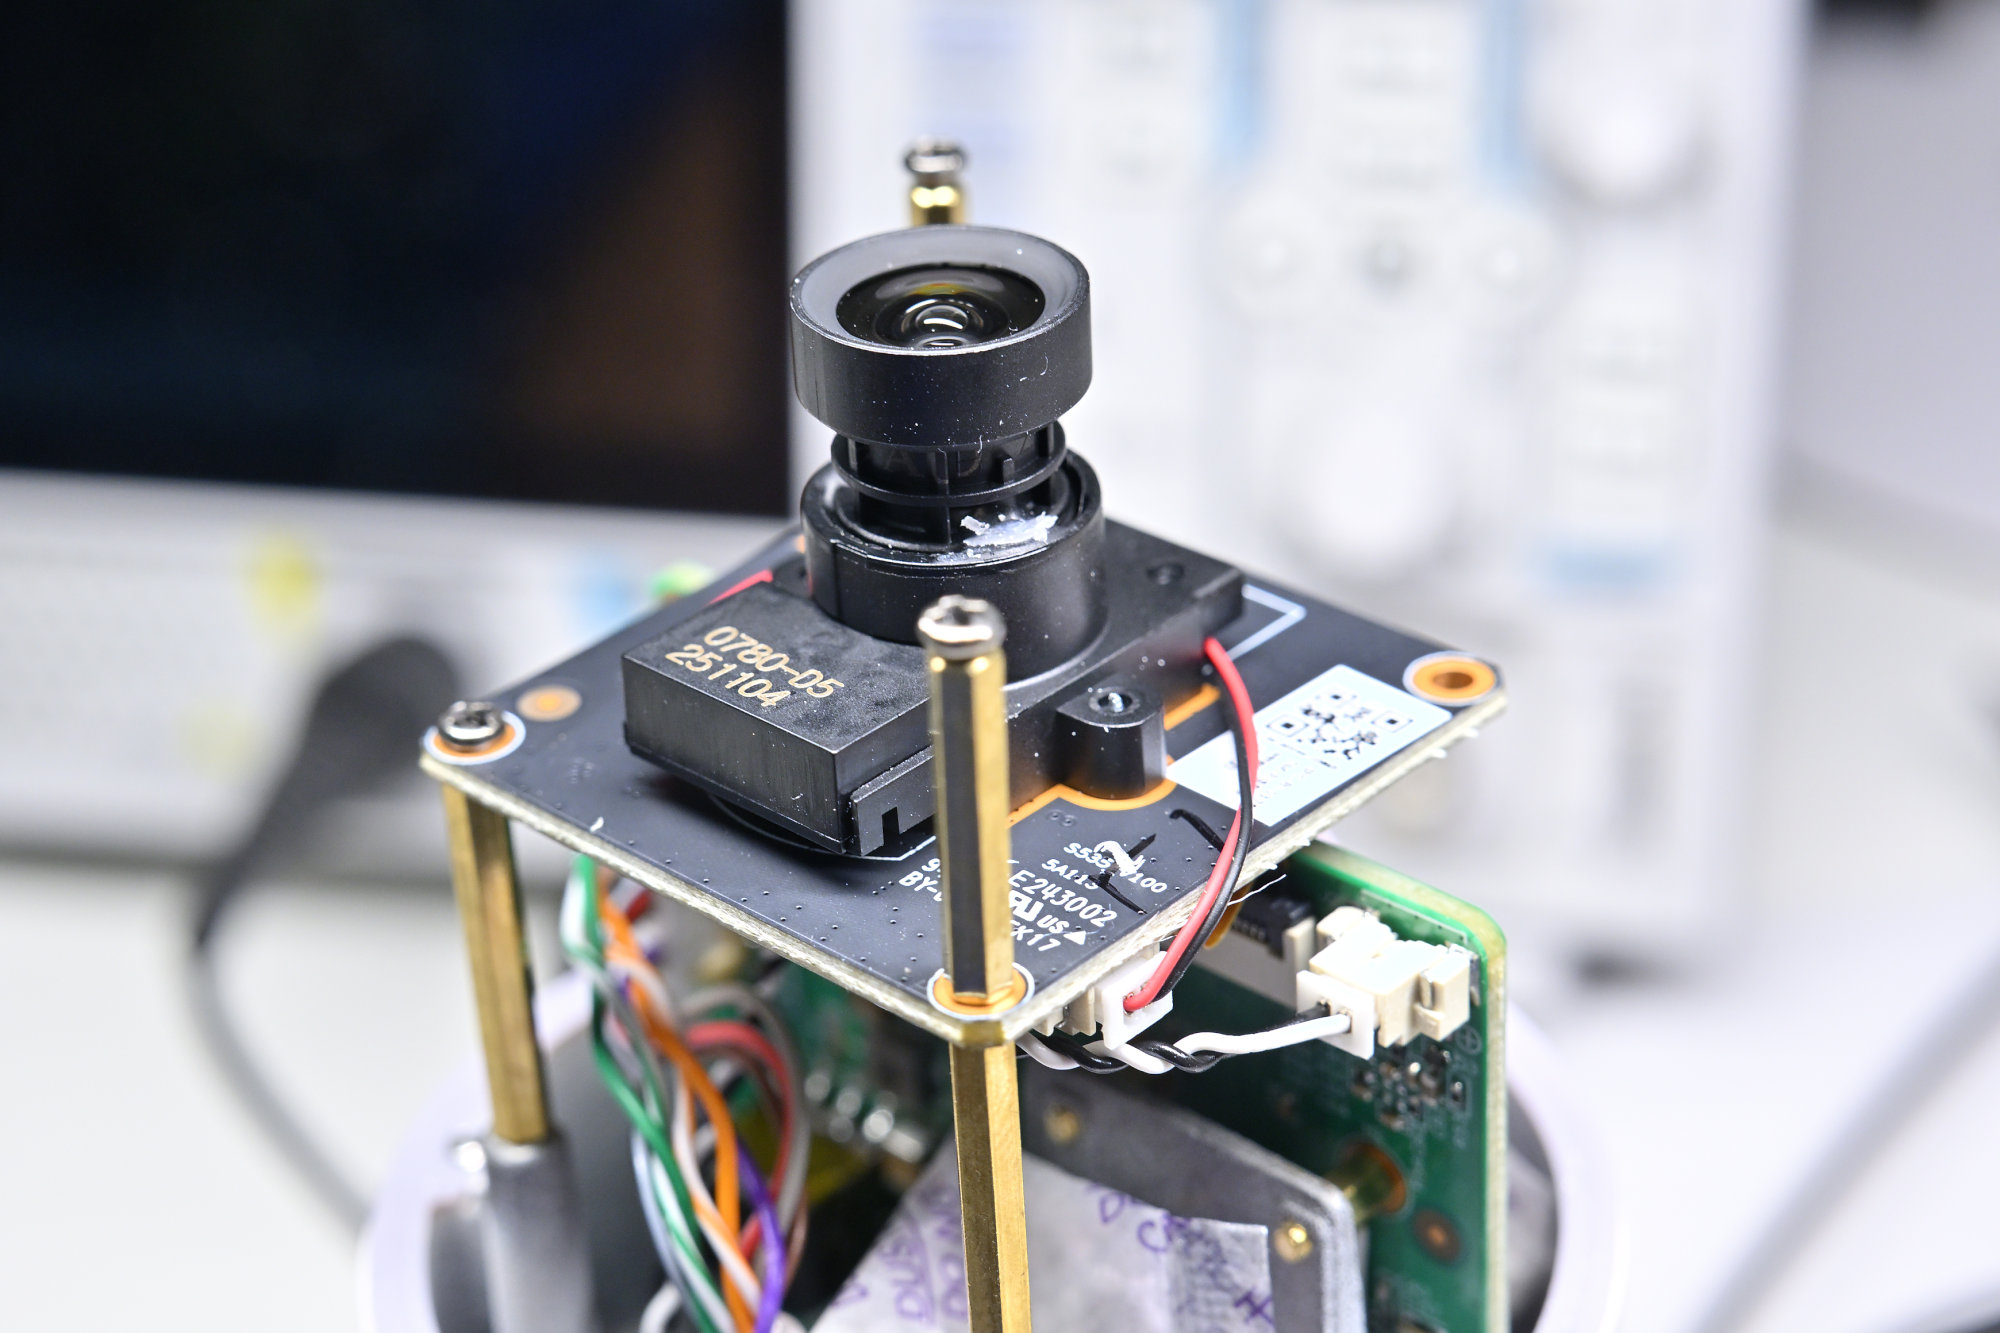
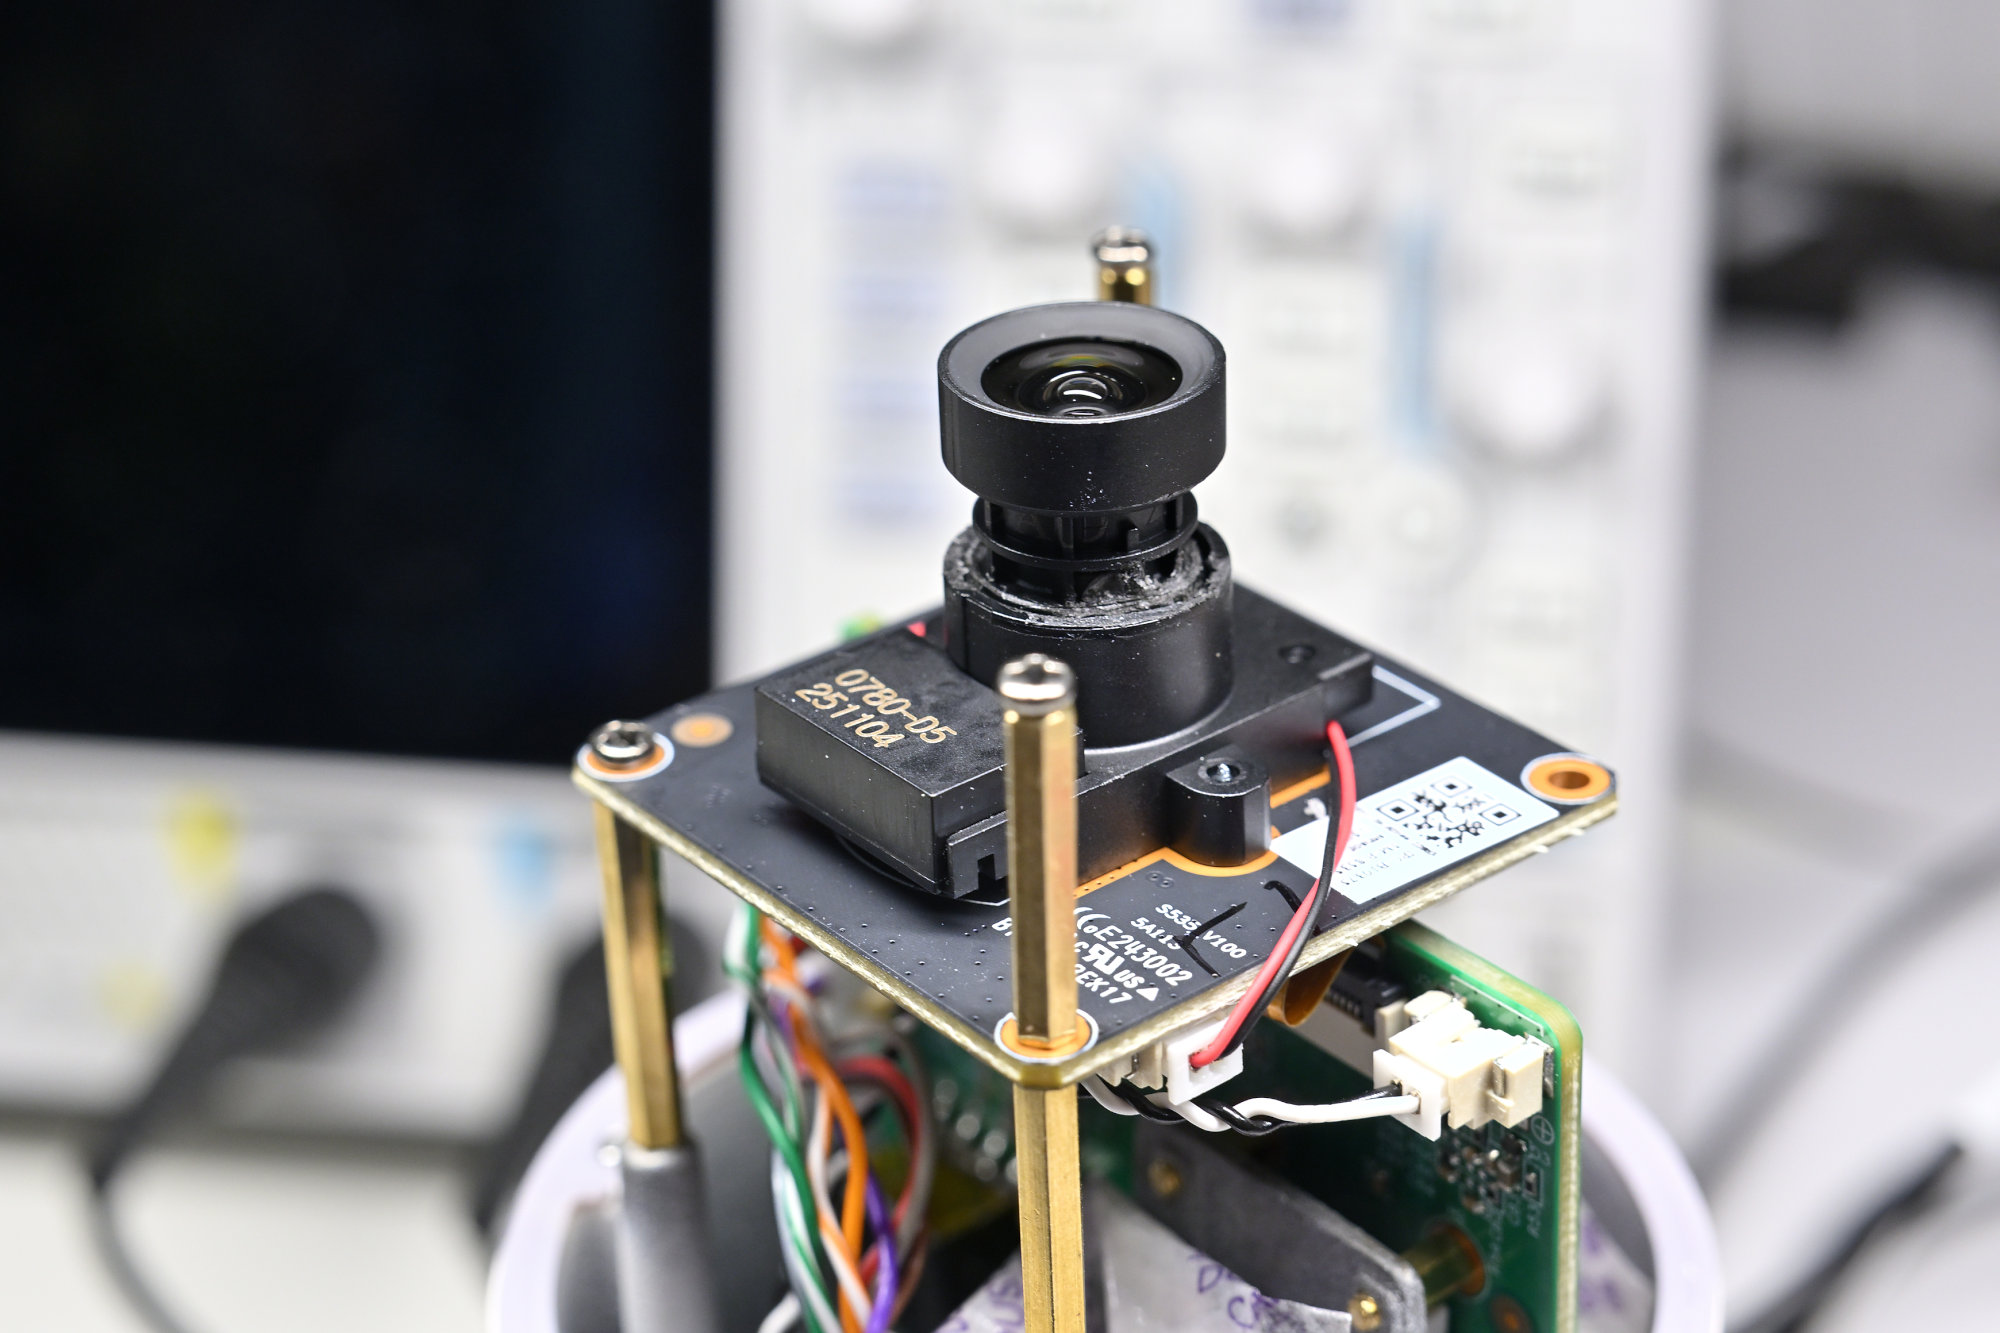
After removing as much of the glue as possible, slowly try to unscrew the original lens. Do not use pliers or force it, as this could damage the plastic threads. If it does not turn easily, remove more adhesive first.
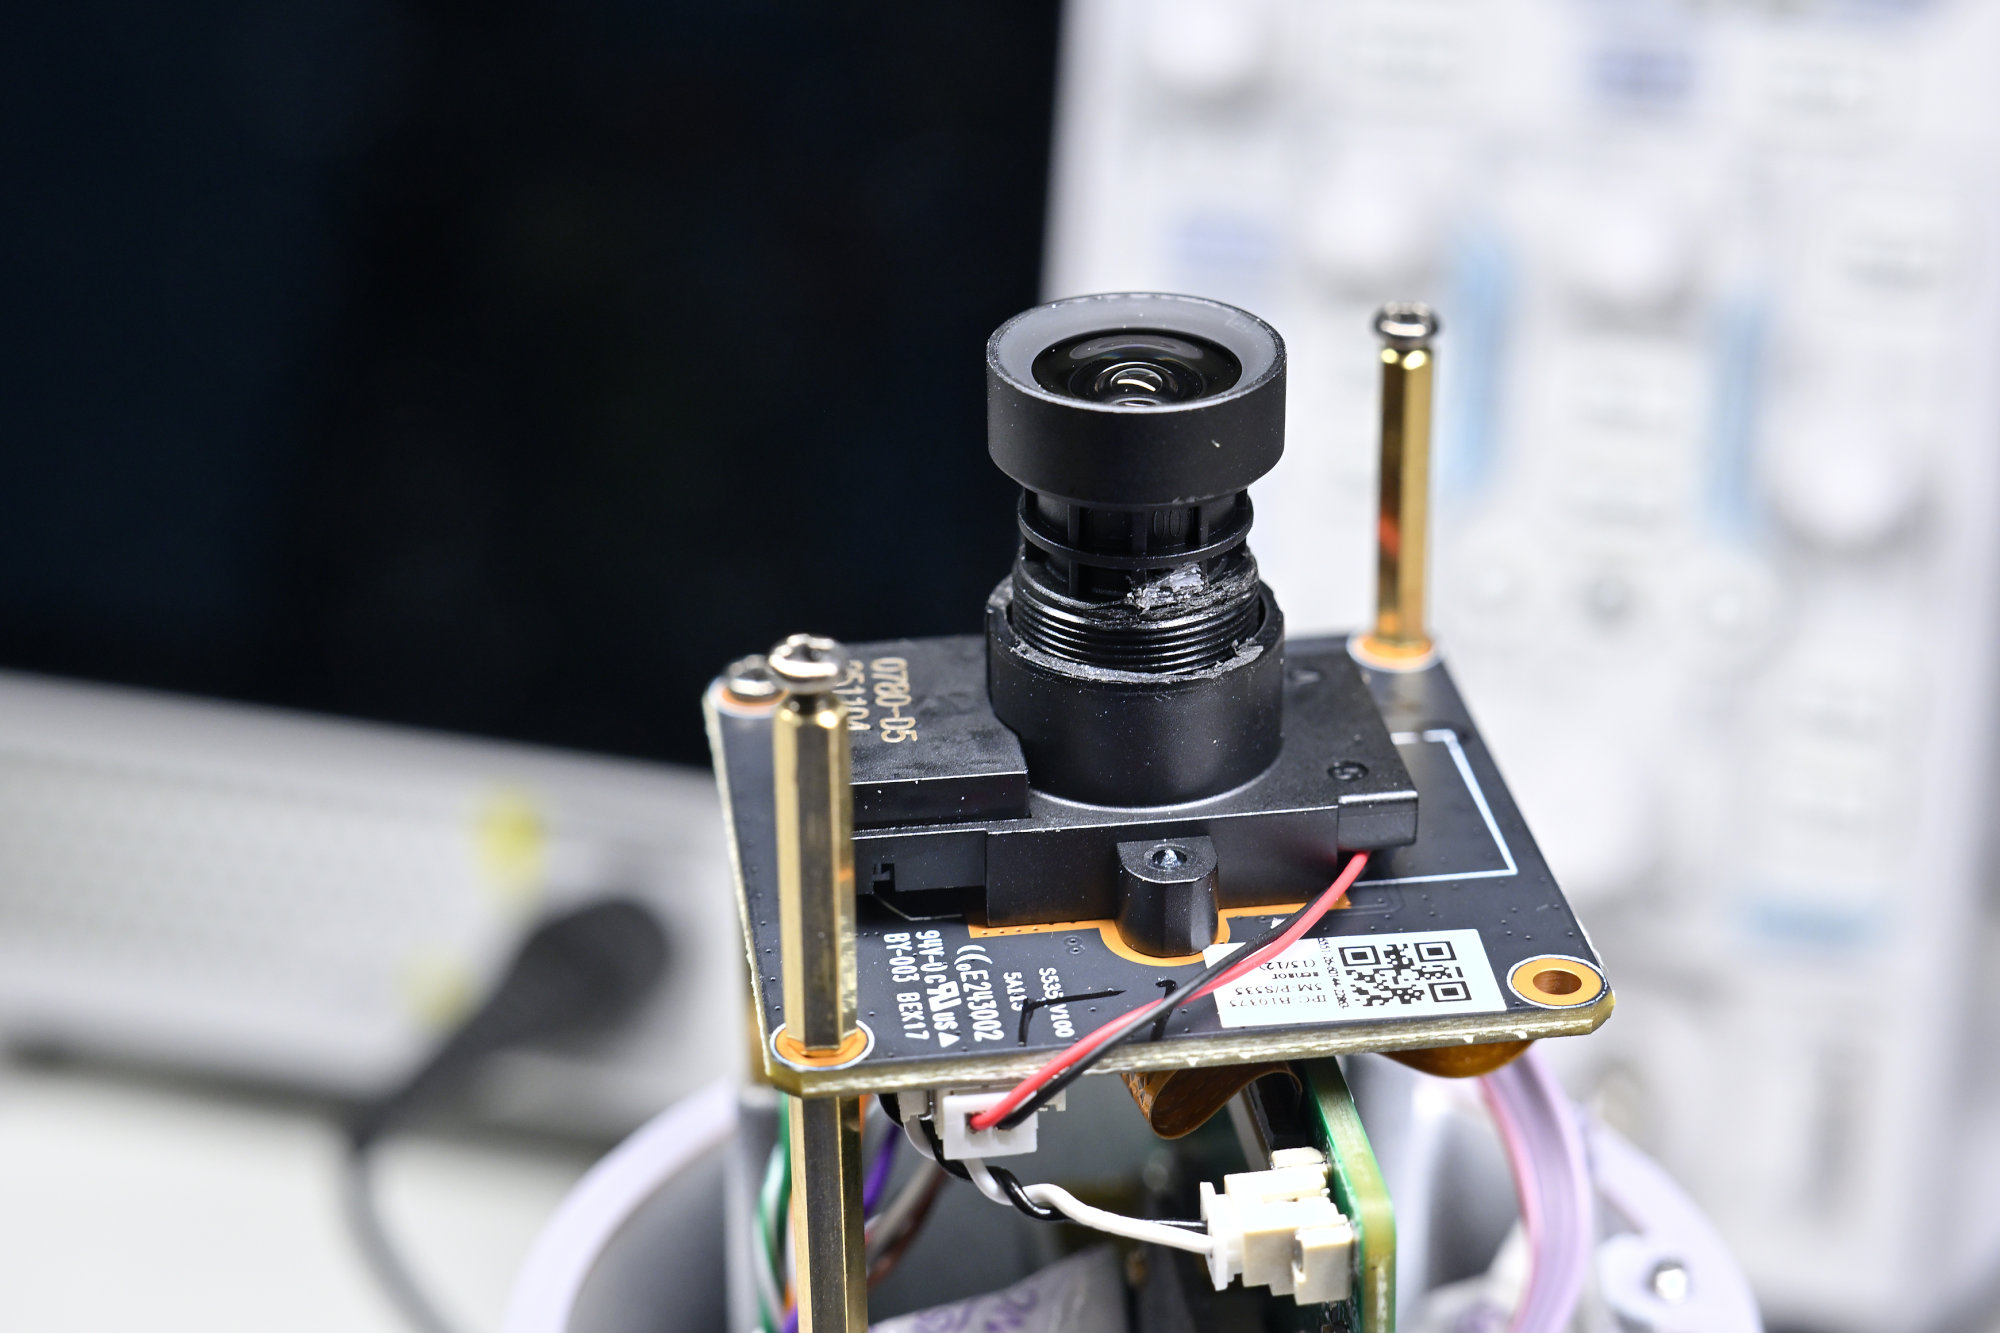
Installing the New Lens
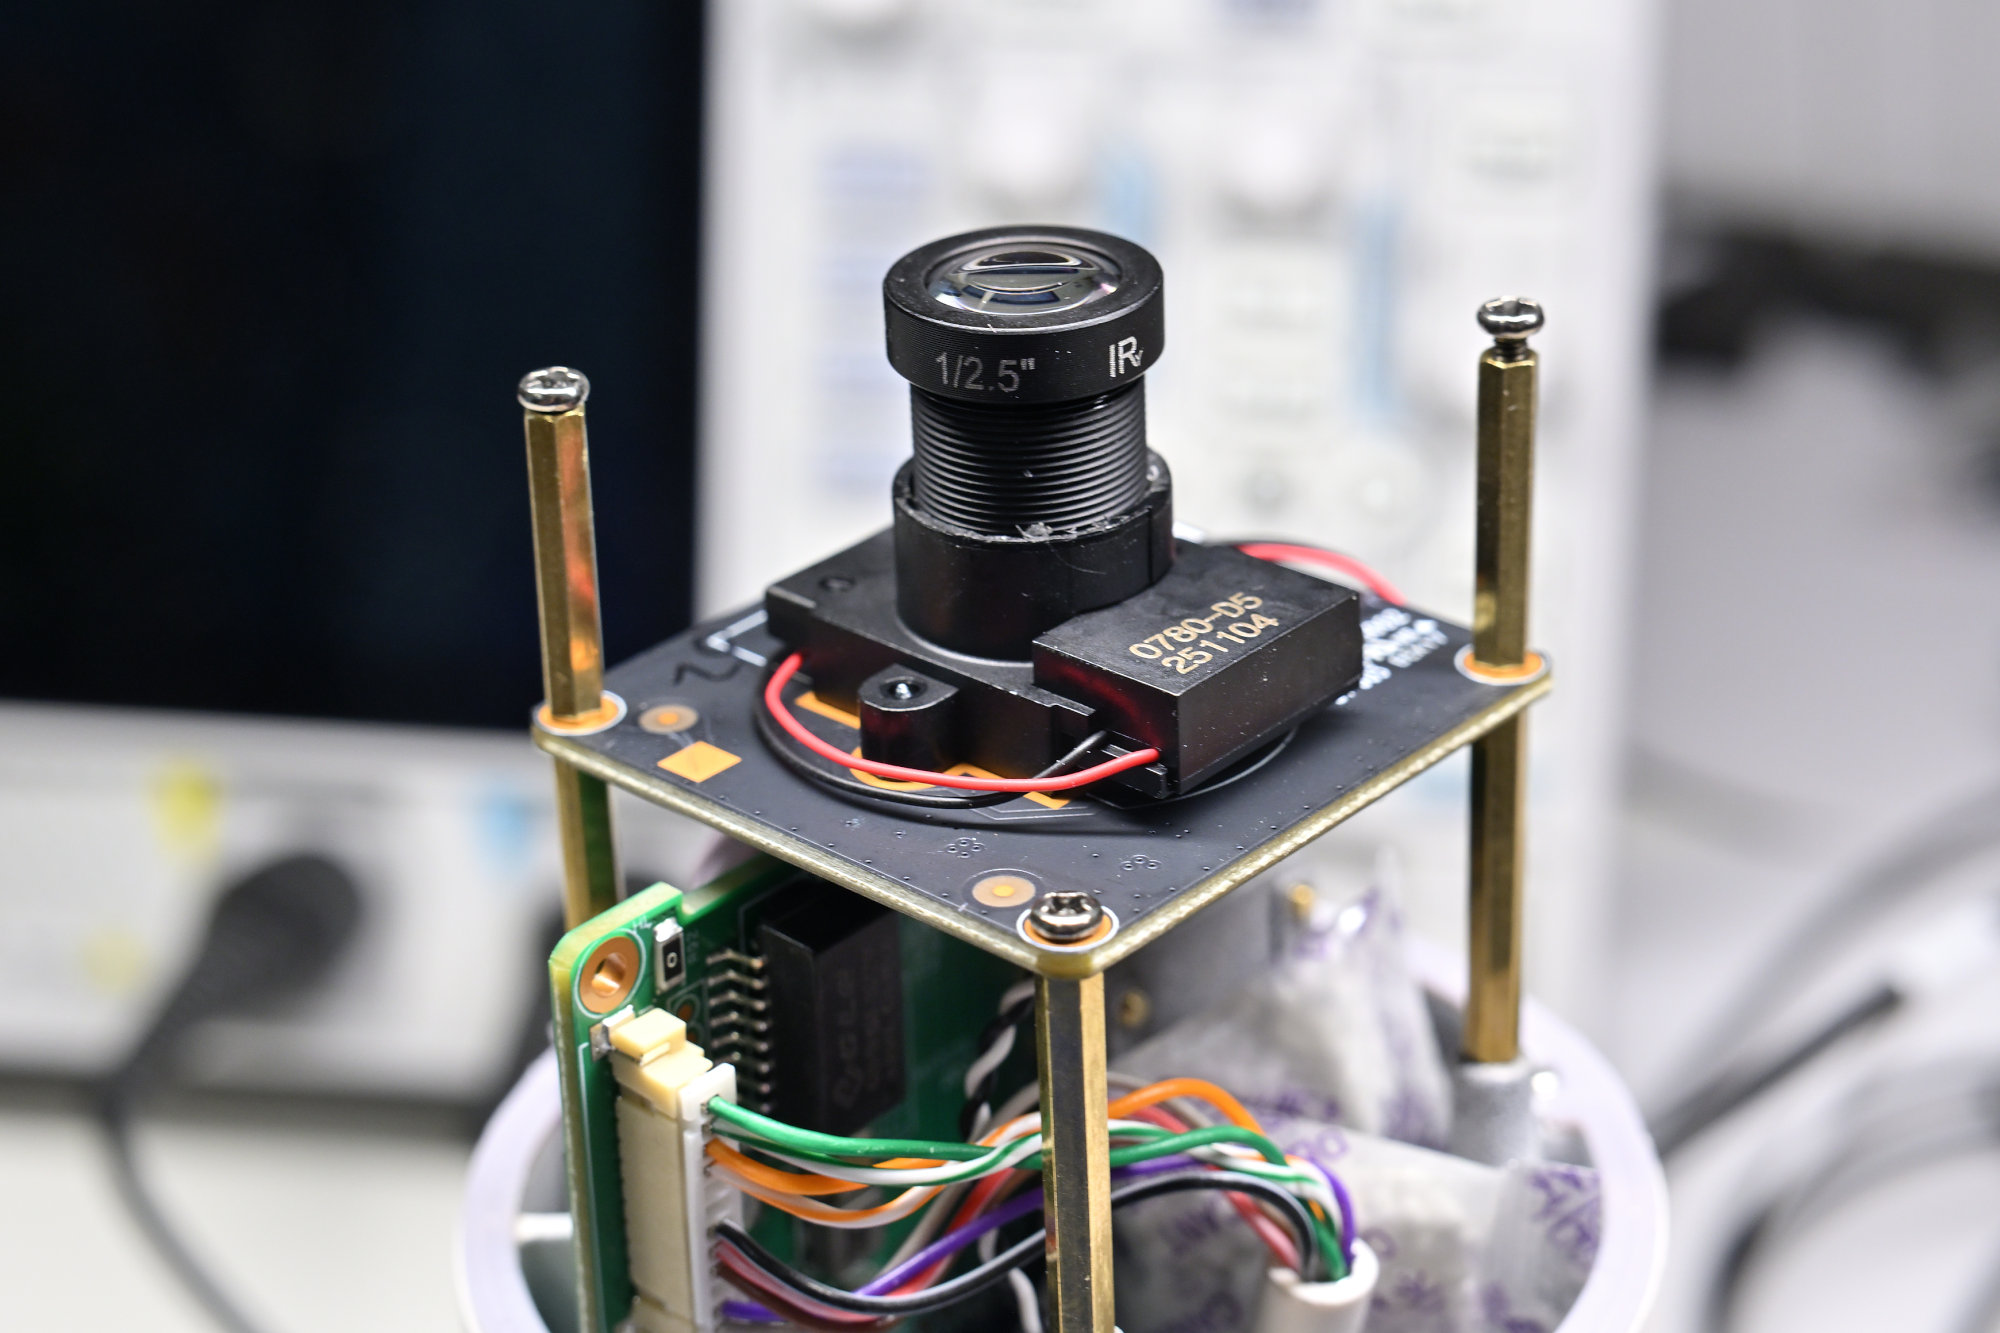
Screw the 12 mm lens into the mount and check that it sits straight. The fit is tight enough to hold the lens securely. No new glue is needed.
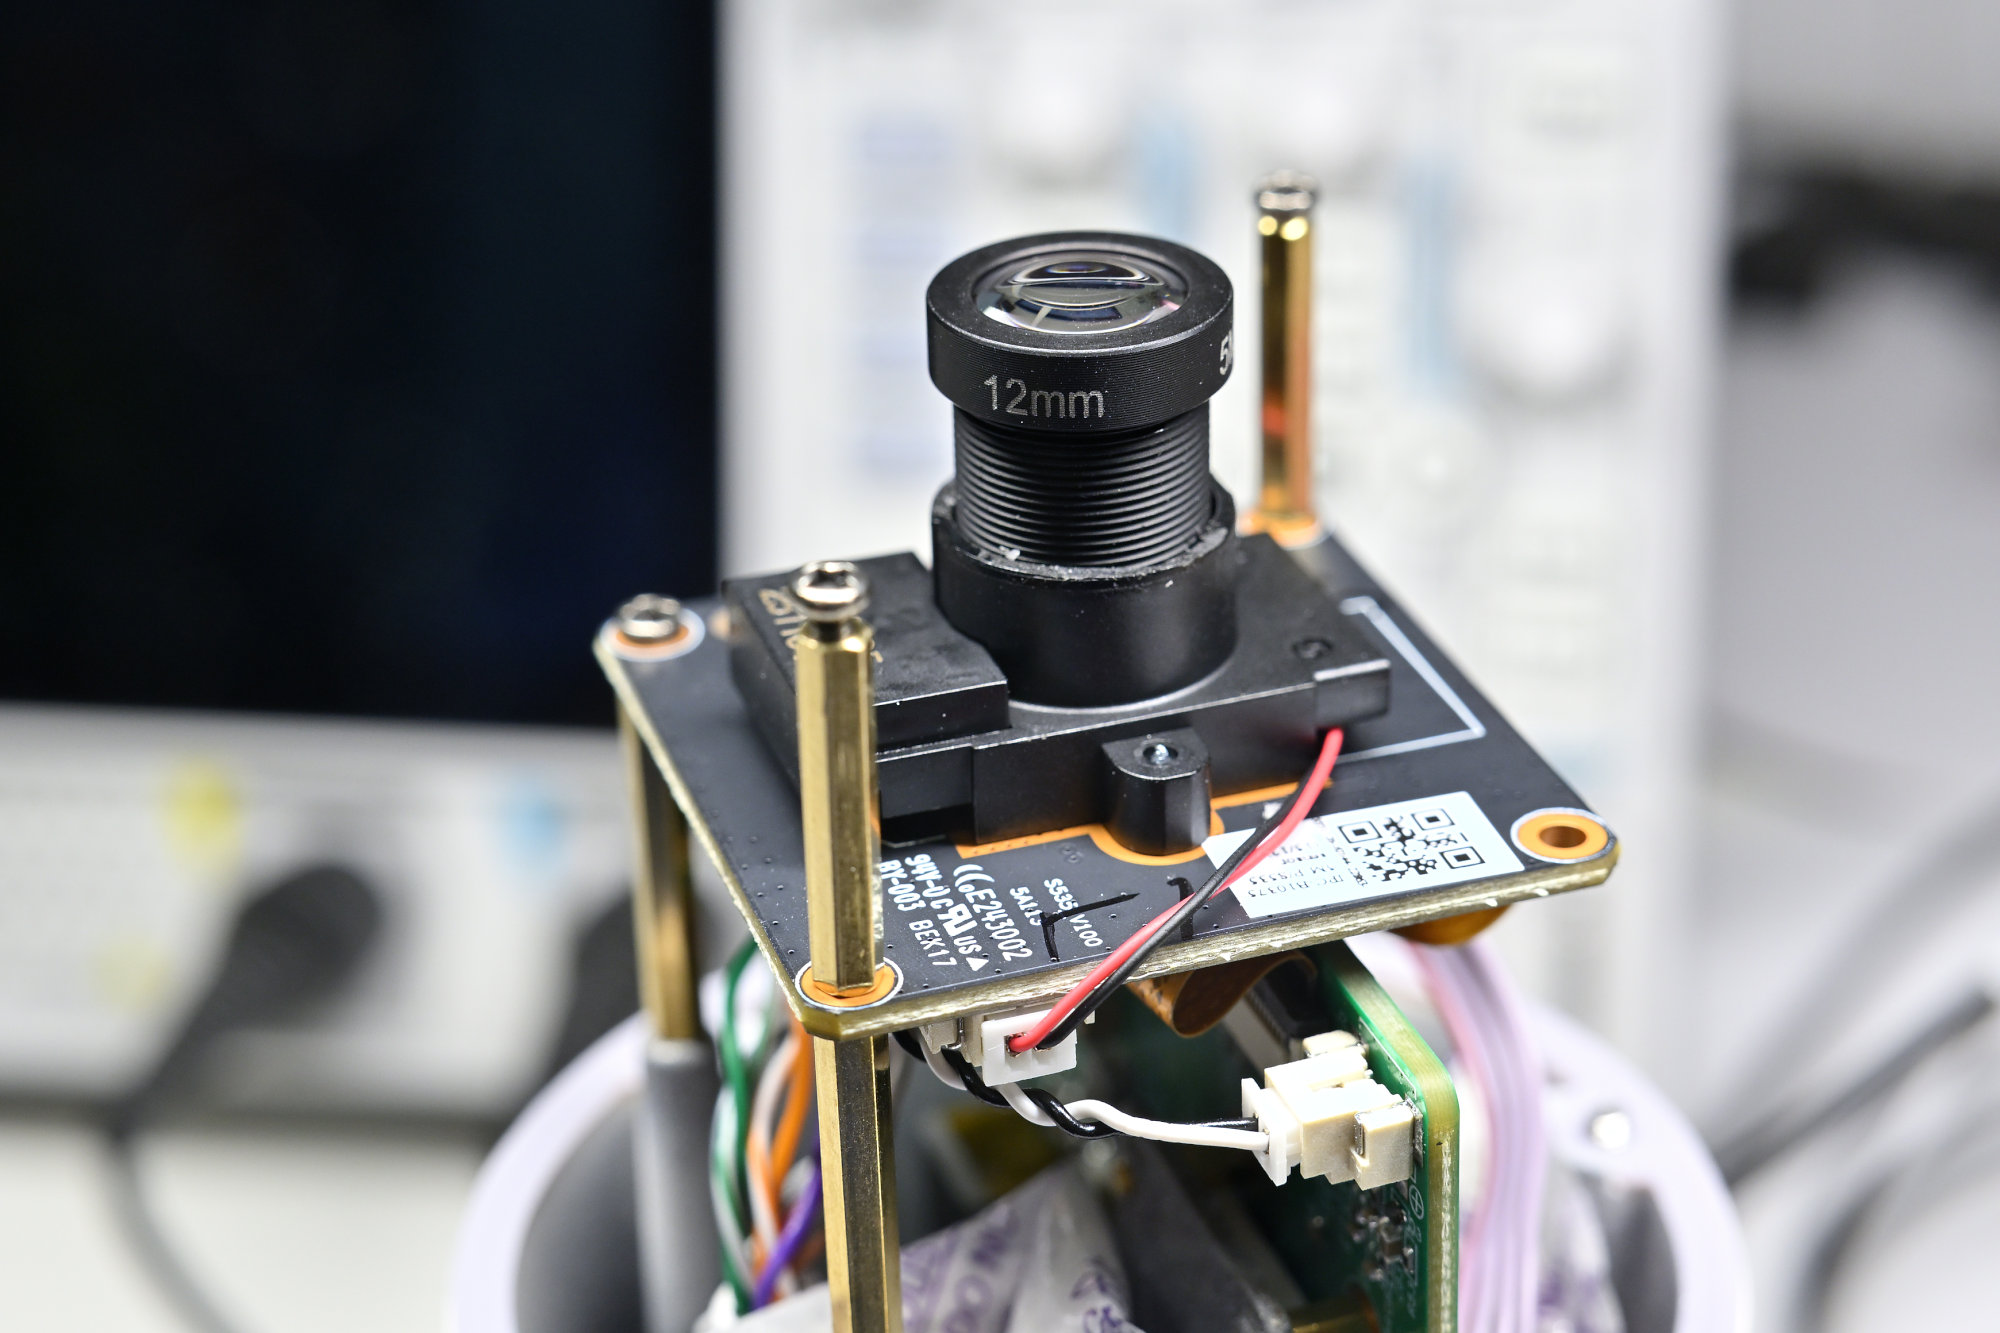
Adjusting the Lens and Cover
Connect to the camera and adjust the lens until the live image is sharp. Check the image at the distance where you plan to use the camera.
The adjusted 12 mm lens sticks out farther than the original, so the front cover needs a spacer.
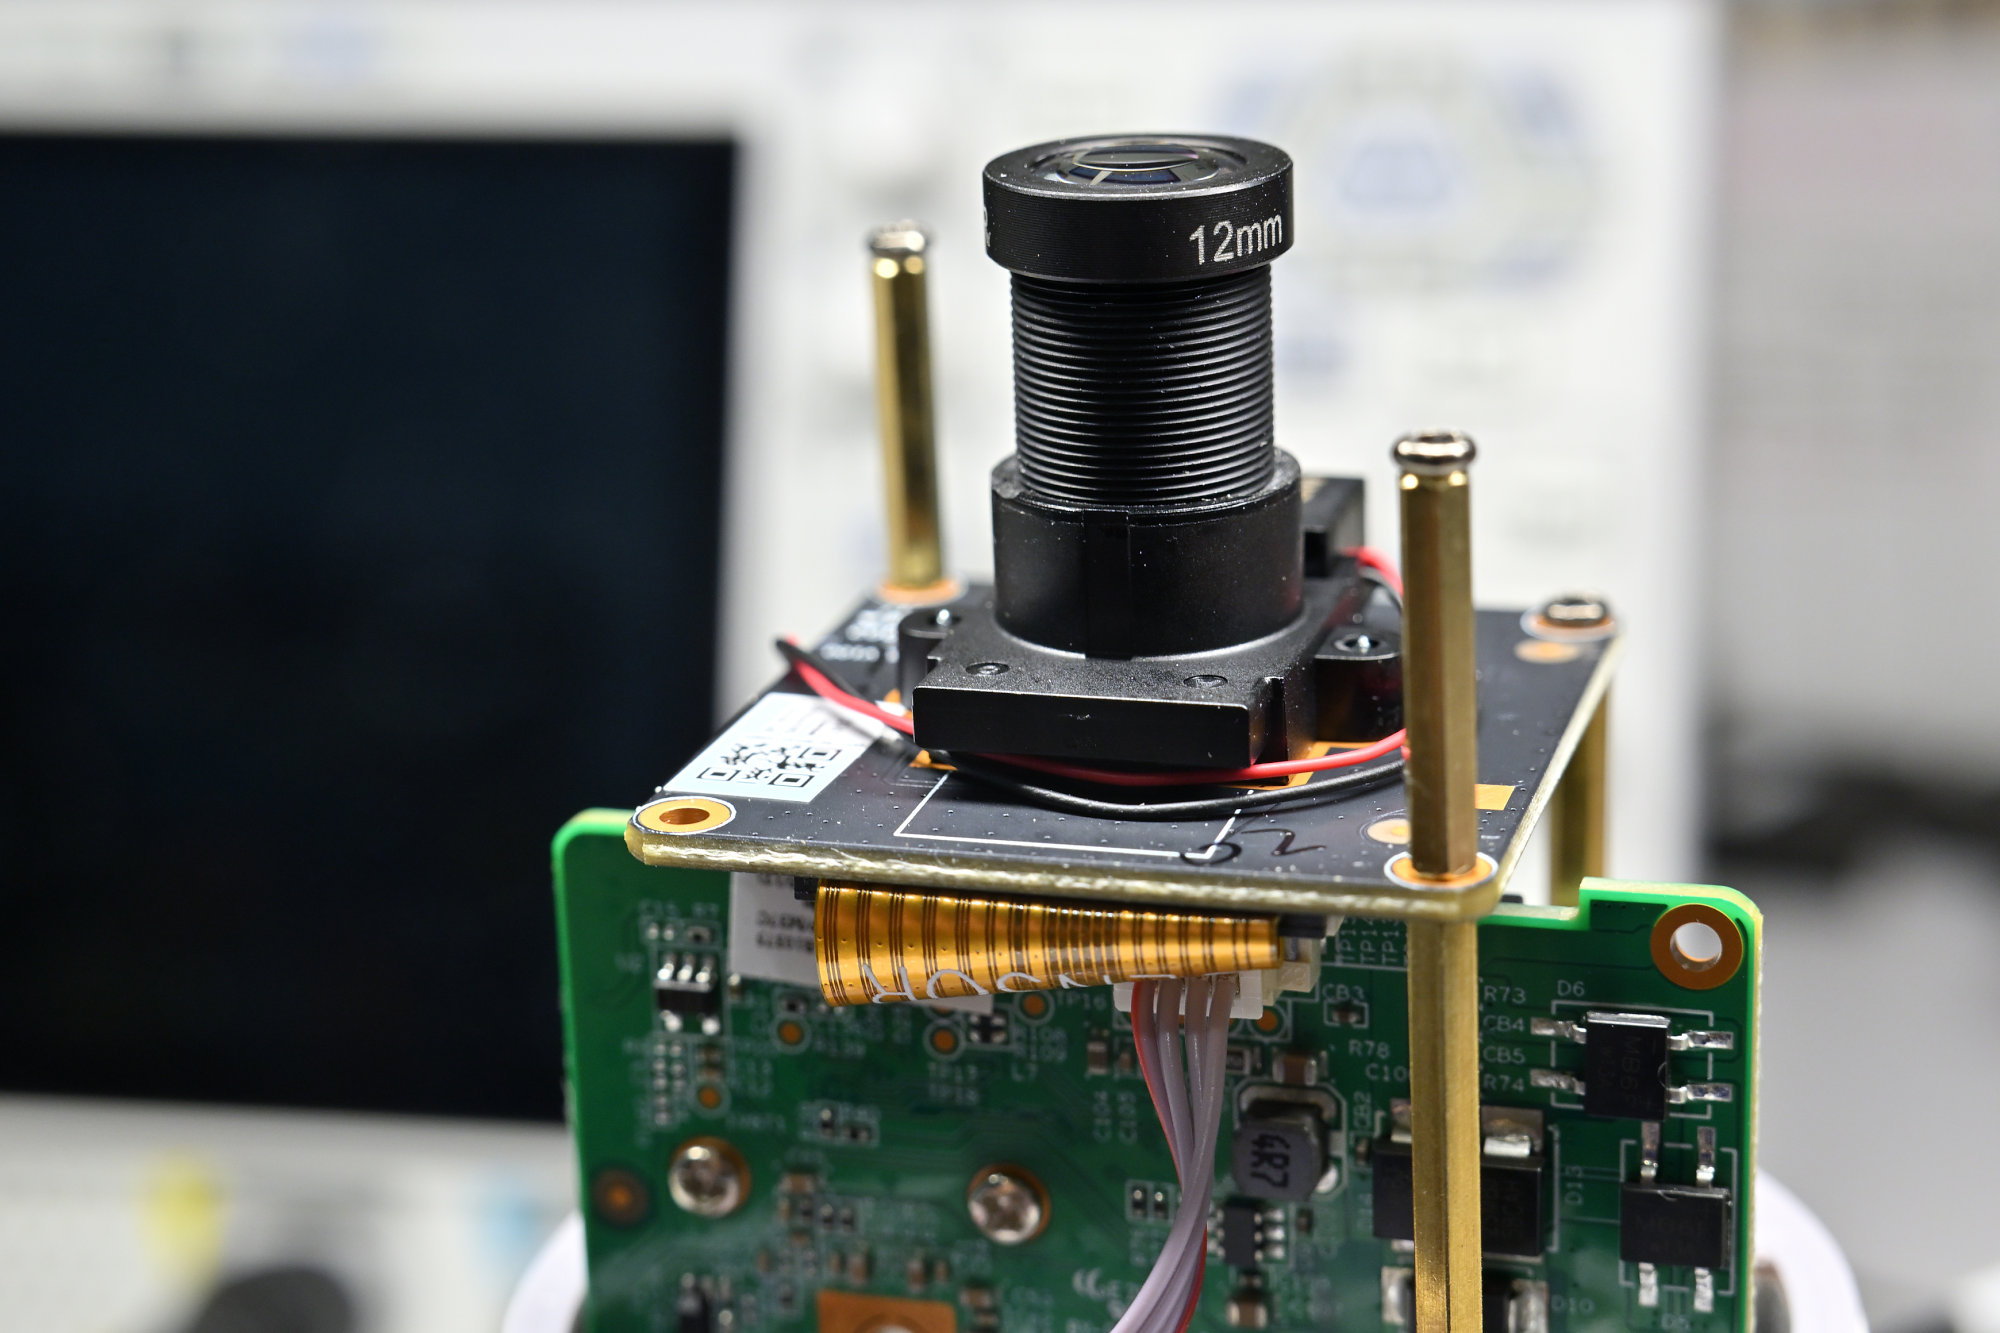
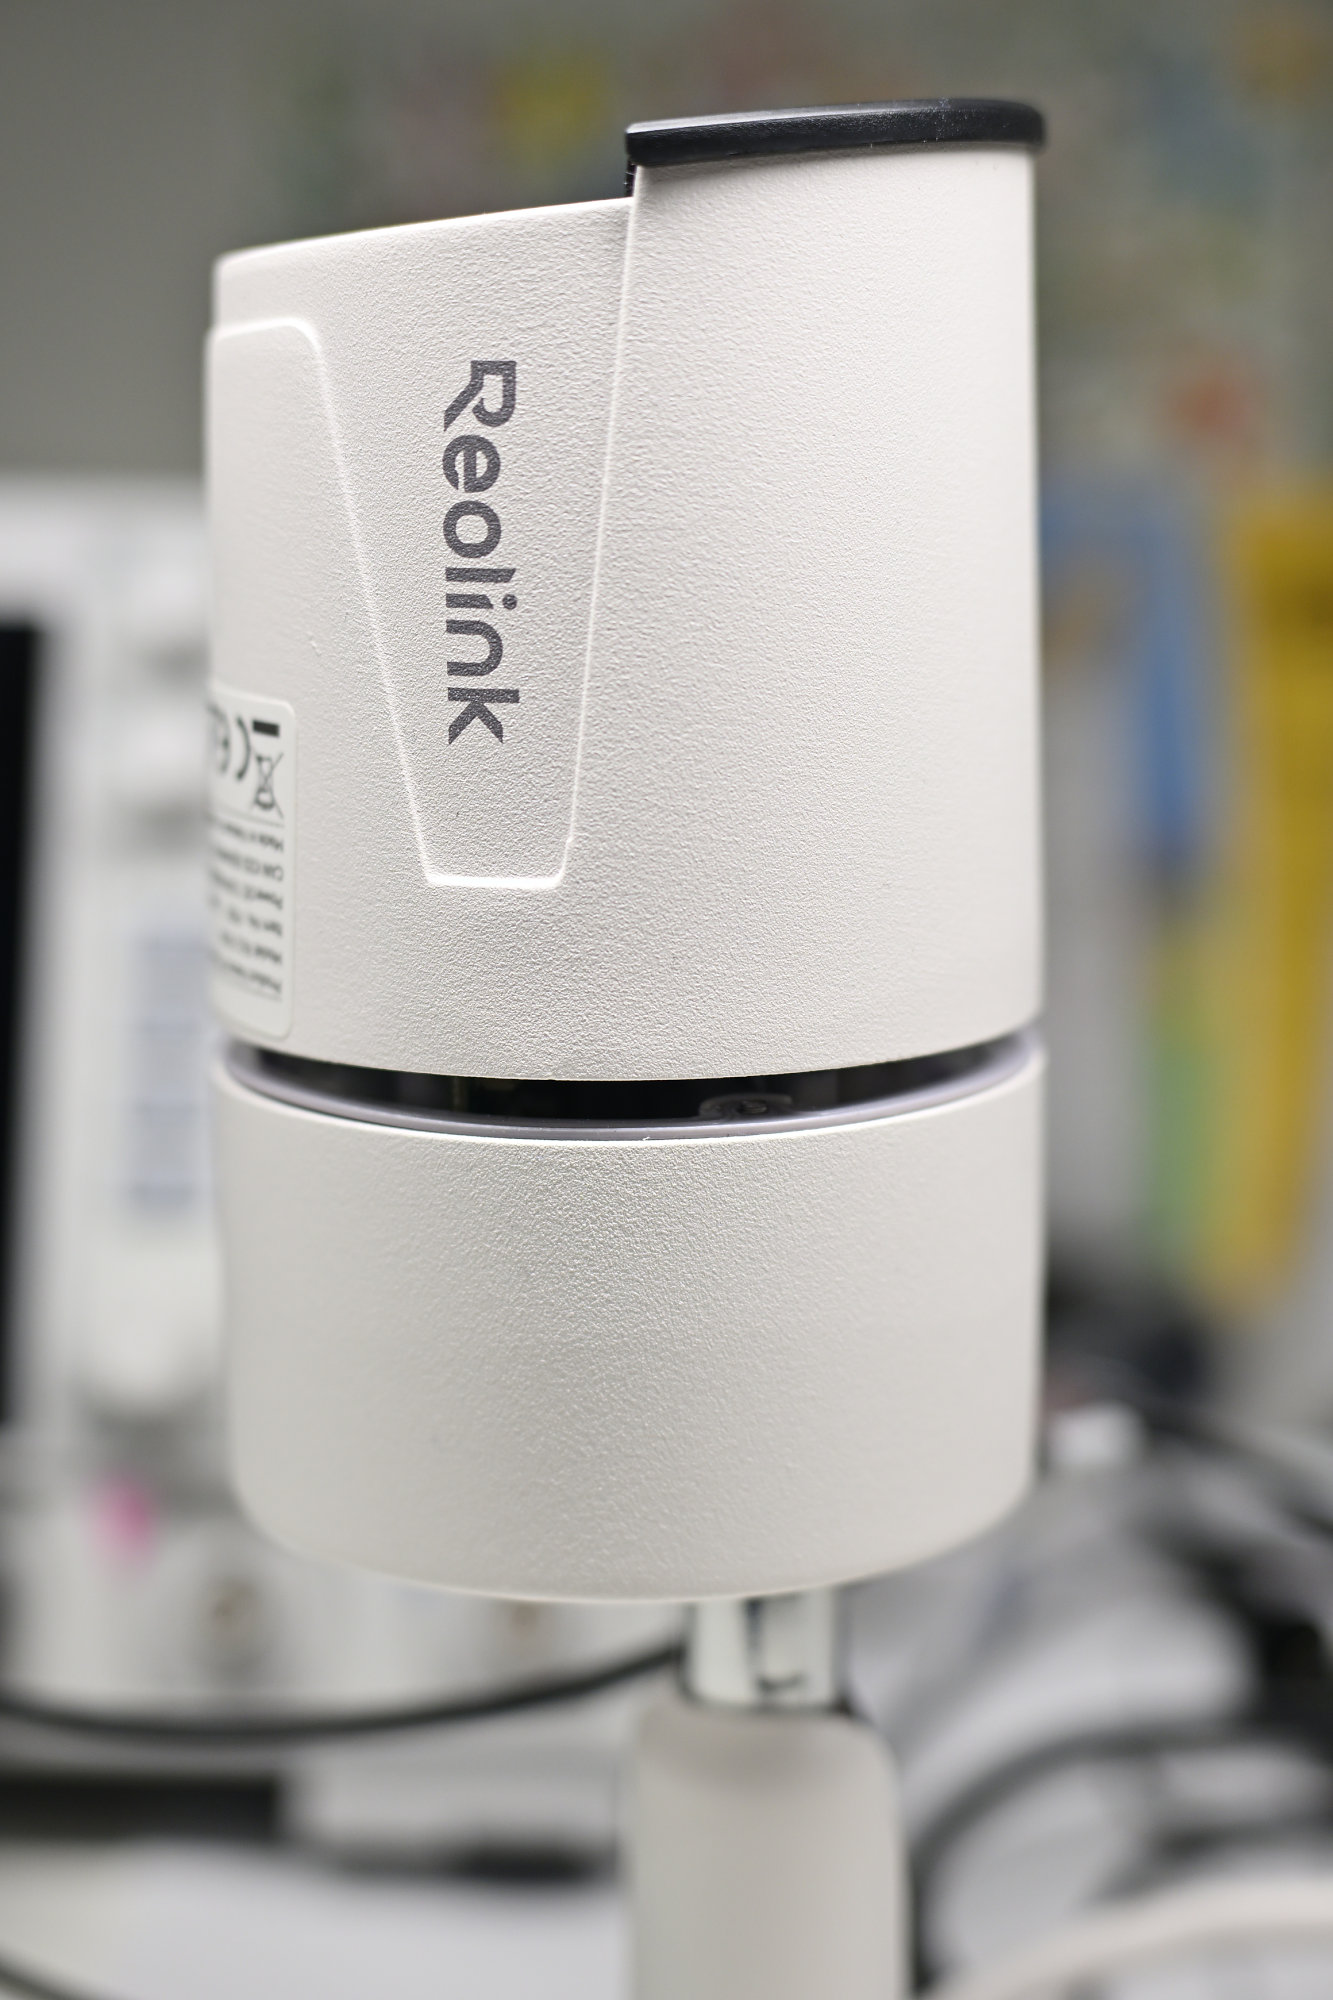
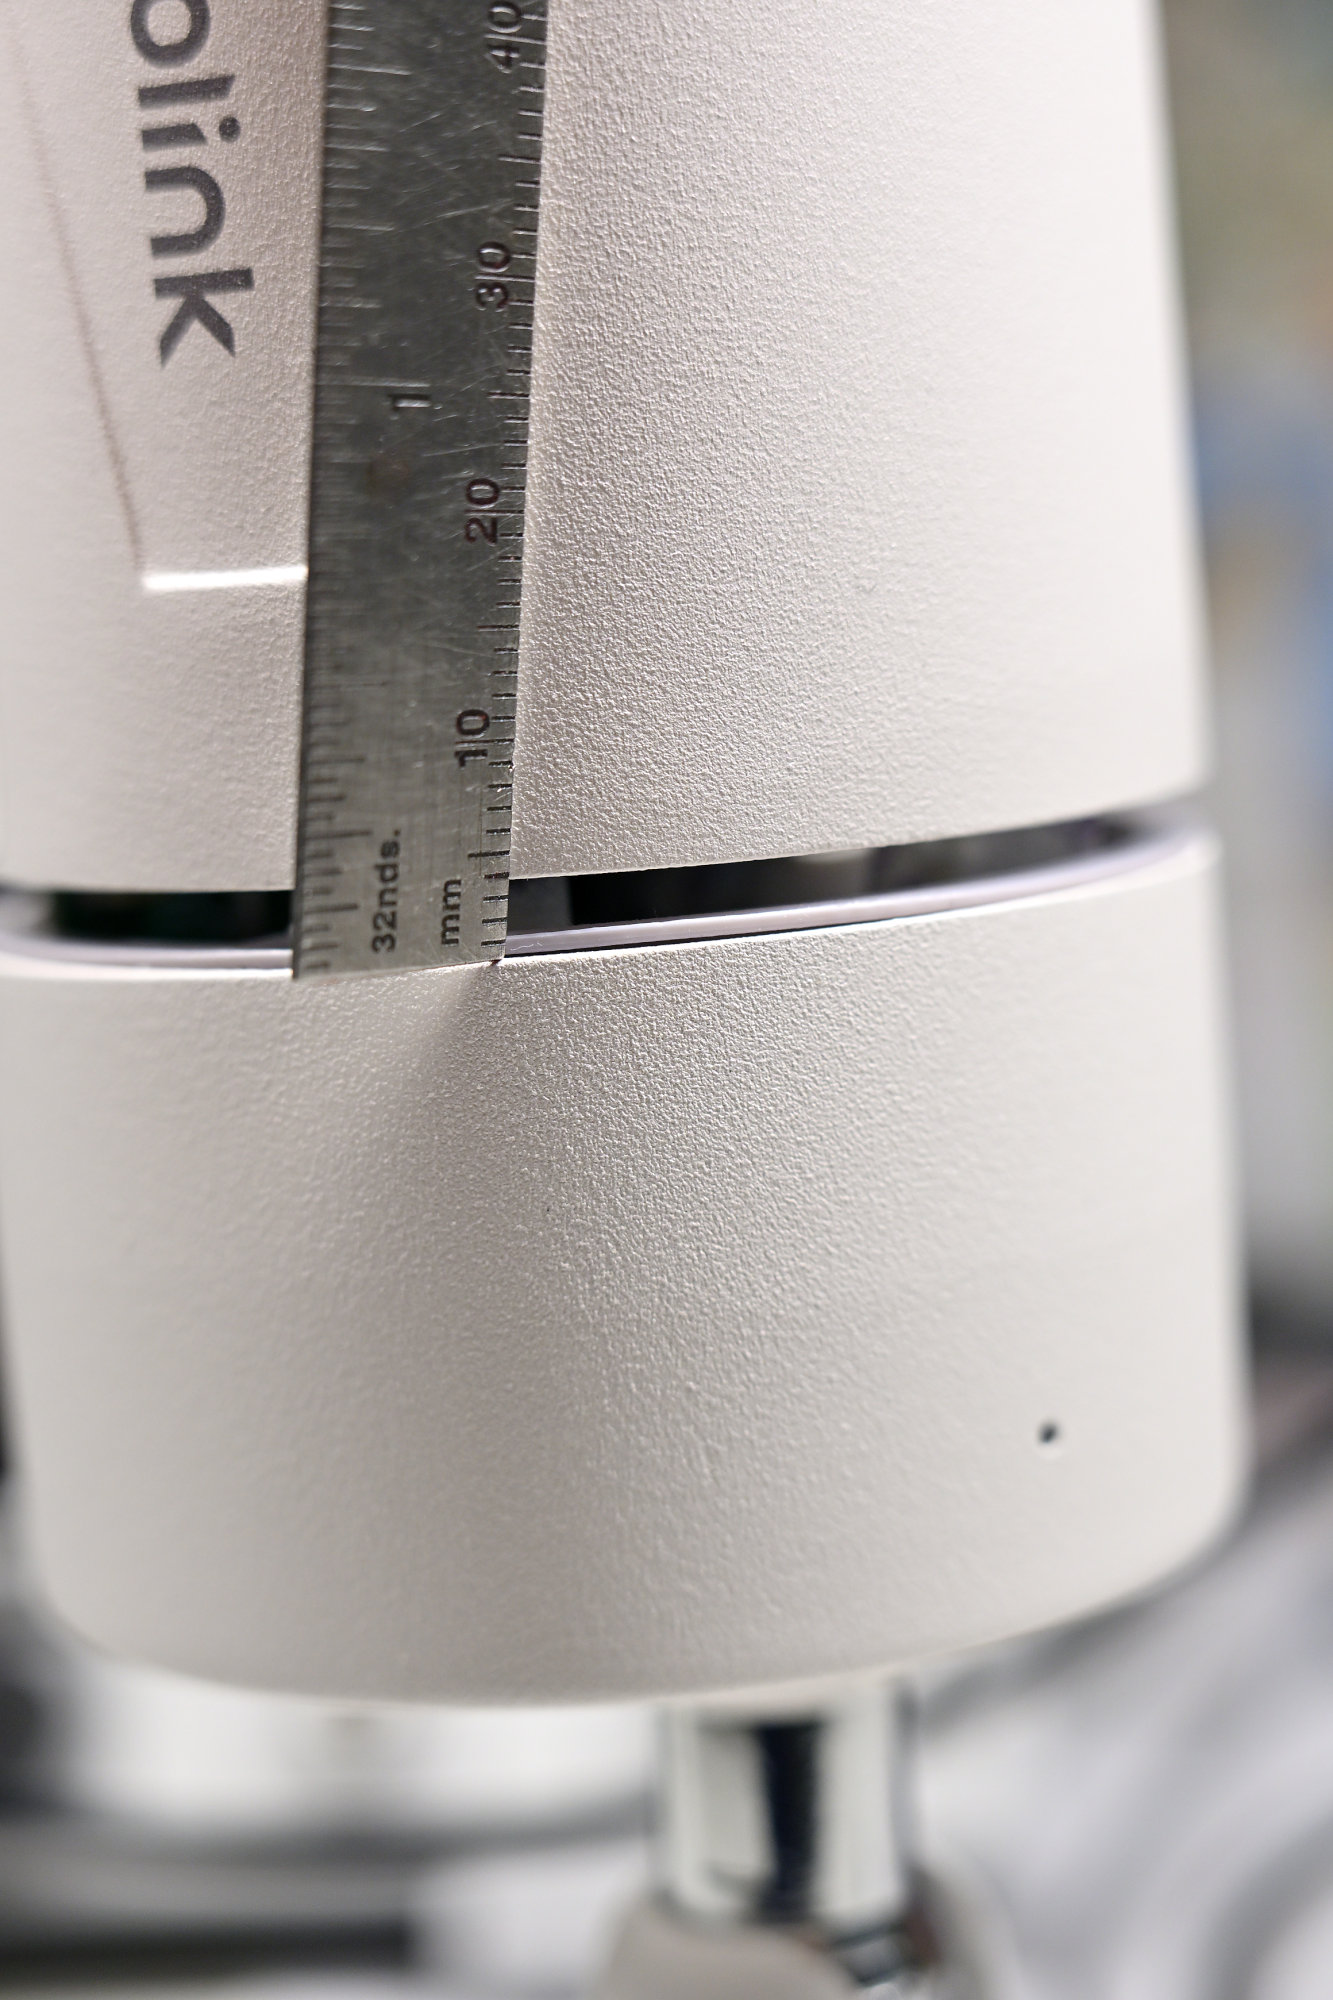
The spacer should be about 3 mm thick to extend the housing and give the lens enough room. This is better than holding the cover in place with tape.
Building a custom spacer
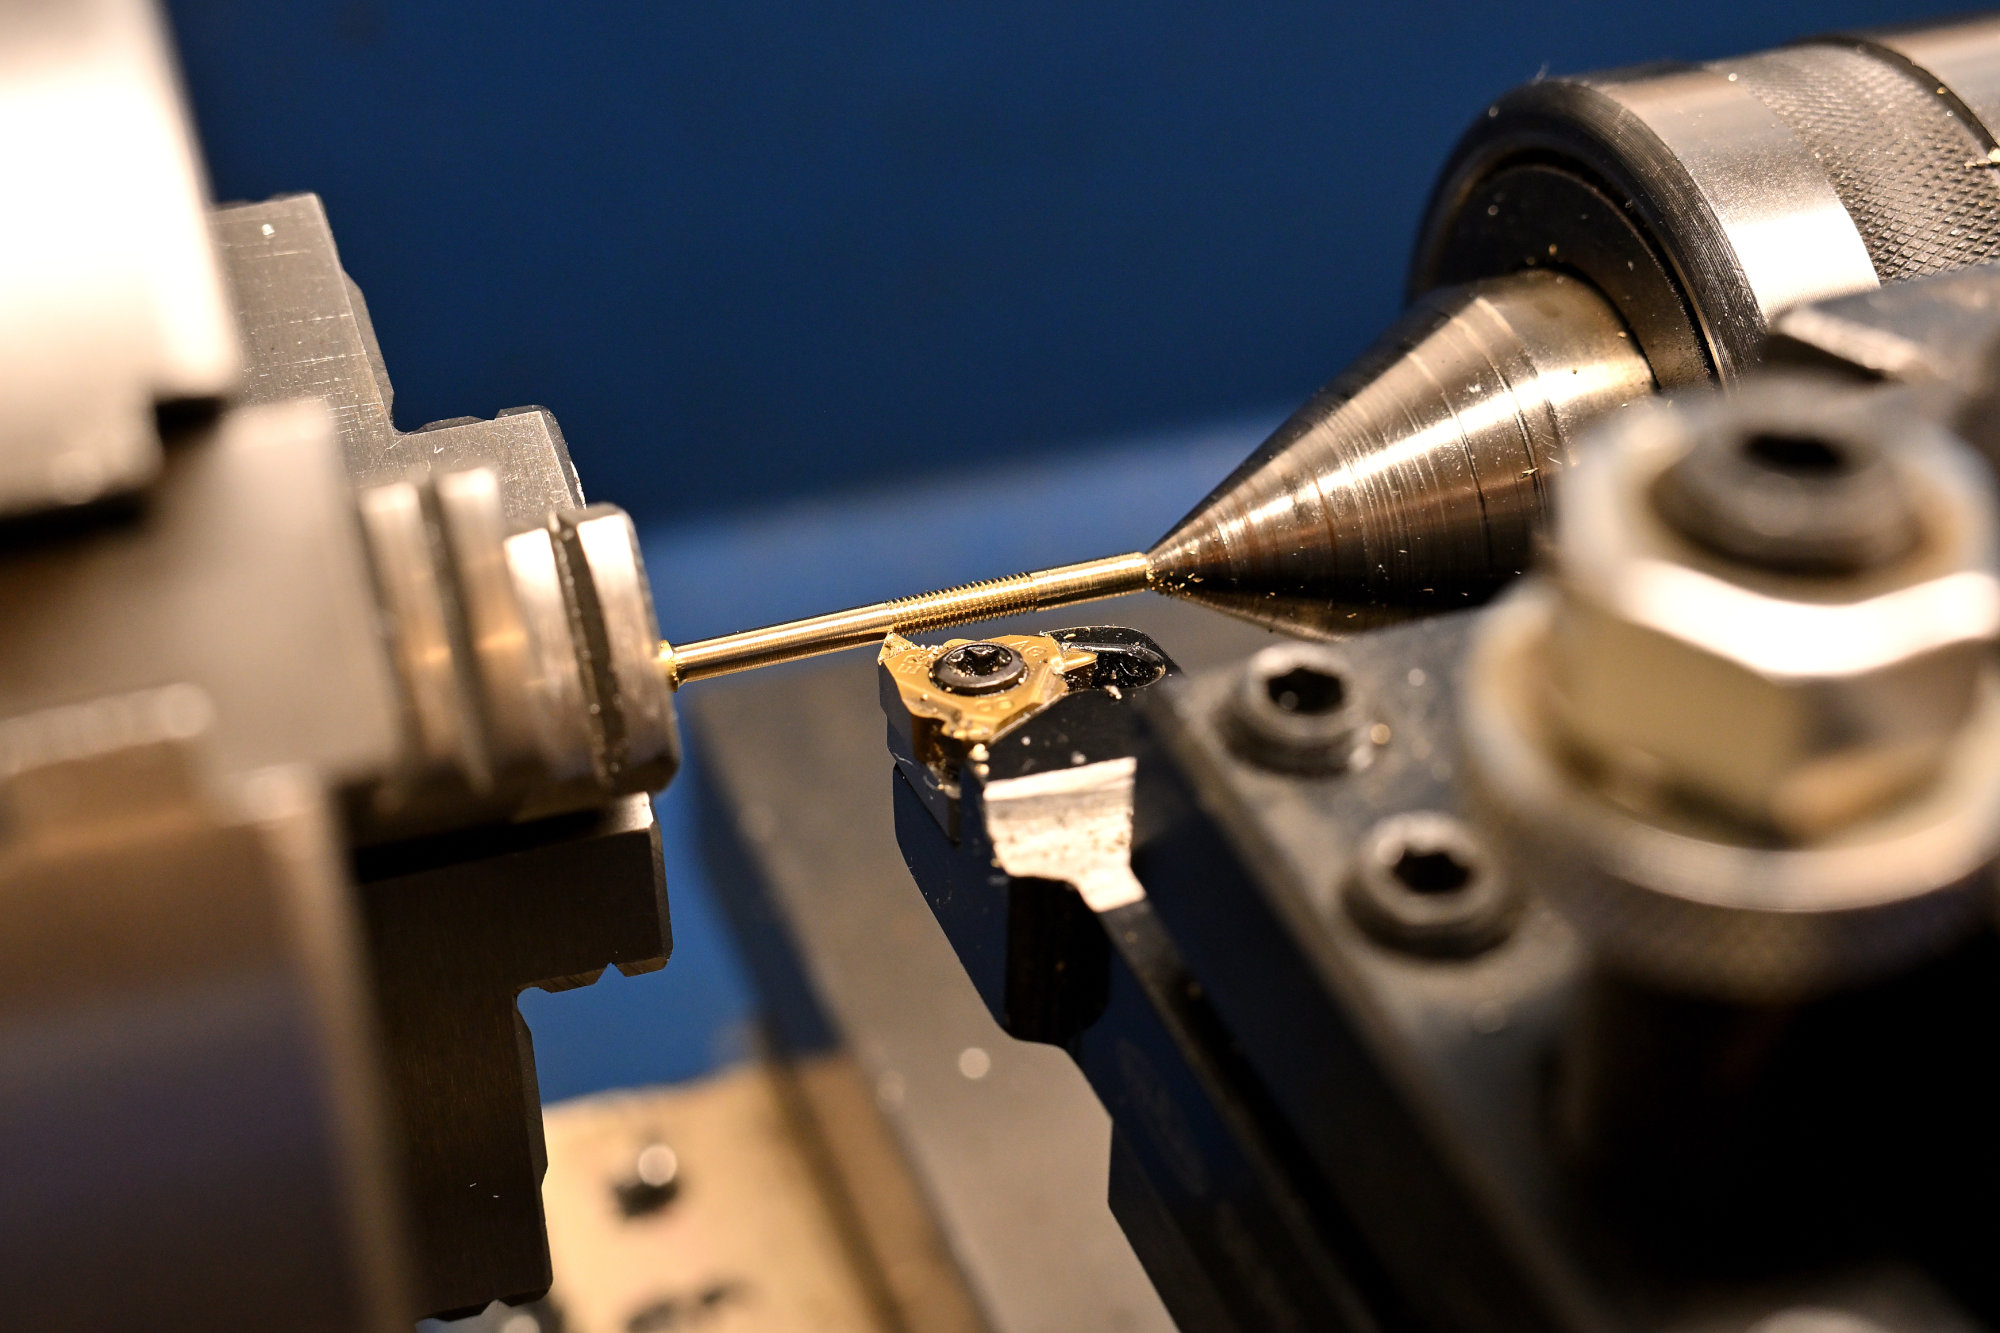
M2.5 screws are available in sets, but the sets never include the length I need. I therefore make the screws myself from a piece of brass. The thread pitch is 0.45 mm.
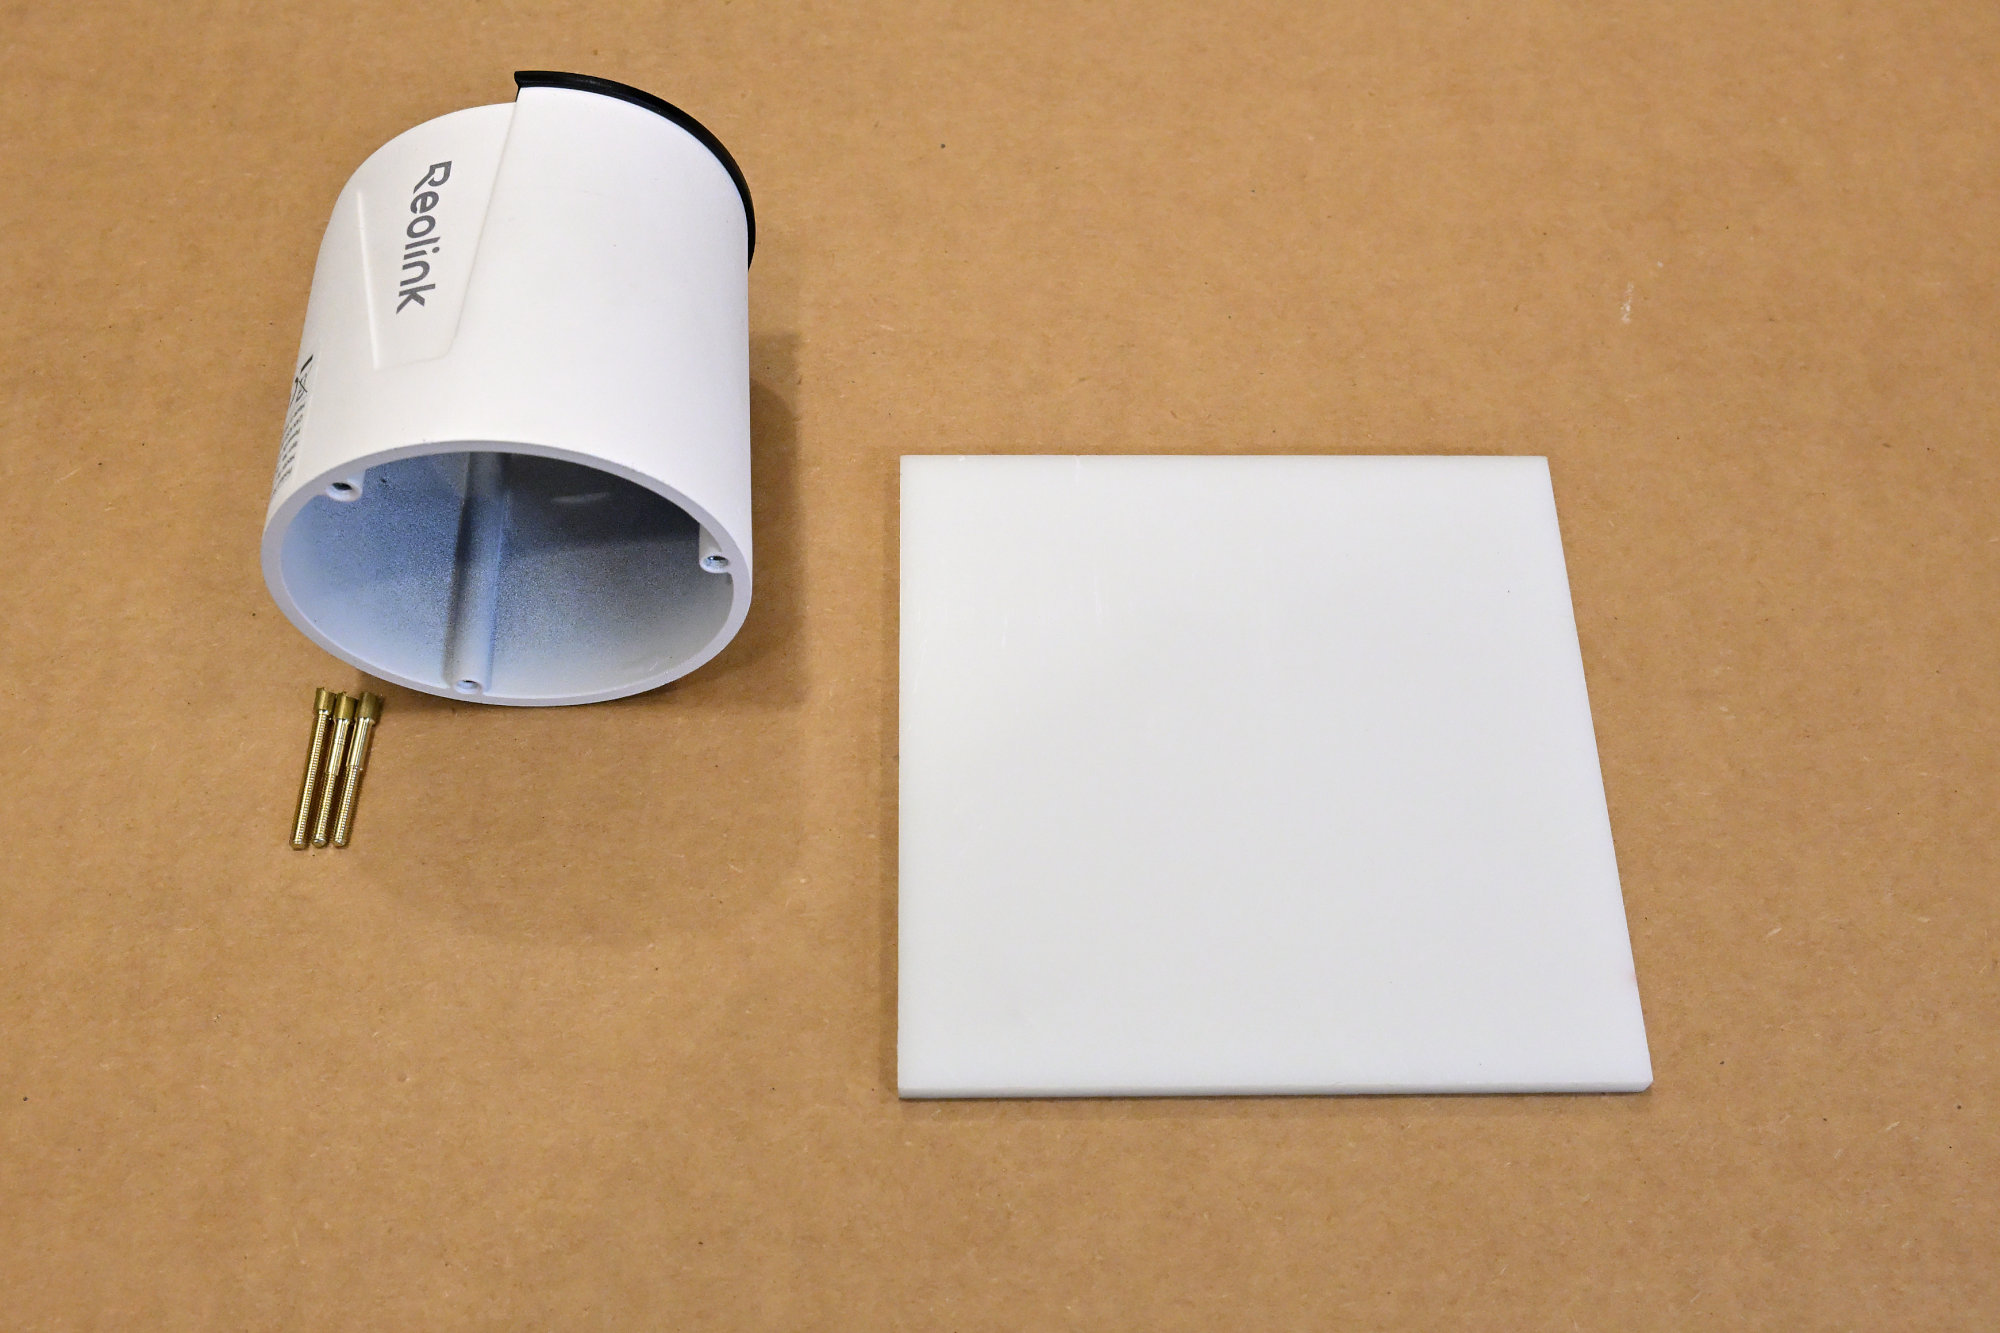
The spacer is made from a plastic plate.
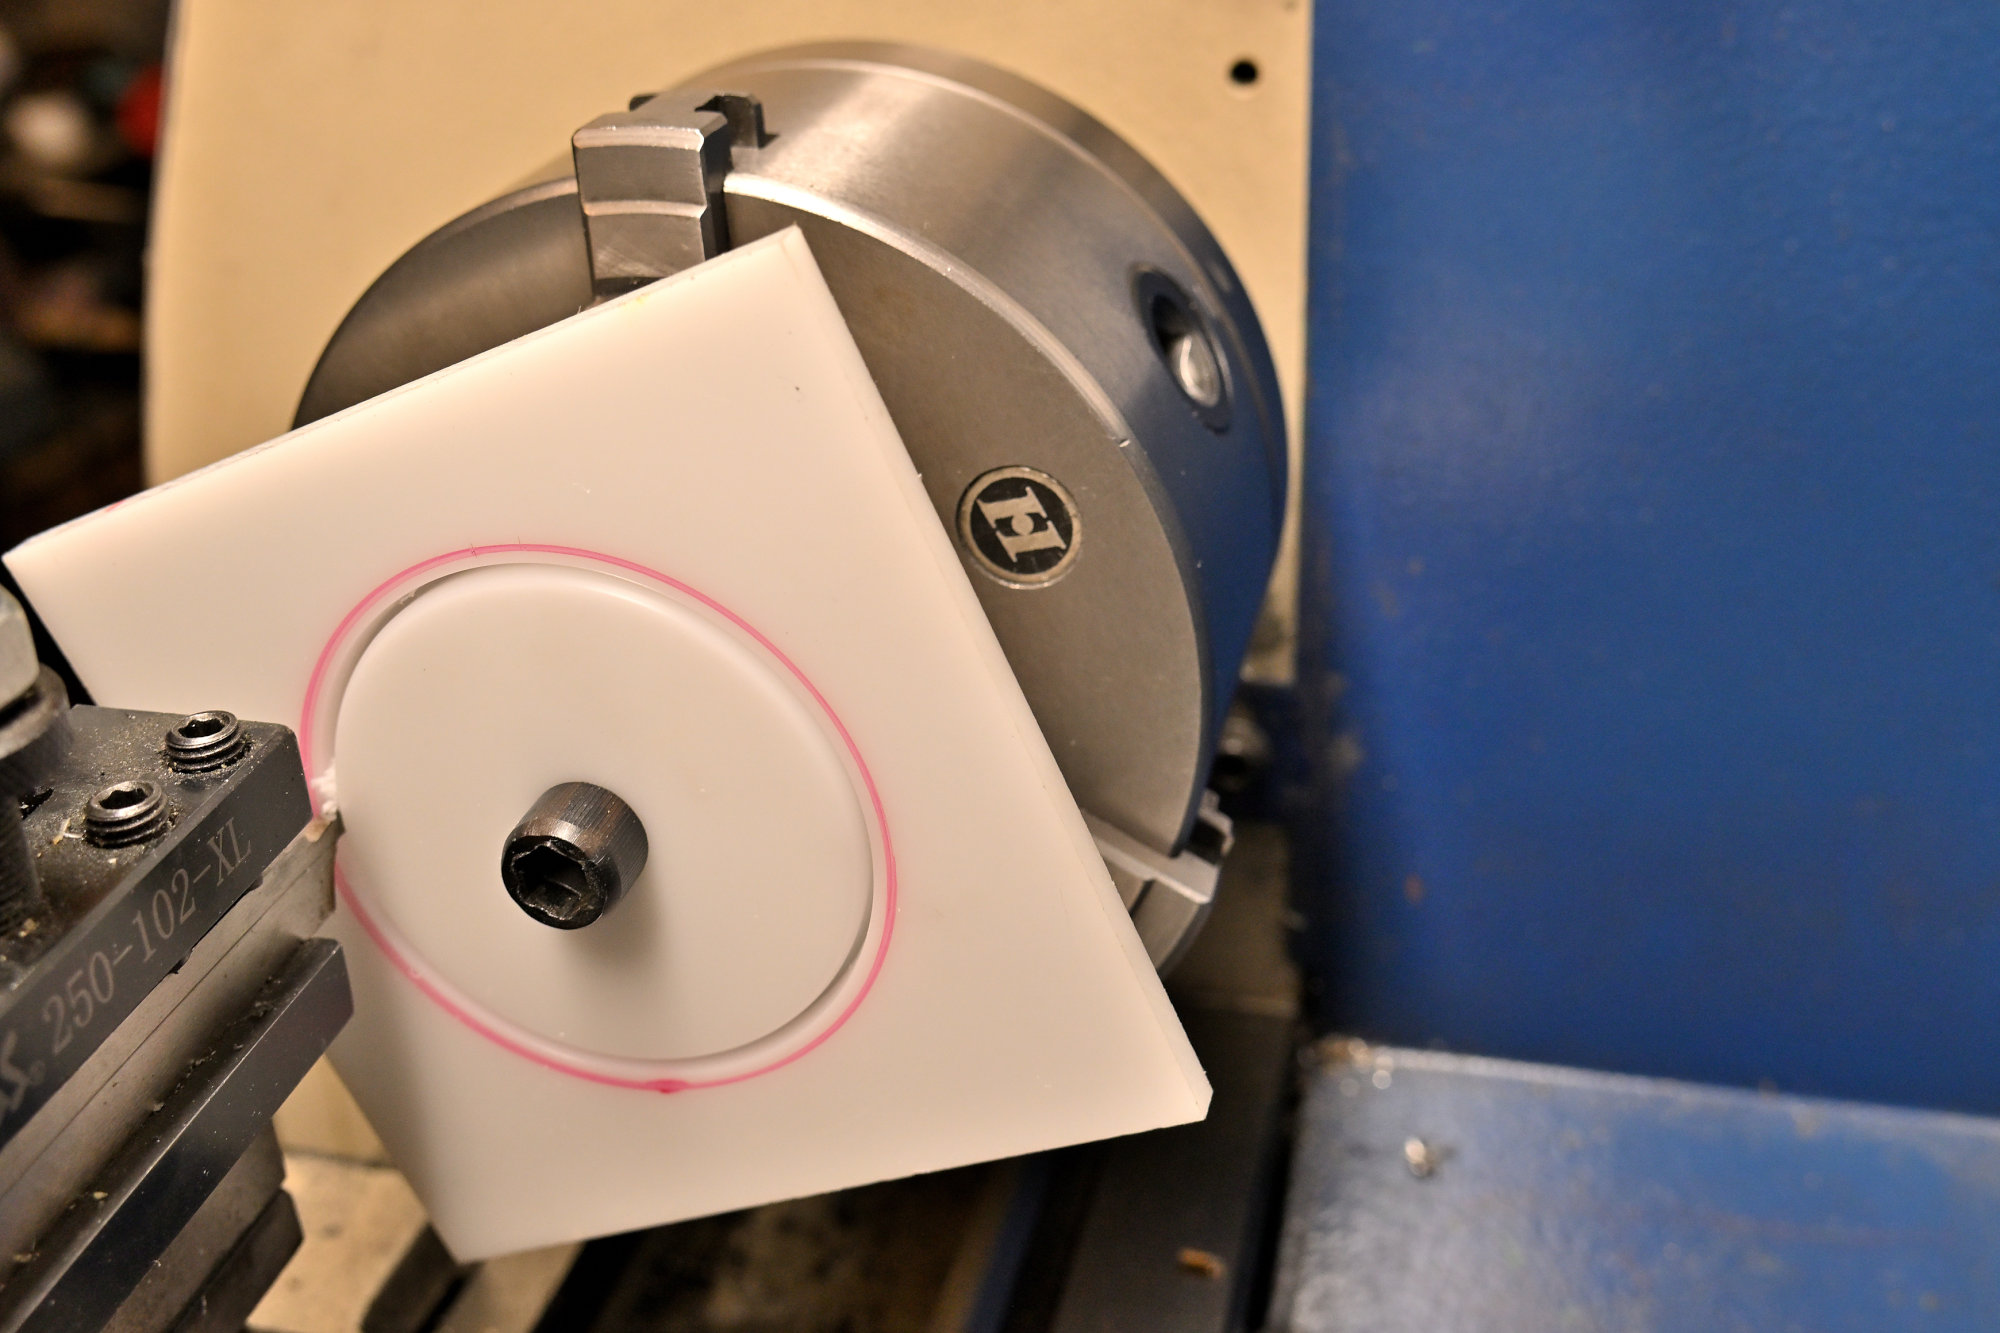
If you have access to a lathe, the plastic plate can be shaped accurately this way. Otherwise, it can also be cut and drilled by hand.
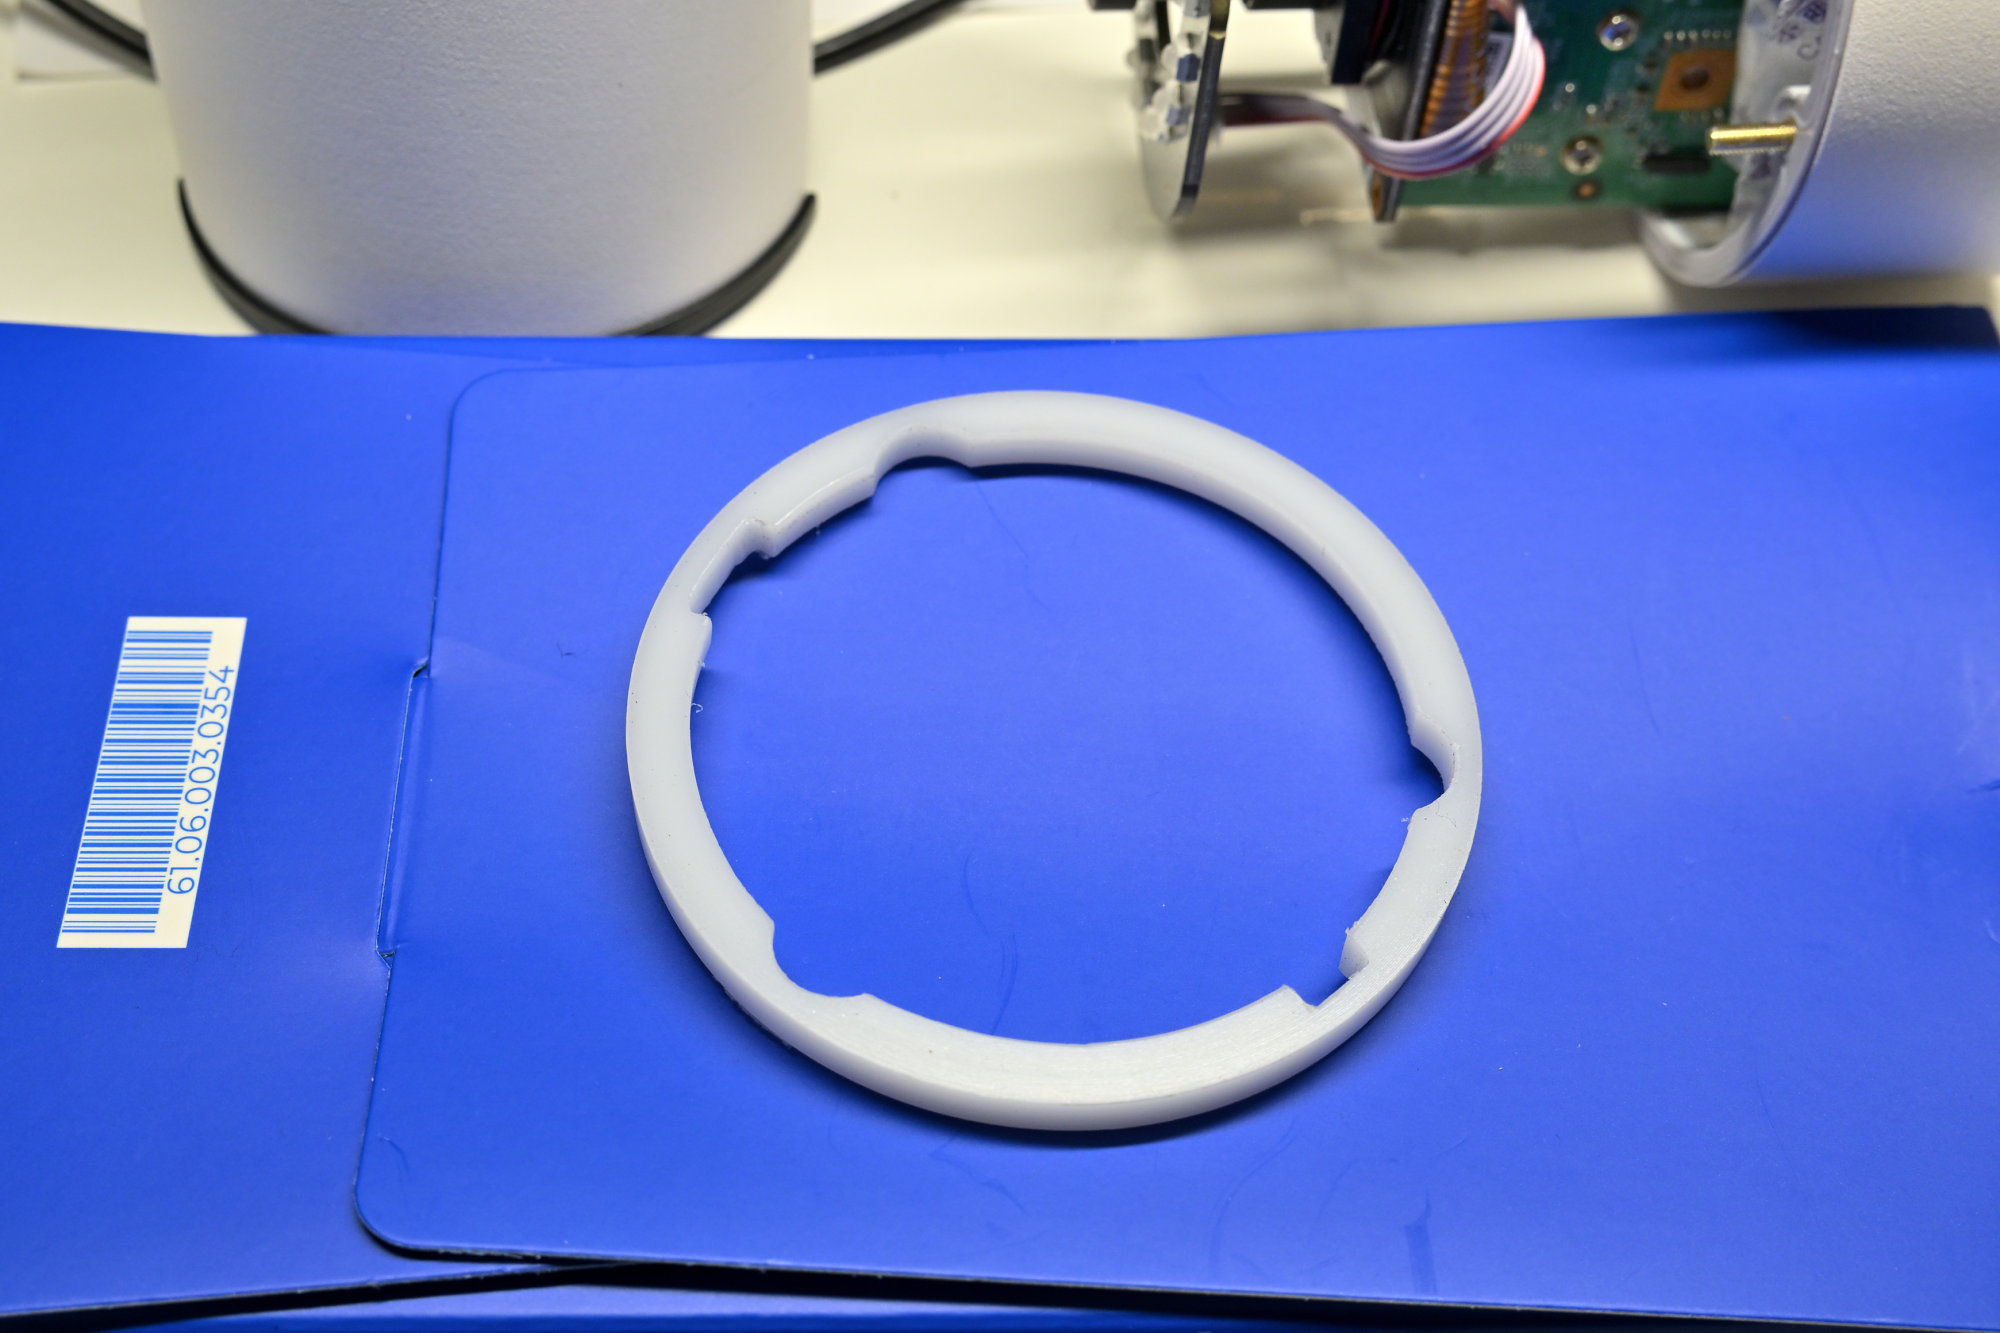
Cut the openings for the screws and the circuit-board holder.
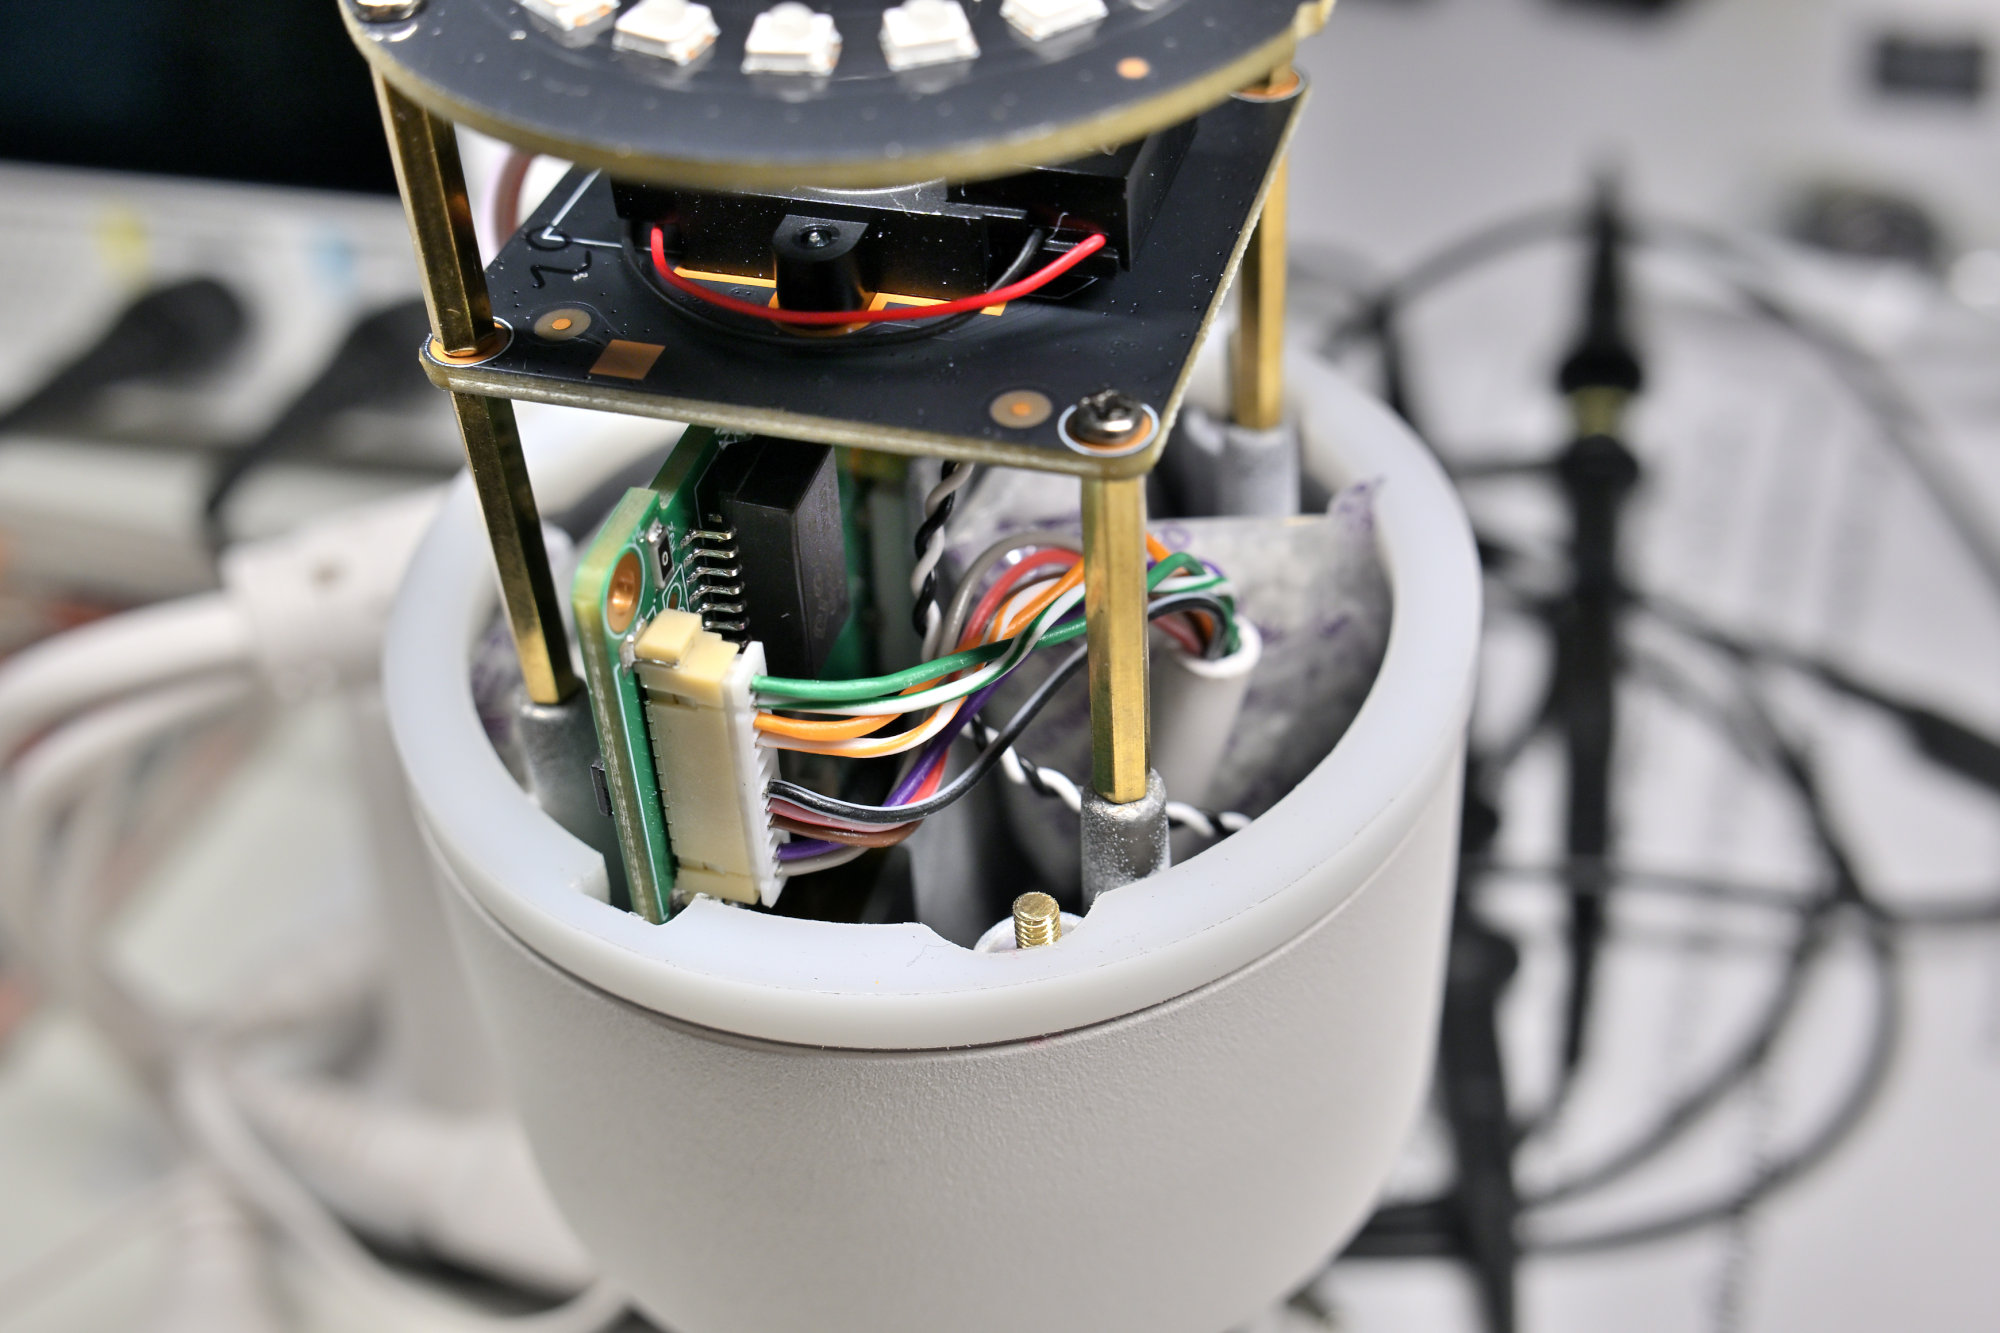
A 3D-printed spacer is another option. If the camera is installed outdoors, use a material that is suitable for outdoor use and resistant to UV light.
The lens sits almost flush with the front glass.
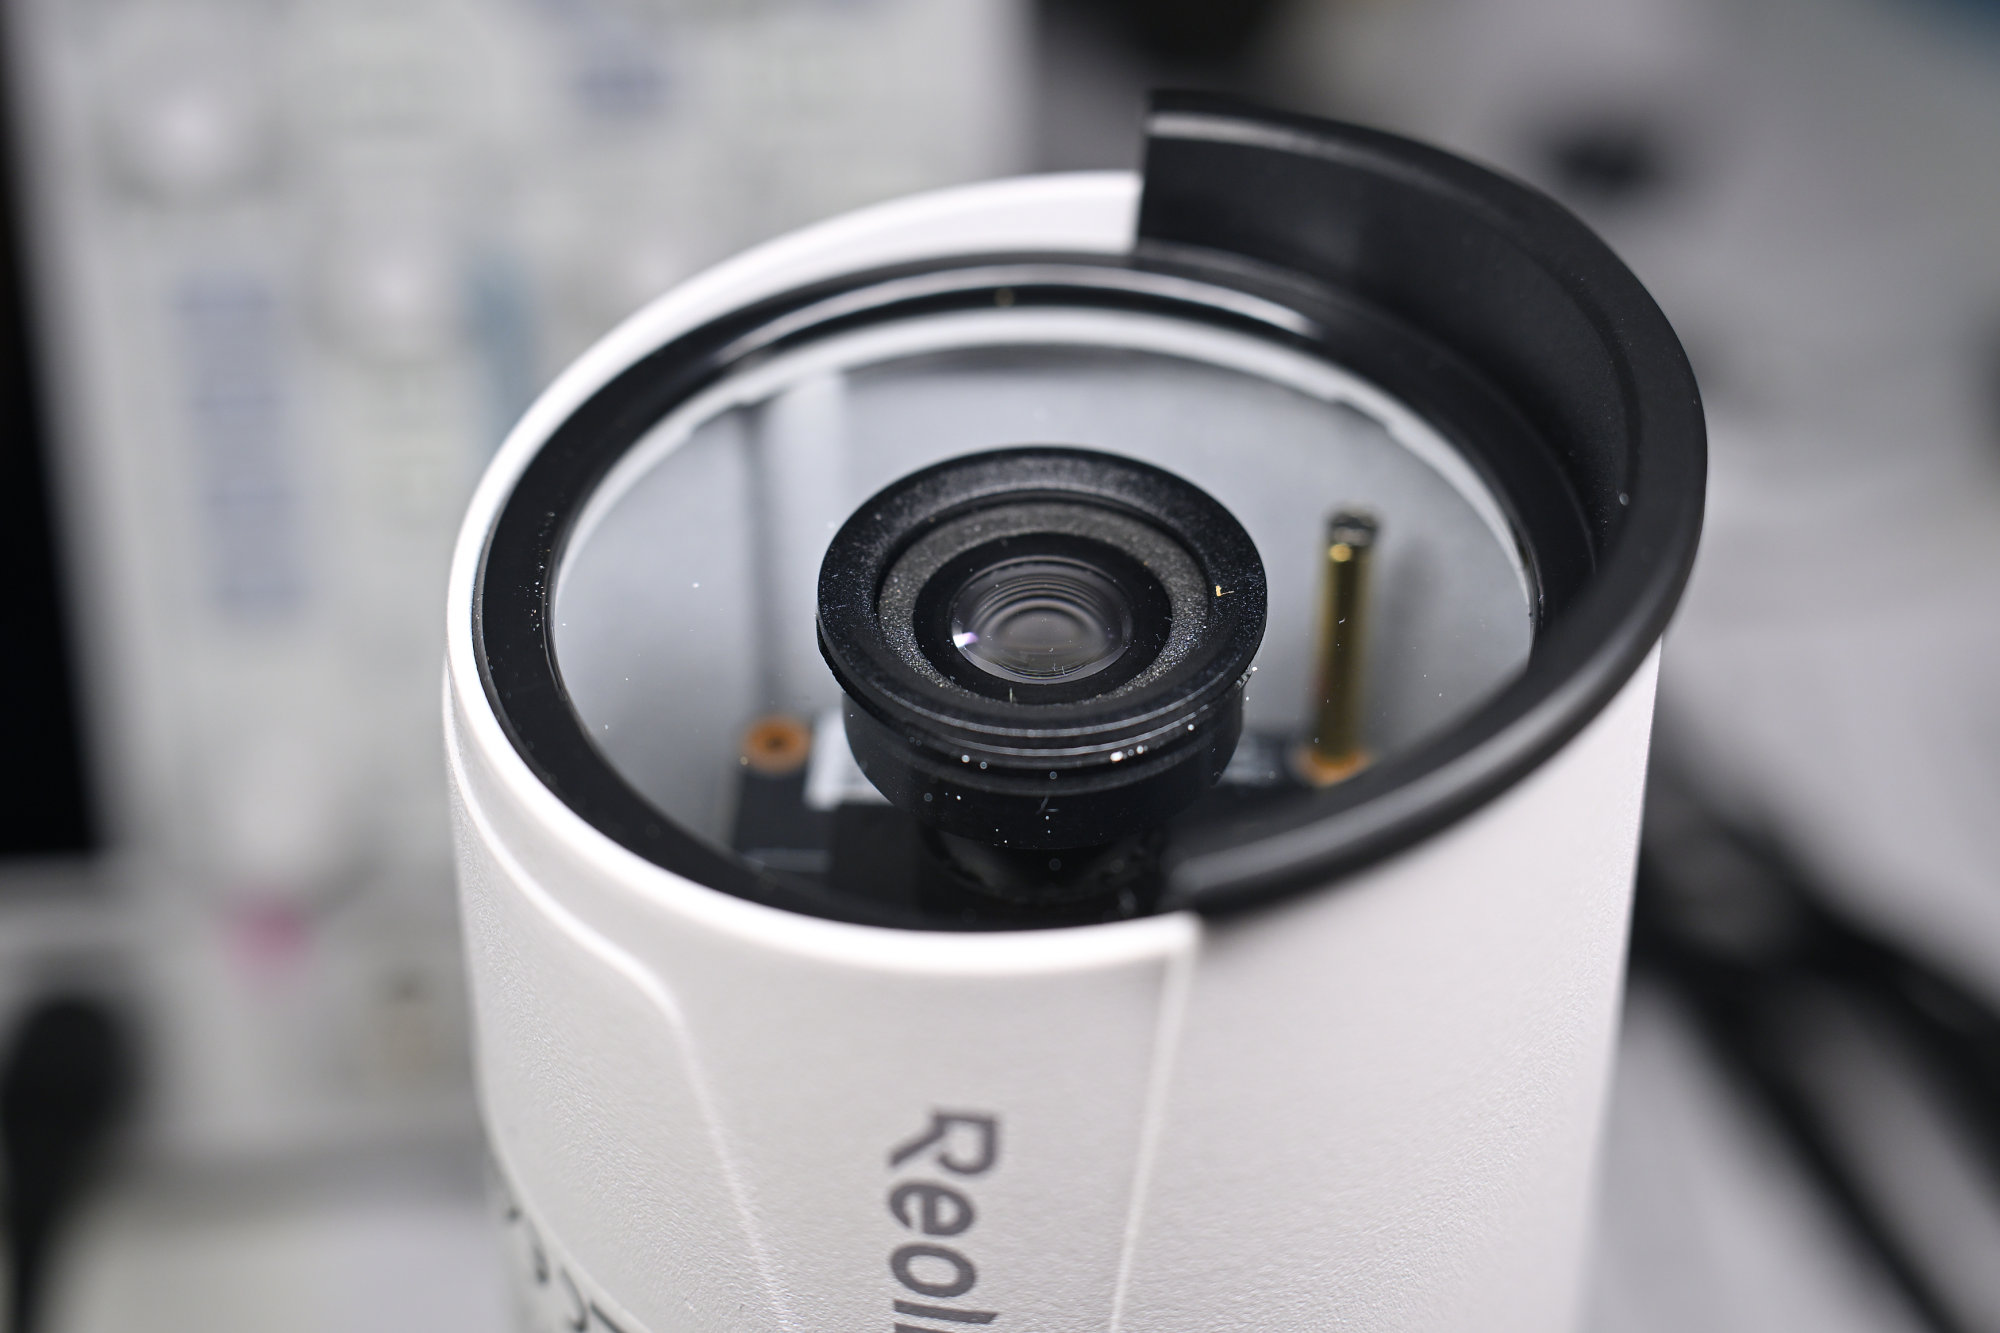
A second camera with a 50 mm lens
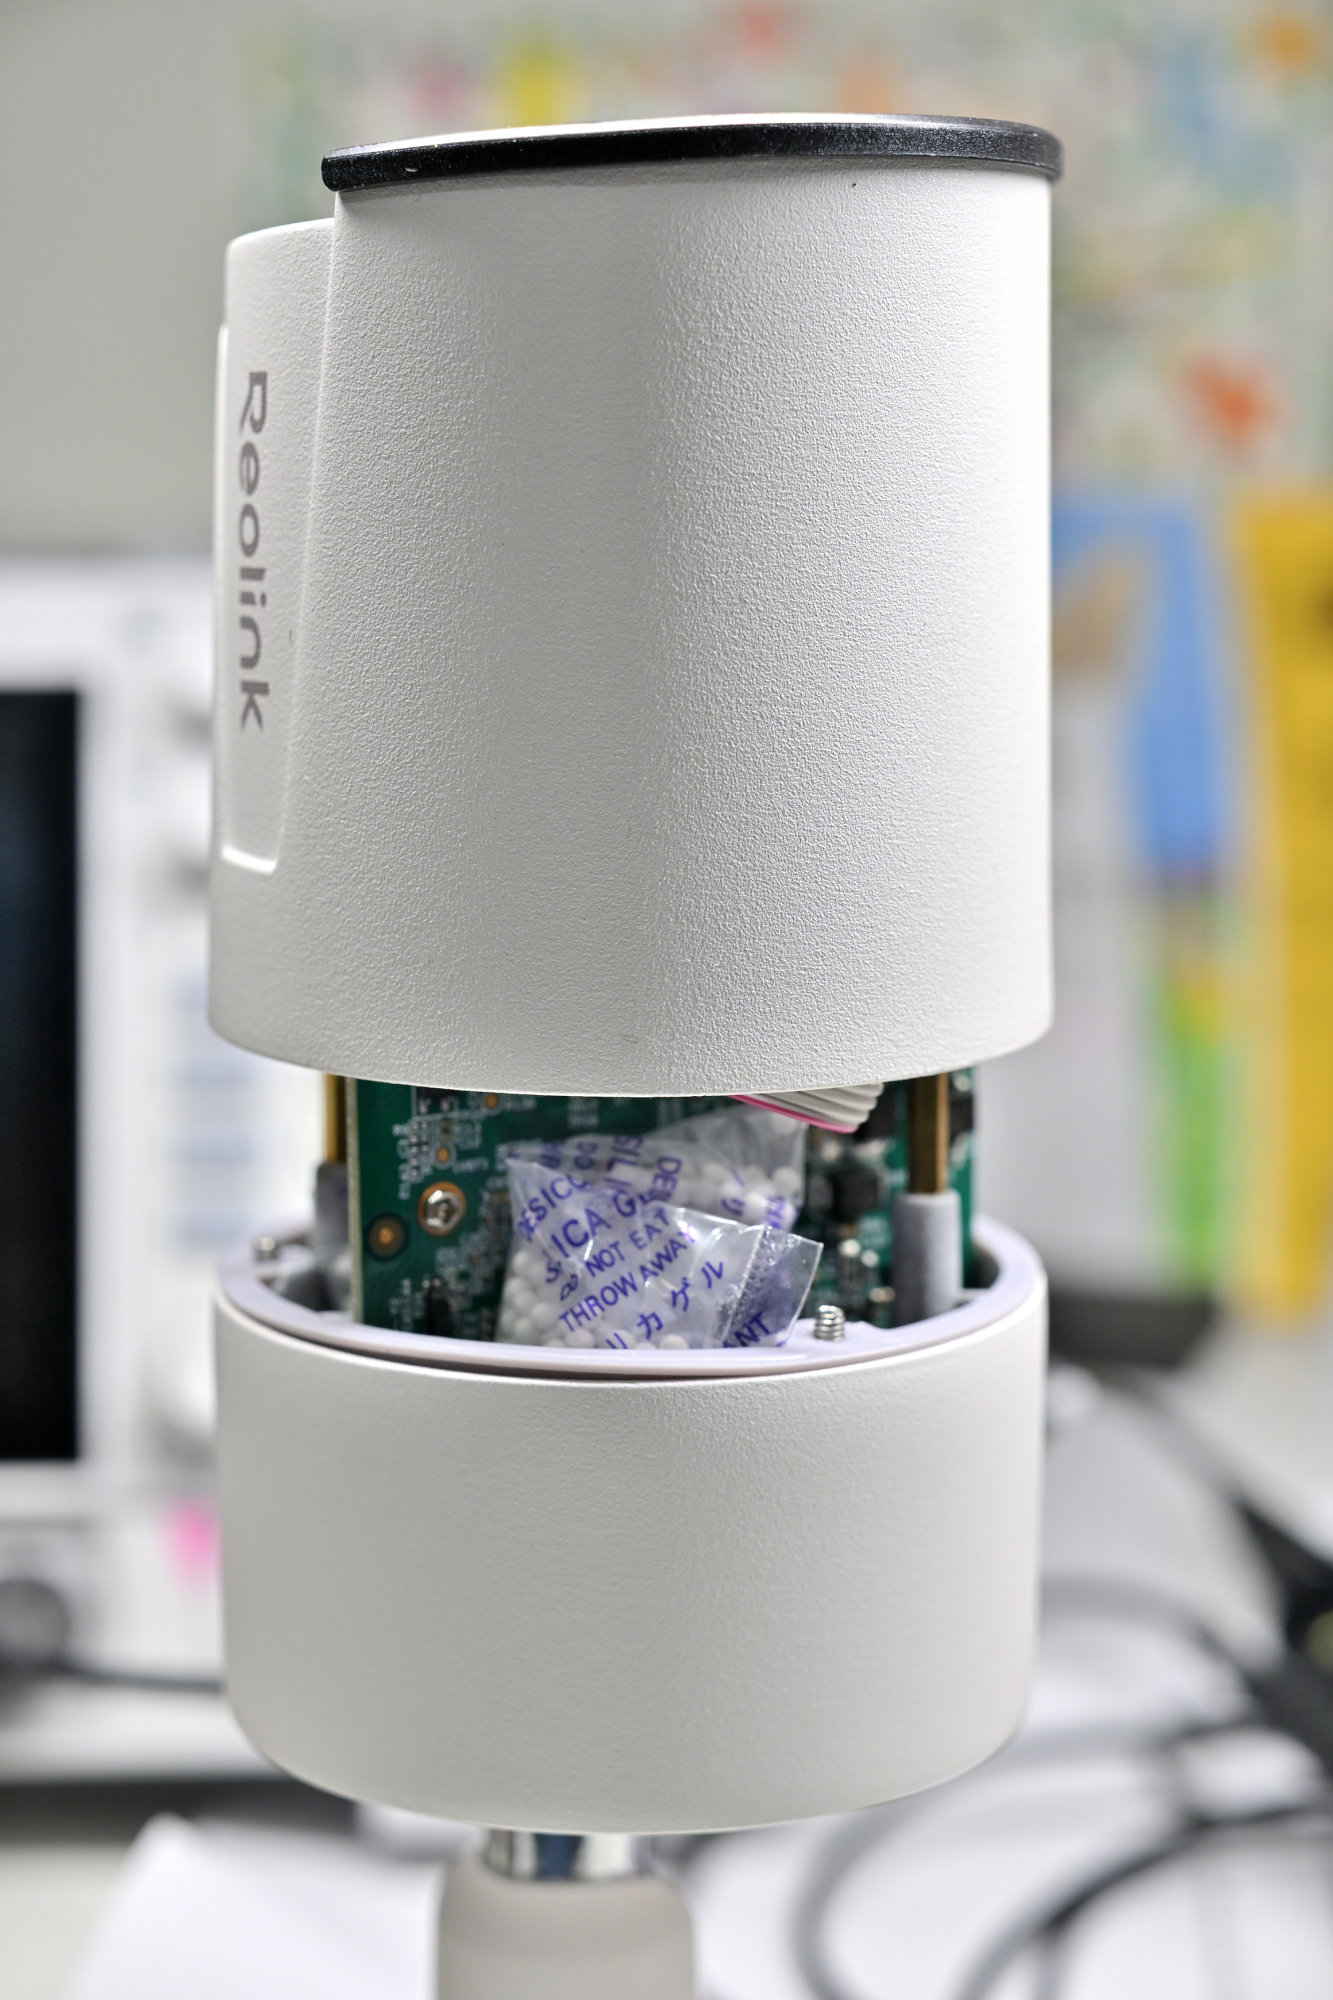
The lens is considerably larger than the 12 mm lens, and the spacer must be adapted accordingly.
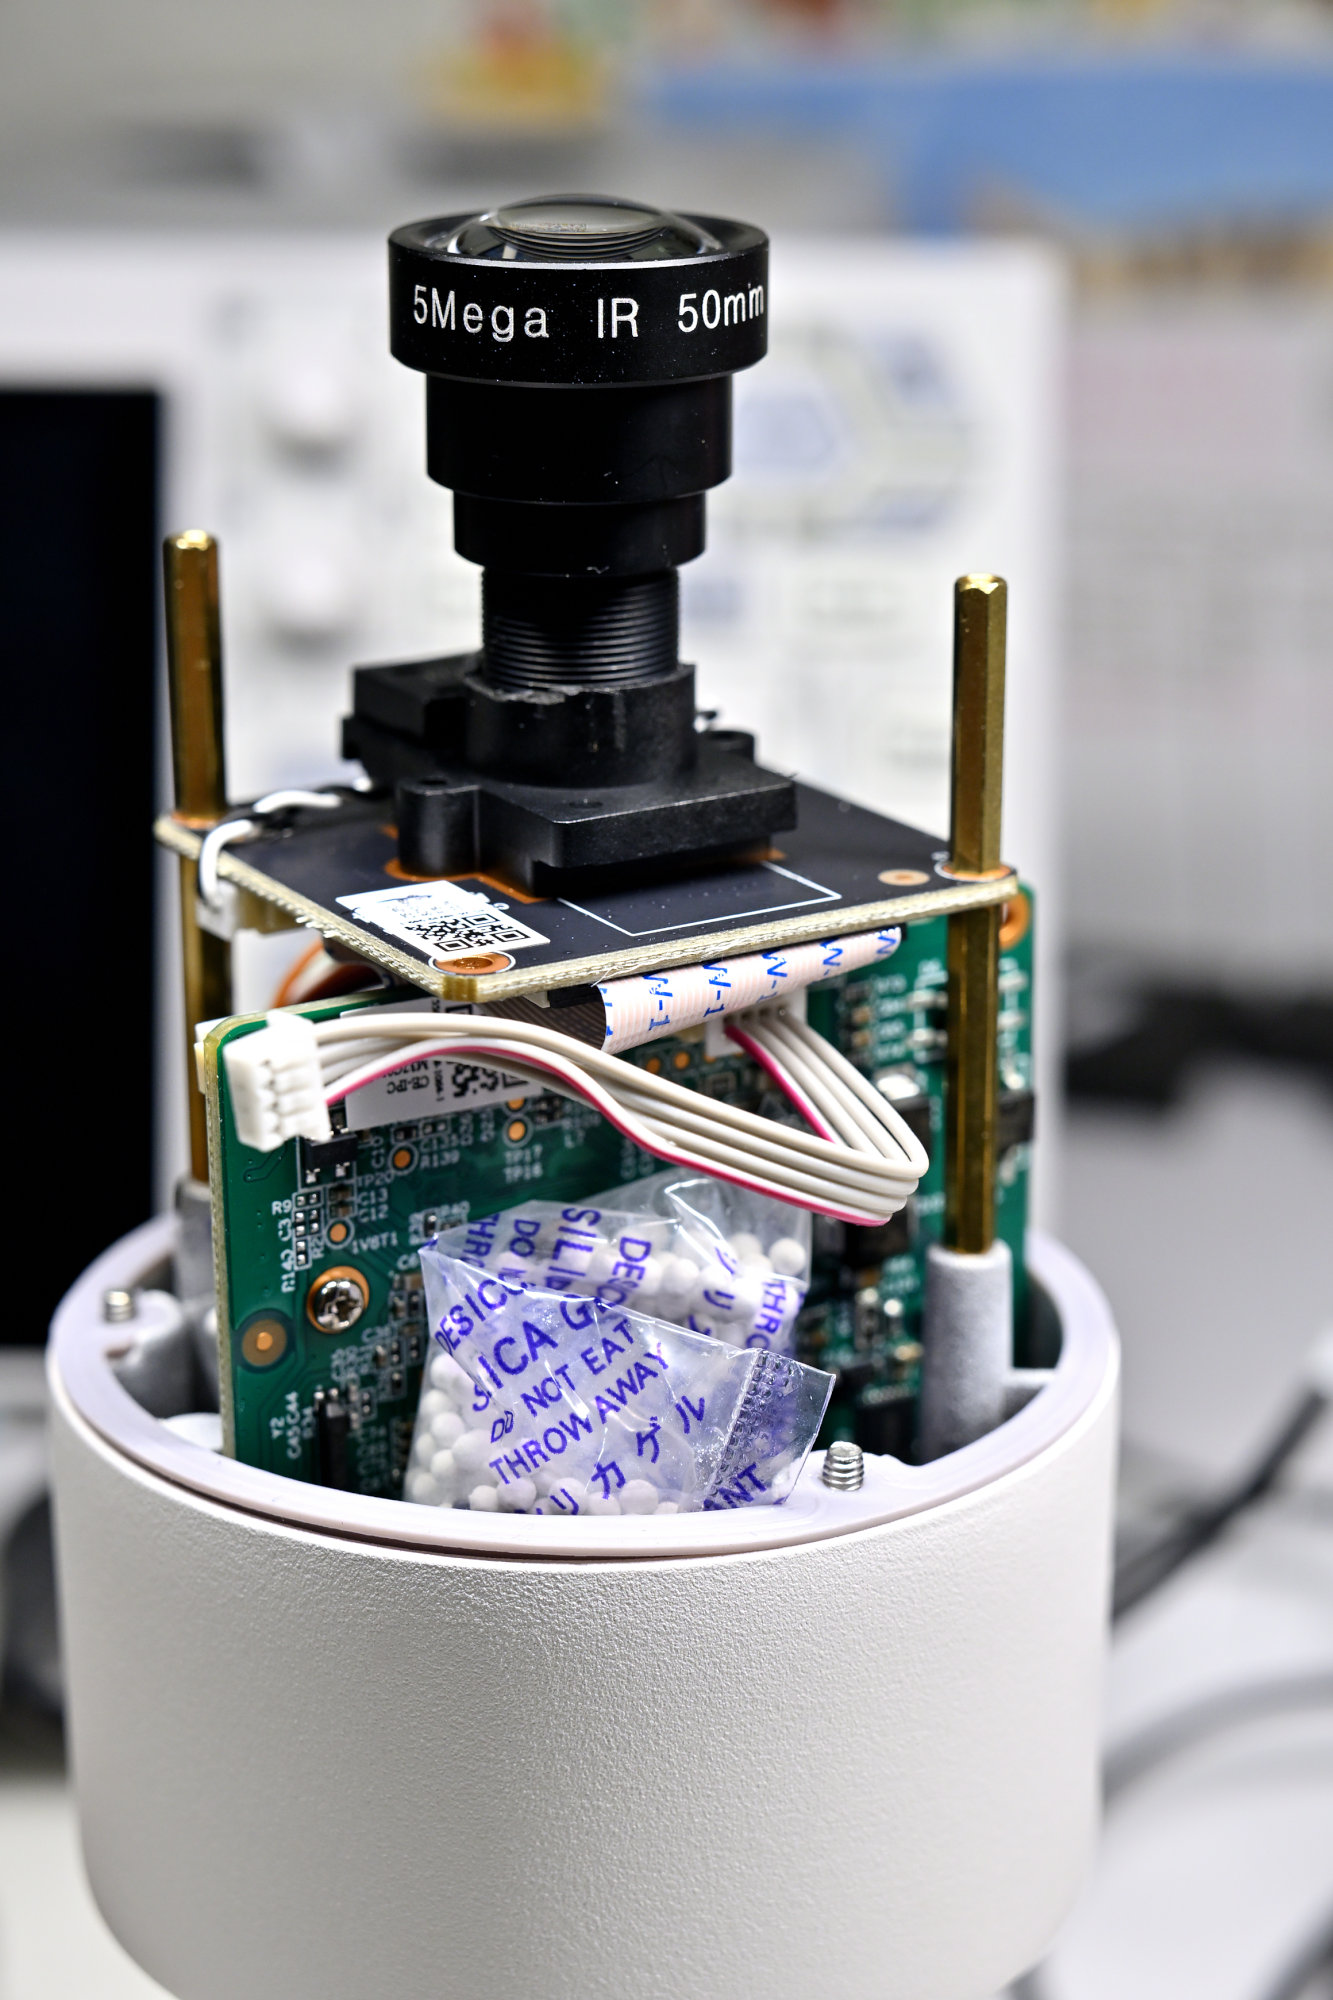
For this setup, the spacer needs to be 22 mm high.
-
The following image illustrates the limited nighttime quality of an inexpensive 12 mm lens. The bright spots are internal reflections within the lens; because the optics are uncoated, bright light sources at night can reflect between the lens elements and appear as spots in the image: