 |
The Old Grey Mare —
That's all folks... or is it? |
 |
Page 1
Page 2
Wrecked
Rebuilt
Page 5
Wrecked again
Re-rebuilt |
 |
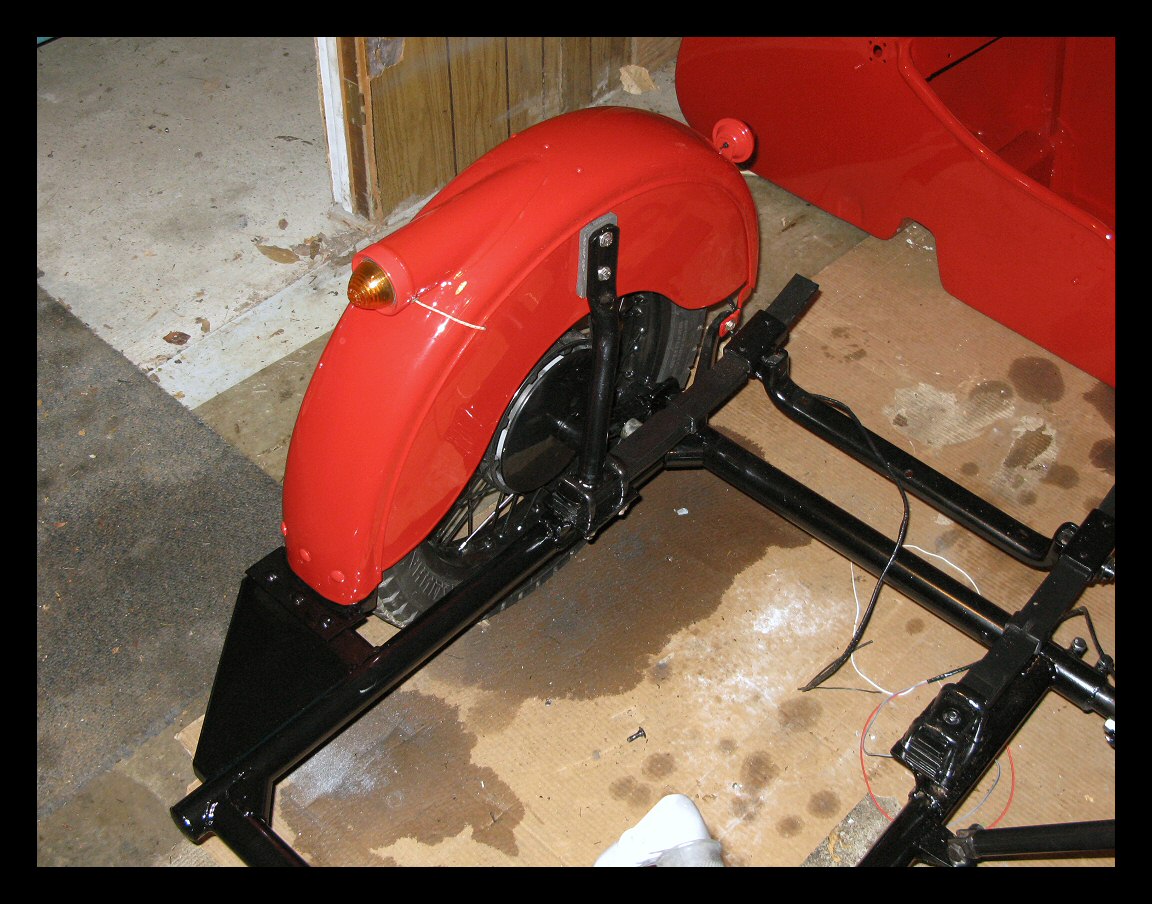
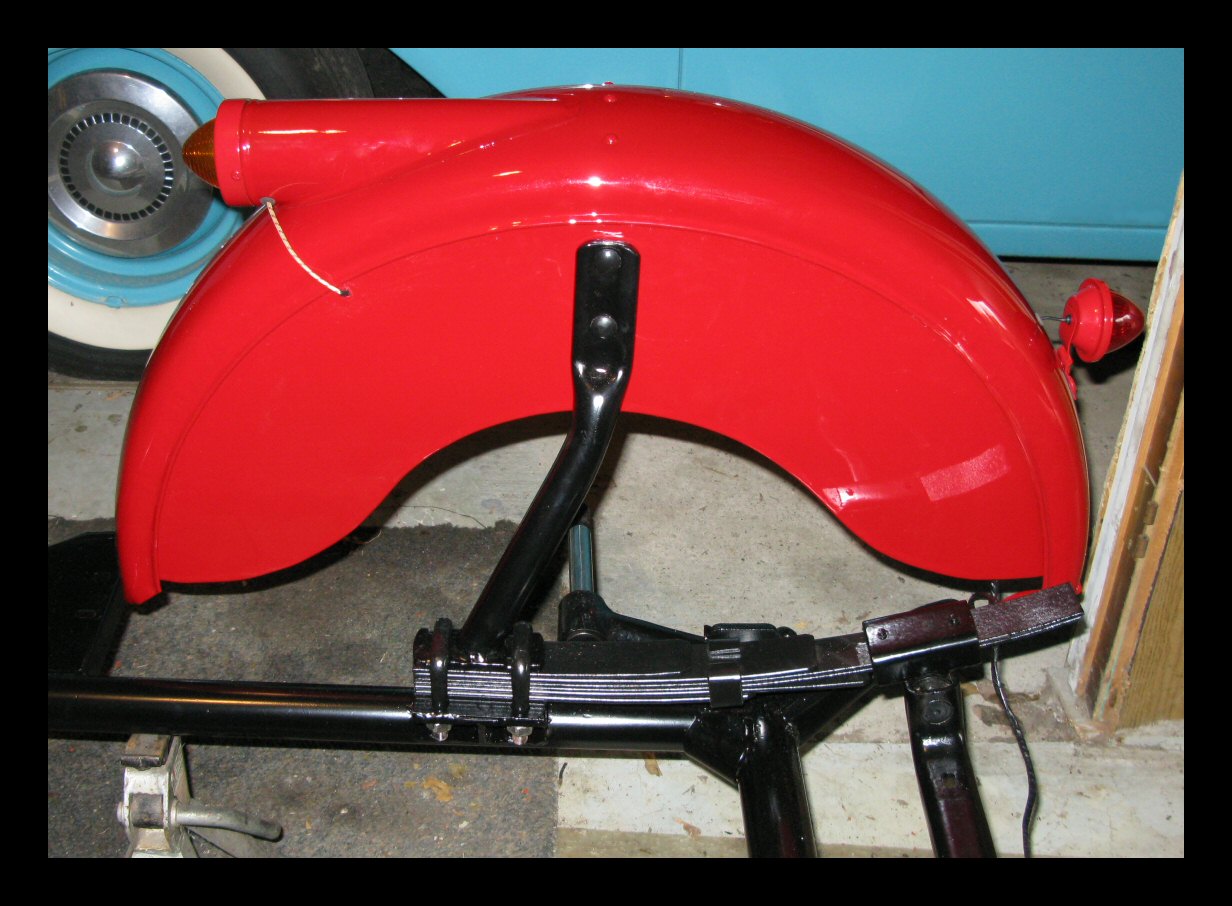
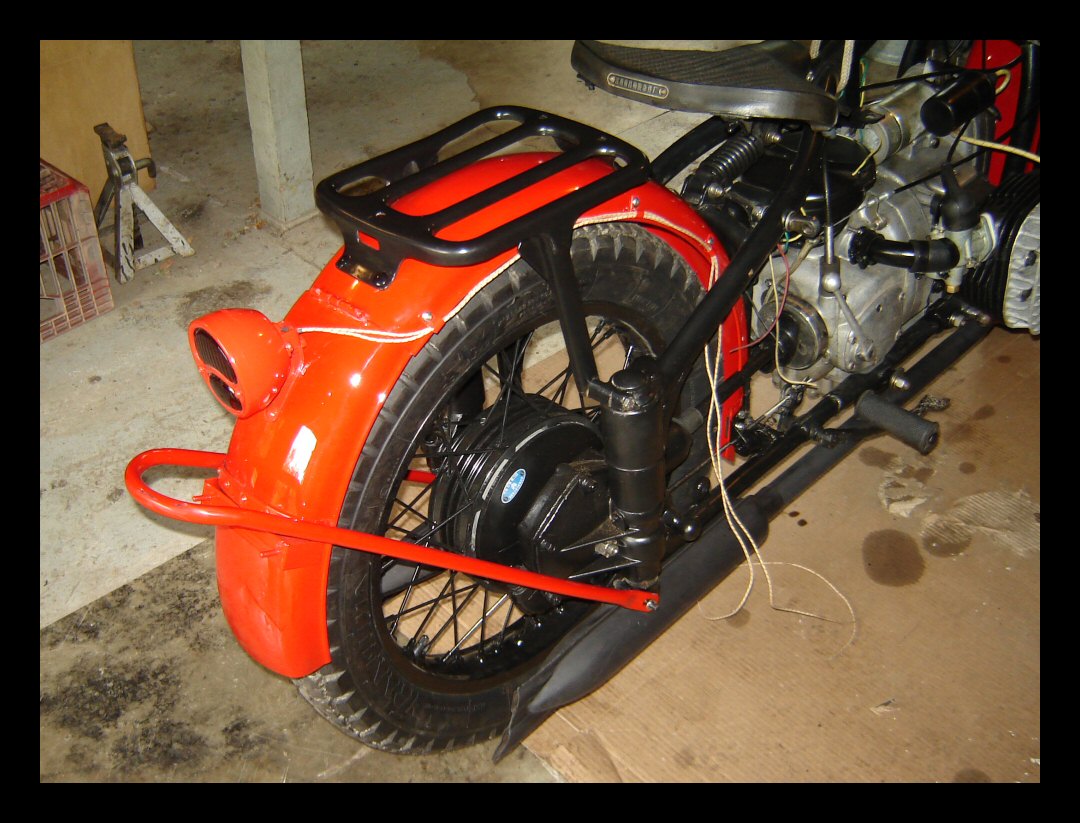
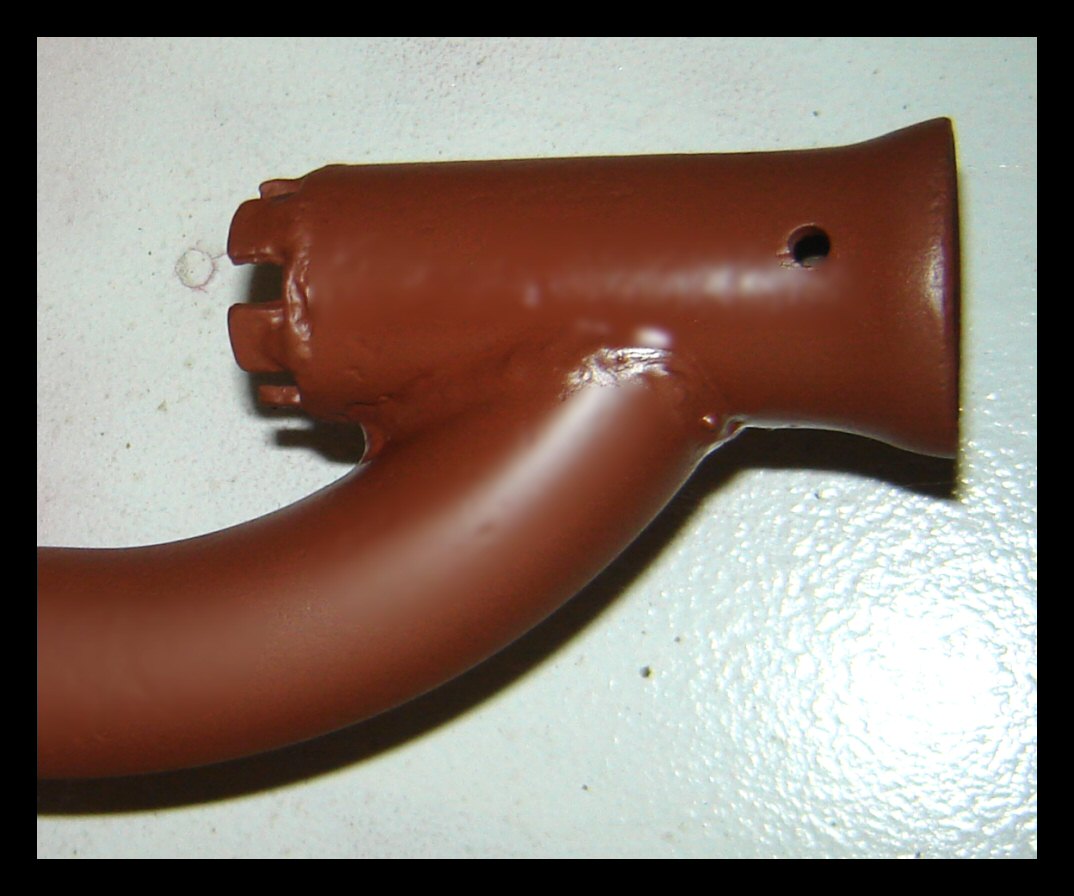
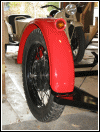
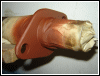
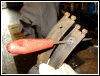
Getting this sidecar fender vertical proved
to be a challenge. Once everything was bolted up, the
fender was canted toward the sidecar. No way was that
gonna fly, so everything had to come back off... twice.
I've been through this scenario before and had a pretty
good idea how to address it. Even so, it added a
considerable amount of time to the project. |
 |
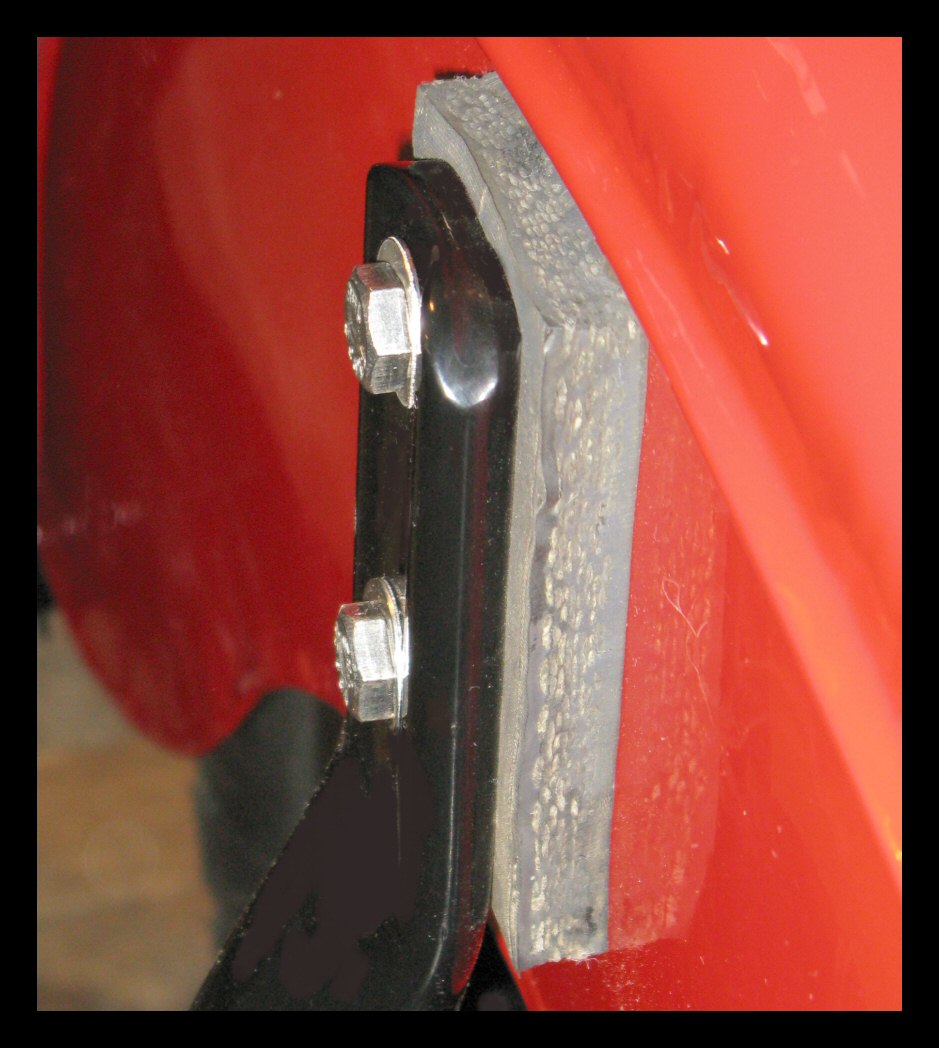
The solution consisted of several things. I
elongated some of the holes for the lower support which
permitted some adjustment. Another thing was to place a
5/16" thick rubber spacer between the main bracket
and the fender. It appears grey in this photo due to the
camera flash, but it's actually black. You'll also see
some &*%$! hex-head bolts instead of painted carriage
bolts. This was a last resort due to one of the square
holes getting rounded off, allowing the carriage bolt to
spin. This hardware is stainless steel, and it will
likely get painted black before all is done. I'd much
rather have carriage bolts here. |
 |
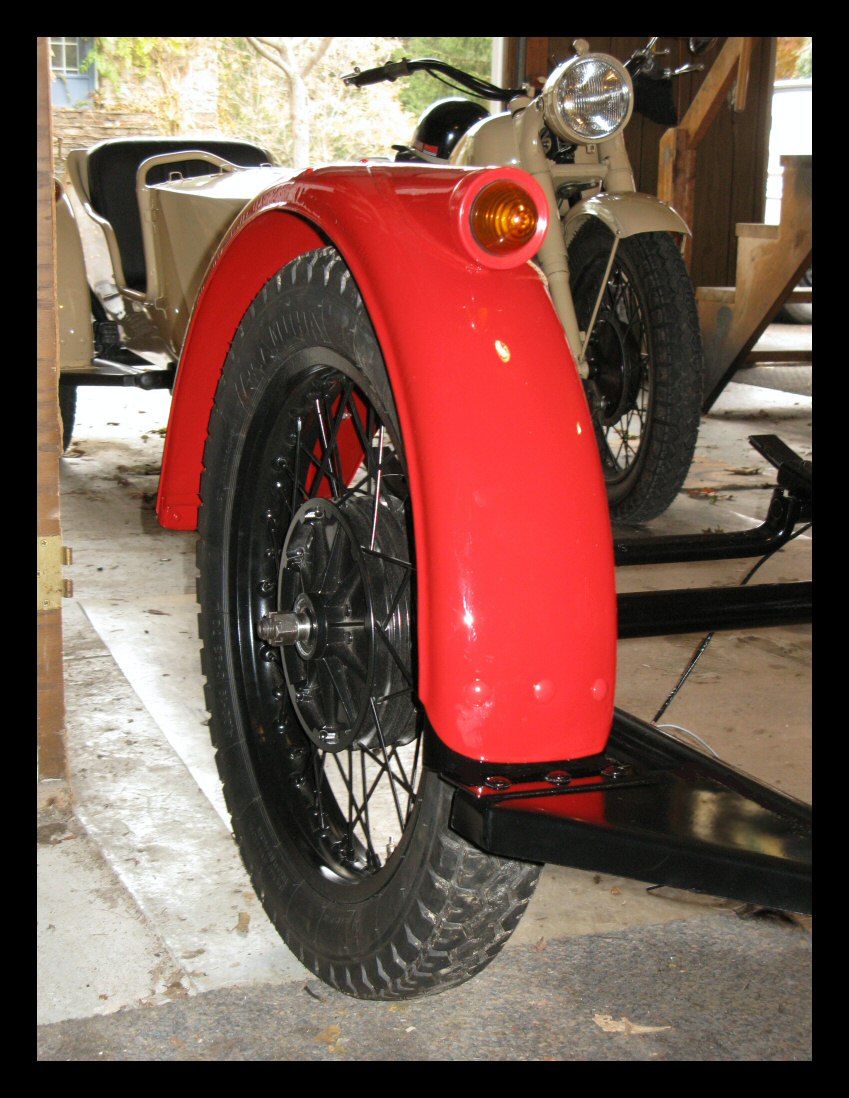
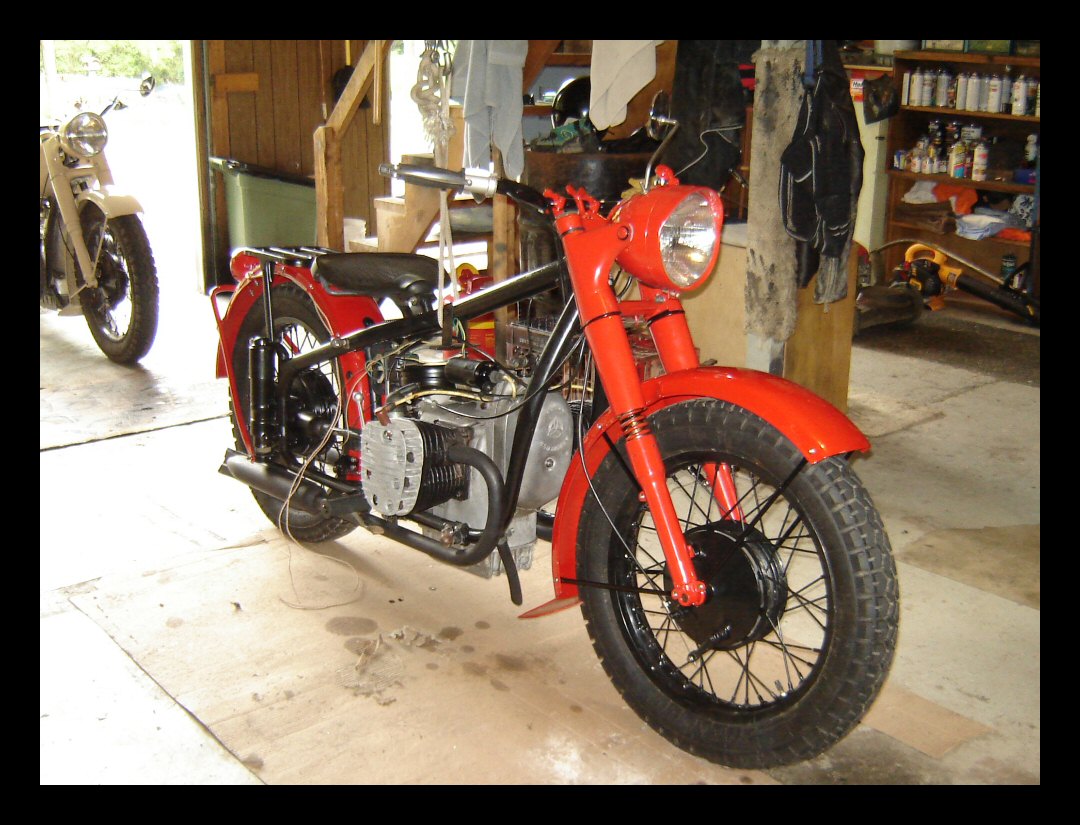
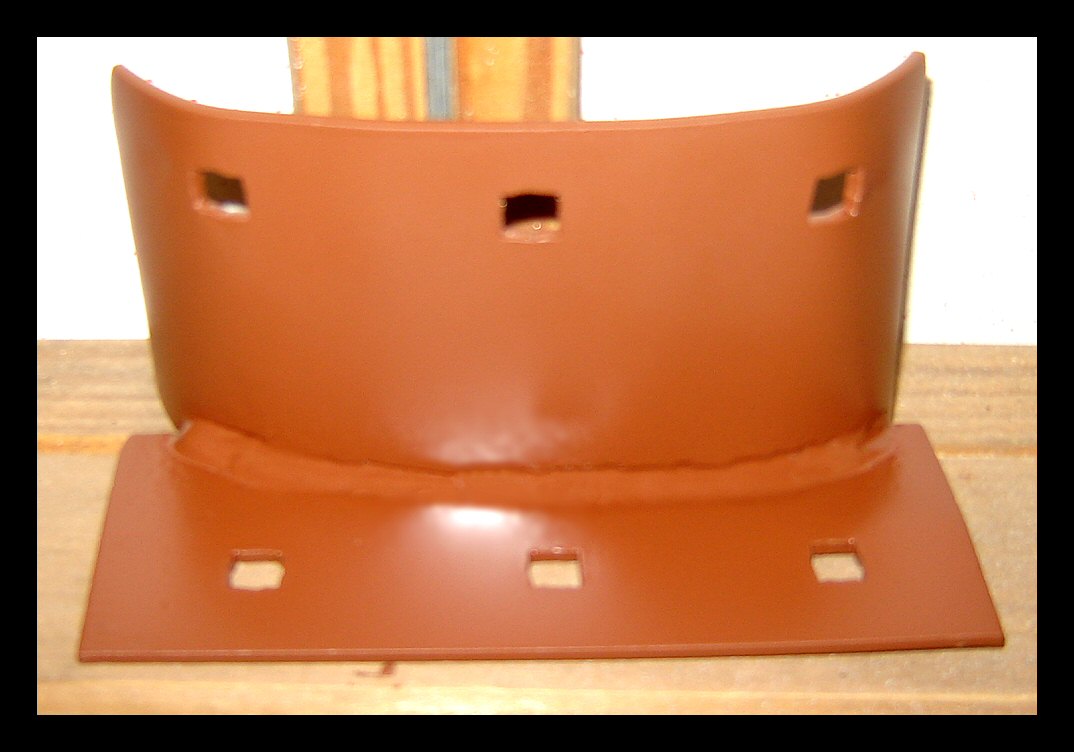
There. I spent a lot of time monkeying with
this fender, but the results are A-okay. The lower
support is now black instead of red, and it shows off the
nice contours of the fender. The fender on the other bike
is square at the bottom, unlike this one which is nicely
rounded. Messing around with this fender illustrates the
sad situation with modern CJ parts—lack of
standardization and lousy quality control. The fender
itself is fine. The problems were with the two brackets
and the sidecar frame. The holes weren't where they
should have been, and the angle of the main bracket
wasn't right. |
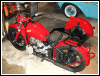 |
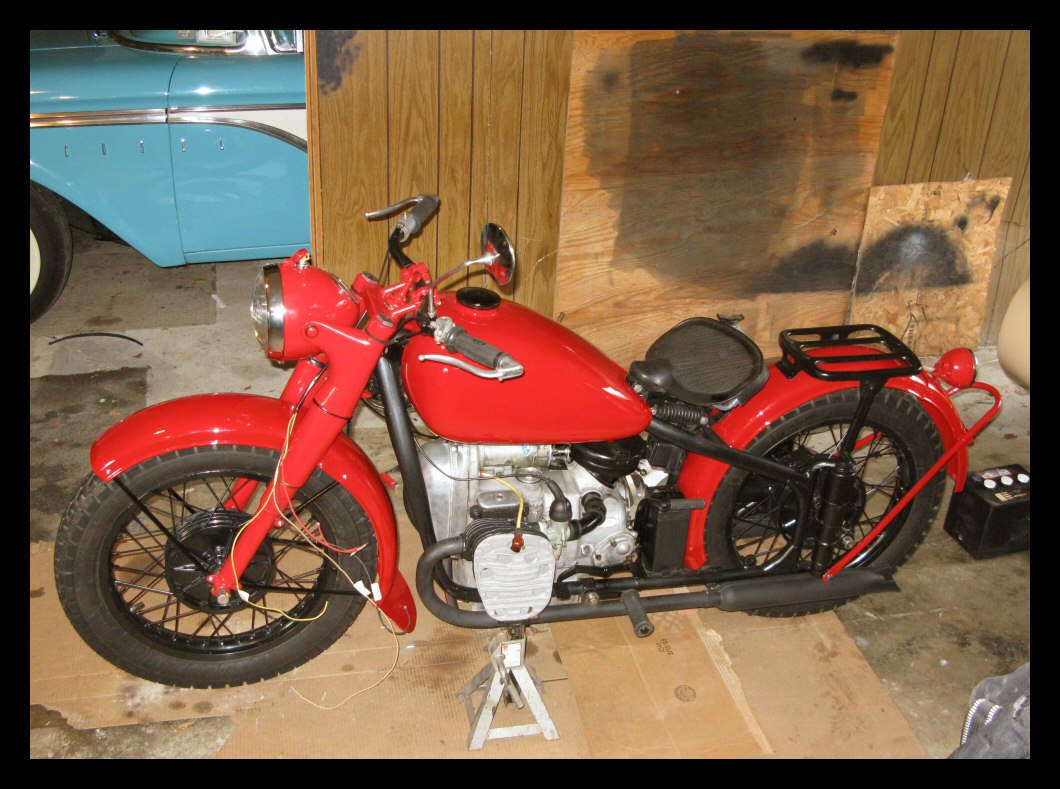
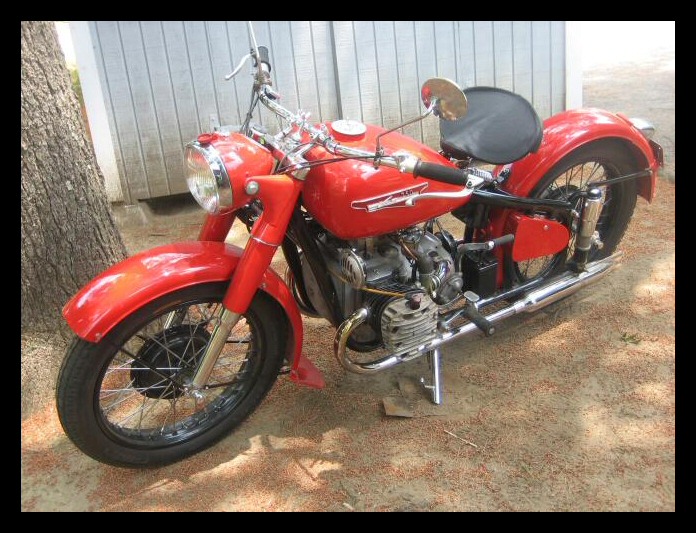
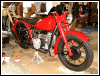
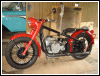
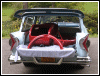
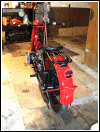
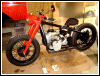
That's the bike as of last evening. None of
these photos really convey the actual shade of red which,
in person, is quite attractive against the black frame.
This bike is probably going to attract more attention
than I'd like sometimes. Anyway, now it's time to get
cracking with the sidecar. |
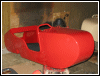 |
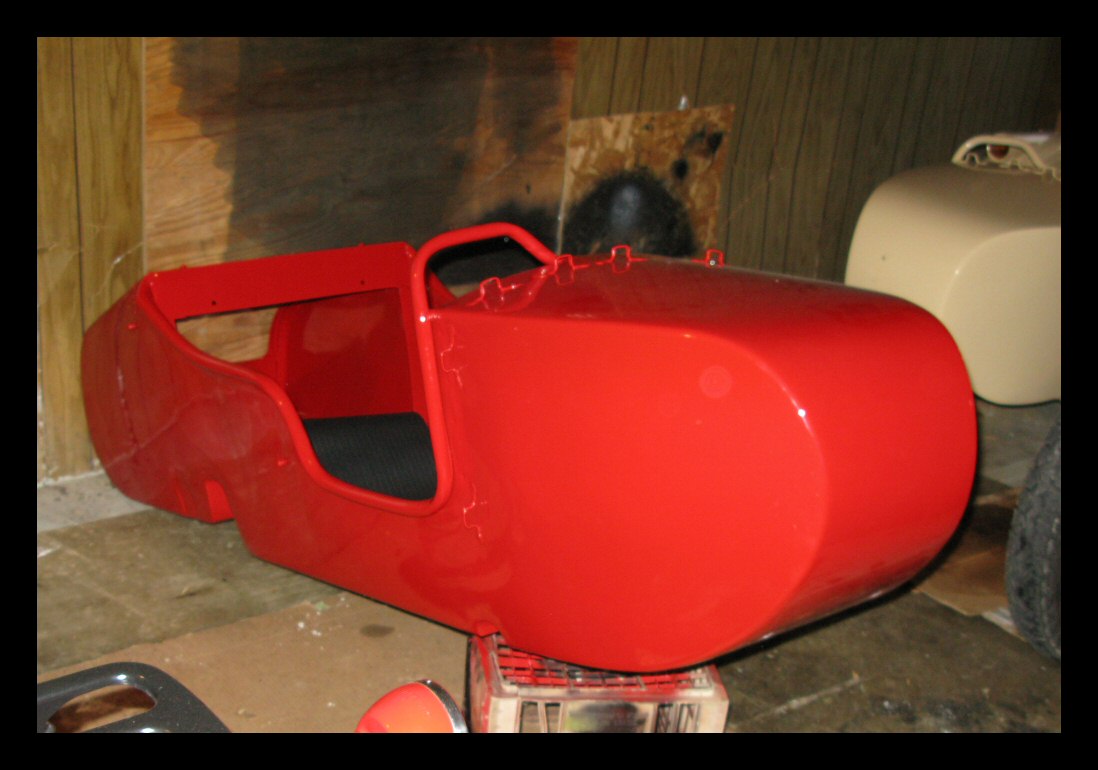
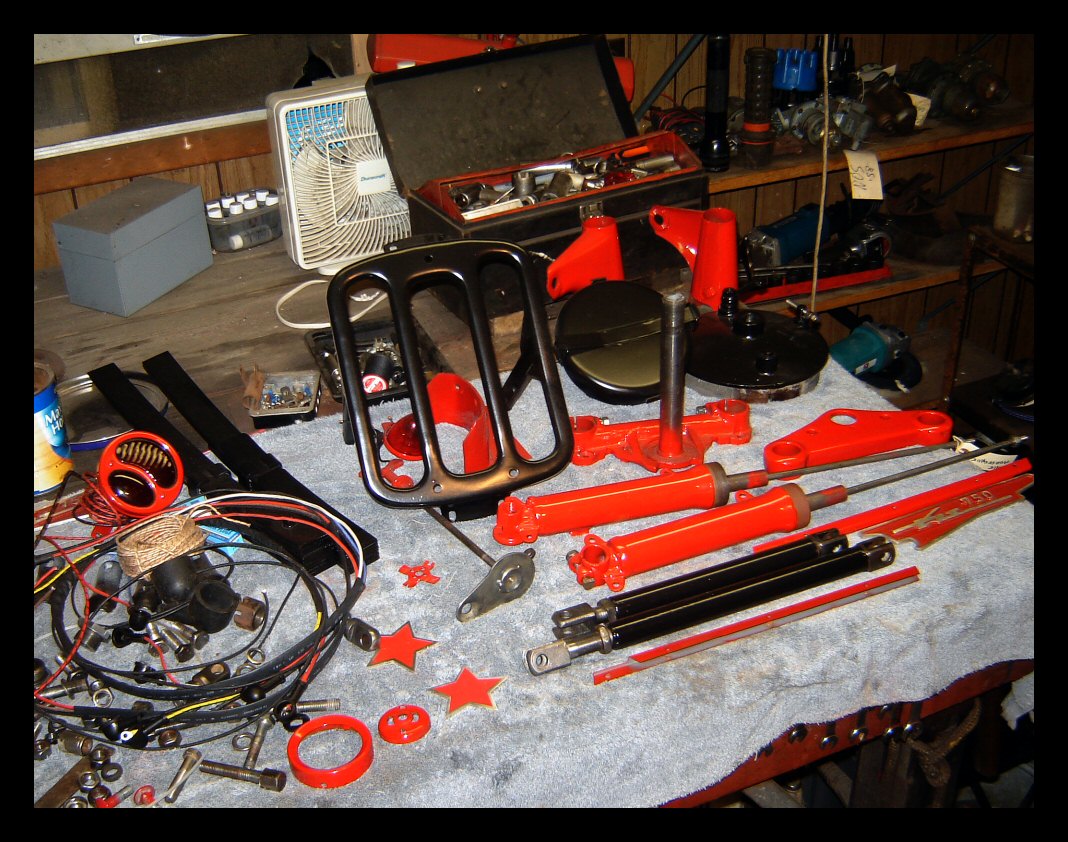
And there it is. There's quite a bit to do
here—assemble the trunk lock mechanism,
install hinges on both the bucket and the lid, install
the battery carrier, install the knee guard, seats, floor
mat, toe board and duck boards. I'll also install the
edge protectors salvaged from the wreck. They fit over
the vertical sheet metal edges next to the passenger's
legs. |
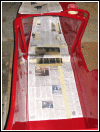 |
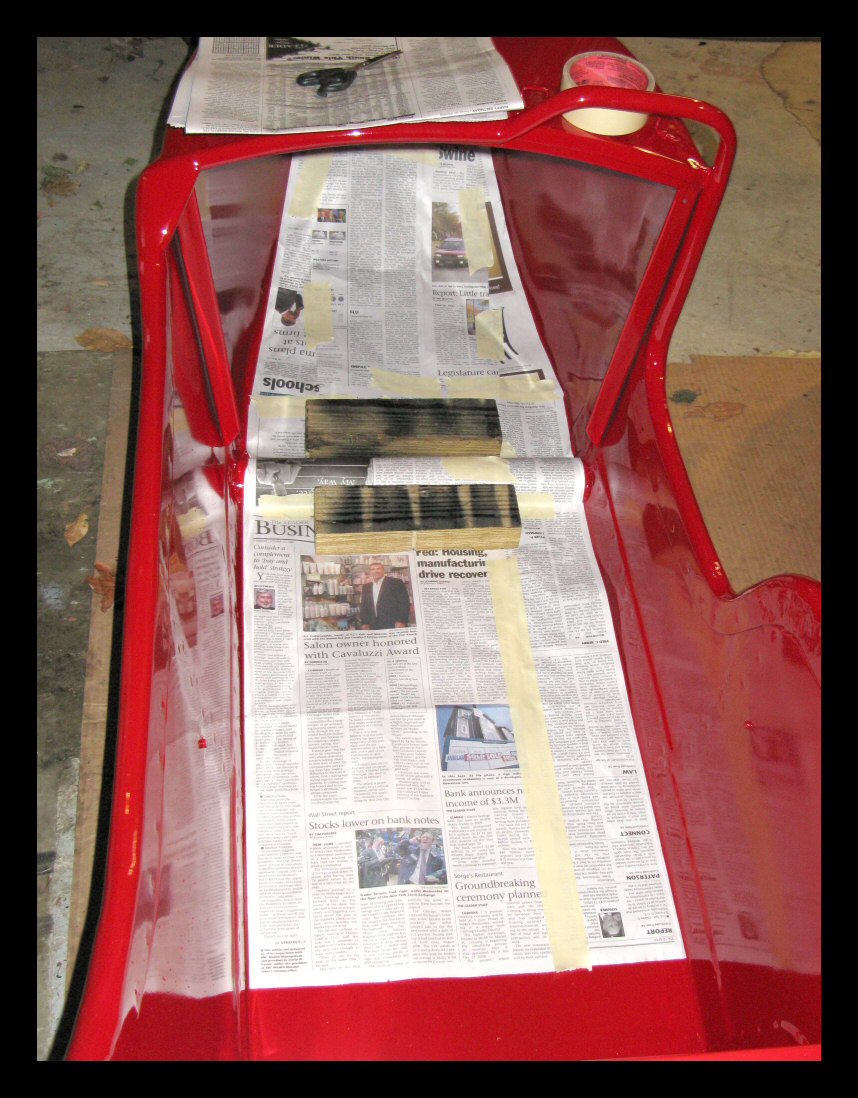
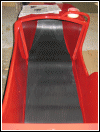
Might as well start with the mat. I'm using
black "runner" from the local home improvement
store. It's just rubber with some corrugations, the same
stuff I've been using right along. It's cheap and easy to
work with. It also looks fine, but it needs to be cut
carefully in order to fit properly. To make a pattern, I
just used some newspaper pages taped together. The floors
in these buckets can be pretty irregular, so this is a
good way to determine how to cut the mat. Blocks of wood
hold the paper snug where it crosses the hump for the
frame. |
 |
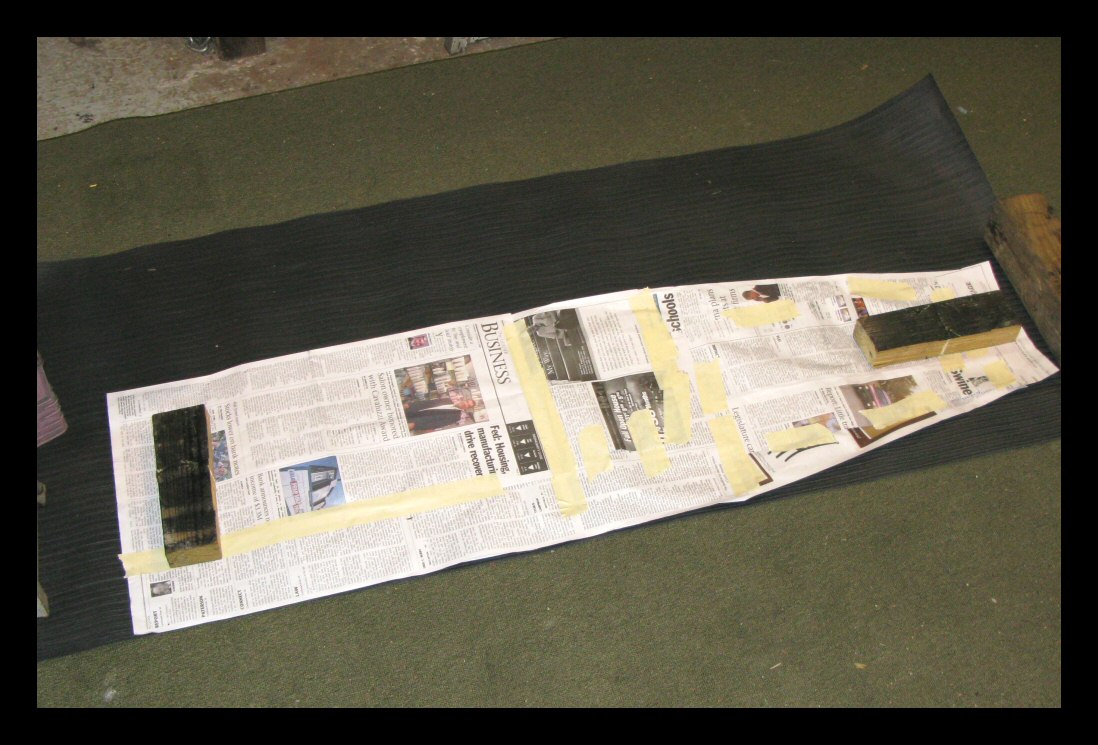
Here's the resulting pattern laid over the
rubber matting. Now you just make an outline and cut the
mat with a Stanley knife, or even a pair of scissors. I
used a utility knife and a metal straight-edge. It took
about 15 minutes to make the pattern and a minute to cut
it out. |
 |
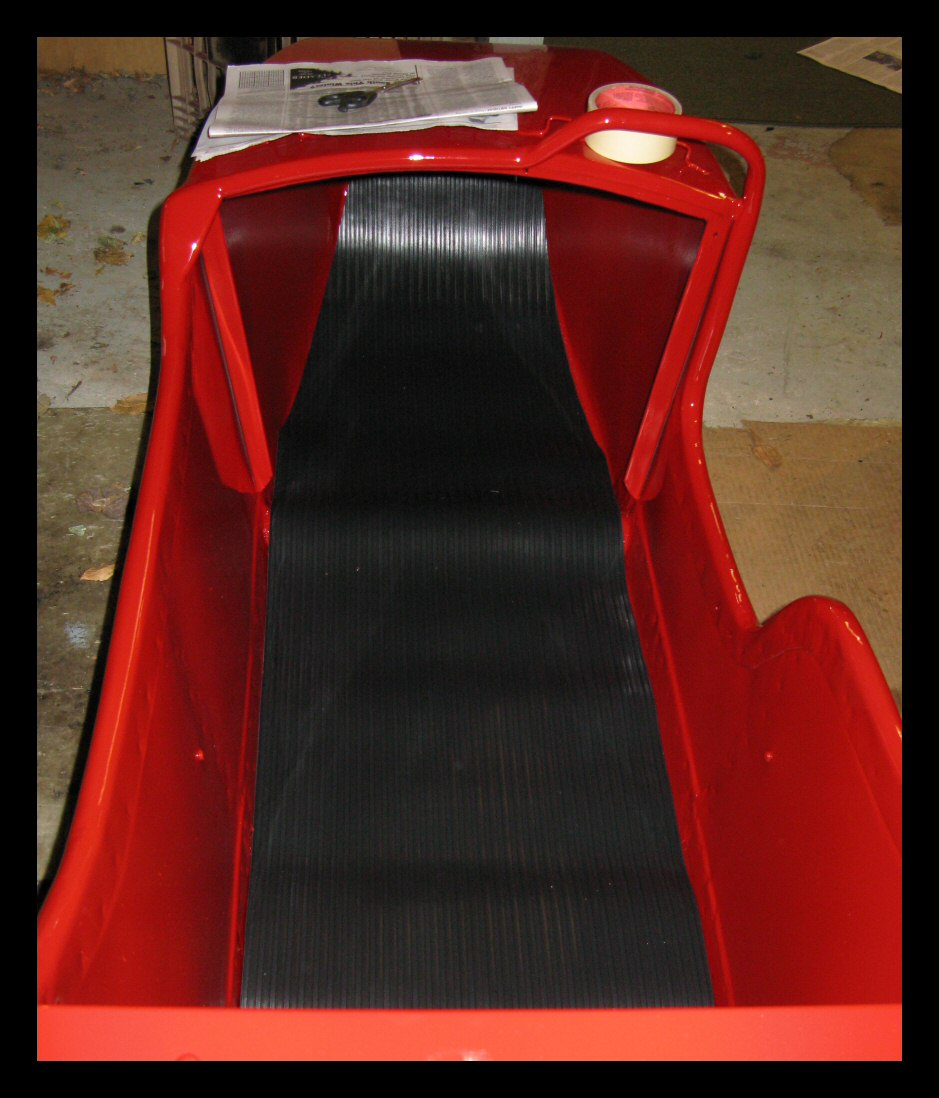
The mat fits pretty darn good. Of course,
the toe board hasn't been installed yet. A good way to
make the toe board bolt holes through the mat is with a
soldering iron, poked through the holes from the outside.
With this technique, all the holes will line up
perfectly. A set of duckboards will be going in this
bucket as well. I'm going to take a crack at making a set
next week, after everything else is finished. The metal
strips needed for duck boards aren't available locally so
we'll probably be heading down to the big city (Corning)
for those. |
|
|
 |
The best laid plans of mice and men, subject
to change, of course. In this case, it's the intended
external routing of the wiring for the sidecar lights. I
just couldn't get it to look right, so it's now
underneath the fender. Two steps forward, one step back. |
 |
 |
We're just about ready for the sidecar. The
front bracket for the sidecar fender isn't in place yet
as I made a last minute decision to repaint it (black
instead of red.) The fender is slightly cocked without
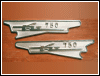
it. Check out the tank emblems from Keith
Pedersen. They're neat! |
|
|
 |
 |
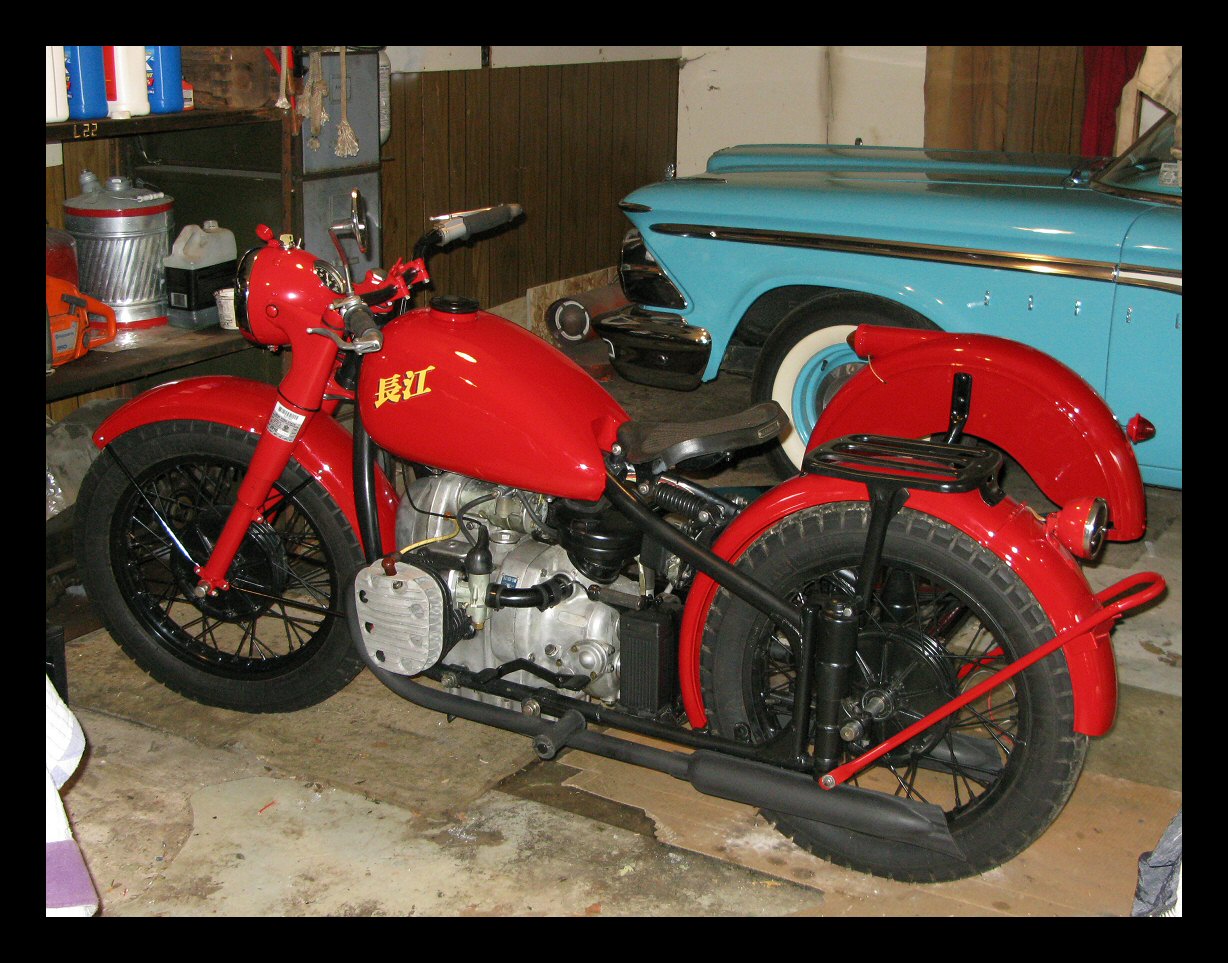
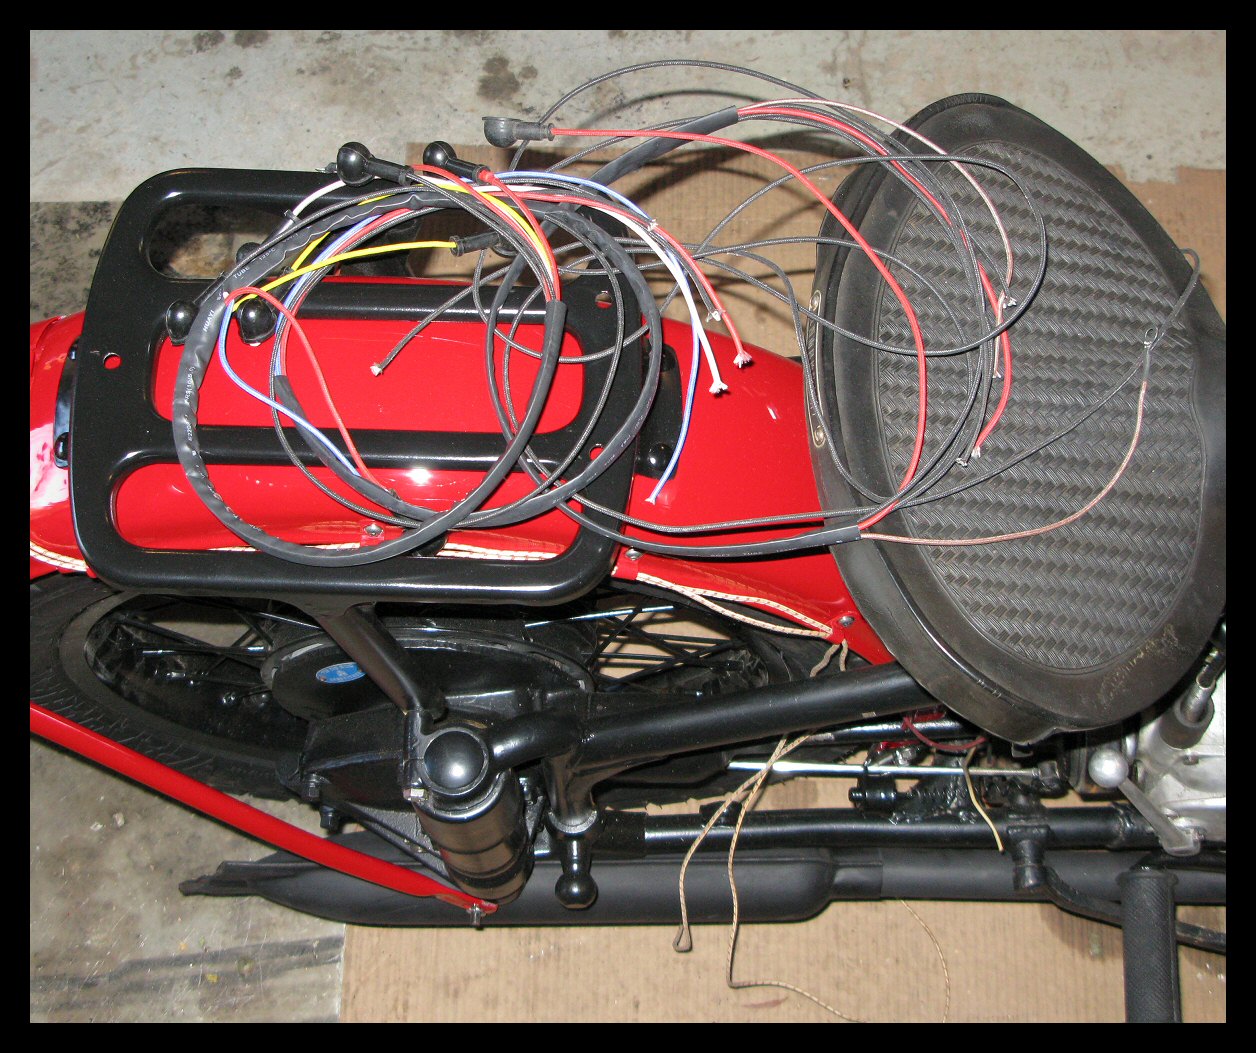
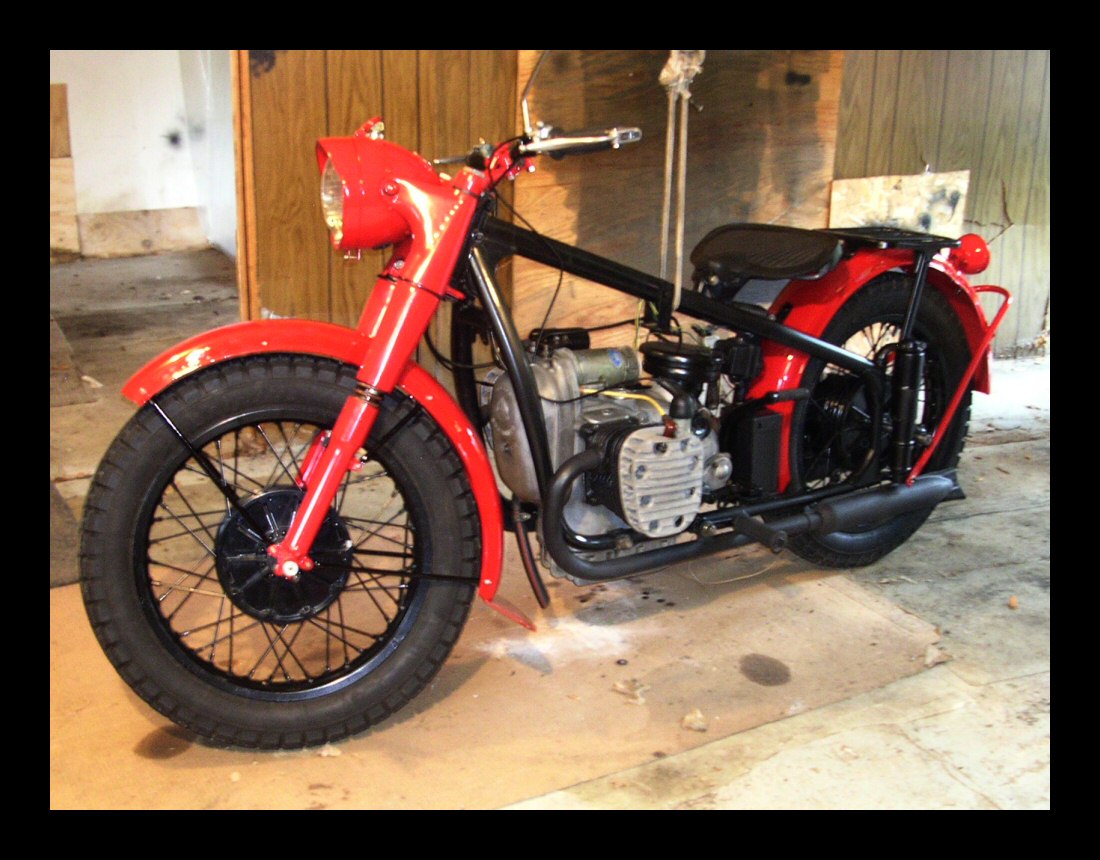
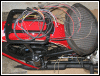
Man, they really start to resemble
motorcycles when you put a gas tank on 'em. Wiring is now
80% complete. Still gotta do inside the headlamp and all
the sidecar stuff. |
 |
 |
Note the front mounting tabs for the gas
tank, visible in the lower left-hand picture. They're
painted to match the frame, and the result is better than
I expected. |
|
|
 |
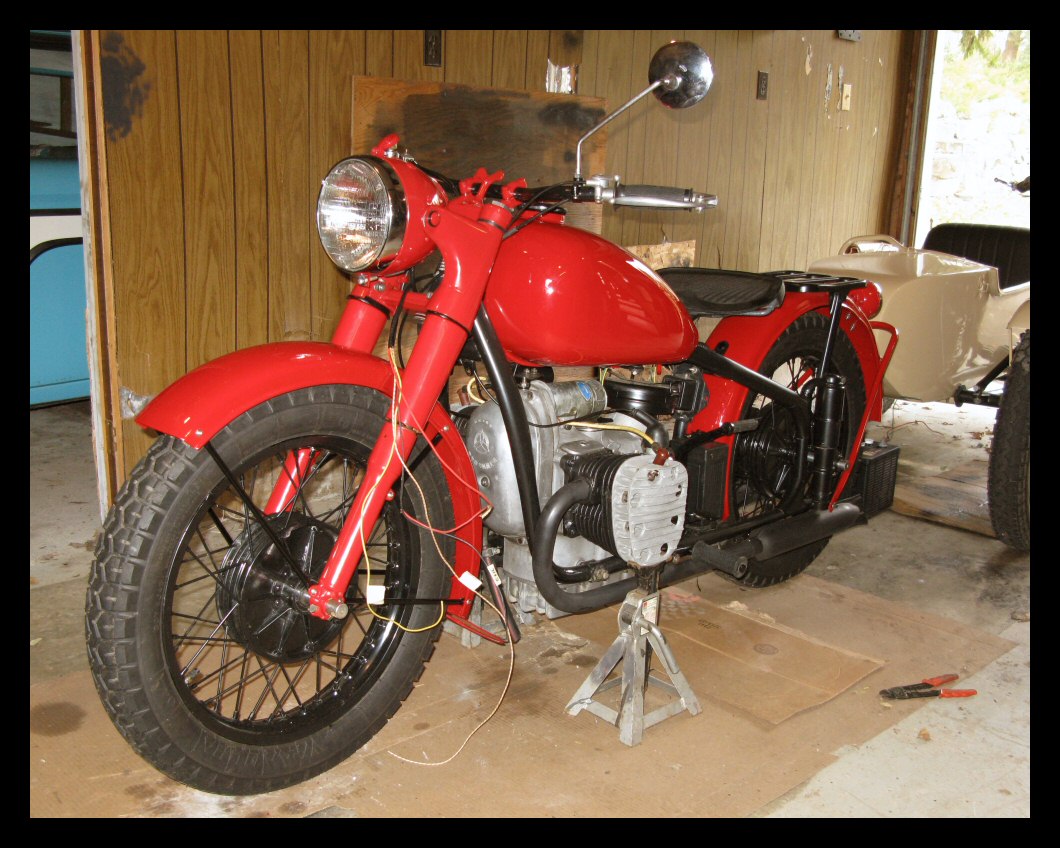
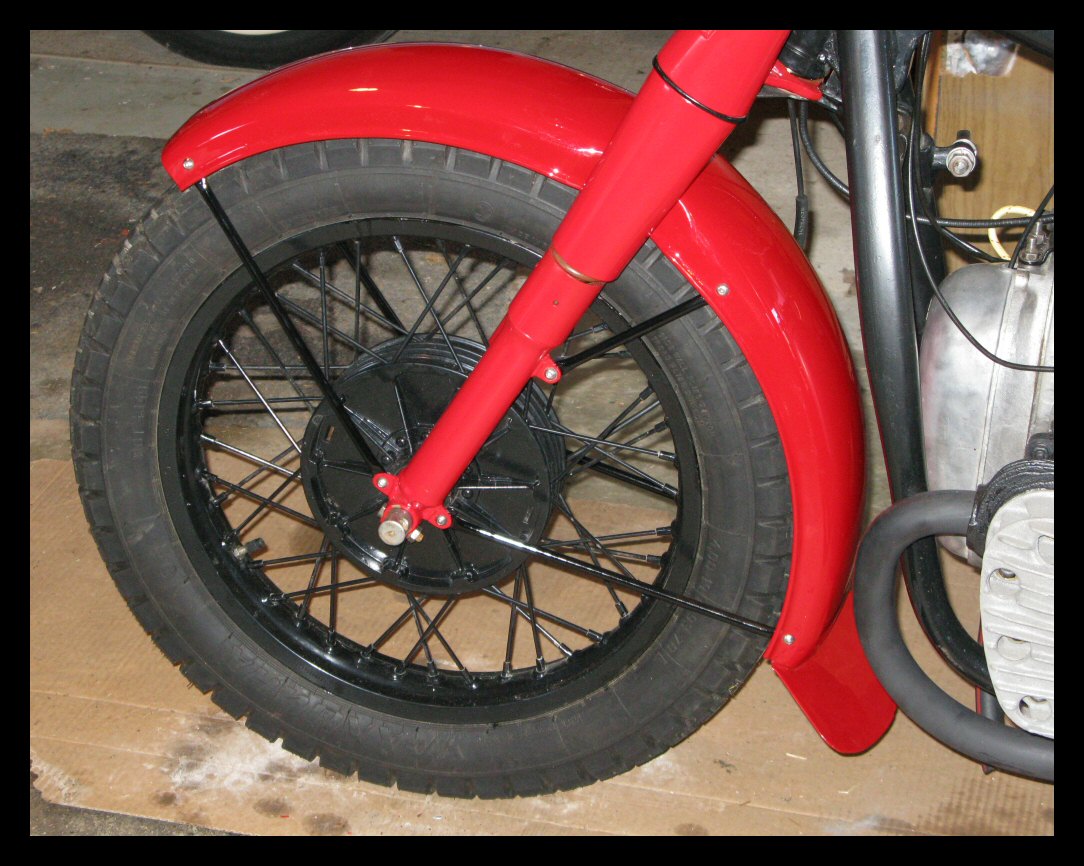
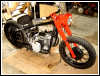
The front fender seemed a tad high so I
lowered it slightly. This is much better. |
 |
Tomorrow, I'll do the wiring. Then it'll
just be a matter of installing the gas tank and sidecar. |
|
|
 |
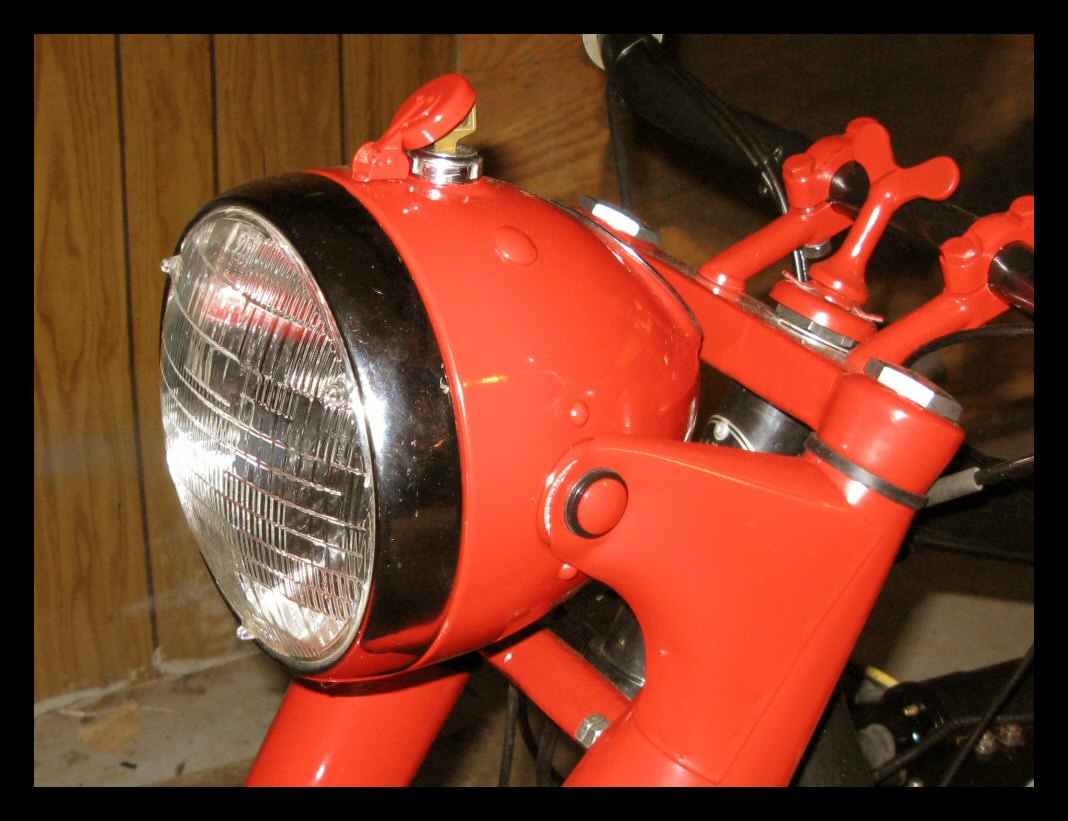
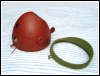
Plans change. All the work that went into
prepping and painting the visored headlamp bezel was a
waste of time. The ring fell off while I was whacking
something on the back end of the bike, resulting in a
nice dent. So... a chrome, old-style bezel it is. Despite
my indifference to chrome, I think we can probably live
with this. |
 |
And, for the sake of visual balance, the
taillight bezel has also been swapped out with a chrome
one. |
|
|
 |
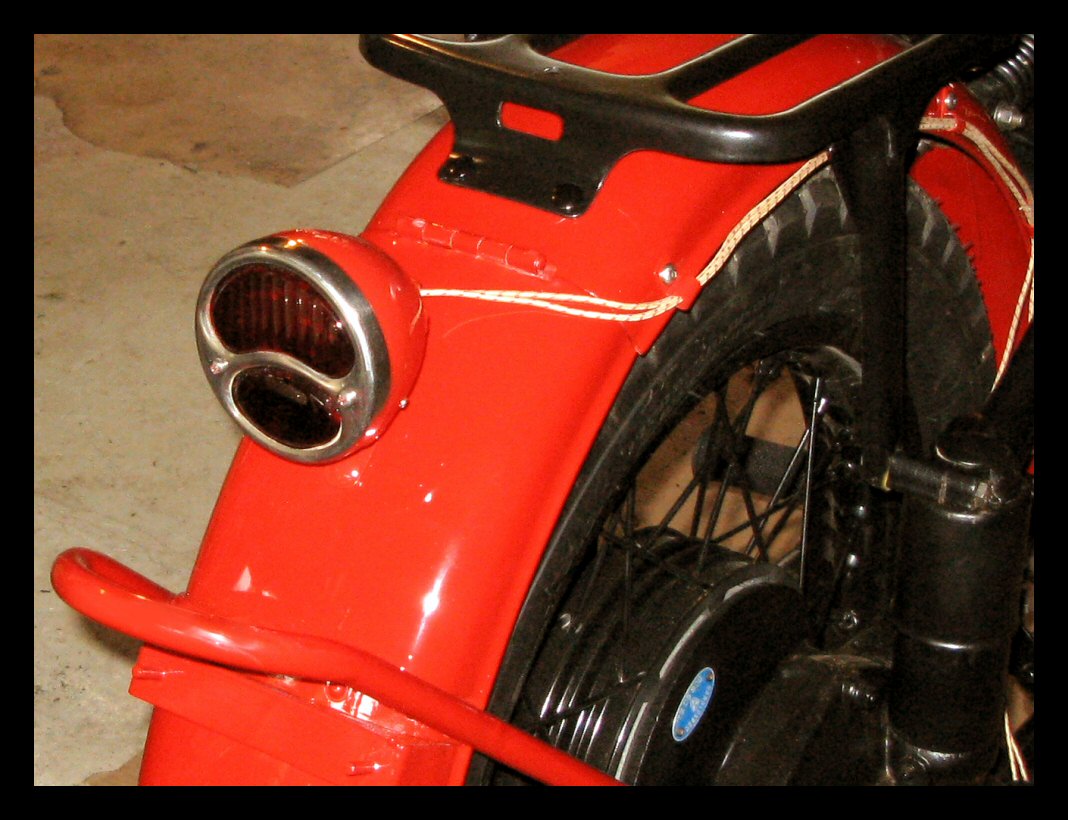
I was moaning about the way the rear fender
sat on the bike. I wasn't going to mess with it until the
next vacation from work. Guess what? I couldn't wait. |
 |
The results are exactly what I was hoping
for. The top part of the rear seat pedestal now sits
horizontal instead of tilting backwards. The hinged part
of the fender now closes completely. |
 |
The solution was to elongate the two
mounting holes drilled on the centerline. Doing so
permits the entire fender assembly (including the
pedestal) to be rotated forward, thus bringing the
pedestal to its proper position and providing sufficient
clearance for the hinged portion to close properly. |
 |
In the earlier photos, it's not all that
evident that there was a problem, but to someone viewing
the bike in person, it stood out like a sore thumb. |
 |
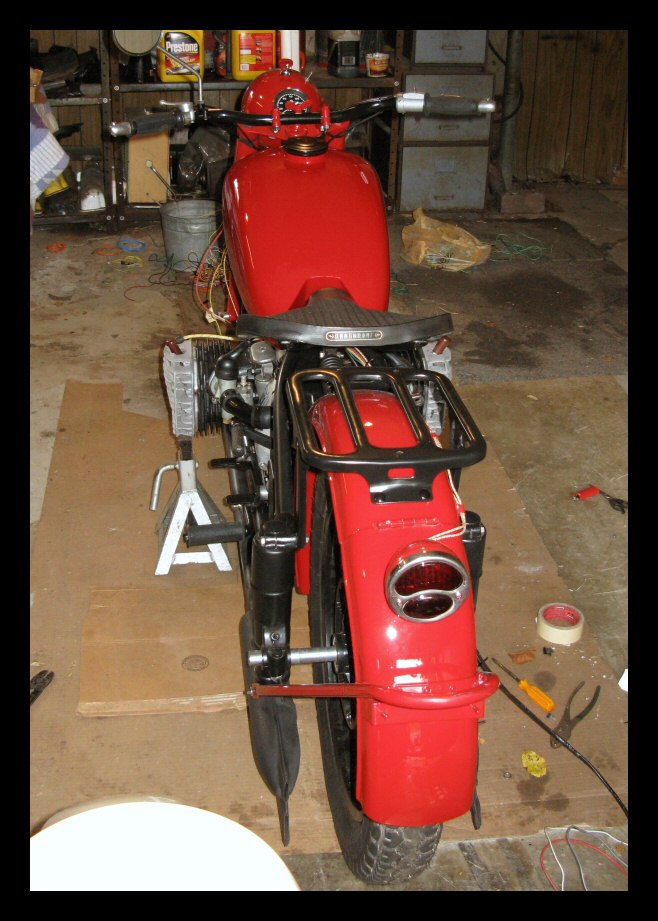
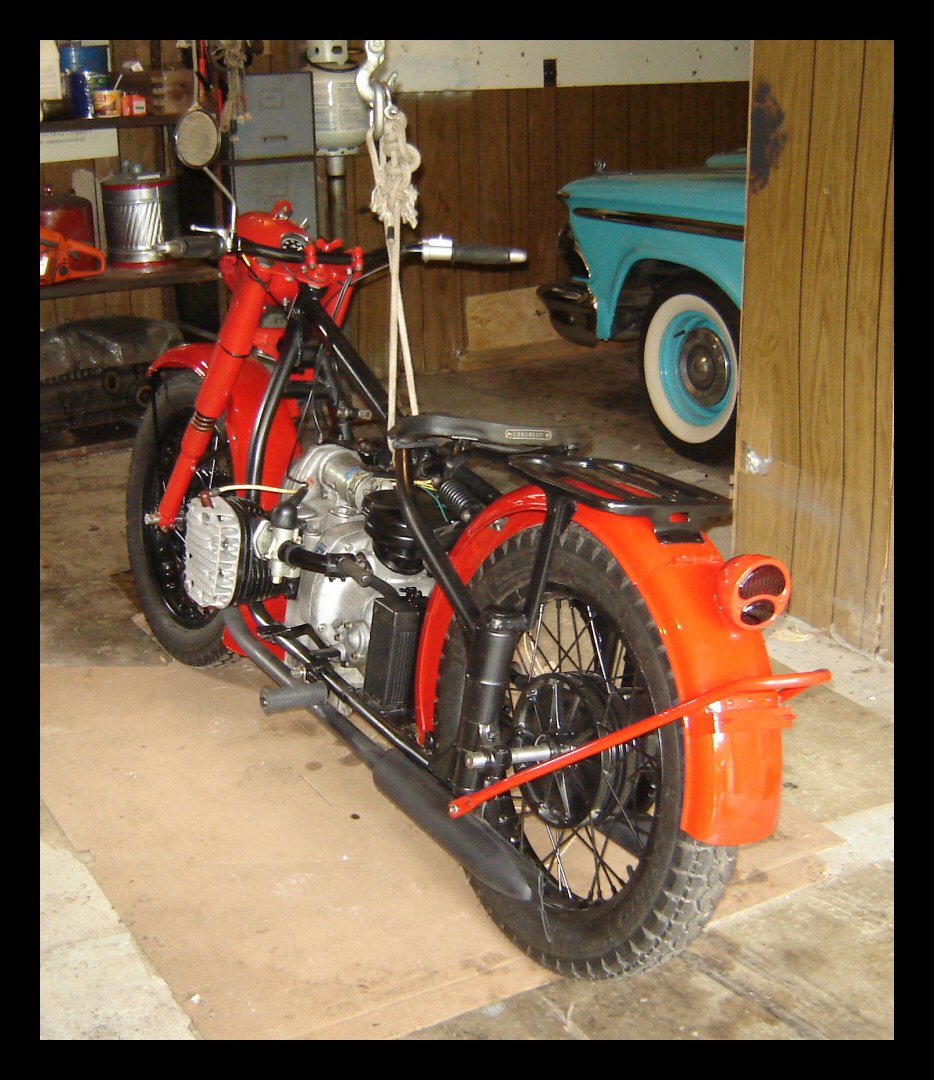
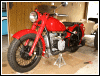
So, there she is, all buttoned up for the
next month. I'll be chompin' at the bit to get this
project finished during the first few days I'm home
again. |
|
|
 |
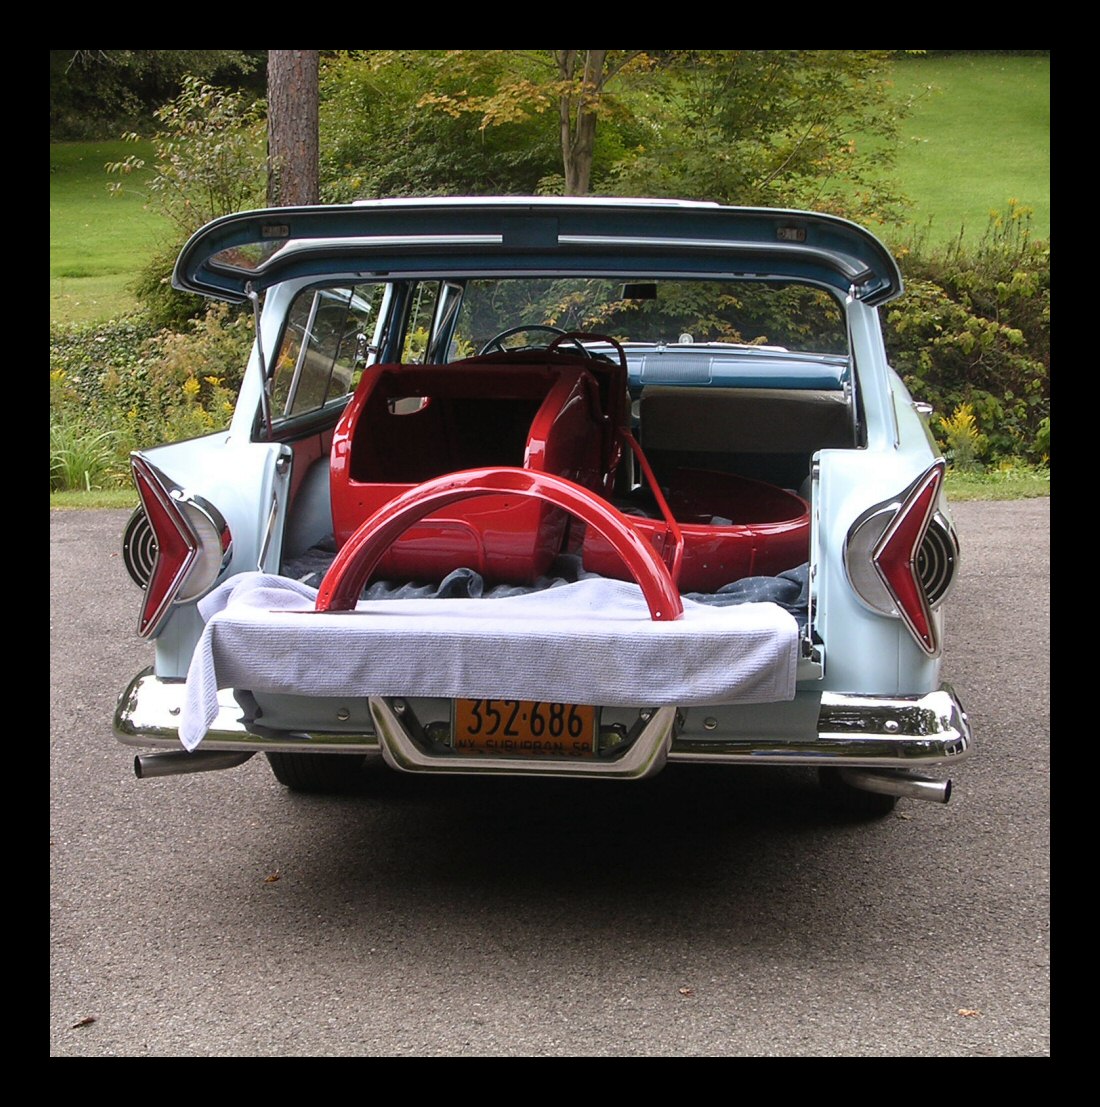
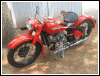
Parts delivered from the body shop—in style! I had to make two runs,
and this was the second one. The first was made with the
pink Edsel sedan! |
 |
The prep work underneath the paint is top
notch, but the paint has a few problems that I'll sort
out as things progress. |
 |
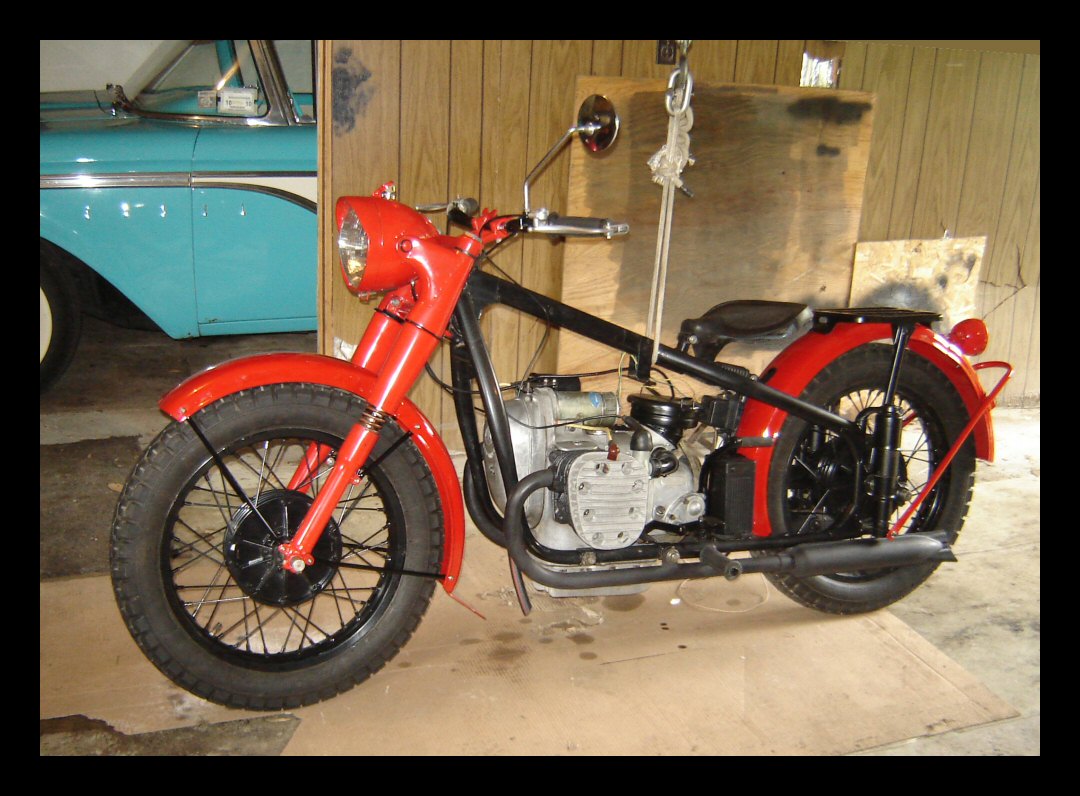
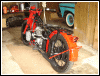
This is how the bike looked by
mid-afternoon. It's getting there. |
 |
I hate to say it, but I'm starting to see a
few things I don't like about all that red and black.
There may some changes coming down the pike, but the
first objective is to get everything back together.
Unfortunately, time won't permit me to finish before
returning to work. This upcoming weekend is pretty well
spoken for. |
 |
This shot was taken before I oriented the
taillight. Also, because the frame is suspended from the
overhead, the forks and rear suspension are both
extended. That gives the bike kind of a funky stance.
She'll hunker down once she's back on the ground. For the
time being, this is a pretty good arrangement for working
on the bike. It's not gonna tip over, that's for sure. It
makes adjusting the brakes is a piece of cake, too. Sure
beats using the floor jacks and jack stands. |
 |
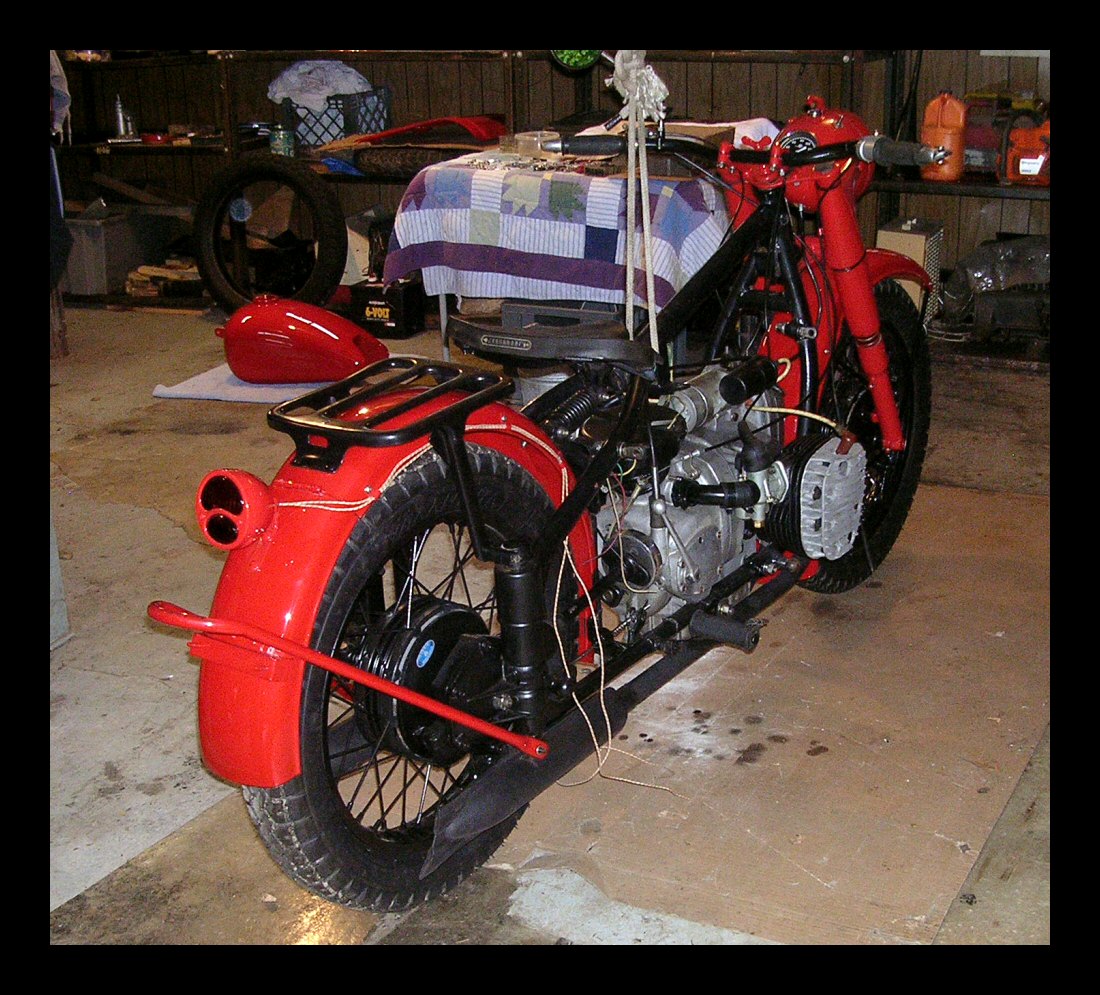
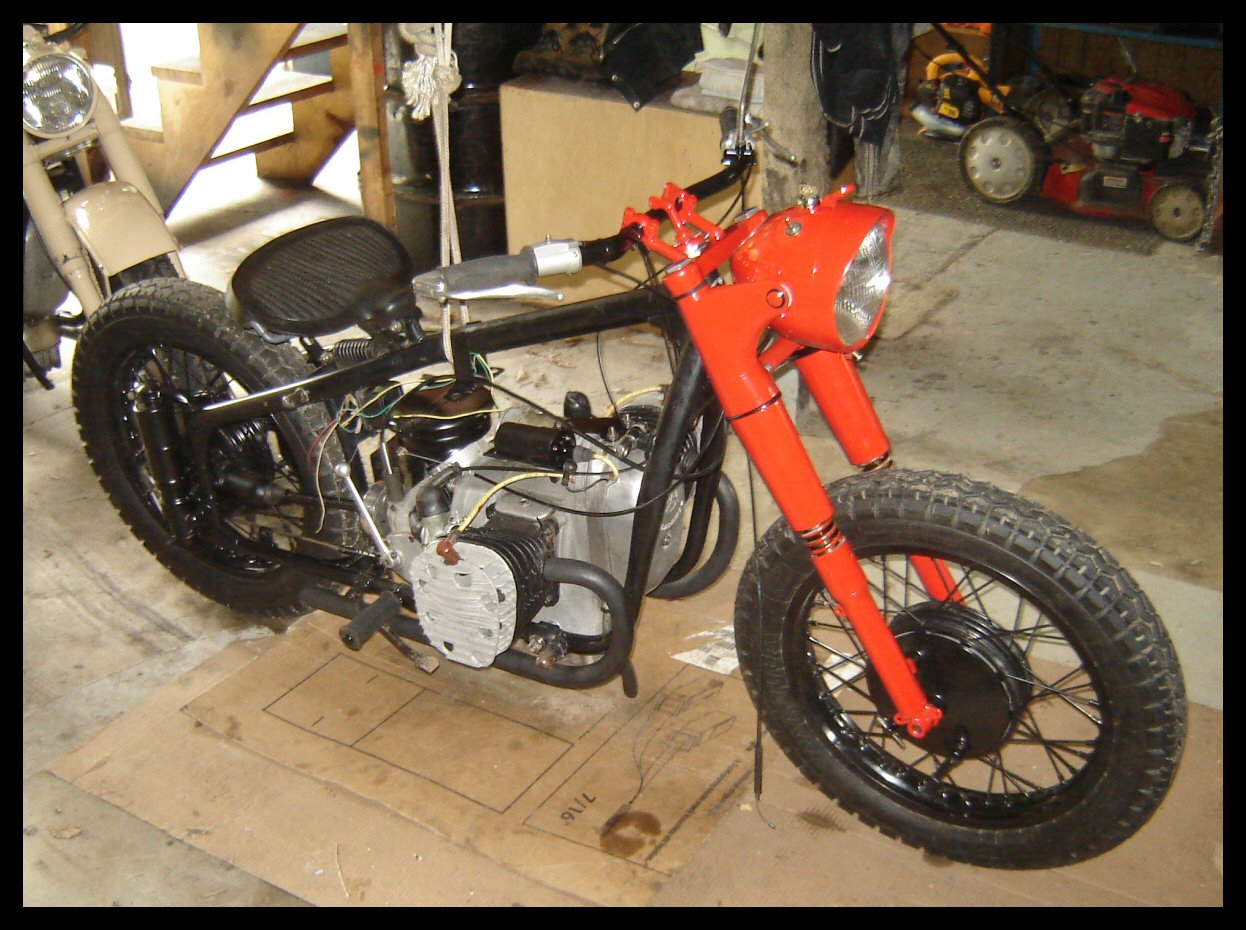
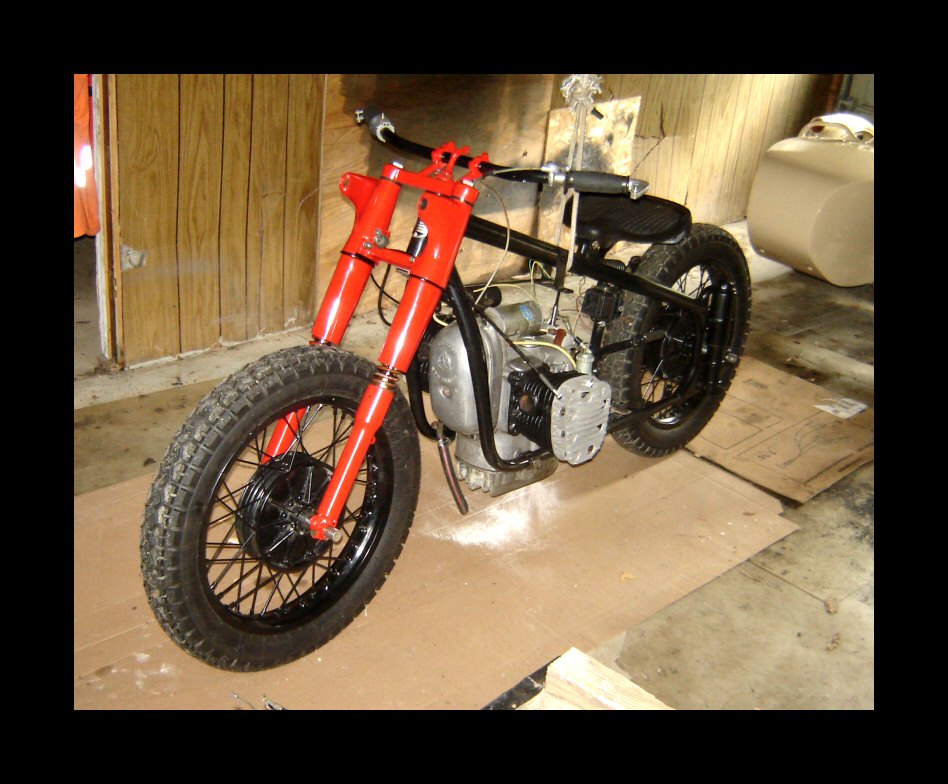
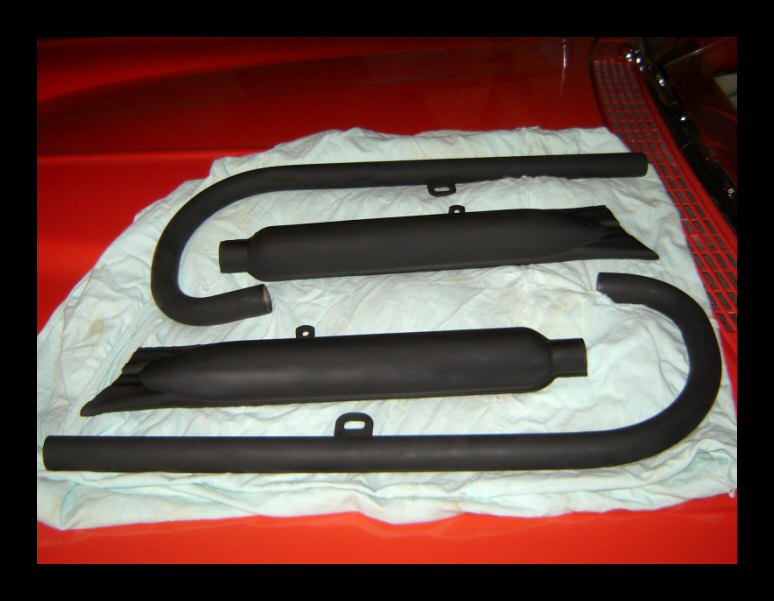
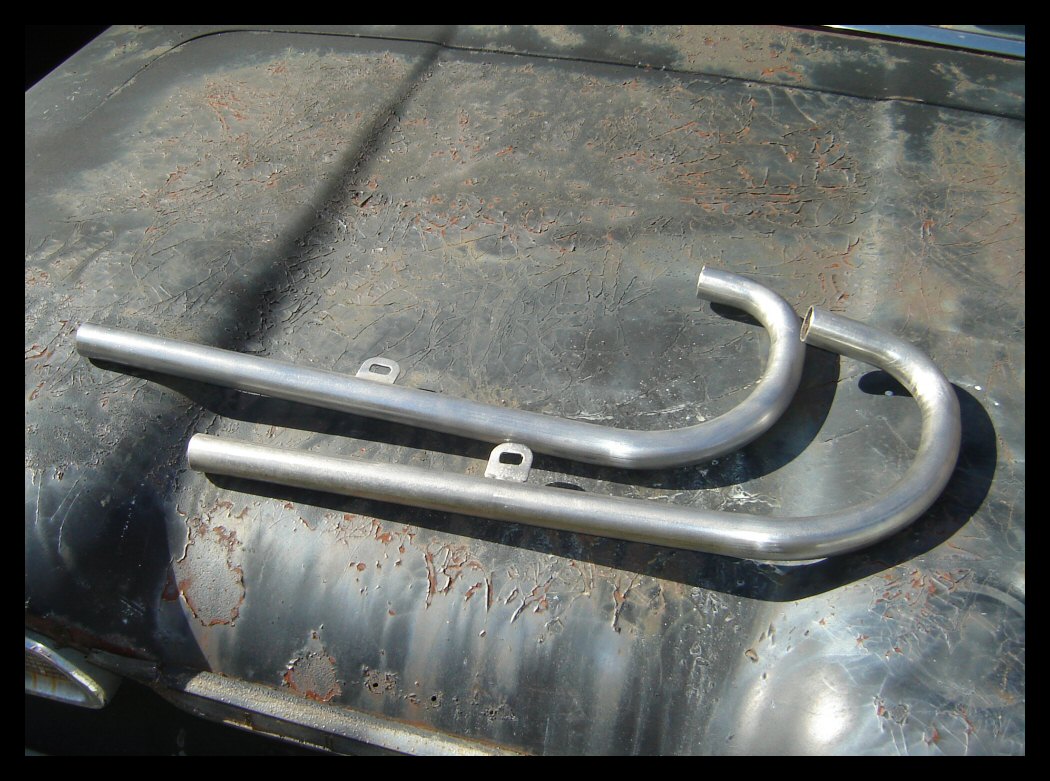
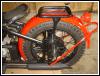
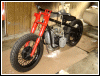
Black front fender brackets, something new.
Stock fishtails are back for now. The
fishtail-straightpipes I was running before were the
cat's pajamas. If I can get my hands on another set of
empty fishtails, we'll go that route again. |
|
|
 |
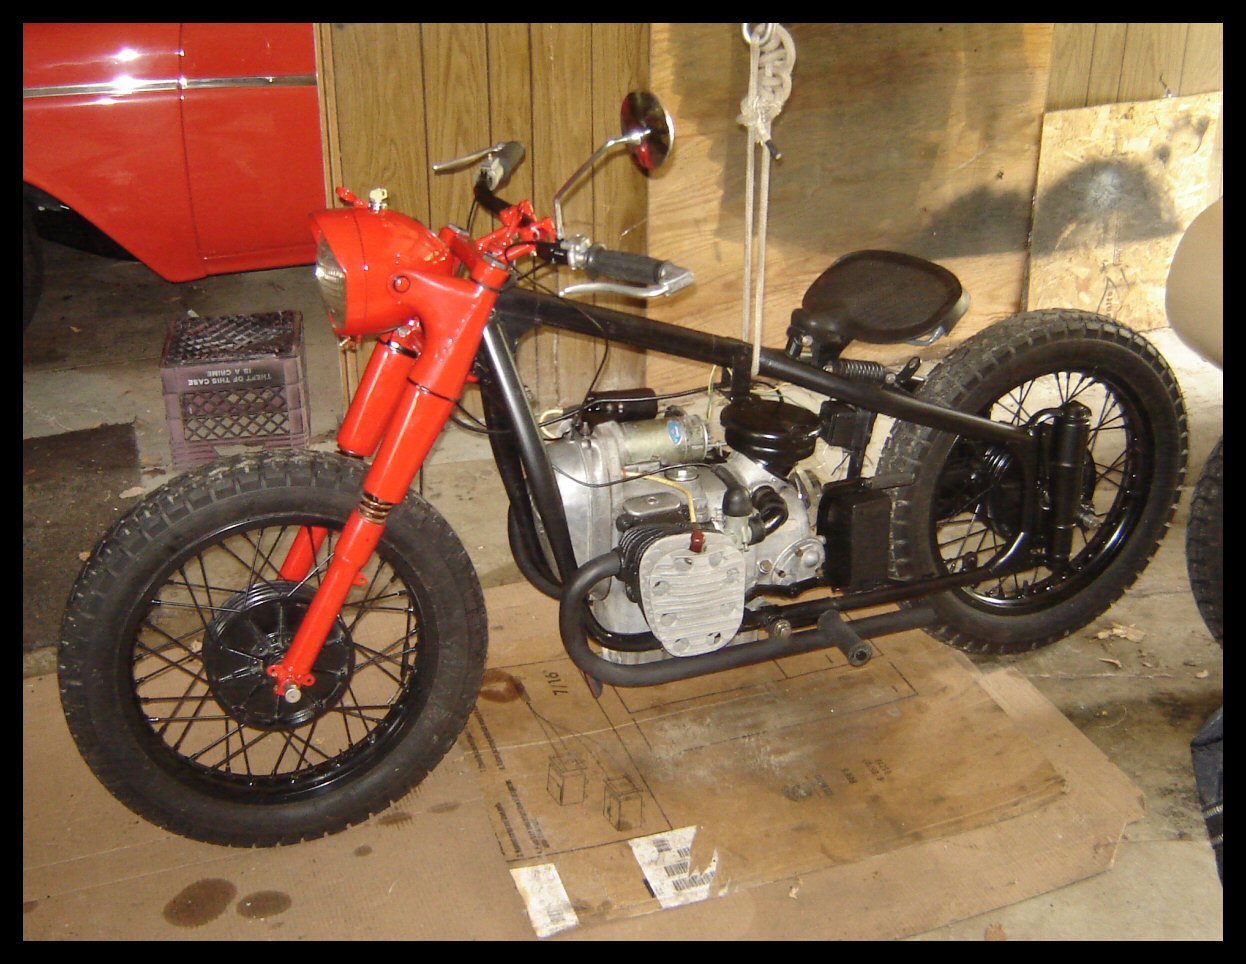
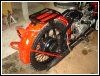
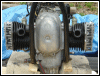
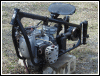
Ideally, the engine and gearbox would be
pulled from the frame so that all three could be
thoroughly and properly detailed. Screw that. This bike's
a rider. Here's the new header pipes in place. Guess
what? They didn't fit... but they do now. |
 |
The fishtails and the headers were
originally chrome. Sand blasting took the chrome off like
it was paper. They were then shot with stove paint. It
works, and it's a far cry cheaper than powder coating. |
 |
 |
You can probably spot a few subtle
differences from yesterday's pictures. The headers,
cabling, battery, air filter box, and other small
deatails have been added. The spark advance cable was an
excellent learning experience that you can read about in
the blog. |
|
|
 |
 |
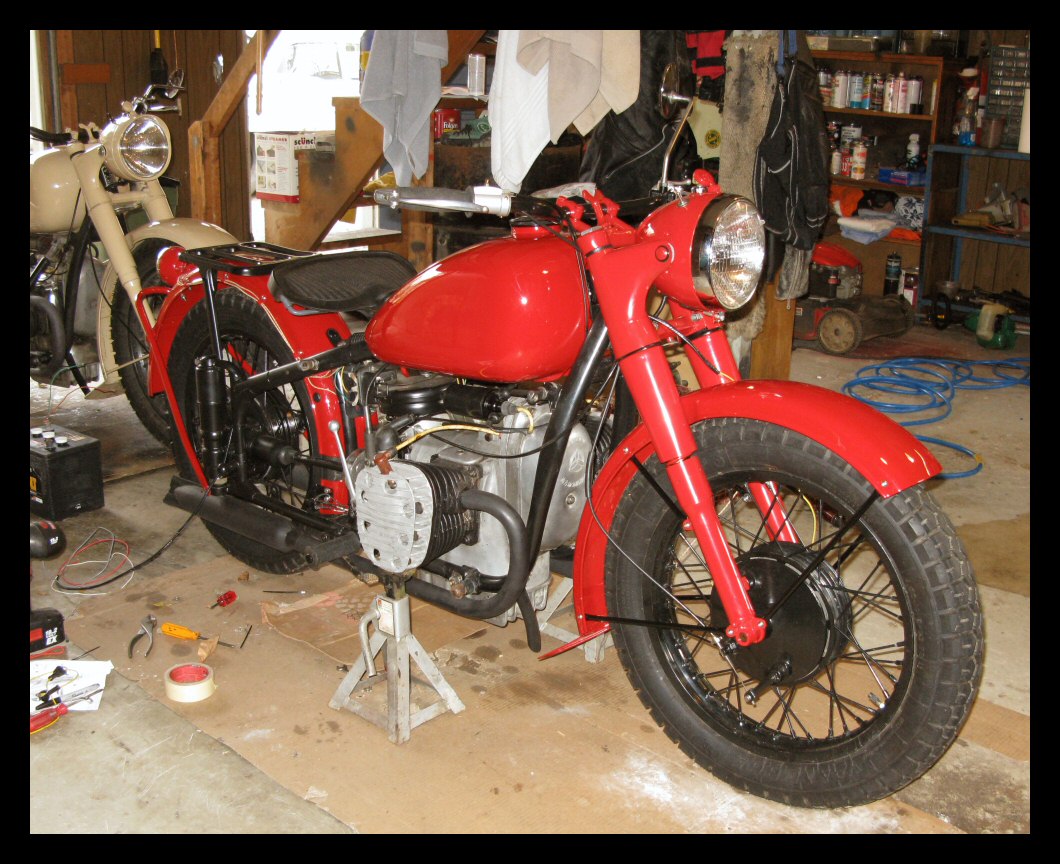
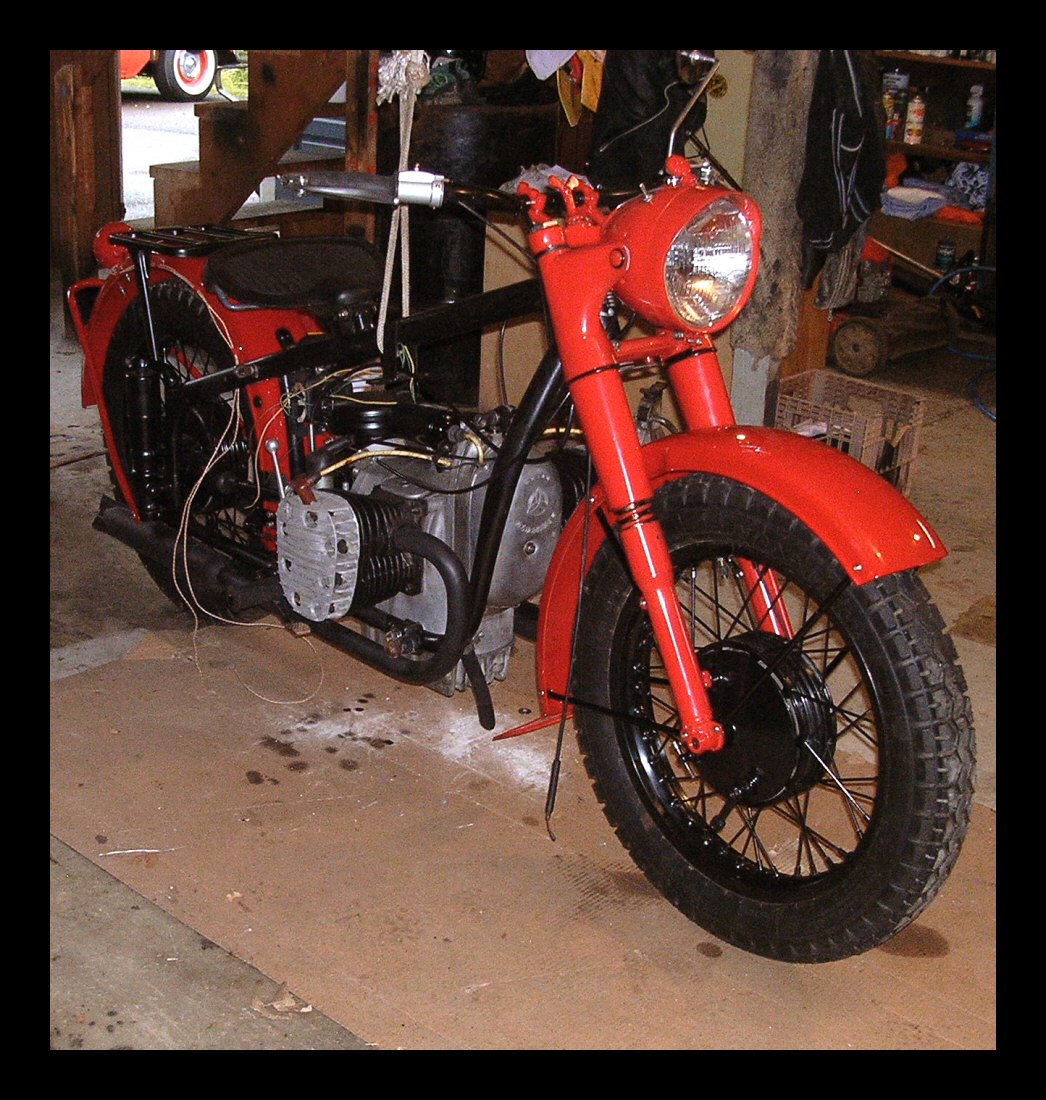
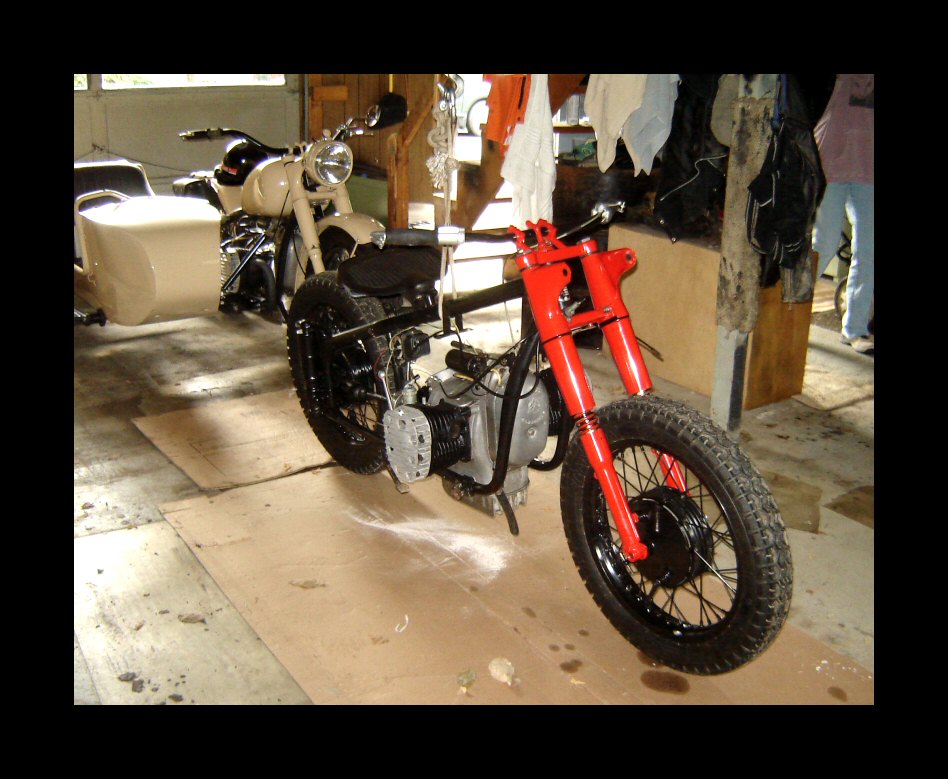
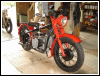
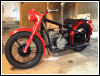
With wheels on, it really does resemble a
motorcycle. I moved it indoors at 8:00 AM and finished
puttering eleven hours later! With the bike inside, I'm
no longer at the mercy of the weather. That's a good
thing because it rained quite a bit today. The project is
really moving along now. |
|
|
 |
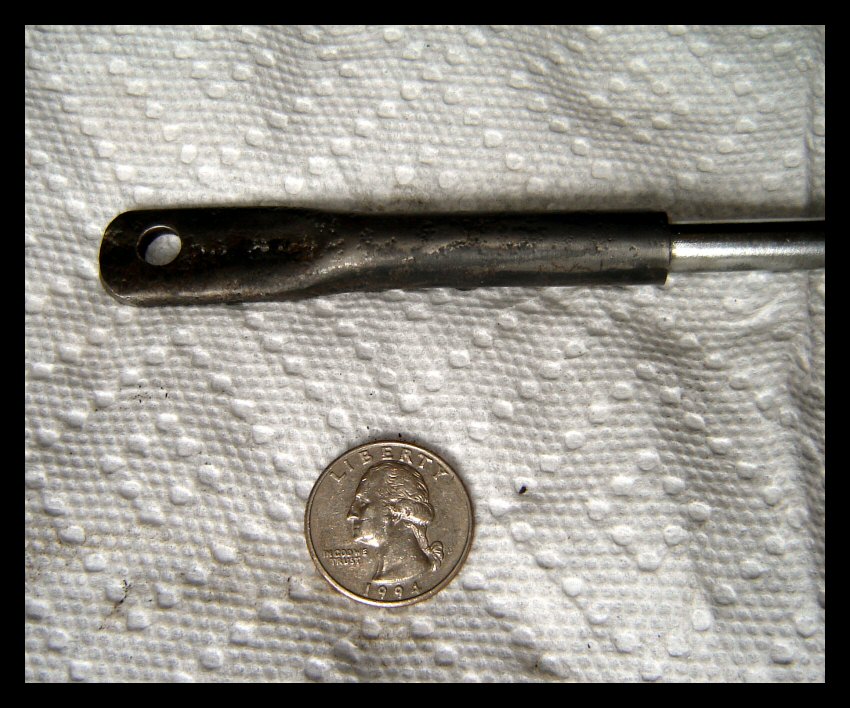
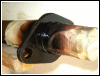
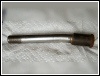
Here's one of the carriage bolts used to
mount the headlamp. The flat washer behind it is painted
black (for no particular reason.) |
|
|
 |
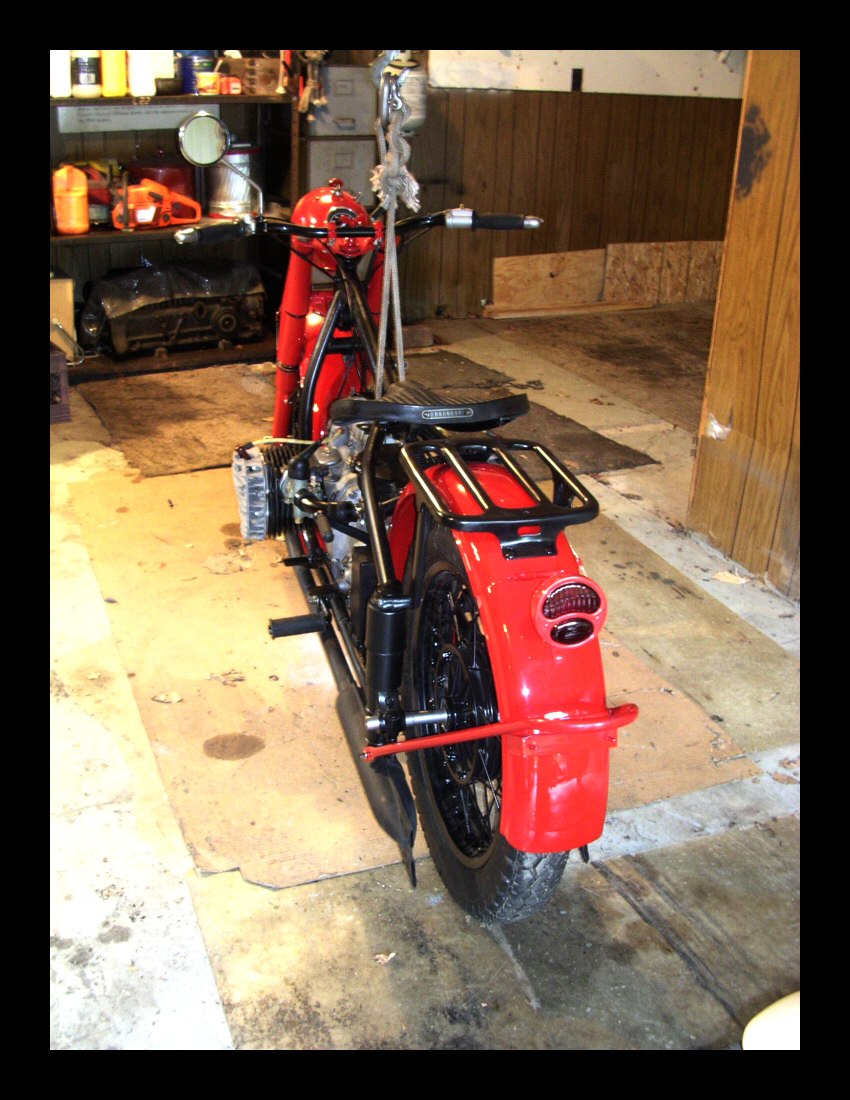
It's starting to resemble a bike again, but
there's still so much left to do. Luckily, the parts at
the body shop won't be ready anytime soon. That provides
plenty of time to take care of everything else. Tomorrow,
I'll start on the wiring. Anyway, here are the forks and
handlebars. The steering damper is now blocked by the
handlebars! &%$#! |
 |
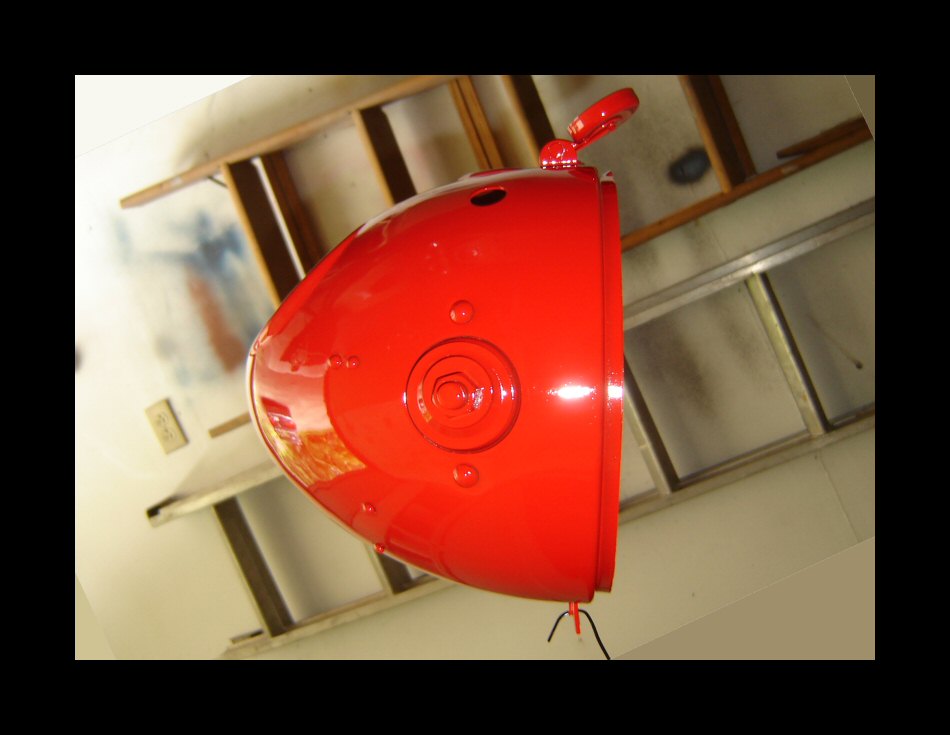
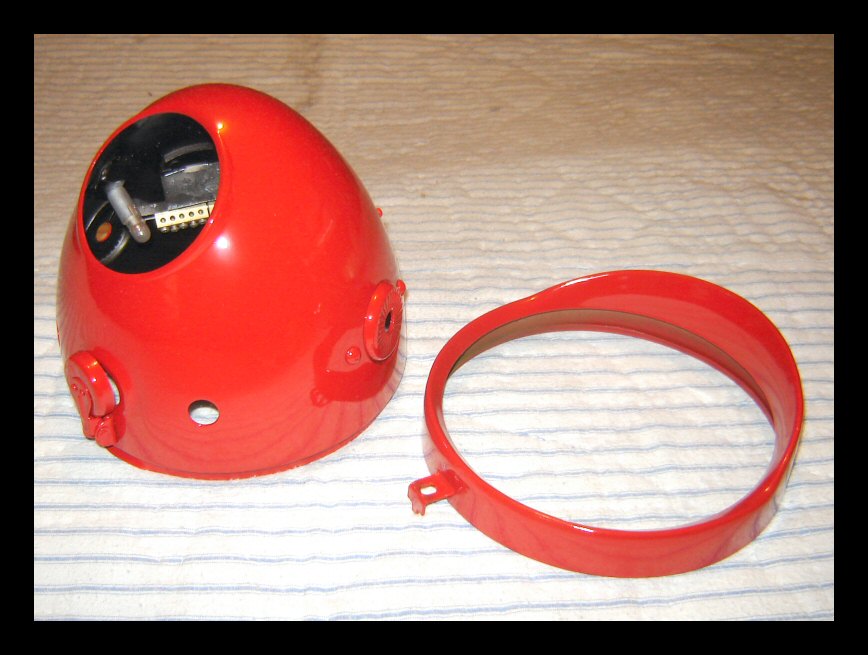
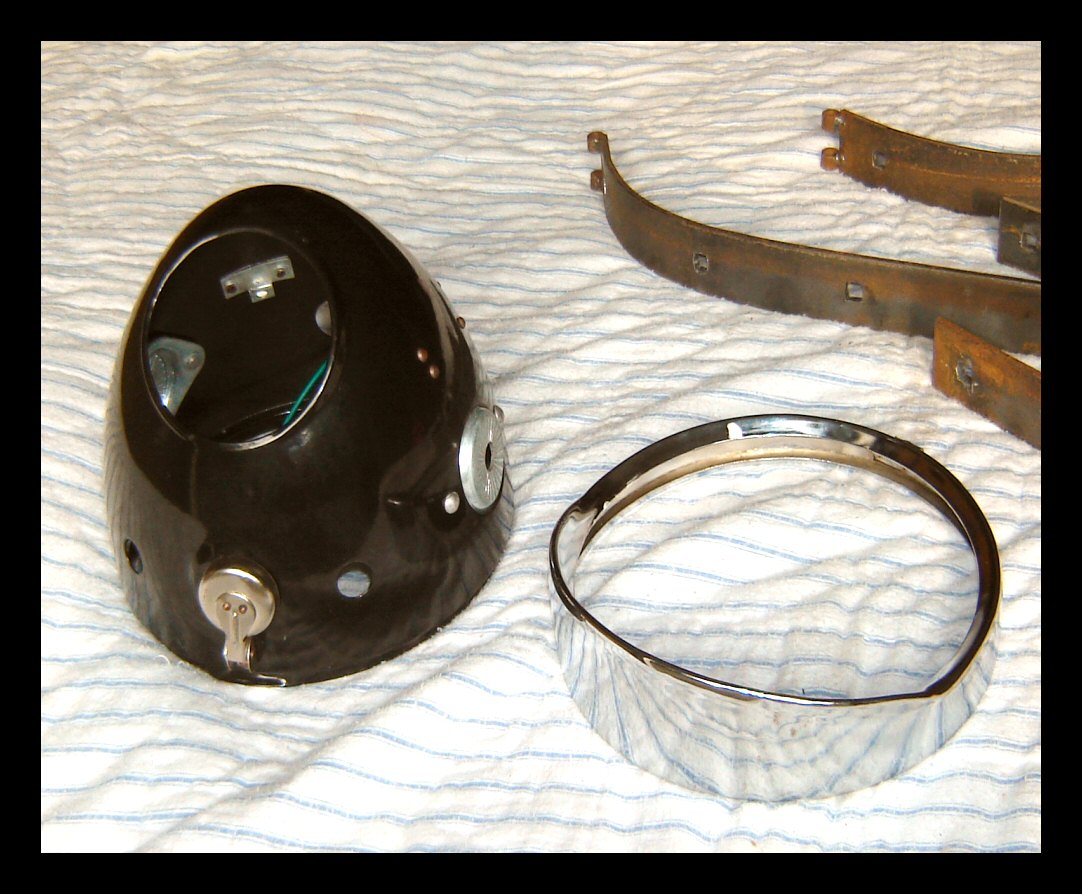
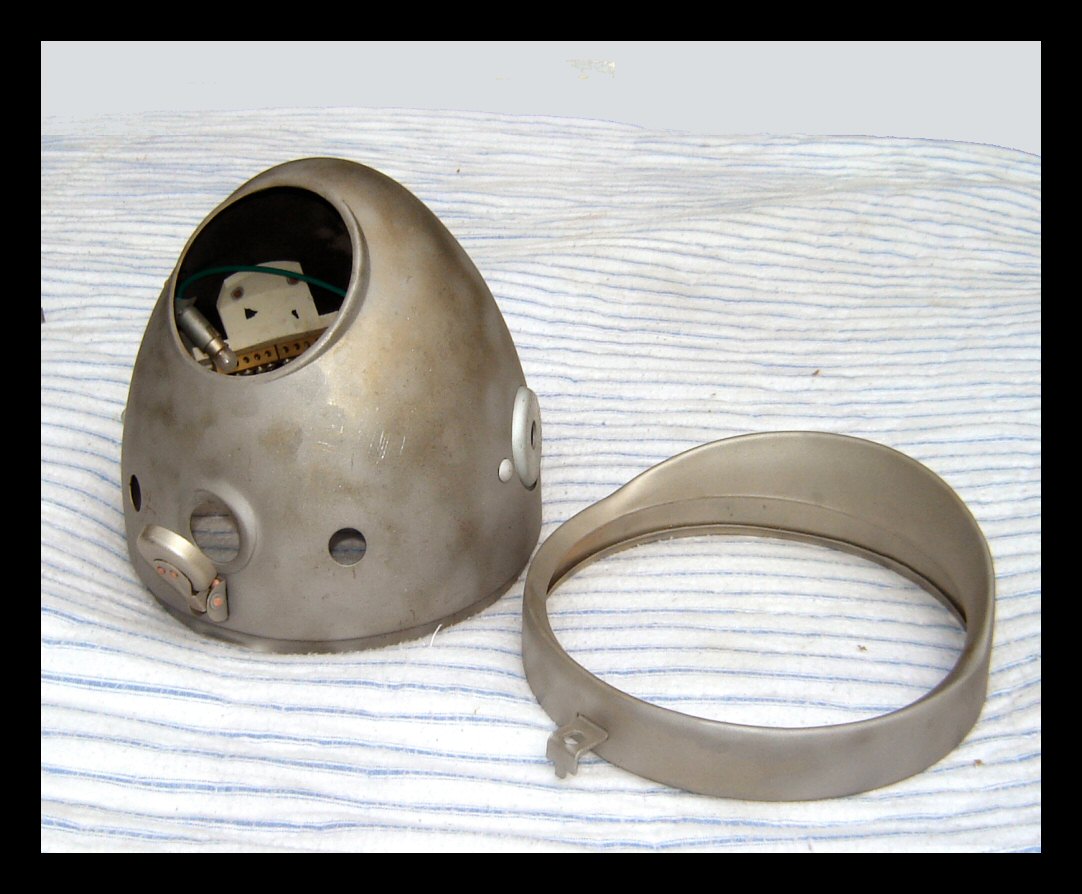
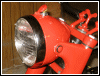
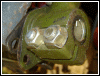
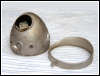
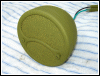
Headlamp bucket #2 is freshly painted. The
mounting holes for the first bucket were out of position,
making it useless. This bucket was egged in an earlier
incident, but I think it's now sufficiently straightened.
(Plus the mounting holes are exactly where they're
supposed to be. I checked this time.) That bolt you see
was temporarily installed for handling. |
 |
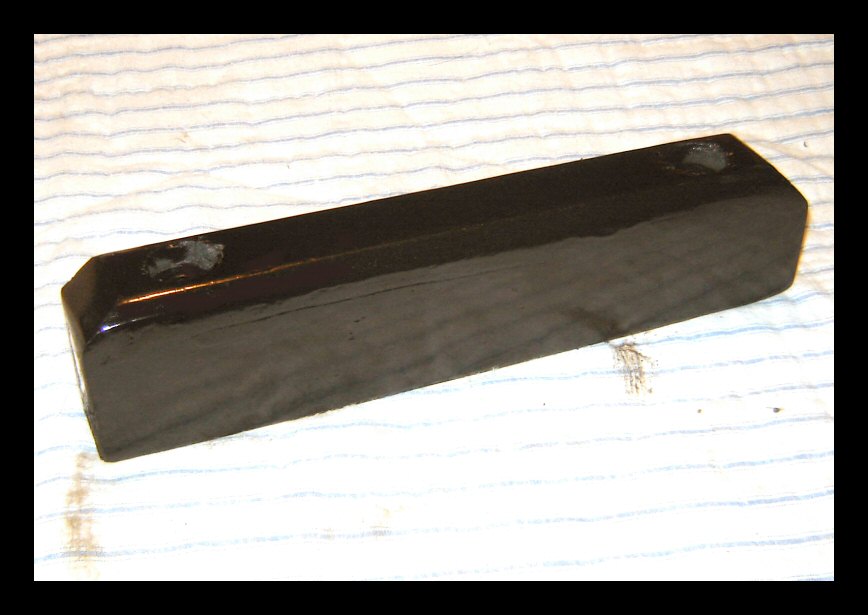
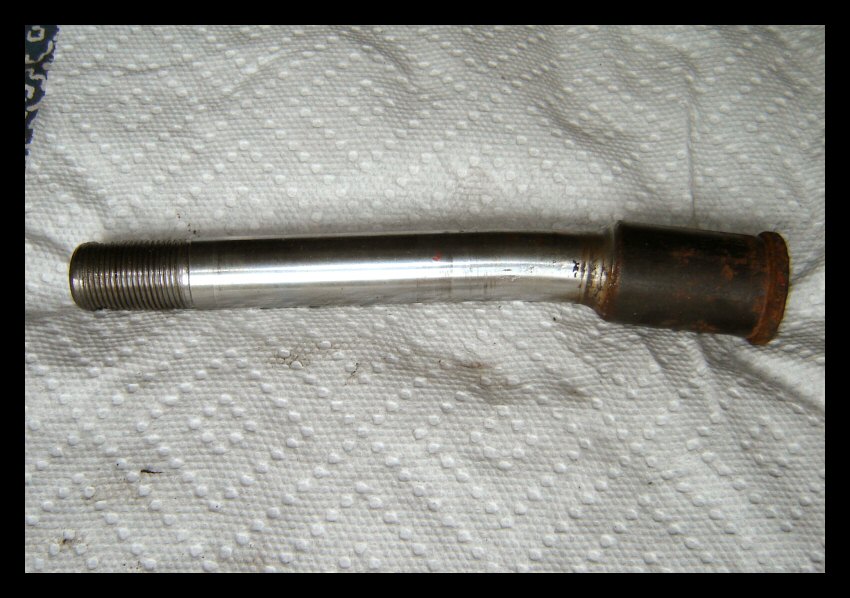
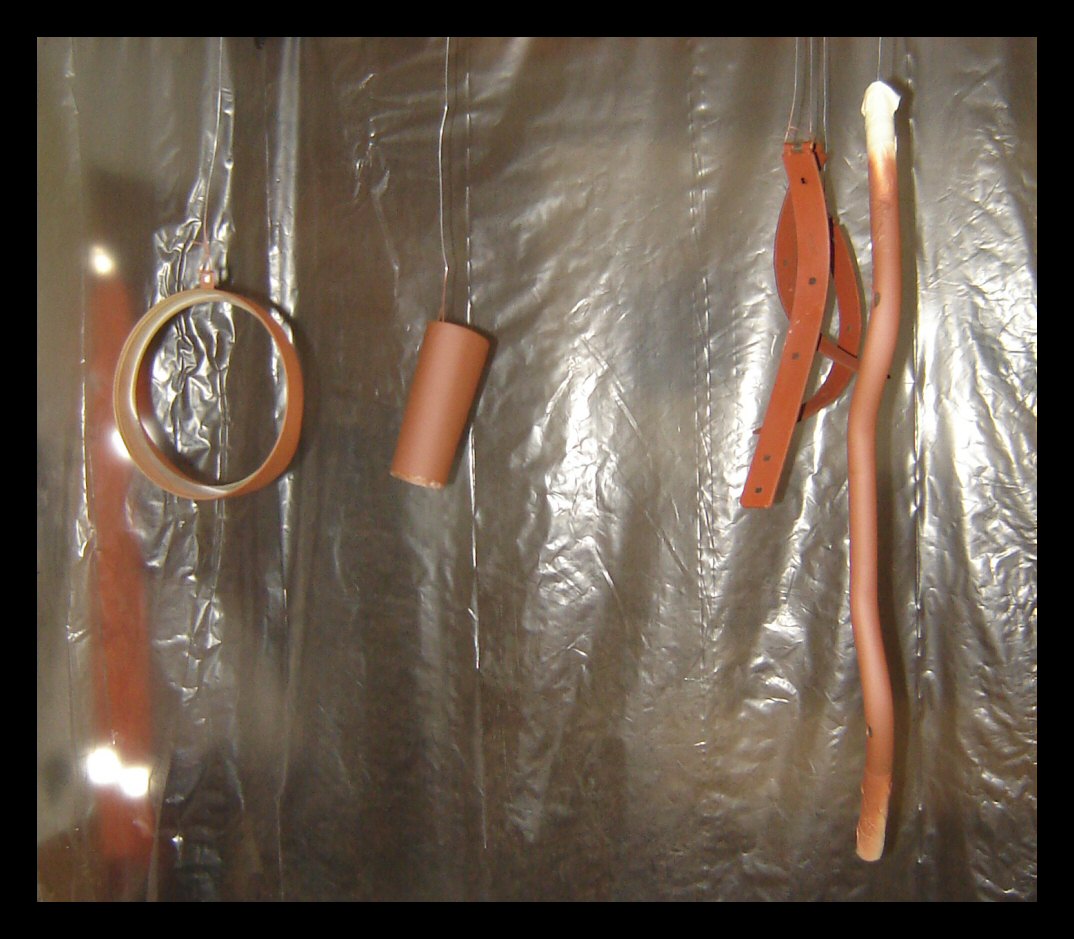
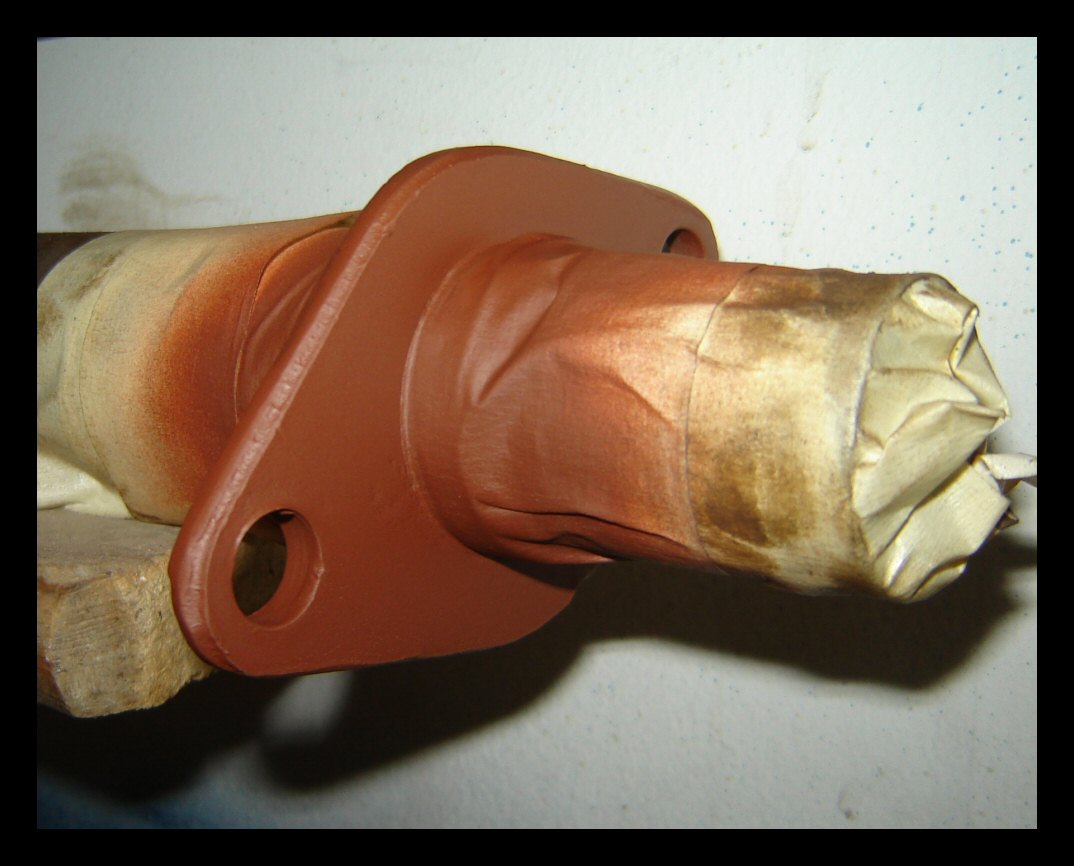
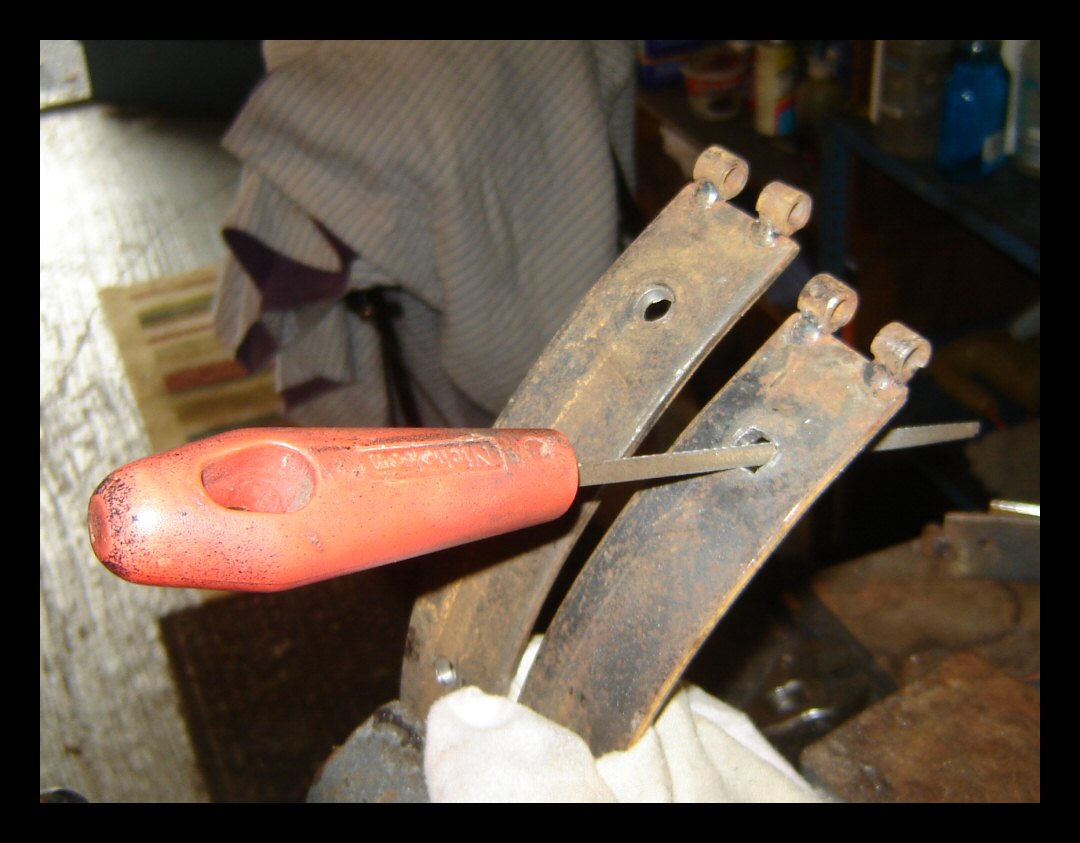
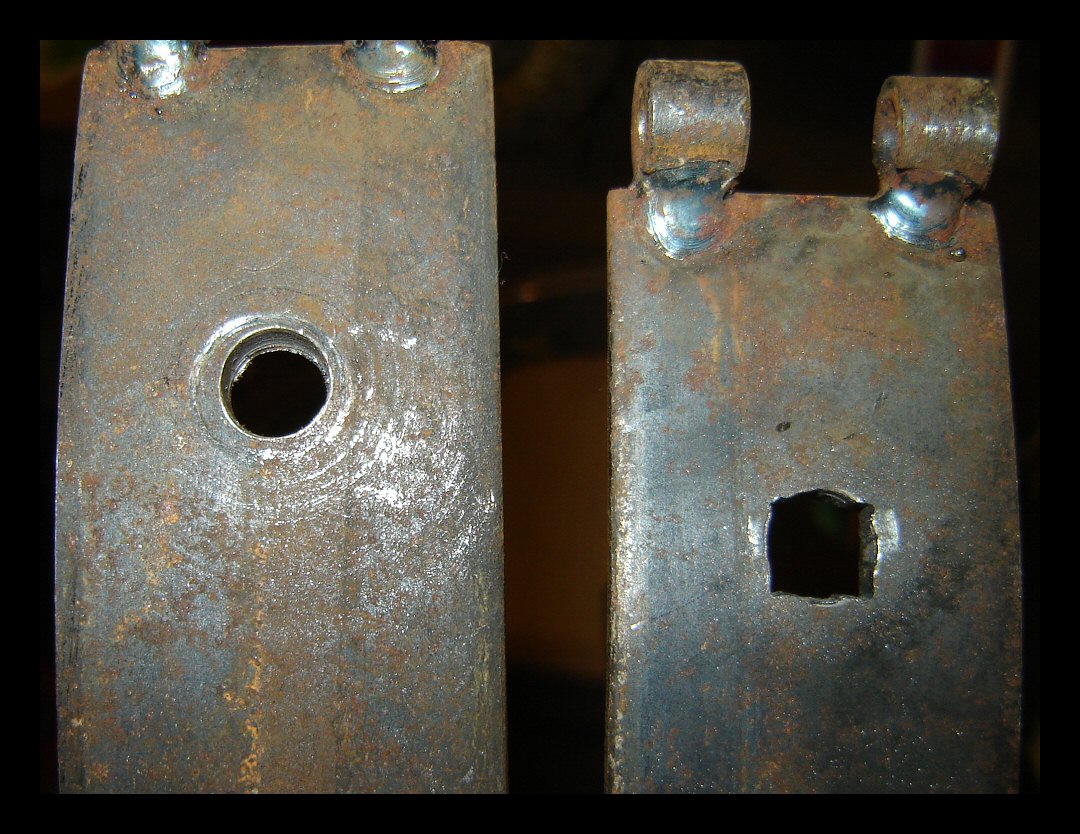
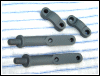
There's an engineering field change in the
SL-II Slim-Line
Fender Brackets. I came home with the wrong diameter tubing
and decided to use it anyway. This is 3/8" instead
of 5/16", so no beefed up ends. |
|
|
 |
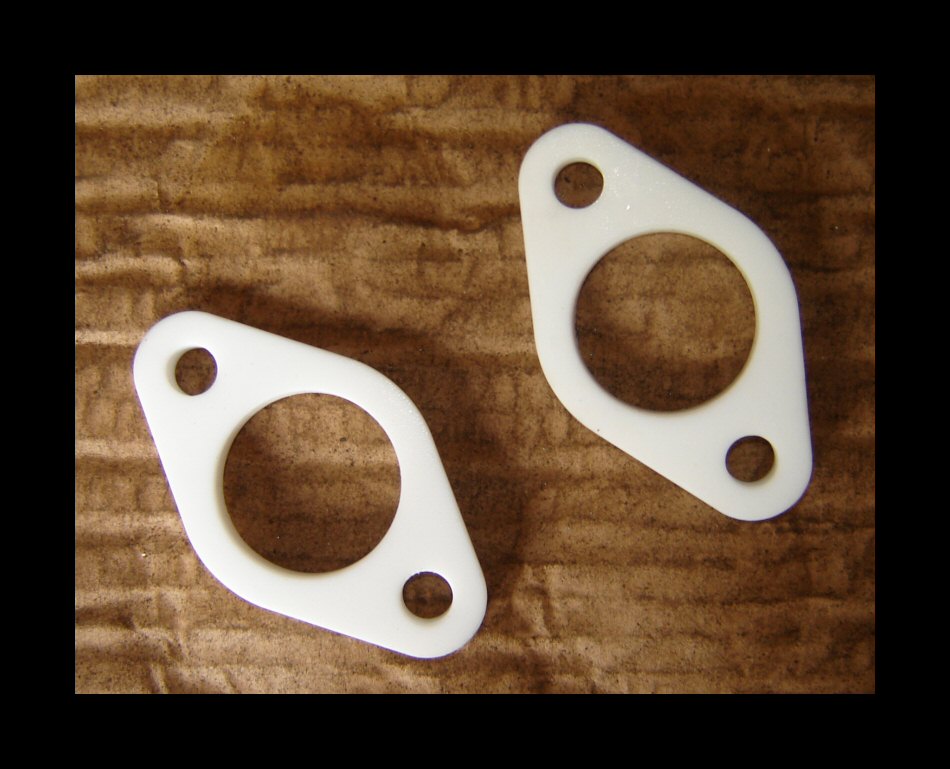
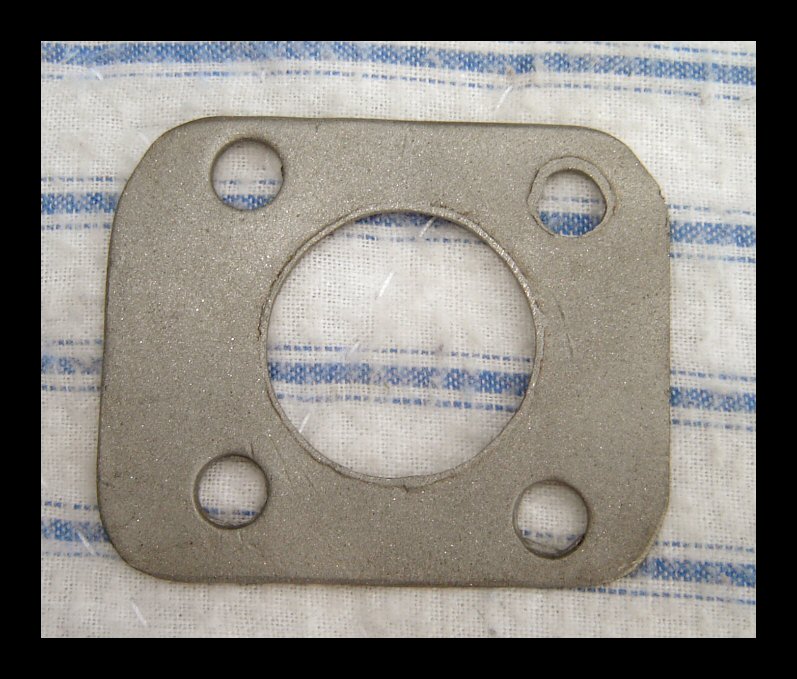
These are thick carburetor spacers. You
should insulate the carbs from the jugs as much as
possible to help minimize boiling. I've always used
layered cork, but I was getting tired of having to cut
new ones every time the carbs were off. These babies are
reuseable. |
|
|
 |
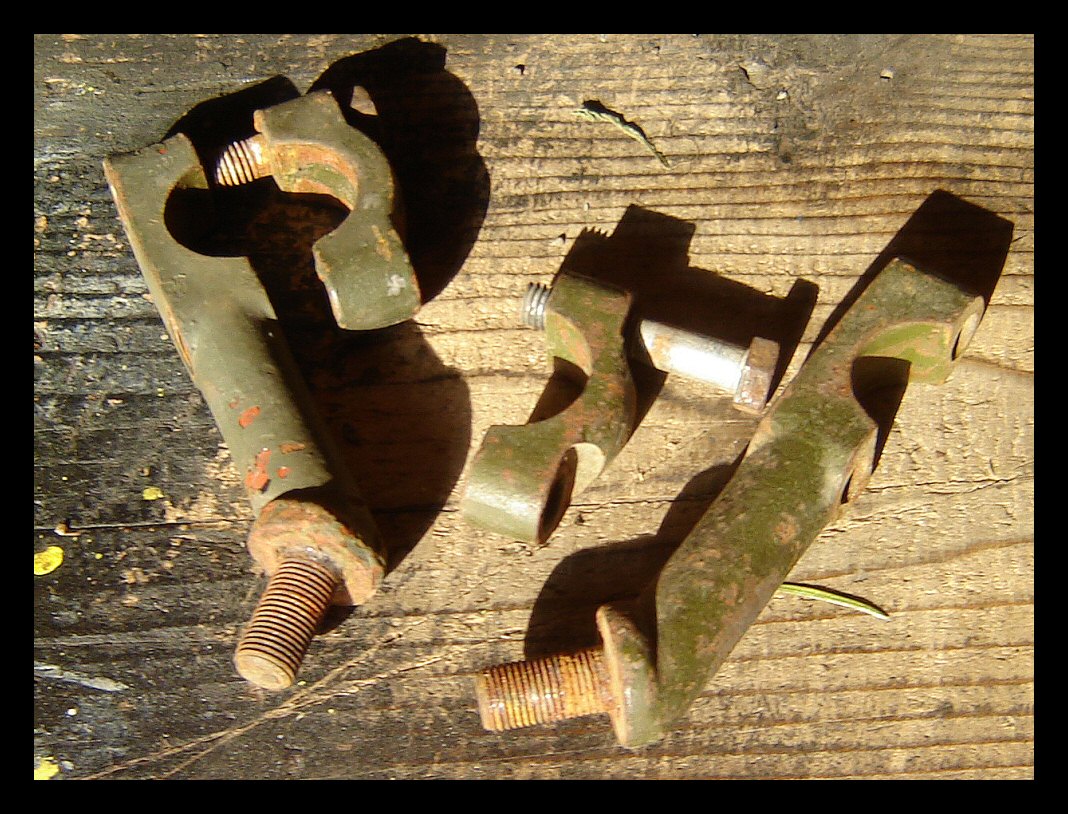
 |
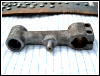
NOS PLA sidecar axle and mount. This is a
very well-made, heavy duty item. The old one was crap by
comparison. Take a look at the tabs for securing the
nuts. Does your bike have that? Stripping off that army
green paint seems sacrilegous |
|
|
 |
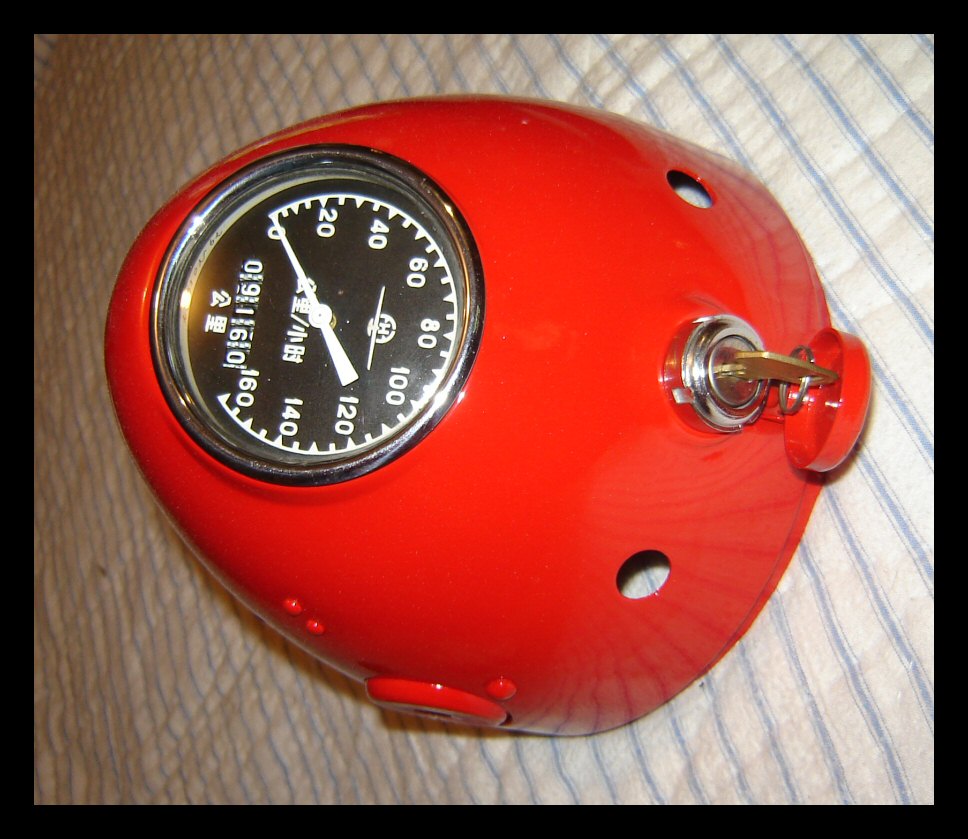
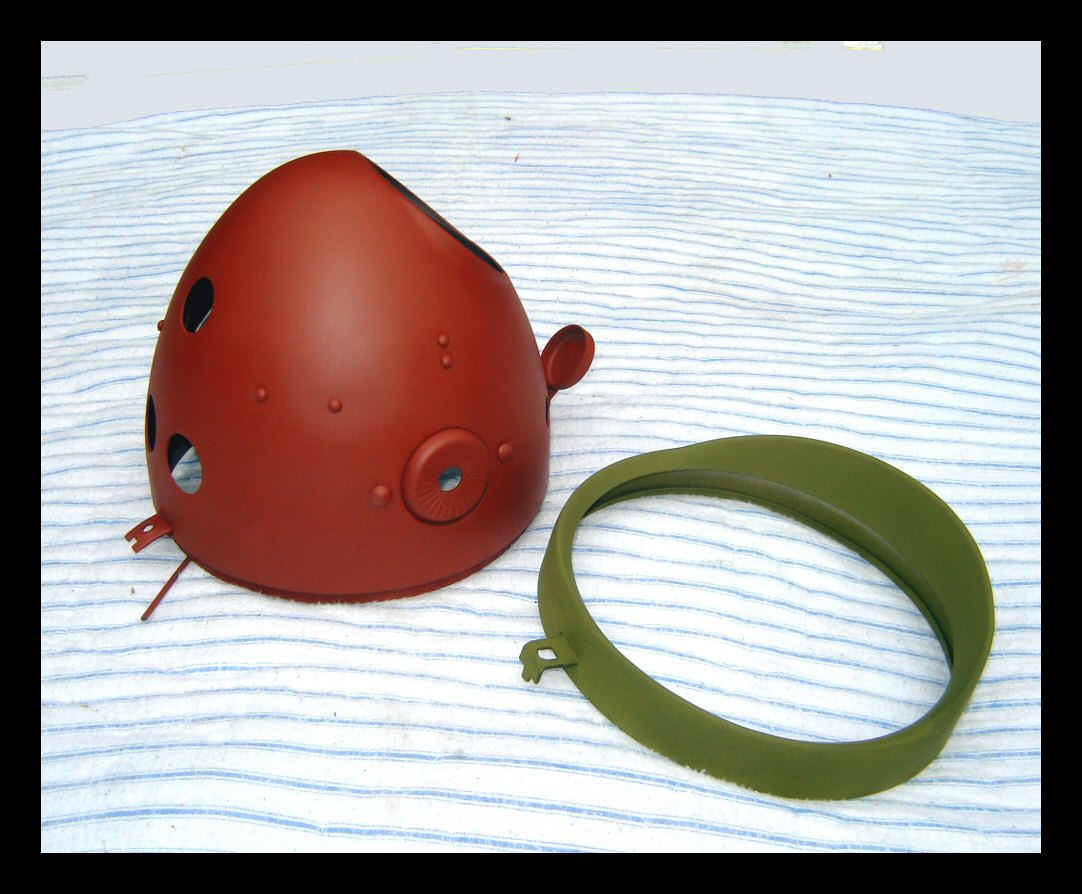
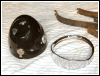
The headlamp and visor paint turned out just
fine. |
 |
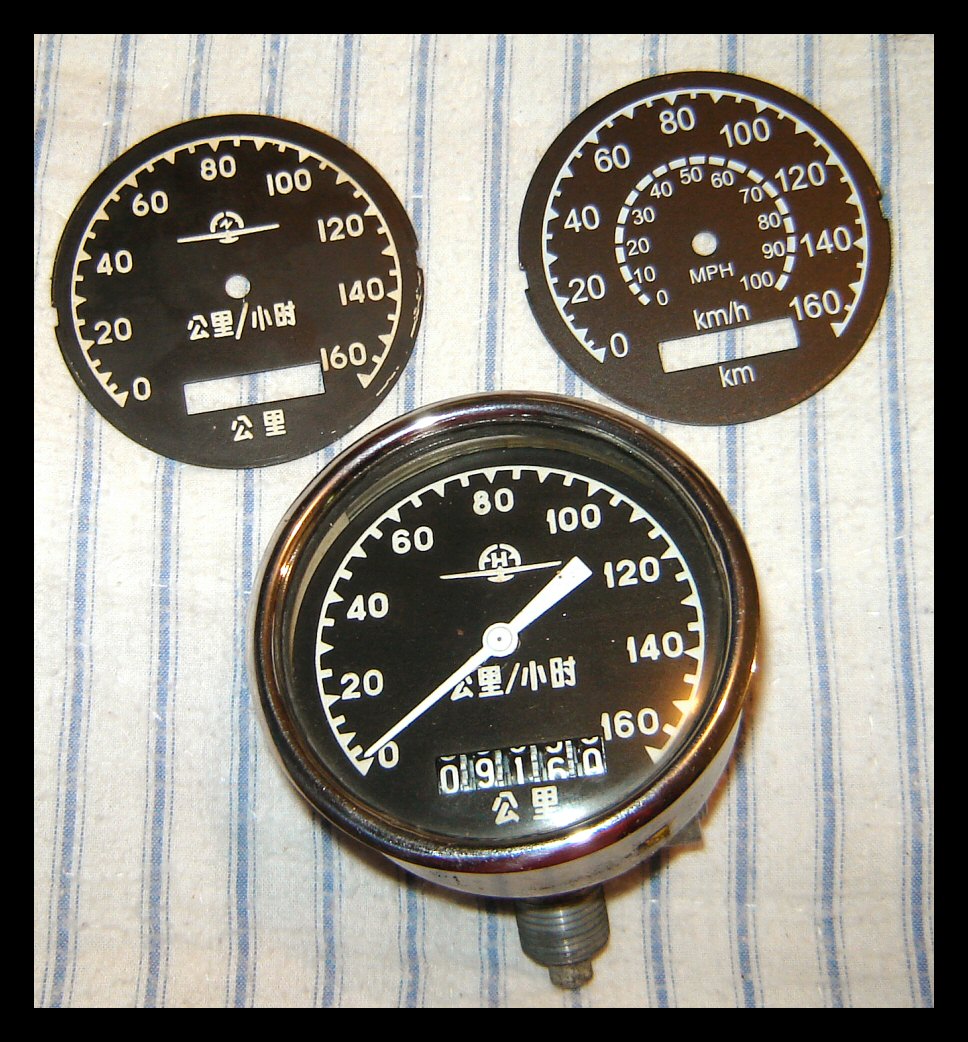
Which speedo face plate should I use? The
one on the upper left is from a Jiangxi. The one
next to it is from a modern, cheapo km/h-mph speedo, and
the bottom is a Huangshan. |
 |
Huangshan it is, mainly because
that's what the speedo is, and it's a very good one at
that. The Chinese characters give it character. |
 |
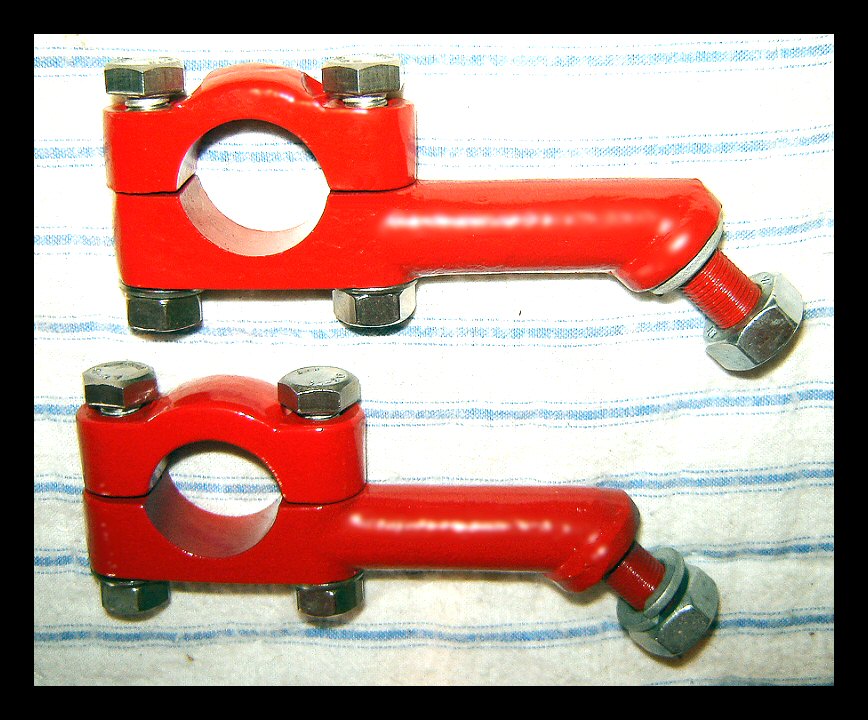
Handlebar risers, ready for action. |
 |
Foot pegs, ready for action. |
 |
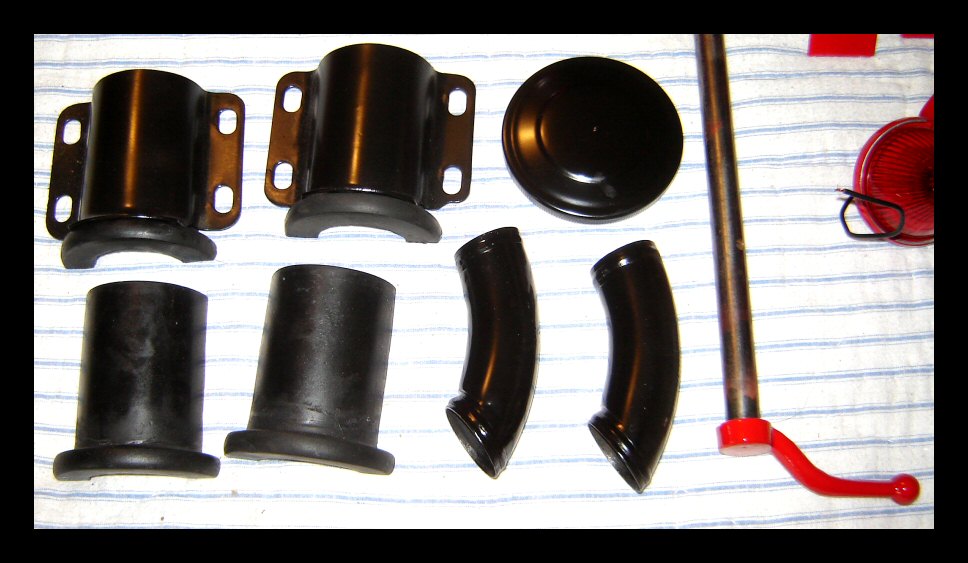
Gas cap, carburetor tubes and sidecar frame
mounts, ready for action. |
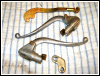 |
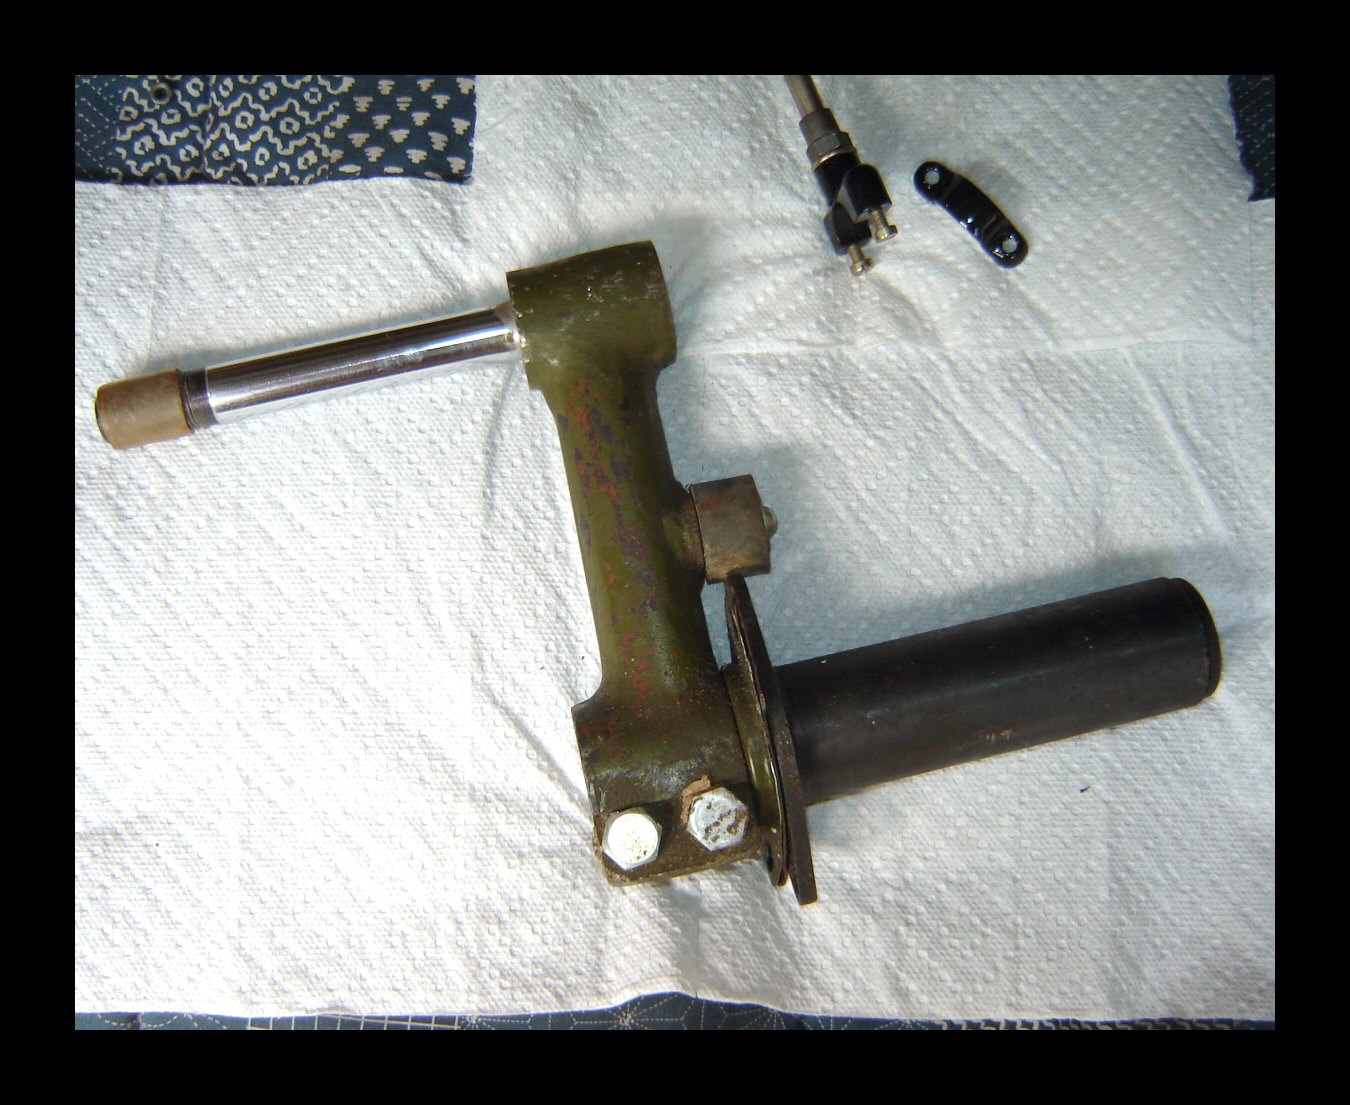
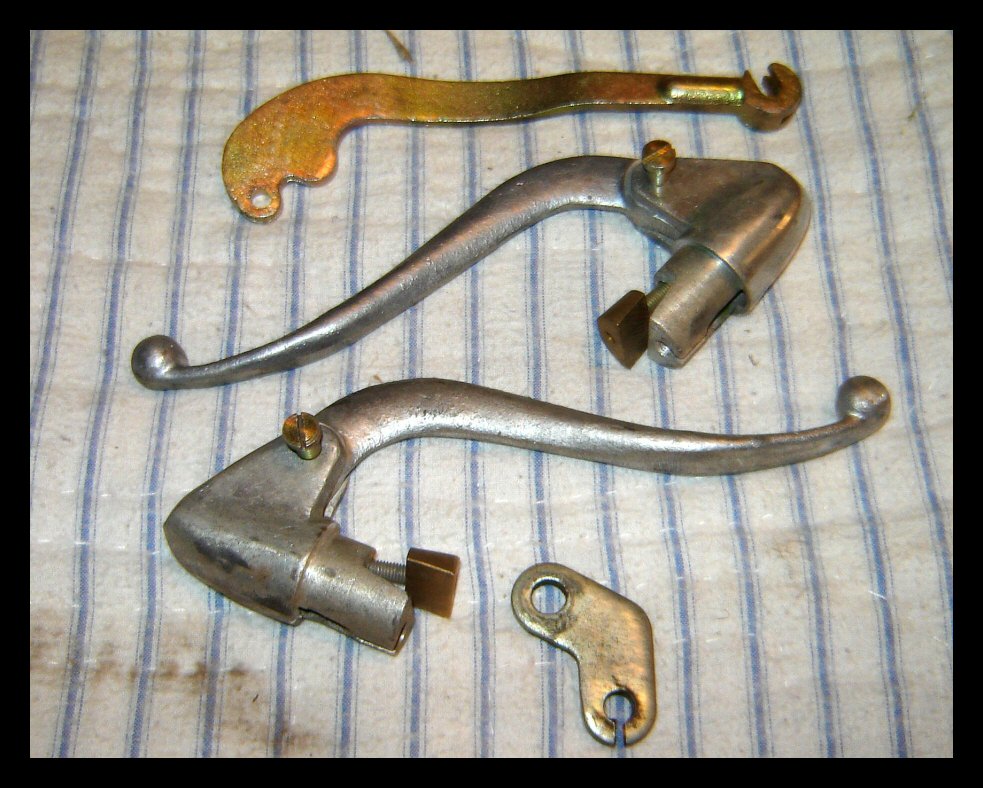
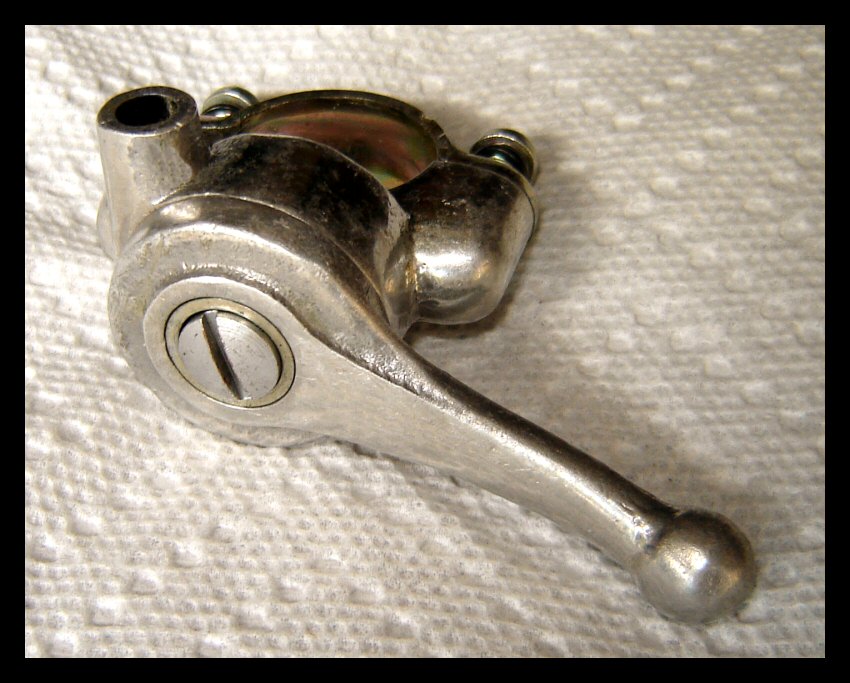
Clutch lever, cable guide and handlebar
levers, soon to be ready for action. |
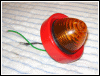 |
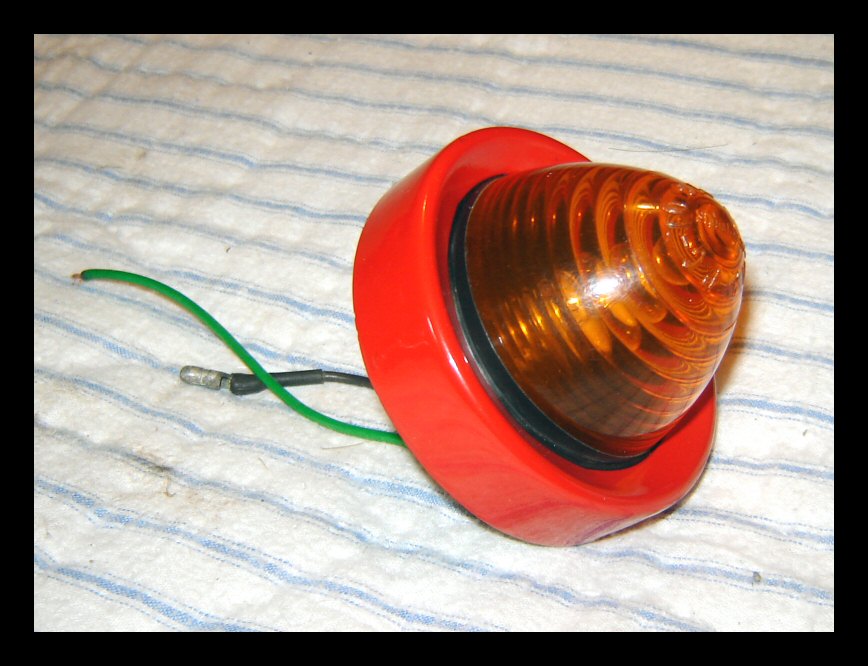
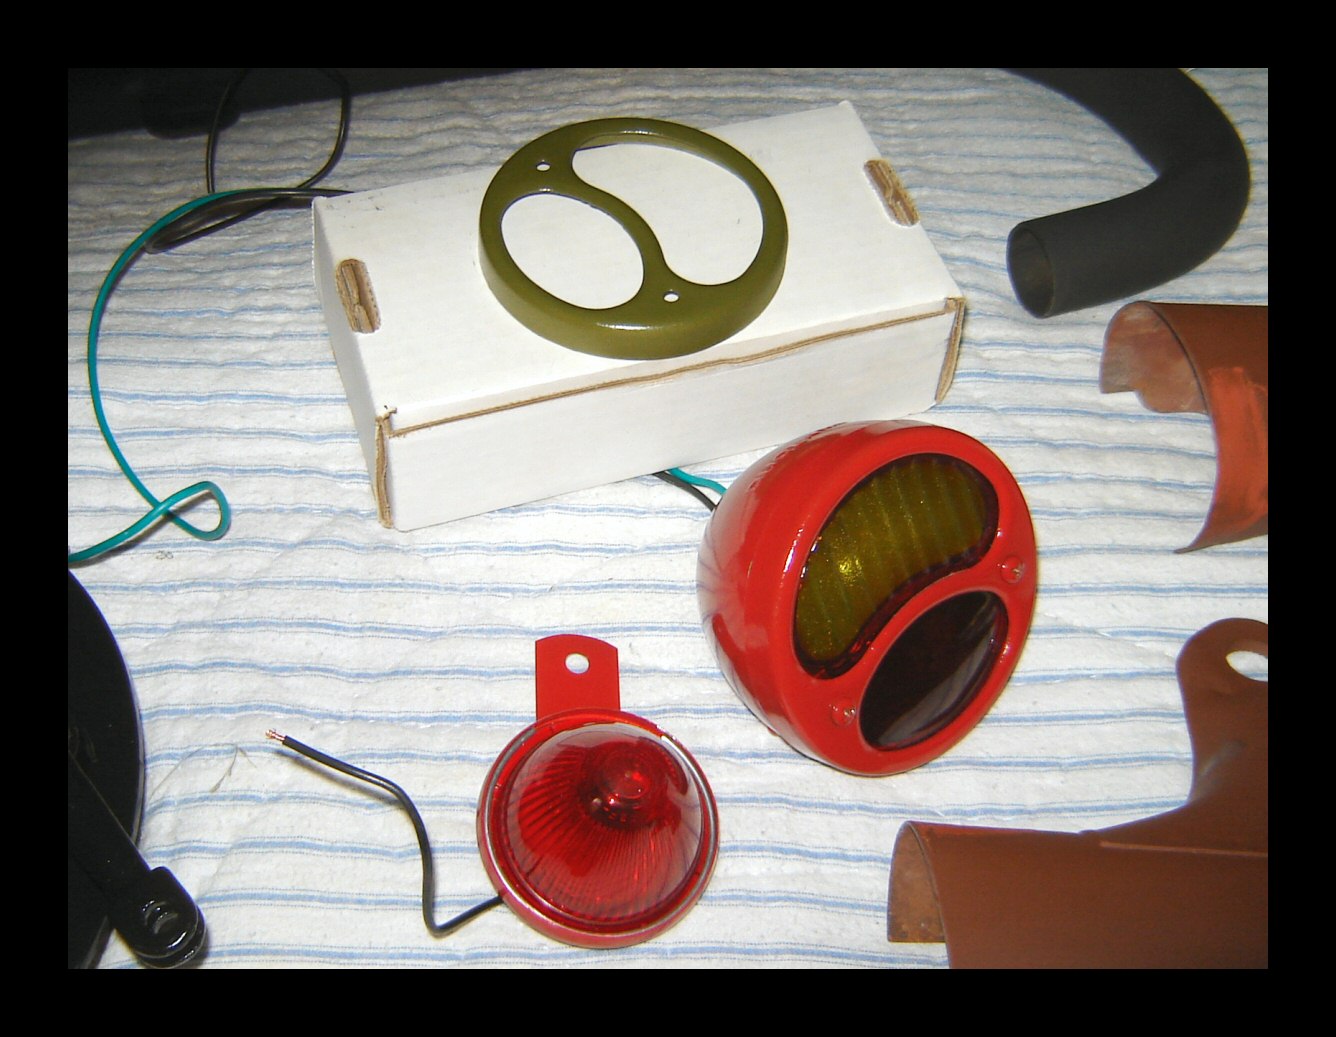
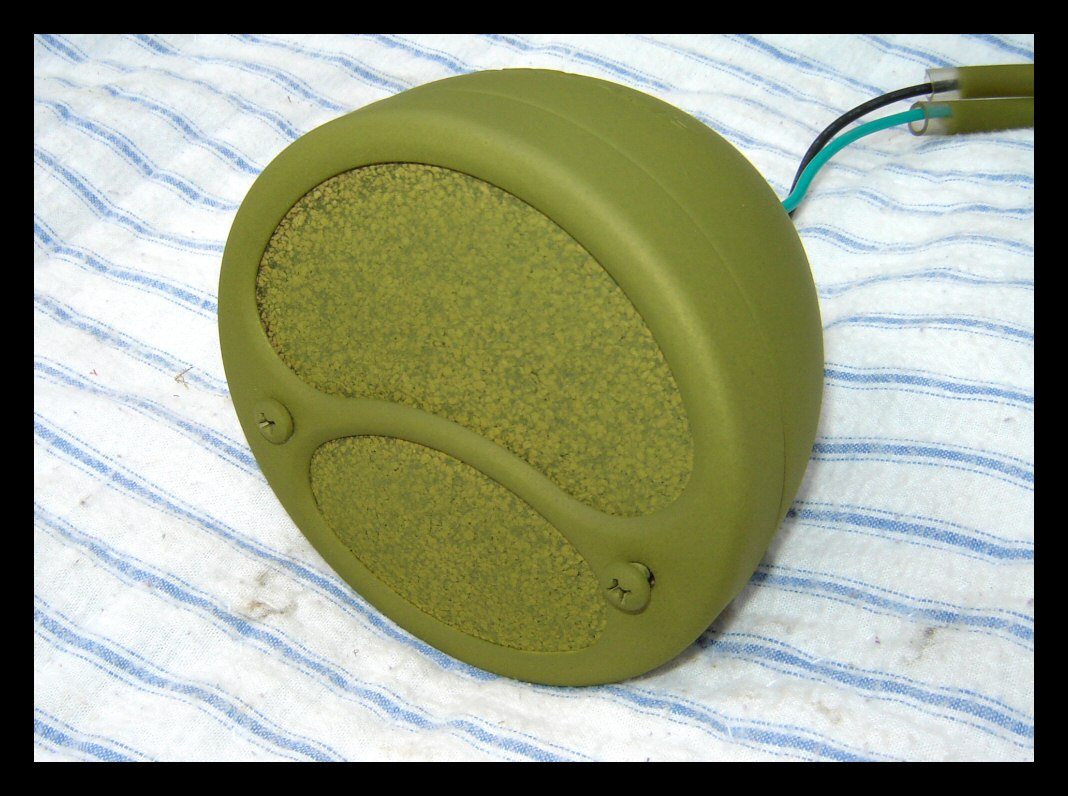
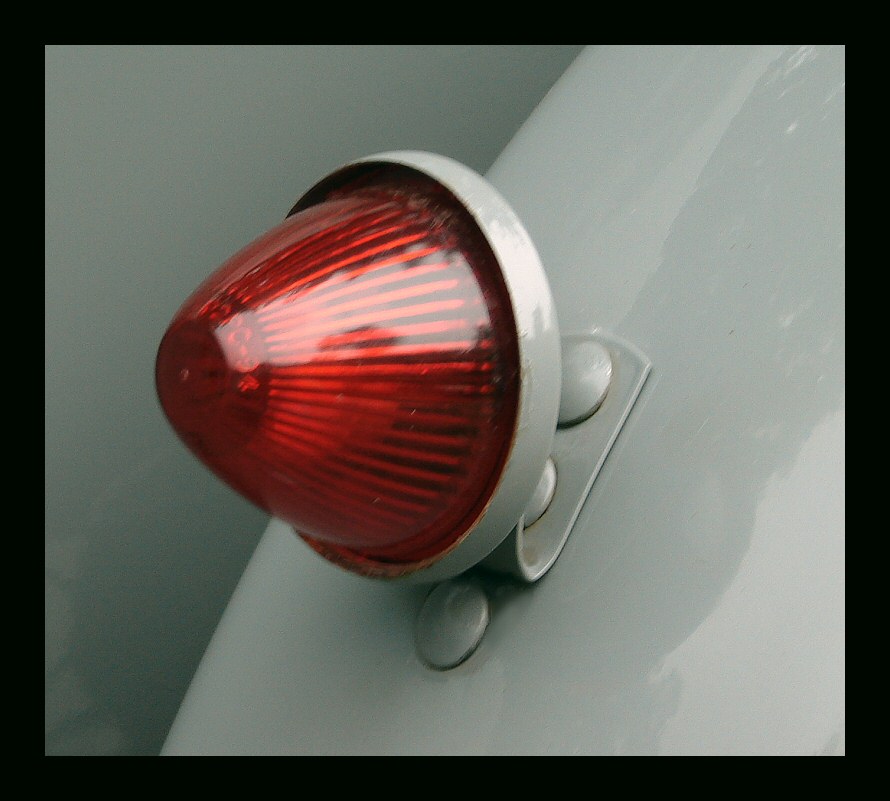
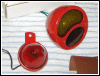
Sidecar running light with my trademark
nifty bullet lens, ready for action. |
 |
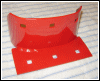
The footboard was just a rough cut piece of
lumber with a few extra holes, etc. I filled the holes
then coated the whole thing with bondo, sanded it nice
and smooth, then painted it. Looks much better now. |
|
|
 |
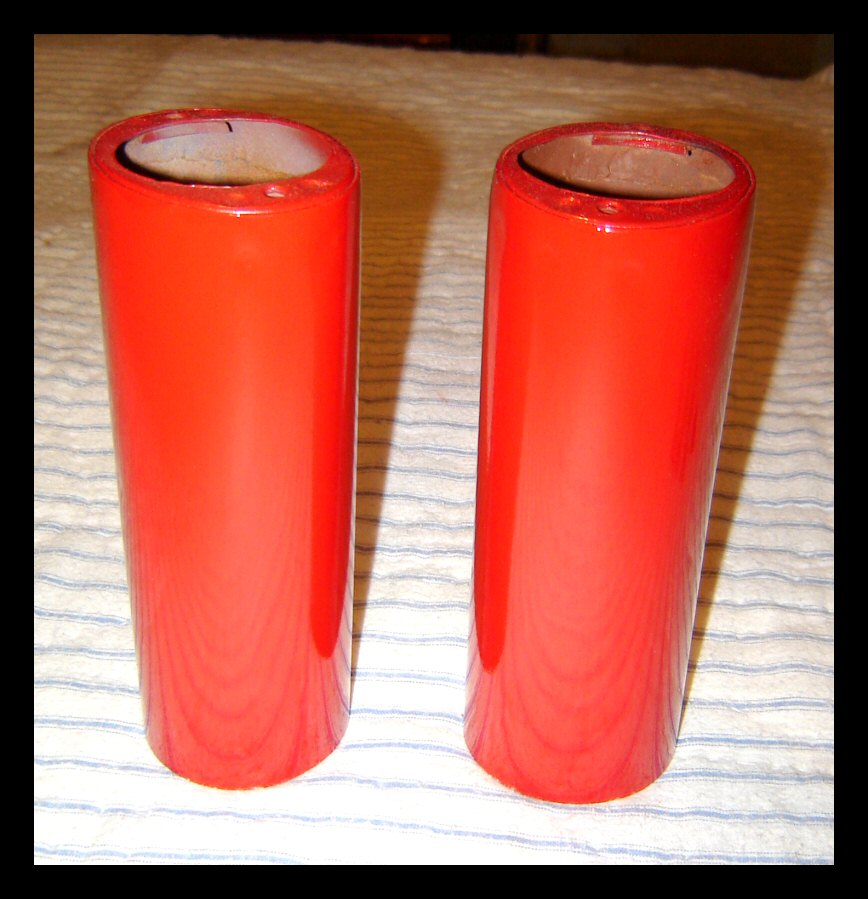
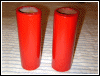
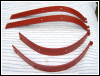
Sidecar trunk hinges, all bright and shiny
red. |
 |
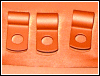
As are the clips for the external taillight
wiring... |
 |
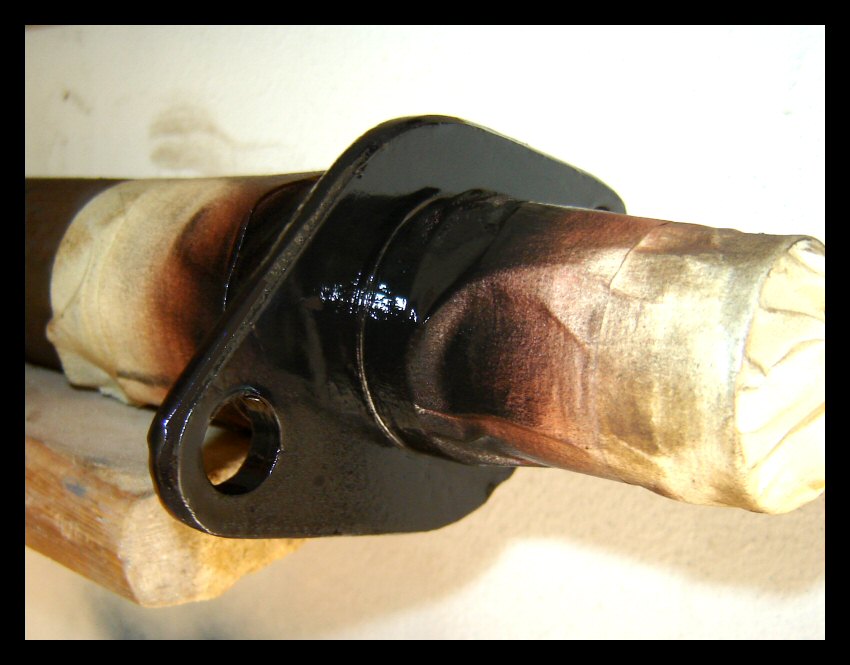
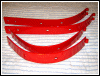
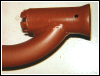
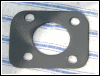
...and the sidecar fender front mount... |
 |
...and the fork shrouds. (Parts supplied by Jimbo.) |
 |
Sidecar axle torsion bar face plate with
fresh paint. |
 |
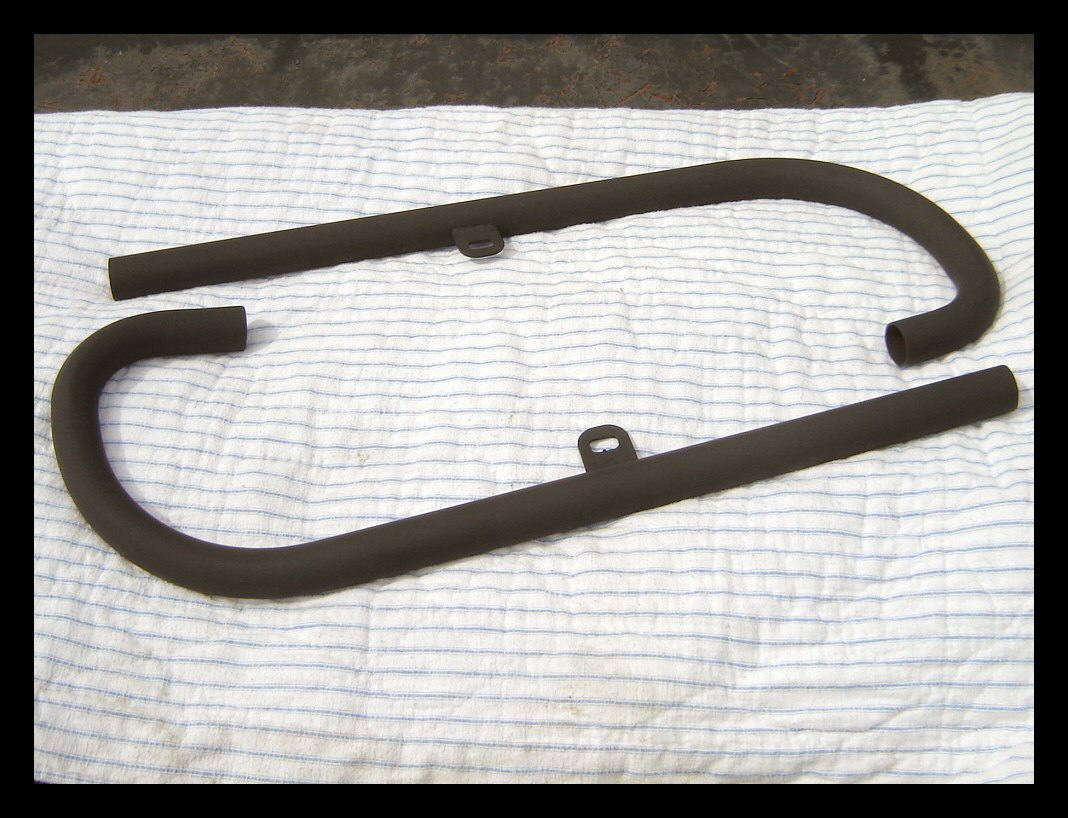
Handlebars, blacker than the ace of spades. |
 |
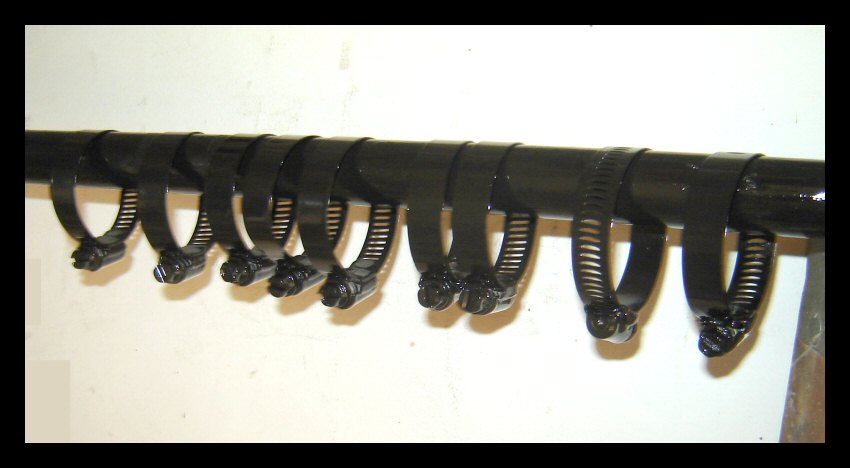
Black clamps for the hoses that connect the
carbs to the air filter outlets. They're stainless, so
they were blasted and primed with zinc-chromate. |
 |
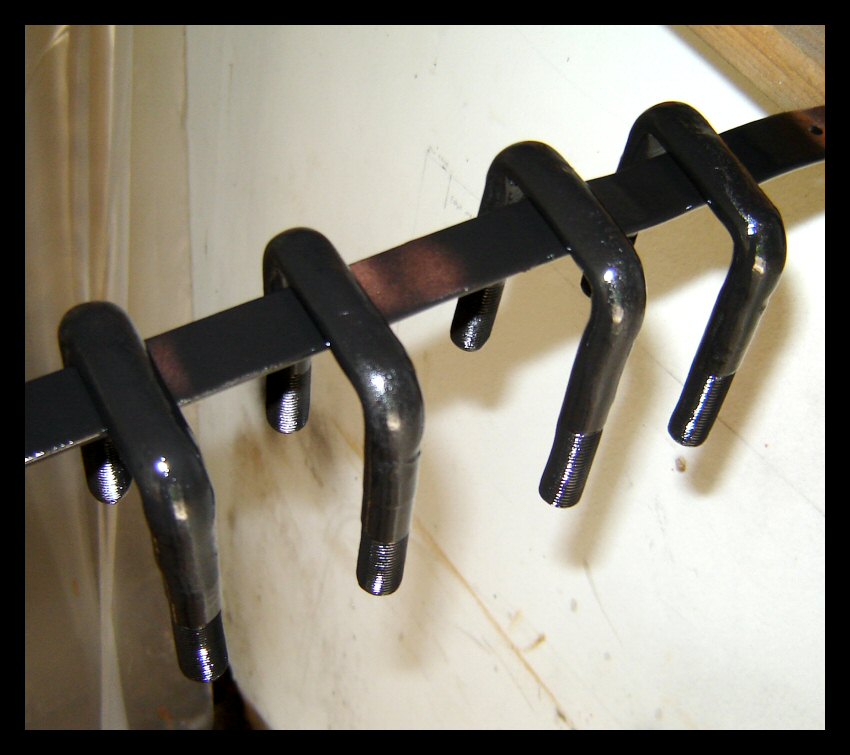
Sidecar leaf spring U-bolts, courtesy of Jimbo. |
 |
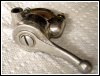
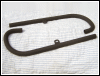
This is the original sidecar axle. Notice
anything unusual about it? |
 |
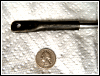
Spark advance from Shao. |
 |
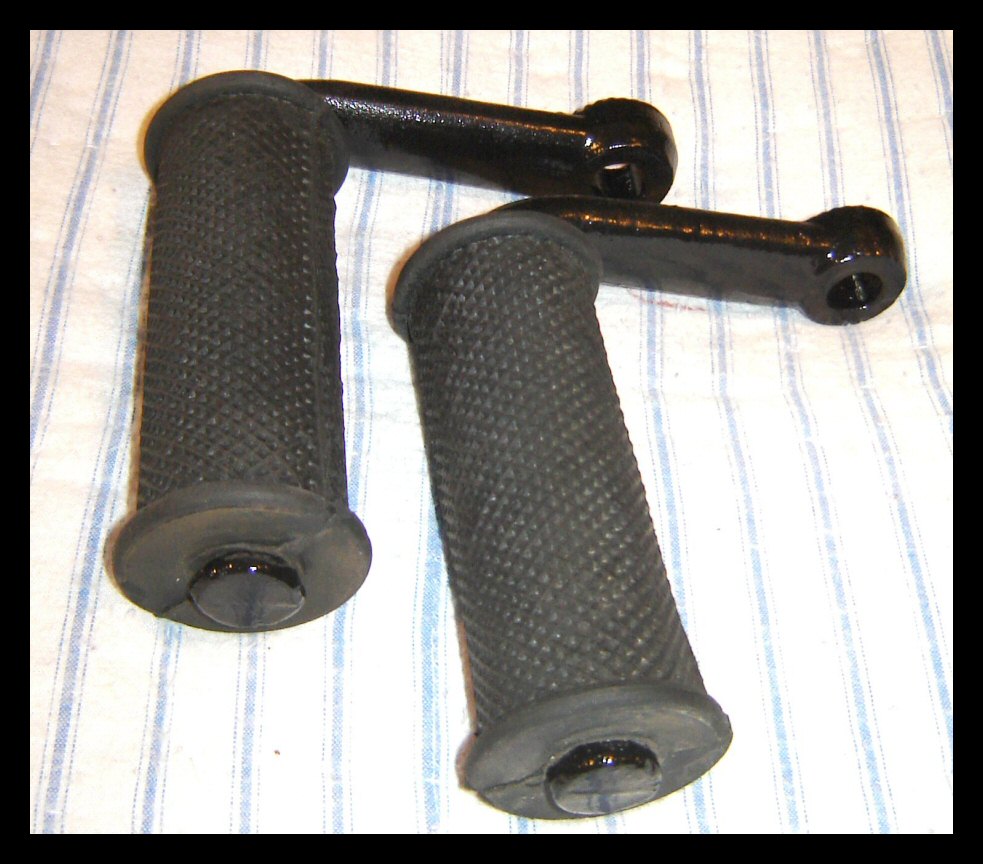
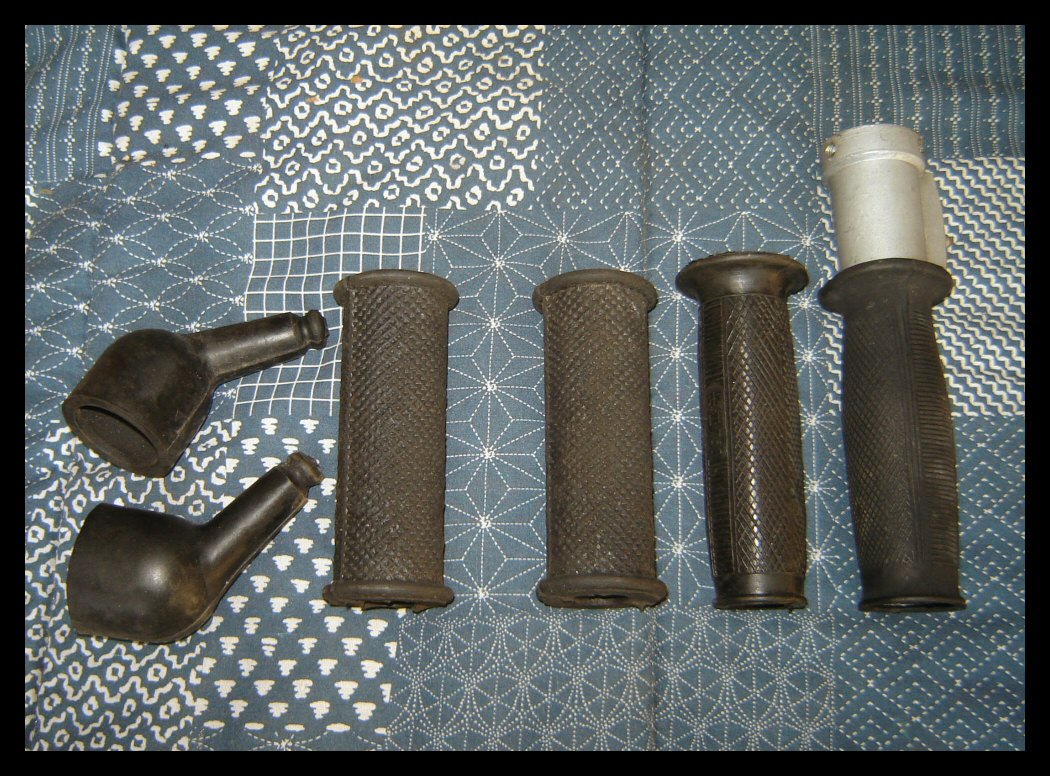
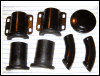
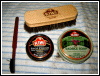
NOS rubber parts! It's in the details. |
 |
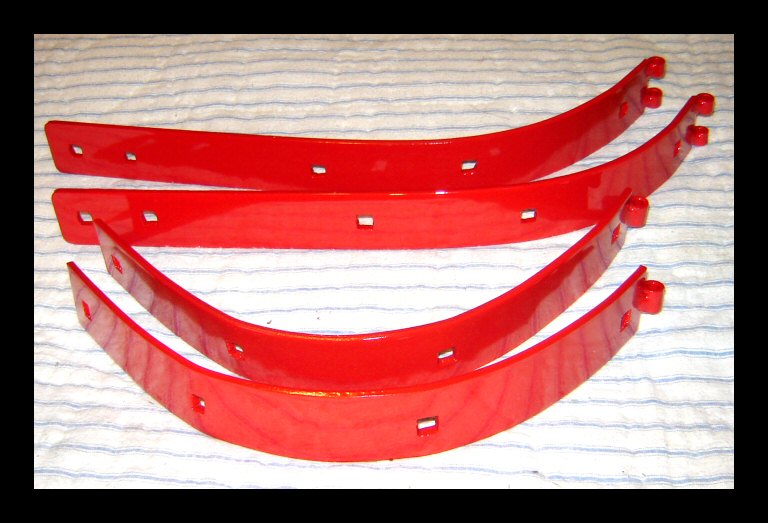
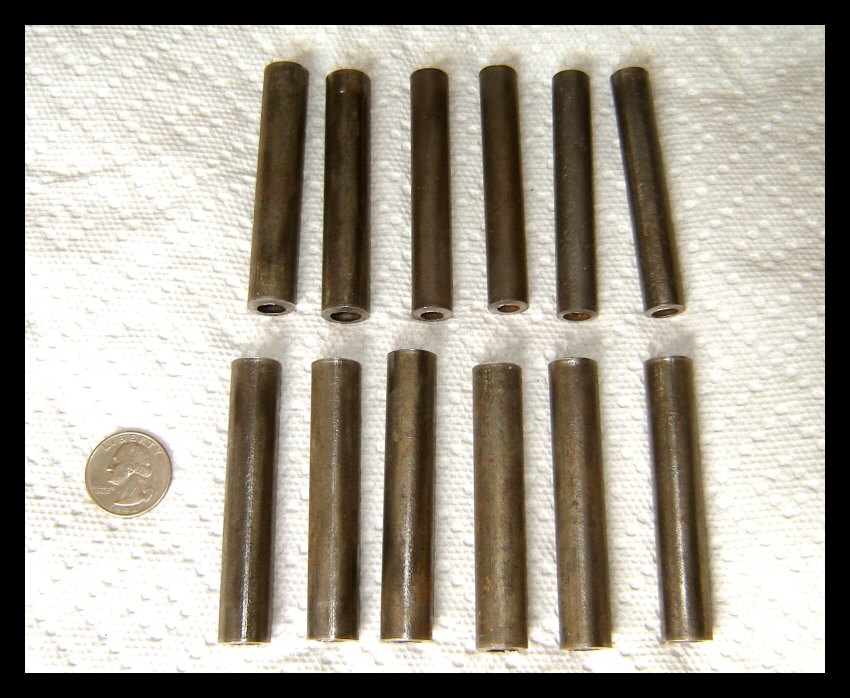
 |
Repeated crash testing has shown a need for
improvements in the Slim-Line Fender Brackets. The SL-II model will have
reinforced ends as seen on the prototype (right). Those
tubes will become the end pieces. |
 |
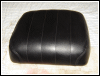 |
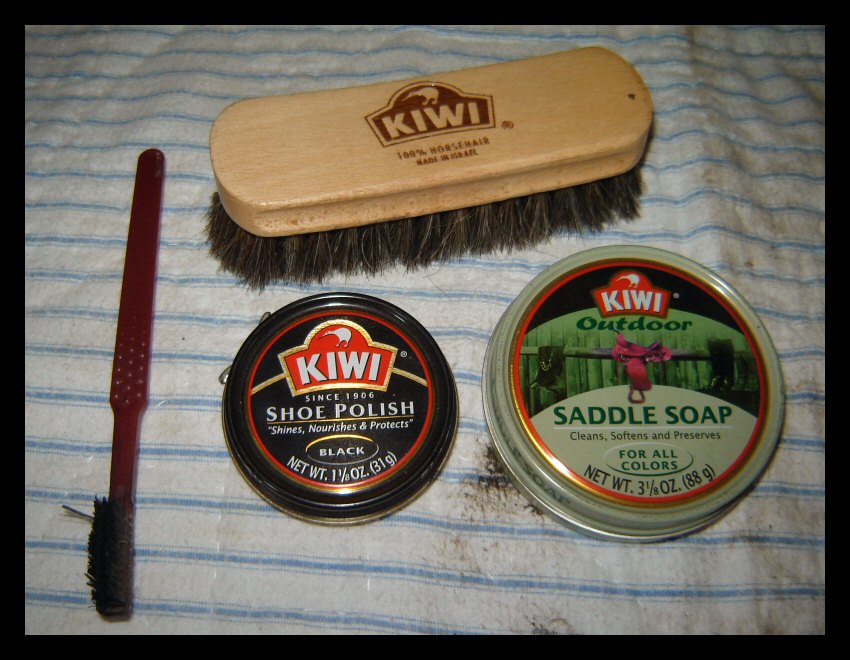
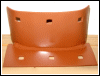
The sidecar backrest was looking pretty
rough, so saddle soap and black shoe polish were utilized
to bring it back to life. Worked like a charm. |
 |
There's all kinds of freshly primed stuff
hanging from the ceiling of my garage. These are just a
few of the parts that got done today. The handlebars will
be black. The headlamp visor got a second shot of primer
after some scratches were filled. The first coats were
done with zinc-chromate. |
 |
The face plate for the sidecar axle torsion
bar. It was a bit worse for wear, but not anymore. It
will soon be black. |
 |
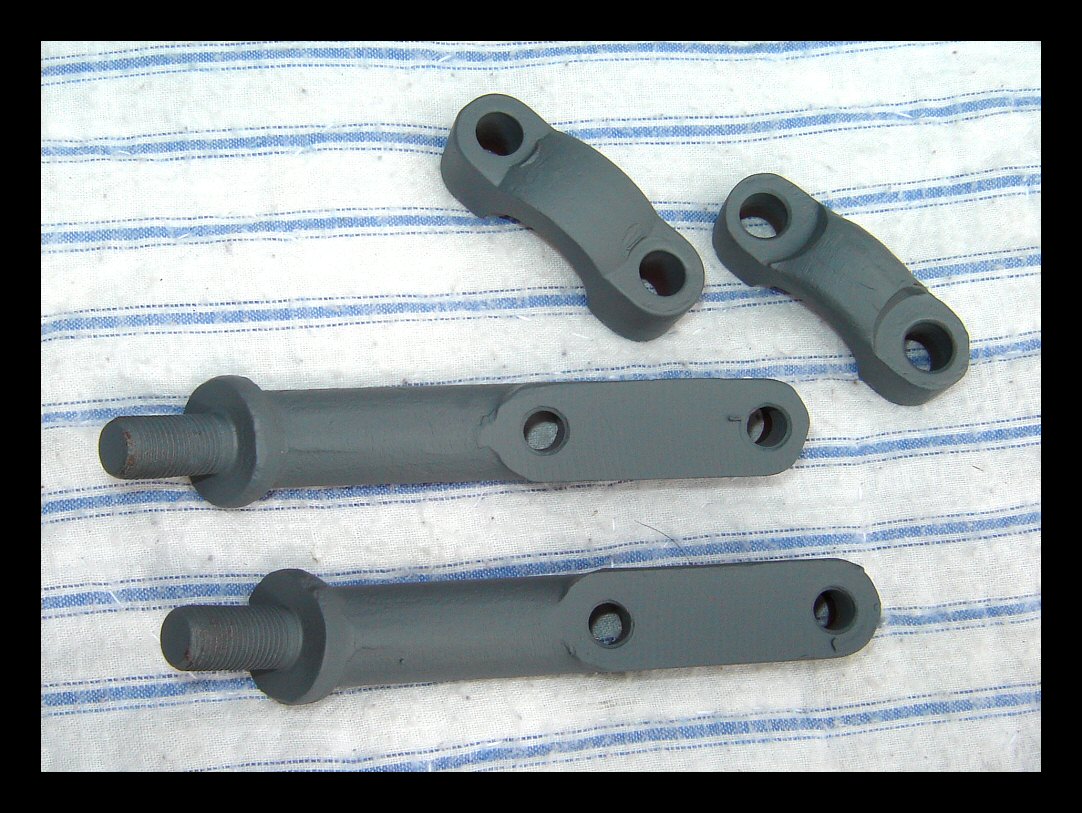
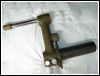
One of the sidecar mounts. I wasn't going to
mess with some of these parts, but one thing leads to
another and, well, you know... |
 |
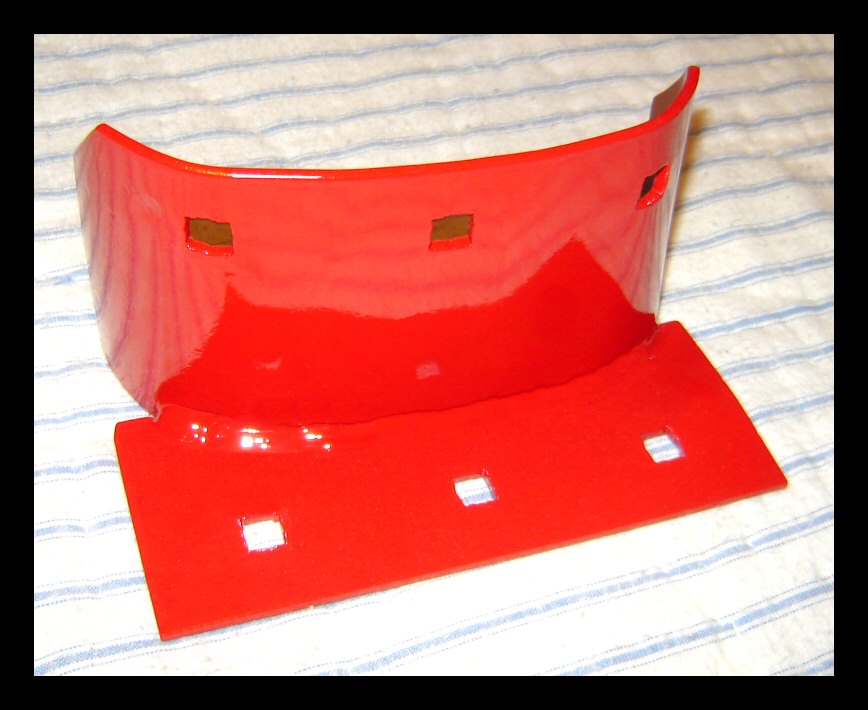
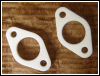
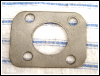
Like this, for example. It's the front
mounting plate for the sidecar fender. I didn't want half
a dozen layers of paint on it so here it is, stripped,
primed, and waiting for red paint. |
 |
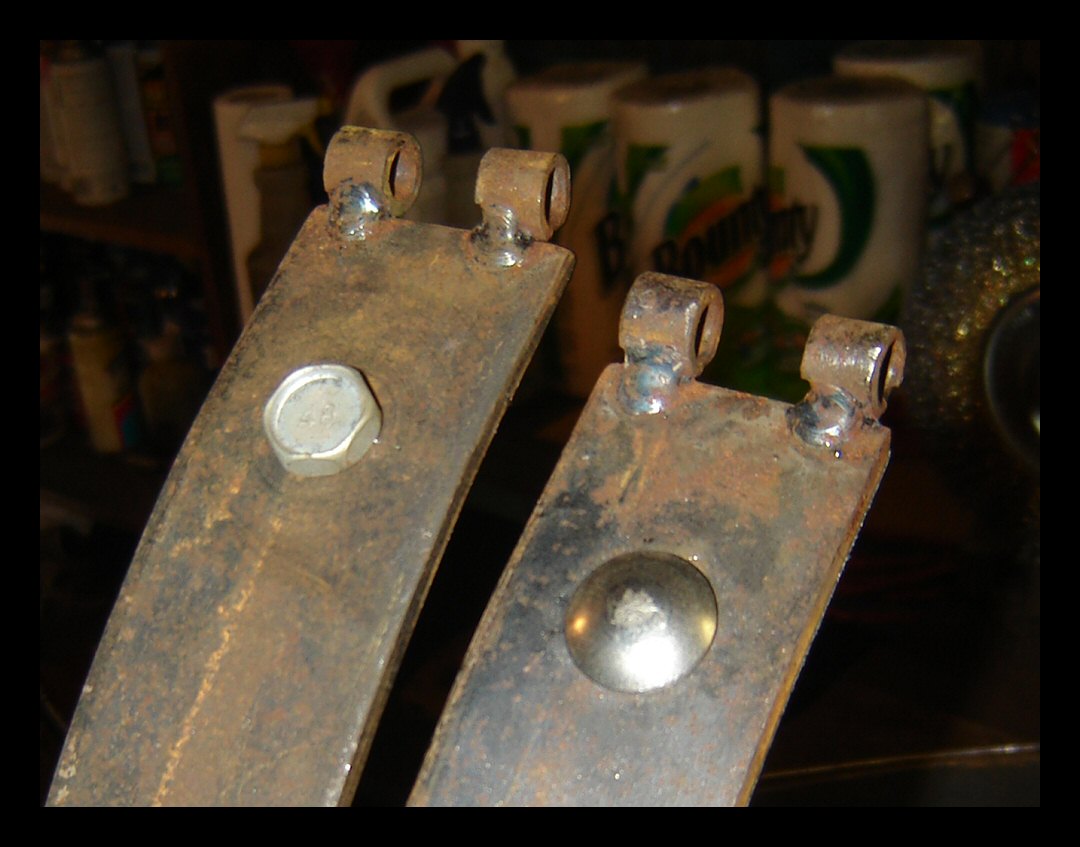
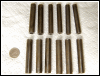
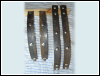
The carriage bolts turned out quite well. I
then realized I need eight more, so that got done today
too. |
 |
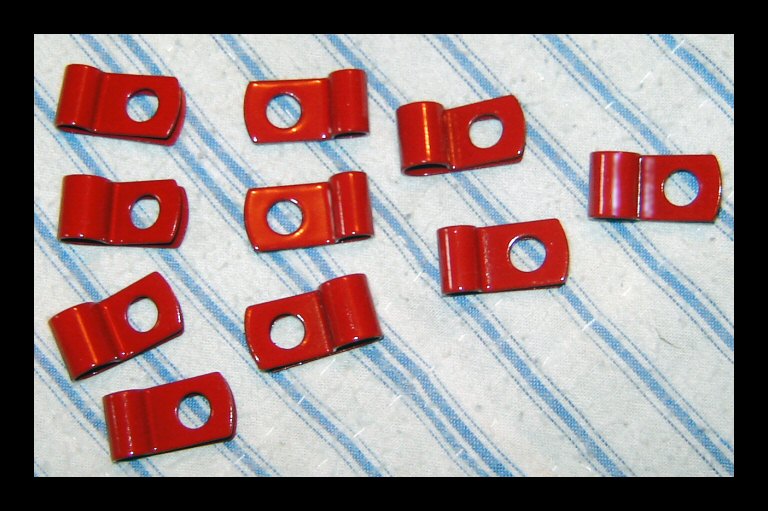
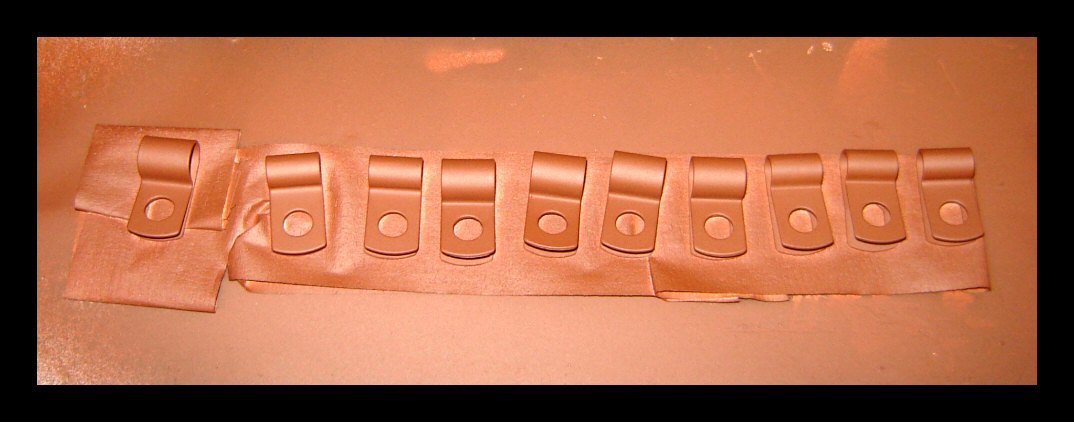
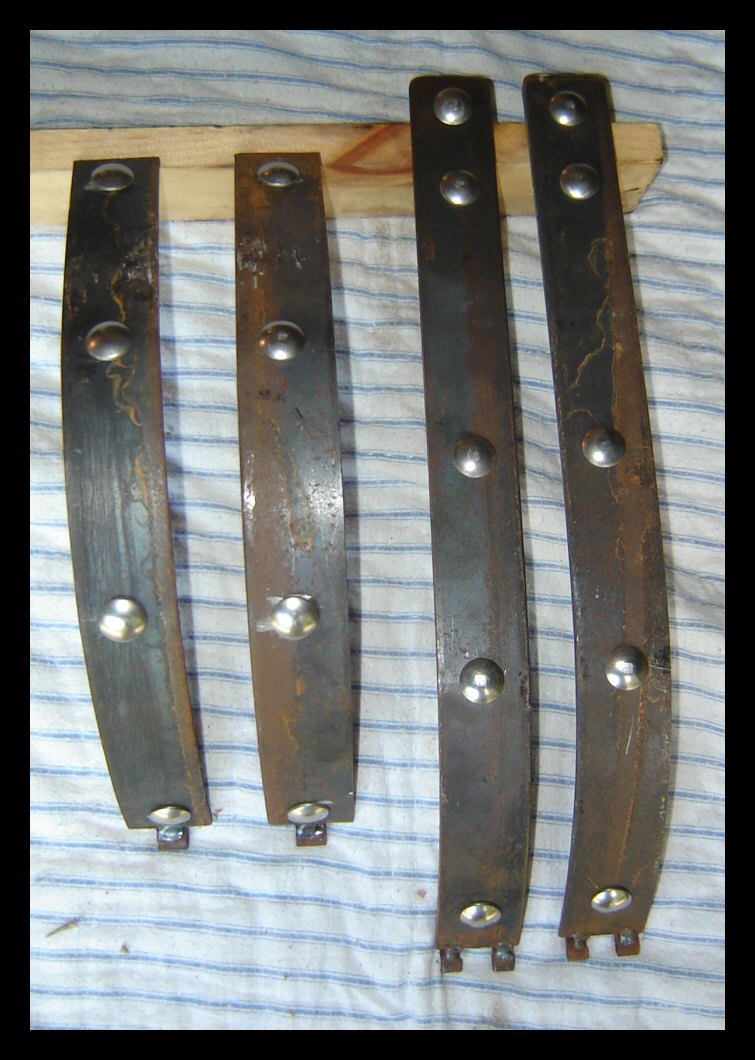
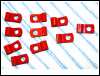
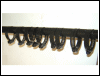
These clips will be used to secure the
external wiring on the rear and sidecar fenders. They'll
be painted to match the sheet metal. A total of ten will
be used. |
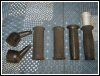
| There were some really nice detail items
hiding in my parts stock. For example, brand new foot peg
rubbers that will replace the badly worn ones that were
on the bike at the time of the accident. Ditto on hand
grips, carburetor boots, cables, etc. Pictures tomorrow. |
|
|
 |
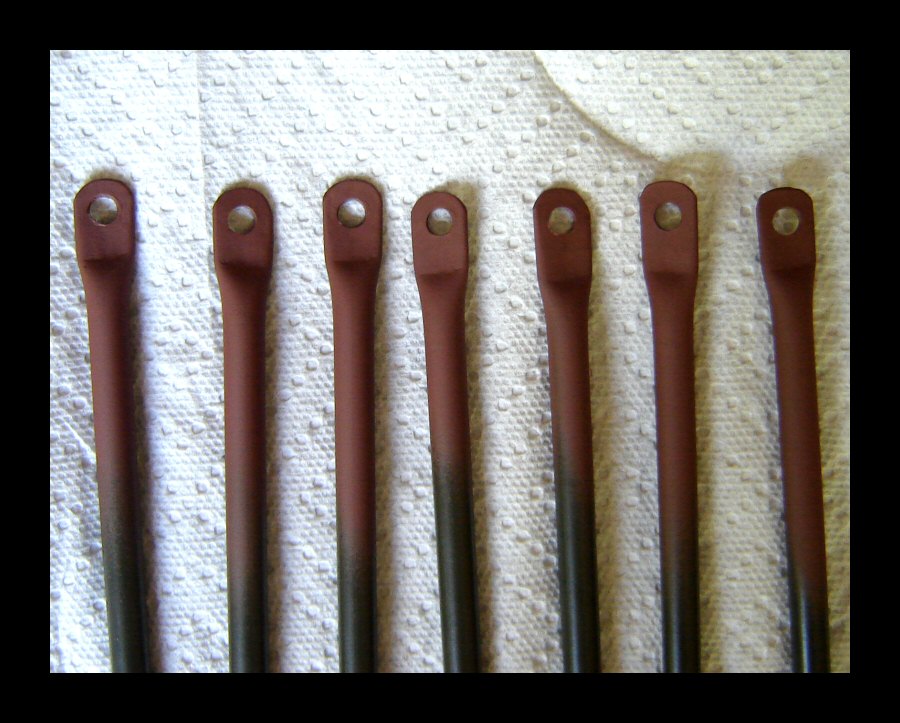
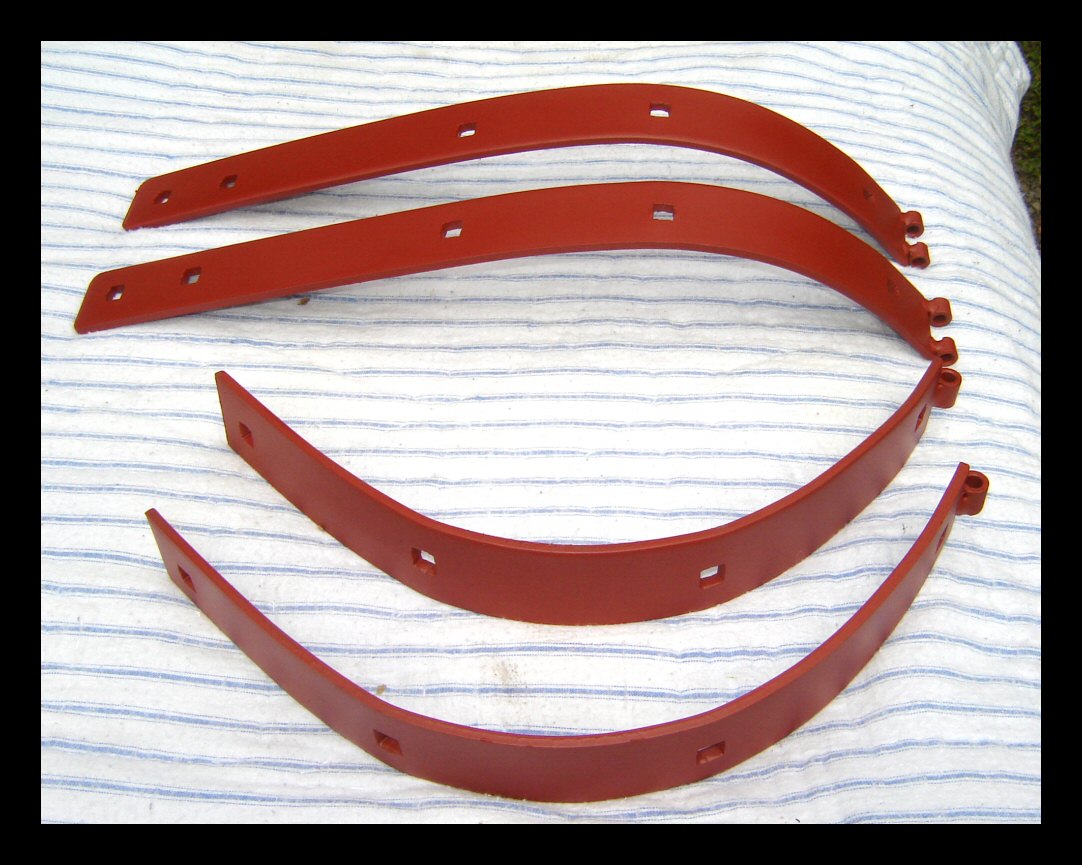
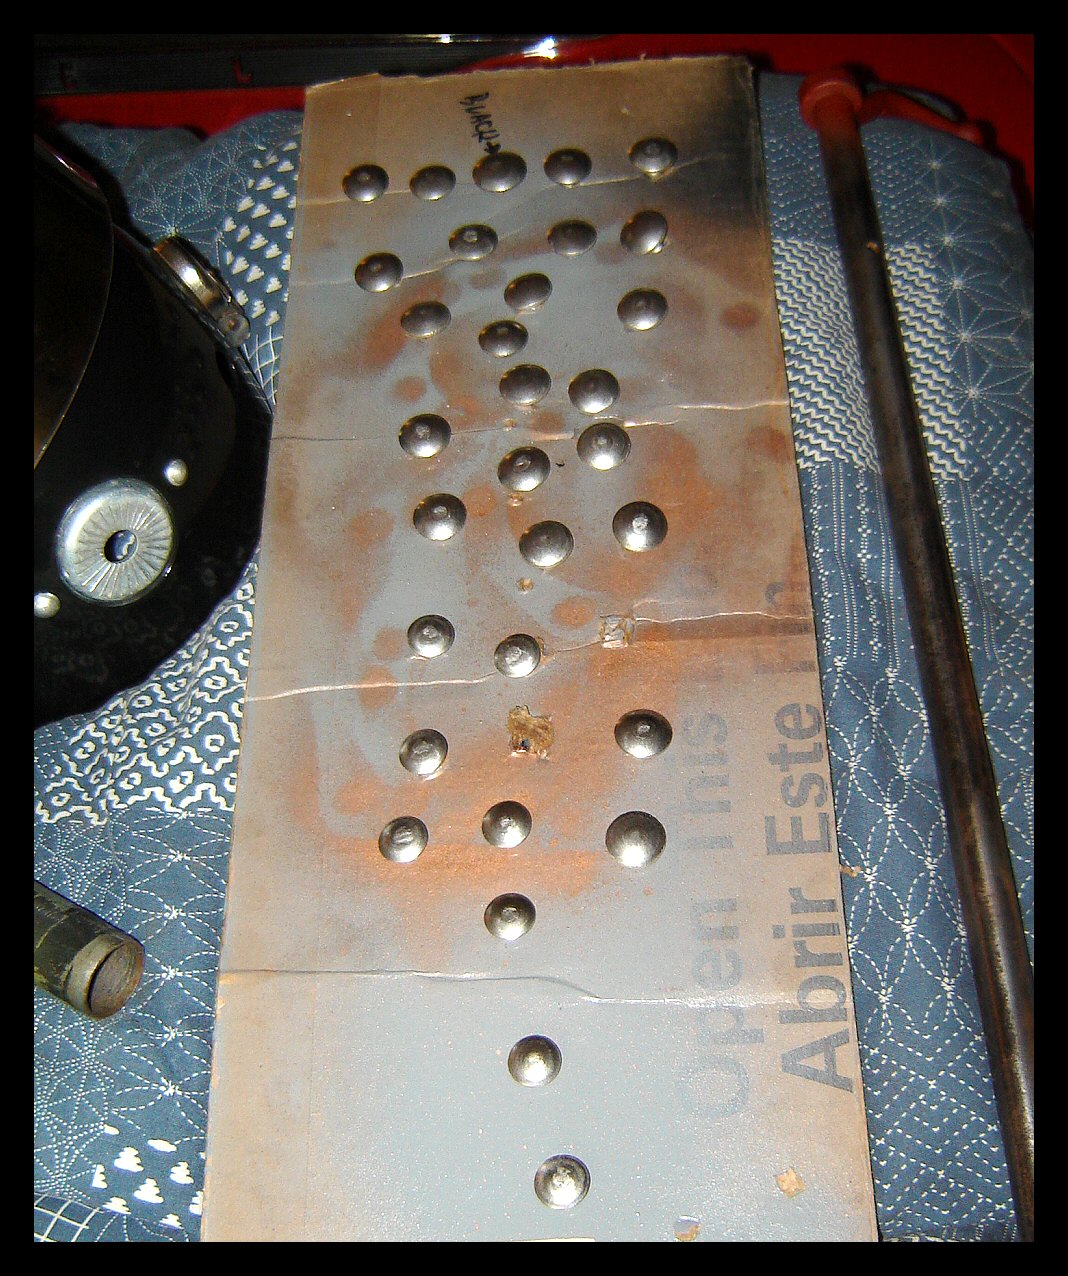
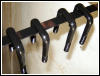
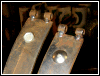
Stainless steel carriage bolts, sand
blasted, then primed with zinc-chromate primer—two details that guarantee the paint
will stick forever. |
 |
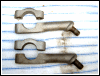
 |
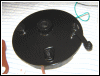
The trunk hinges are crudely made. They had
a fair amount of surface rust, too. A good blasting
followed by a shot of primer, and they're ready for a
smidge of filler, wet sanding, more primer, and then
paint. |
 |
 |
Ditto on the handlebar risers. These are
cast parts with a few bumps and irregularities that will
be smoothed before painting. |
 |
 |
The sidecar axle mount, blasted and primed. |
 |
 |
This little plate goes behind the trunk
release handle. It had a tab angled off at 90 degrees
which was for a padlock. I cut off the tab, cleaned up
the edge, blasted away the surface rust, and primed it
with grey stuff. |
 |
 |
 |
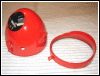
And last, but not least, the shiny new
headlight bucket and visor, blasted and primed. The visor
gets zinc-chromate primer since it's chrome. There's a
tiny bit of finish work remaining before they're sprayed. |
|
|
 |
What a mess, but it's the kind of mess I
like. Finished goodies await installation. |
 |
Handlebar risers from CJ Sidecar. This type is far superior to the
ones that got wrecked. Since each side is a two-piece
assembly, dealing with painted handlebars now a piece of
cake. |
 |
The fork shrouds from Jimbo's have been stripped and primed. The
first application of glazing compound has been smeared
over the welds. |
 |
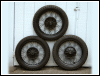 |
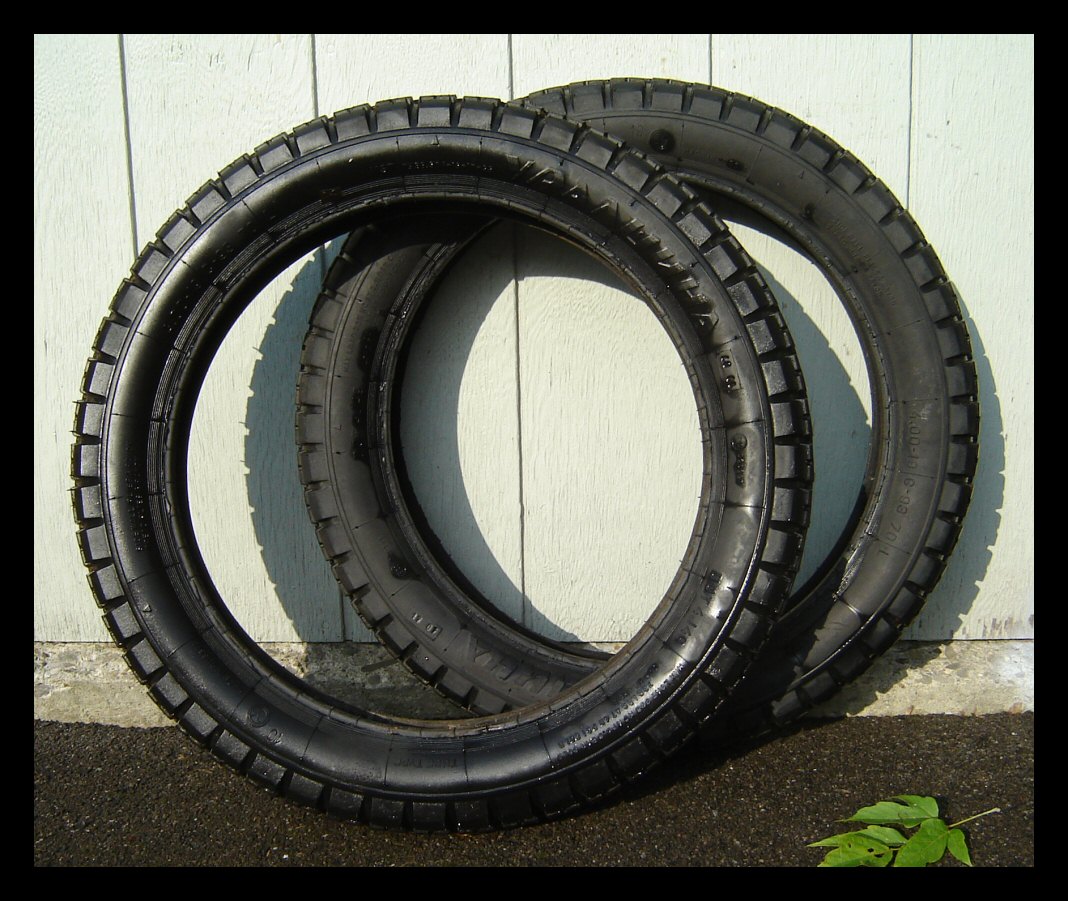
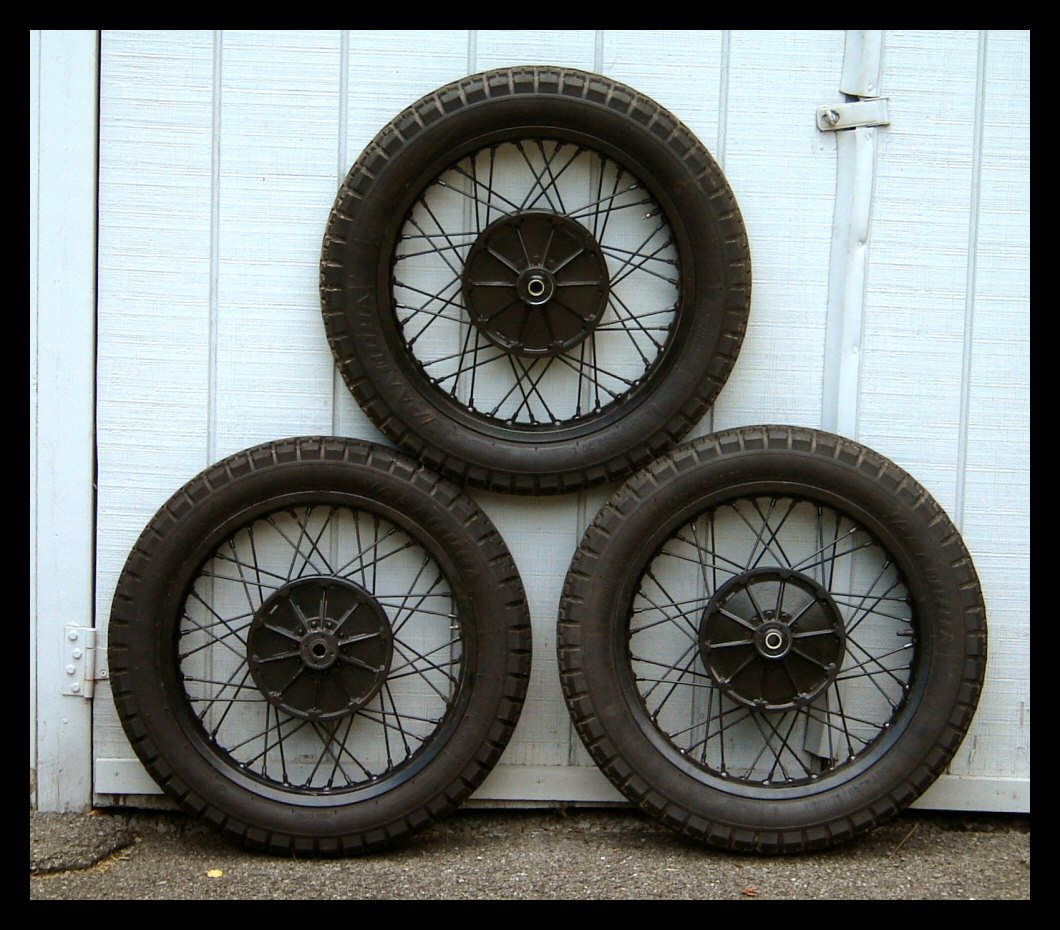
Today I also mounted two 4" Russian
tires on two new M5 wheels (also from Jimbo's.)
Now we've got three wheels, ready for action. |
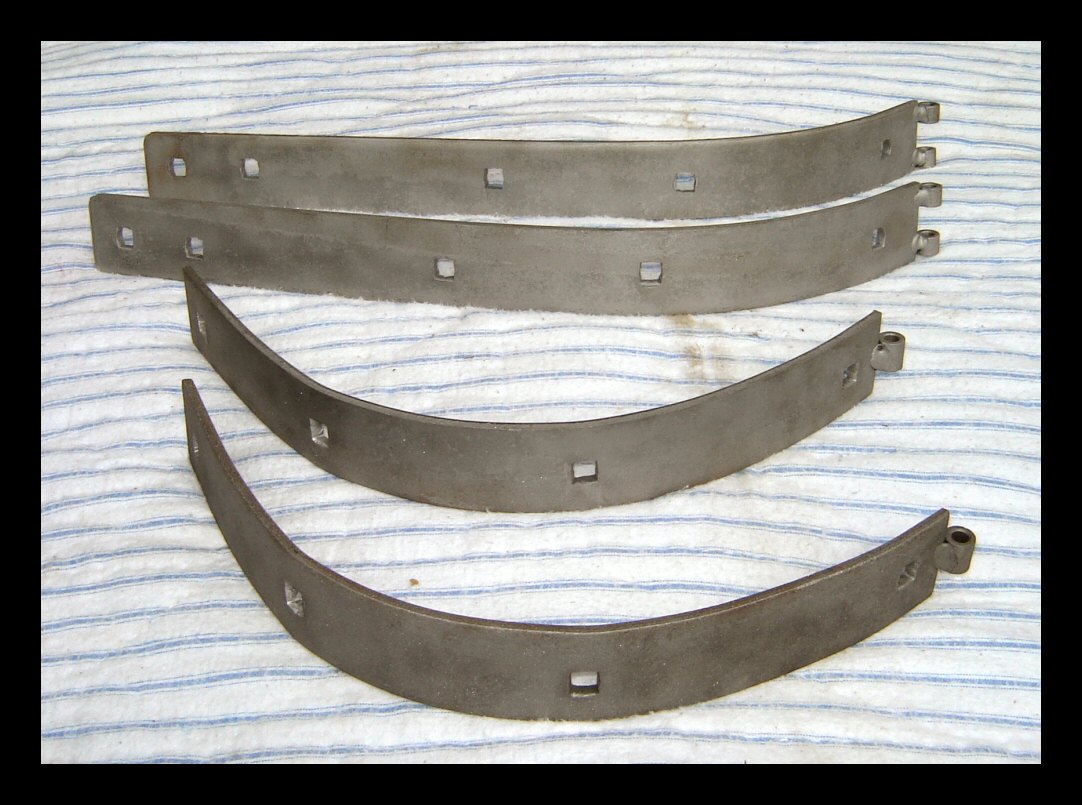
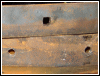
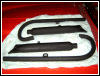
| Squaring holes for carriage bolts is only as
time consuming as your file is dull. The trunk hinges are
6.5mm thick, and the first few holes seemed to be taking
longer to square off than they should. So, I made a run
to the hardware store and bought a new file, and presto,
3-4 minutes per hole. The fifth picture gives you a rough
idea of how they're going to look. Everything will be
sand blasted tomorrow. The carriage bolts are stainless
steel, so a little texture will assist the zinc-chromate
primer in adhering to them. |
 |
 |
 |
 |
 |
 |
 |
I just got home after five weeks at sea, and
two deliveries were waiting. |
 |
 |
 |
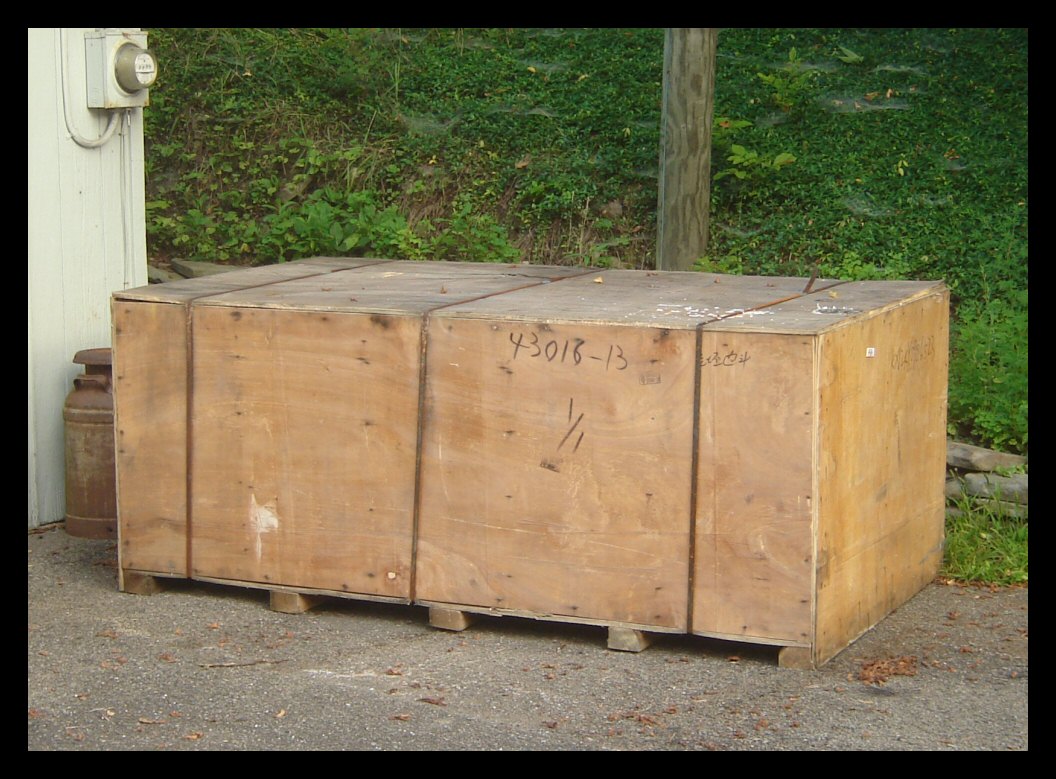
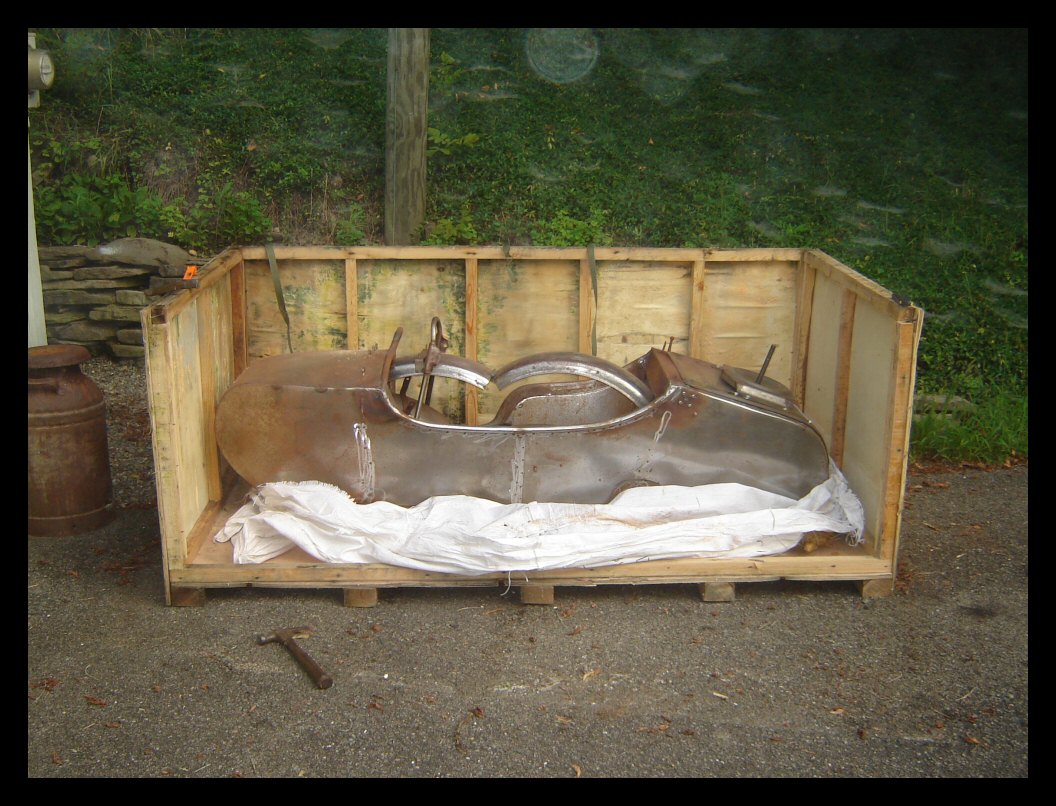
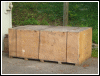
The first is this sizeable crate from Shao
Yiqi in Beijing. Let's open 'er up. |
 |
 |
 |
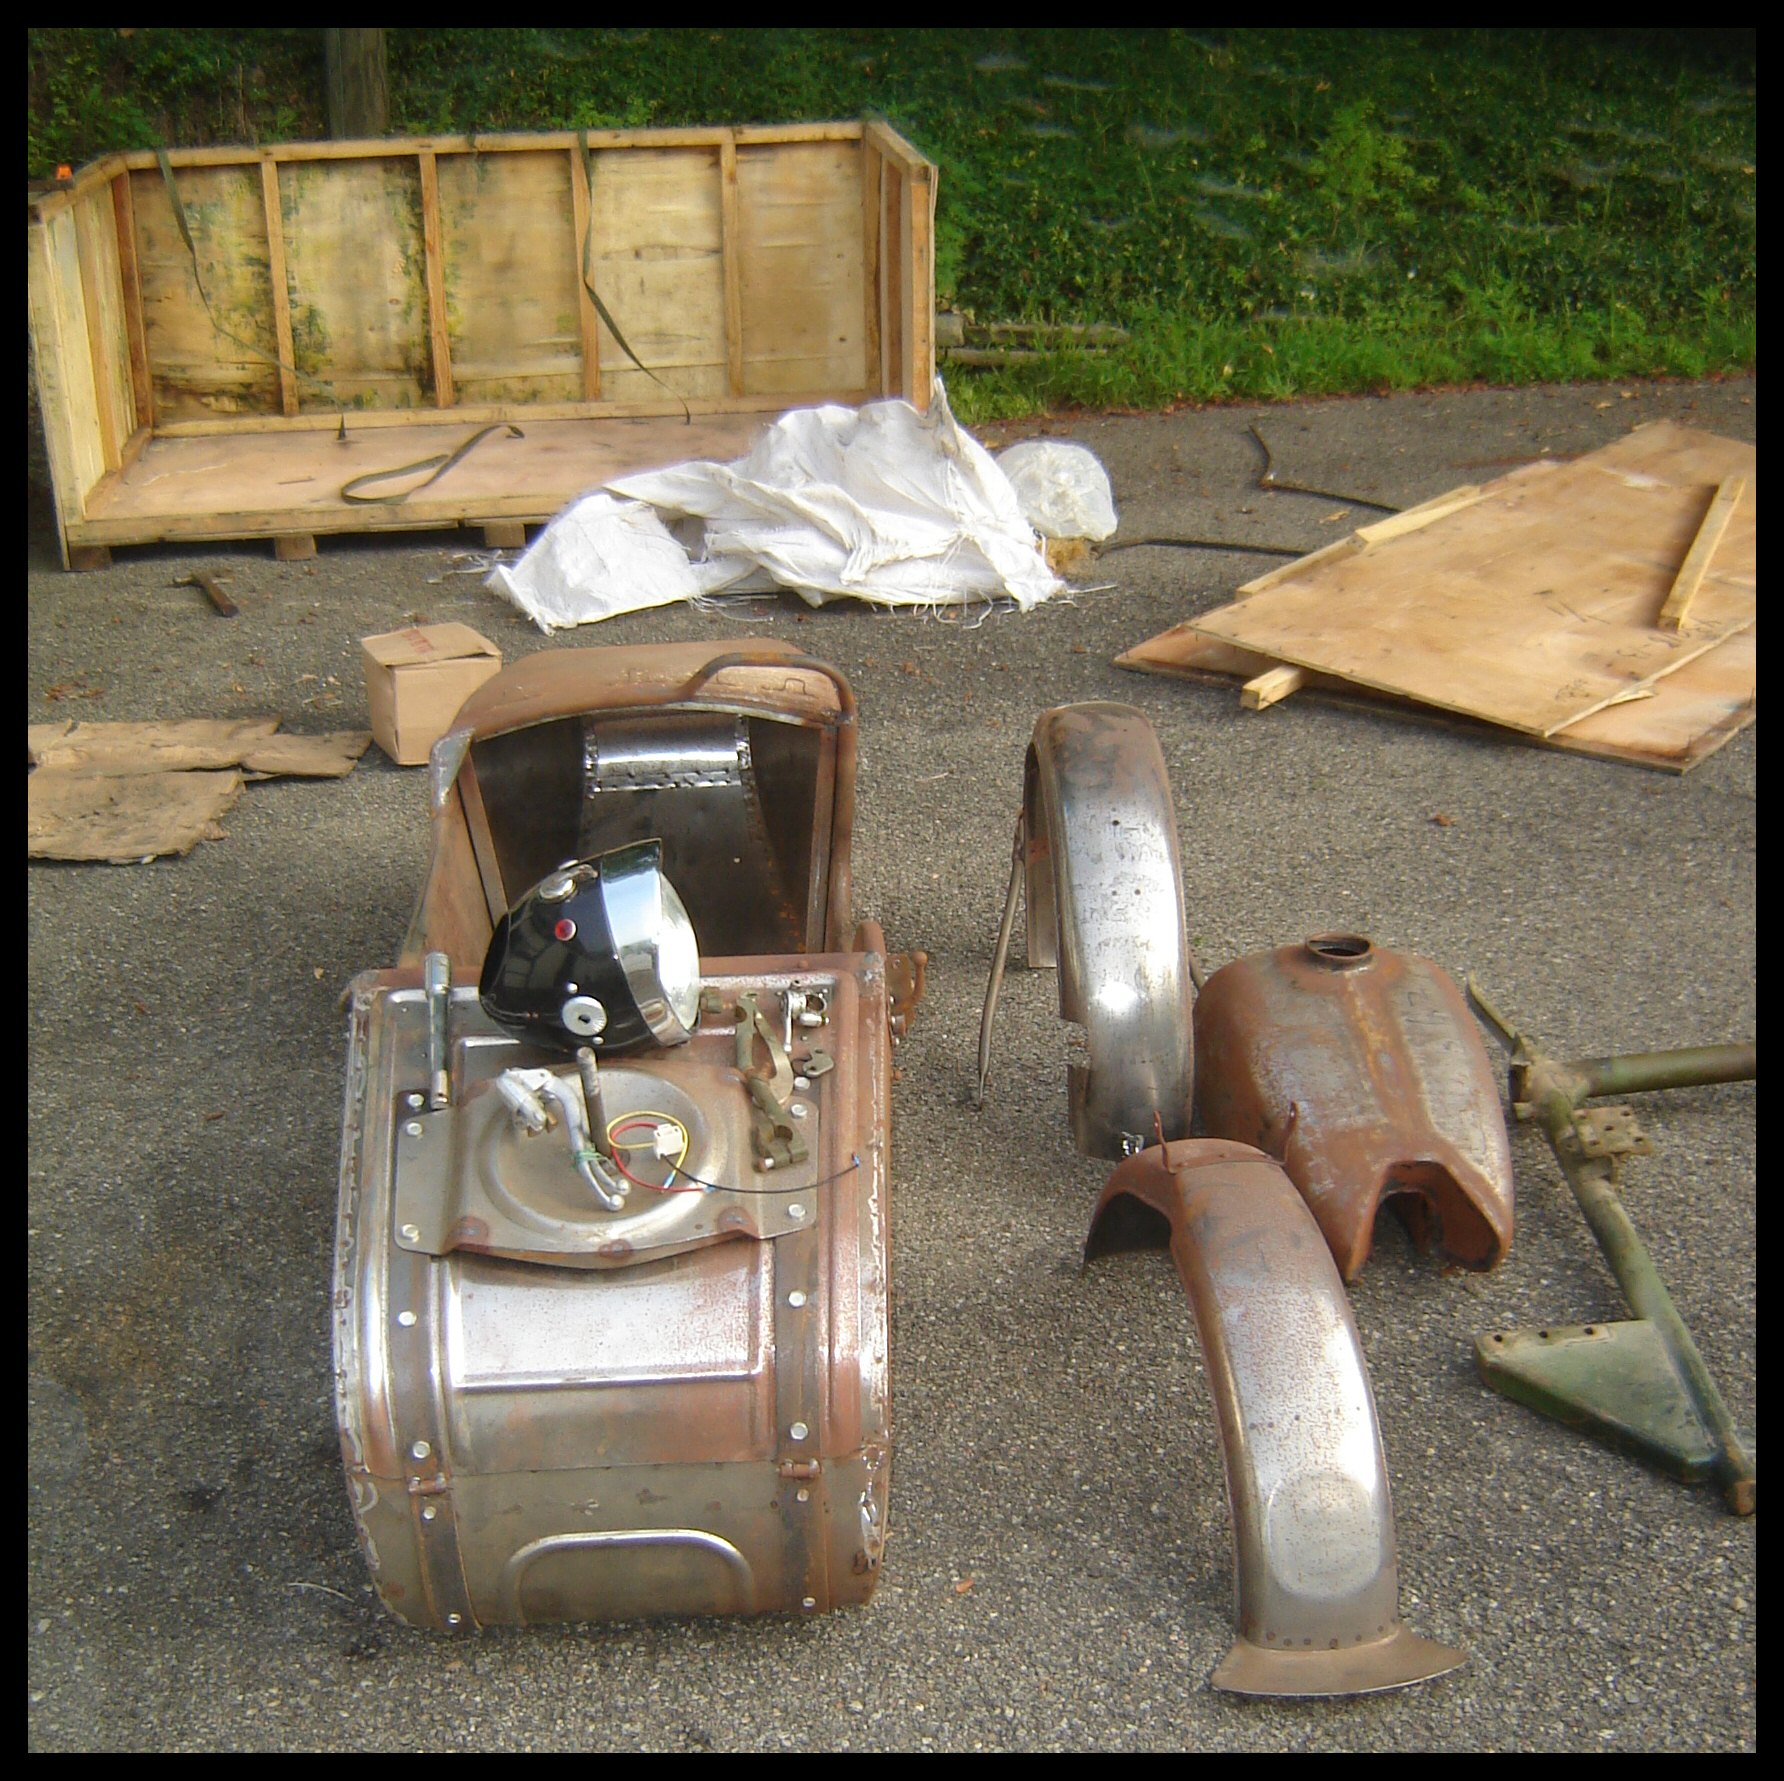
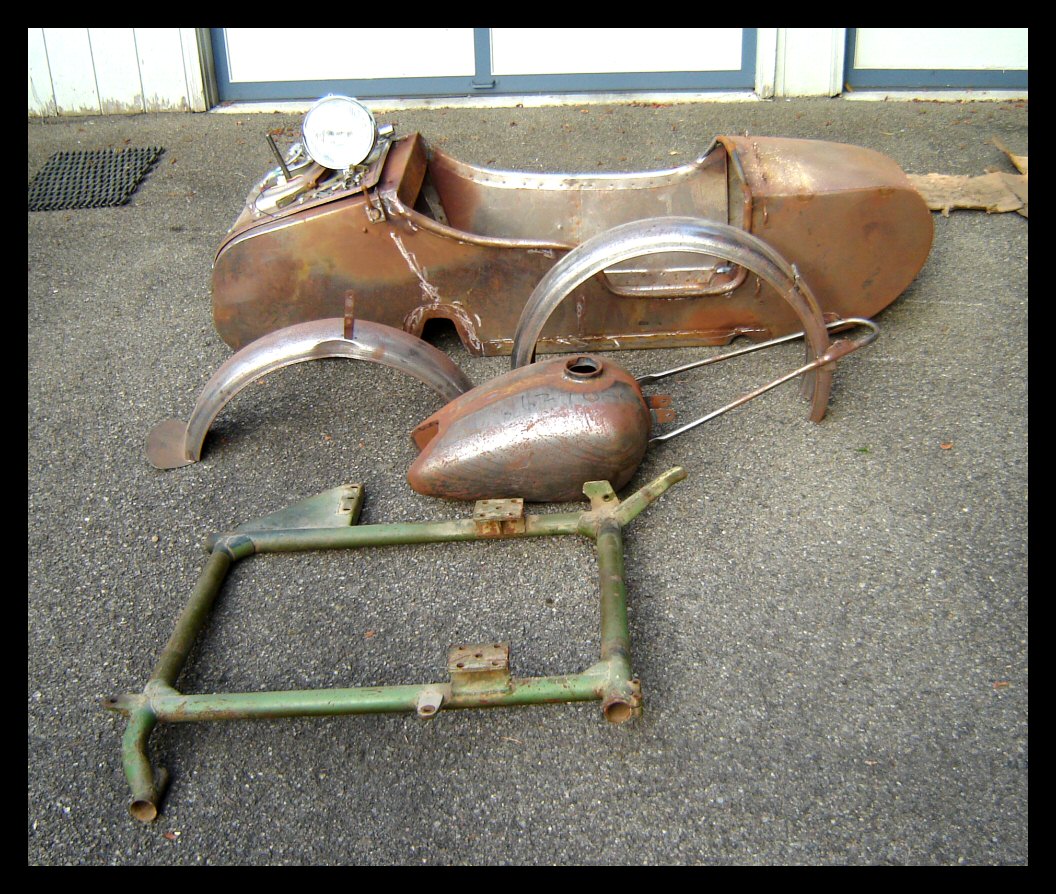
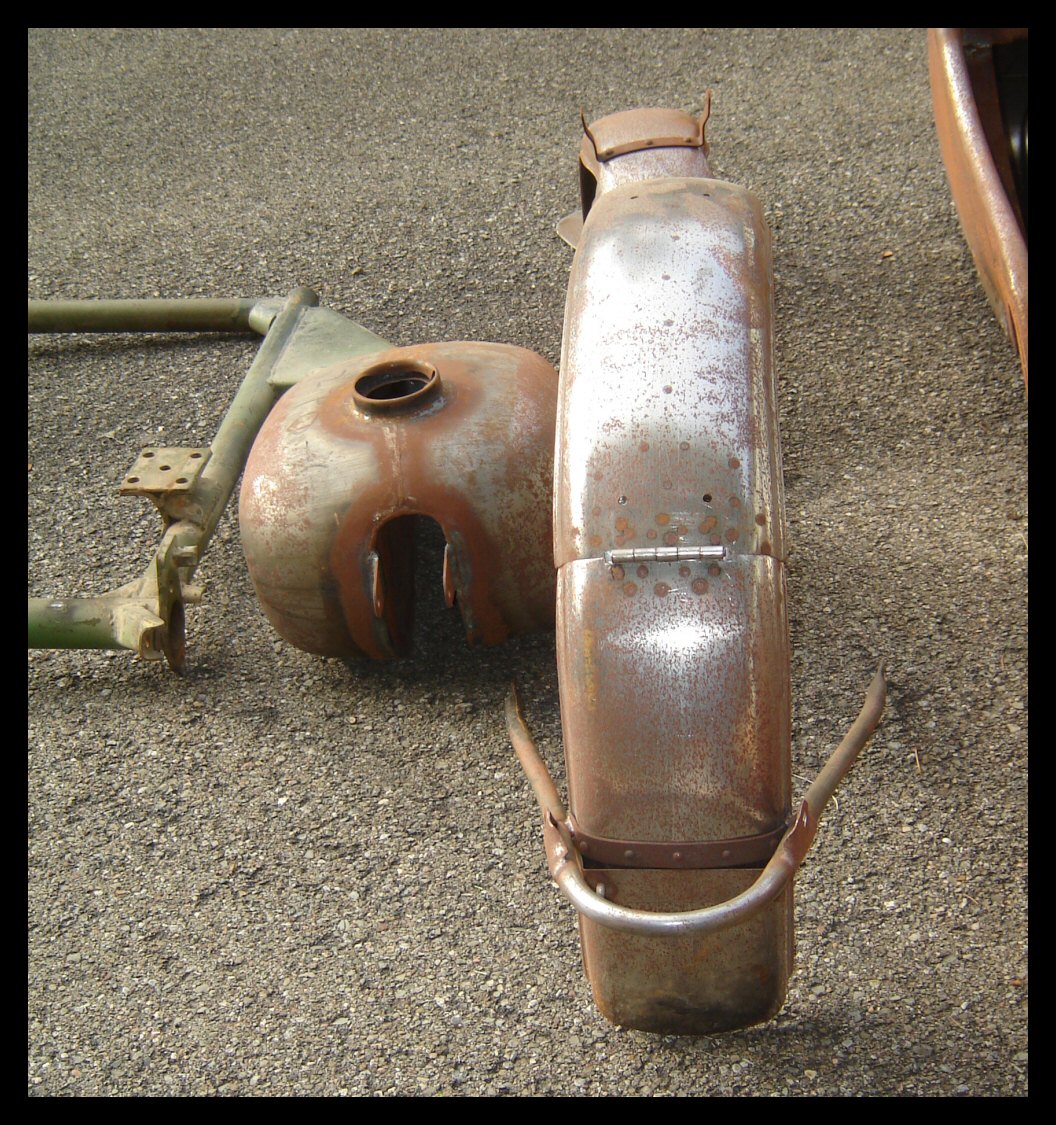
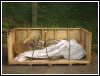
Oh boy! It's all the sheet metal stuff for
the rebuild. Plus, there's a new headlamp, hand lever
assemblies, handlebar risers, clutch lever and some other
items. |
|
|
 |
 |
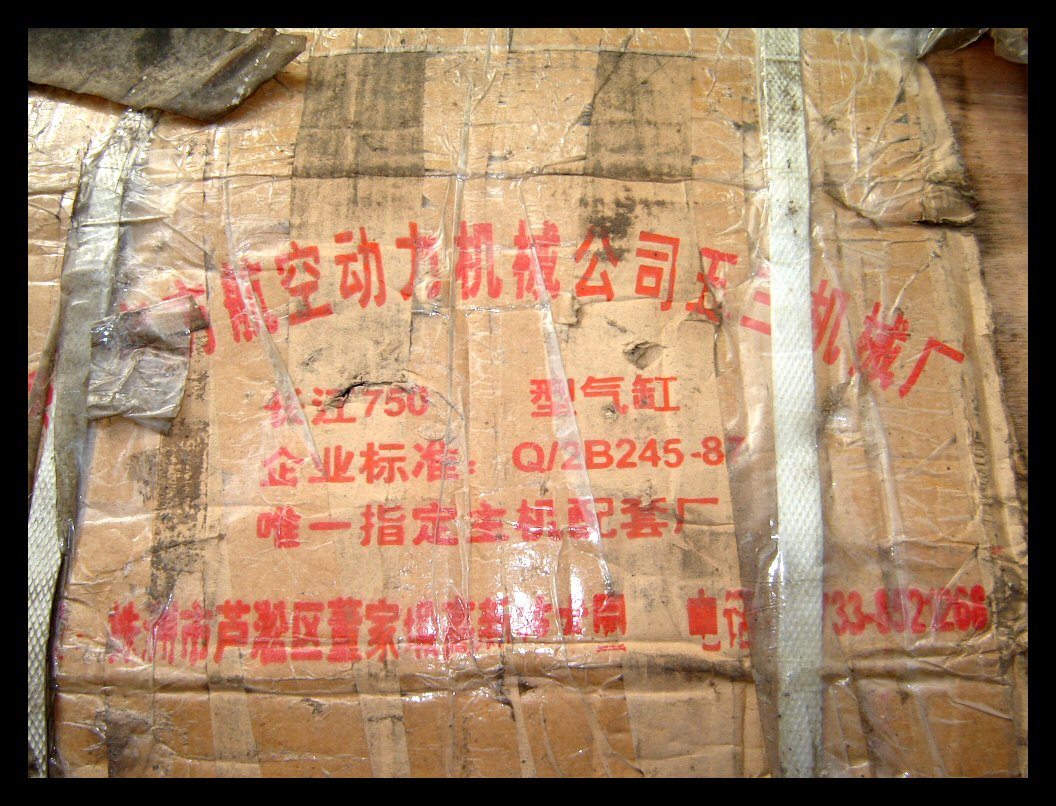
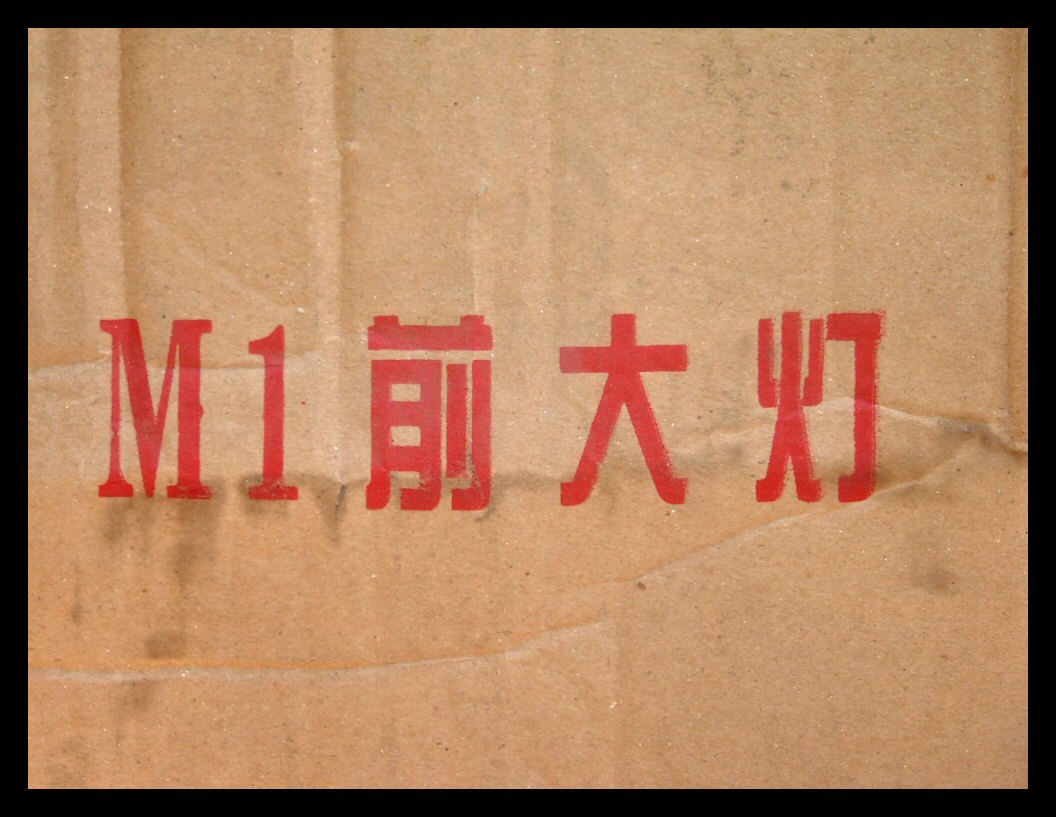
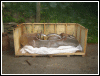
Jeez, I sure do love this kind of stuff.
Sorry, I have no idea what it says except for the
"CJ750" part. The second picture shows the box
the headlamp was in. Note the "M1". |
|
|
 |
But wait, there's more—a second, smaller parcel from Jim
Bryant of Jimbo's |
 |
These are the famous M5 wheels, and they
are, beyond a doubt, the best laced wheels (or probably
any other type of wheels) you can get for a CJ. Jim had
them powder coated black for me—spokes and all—which captures the thirties-forties
big bike persona just beautifully. |
|
|
 |
Jim also sent a set of well used but still
very good fork shrouds. You won't recognize them in a few
days. |
|
|
 |
The wiring harness I ordered from LRM arrived today. |
| It's really
well-made, with soldered and heat-shrunk connectors,
rubber boots, and—best
of all—it uses fabric wiring. All the
wires are cut to the correct length, including those for
a rear mounted horn. |
|
|
 |
 |
 |
 |
|
|
|
|
 |
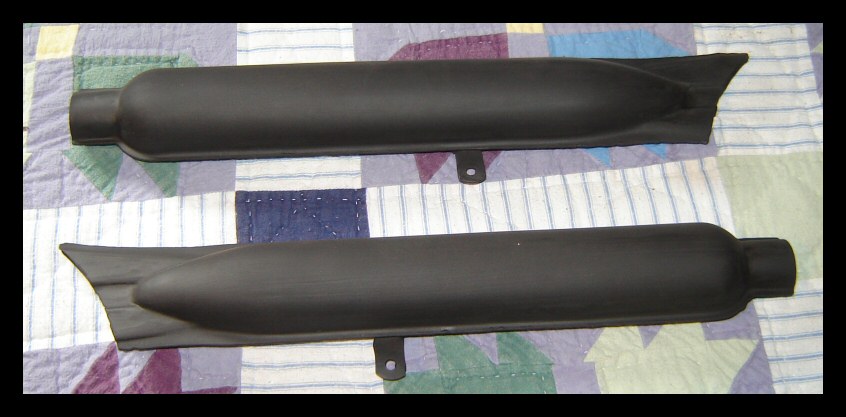
Sand blasted and coated with stove paint.
What I'd really like is another set of empty fishtails so
I can have that excellent straight-pipe sound, but with
the vintage look of fishtails. My previous set got
trashed in the accident. |
|
|
 |
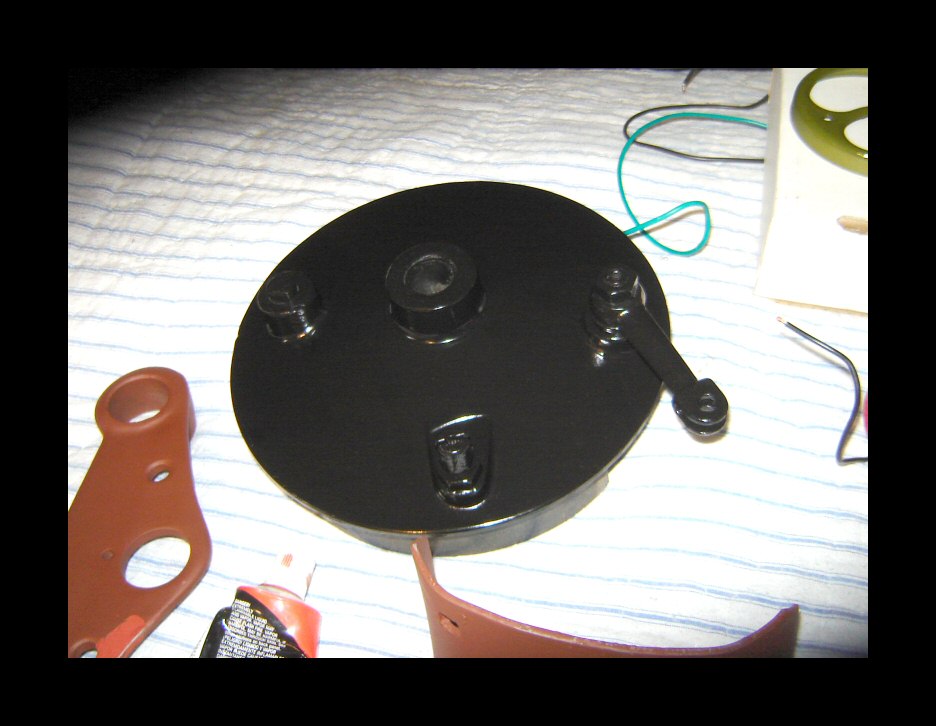
The front brake platter after a quick
clean-up and respray. I painted everything black. I've
always liked the way this and certain other components
look in black as opposed to raw aluminum (or chrome.) Of
course, it obliges one to do the final drive the same
way. |
 |
 |
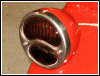
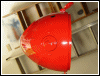
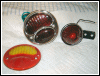
A couple freshly painted taillights, one for
the sidecar and the other for the bike. This might
provide a clue about OGM's new color! I'm not satisfied
with the paint texture of the big bezel. That will soon
be corrected. |
 |
 |
Do you remember me saying I was inspired by Ross
Kowalski's bike? Well, here it is. The big
difference will be my bike having black paint instead of
chrome. The black fender brackets look really good, so
I'm going to copy that, too. |
 |
Here's another Ross thing that'll be going
on the bike—cast
CJ750 swoosh badges for the gas tank as seen above,
however I'll probably go with a jaunty 20 degree angle
with mine. The background will be a darker red than the
rest of the bike. The lettering and outline will be
natural aluminum. |
|
|
 |
Zinc-chromate etching primer has been
applied to the new Model A taillight. Tomorrow I'll paint
it. I'll do the sidecar taillight and possibly some
triple-tree parts too, weather permitting. |
 |
The headers were sprayed with 1200-degree
stove paint after being sand blasted and wiped down with
mineral spirits. This method was tested successfully on
the other bike. |
 |
 |
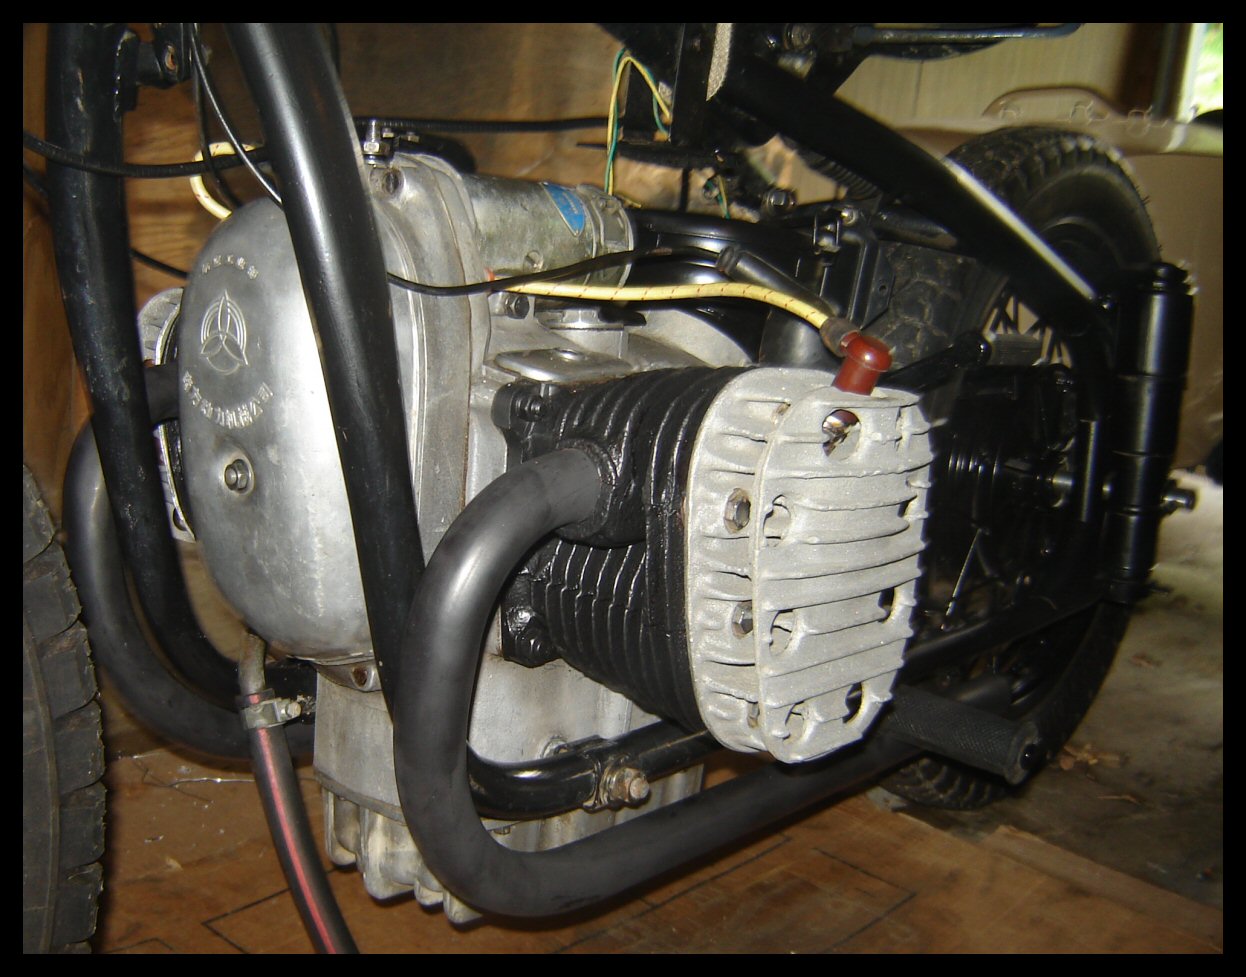
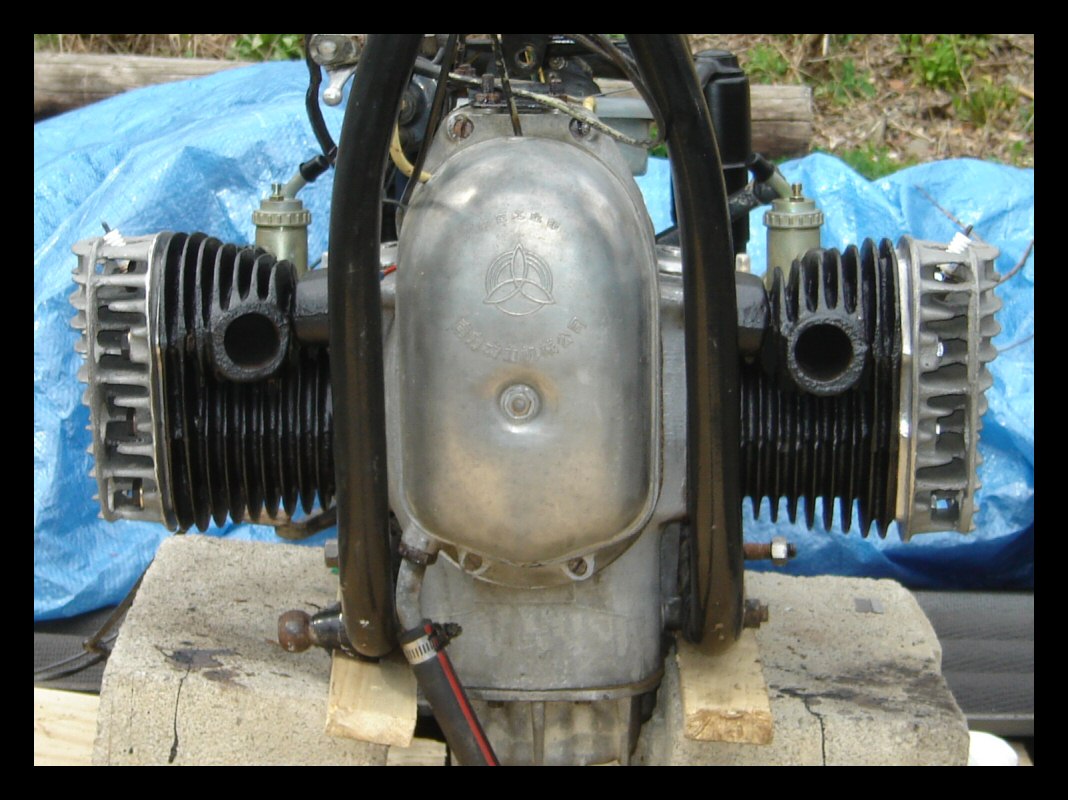
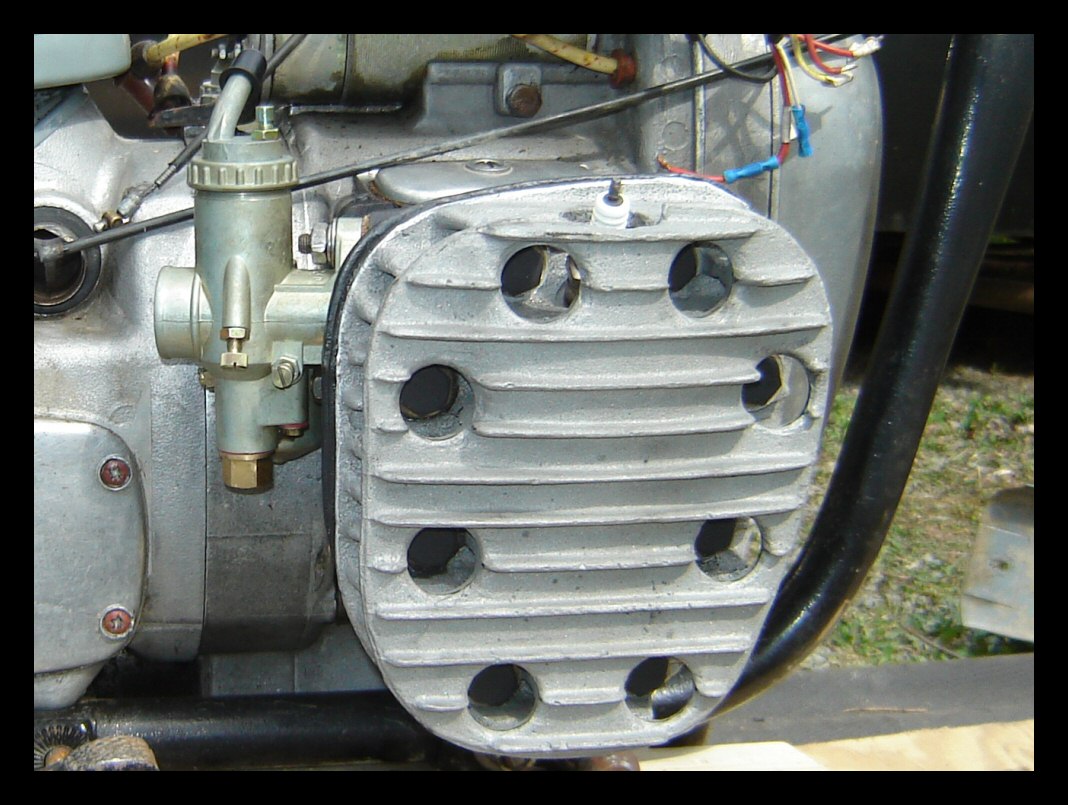
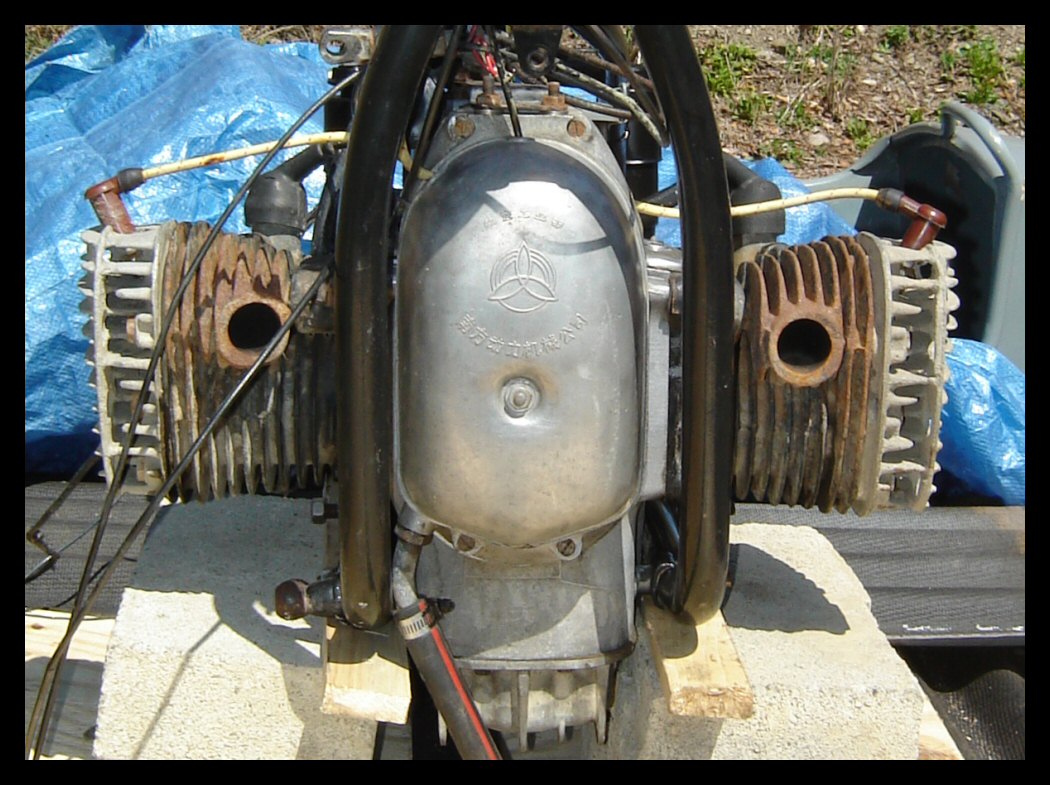
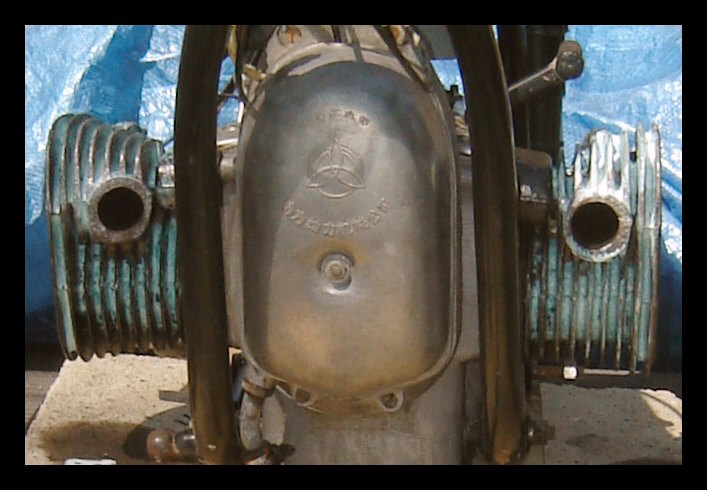
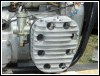
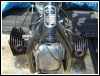
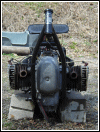
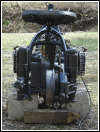
I painted the jugs and put the heads back on
today. We're getting a good leg up, but nearly every inch
of the bike needs some attention, mostly detail cleaning
and paint touch up. |
 |
 |
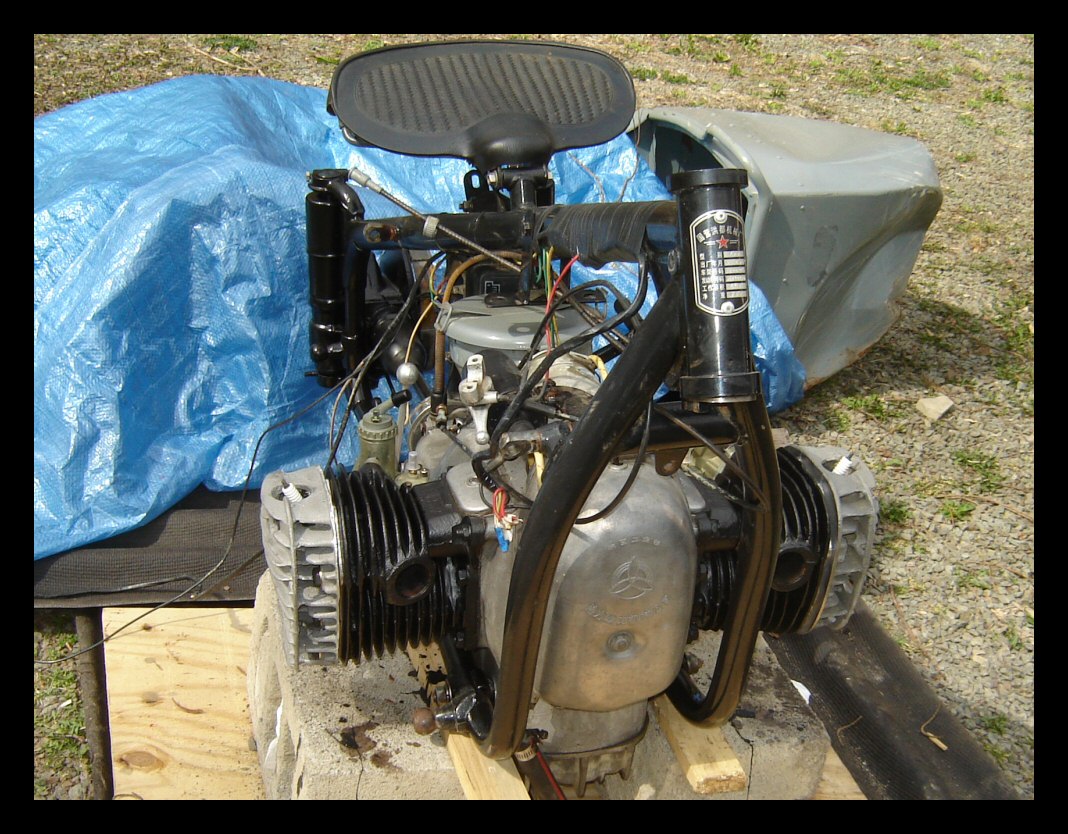
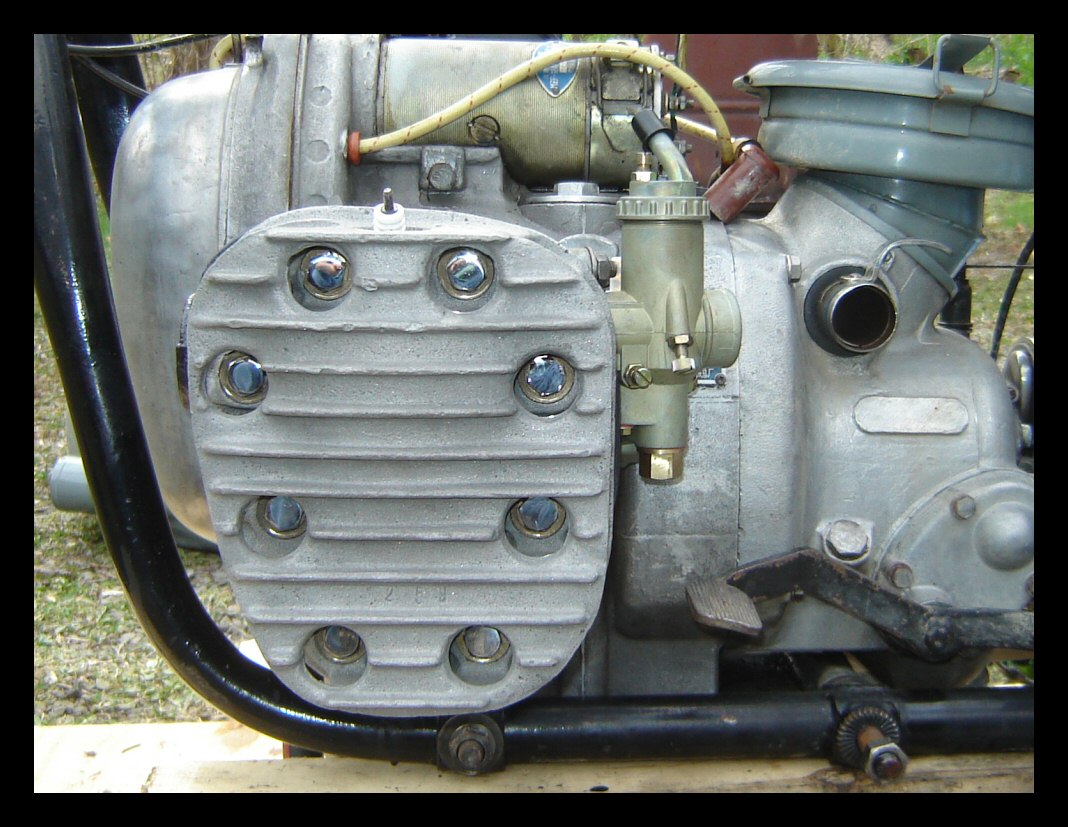
I decided which bike will get new 28mm carbs—this one! I
jetted them out to 1.1mm. Needless to say, there's going
to be some fiddling needed once the bike is back up and
running. BTW, notice anything funny about the head bolts?
I'm trying something new on one side. |
|
|
 |
Most of that rust you see on the jugs is
from all the riding I did in the salt this winter. Since
I don't have many of the rebuild parts yet, I might as
well use this time to address all of the corrosion and
dirt issues. Now, a pro would probably pull the jugs,
give 'em a good sandblasting and then refinish them.
Thankfully, I'm not a pro. |
 |
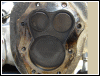 |
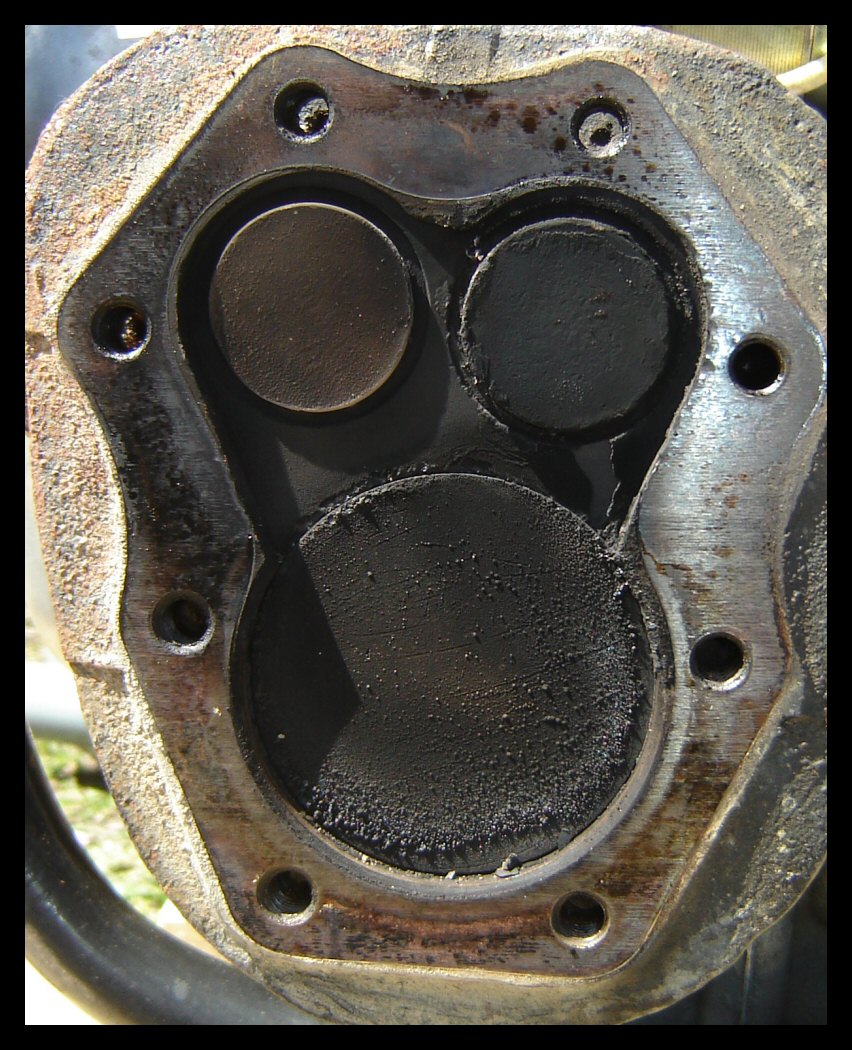
Egads. The inside is even as nastier than
the outside. That carbon is as hard as a rock. Mineral
spirits, a wire brush, some scrapers and a bit of elbow
grease will come in handy in removing it. Ahh, the joys
of owning a flattie. |
 |
 |
There. As always, I added a few more
scratches and gouges to the tops of the pistons. Luckily,
they're superficial. |
 |
 |
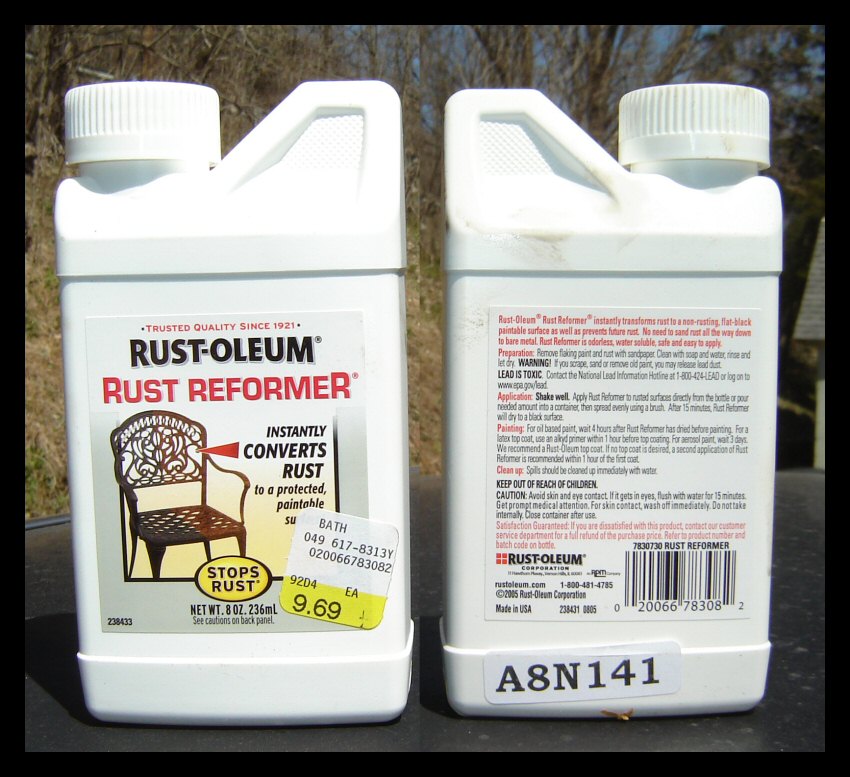
Before heading to the sandblasting area, I
thought I'd experiment with this stuff—Rust Reformer by Rust-Oleum. It
turned out to be crap. |
 |
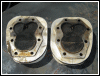 |
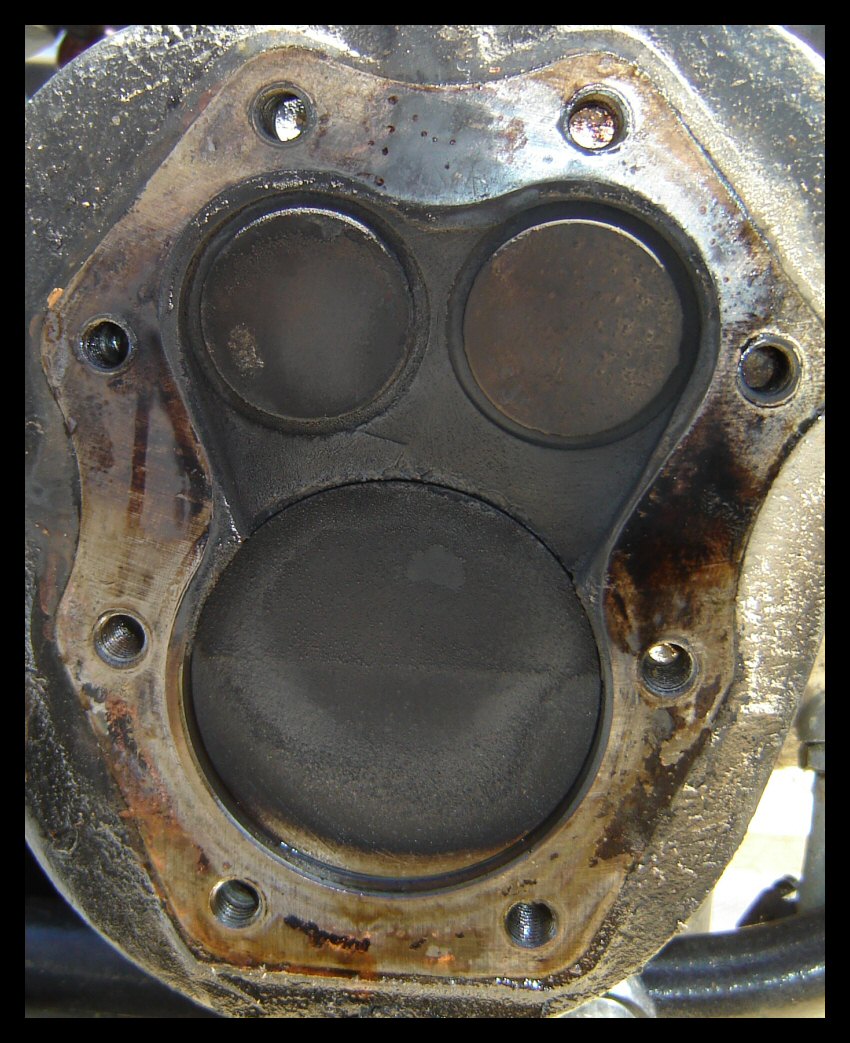
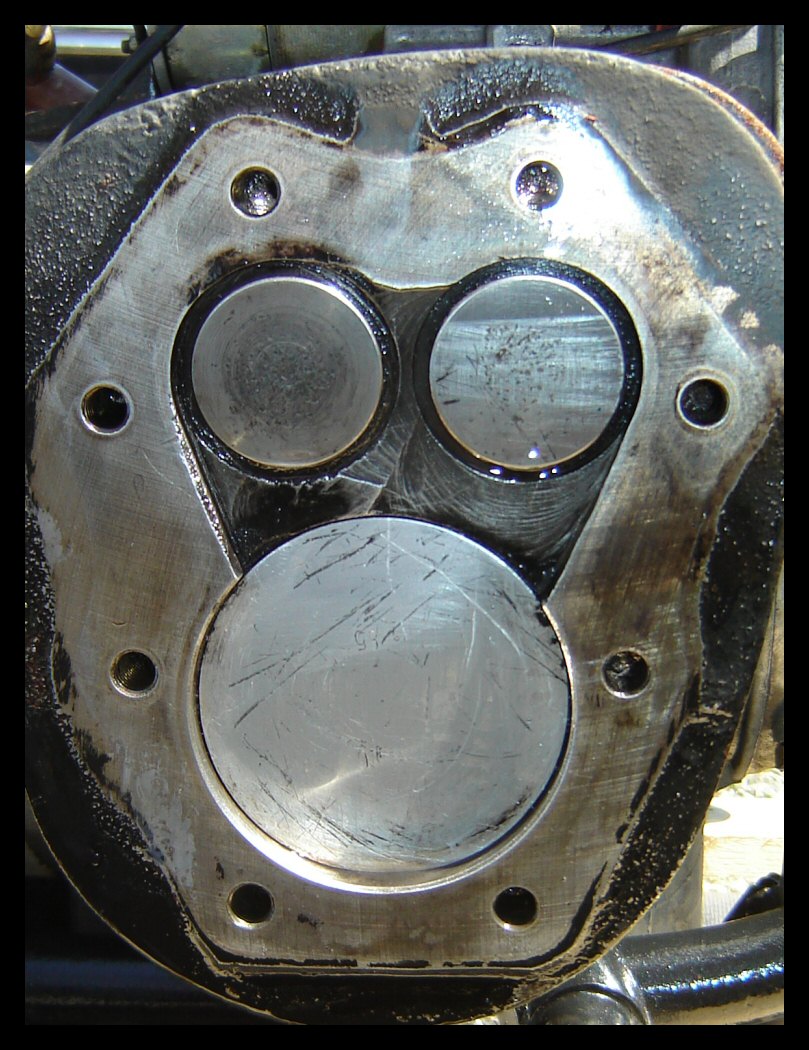
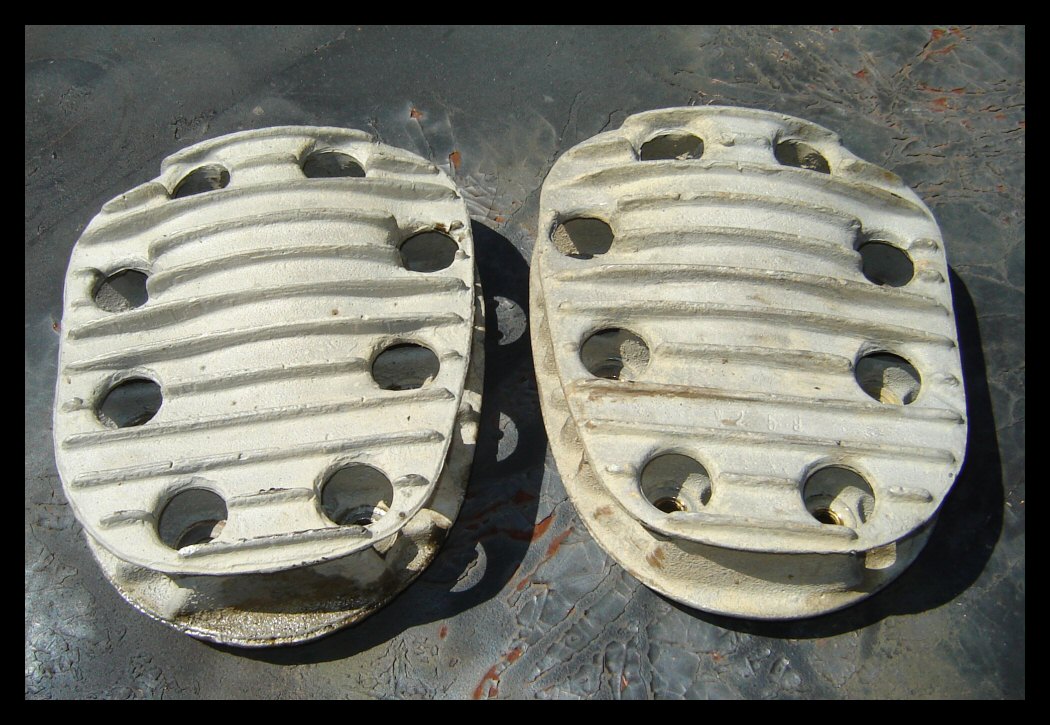
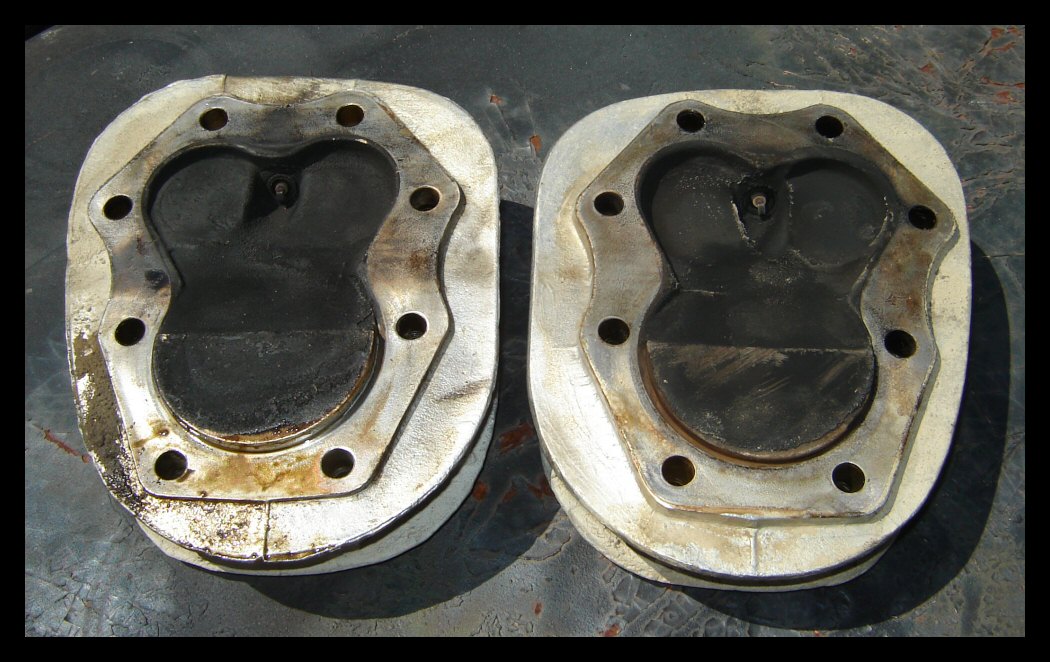
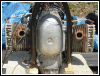
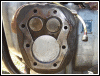
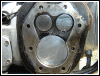
Yipes. The port side head was packed with
mud after the wreck. Fortunately, it wasn't damaged.
Let's see what a little bead blasting and wire brushing
will accomplish. |
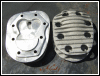 |
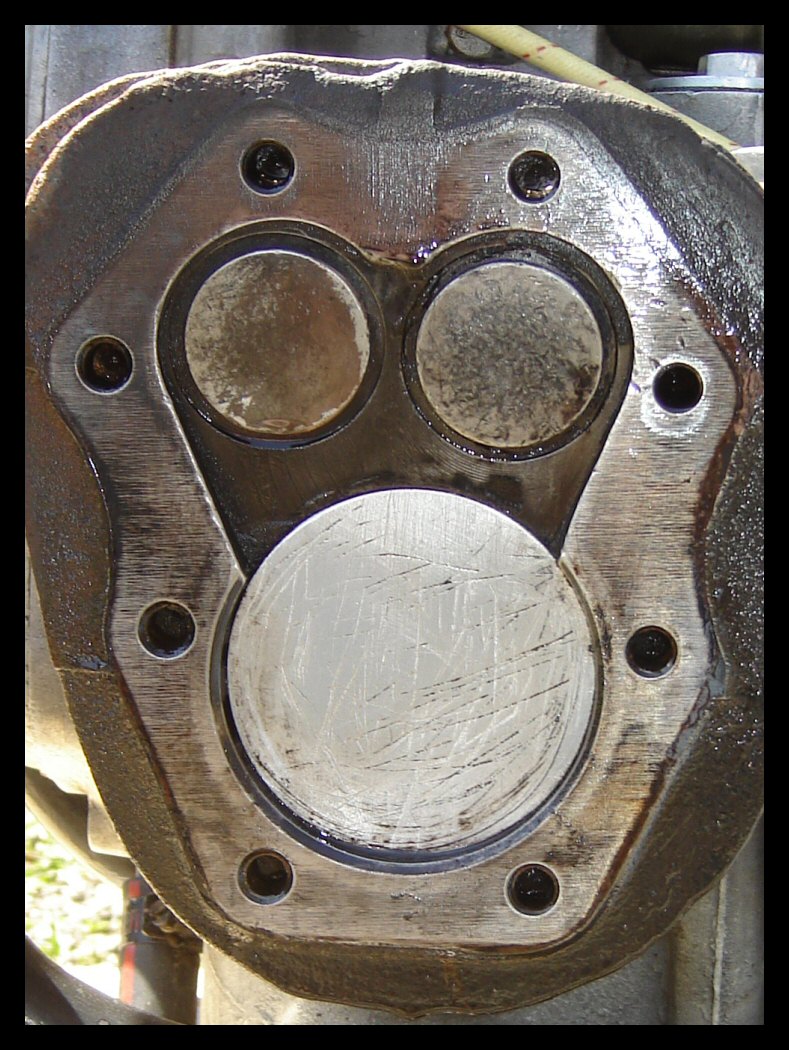
That's much better. I opted to leave the
external surfaces with a natural finish as opposed to
polished. They cleaned up really well with the blaster.
The internal surfaces were polished to inhibit carbon
build-up and to provide nice smooth surfaces for the
headgaskets. |
 |
 |
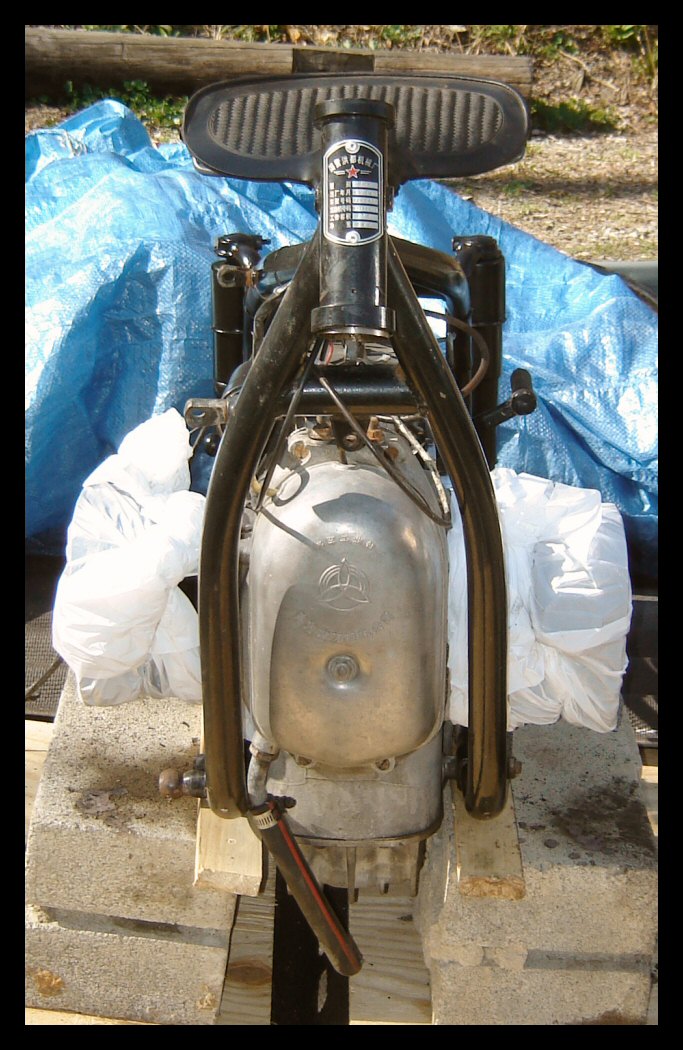
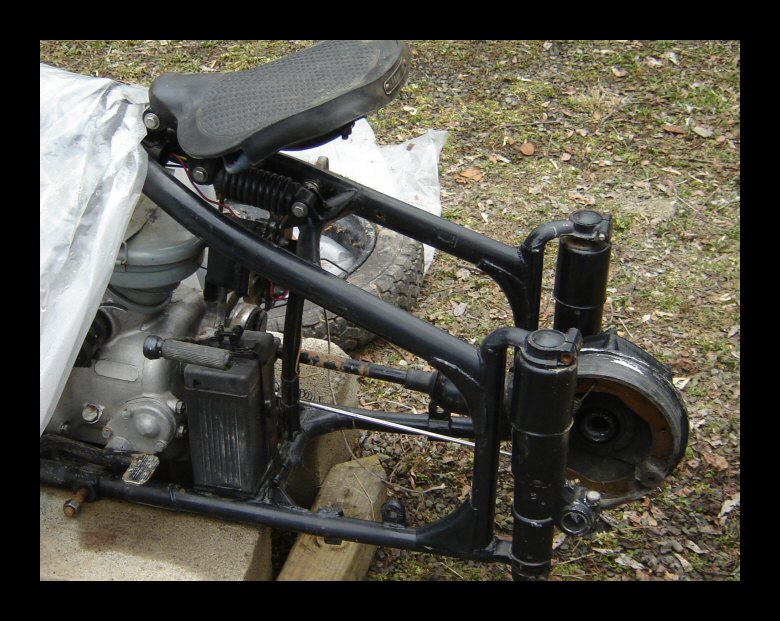
Meanwhile, back at the bike... |
 |
For the time being, OGM has been living with
six 1959 Edsels lined up in a row, out behind the garage.
Since she'll be camping out this summer, she needs a
little weather-proofing, especially until the jugs are
buttoned back up. It's not supposed to rain tonight, but
there will probably be some dew, so these plastic bags
should keep the internals dry. I prefer to paint the jugs
when the heads are off since it's impossible to avoid
getting paint on the heads. Tonight, the heads, carbs and
headers will remain dismounted. No, we're still not
finished here just yet. There's still a PILE of parts
that need to be blasted. |
 |
So much for the PILE. I reached a point
where it was starting to feel like work instead of play,
so I only did the new header pipes. The chrome lifted off
like paper. The next step will be spraying them with
black stove paint, the method I used on the tan bike
(successfully.) I sure am gonna miss those fishtail
straight pipes, though. (One side got wrecked.) |
|
|
 |
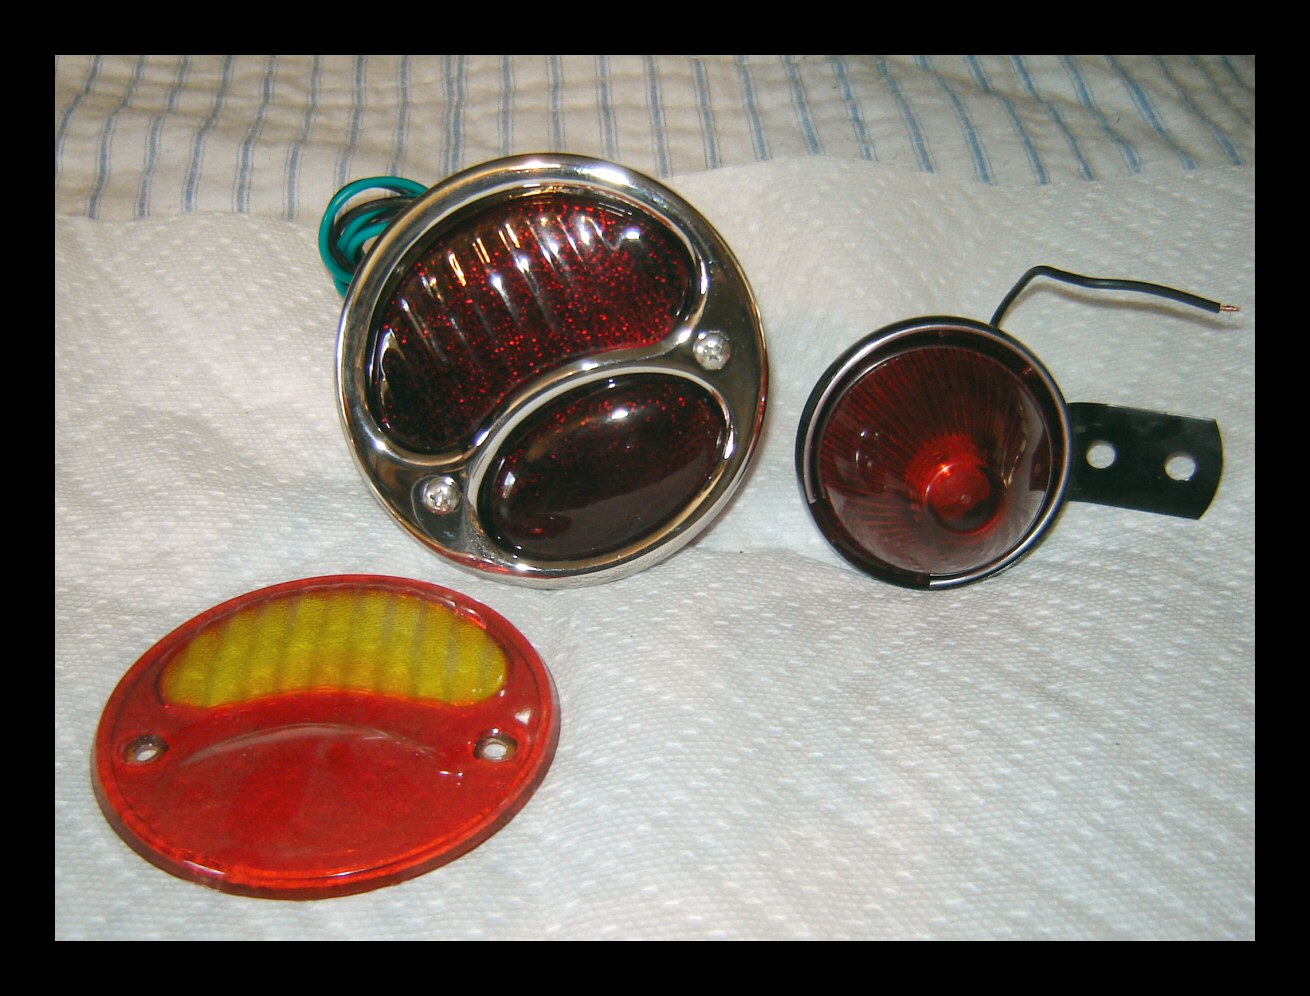
Oh boy! The Model A taillight from Whitney
arrived today. I'll bead blast it, prime it with
zinc-chromate, then paint it to match the fender. I'll
use that glass lens with the amber part on top. The
sidecar taillight was purchased at the local NAPA store.
It too will be painted. |
 |
Here's the old sidecar taillight. These are
actually quite bright. The lens matches the amber running
light. This time, the mounting bracket will point
downward instead of being folded like you see here. Today
I prepped the fender for carriage bolts by squaring off
the holes. |
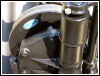 |
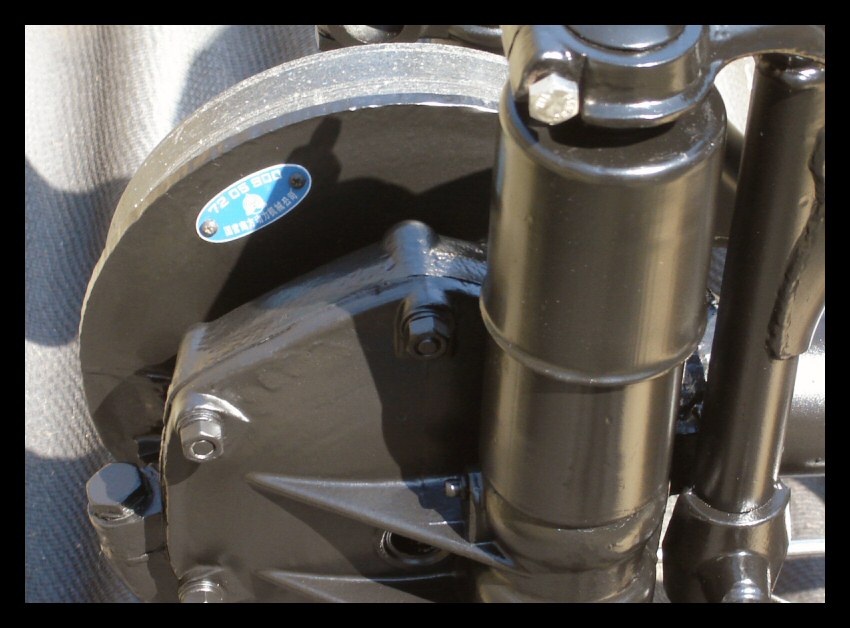
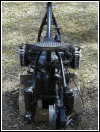
The final drive after freshening up the
paint. I replaced the Chinese number tag, too. |
 |
 |
 |
I've started at the rear and am working my
way forward. There's plenty to be done while waiting for
parts. The jugs are looking pretty nasty right now. |
|
|
 |
Why, oh why couldn't his eBay item be located in the States??!! Look
at that frame! |
|
|
 |
In gathering up the parts needed to fix the
grey bike, I was happy to find that JC Whitney still
stocks their stainless steel Model A Ford taillights, and
they're still under $30, including shipping. Clicking on
the picture will take you straight to the item in their
on-line catalog. |
|
|
 |
 |
 |
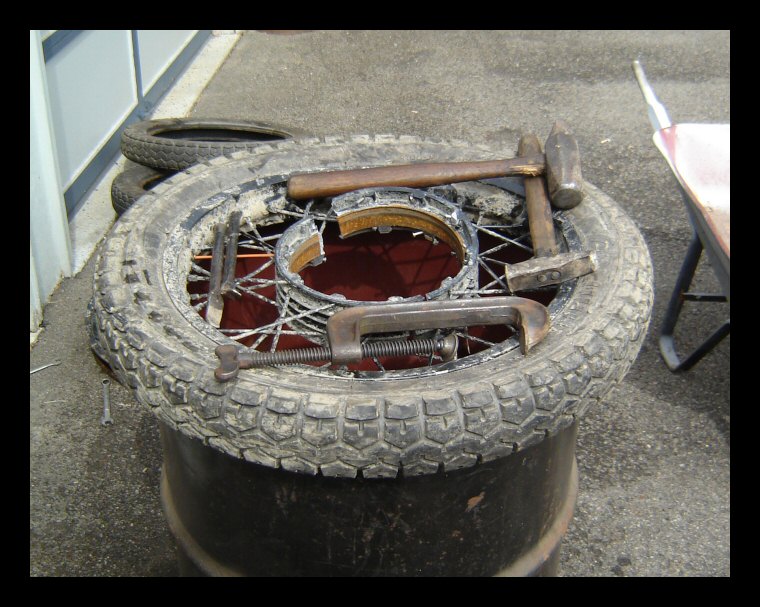
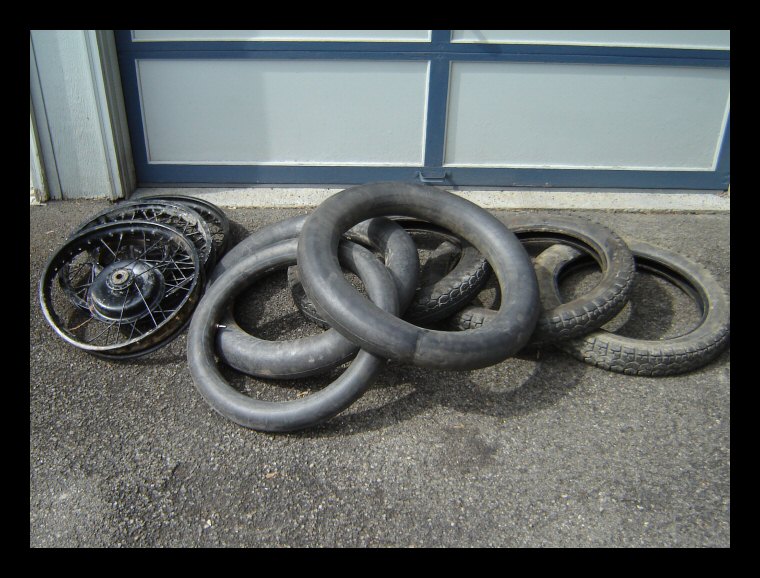
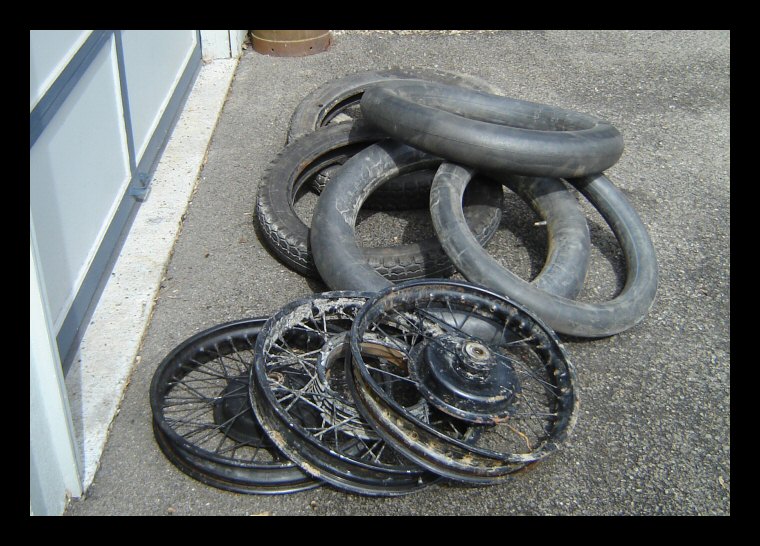
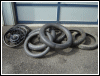
First on today's agenda; salvaging tires and
tubes... |
 |
 |
 |
...then removing the remaining mud and
degreasing. |
 |
 |
 |
 |
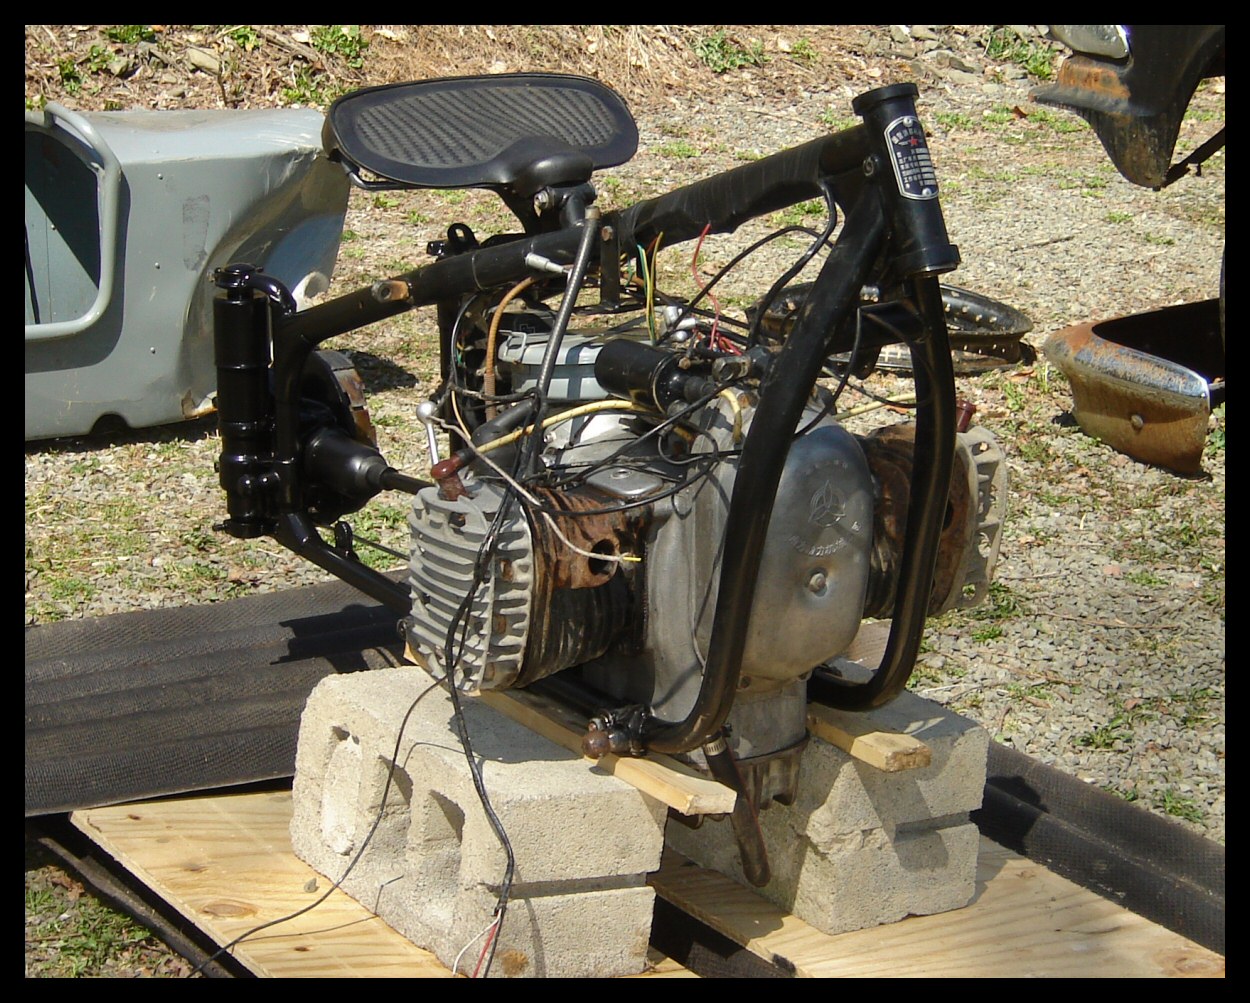
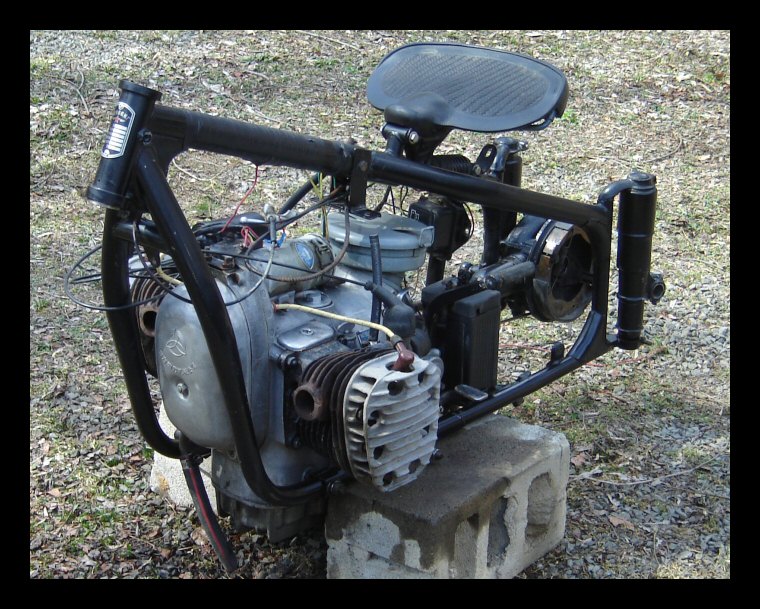
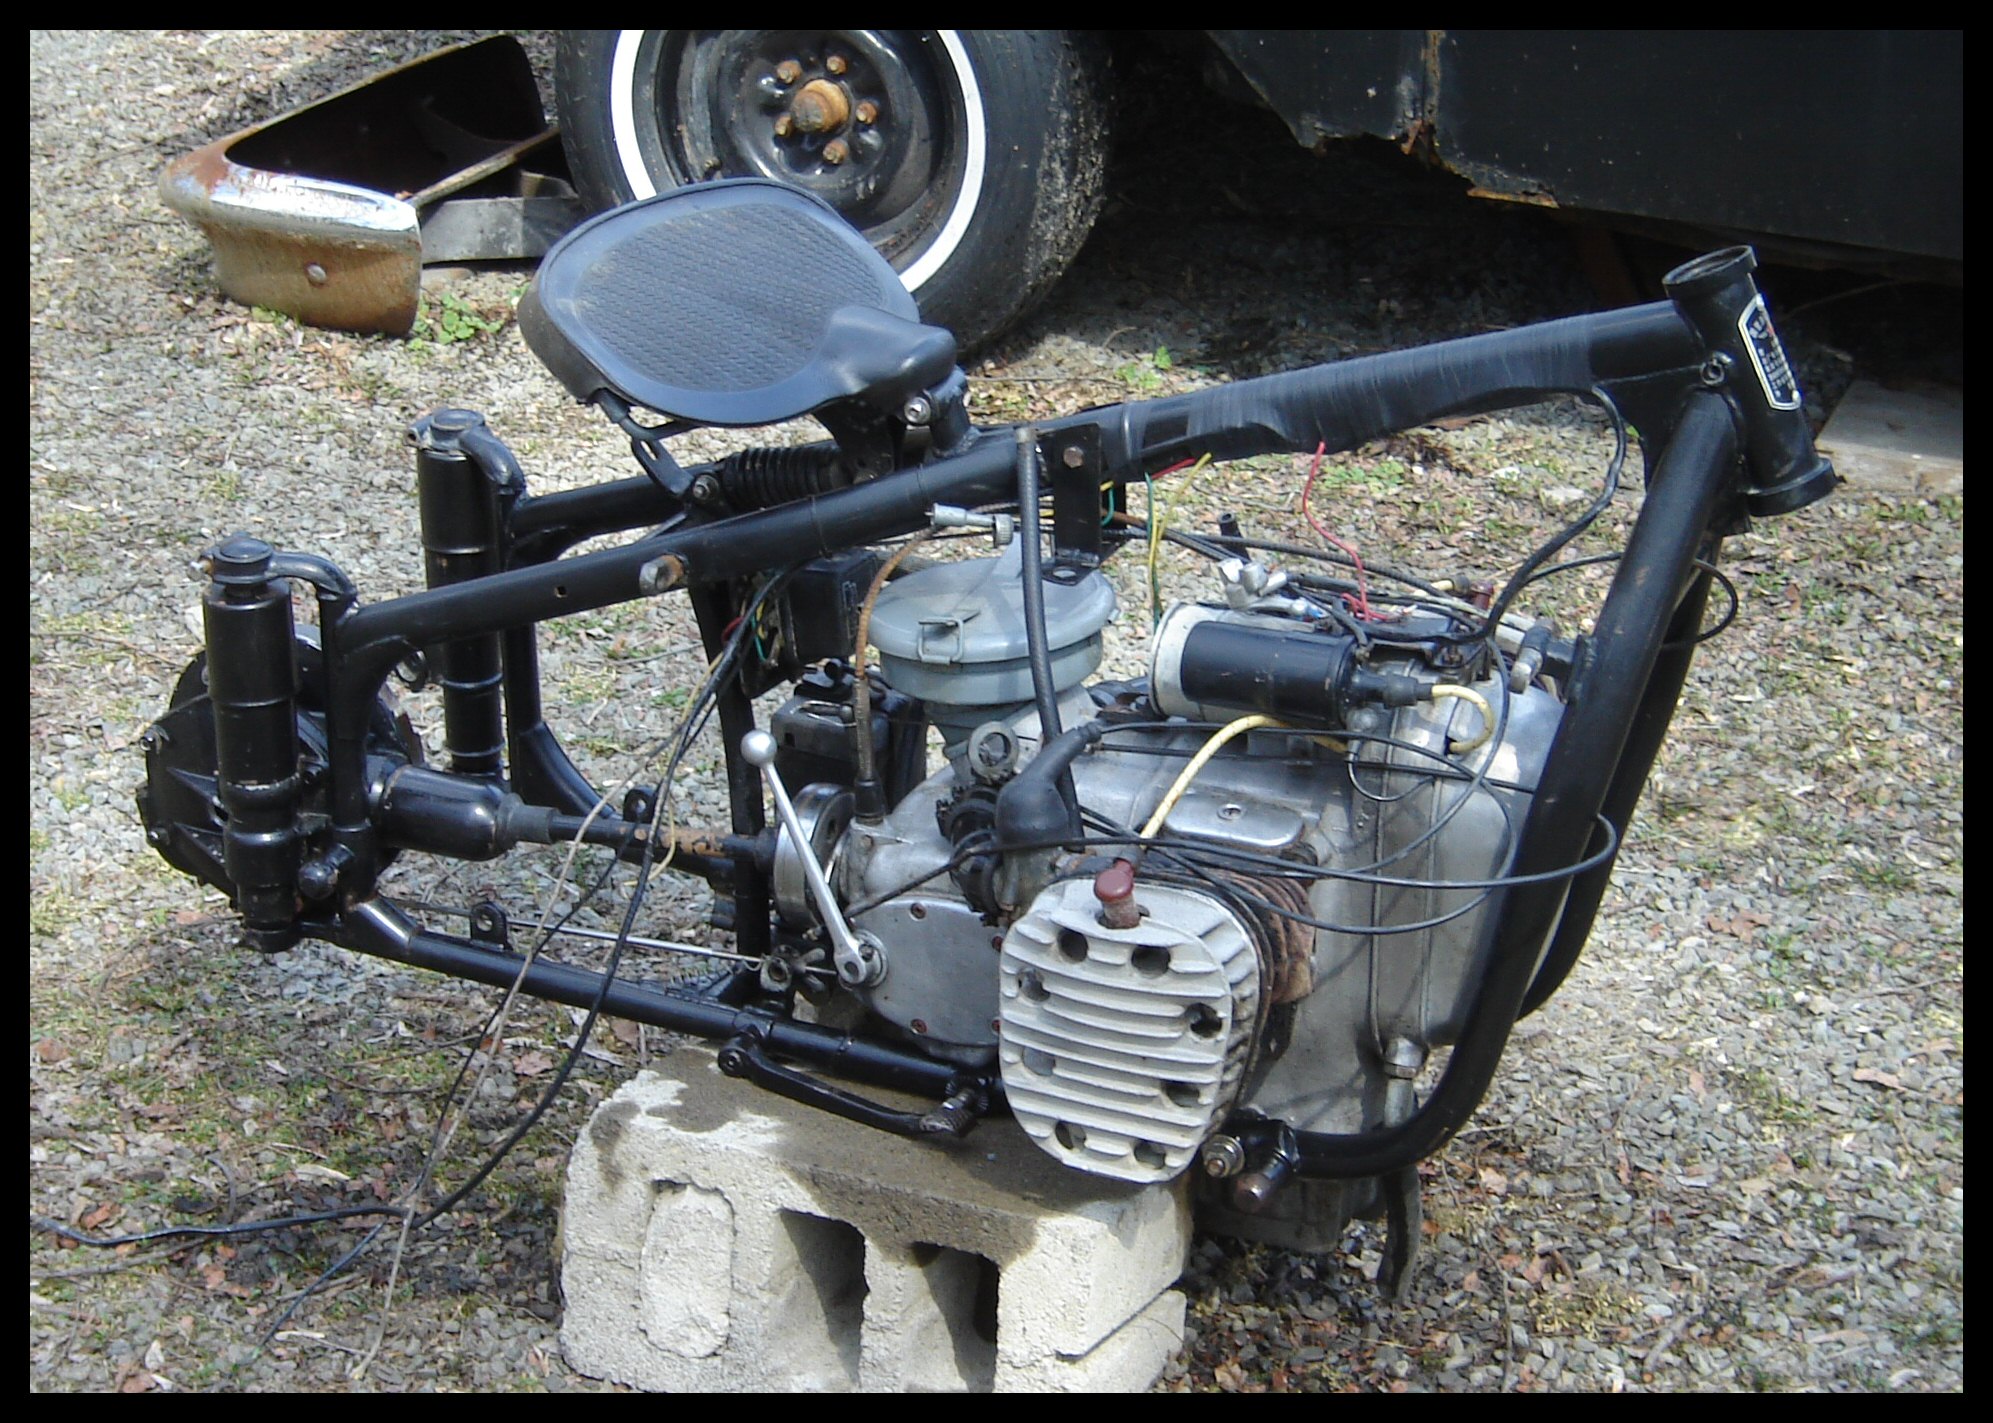
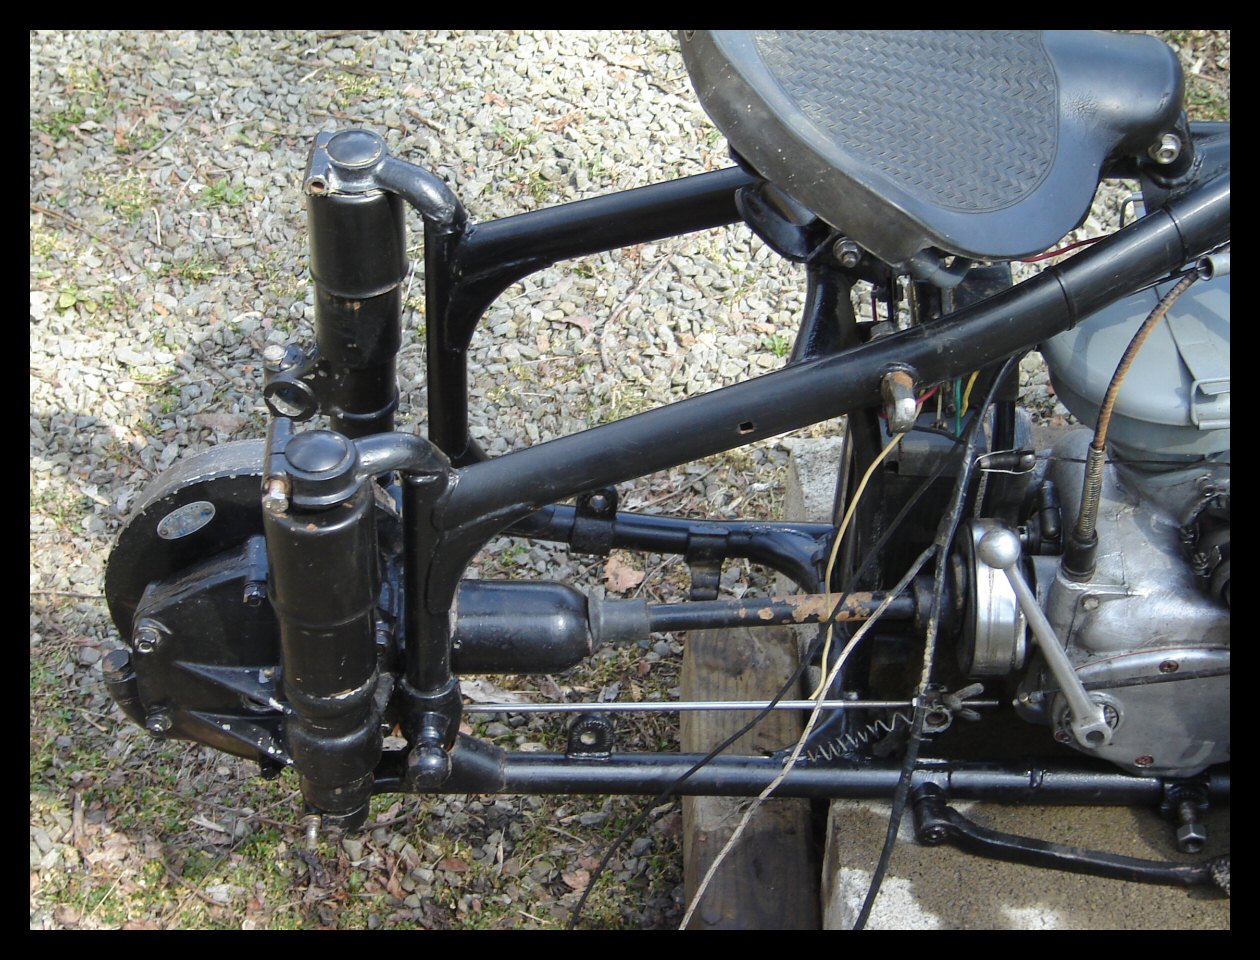
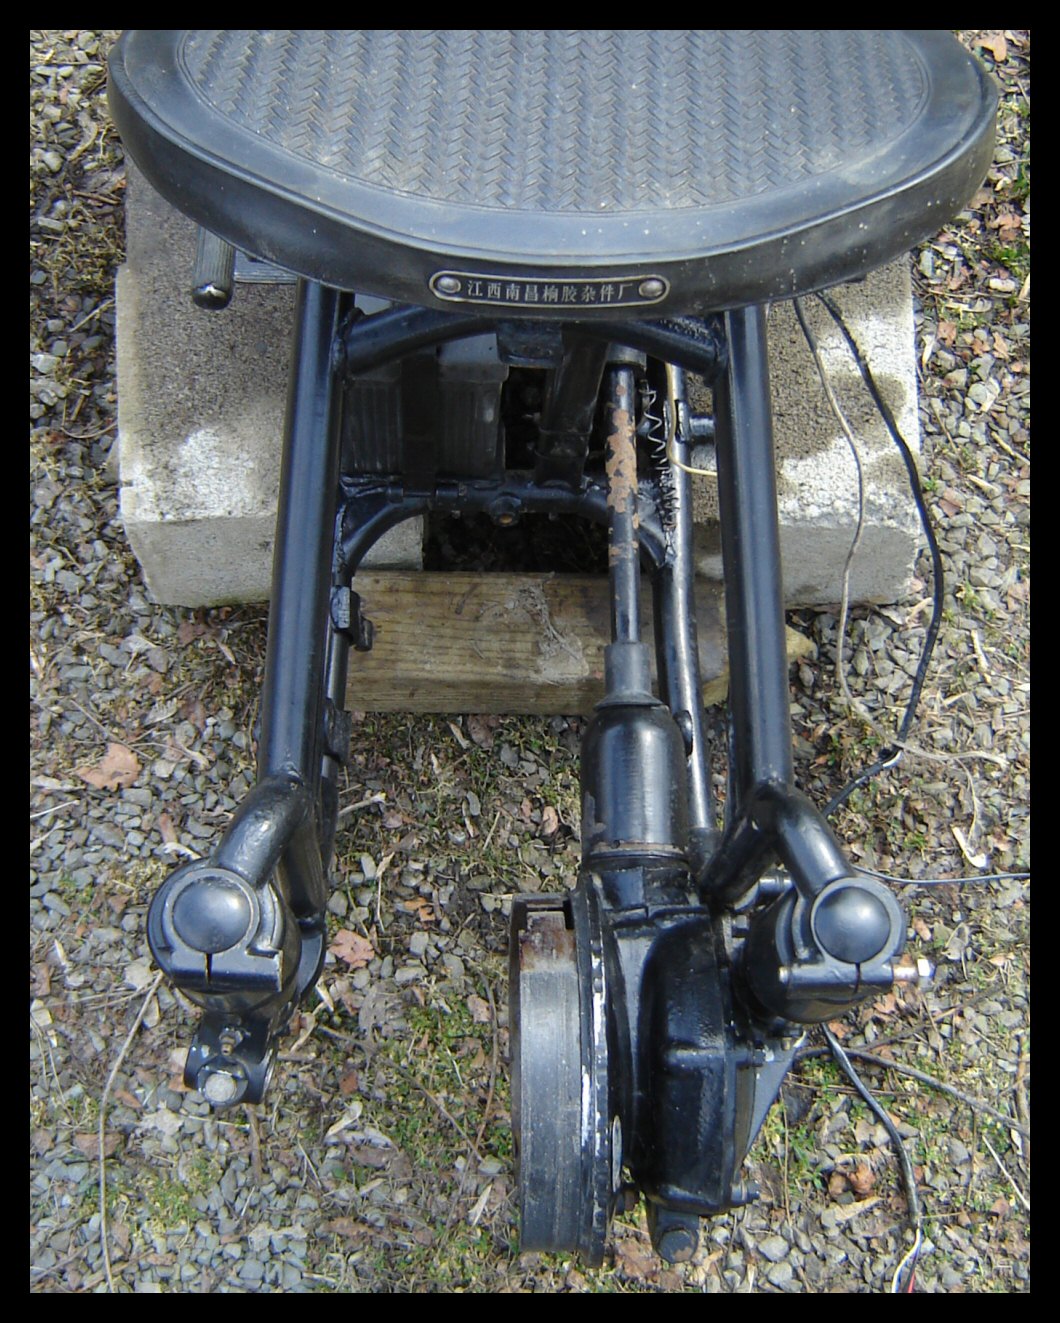
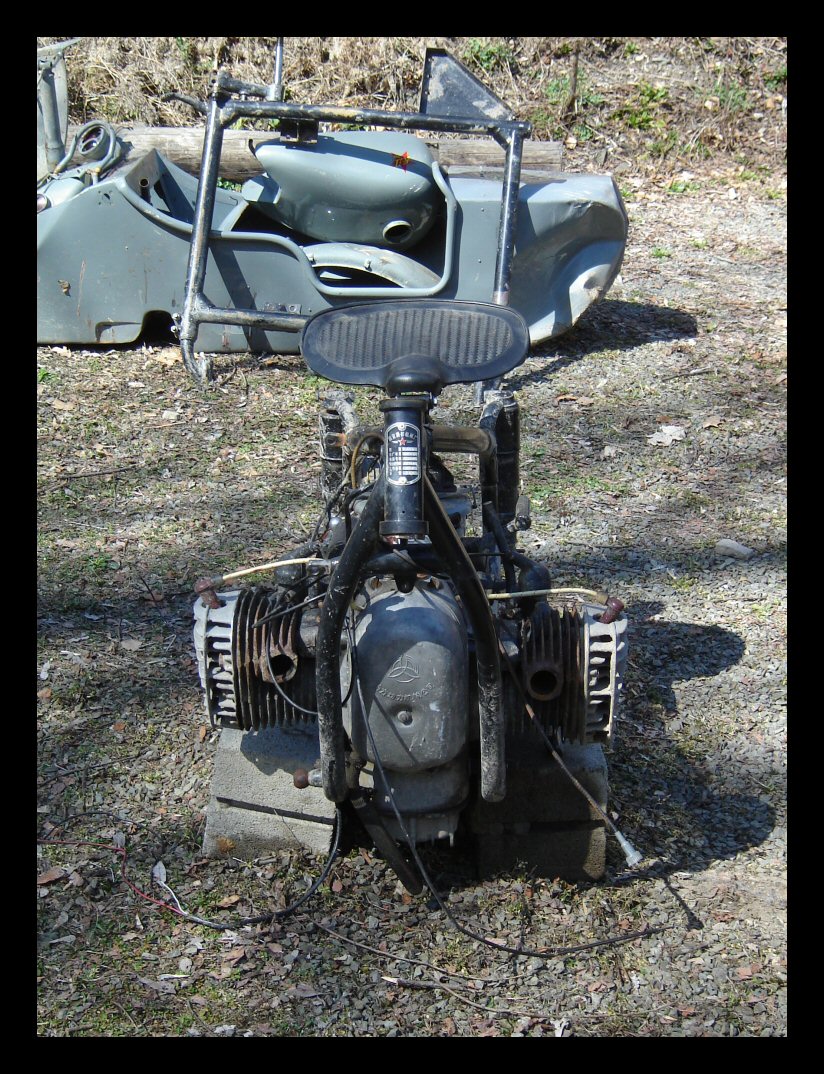
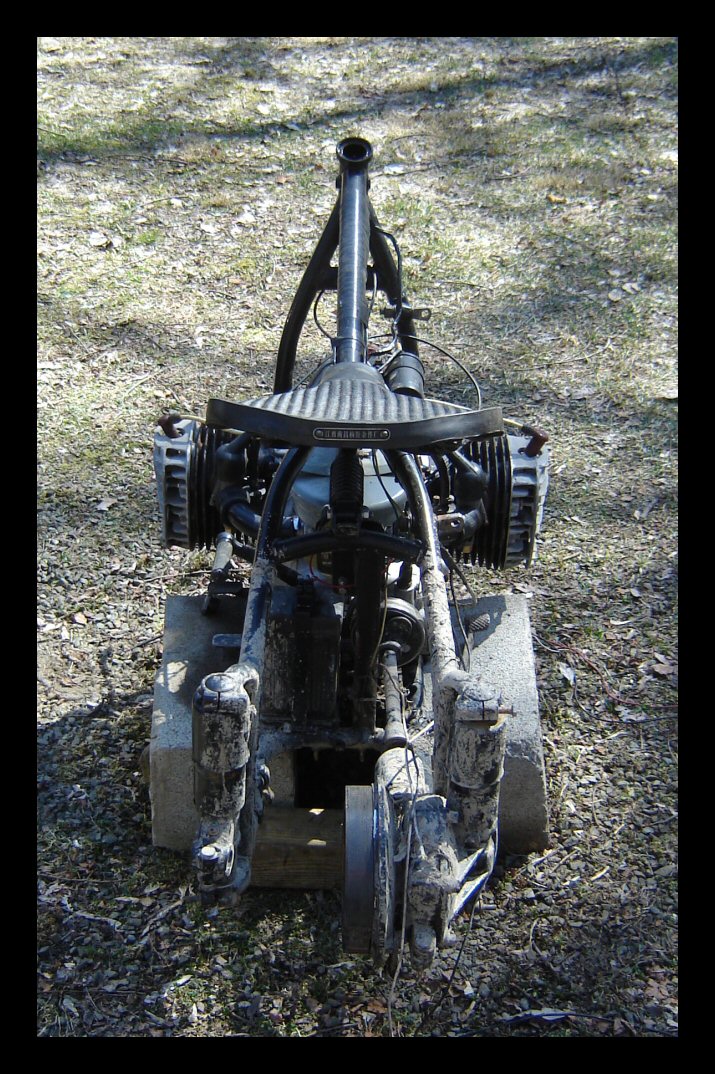
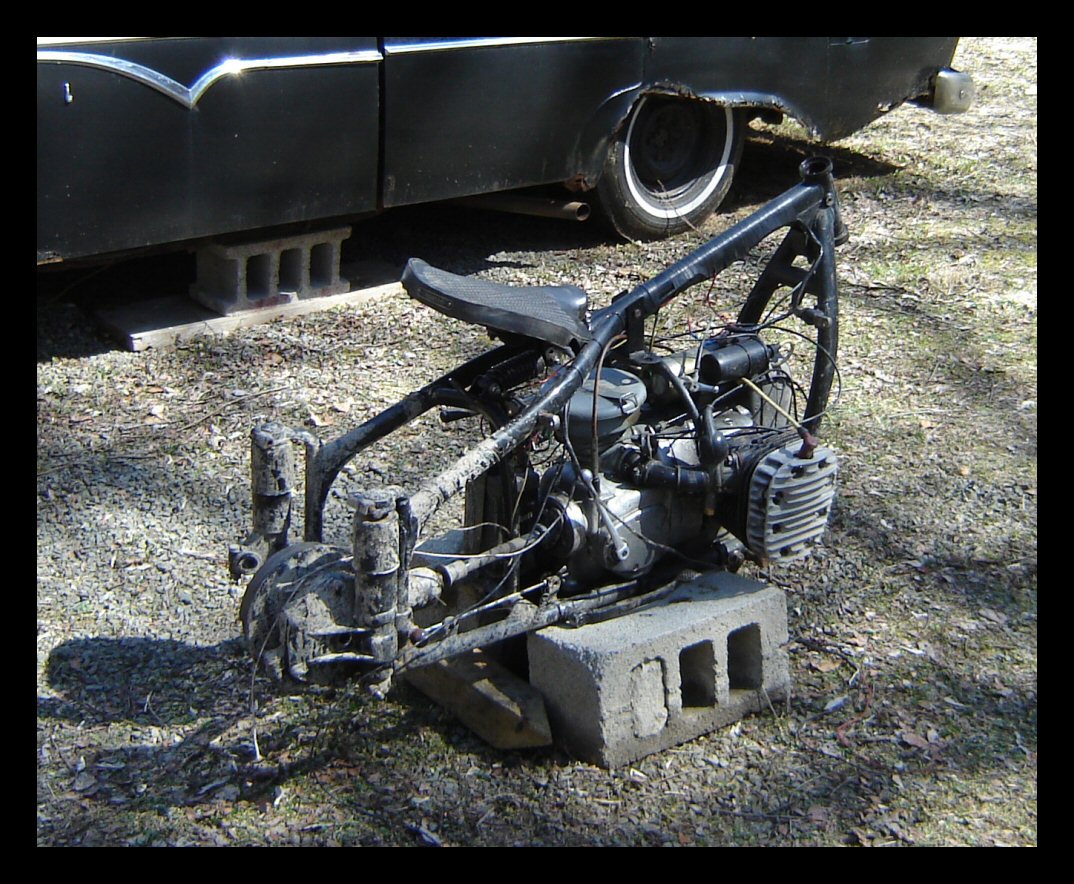
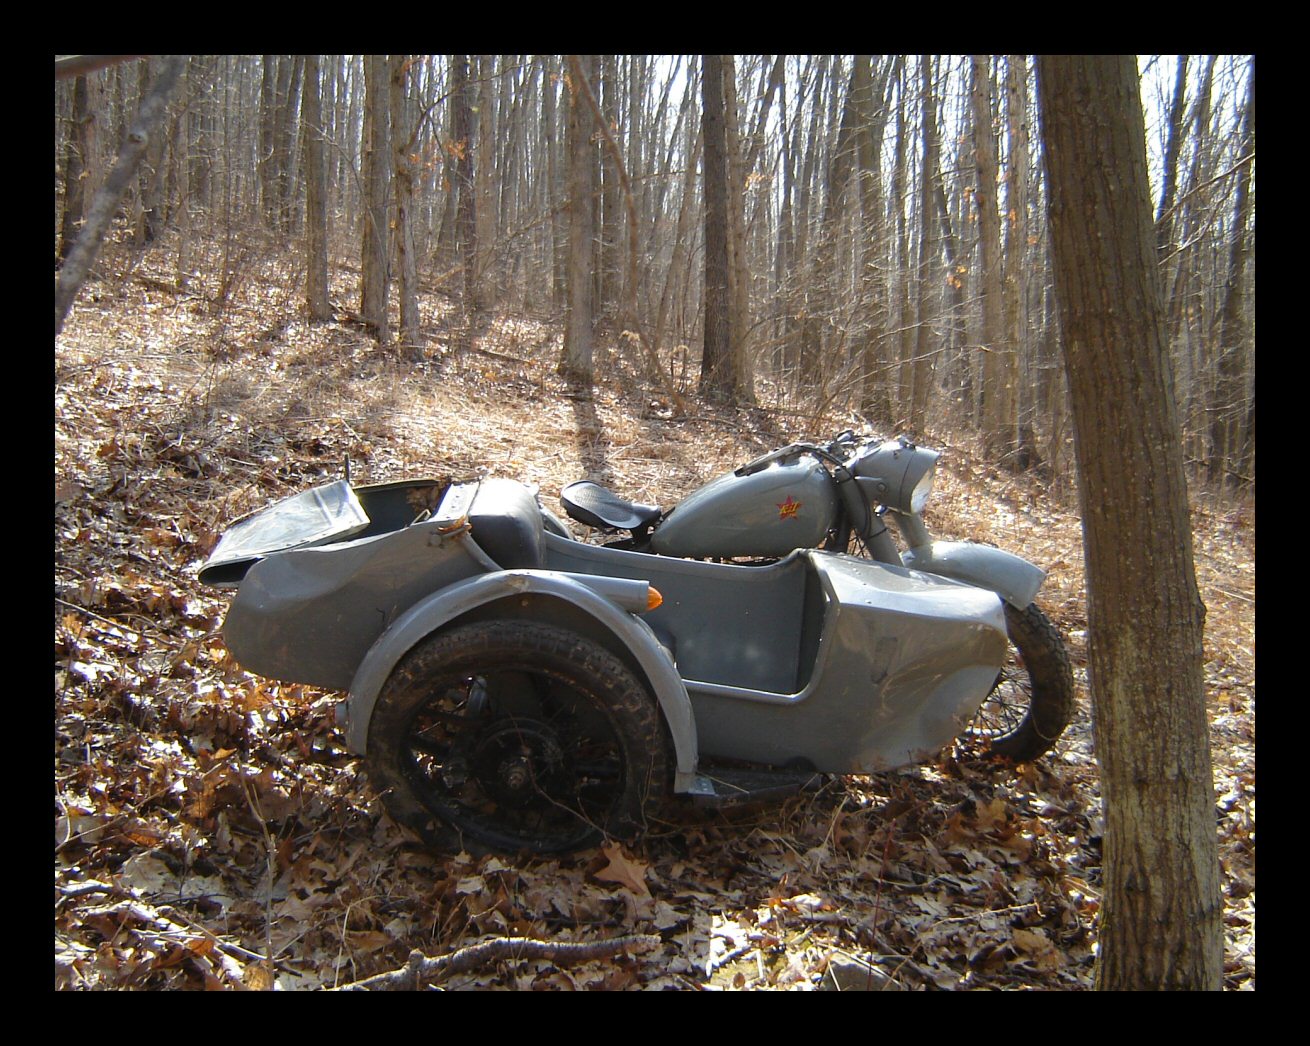
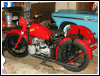
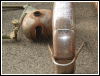
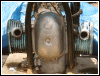
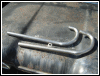
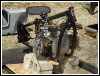
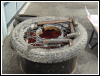
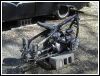
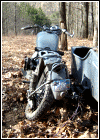
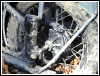
The frame appears to be A-okay. This frame
was specially manufactured for Jimbo a
few years ago. He told me it's very robust, and he wasn't
kidding. The bike landed vertically on its tail, but
you'd never guess by looking at the plunger. It's fine! |
 |
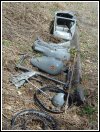 |
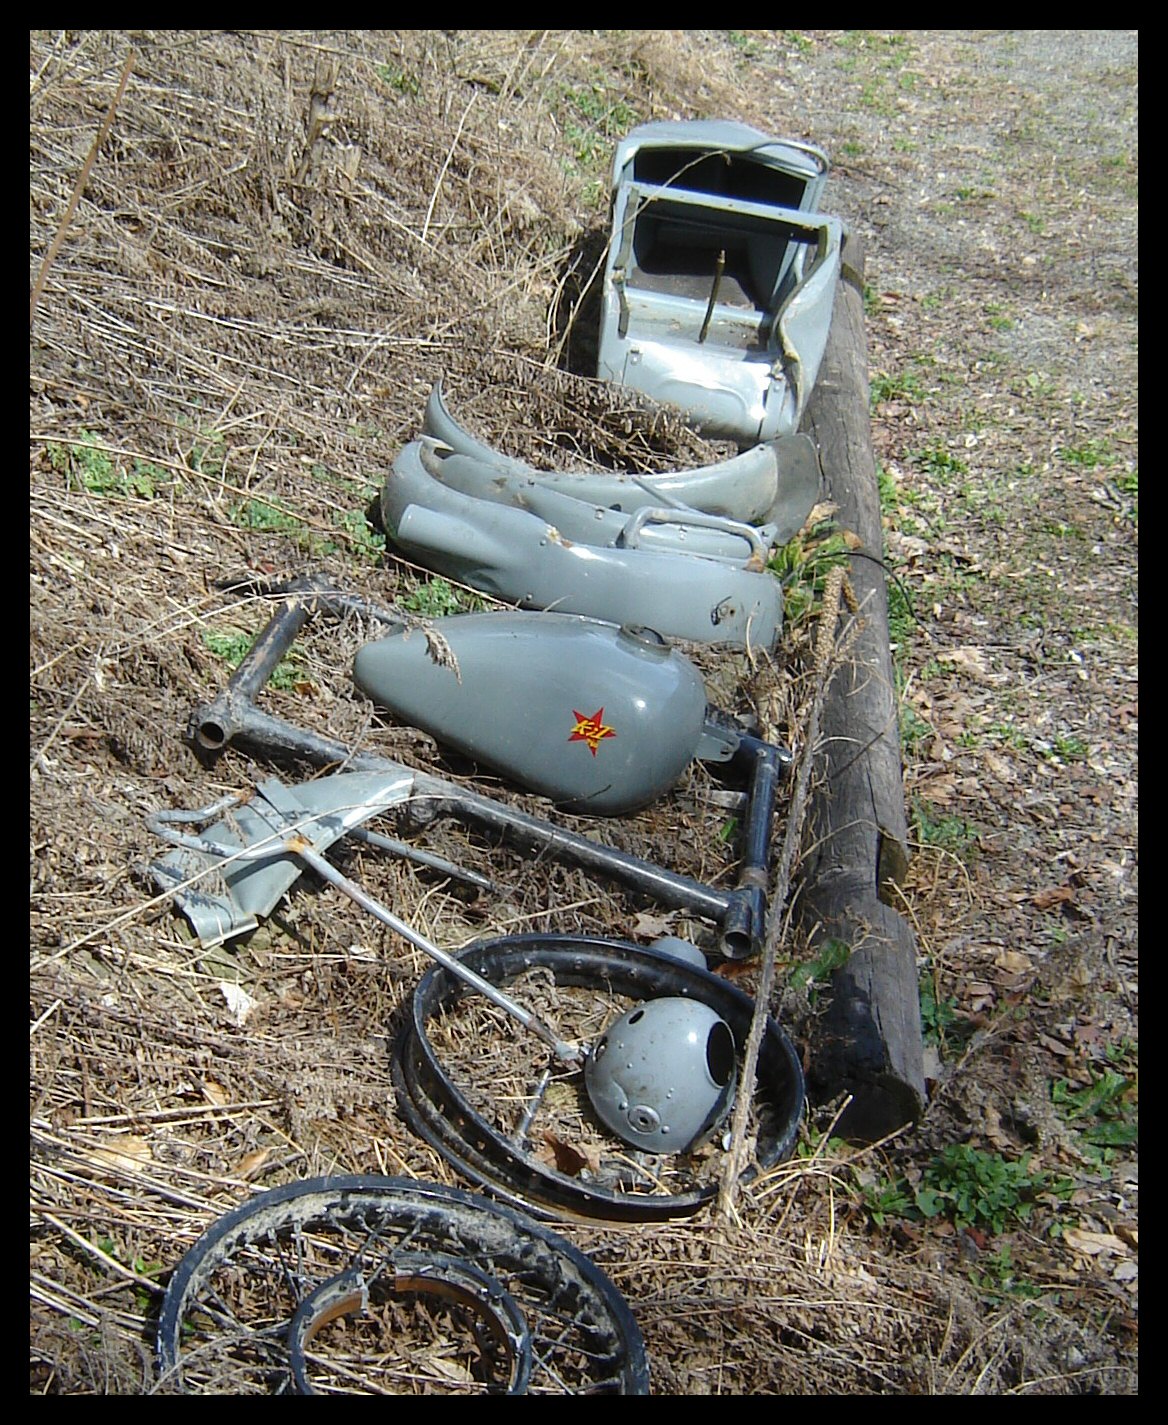
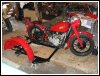
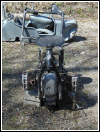
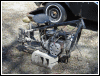
So, I guess this little project has gone
from being a salvage operation to another rebuild. This
is the scrap pile. The gas tank dents might be fixable,
but it's probably more practical to just replace it. I'll
see what the body guy thinks. Meanwhile, there's a few
things I'm gonna be needing. The two biggest items
(sidecar bucket and frame) will likely need to come from
China, so we're looking at a couple months minimum before
the old girl is back on the road. Maybe a color change
(for better luck) is in order. I can't complain about not
having anything to do on my vacation. |
|
|
 |
 |
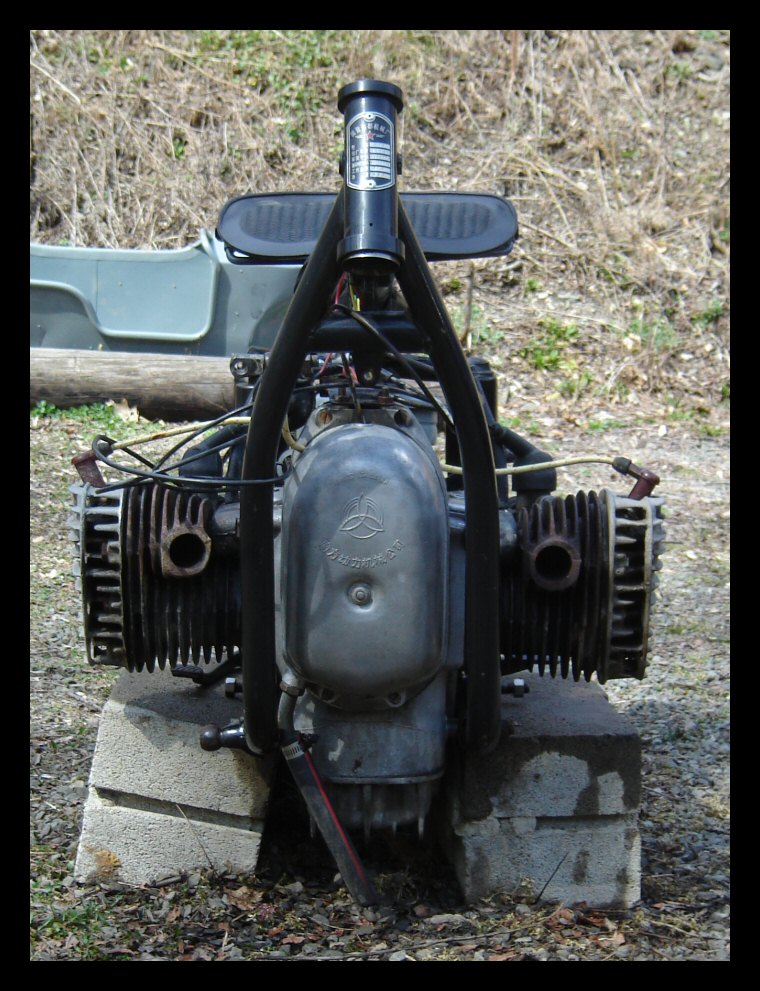
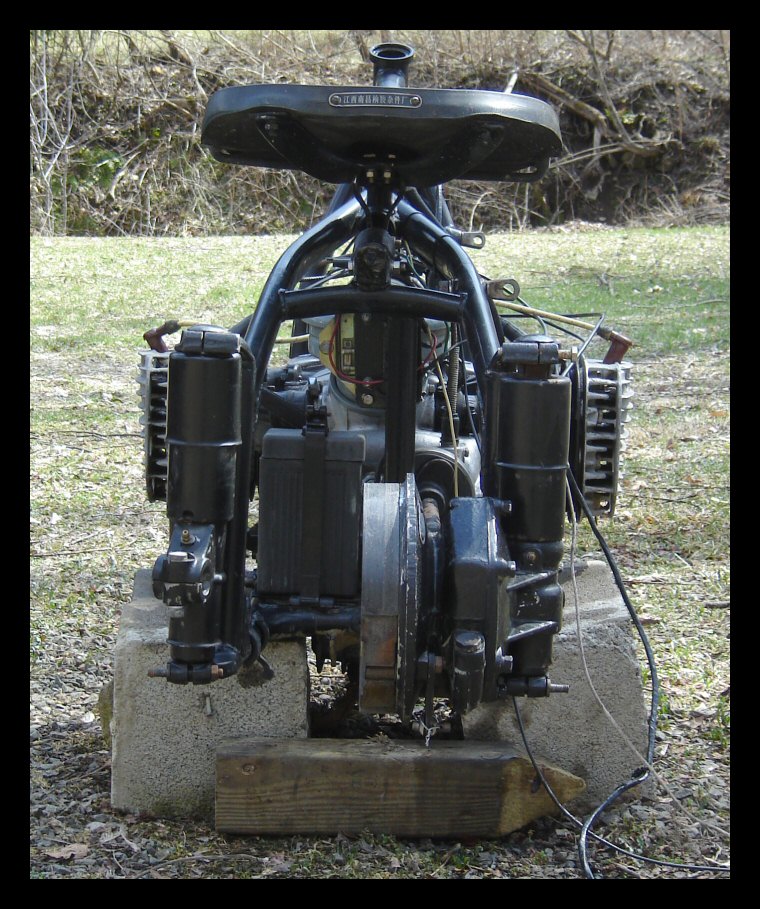
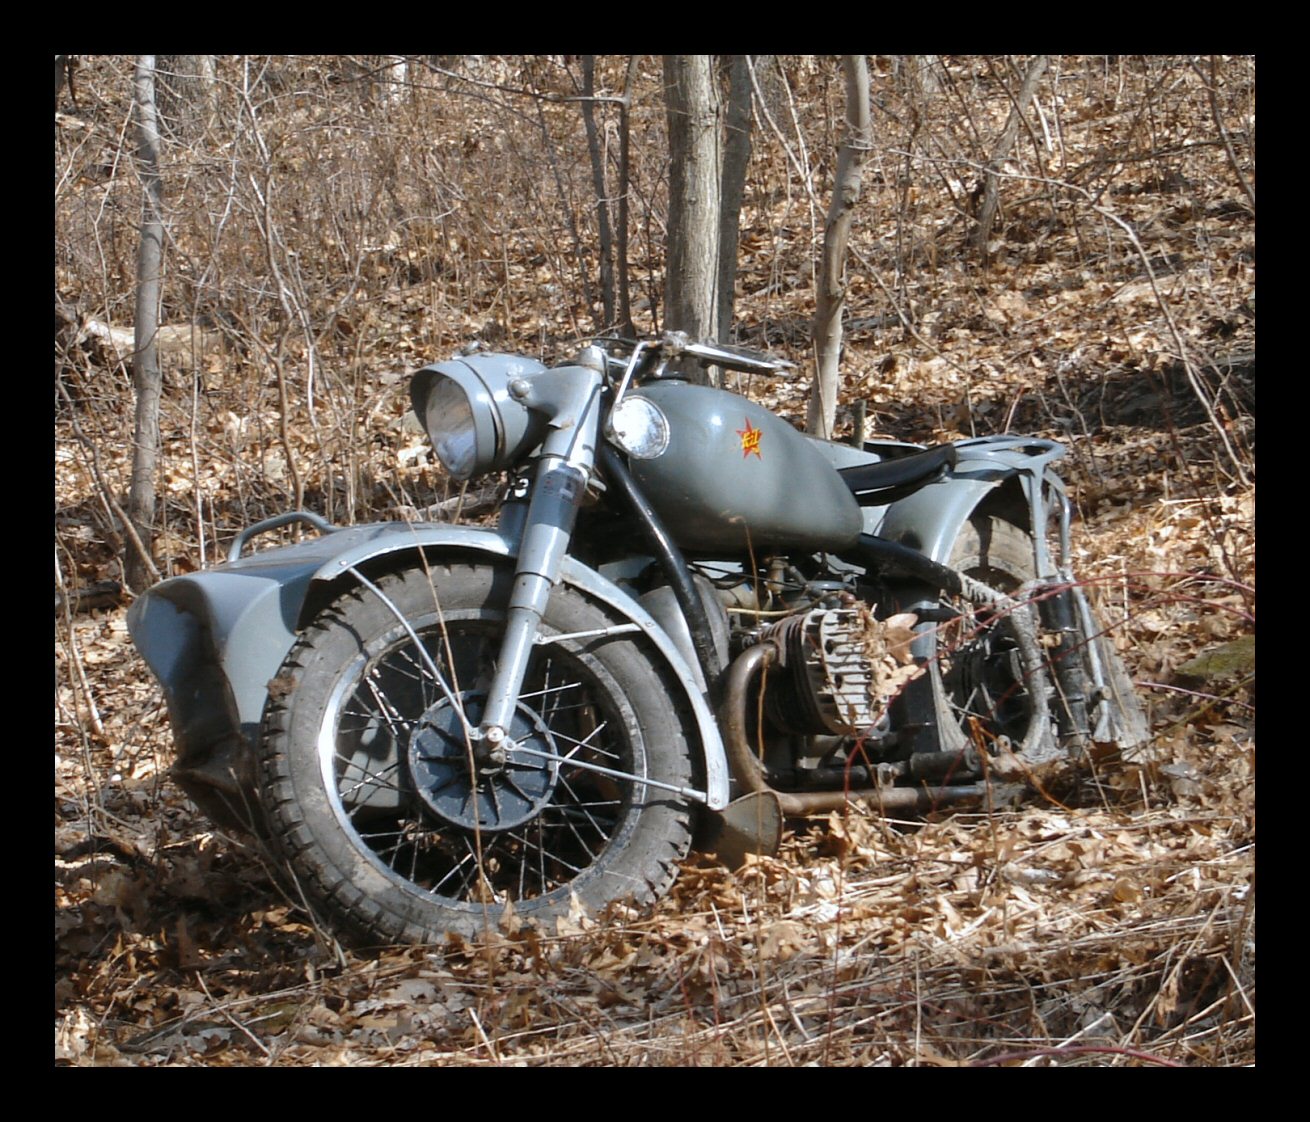
No obvious frame damage in the stern. We'll
see how the rest of it looks once the rain lets up. |
|
|
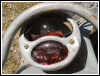 |
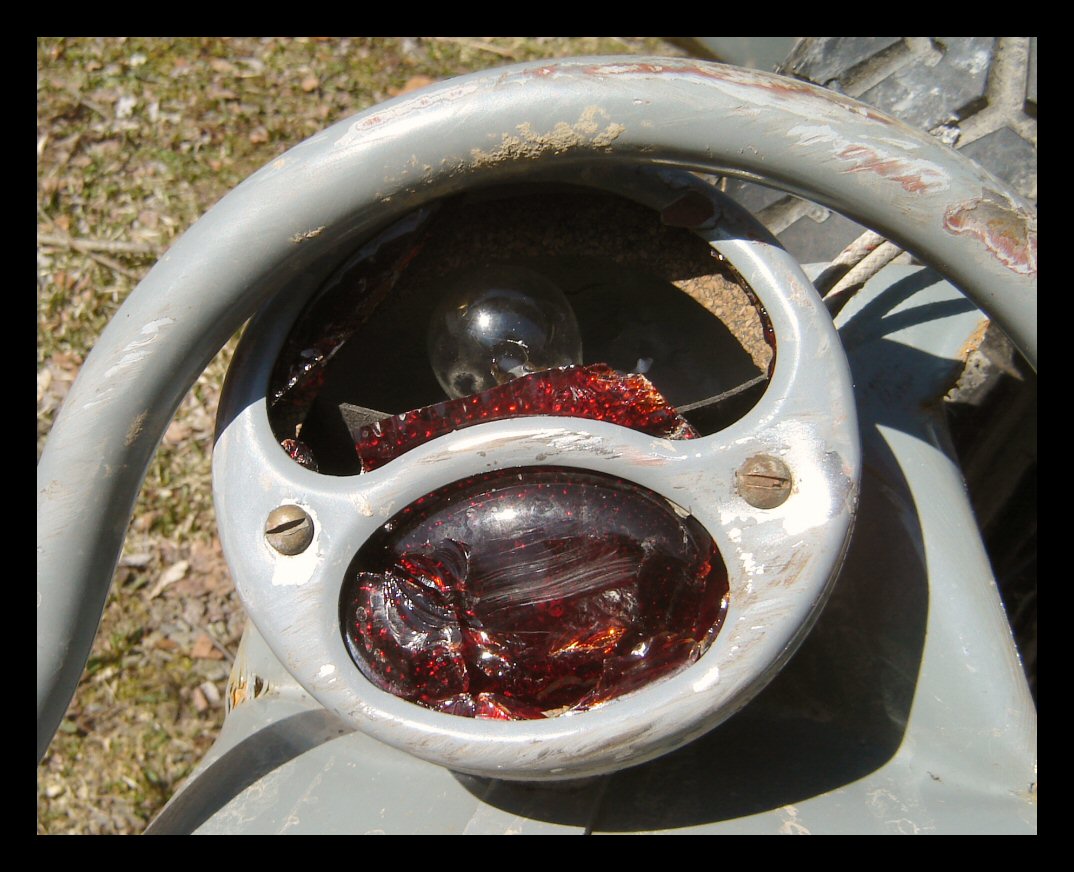
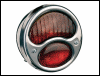
The smashed Ford Model A taillight makes a
good theme image for this page... I guess. |
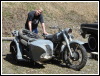 |
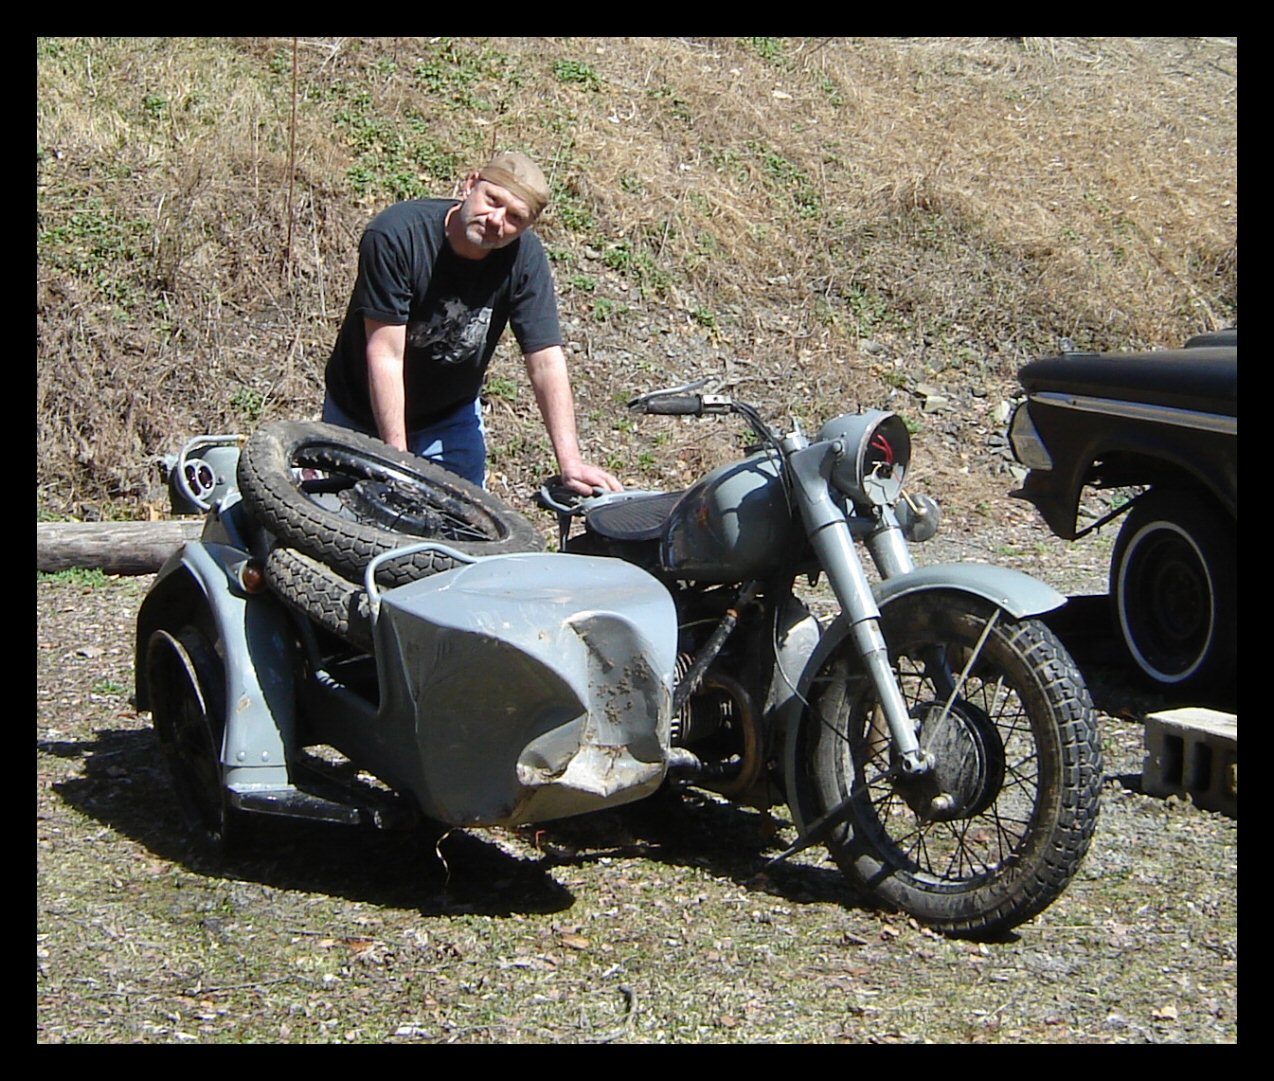
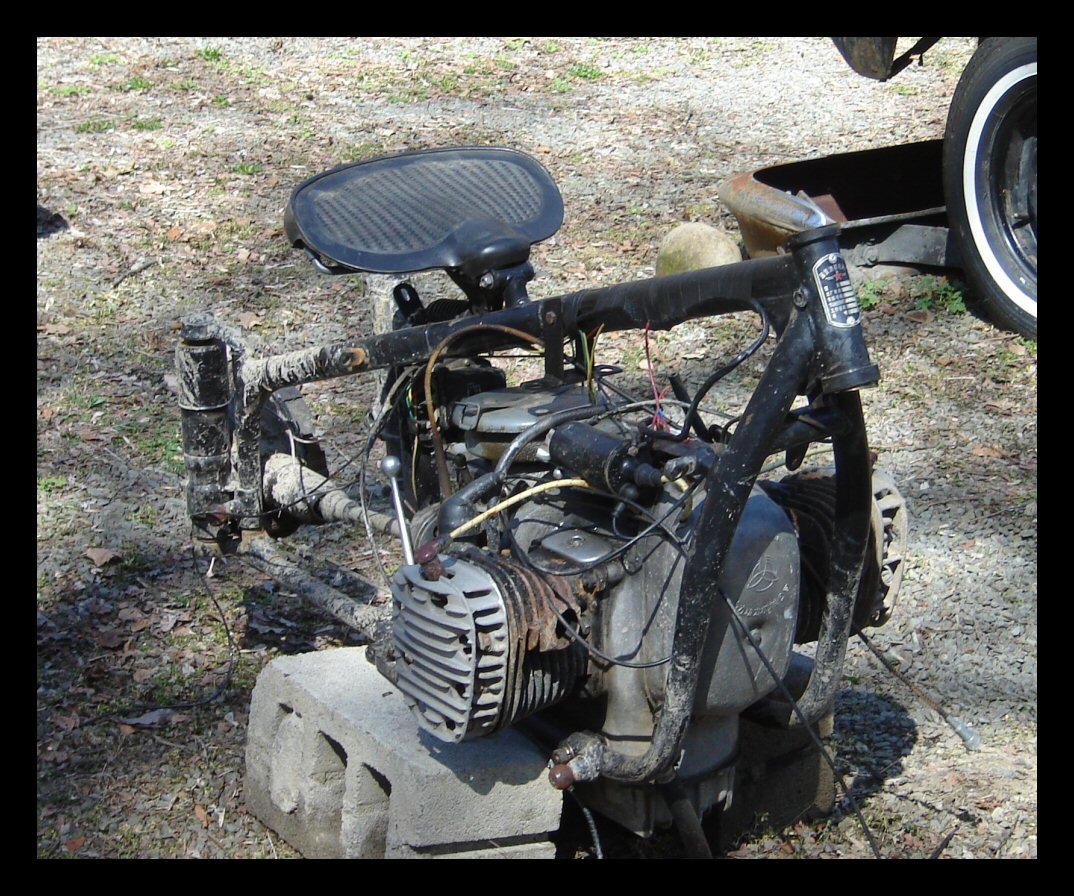
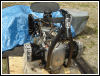
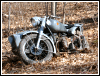
Anyway, here we are, the bike and me. I'm
about to strip damaged parts. |
 |
 |
 |
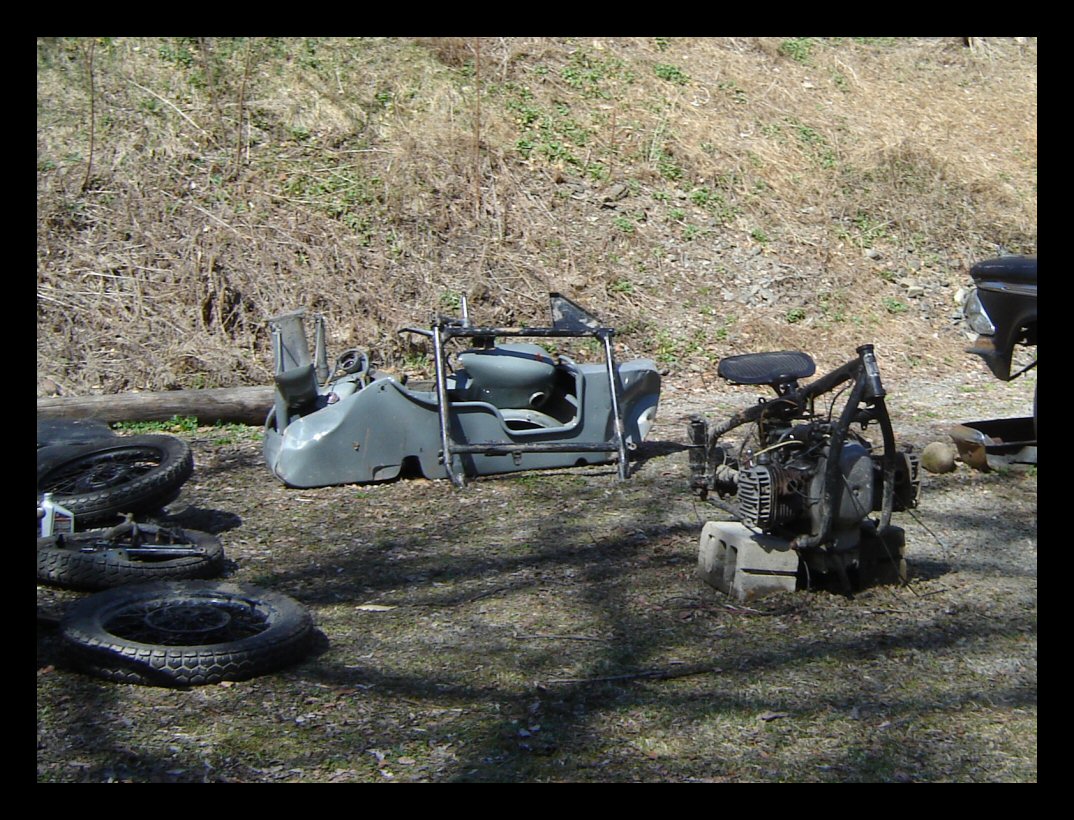
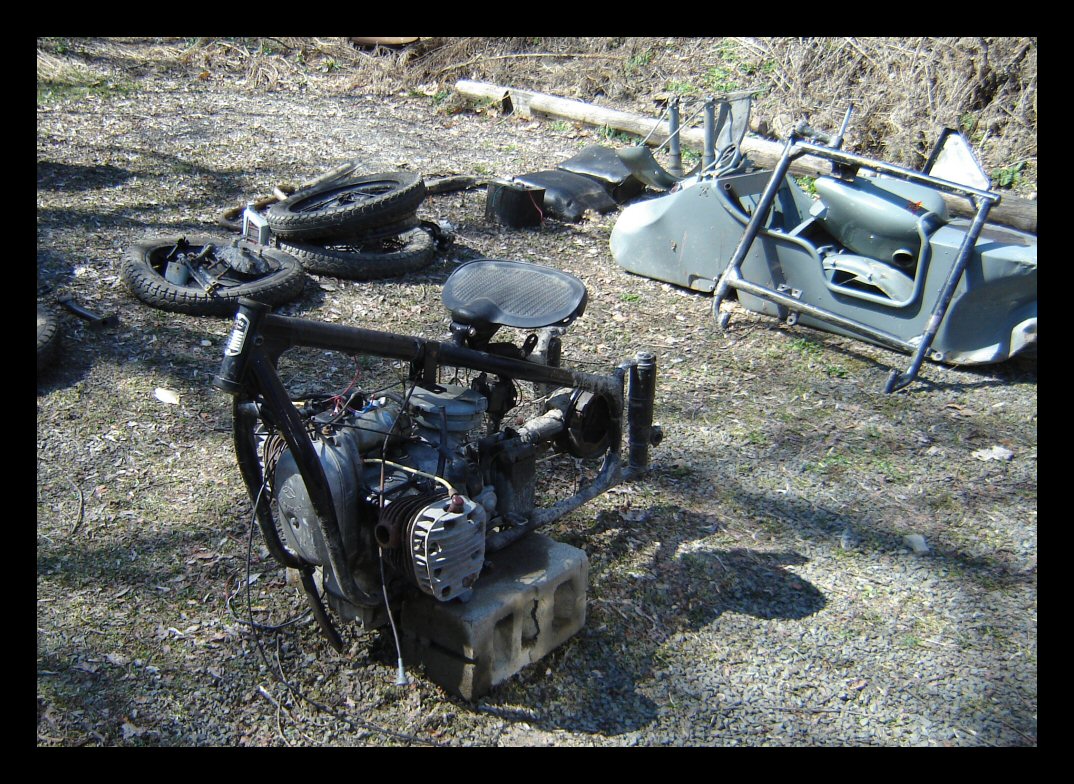
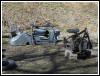
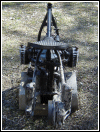
A couple hours later. There ain't much left. |
 |
 |
 |
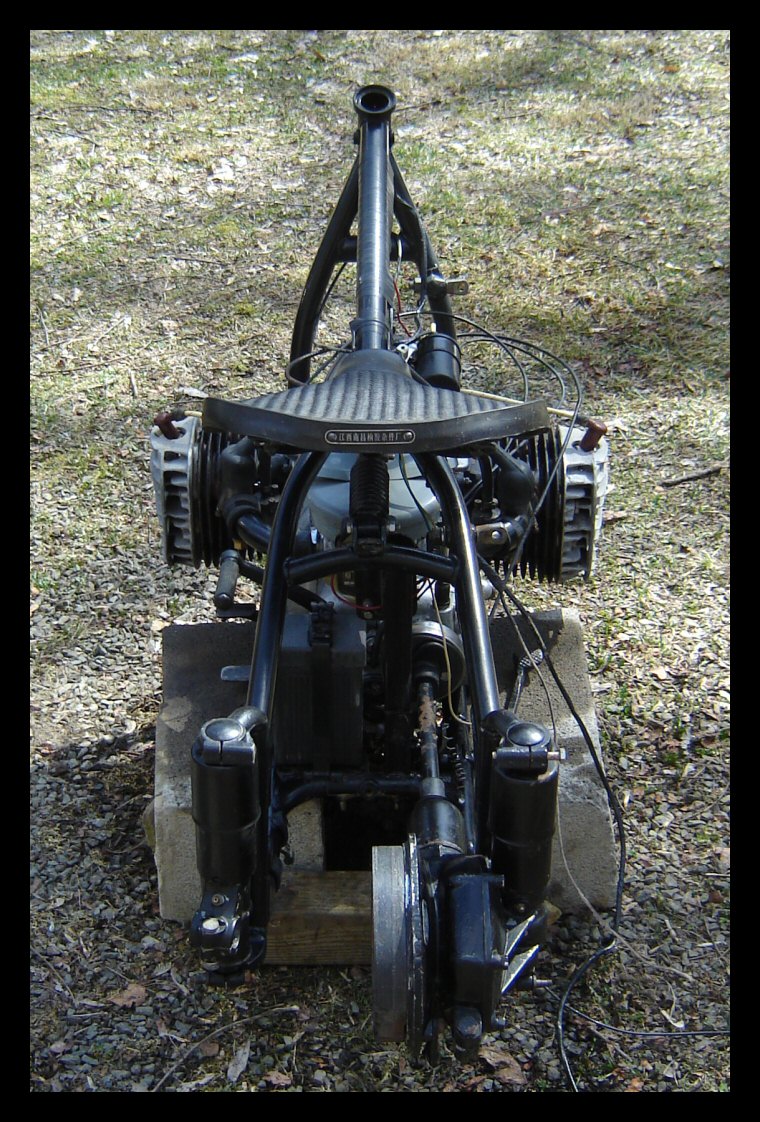
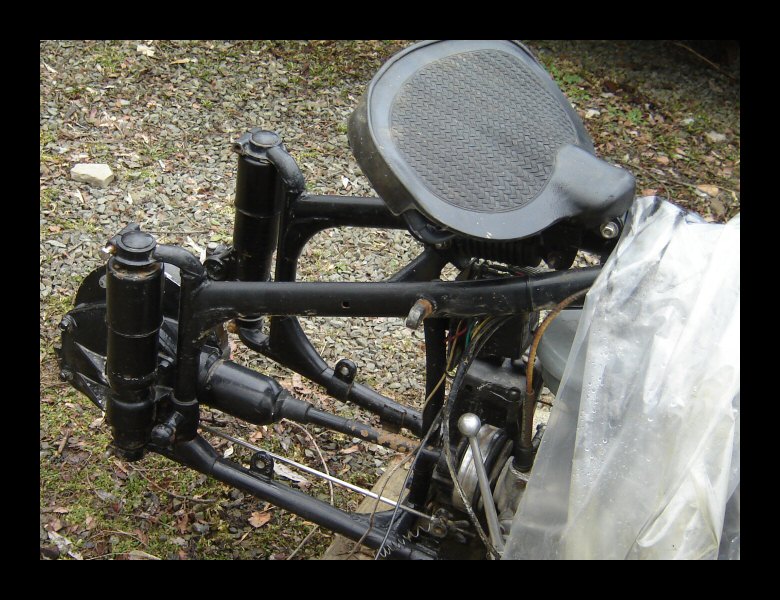
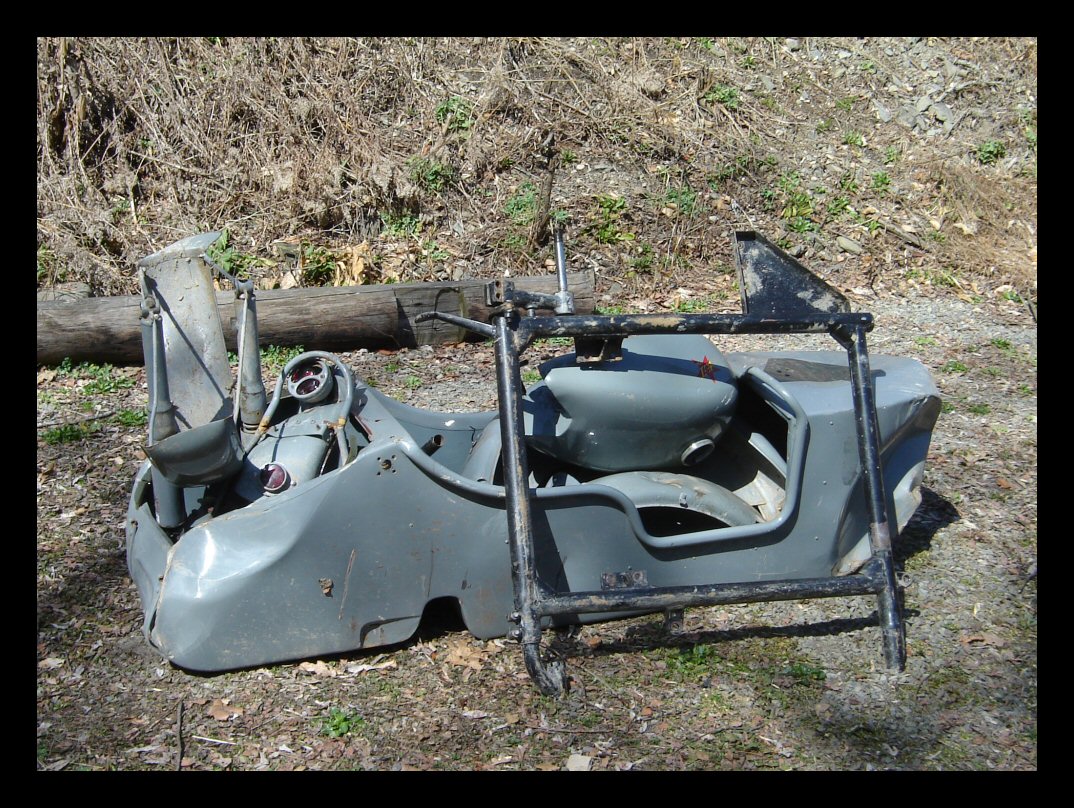
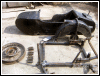
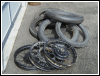
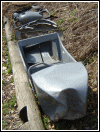
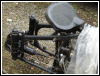
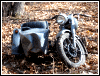
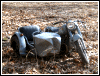
The next step is to clean off the mud and
grass, then degrease. That'll make it easier to inspect
the frame for cracked welds, etc. The third picture shows
the crumpled sheet metal bits. I'll salvage the carriage
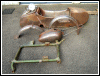
bolts and all the stainless steel stuff. |
 |
 |
 |
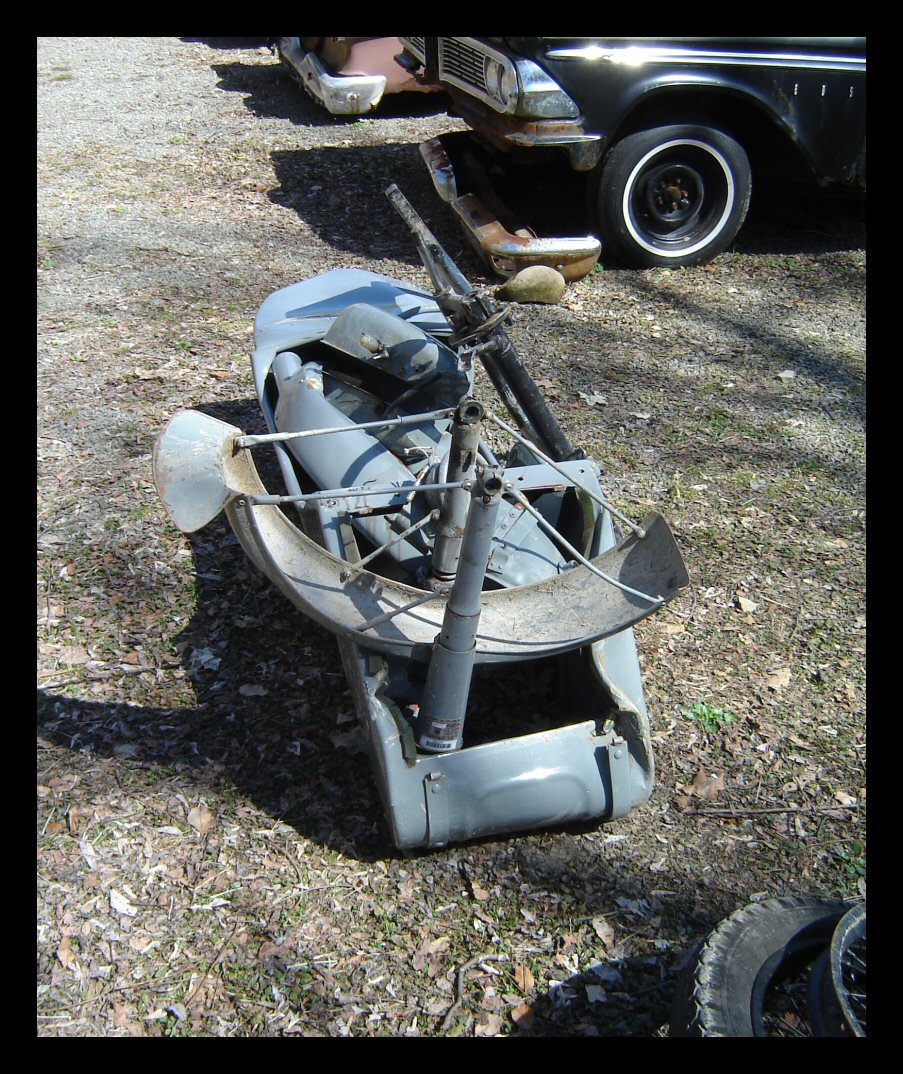
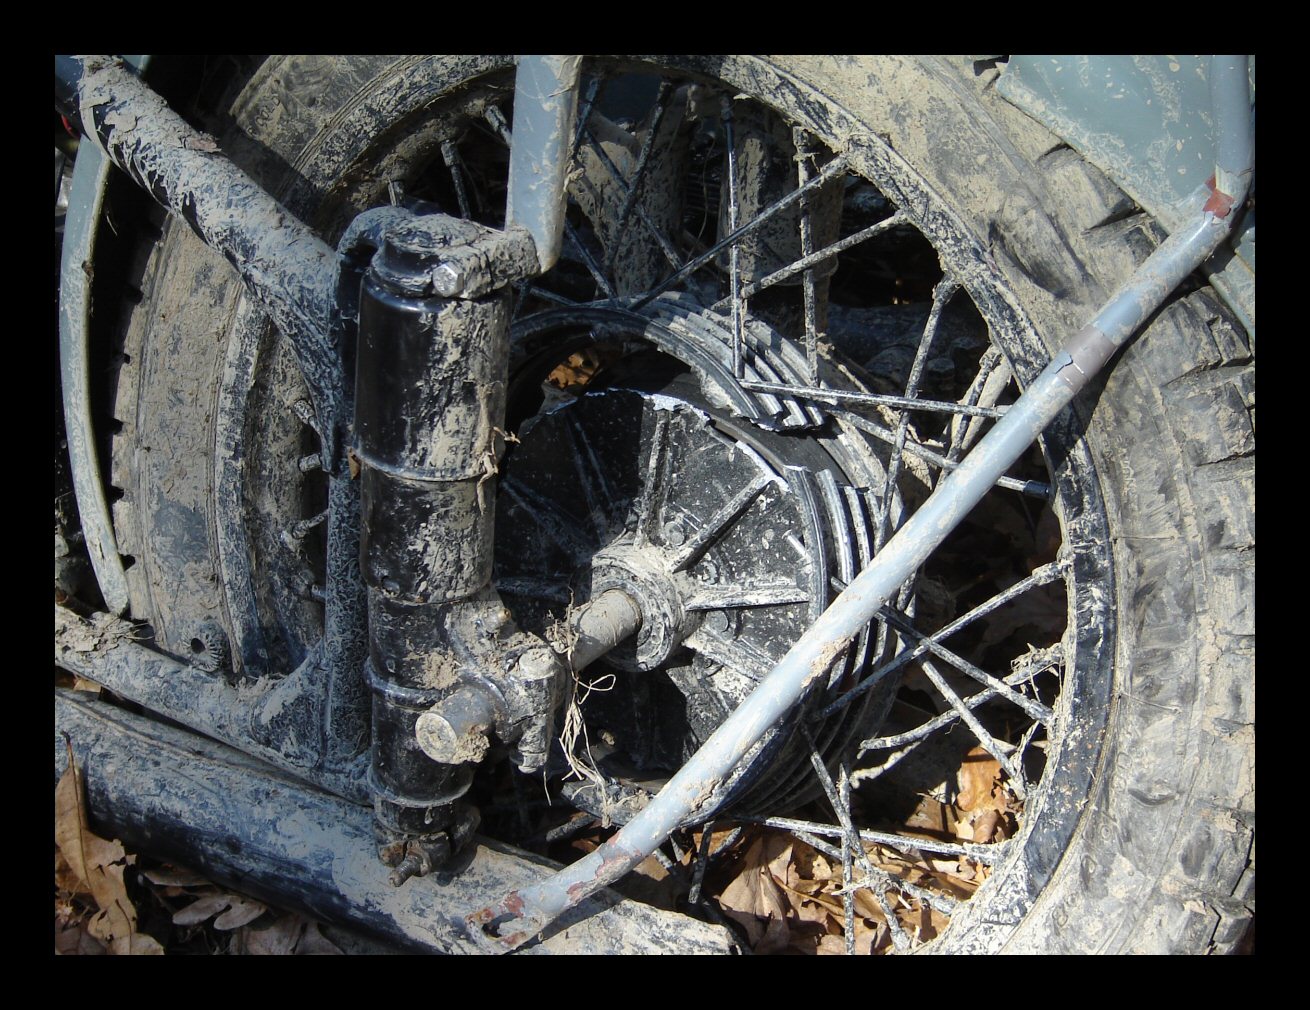
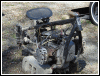
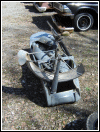
More of the same, and another shot of the
scrap. The sidecar frame is bent, probably not evident in
the photo, though. The sidecar axle is also bent. |
 |
 |
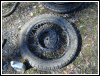 |
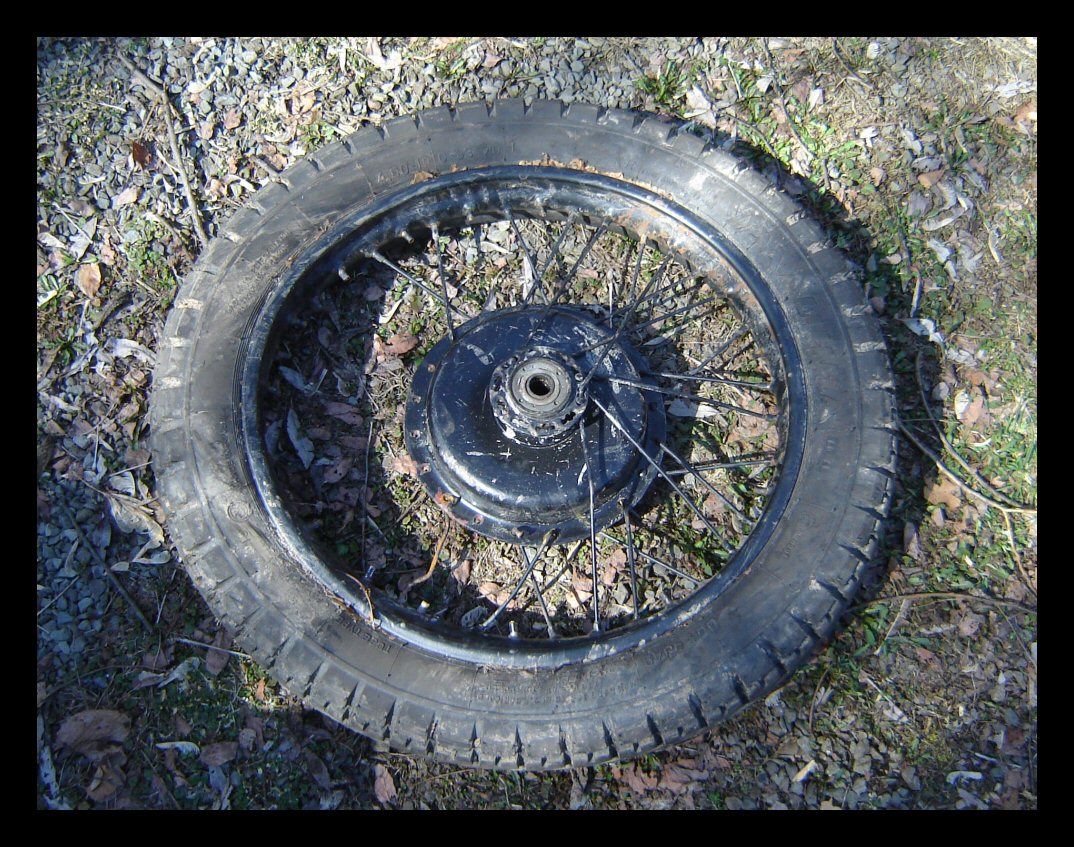
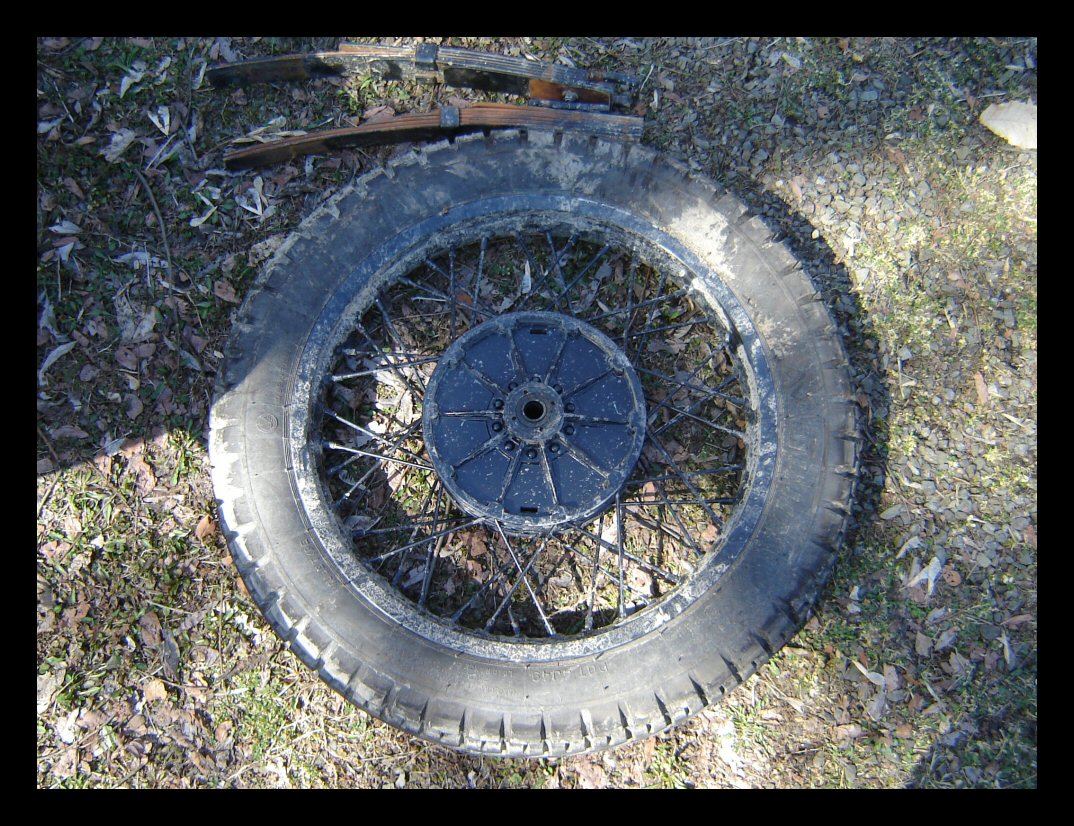
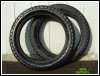
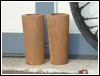
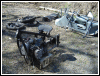
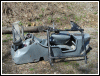
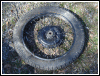
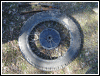
The standard CJ wheel was on the sidecar.
It's missing some spokes now, but the tire and tube are
fine. One M5 survived... the other one didn't. |
 |
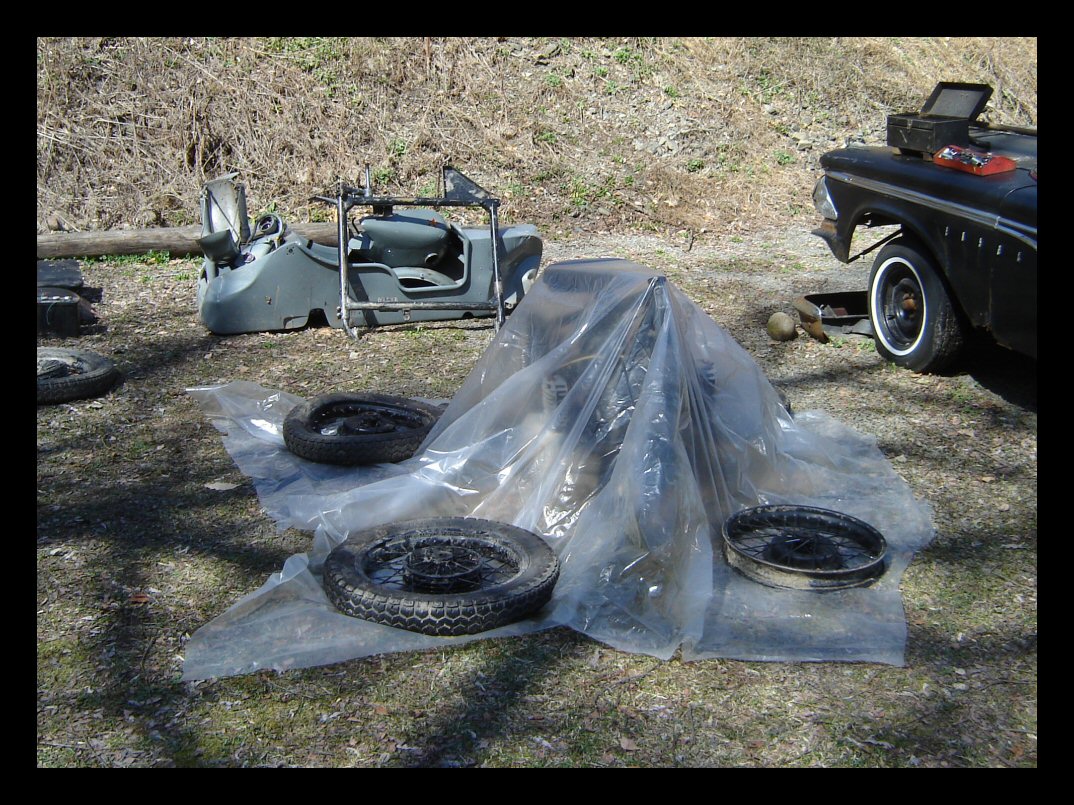
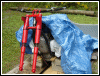
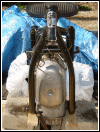
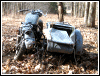
With rain in the forecast, OGM is under
plastic. Once I get everything cleaned up, I'll know if
this is a salvage operation, or a rebuild project. |
|
|
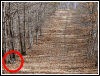 |
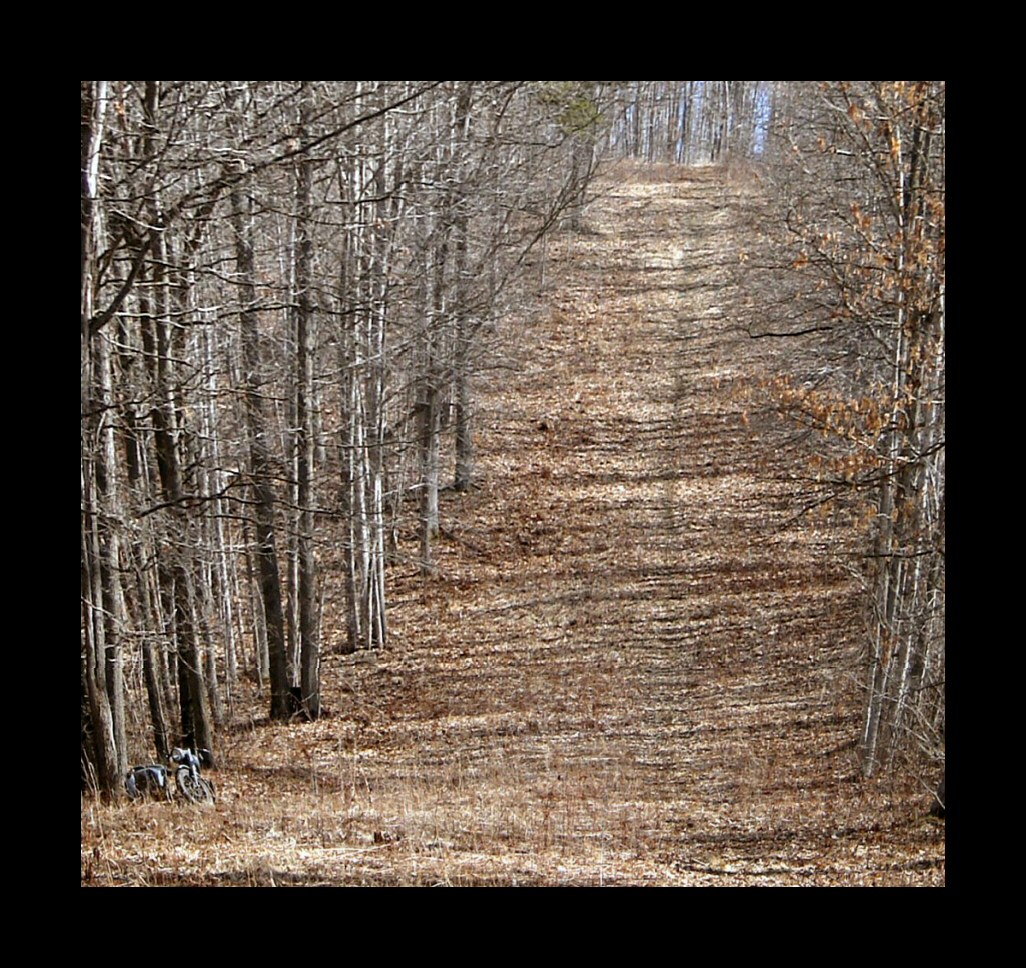
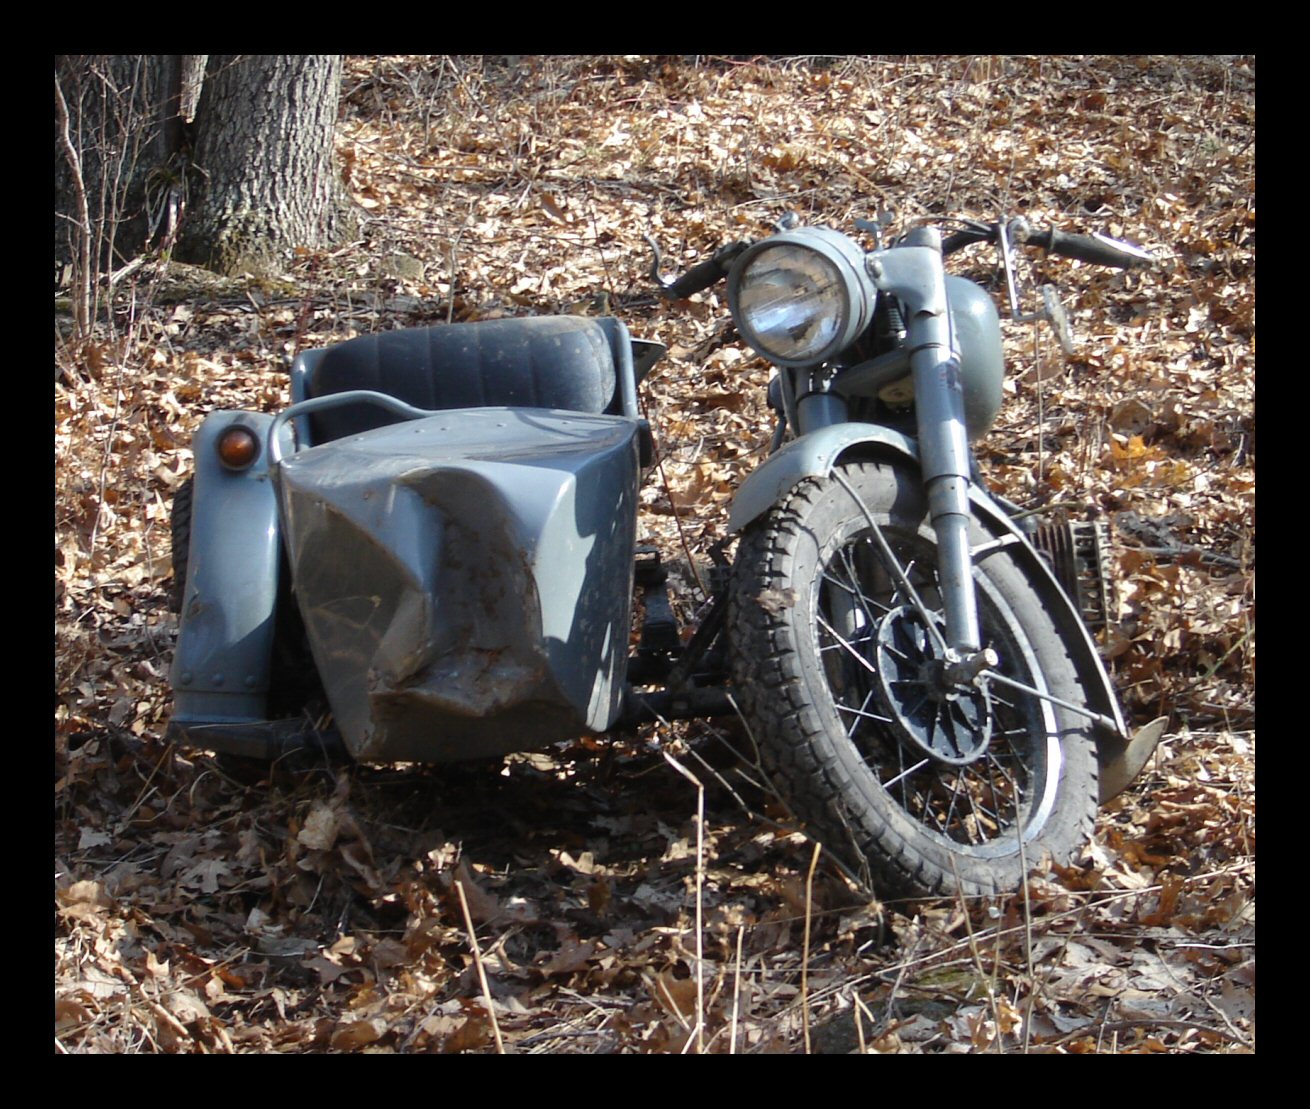
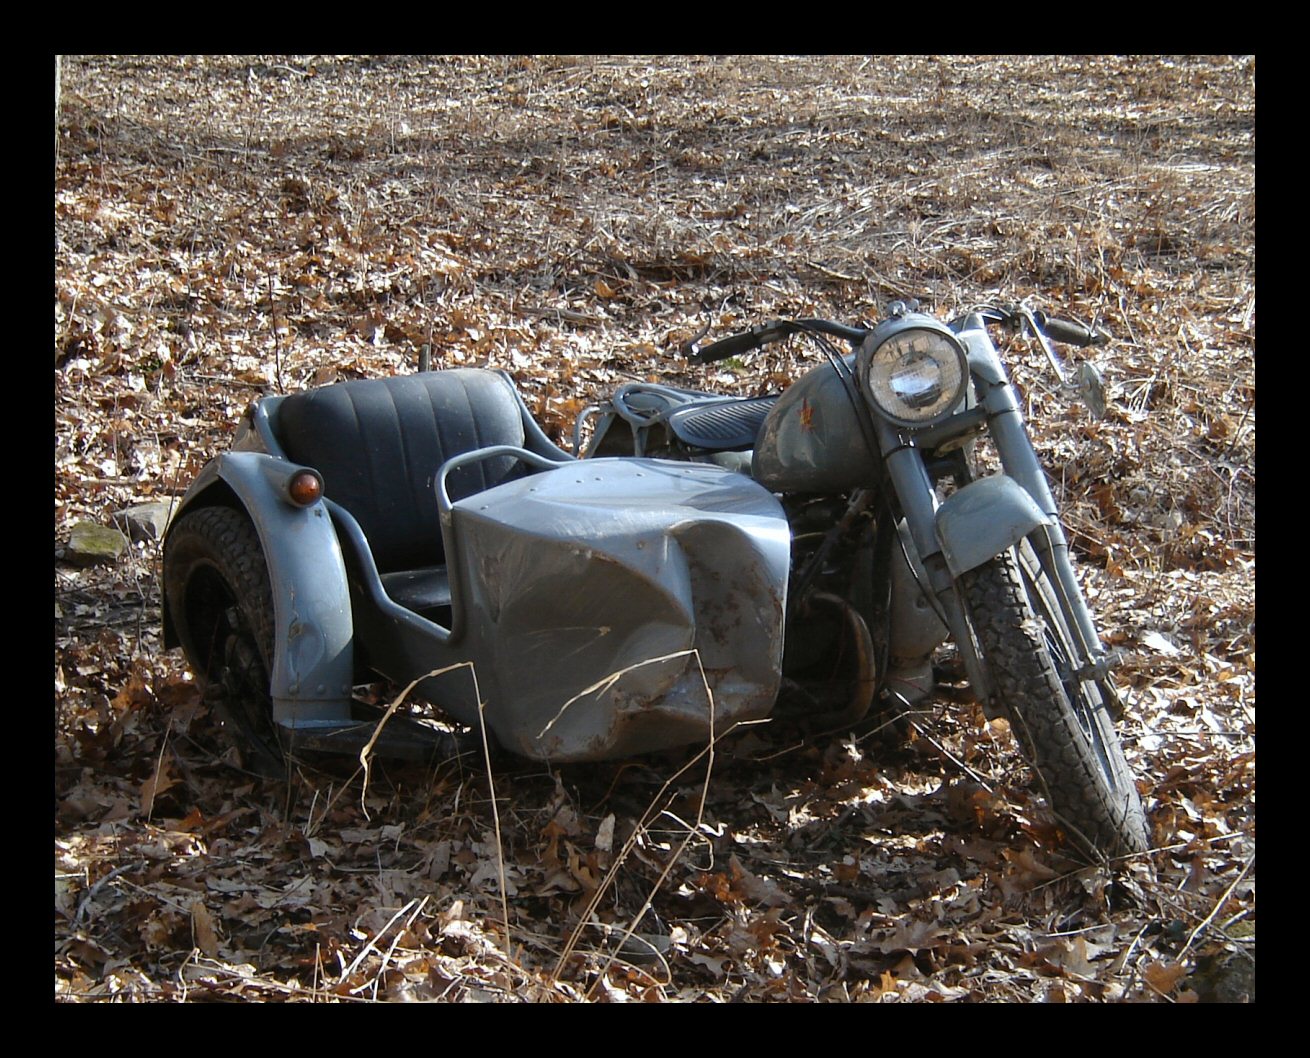
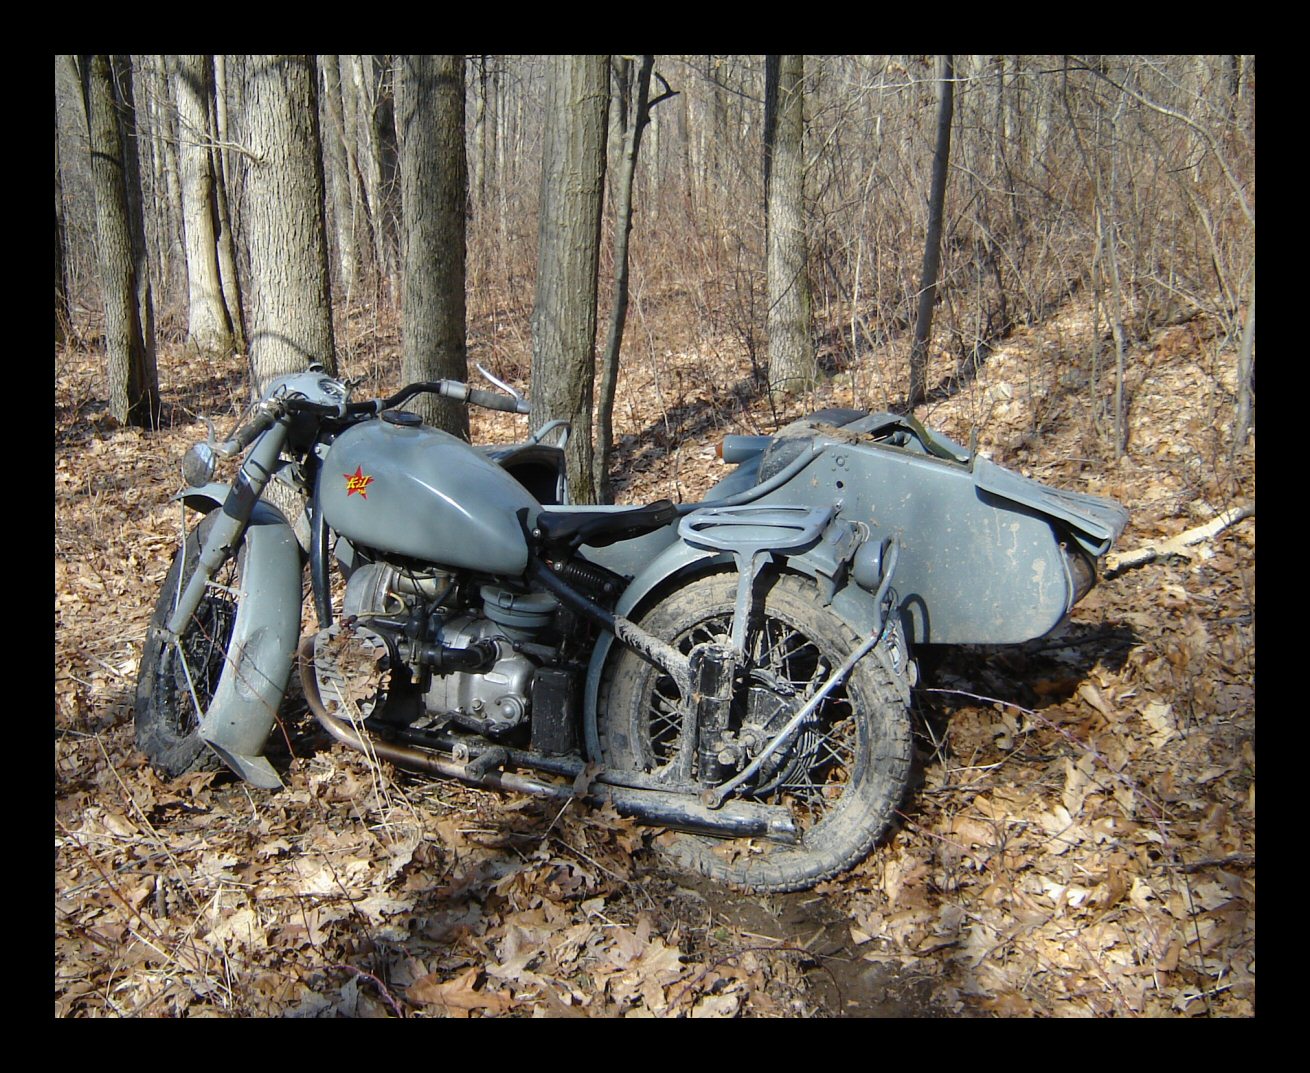
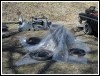
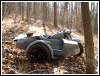
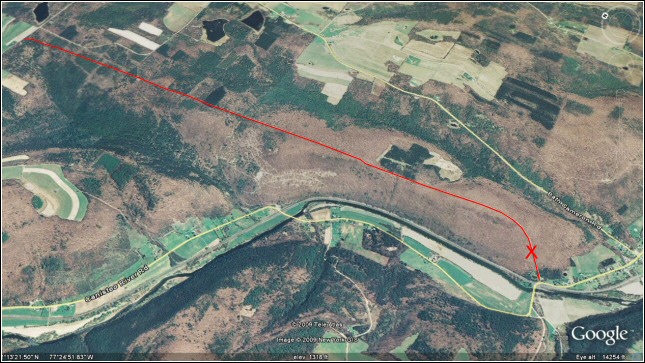
Oops. March 27, 2009 is a day I won't
forget, but I'm gonna try real hard. It was the first day
riding after spending five weeks at sea. I was exploring
an excellent pipeline trail I found on Google Earth. It
was just begging for some sidecar action. The ride was
very nice for sure, but the last section turned out to be
way, way too steep to descend. |
 |
It's just too bad I didn't quite grasp that
fact until I was far enough down it to be committed. No
problem, though. I'd just walk the bike in a zig-zag,
like a switchback. The engine was off, and gearbox was in
first gear. That allowed me to use the clutch for rear
wheel braking in addition to the front brake. The
technique seemed to be working pretty good... until the
front wheel hit a rut which kicked it, steering the bike
straight down the mountain. That's when gravity took
over. I decided not to accompany her down the slope, and
I actually said "goodbye, bike" as we parted
company. I reckon she went about 300 feet, and she did
two or three endos before she finally stopped. |
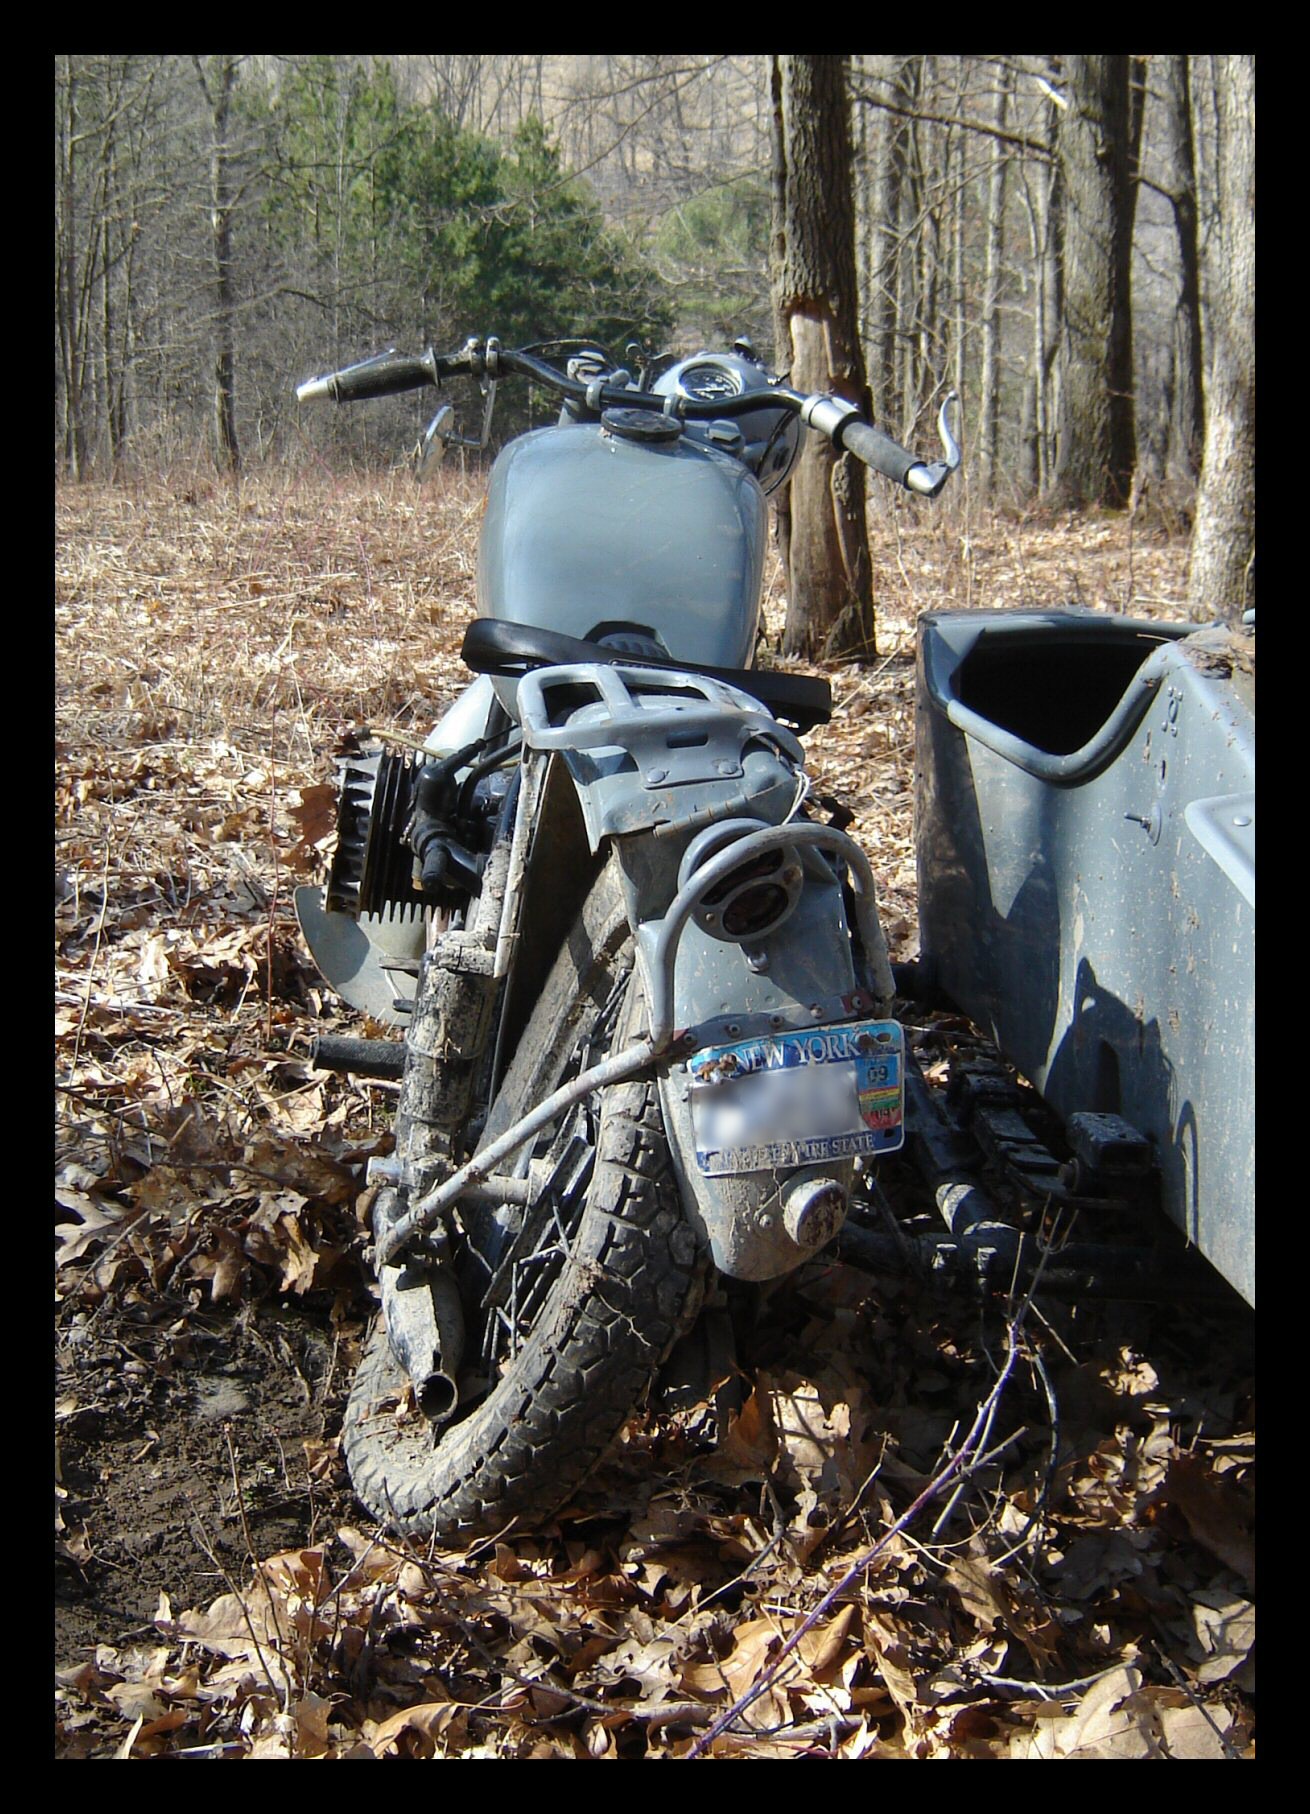
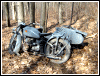
 |
It was spectactular, it and might have been
pretty funny if it weren't my bike! Anyway, all I can do
is be thankful I have a second CJ, one that will never be
going off road. As for the grey bike, I think she got
done in for good this time. I'll know for sure once I
start tearing the wreckage apart, but I'm not very
hopeful. |
 |
 |
 |
 |
 |
 |
 |
 |
Page 1
Page 2
Wrecked
Rebuilt
Beyond
Really, really wrecked |