 |
CJ750 toolbox |
| Making fender brackets |
 |
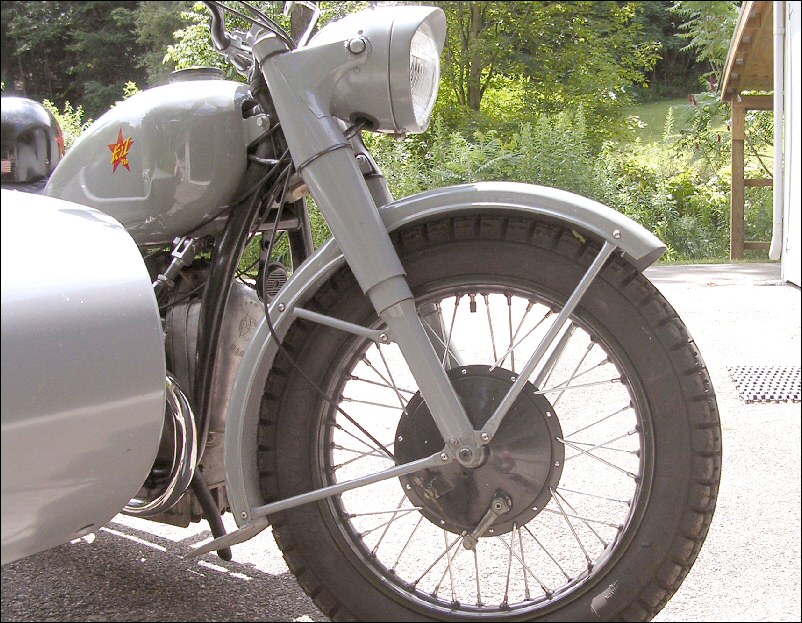
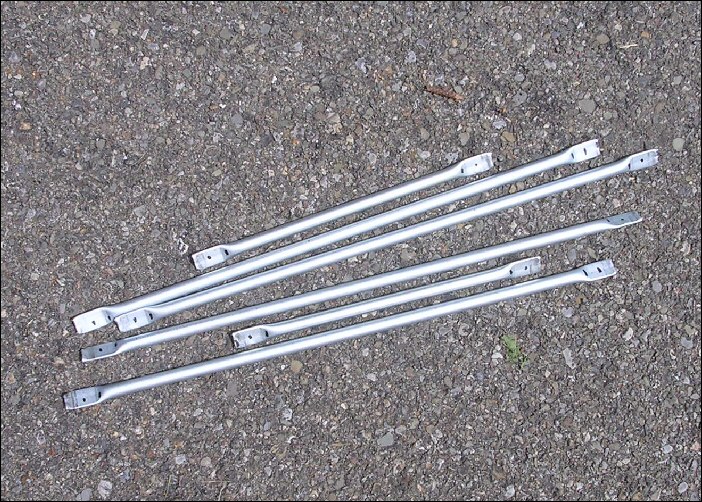
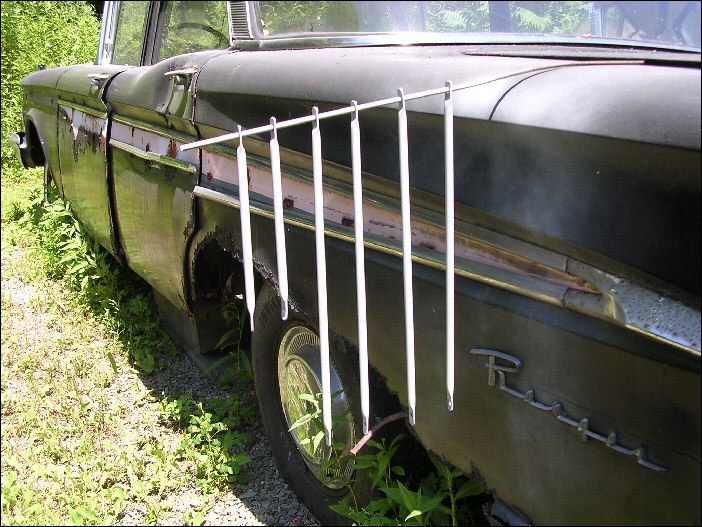
These fender brackets are way too
industrial—but far better than the flat strips of
iron that came on the bike originally. Nonetheless, I
decided to replace them with something a bit less
conspicuous. |
 |
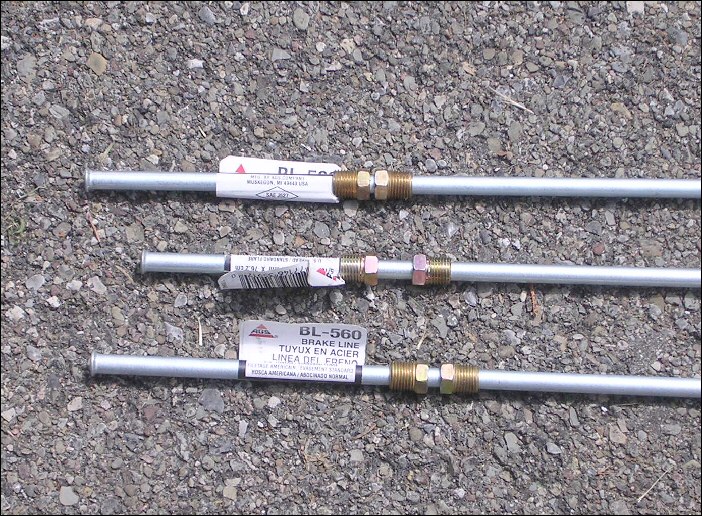
You can't get 5/16" pipe around here
but by golly you can get 5/16" OD brake line. It's
pretty inexpensive and it's available everywhere. |
 |
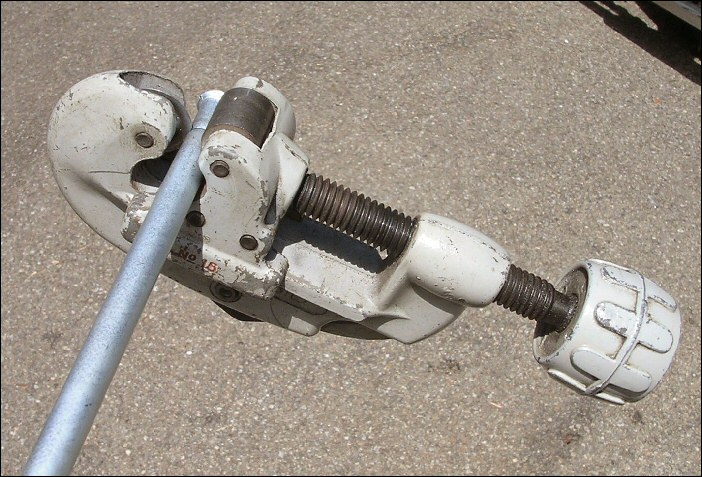
You start but lopping off the flairs and
ditching the hardware. You can use a hacksaw but a pipe
cutter does the job in seconds flat. It'll give you a
perfect cut every time. |
 |
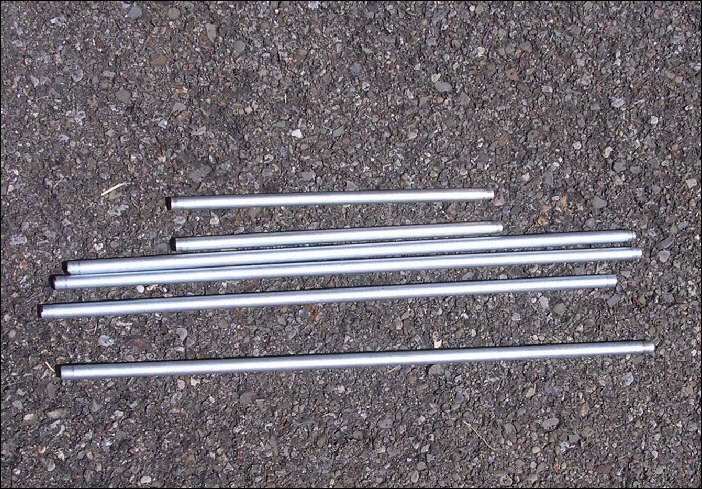
Here's the brake line cut to size. There's
an additional 5mm on each end. |
 |
Squishing the ends flat in the vice. The
flat part goes 5mm on either side of the hole. |
 |
The ends have been flattened and punched for
drilling. |
 |
After being drilled. The hole size was based
on the stainless Allen bolts I like to use. |
 |
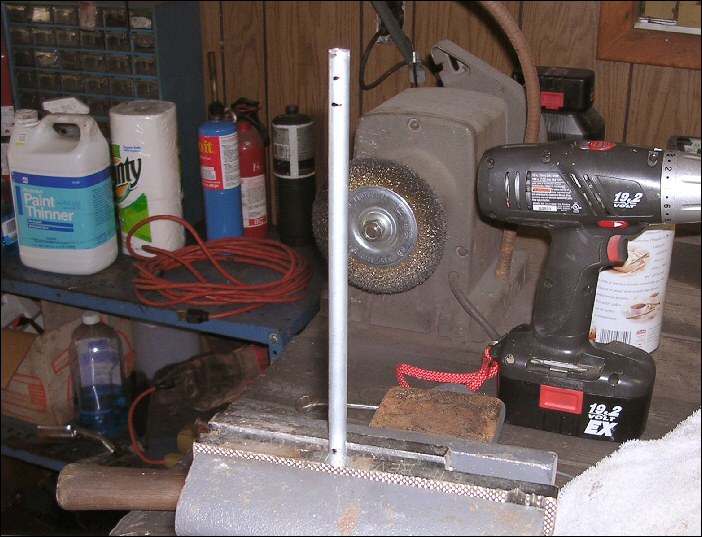
After rounding off the sharp edges on the
bench grinder. |
 |
Primer drying in the hot July sun. Takes
about ten minutes! |
 |
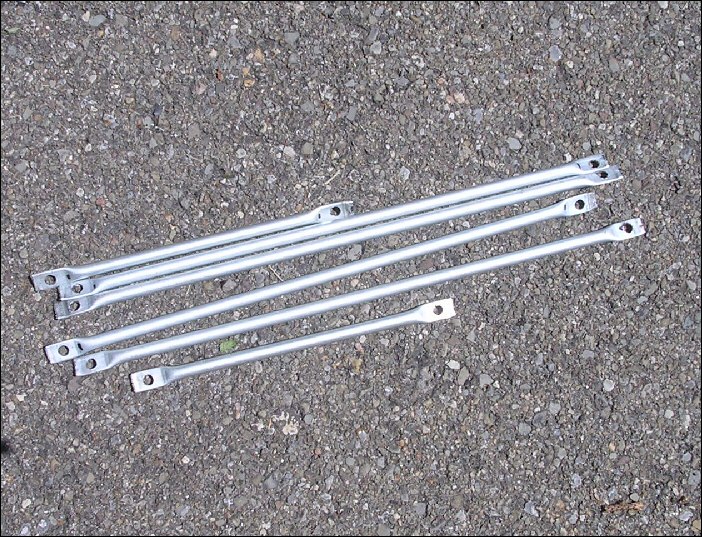
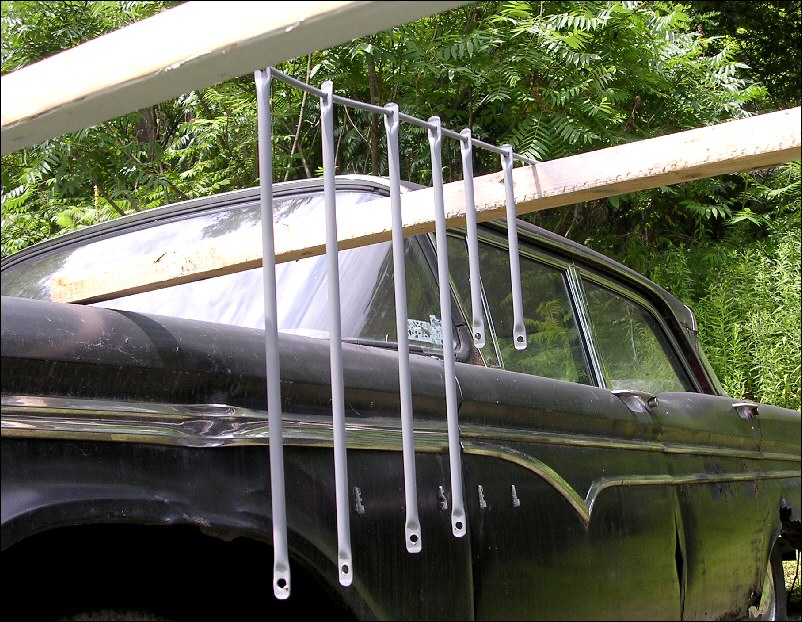
Now painted USN Battleship Grey. This took
about an hour to dry. |
 |
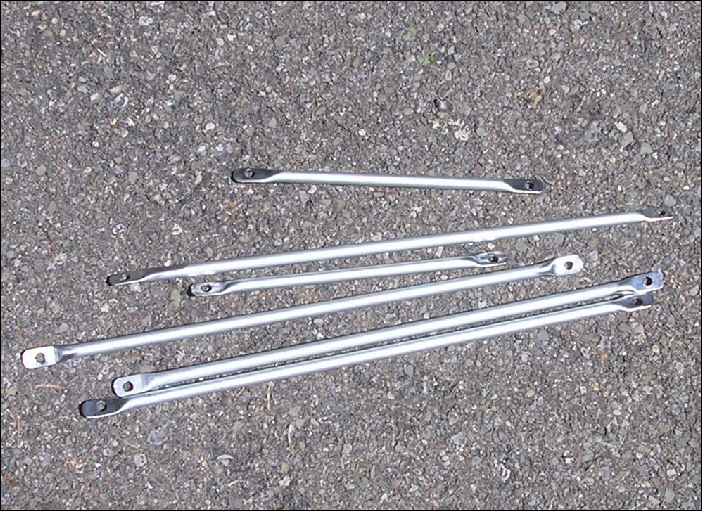
Viola. Compare these "slim-line"
brackets with the fat ones in the first photo. You can
whip out a set of these babies in no time flat. The only
thing that might slow you down is waiting for the paint
to dry. From start to painting took only around an hour. |
 |
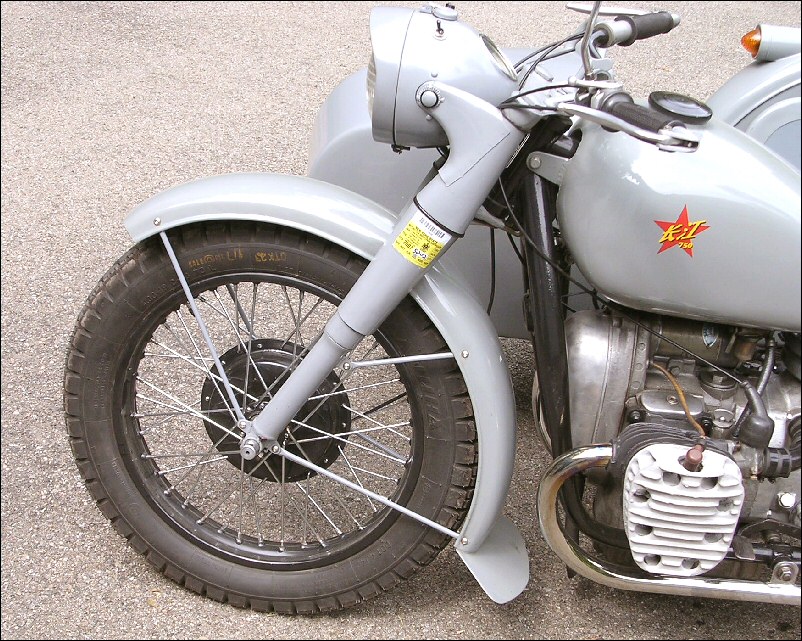
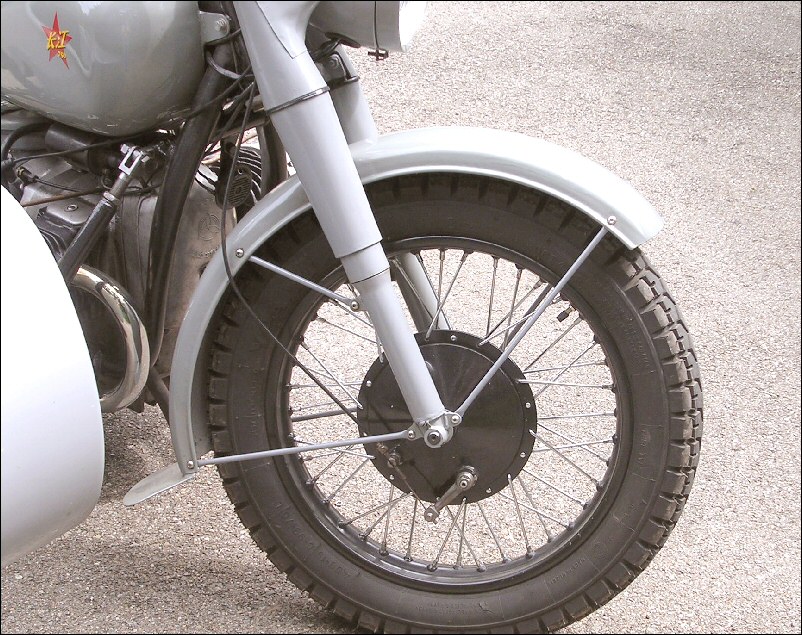
I really like them. The black bike has an
identical set. If you choose to make a set for yourself
just be very careful to get all your measurements correct
before you start cutting and drilling. No two CJ fenders
are alike which is why I didn't specify any lengths here.
Hole locations can vary quite a bit from fender to
fender. |
 |
|
|
|
|
|