 |
The Old Grey Mare - my
first CJ750 |
 |
Page 1 Page 2
Wrecked
Rebuilt
Page 5
Wrecked
again Re-rebuilt |
 |
CJU webmaster
Danno has one wife, one
cat, one rabbit, ten Edsels and two CJs. |
 |
Like many other CJ enthusiasts, I'm also a
car guy. (Do Edsels count as cars?) We've got ten of
these things, four of which are licensed. The rest are
parts cars. |
|
|
 |
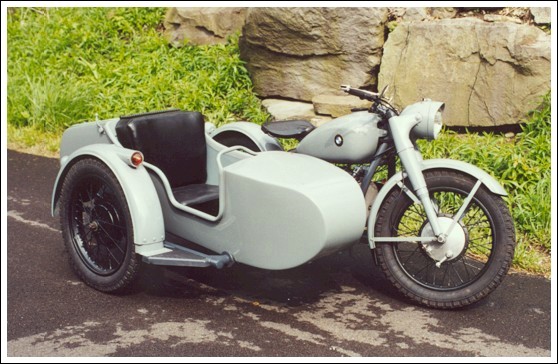
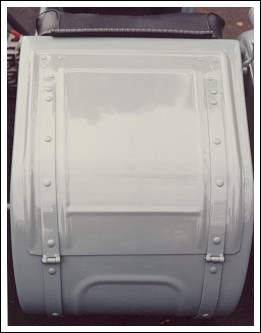
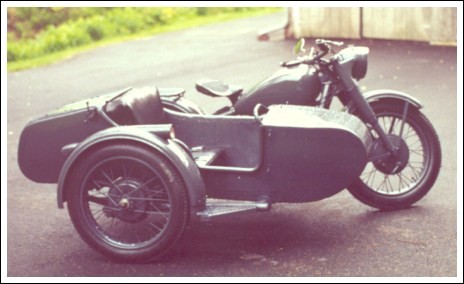
The sidecar cover that came with my M1
didn't fit, so I had a new one made locally. It attaches
with snaps. |
 |
All the mounting stuff for the original
cover was removed when I repainted the bike. |
 |
At first, I was disappointed with how it
looked, but it has grown on me. |
 |
Not bad for $130, at least in New York. |
|
|
 |
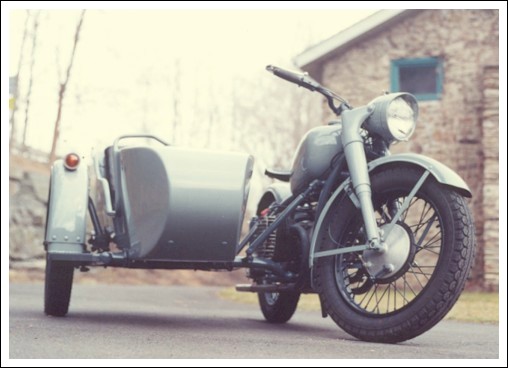
Here she is with a pair of reproduction
Beemer emblems from Blitz Bikes. They have since been removed in
favor of emphasizing the fact that it's a Chang Jiang,
not a BMW. |
 |
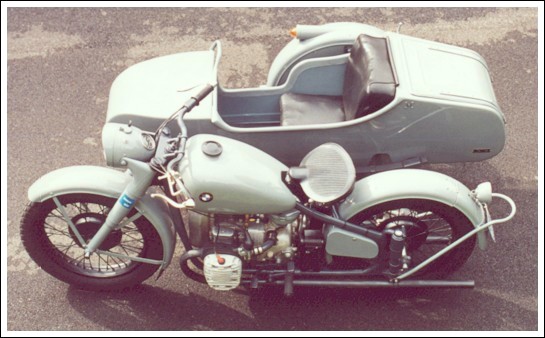
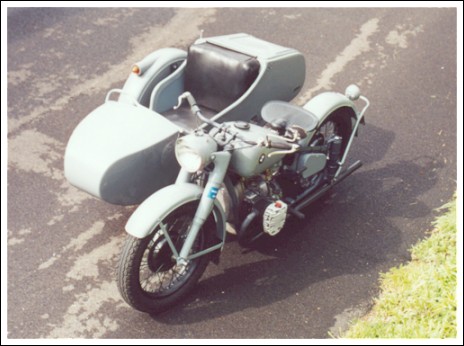
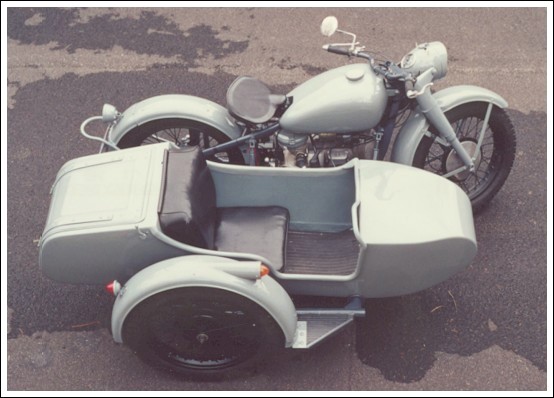
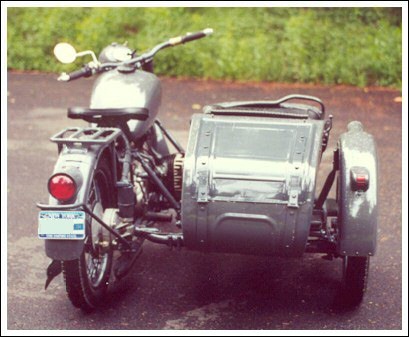
This aerial view also reveals the new tool
box from Scott Snaden. I think it's well
worth the $65, not to mention the free bonus folding
Chinese tool kit. |
 |
This view shows the tool box in a little
more detail. |
 |
So does this one. |
 |
Here's the sidecar tag from Blitz Bikes. It too
has been removed. |
 |
This image is just here. |
 |
Here's the saddle tag, also from Blitz Bikes. |
 |
And another aerial view. |
 |
A short-lived development. I shortened the
pipes by 4" and removed the black finish, then I
blew a piston. We're back to the original black fishtails
now. |
|
|
 |
Read about my piston meltdown. |
|
|
 |
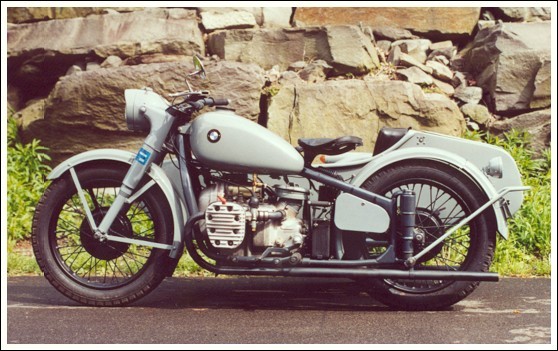
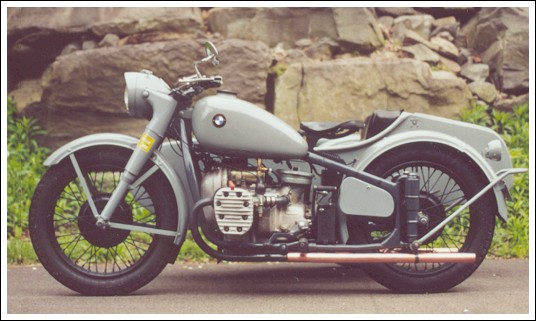
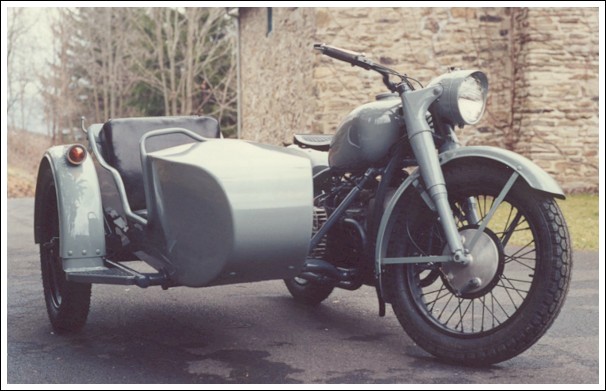
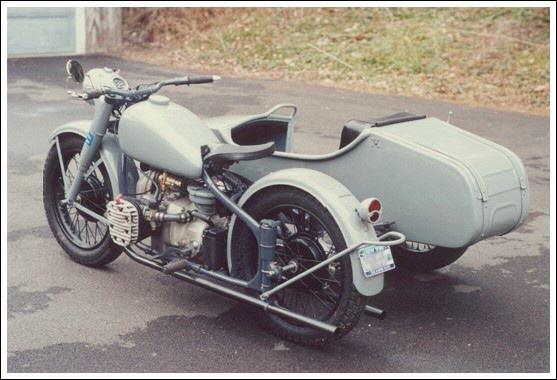
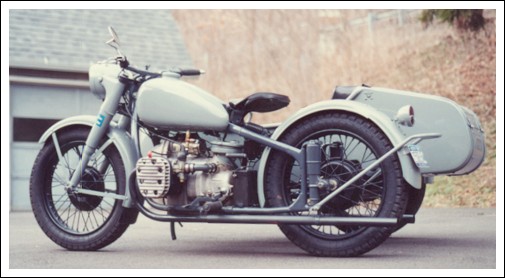
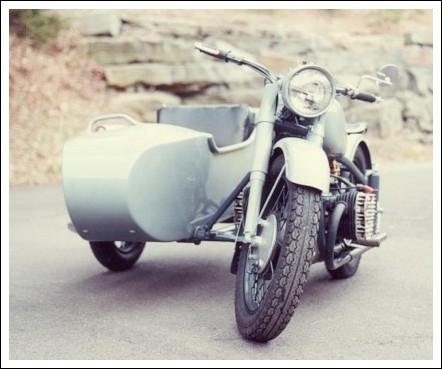
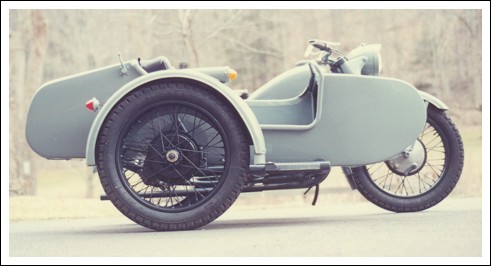
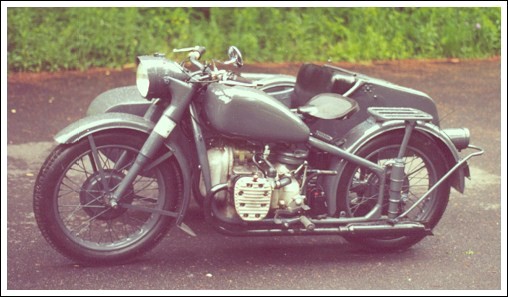
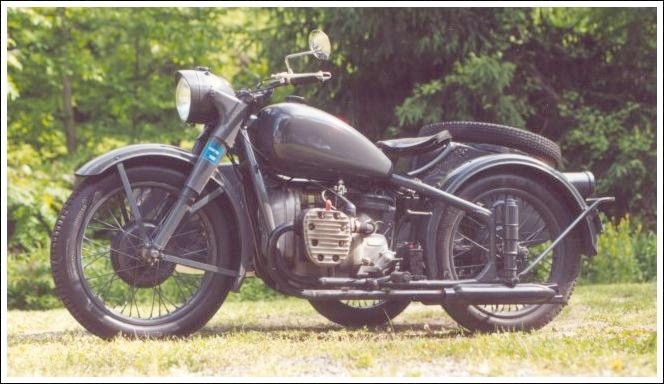
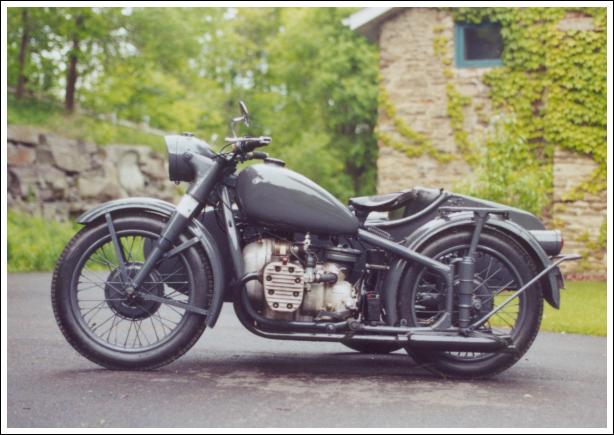
The BIG WINTER PROJECT is complete. And here
she is, sporting a lighter shade of grey, black wheels,
fat Russian tires, straight pipes and a bunch of other
stuff. My goal was to achieve a conservative, although
generic vintage look. |
 |
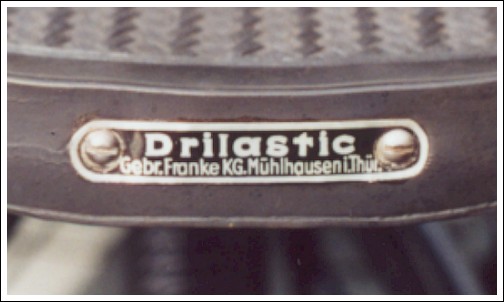
Those big tires look just great on this
bike. I swapped some narrower Avons for them. Thanks Dennis. |
 |
The interior of the sidecar and the insides
of the fenders have a heavy, slightly textured satin
finish. It's a slightly different shade than the
exterior. All the fasteners for the sidecar cover have
been removed. I'll be having a new cover made that'll
attach with snaps. |
 |
As you may have guessed, this is my favorite
angle for viewing a Chang. Those black wheels seem to
work well on this bike. Thanks Jay Williams
and Richie Hahn for the new spokes and
nipples. |
 |
The straight pipes extend just past the tire
to help reduce the amount of crud that collects on the
rear wheel. They're made from 1½" copper water
pipe. The frame is still the original Dong Tian Panzer
Grey. I may paint it black next winter. Oh yeah, that's a
new Chinese 6V battery. It looks excellent. |
 |
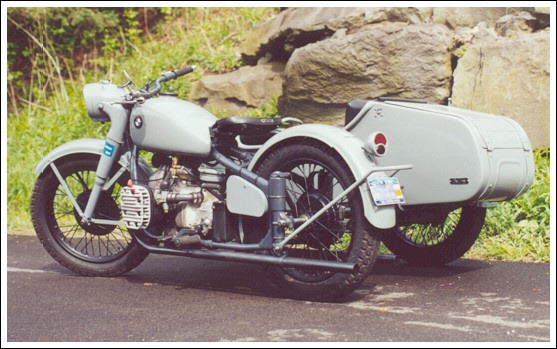
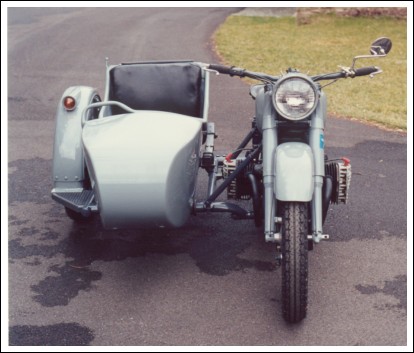
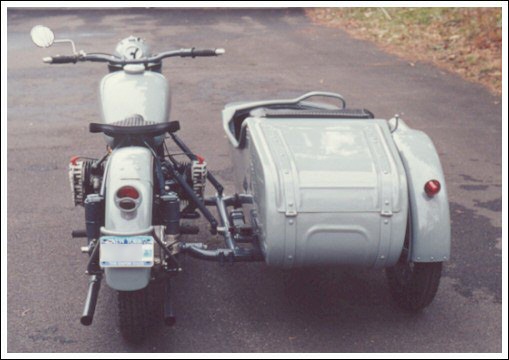
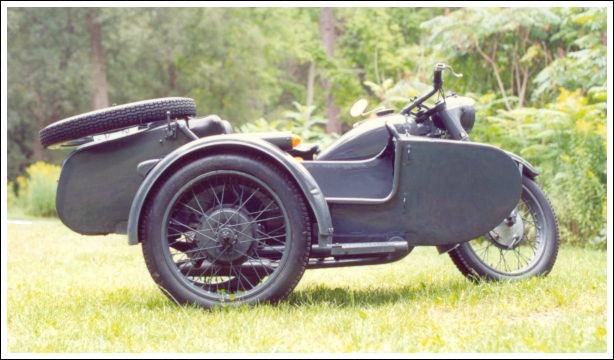
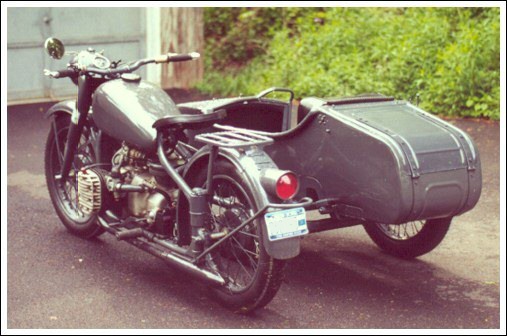
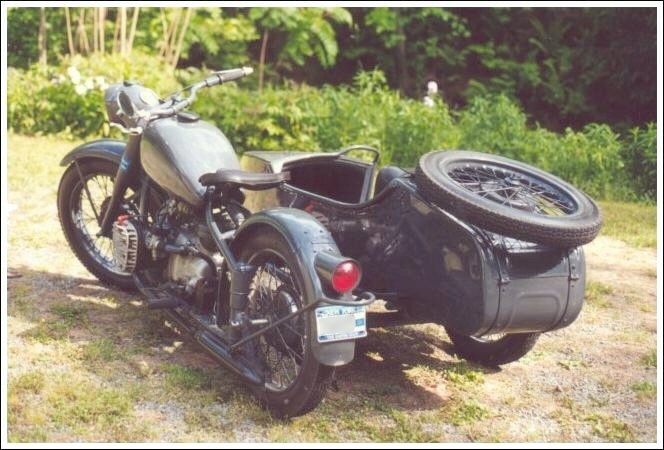
Another 3/4 view. The decision to abandon
the rear fender bracket and the spare tire took many
months to make. The rear fender has two steel ¼ x
½" braces welded underneath. Without a pedestal you
need them. They run from the front end all the way to the
hinge. |
 |
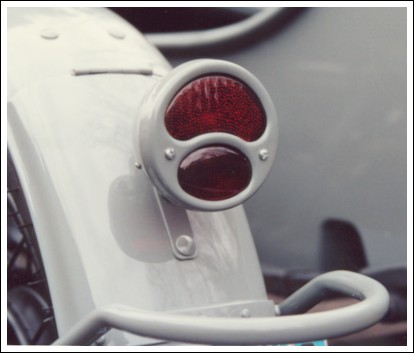
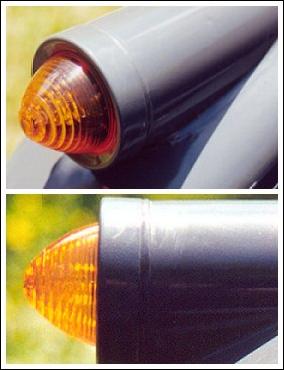
Check out the taillights. |
 |
This is a J.C. Whitney Model A unit. It was
only $16. Thanks to Tony Linz for the
information on that one. I do like the coffee can
taillights, but these are even nicer. It has a really
nice vintage look. |
 |
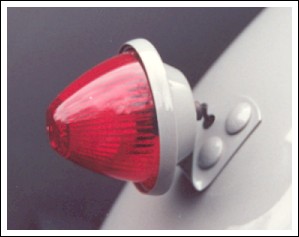
This came from Advance Auto Parts. It was
around $4. All I had to do was paint it and change the
bulb. The lens matches the running light. It looks like
it really belongs on this bike. |
 |
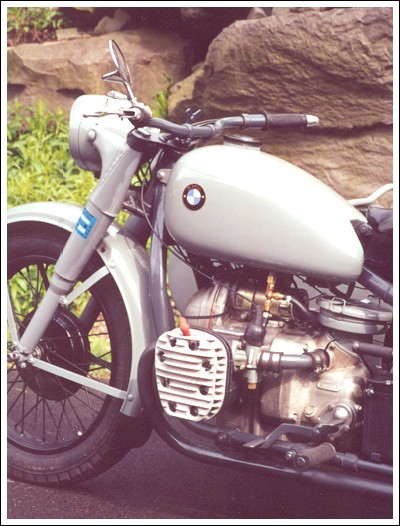
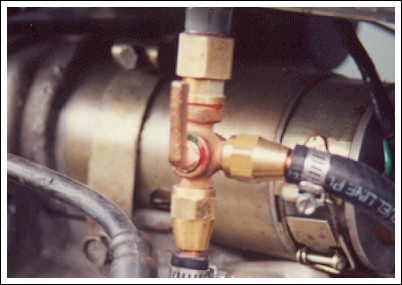
I went a whole year without a petcock
because the Chinese one went bad almost immediately after
I got the bike. This baby was constructed using hardware
from the local plumbing supply store. It has no rubber or
plastic parts inside. |
 |
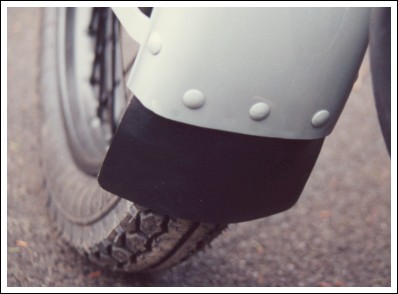
The original splash guard was cut off and
replaced with this heavy, rubberized plastic flap. It's
attached with carriage bolts. |
 |
Carriage bolts were also used to hide the
holes for the rear seat pedestal which I may someday want
to reinstall. That's why they weren't filled. The
carriage bolts look just fine. |
 |
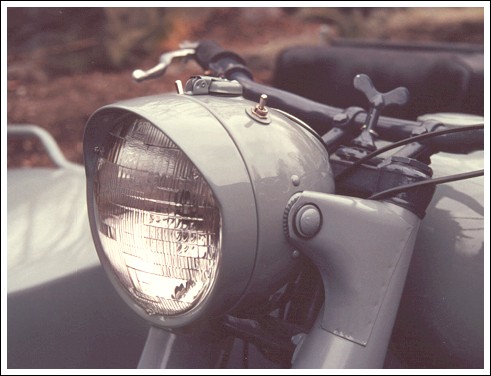
There's also a pair of carriage bolts
holding the headlamp. |
 |
Carriage bolts are used for the trunk
hinges, too. In fact, I used them just about everywhere I
could. The sidecar fender and front fender are held on
with them as is the sidecar foot rest. They're also used
to attach the sidecar to the frame as the heads are less
instrusive on the floor. |
 |
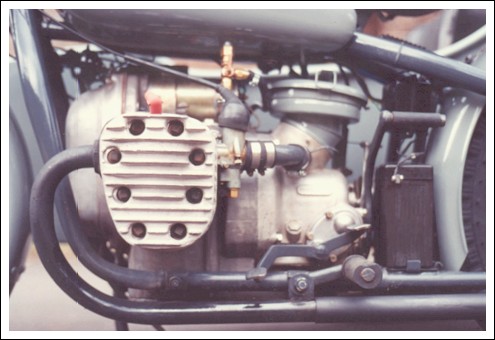
The mean 746cc M1 engine, not. |
 |
Look at those beefy sausages. |
 |
Here's a new angle. |
 |
Here's an old one. |
 |
See the extended road tube? There's also a
drain hose for seepage from the front seal. It no longers
runs down the front of the engine as before. |
 |
Who's this wanker? |
 |
I may shorten the pipes just a touch. The
bike really sounds tough with straight pipes. |
 |
Another corny angle. |
 |
And another one. Note the smooth sides along
the bottom of the car. Dave Anstett did
that. |
 |
That's the horn I got from Richie
Hahn. It's loud. I ground off the mounts for the
original horn (which didn't work.) They were on the
frame. I just didn't care for the placement. Richie also
supplied the battery and regulator. |
|
|
 |
This sidecar fender lens came from the local
NAPA store. It was around $5 and has made quite an
improvement in visibility. Plus it looks vintage. |
|
|
 |
I replaced the factory sidecar taillight
with a coffee can taillight. It's much brighter. |
 |
What do you think? I didn't like it so I
replaced both taillights with something different. |
|
|
 |
Puttin' around. |
 |
That's me and Dave Walczak
out for a night ride. We had gone to his house to pick up
a potato gun. |
|
|
 |
The CJ is getting a LOT of use this summer.
I hope to ride it year round. It sure is tough keeping it
clean. |
 |
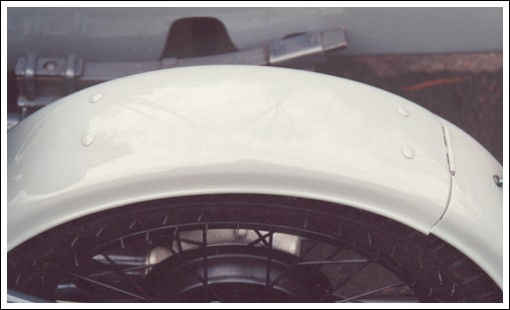
That dent in the fender was the result of
being hit by a parked car. |
 |
This horn is from a 1948 Studebaker
Champion. It's a temporary installation. I'm thinking
about mounting a locomotive air horn after some of the
close calls I've had. |
 |
Does a Chang look better without a spare
tire? I ran mine without one for about a week last year
and am debating whether or not to put it on when I
complete the BIG WINTER UPGRADE project. |
 |
The parcel rack will also be left off. |
 |
I think it looks pretty good without a
spare. What do you think? |
 |
Compare this view with Ross
Griffeth's Chang. What a tough decision. If the
spare is left off it can easily put back on later. |
|
|
 |
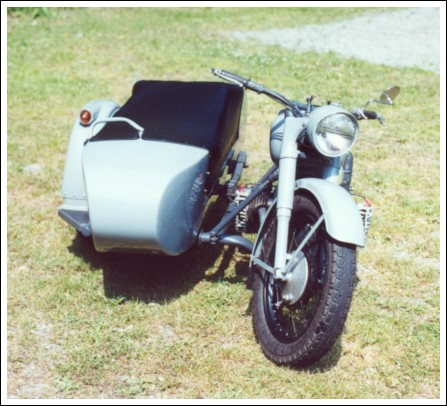
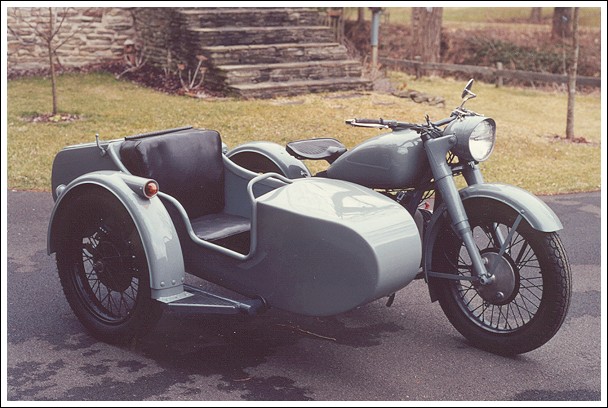
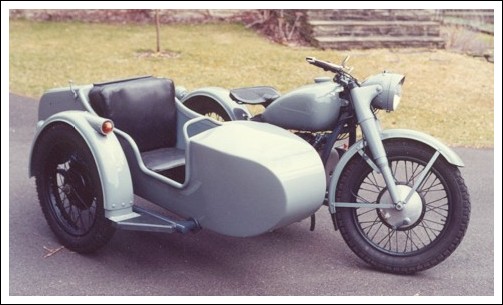
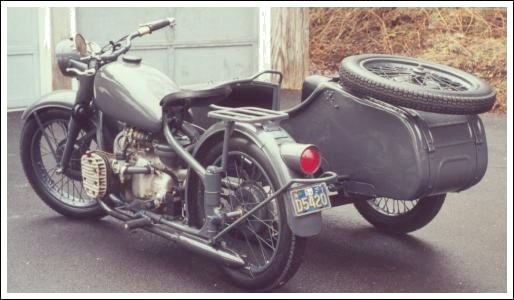
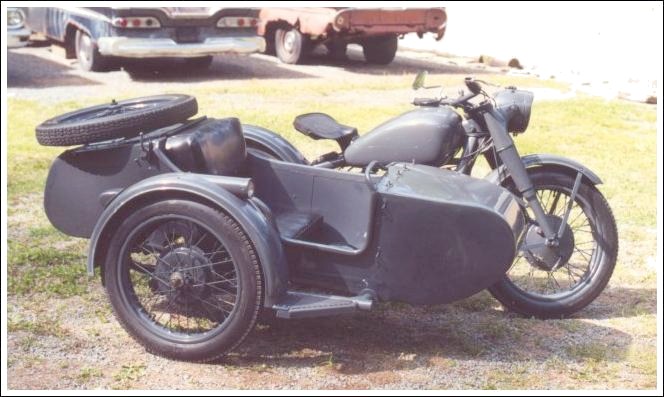
This is how it looked right after it was
assembled. I lowered the front fender, but hadn't removed
the splash guard yet. |
 |
That's the coffee can taillight. |
 |
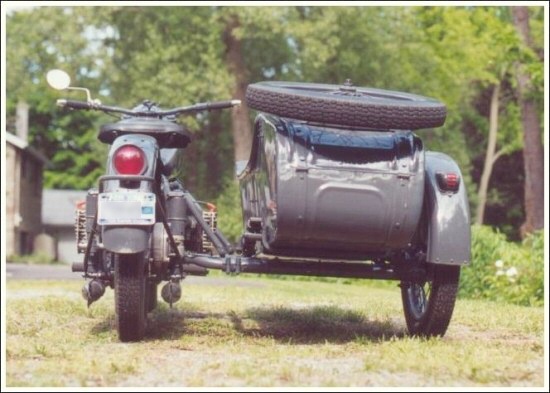
Rear view. |
 |
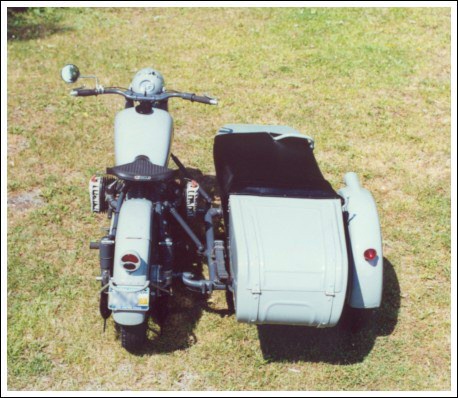
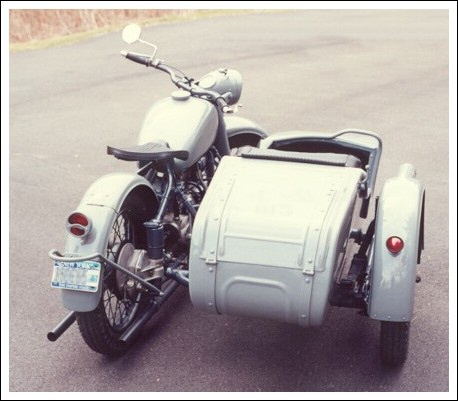
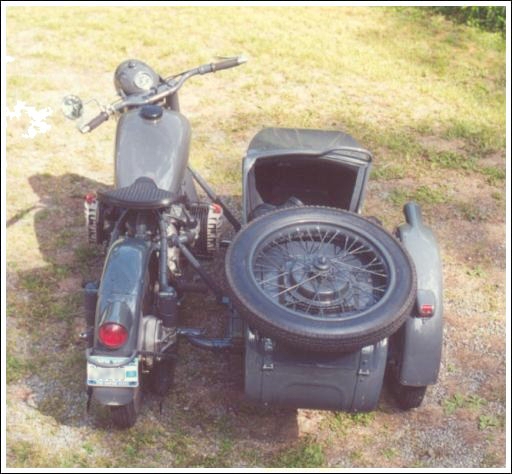
Here's a similar view taken several weeks
later. The parcel tray has been removed in this shot. |
 |
Here's the M1 without the parcel tray. I had
to put it back on because the fender needs the support.
It started to crack without it. |
 |
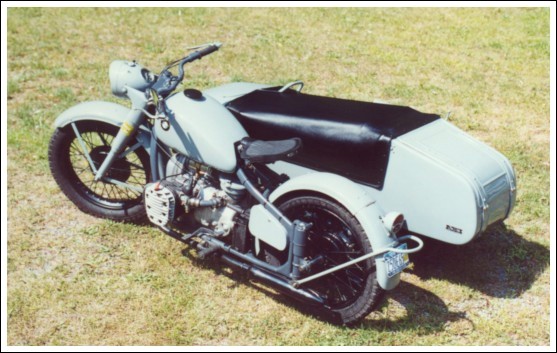
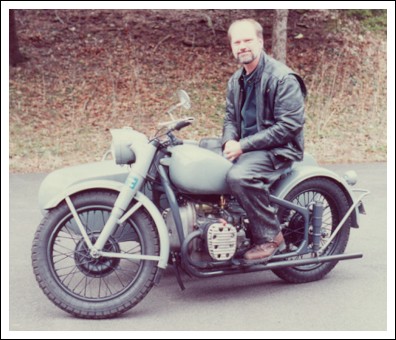
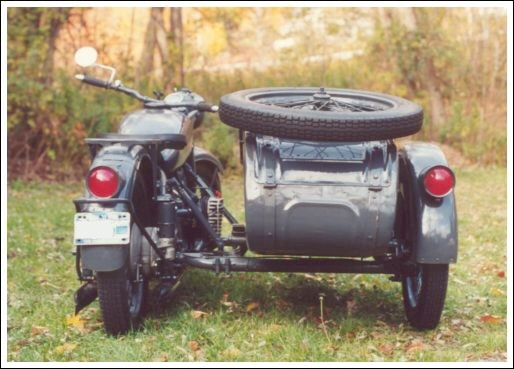
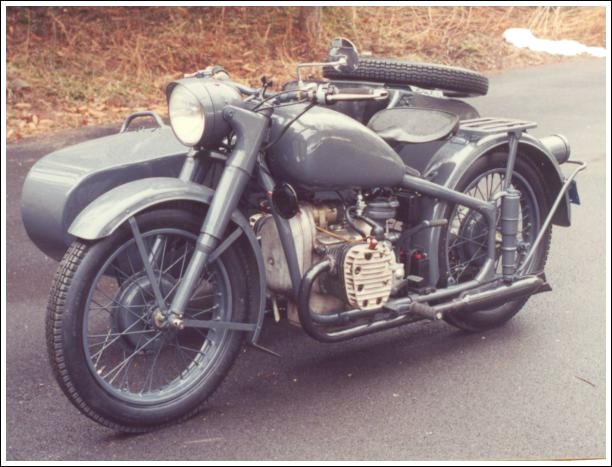
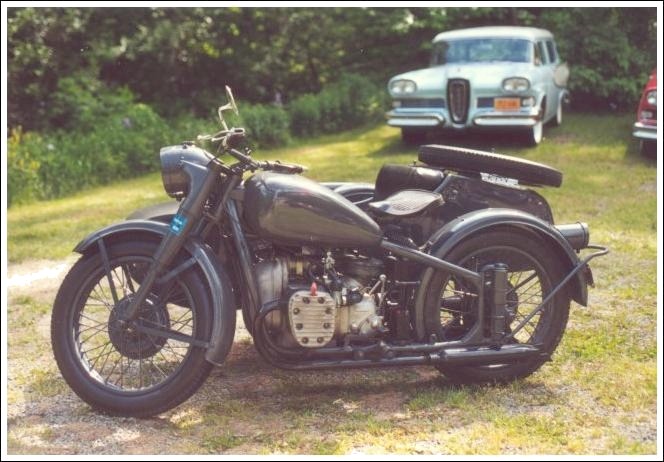
Here's a rear shot of the M1. This bike is
painted a glossy grey. |
 |
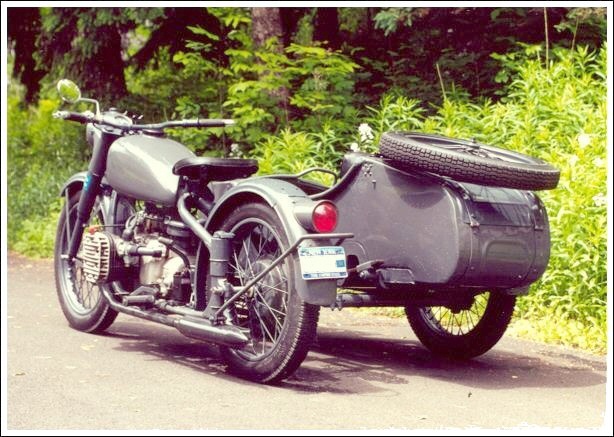
Here it is again. |
 |
And again. Yes, that is indeed a 1958 Edsel
in the background. |
 |
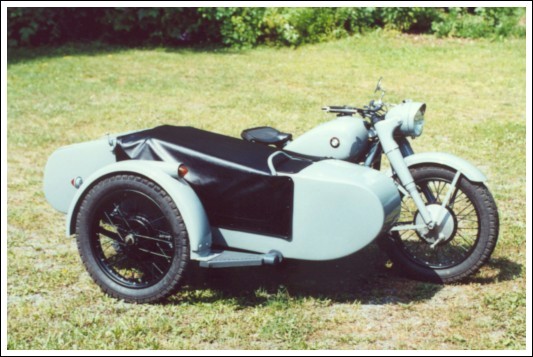
Okay. One more time. This was right after I
built it. The front fender splash guard has been
'airbrushed' out of this picture. It was actually still
on the bike. |
 |
Sorry, but here's another picture of my M1. |
 |
Page 1 Page 2
Wrecked
Rebuilt
Beyond
Really,
really wrecked |
 |
|
|
|
|
|