 |
Installing a Dan Cason oil
pump pickup extender |
 |
Now it's my turn to install extended oil
pick-ups on my bikes. I started by printing out Richard
Cook's write-up of the procedure. This was
invaluable. And before we get started, I should mention
that since CJs lack standardization, most engines
will require spacers in order to seat the oil pump.
This is critical, and Dan is working on them right now. |
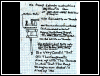 |
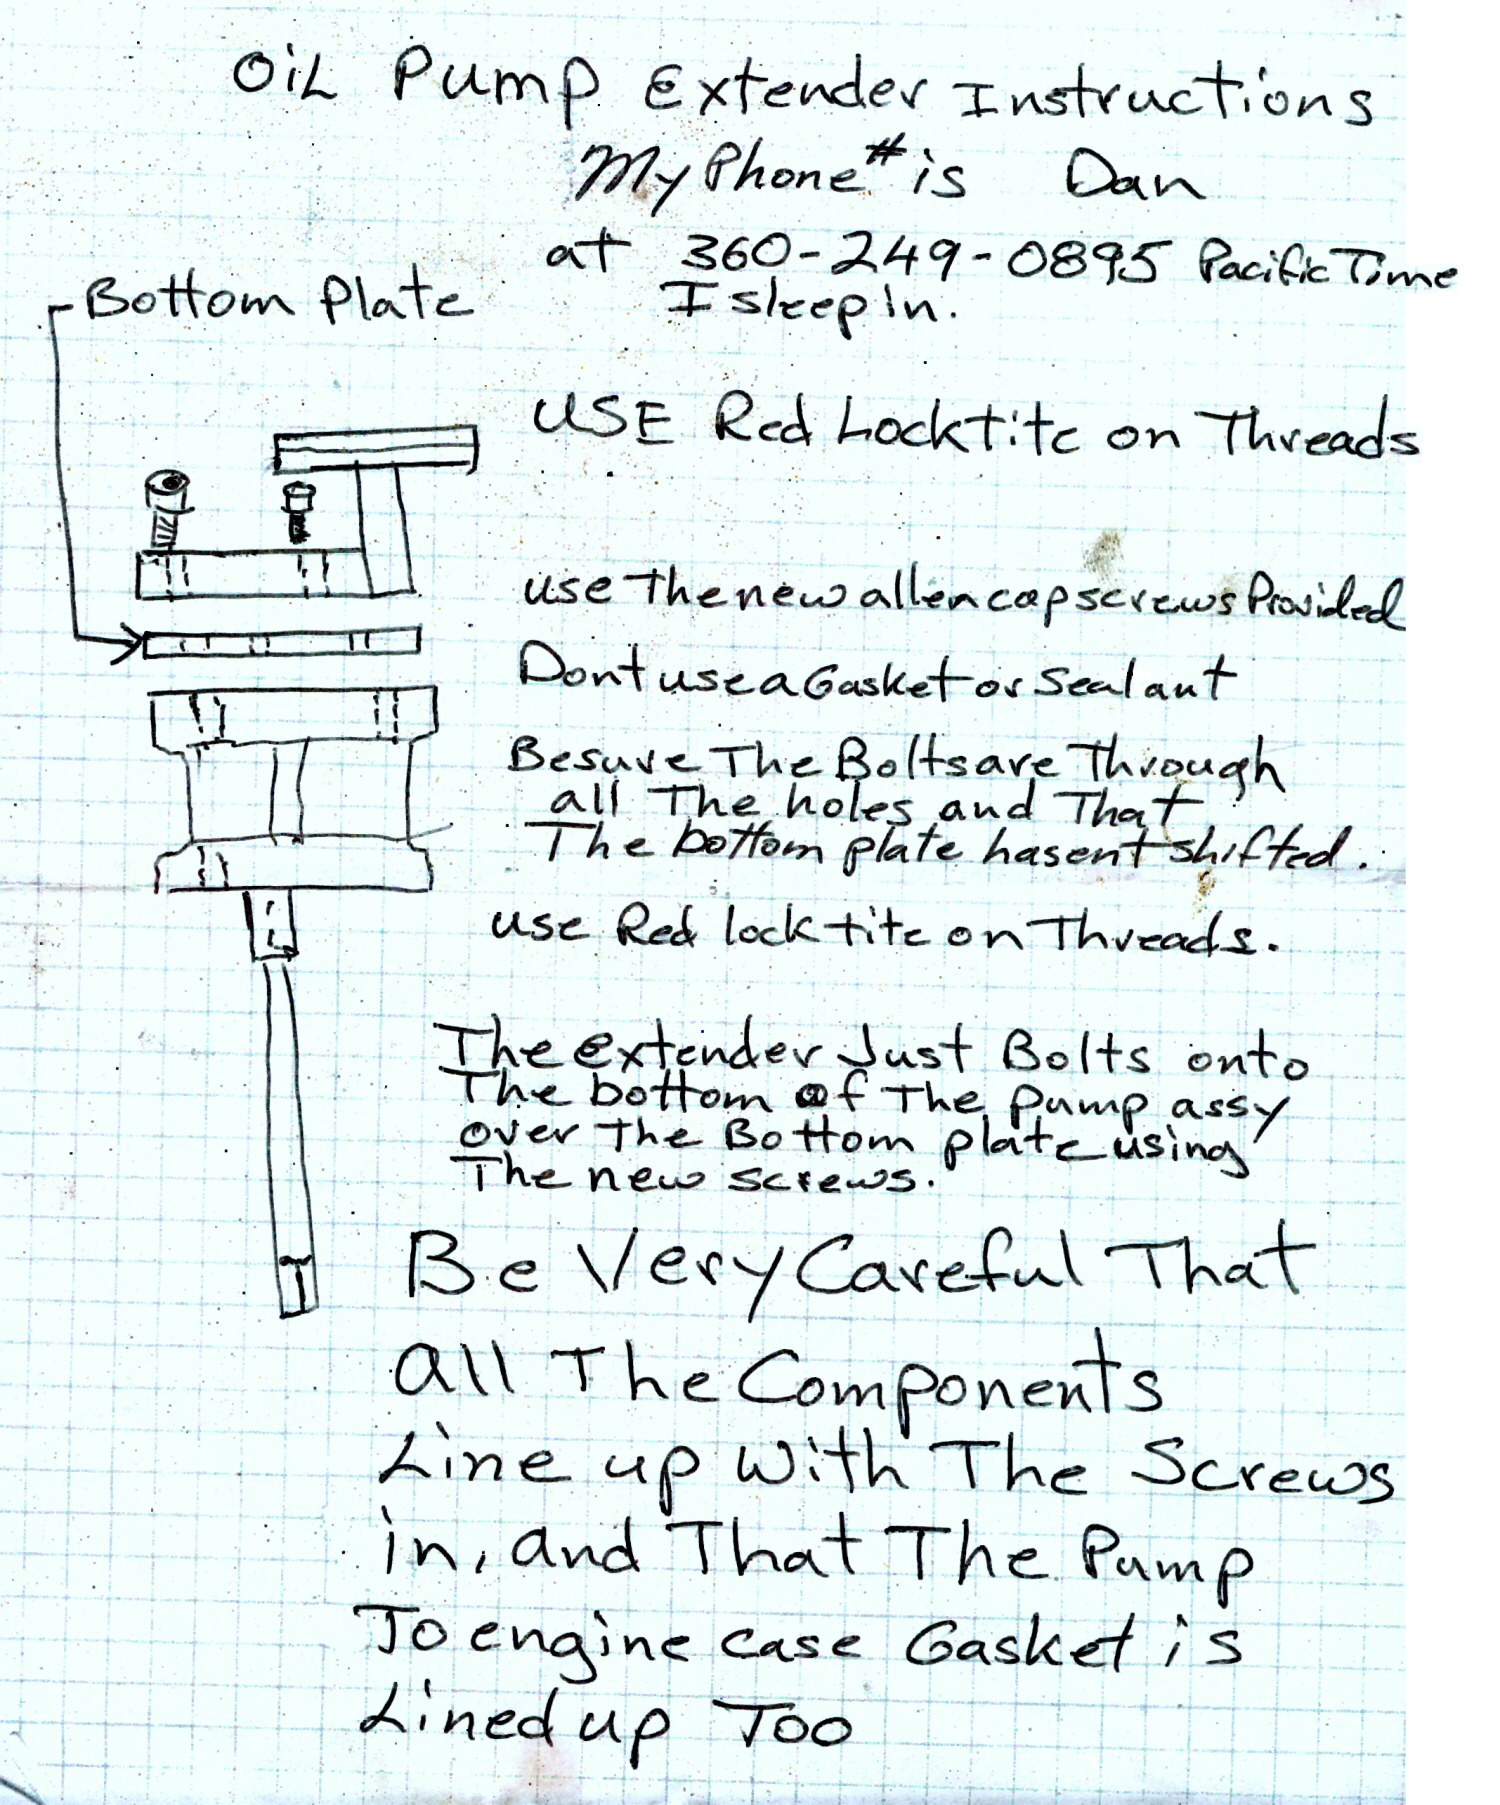
Dan Cason includes this
instruction sheet with each assembly... |
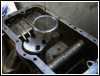 |
...as well as this photo. A picture does
indeed paint a thousand words. |
.gif) |
Draining the oil. This bike has a 3/4"
drain plug. My other bike has a 17mm. |
.gif) |
Bike raised sufficiently with my beloved
floor jack. |
.gif) |
It's time to drop the pan. This one has 10mm
bolts. |
.gif) |
A mirror comes in really handy doing this
particular job. I made extensive use of it. |
.gif) |
There. The inside looks pretty good... |
.gif) |
...but the outside needs a good cleaning.
This is what your sump will look like if you ride on the
same kinds of roads as me. |
.gif) |
I've just removed the retaining wire... |
.gif) |
...and the screen slides right off. This
part can be discarded as you won't be reusing it. |
.gif) |
A 7mm & 10mm wrench are required to
remove the bottom plate and the oil pump itself. |
.gif) |
Here's how your new extender is packaged. |
.gif) |
It comes with two pairs of allen head bolts
plus instructions. |
.gif) |
You'll be needing some allen wrenches. Mine
aren't marked so I can't tell you what sizes they are. If
you have a full set, you'll have the required sizes.
Also, don't forget your red Loctite. There are no lock
washers, so Loctite is an absolute must. |
.gif) |
I attached the pick-up in accordance with
Dan's instructions, however one of the long bolts was now
obstructed by the collector. |
.gif) |
That was easily remedied by disassembling
the top from the bottom, inserting the bolt and putting
it back together. |
.gif) |
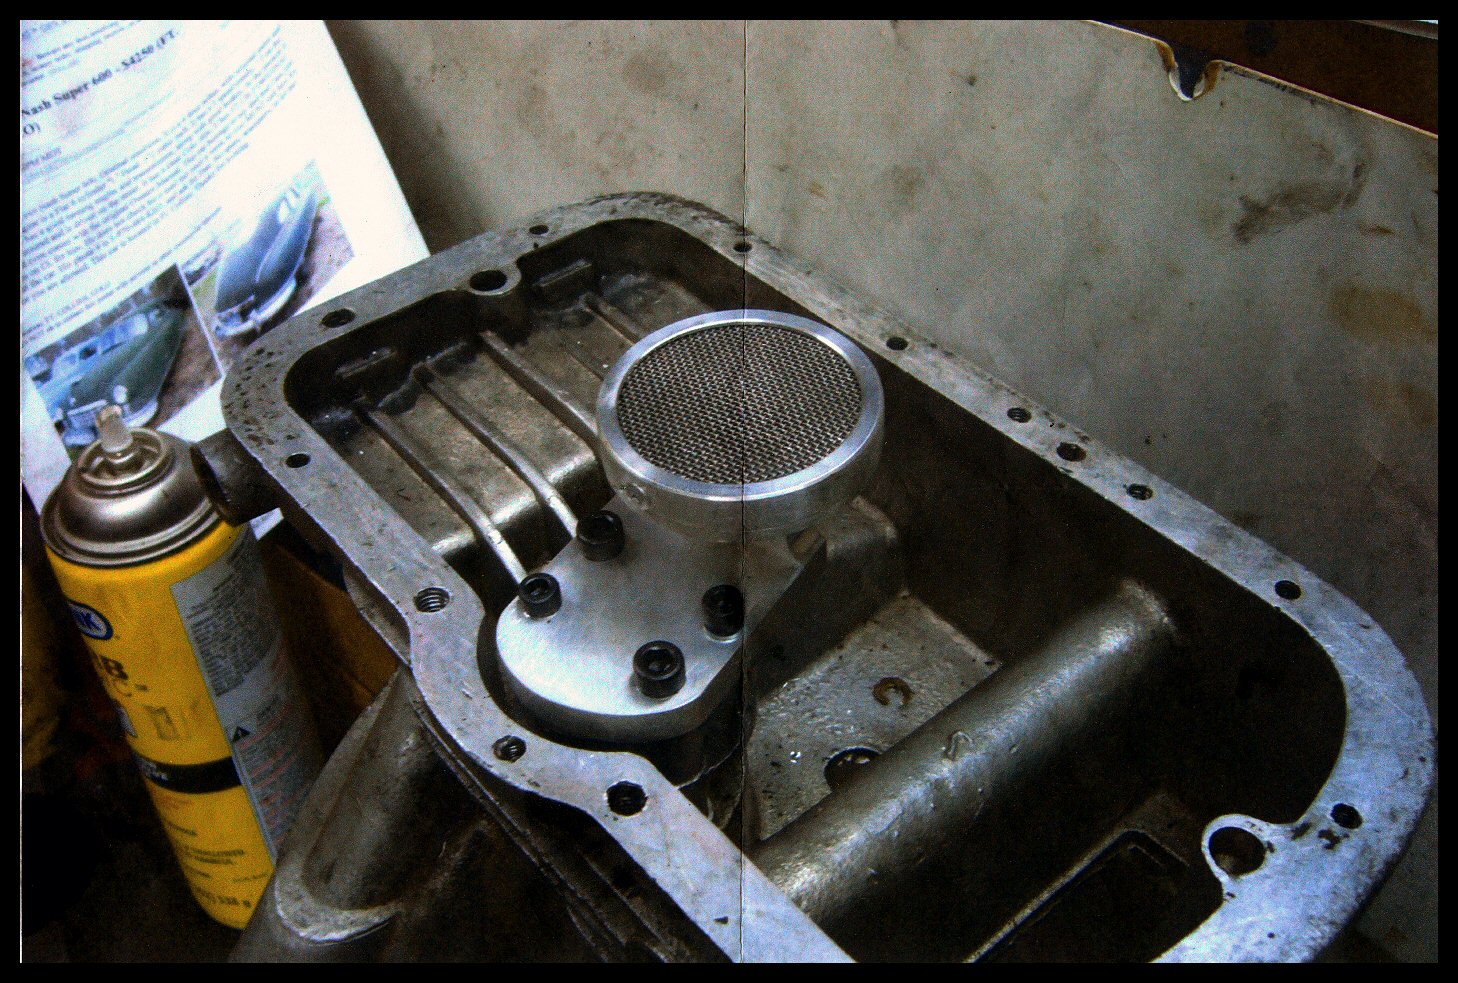
Done, and ready to go on the bike. |
.gif) |
There. I reused the old gasket between the
block and the oil pump. A thin screw driver was
invaluable for aligning the holes. And don't forget your
Loctite. |
.gif) |
The sump is now nice and clean... |
.gif) |
...inside and out. The drain plug is back in
place. |
.gif) |
Making a new gasket. I opted for fiber
instead of cork since cork tends to "squish
out" if you over torque the bolts (which I always
do). This material is made by Felpro and is available at
Advance Auto Parts, and probably every other auto parts
store. |
.gif) |
Done. Initially, I used a stock pan as a
pattern, but then discovered that it's considerably
different from the deep sump, so I had to start over. A
proper hole punch makes this task infinitely easier. |
.gif) |
Gasket in place with black Permatex smeared
on both sides. I always use too much, the sign of a true
shade-tree mechanic. |
.gif) |
Done, done and done. I filled up with just
about 4 liters of 20W-50. Tomorrow, I'll do the other
bike. |
 |
|
|
|
|
|
.jpg)
.jpg)
.jpg)
.jpg)
.jpg)
.jpg)
.jpg)
.jpg)
.jpg)
.jpg)
.jpg)
.jpg)
.jpg)
.jpg)
.jpg)
.jpg)
.jpg)
.jpg)
.jpg)
.jpg)
.jpg)
.jpg)