 |
Installing a Dan Cason oil
pump pickup extender for a deep oil pan by Richard
Cook |
| I have an M1S, but this should be about the
same on most Changs. One
of the things I really wanted on my Chang was a deep pan
for more oil to keep it cool. It was a real
disappointment to verify that no extension had been made
to the oil pump; this brilliant design could mean you
blow up with a couple of quarts of cool oil still in your
pan. Dan designed a beautifully crafted extension that
allows you to pick up and circulate that extra oil, as
well as moving the pickup to a more effective location
and adding a screen that might actually screen something.
This version requires removing the pan, cutting a lock
wire, and removing the four bolts that hold the pump. Dan
is currently designing a new version that may just
require removing two bolts and seal with an O ring. Dan
includes some basic directions, what to look for, and his
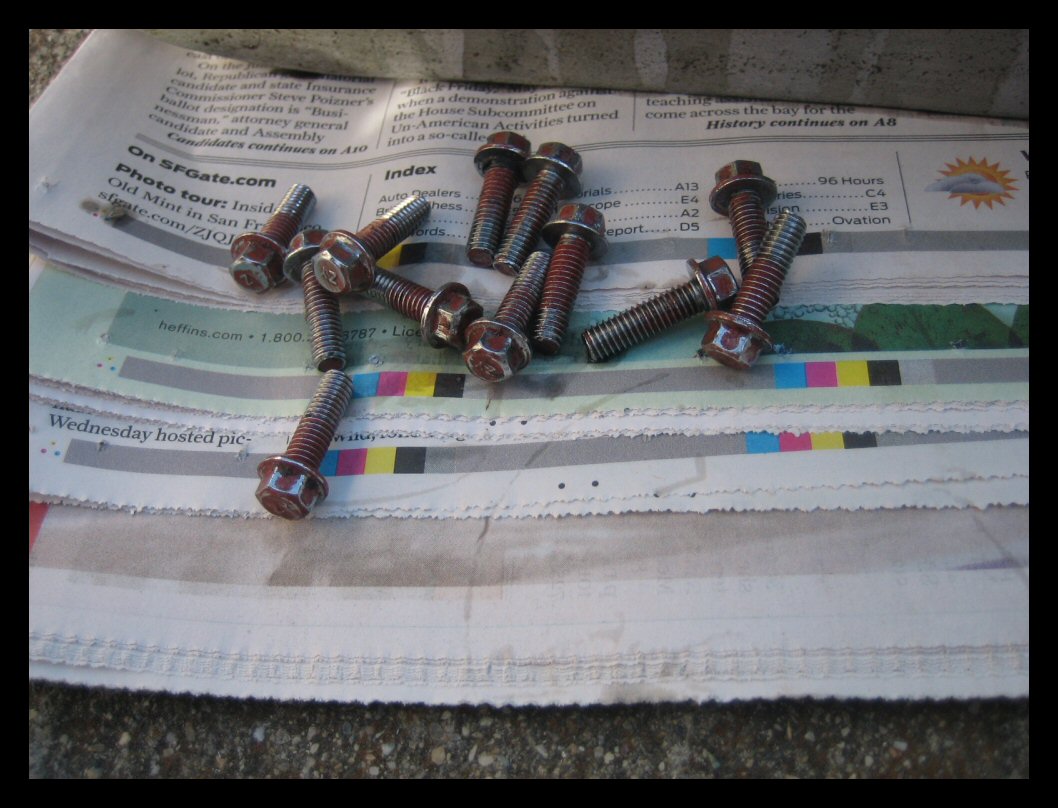
number if you have a problem. He also includes
replacement bolts.
You will need
- A reasonable amount
of mechanical skill.
- A pan gasket or
material to make one
- A metric socket set,
I like to use quarter inch on this stuff, and the
pan bolts are easy with a nutdriver
- Sidecutters
- Allen wrenches, you
may need to cut one shorter
- Sealer
- Red Loctite
- Permatex
- Cleaning fluid of
some kind to clean up your pan and a parts brush
is nice.
|
 |
 |
 |
 |
 |
 |
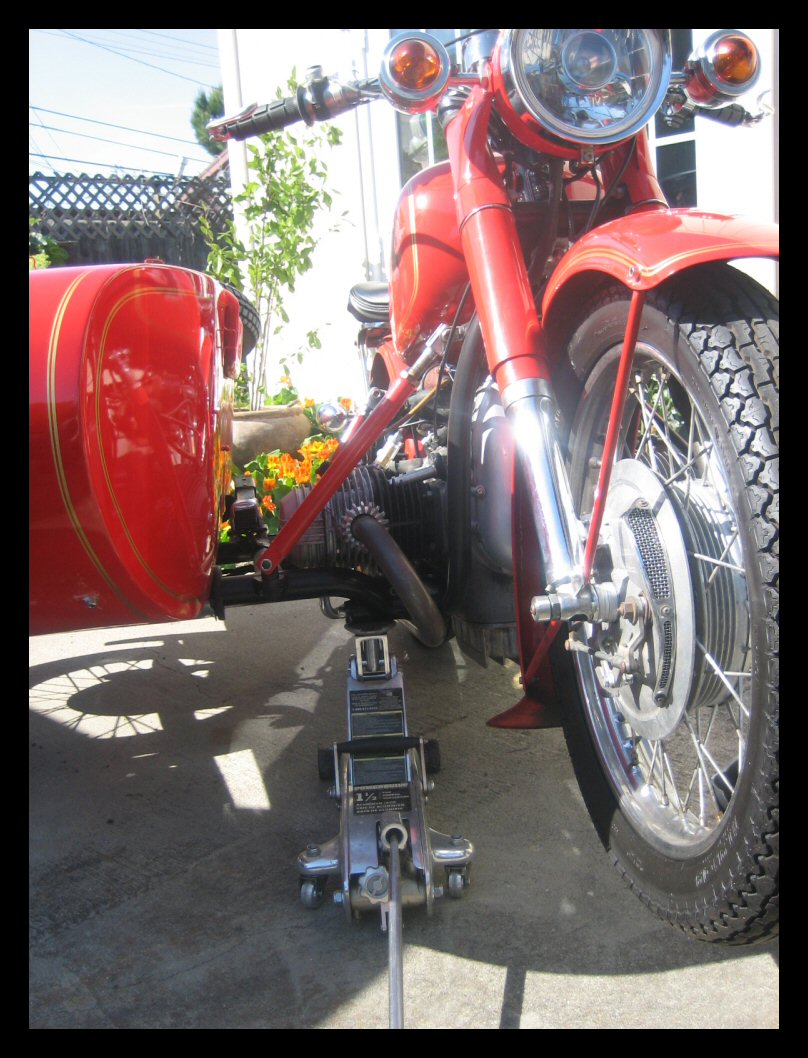
- Jack up the bike and
block it up.
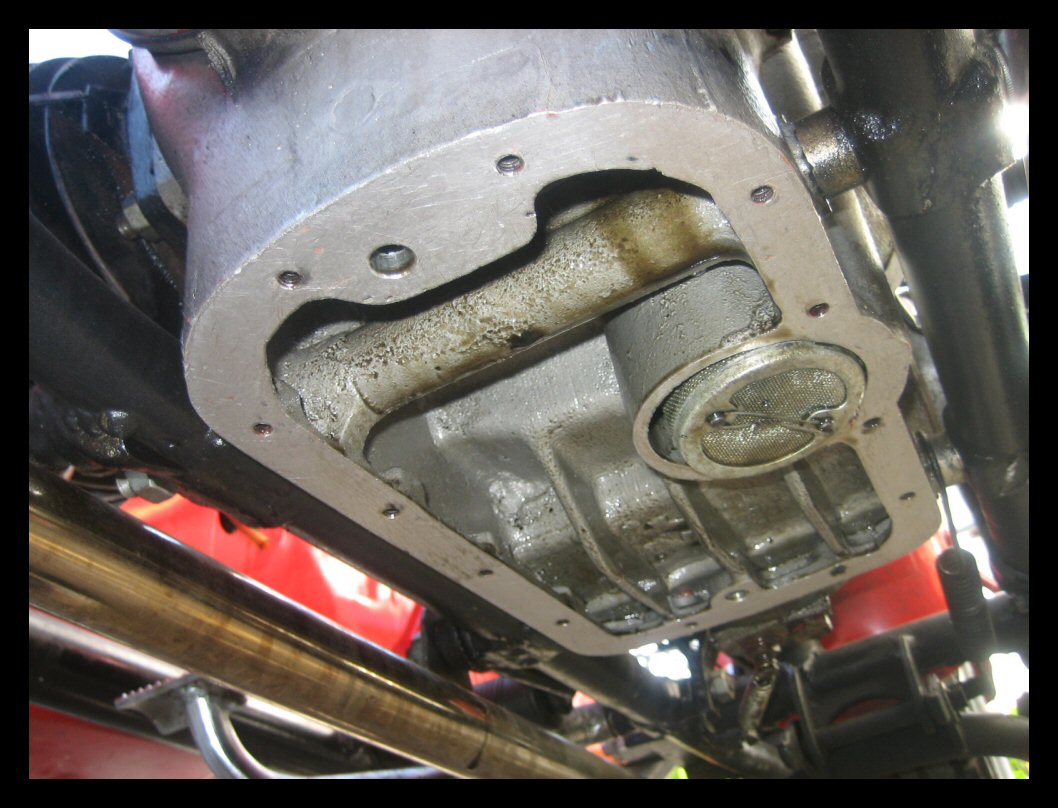
- Remove the oil pan
bolts, on my bike these were 8 mm, but Changs
tend to have a sense of humor about bolt sizes.
- The pan may be glued
on the first time and require a bit of force,
don’t damage the edges, work a putty knife
in slowly if you must. I had had mine off before
so the gasket was glued to the pan side only,
came right off and was reusable.
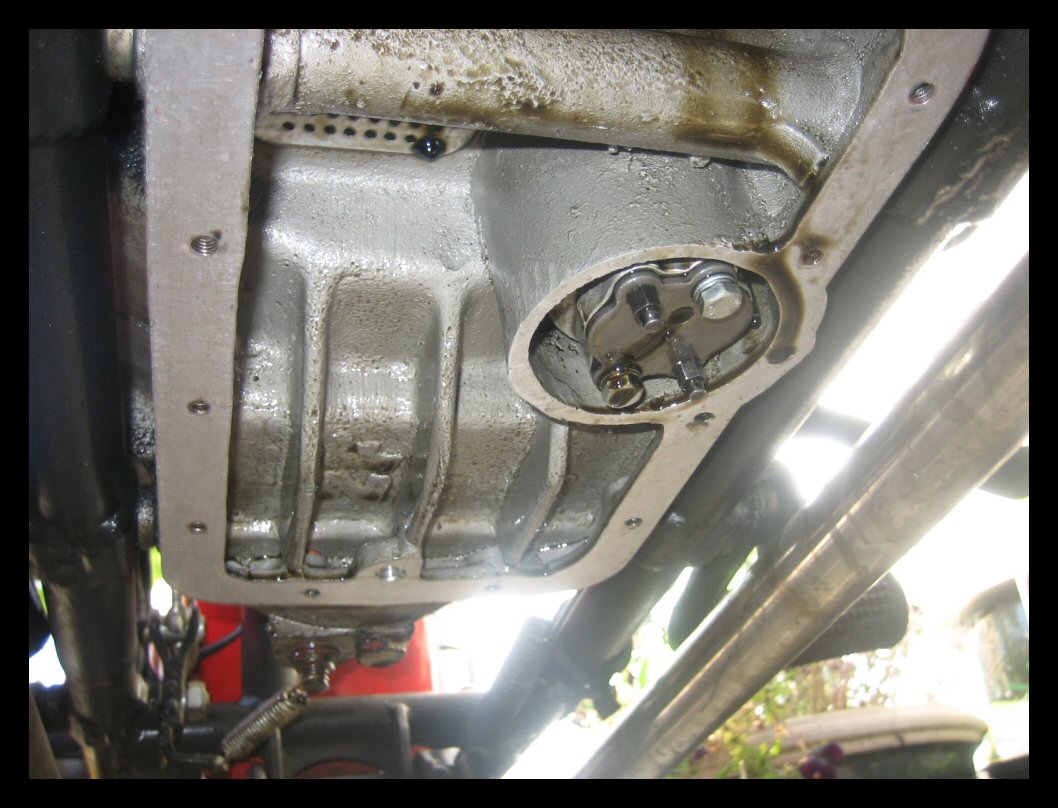
- Locate and remove the
cover with holes on the bottom of the oil pump,
this is on the bulge that is on the non sidecar
side of the bike.
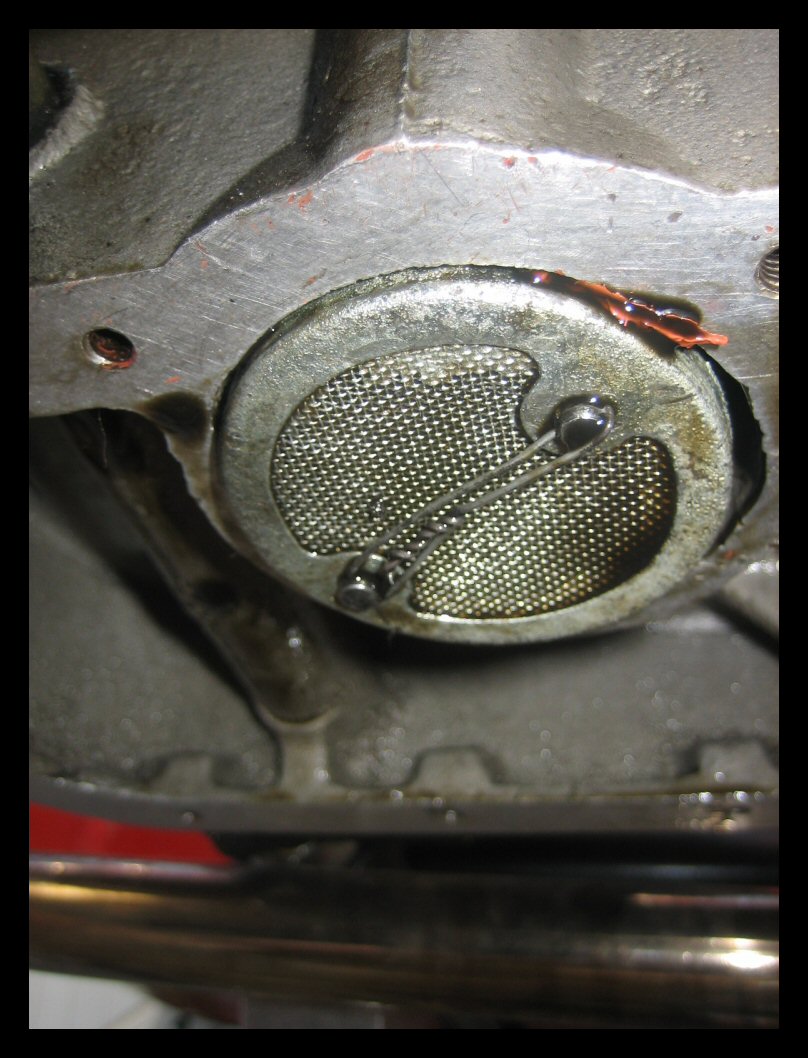
- You will see a safety
wire between two bolts, remove this with your
side cutters.
- There are four bolts,
two small ones hold the pump cover on, and two
bolts hold the pump to the engine.
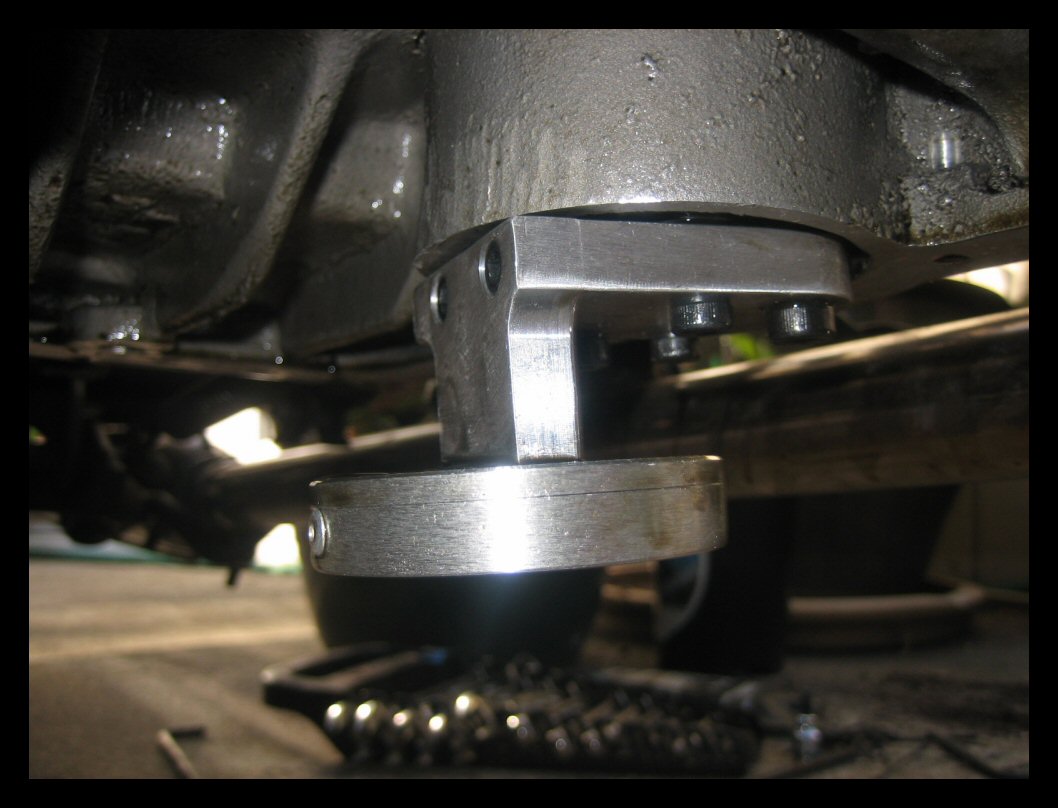
- First take a straight
edge and measure how far your oil pump cover
sticks up over the edge of the surrounding
casting. Mine did not. Changs may not have had
the pump mount set uniformly during machining,
lucky me, mine was down. This meant the extender
would not clear the casting when fitted. Dan to
the rescue, he made me a spacer and had it in the
mail in a couple of days.
|
 |
 |
 |
 |
 |
 |
- If you have the older
Dan Cason extender version, next remove the four
screws that hold the pump together and on the
engine. Note that I have used a 10mm box open
wrench held on by a nearby pan screw to keep my
pump from dropping off the drive while I measure
and work. The loose pump gear could also drop in
the dirt if not retained. This job would be very
easy with engine upside down, a bit tougher in
the bike.
- The oil pump may or
may not have a fragile gasket. Mine broke when I
remover the cover. After cleaning up I used a
straight edge and a small feeler gauge to
determine I did not need the gasket.
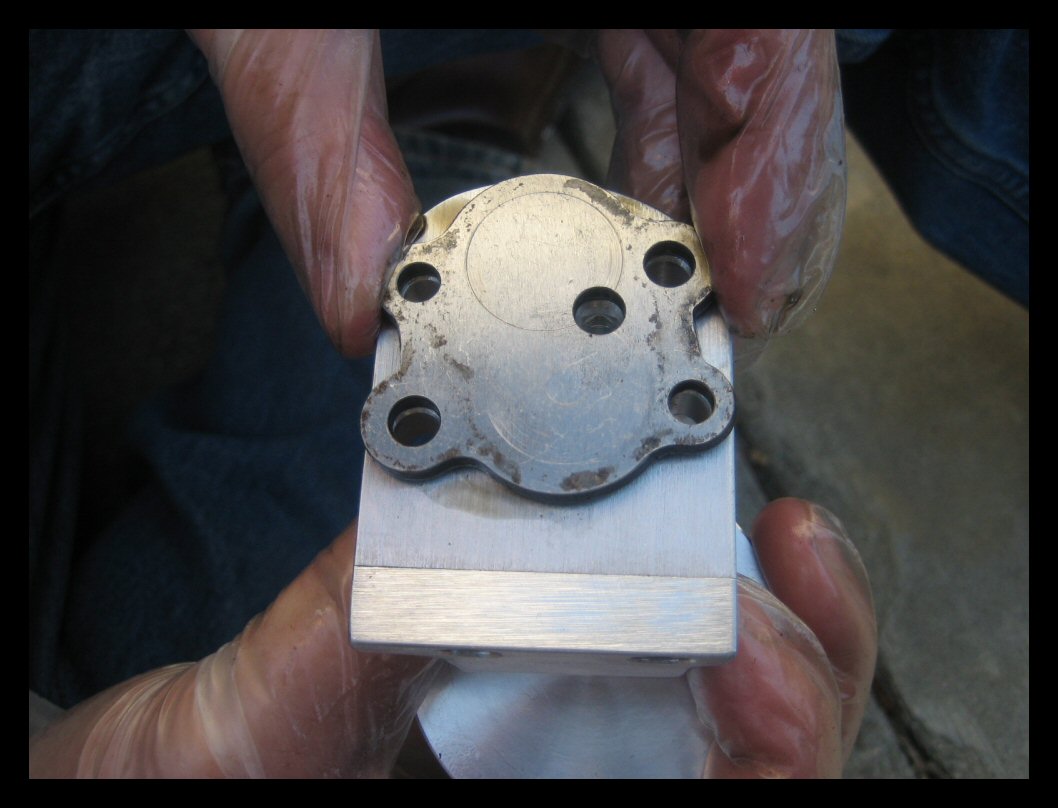
- With the pump cover
off you may note a few things. I had wear on the
cover and I removed this by flattening it on a
marble surface with 1000 grit sand paper. One
person reported his Chang oil pump cover had the
hole in the wrong spot and had to Dremel his. My
hole was perfect, Dan has checked three pumps for
hole location, but you know Changs. I did find my
cover top was uneven so I did not trust it to
seal to the nice spacer and extender. I double
checked with a straightedge that the extender
with pickup still cleared the pan. Chang pans
might also be different brands and depths so it
would be good to make sure before you bolt it up
and cuss yourself, not that any of us would ever
do that. I used a thin circle of Permatex around
each hole in top, spacer, and extender. Keep the
Permatex back far enough so it can’t get in
the hole and block oil passages. I kept it back
as far as possible to still seal the hole. Keep
in mind Dan does not approve of Permatex here as
sloppy work could get it into the pump.
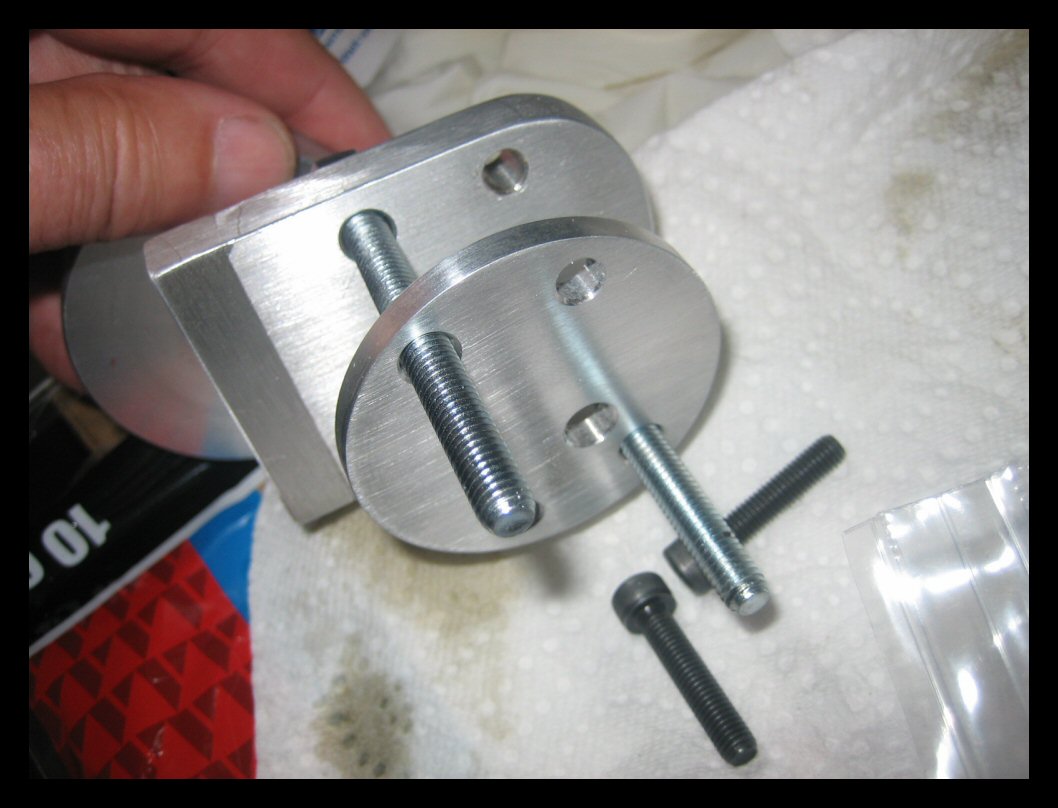
- I set the three parts
up on the bench with the two large screws and the
slightly difficult small screw already installed.
If necessary you can use a rubber band to hold
the bolts in and cut it later. The small oil pump
cap allen screw just cleared to install. The thin
layer of Permatex tends to hold the three parts
themselves in alignment.
- Make sure everything
is clean and reinstall the cover and pickup, I
used Red Locktite on the bolts, and if you are
anal you can look up bolt size and torque it. I
had to shorten one allen wrench to clear.
- Reinstall the pan,
you did check for clearance didn’t you?
Hopefully here is not a half inch gap between pan
and engine. I use a spot of silicone sealer on
the side of each pan screw, a nut driver gets
them just about right.
- Fill with oil and
test it, idle for a while to make sure you got it
right before heading out on the highway.
|