 |
 |
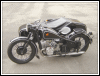
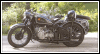
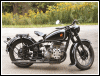
My CJS M1 |
 |
Page 1
Page 2
Page 3 |
 |
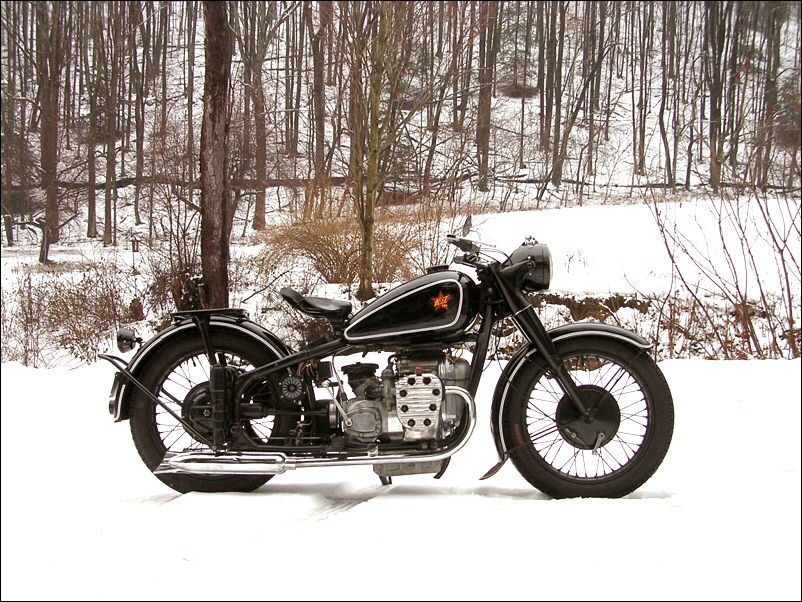
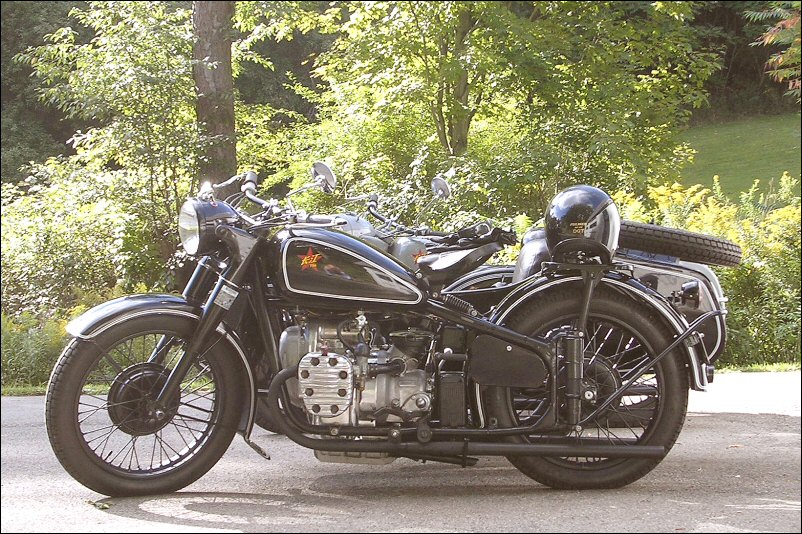
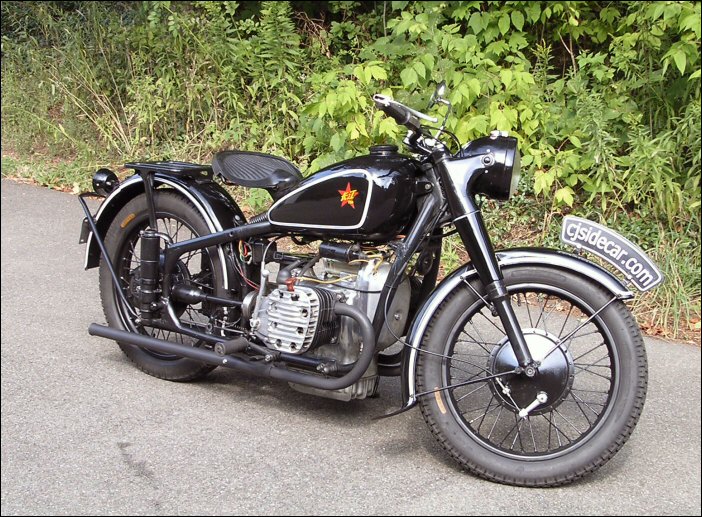
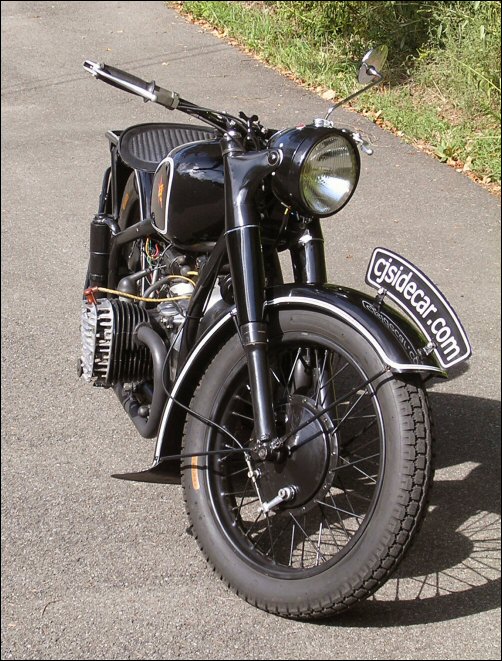
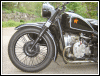
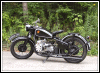
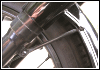
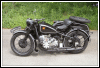
I managed to put a nasty dent in the front
fender earlier this year and have just replaced it with a
new one I got from Shao. What a beauty. |
 |
The holes were in slightly different
locations so I made some new brackets custom fitted to
the fender. The tubing size I wanted to use isn't
available here so I used 5/16" brake line. |
 |
It's a lot sturdier than you might think and
it looks very nice compared to the heavier brackets on
the grey bike. I also used all-stainless hardware instead
of painting it as before. |
 |
As soon as I finish this update the black
bike is going for a spin. |
|
|
 |
 |
 |
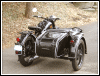 |
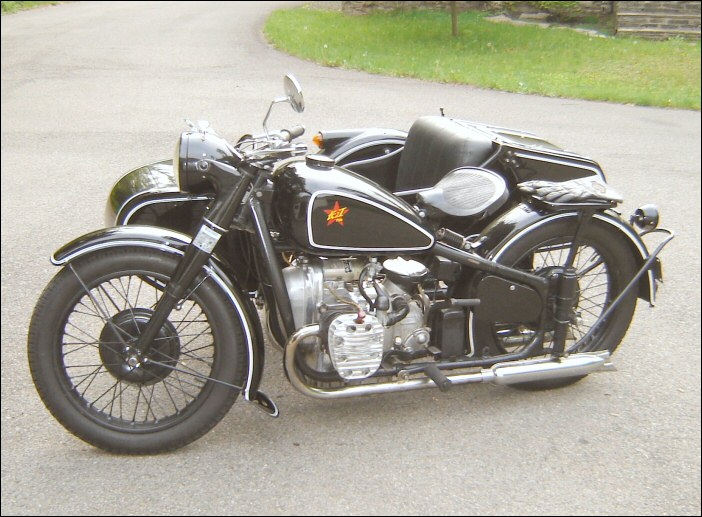
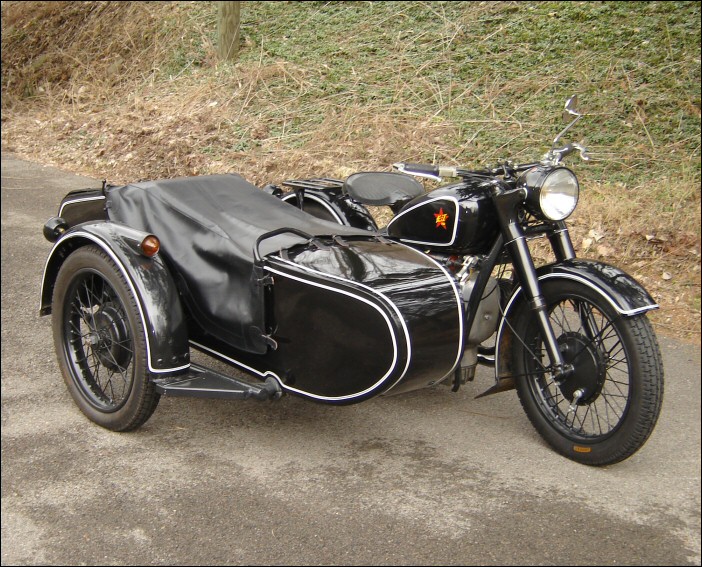
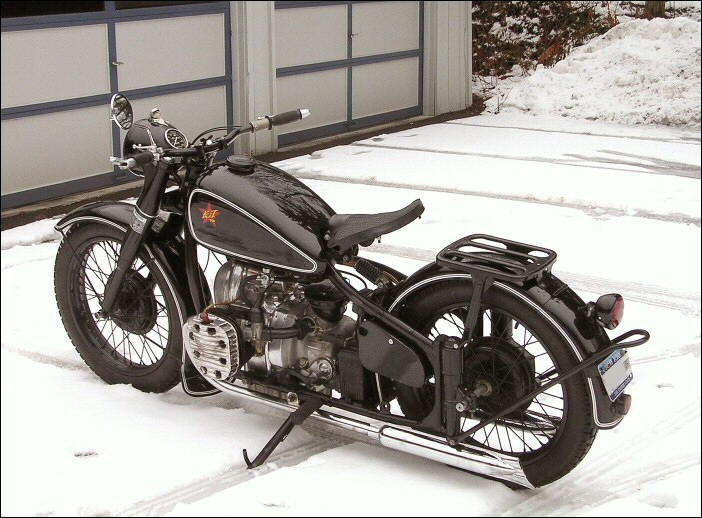
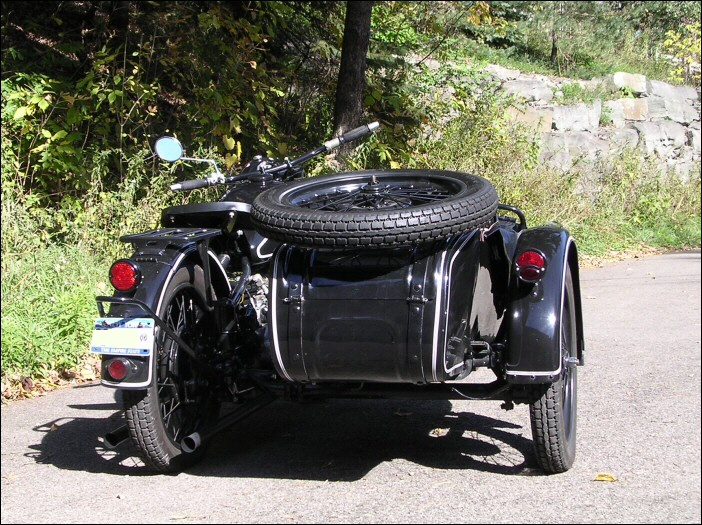
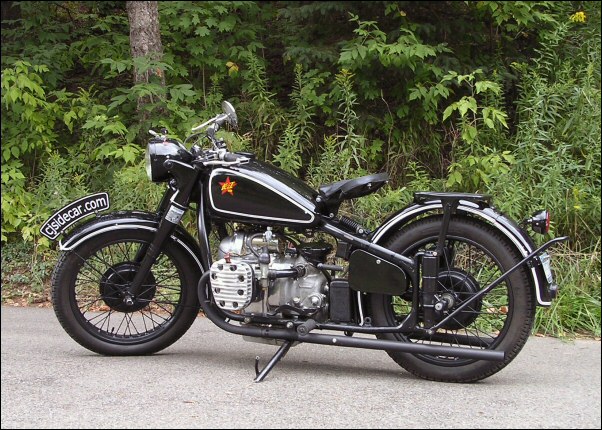
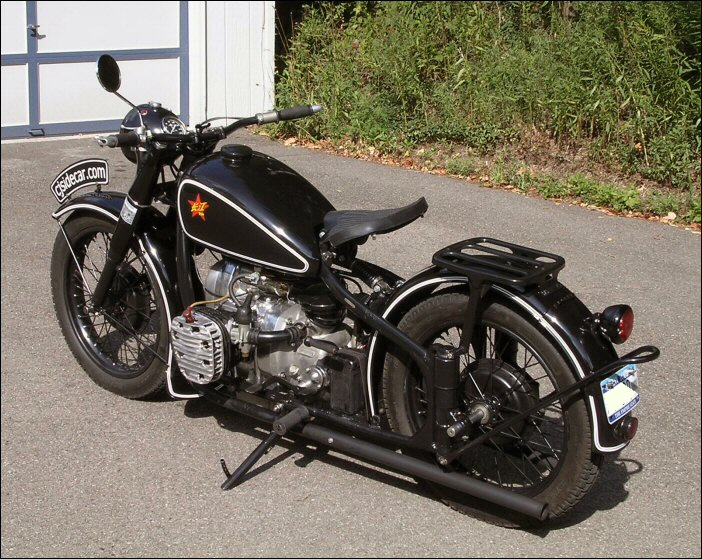
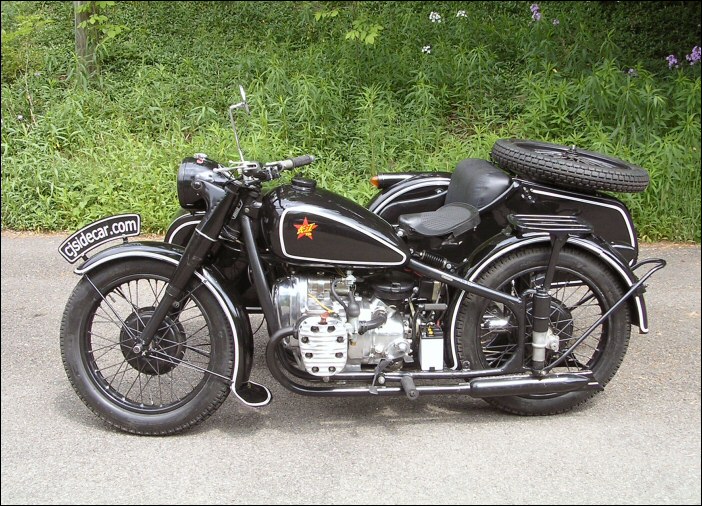
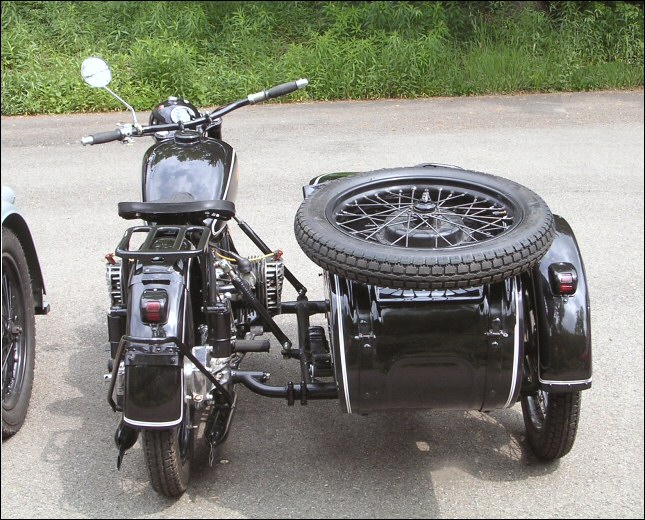
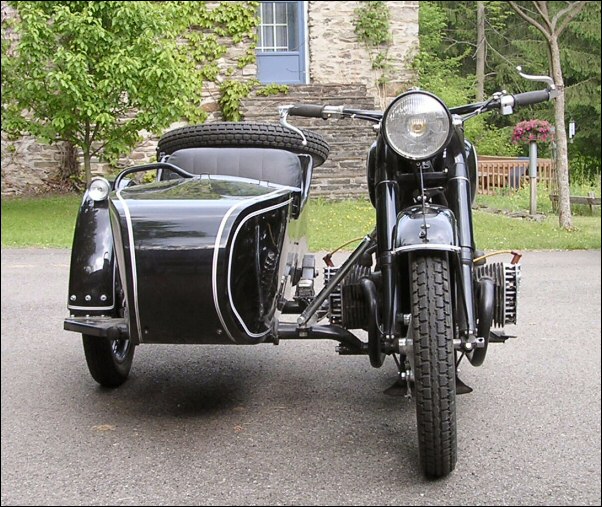
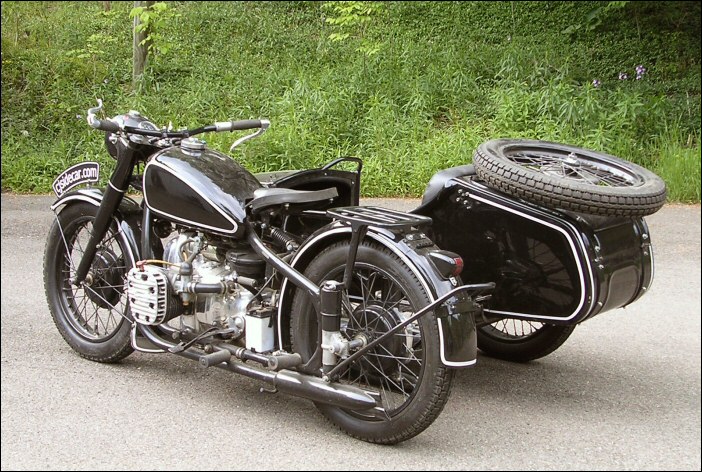
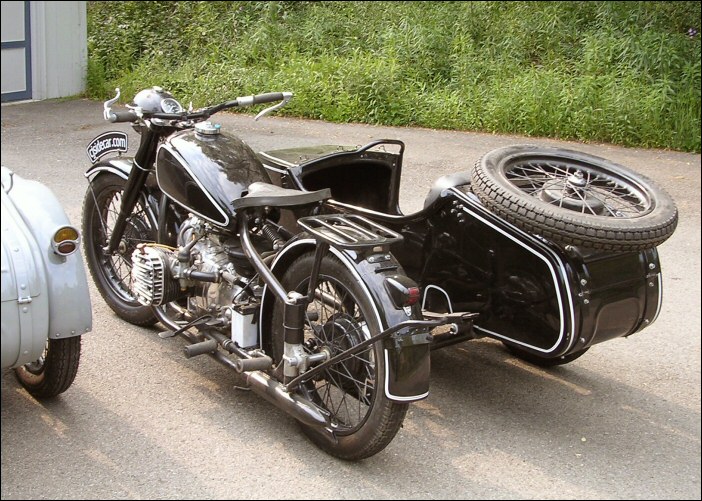
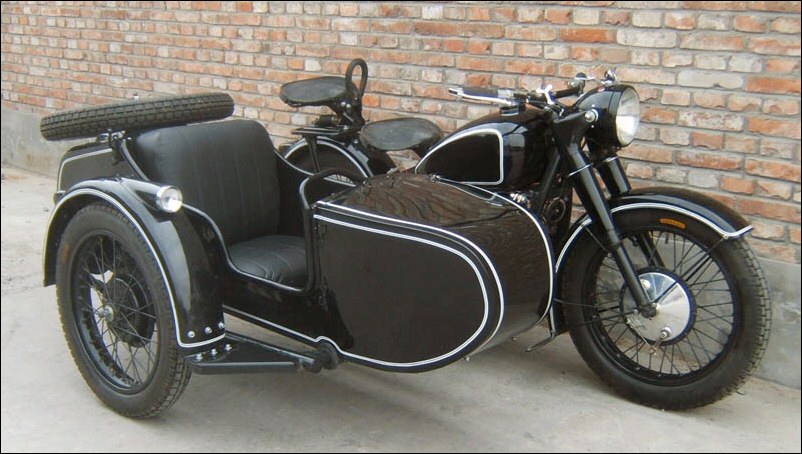
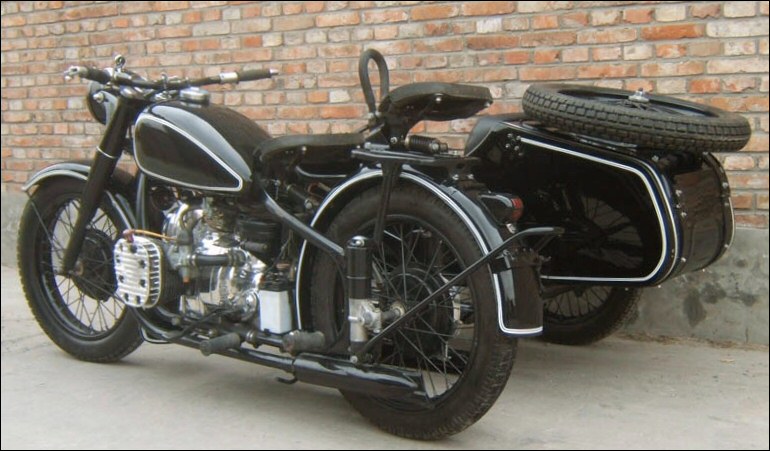
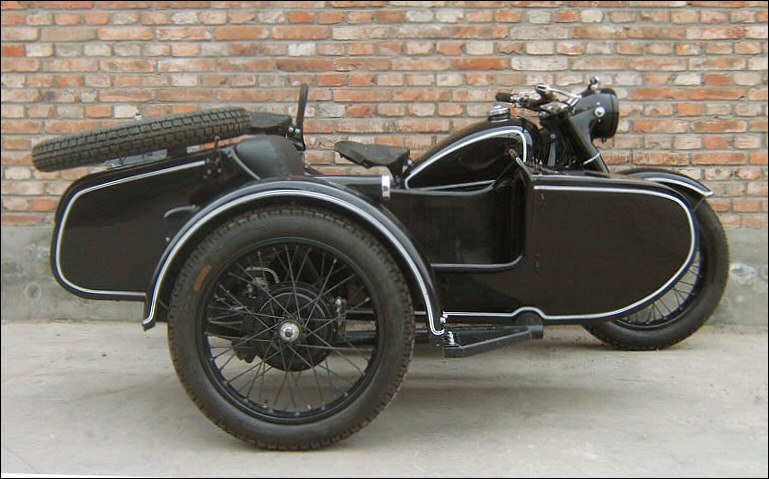
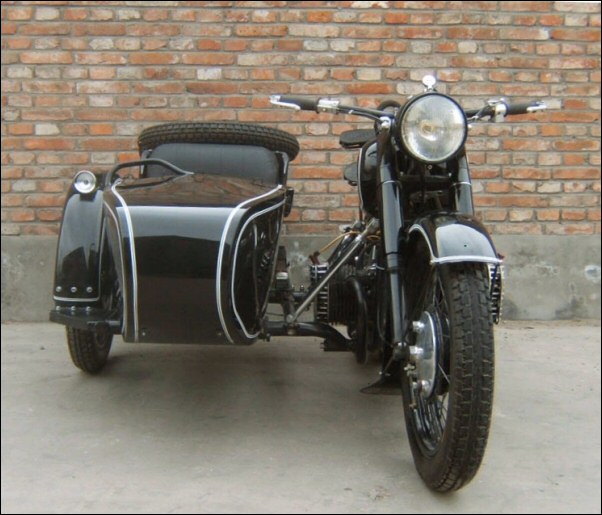
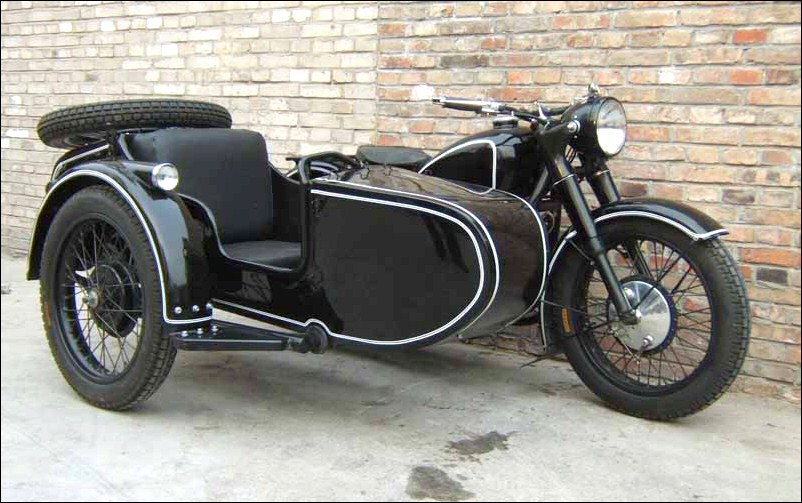
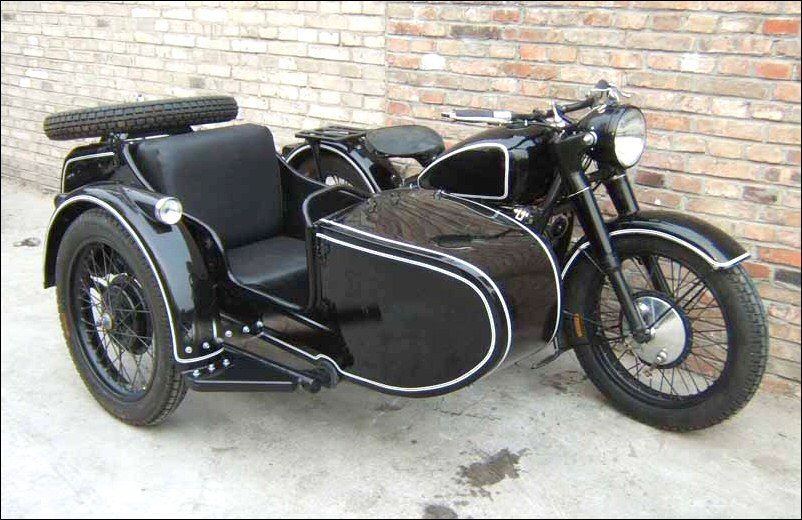
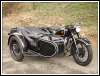
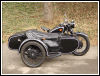
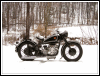
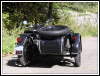
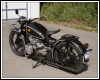
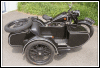
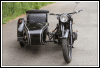
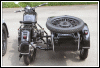
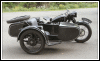
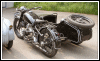
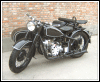
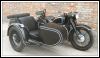
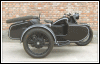
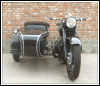
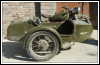
Sidecar on, spare tire off. To me the bike
just looks better this way. |
|
|
 |
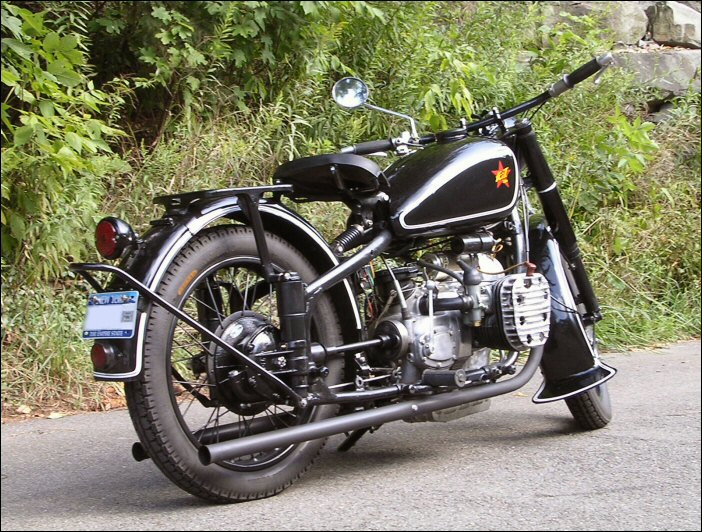
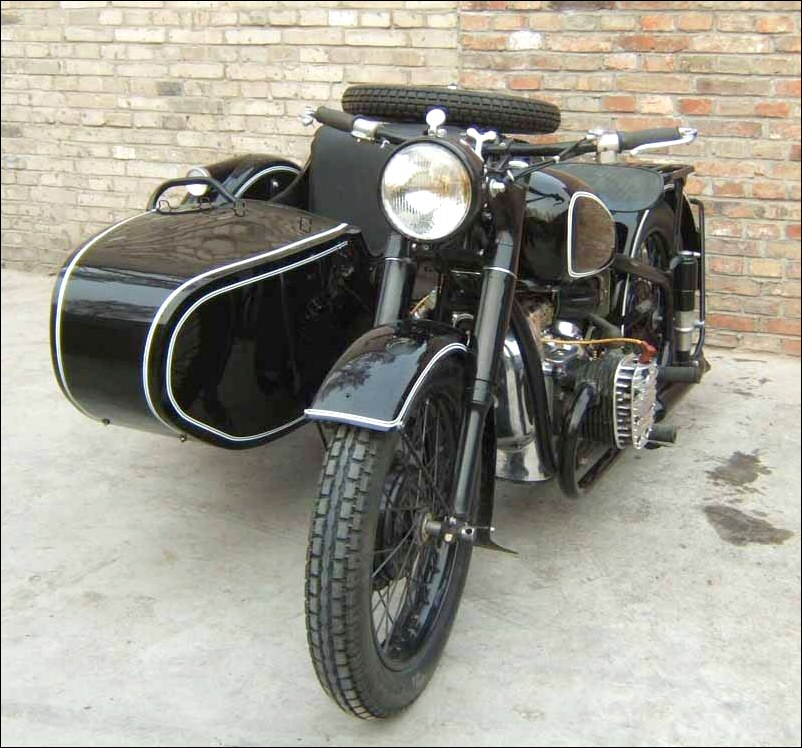
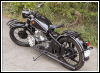
I rolled the bike out for a couple pictures
after installing the chrome fishtails and a couple other
little odds and ends. |
 |
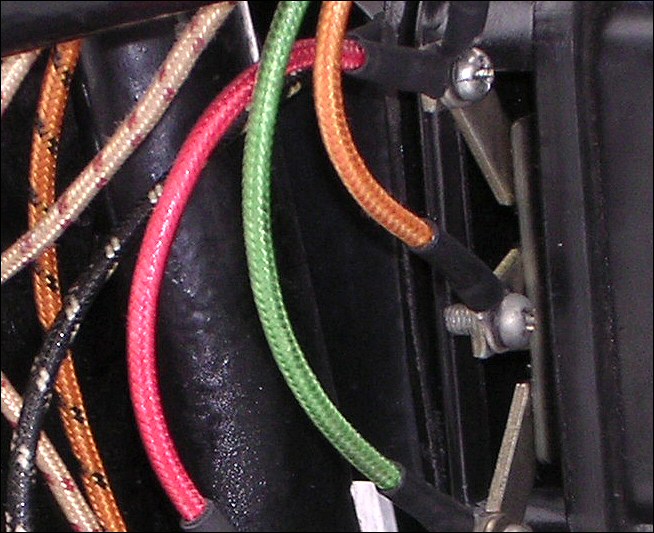
Here's also a close-up of the vintage fabric
wiring I used for a new harness. |
 |
It's difficult to decide which exhaust
system looks better... |
 |
...all black or all chrome. |
|
|
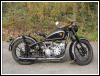 |
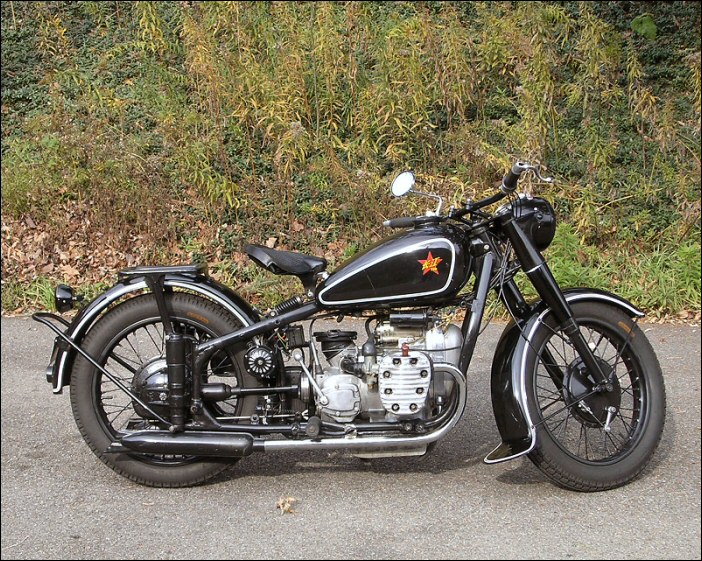
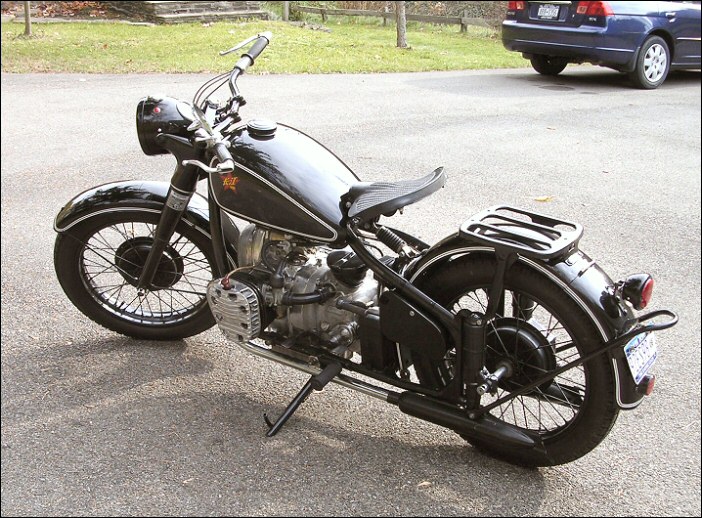
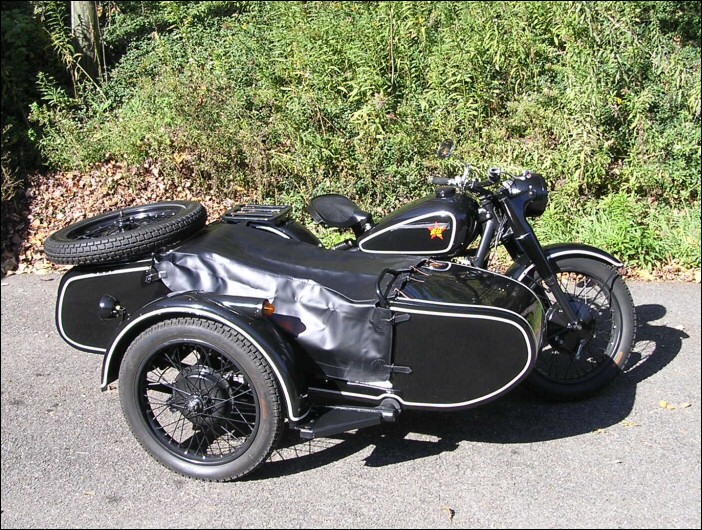
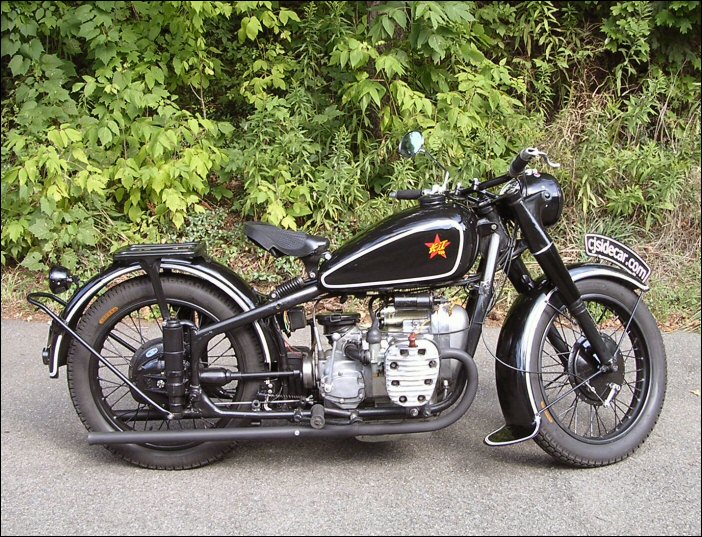
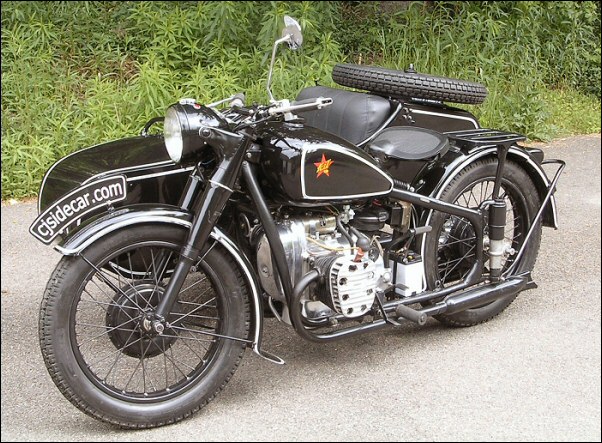
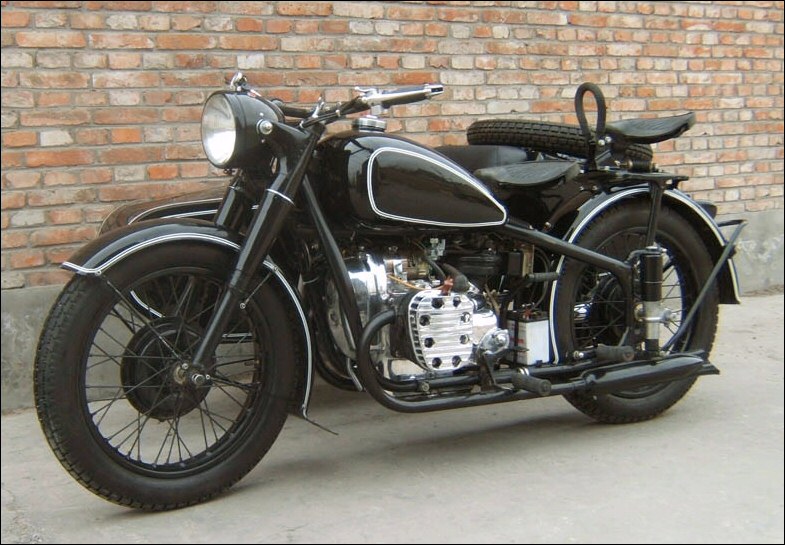
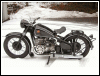
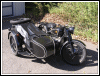
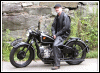
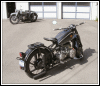
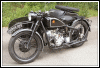
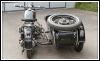
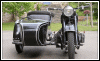
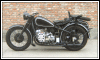
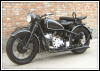
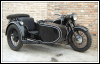
We're back to solo mode again. |
 |
I also swapped the final drive and put on
some chrome headers and black fishtails. |
|
|
 |
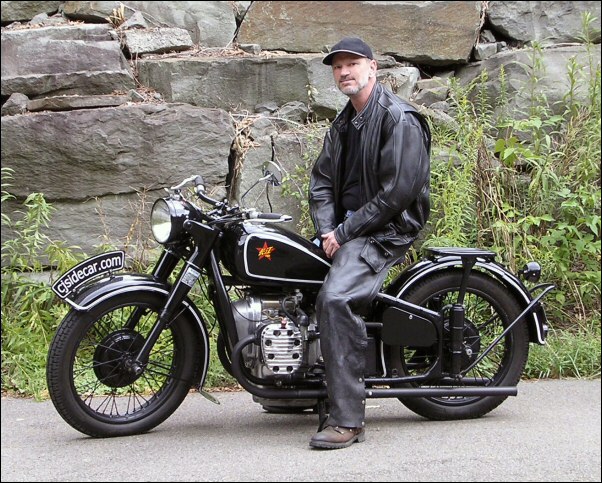
What a fine day for riding and taking a few
pictures. |
 |
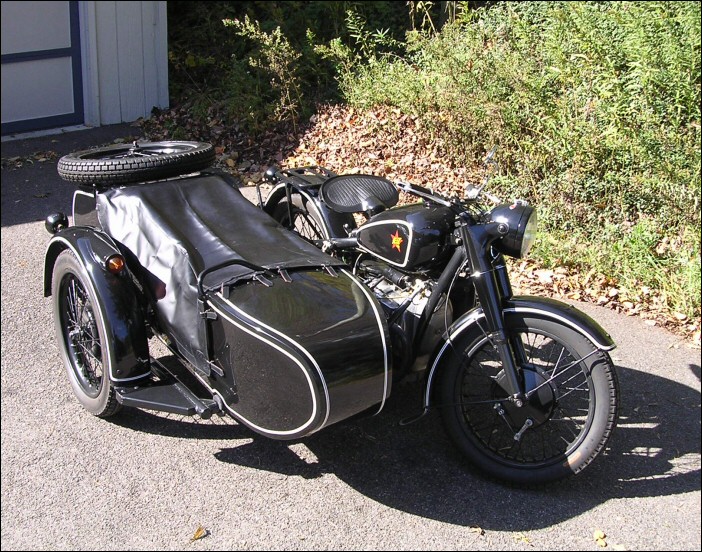
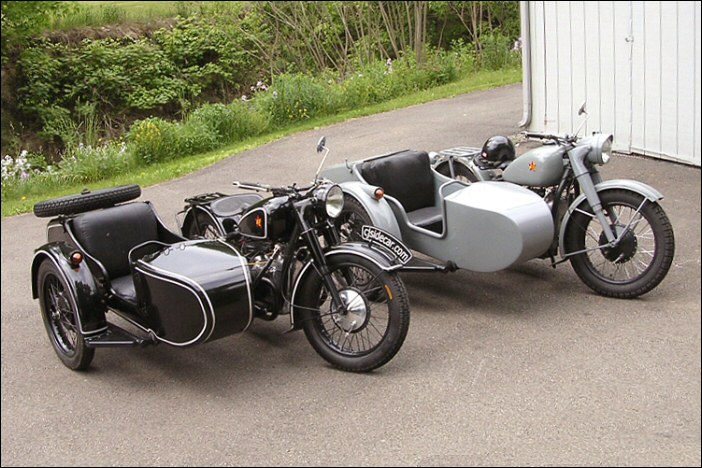
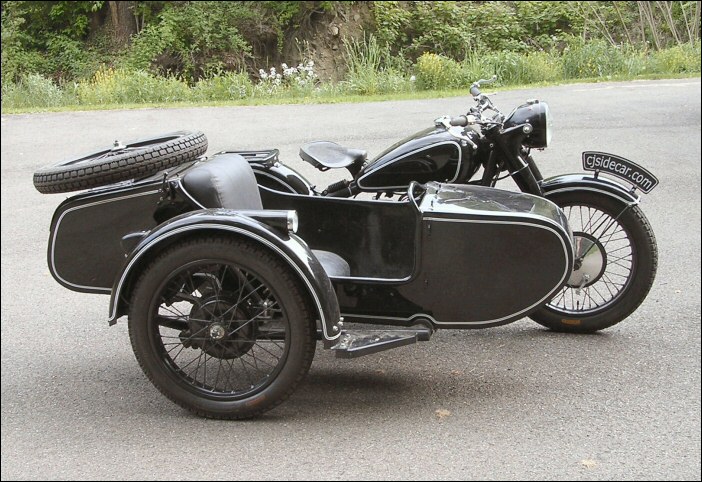
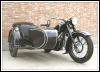
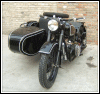
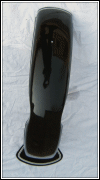
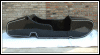
The bike is seen here sporting one of two
sidecar covers recently received from Shao... |
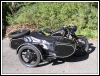 |
...and they both fit perfectly. |
|
|
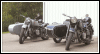 |
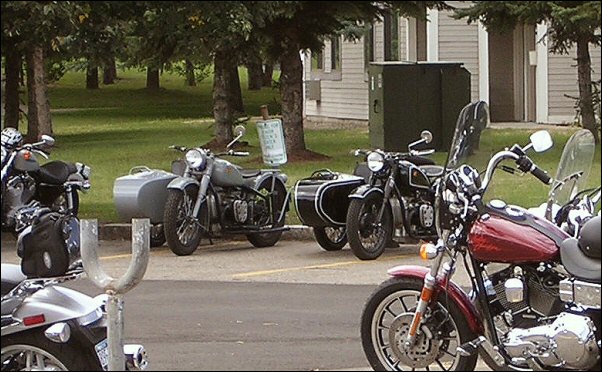
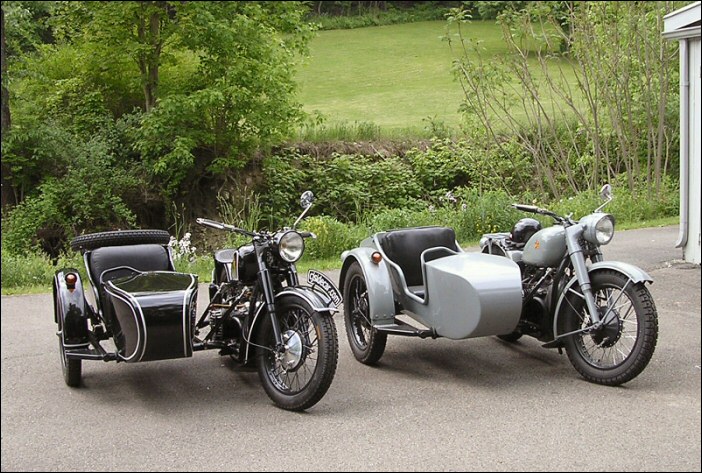
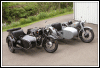
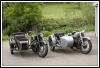
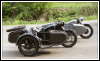
We took both bikes to an event in Corning
where we saw thousands of bikes... |
 |
... mostly Harleys. |
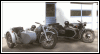 |
Here the Changs are waiting to go, plus a
shot of them in the spectator lot... |
 |
... where some of the best action was. |
|
|
 |
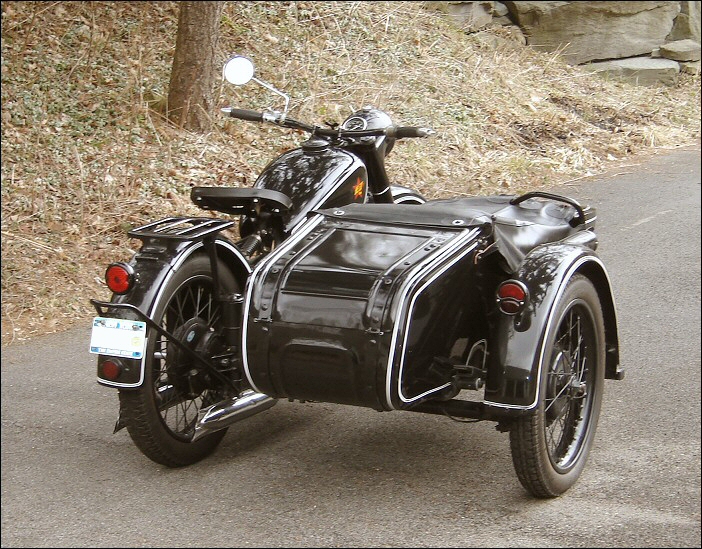
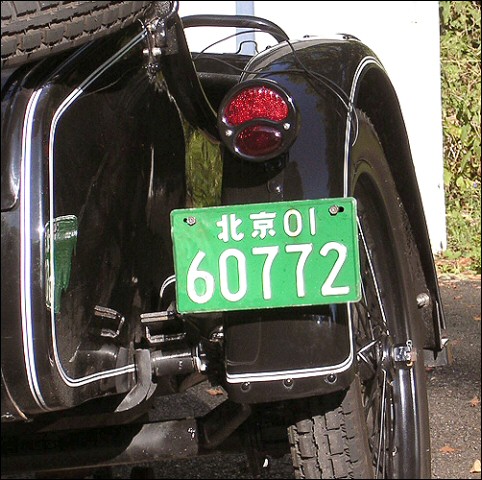
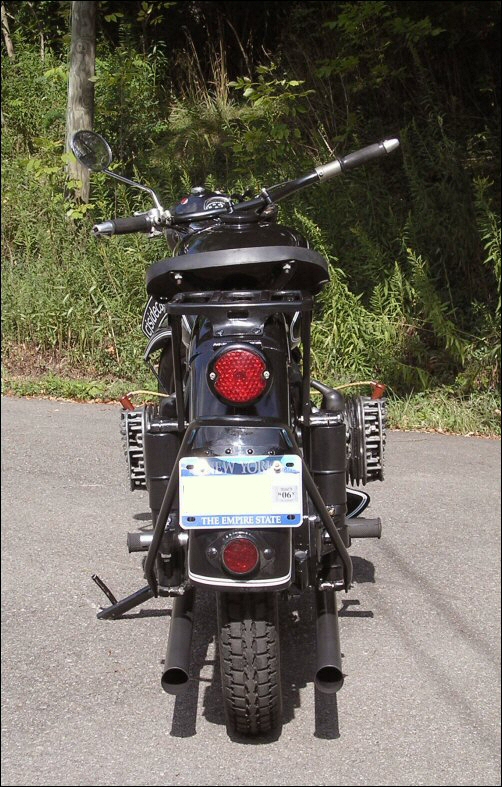
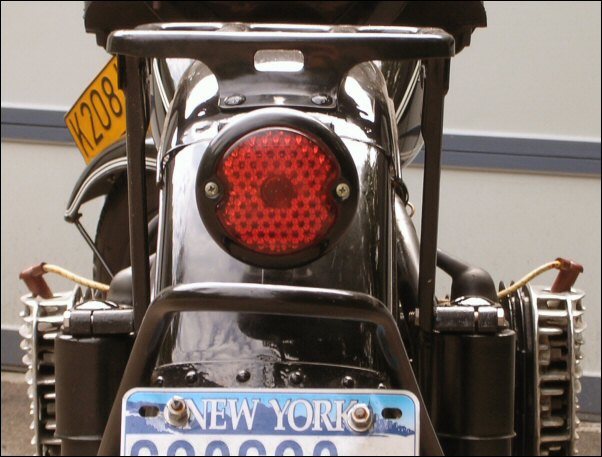
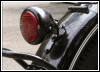
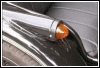
Tada.
This Ford Model A taillight now resides on the sidecar
(which is currently detached from the bike but probably
not for long.) |
| I also made a bracket on which hangs my
beloved green Beijing license plate that was given to me
by Shao. It just doesn't get any better. |
|
|
 |
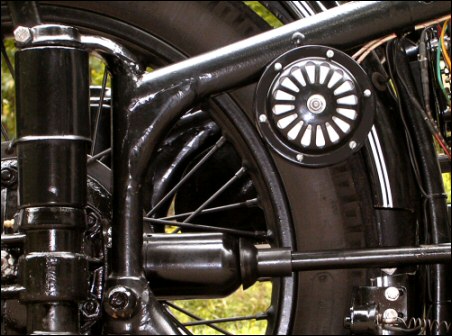
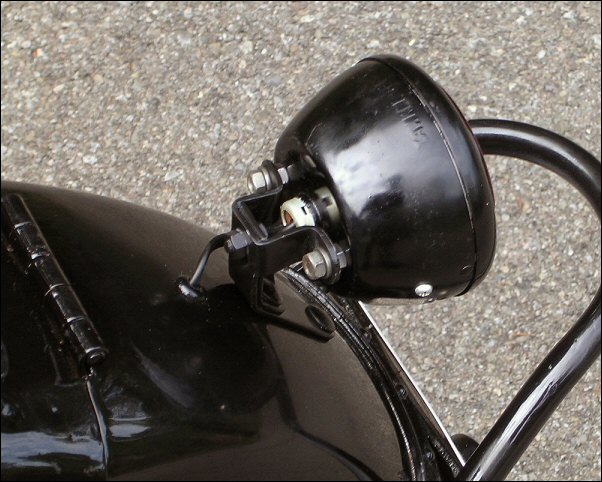
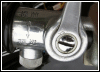
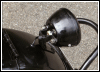
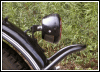
The horn is now in a slightly different
position from the other day. |
 |
The placement is a bit closer to the M72
position. |
 |
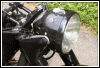
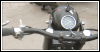
Let's zoom in for a closer look. A 6V Bailing
(Lark) DL79-6 is actually better
suited to mounting in this location due to its shallower
body. That's what I have on the grey bike. Click here to see the horn page. |
|
|
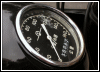 |
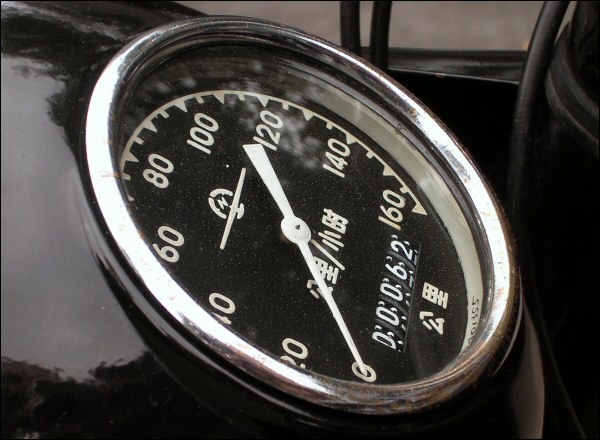
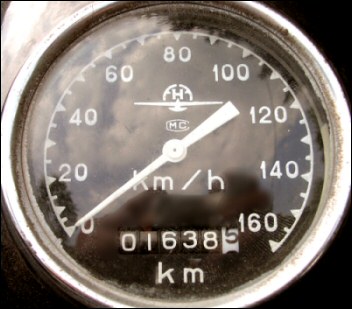
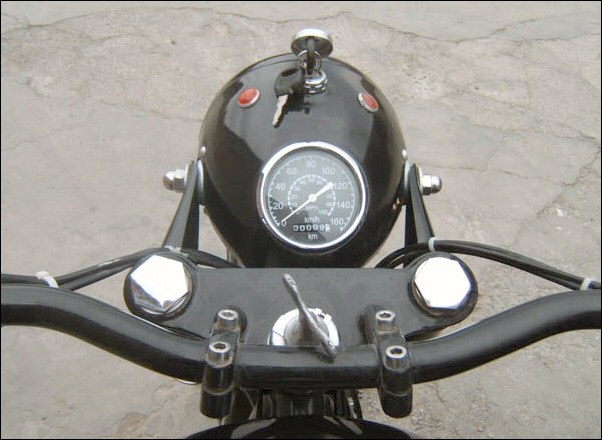
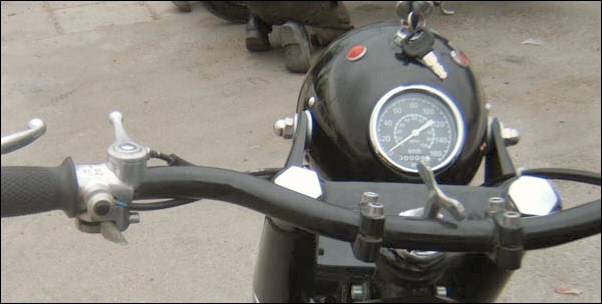
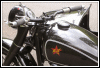
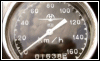
I swapped the speedo with one I got from LRM.
It has Chinese characters and was made by the Jiangxi
[province] Electrical Calculating Machine
Factory. |
 |
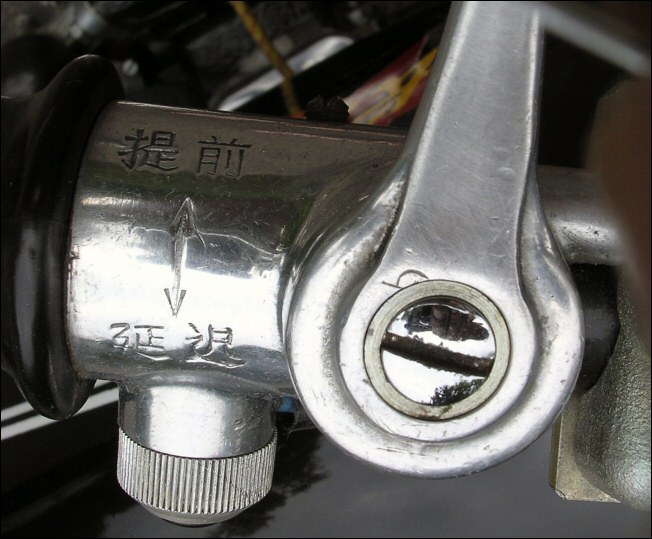
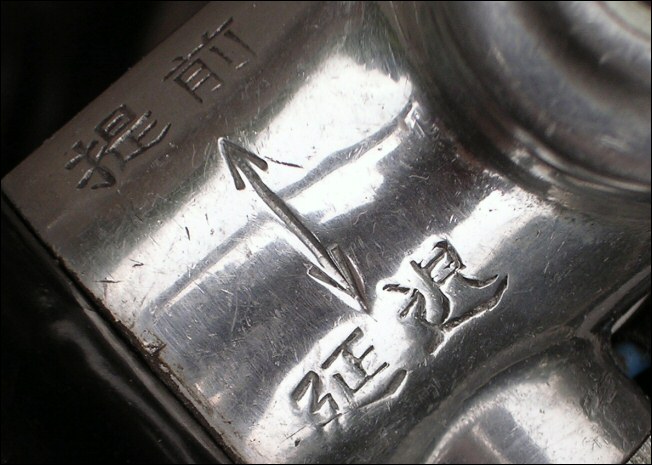
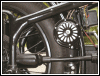
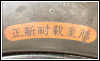
The spark advance lever Shao
used on my bike is pretty cool. It has Chinese characters
and a built-in horn button. It also has holes for
attaching a mechanical high-beam switch. |
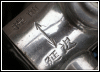 |
Chinese characters on the lever. I can only
assume (uh-oh) they mean advance and retard. |
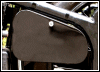 |
This is old news but what the heck. It's the
frame-mounted toolbox that used to be on the grey bike. I
got it from Scott Snaden many moons ago.
I'd be met with ridicule if you knew how it was installed
so I'm not gonna tell you. |
 |
My beloved Yingge (Parrot)
brand DL38-6 horn that I bought from LRM.
It's mounted on the frame the way they were back in the
good old days, however this one needs to be
lowered—and it will, probably tomorrow. (Hot dawg.
An excuse for posting more pictures.) |
|
|
 |
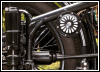
With the installation of a frame-mounted
toolbox, the big winter project is now complete. |
 |
There's nothing left to do except ride and
enjoy the hell out of this terrific machine. |
 |
Shao and the crew at CJS
did an absolutely superb job building this bike.
|
|
|
 |
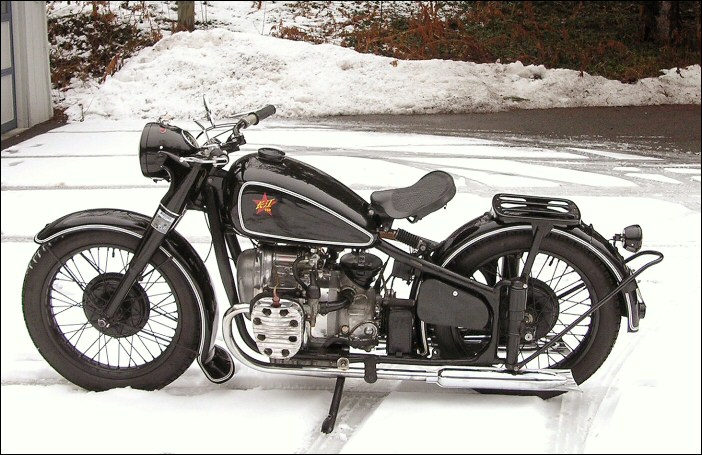
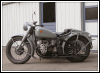
Just about done with the big winter
project... and it's still summer. Oh well. And some of you know I
tend to get carried away with the camera, so be prepared
for an onslaught. |
 |
This is pretty much how she'll look for the
immediate future (with the exception of the frame-mounted
toolbox that I haven't put on yet. That will probably
result in at least a dozen more pictures.) |
 |
In these images you can see the straight
pipes. Too bad you can't hear them. |
 |
They have 5/8" restrictors pressed in
20" from the tail ends. I've got back pressure and
I've got NOISE.
|
 |
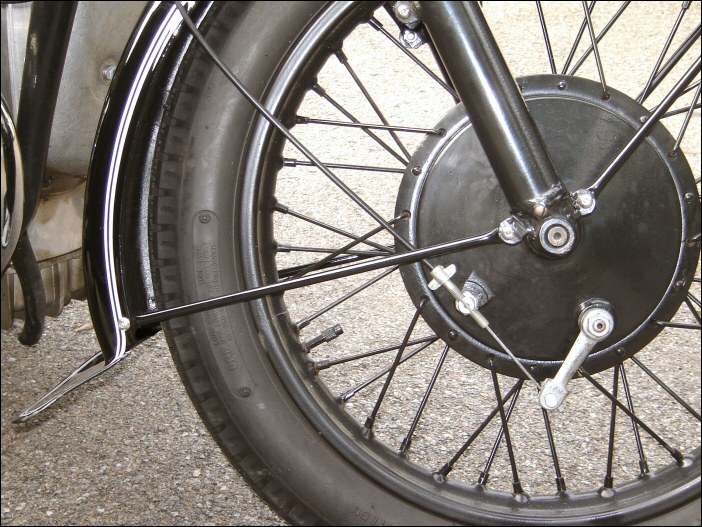
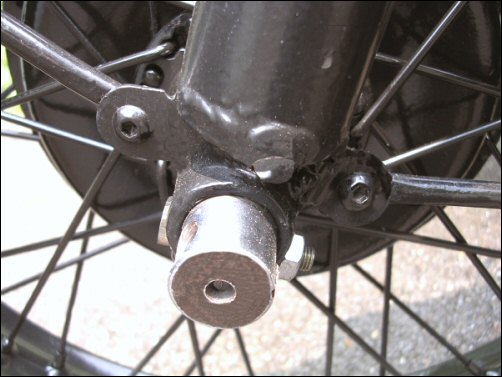
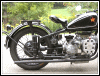
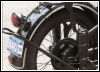
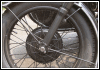
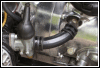
You can also see the painted axle mount and
a couple other little things that make this a Dan bike. The gearbox was changed out with my
high-fourth spare so we're not running with that highly
polished one that came with the bike. |
 |
Some of the other flashy stuff has also been
subdued.
The
driveshaft, final drive and front hub, for example, are
all black now. |
 |
I tend to be pretty conservative with stuff
like that.
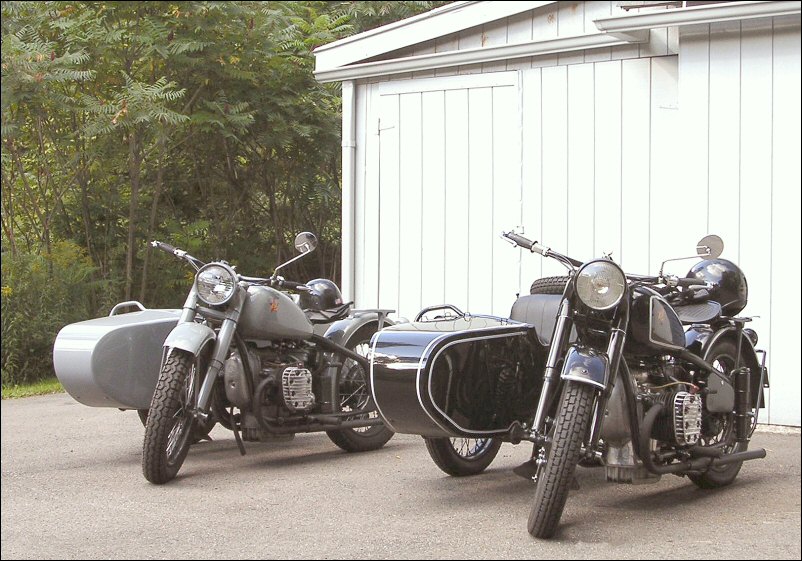
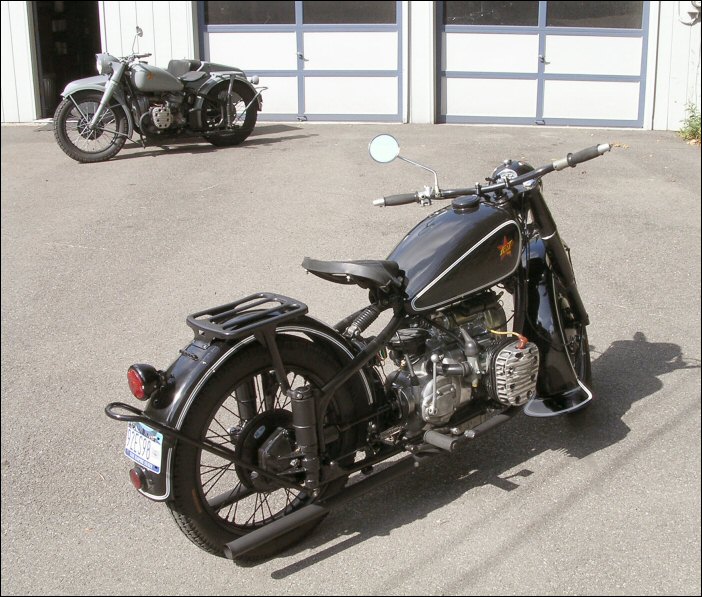
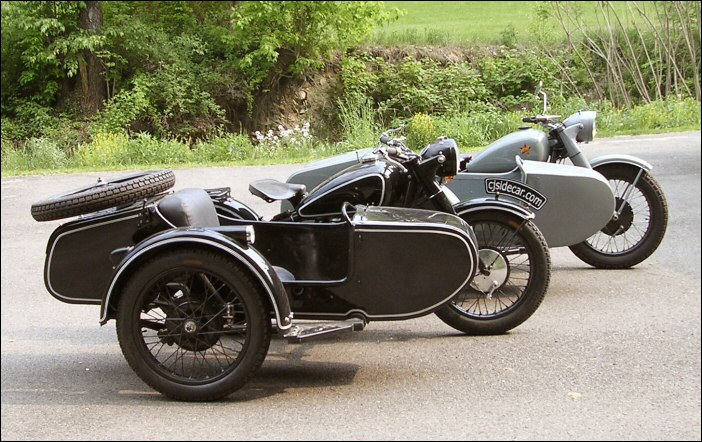
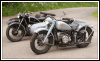
The grey bike
is also in a couple of these pictures. |
 |
It was in the driveway, so why not? |
 |
And as soon as I'm done typing this we're
going for a ride. |
|
|
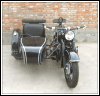
| Looks like the new bike is getting many of
the same detail items as the grey bike. It's currently in
solo mode, undergoing a few upgrades which are now about
70% completed. The front hub was swapped out with a black
one to match the high-speed final drive I installed
yesterday. (The left side axle mount is black now also.)
The taillight dates back to the twenties or thirties.
It's an NOS Yankee brand aftermarket fixture for a Ford
Model A. I got it for ten bucks on eBay. It has a glass
lens and it's really bright. I also swapped out the
gearbox with a spare that's set up with a taller fourth
gear. Next on the agenda—piston, carb and exhaust
swaps. |
 |
 |
 |
 |
 |
 |
|
|
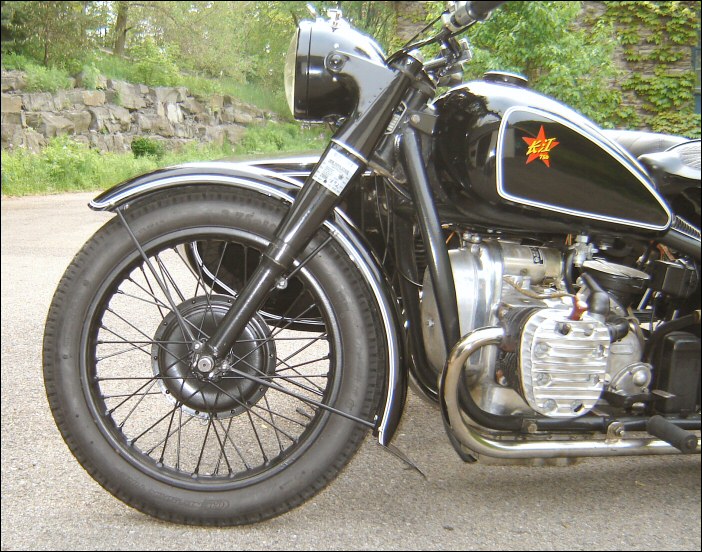
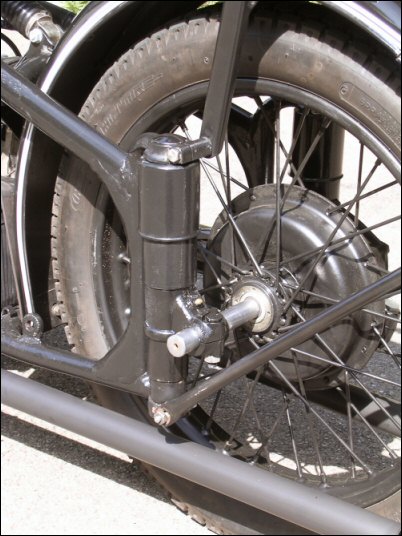
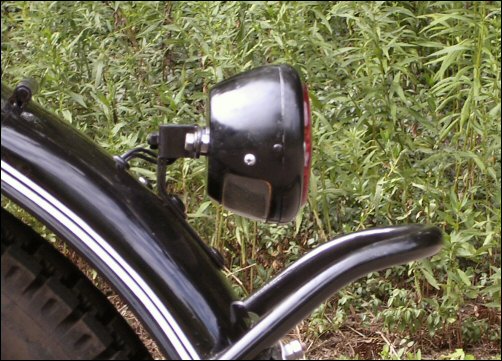
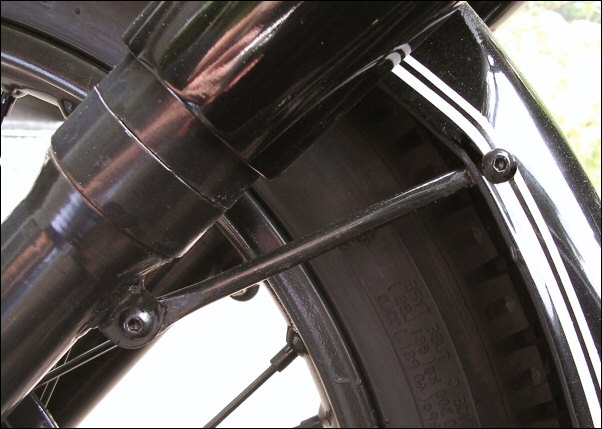
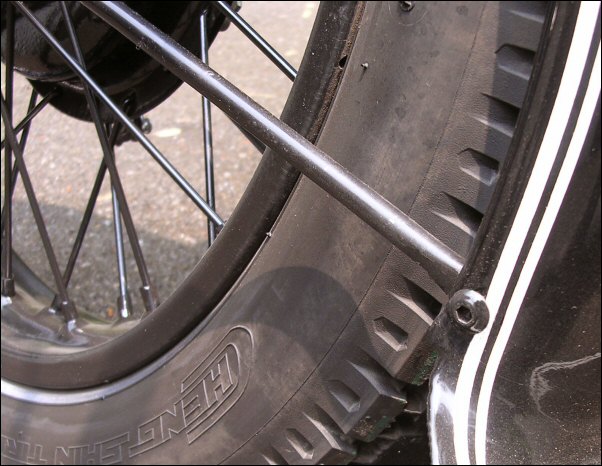
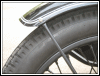
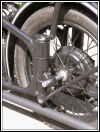
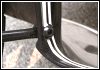
| These images are posted in response to a
mail I got from Leo who wanted to know
about the R71 style lowered fender. I hope these pictures
answer his questions. Each of the lower forks has three
welded-on tabs, unlike the fixed fender which is attached
to two tabs on the upper forks. This fender travels up
and down with the forks. The brackets were fabricated
from 8mm tubing, quite a bit thinner than what's on the
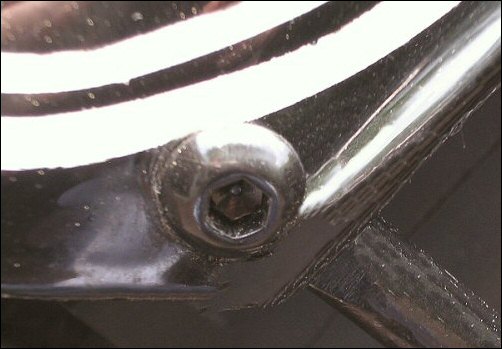
other bike and much more attractive. The only
modification I made was replacing the screws with painted
domed allen bolts and stainless flat washers, lock
washers and nuts. Like the carriage bolts used elsewhere
on this bike, these babies have a clean and authentic
look to them. (Click here for more on front fenders.) |
 |
 |
 |
 |
 |
 |
|
|
 |
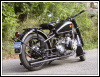
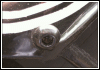
Ready—after cleaning, detailing and
some tinkering. |
 |
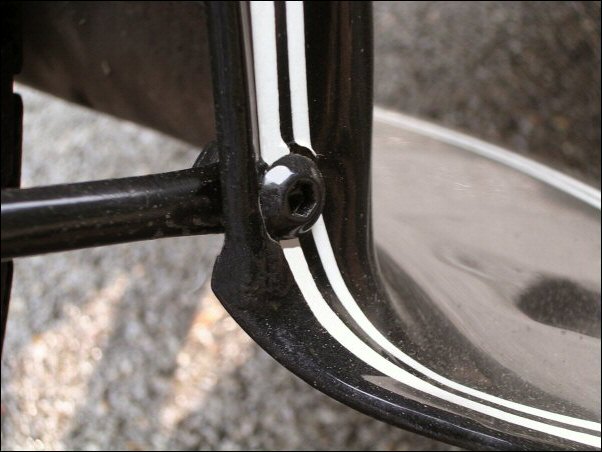
You might recognize some of these little
mods from the grey bike. |
 |
Carriage bolts look better than anything
else that I know of. |
 |
Carriage bolts. |
 |
The headlamp bucket also has carriage bolts.
|
 |
Sidecar running light lens from the local
NAPA store. |
 |
Standard gas cap painted black & CJ750
tank emblems. |
 |
Hose clamps were sand blasted and painted. |
 |
A few more jobs still need to be done but
I'll probably save them for a winter project. |
 |
I'll swap the rear fender bracket for one
like on the grey bike. |
 |
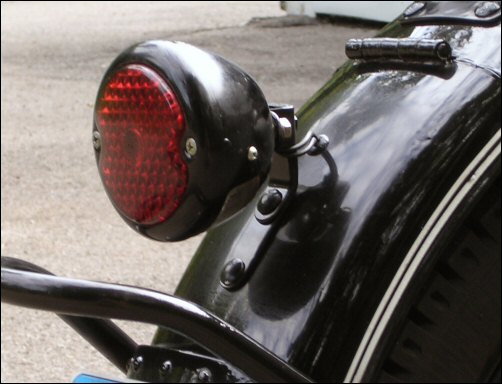
There will probably be some Model A
taillights installed down the road. PLA reflectors too. |
 |
There's also a 4th. gear set and deep sump
to be installed. I'll probably rewire the bike
completely. |
 |
I've got some great old wire with fabric
insulation that I found on eBay. It looks excellent on a
CJ750. All the joints will be soldered and heat shrunk
with wires cut to precise lengths. Everything in the
headlamp bucket will be labeled. |
 |
But for now, I'll just ride and enjoy this
excellent machine. |
|
|
 |
The BIG DAY finally arrived yesterday when
the bike from CJS was delivered. |
 |
Since we lack proper facilities at our house
we unloaded it using an old railroad car loading ramp
less than a half mile away. |
 |
How convenient is that? |
 |
Since the fuel tank was empty (and no
plates) we towed the bike back to the house. |
 |
It all went like clockwork. |
 |
The bike is everything I expected although
there was some minor damage during the transit and it got
really dirty—probably while at the dock in New York,
but who knows? |
 |
Over the next couple days I'll be cleaning,
adjusting and changing a few little detail items here and
there with the hopes of getting her licensed for the road
next week. |
 |
Luckily I have replacements for the items
that got damaged... |
 |
...so it's no big deal at all. |
 |
I am really looking forward to riding this
bike. It looks great. |
|
|
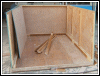 |
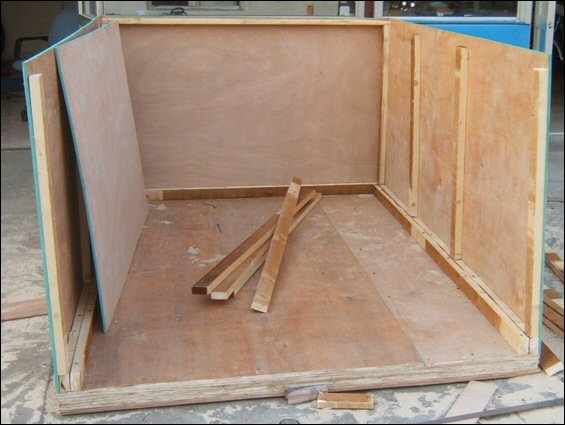
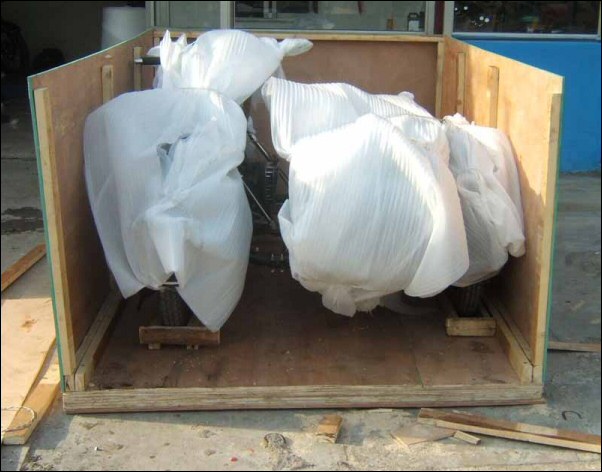
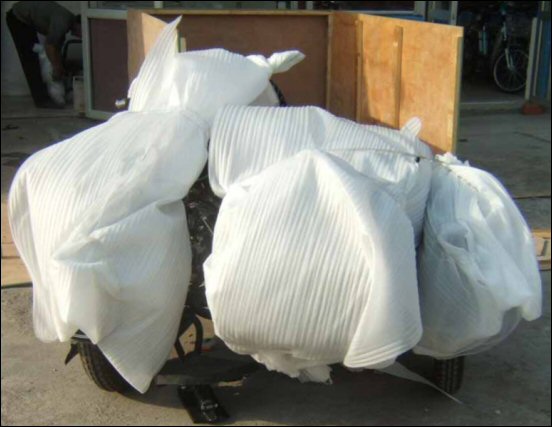
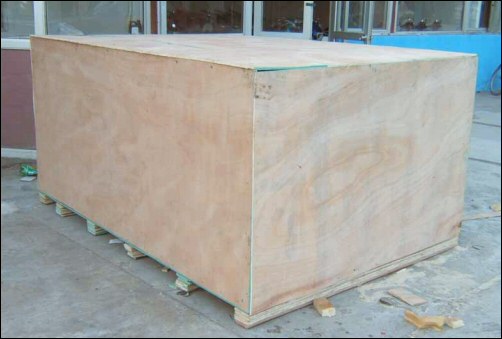
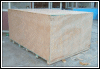
CJS is getting ready to
ship her across the Pacific... |
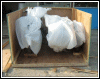 |
...inside a very stout wooden crate with
lots of protective padding material on the bike. |
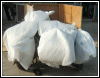 |
As you can see... |
 |
...a great deal of work goes into building
one of these boxes. |
|
|
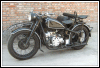 |
Just prior to going into the shipping crate.
This bike is absolutely gorgeous. |
|
|
 |
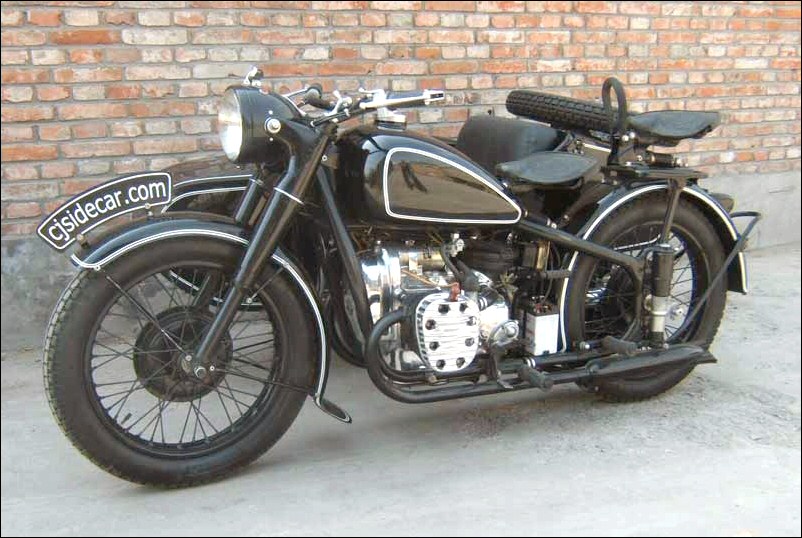
Shao has been busy with his
camera prior to shipment of the bike. |
 |
He sent this batch of images today. |
 |
Sweeeeeet. |
 |
This bike is a knock-out. |
 |
It's going to be a thrill riding this
machine. |
 |
I have a feeling the locals will develop an
interest in Chang Jiangs when they see it. |
 |
I'm already thinking about some personal
touches that will be applied later on. |
 |
For now I'm just a little kid waiting for
Santa. |
 |
|
 |
|
 |
|
|
|
 |
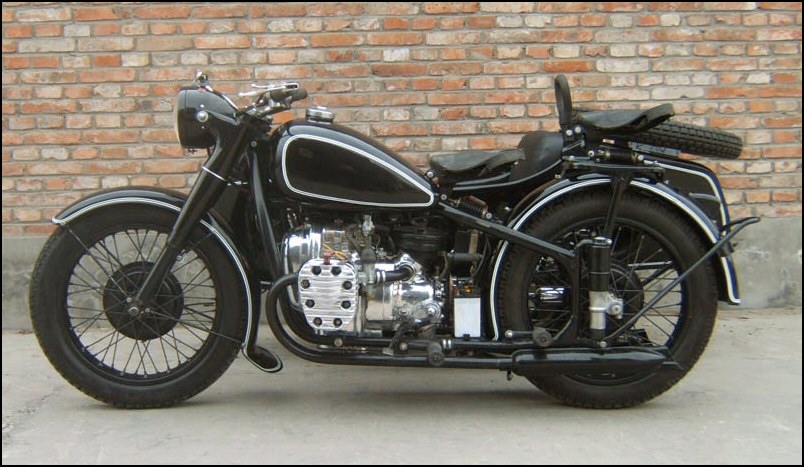
And here she is with the detailing complete.
|
 |
You'll notice the exhaust system is also
black. Having no chrome enhances the beauty of the
polished drivetrain and draws the viewer's eye straight
to it. |
 |
This bike is fantastic. Now comes the hard
part... waiting for that slow boat from China.Excellent
work, Shao. |
|
|
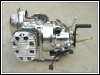 |
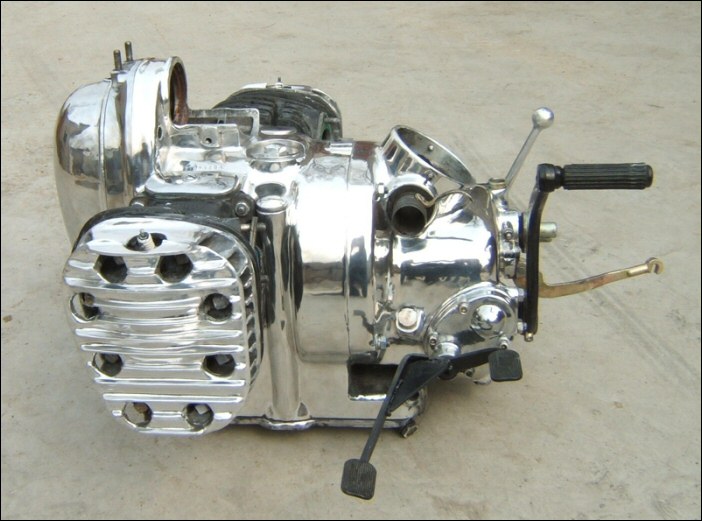
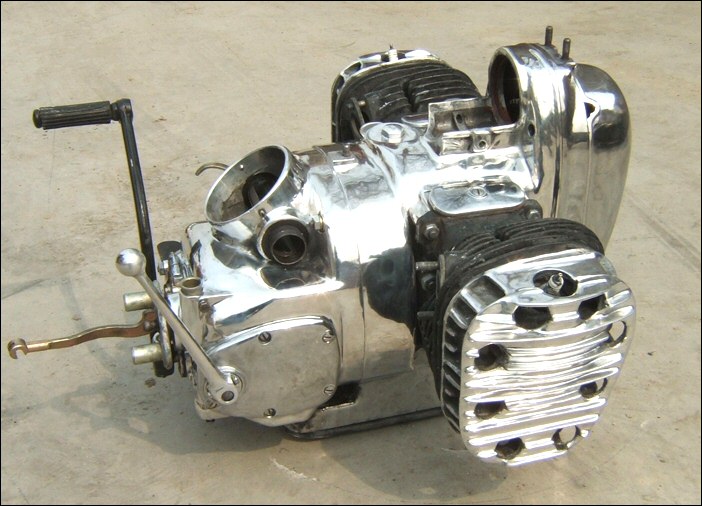
Is it aluminum... or chrome? |
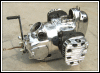 |
Polished engine and gearbox. The final drive
and front brake hub will also have this type of finish. |
|
|
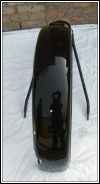 |
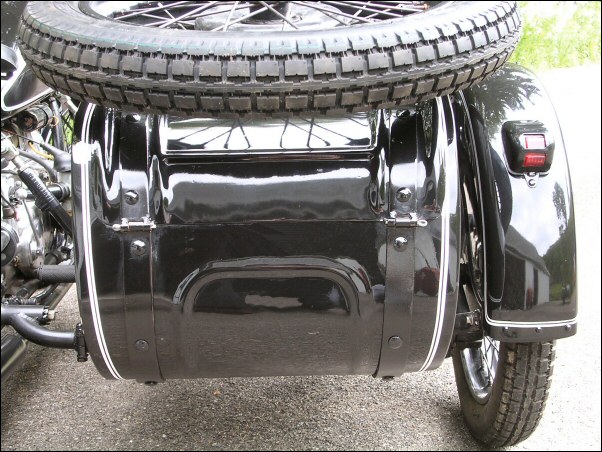
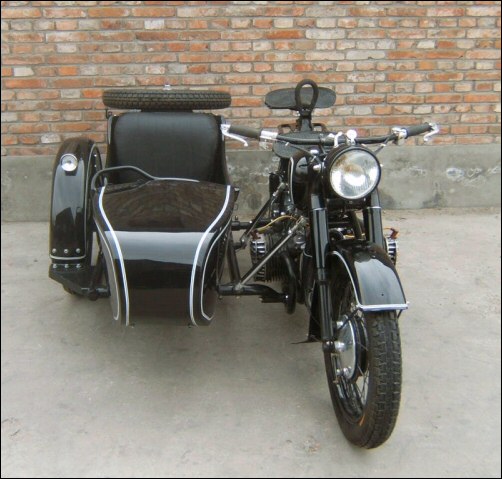
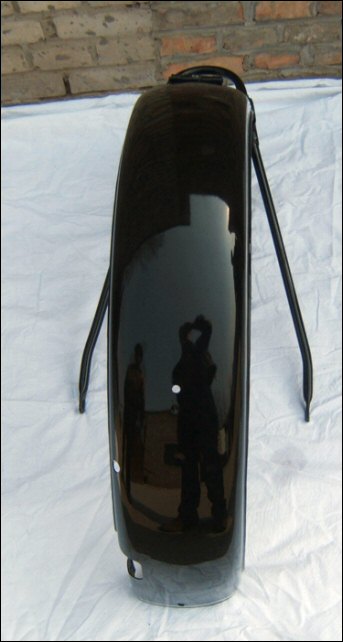
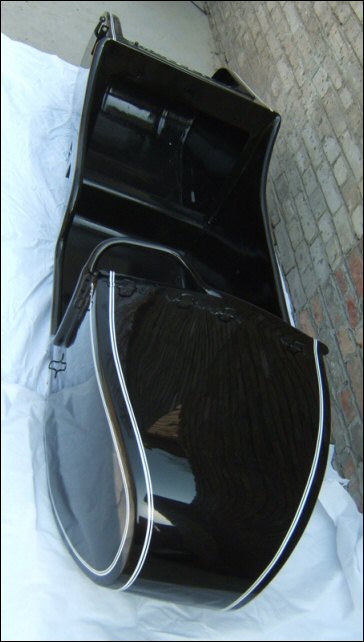
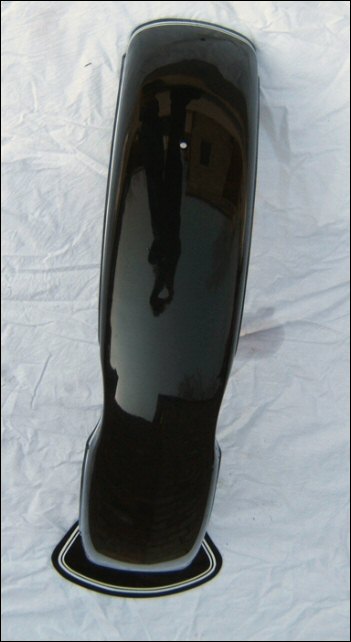
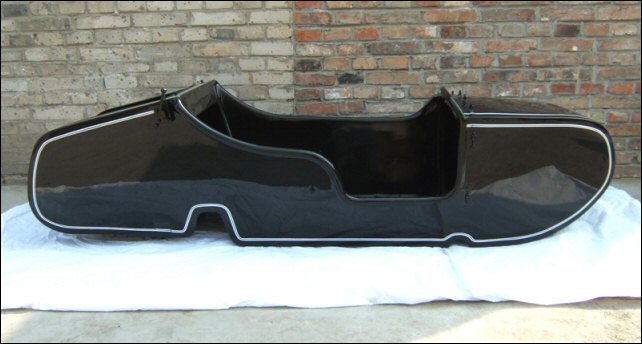
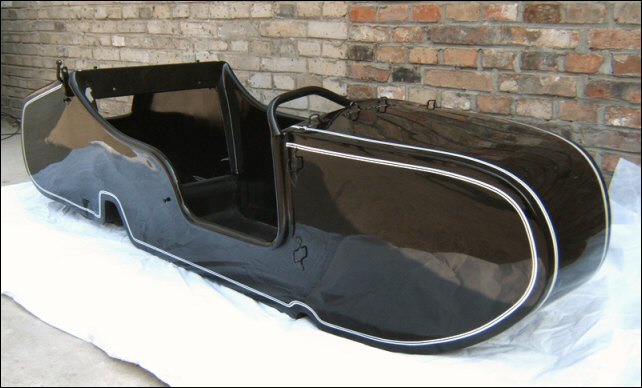
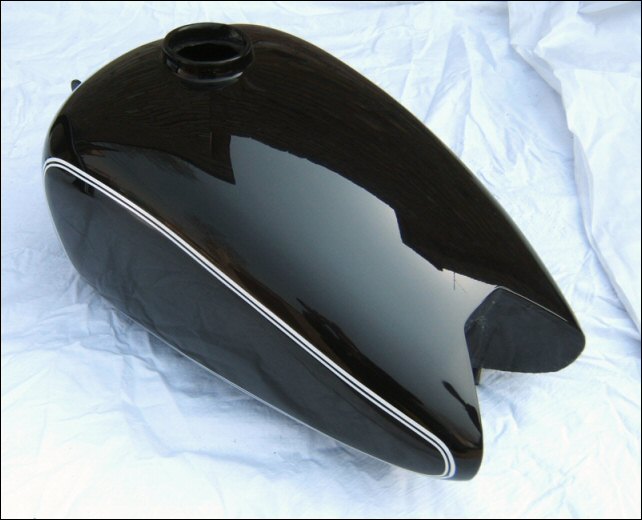
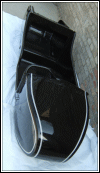
Here's an assortment of images showing how
nice the paint looks on the sidecar, gas tank and
fenders. |
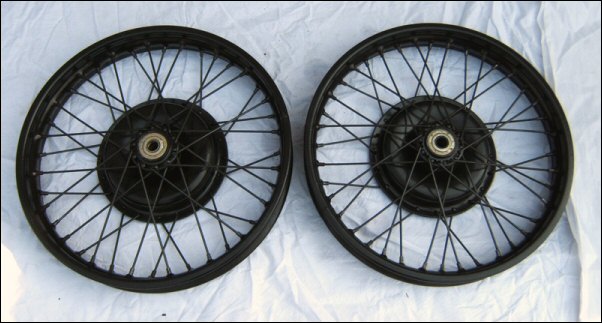
 |
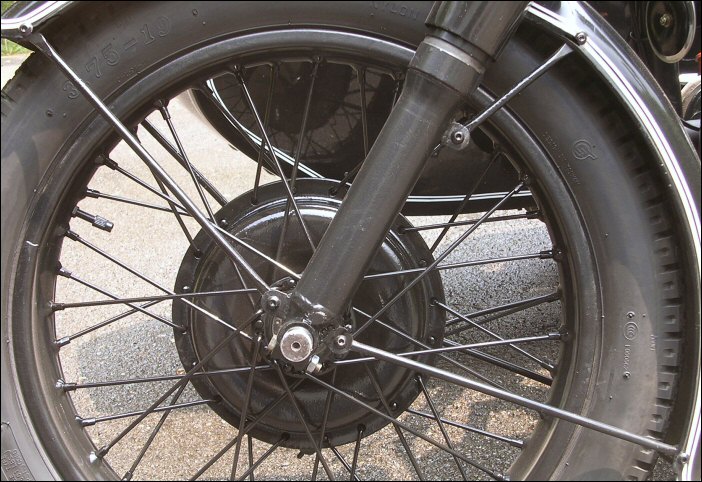
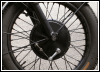
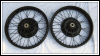
Also, at my request, the rims AND spokes are
black. |
 |
The inspiration for that came from studying
dozens of photos of old bikes... |
 |
...many of which had painted spokes (as well as
handlebars, etc.) |
 |
Applying these touches to a CJ make it look
very vintage. |
 |
This will be the coolest bike in town. |
 |
|
|
|
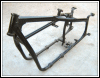 |
The freshly painted frame, all ready for
components. |
|
|
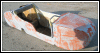 |
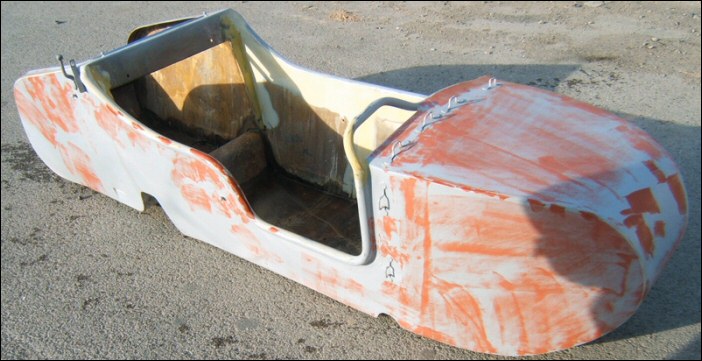
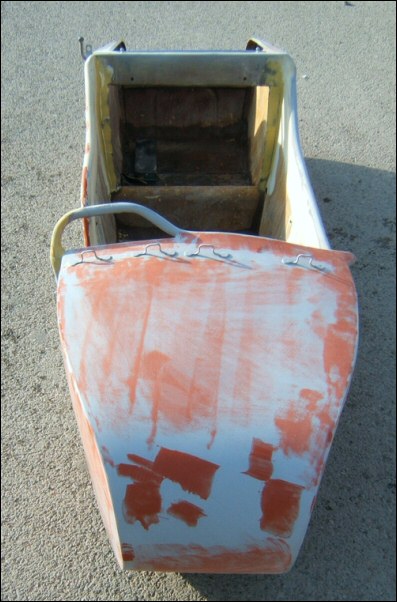
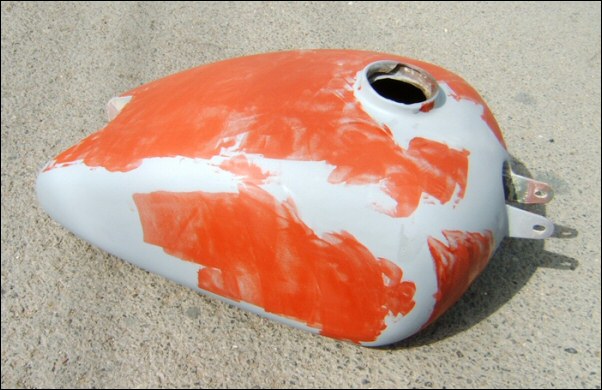
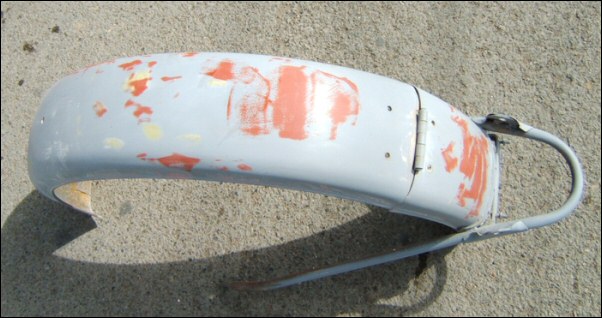
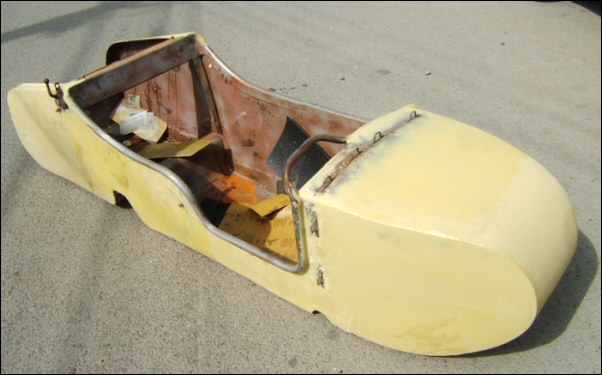
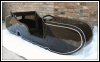
Looks like the sidecar bucket is just about
ready for some fresh paint... |
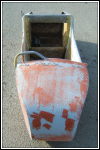 |
Oh yeah... |
|
|
 |
Here's the latest batch of build photos for
my bike. |
 |
As you can see the body work is nearly
complete and the paint will soon be applied. |
 |
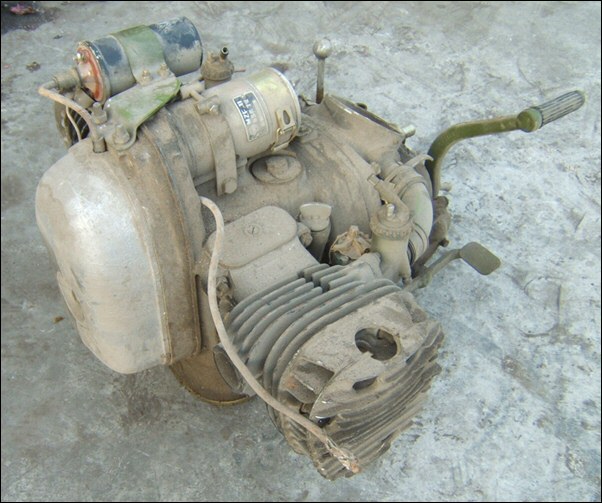
Shao hasn't started working
on the engine yet but he will be very soon. |
 |
I have a good feeling that this is going to
be a fine machine. |
|
|
 |
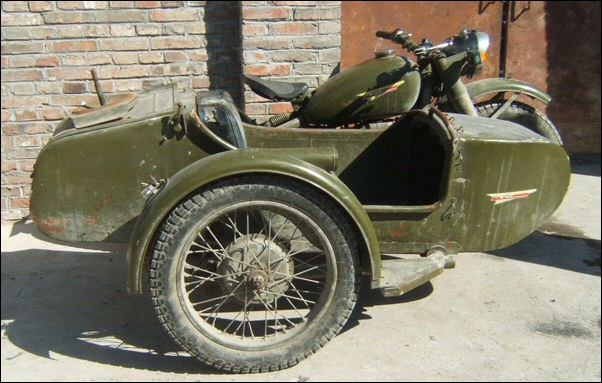
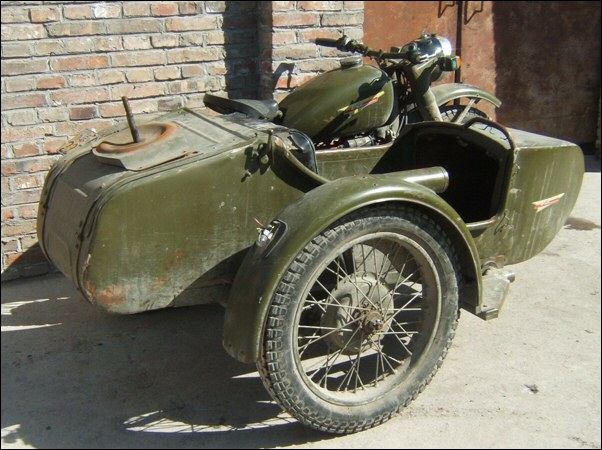
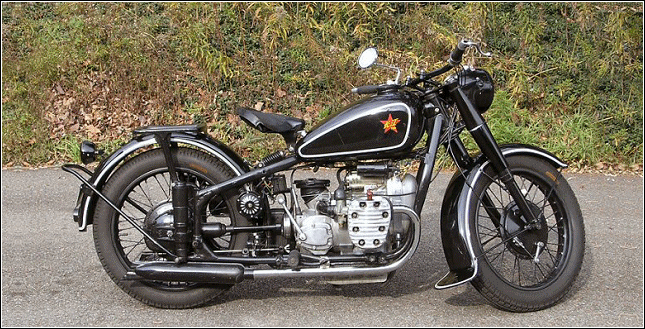
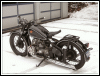
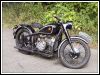
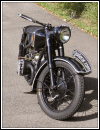
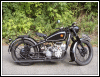
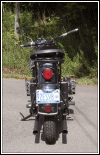
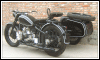
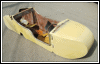
Here she is—prior to disassembly. |
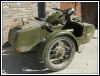 |
You won't recognize this machine after Shao
is finished rebuilding it. |
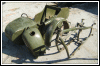 |
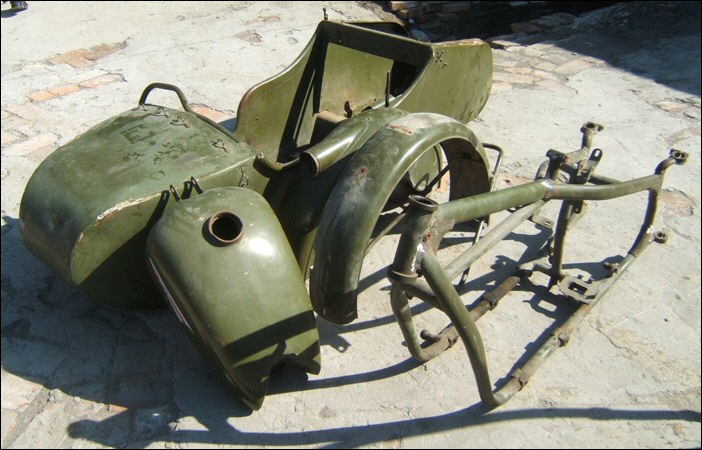
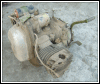
This pile of bits and pieces will eventually
become my second CJ750. It's an old 6V flattie that will
be painted all black. YES.. |
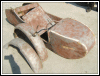 |
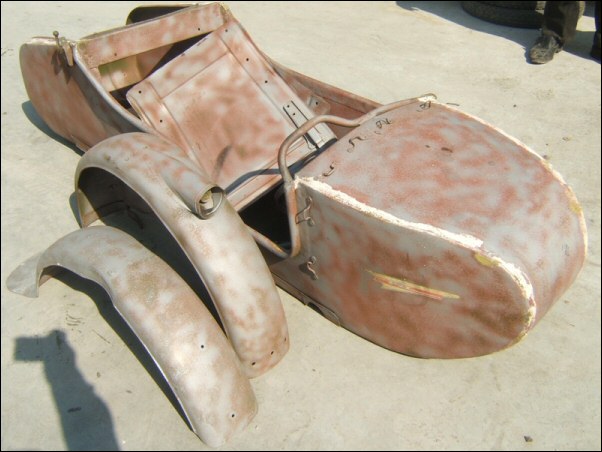
All the sheet metal parts have been stripped
and will soon be painted. |
|
|
 |
|
|
|
|
|