 |
 |
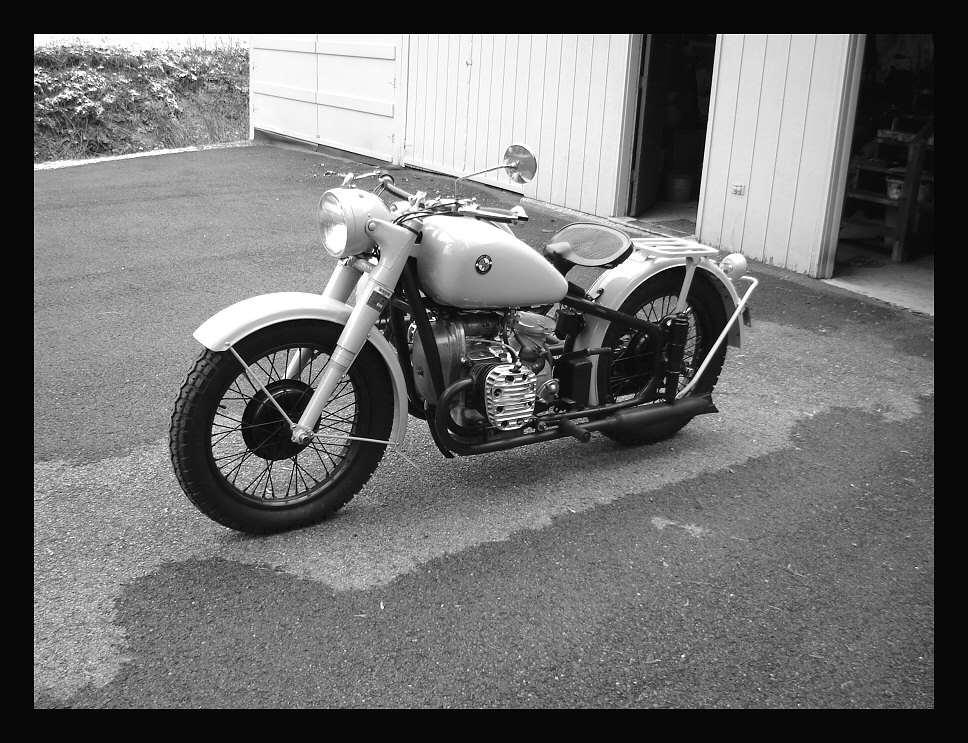
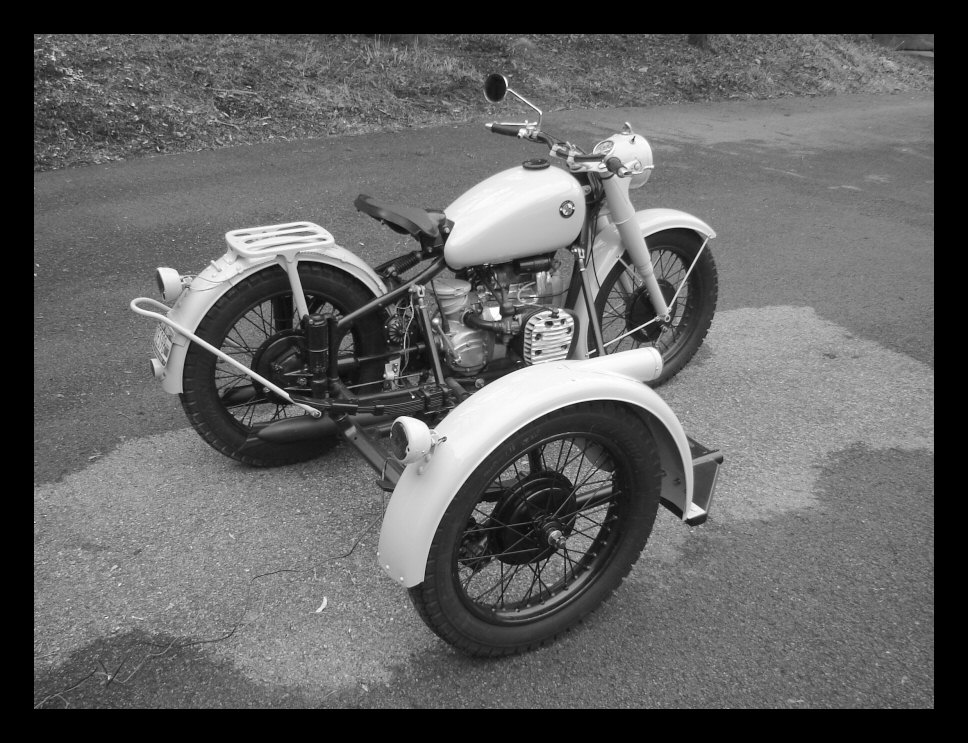
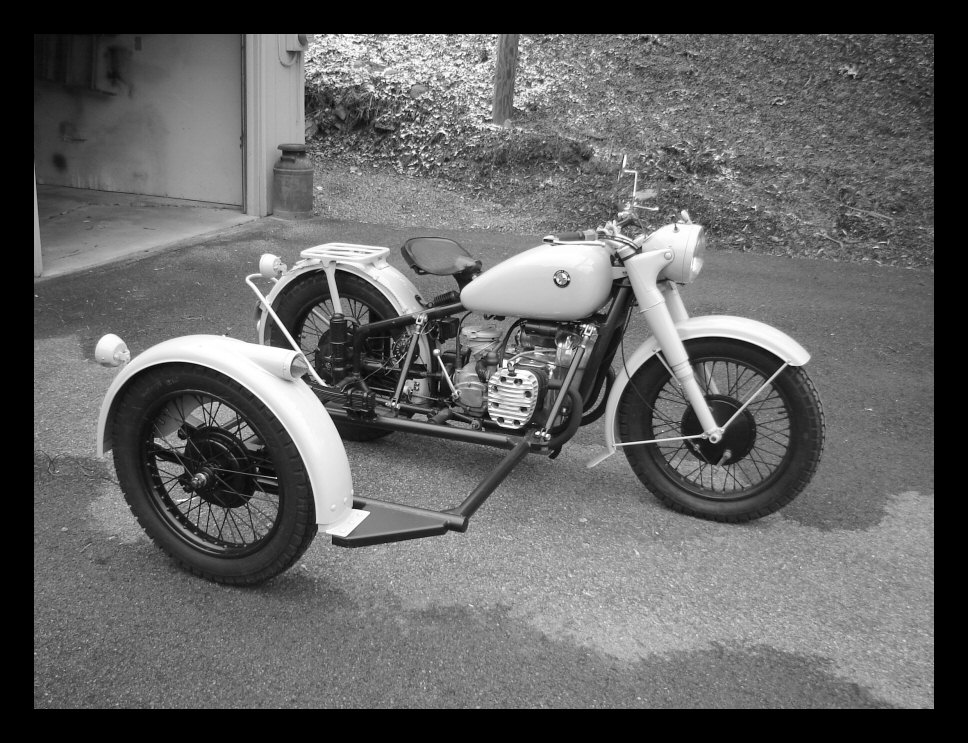
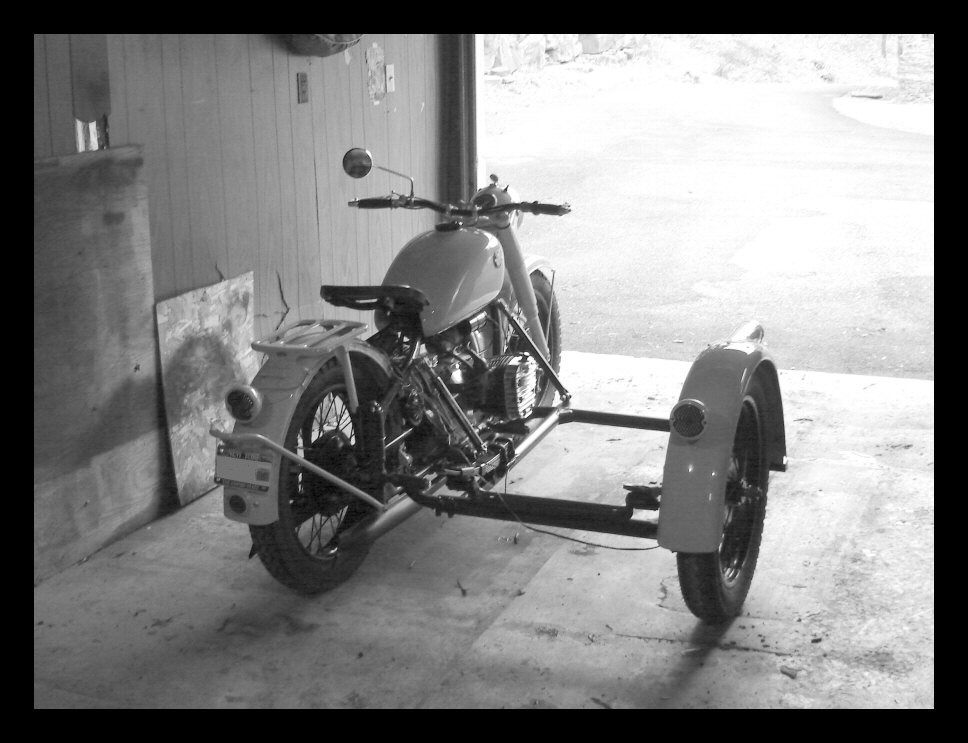
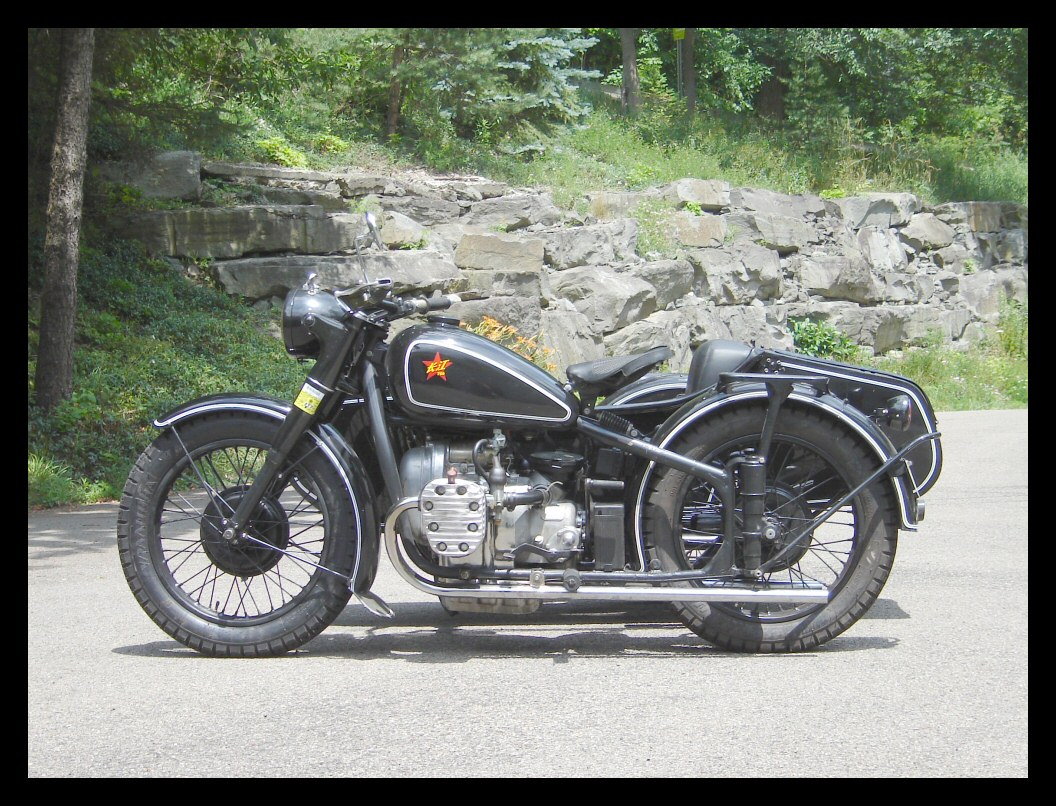
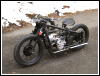
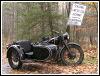
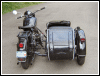
My CJS M1 |
 |
Page 1
Page 2
Page 3 |
 |
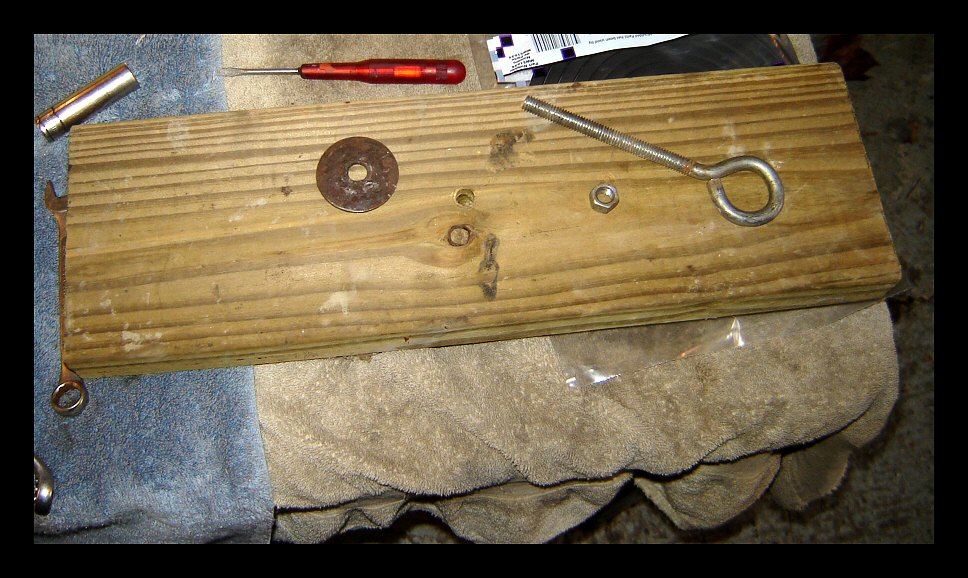
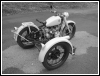
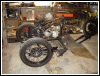
How does one guy mount a sidecar
bucket without tearing up a fresh paint job? Well, I
usually work alone, swapping car engines and
transmissions, etc., so there's always a way. For the
sidecar bucket, I used an eyebolt, a big hunk of
2x6" lumber and a big fender washer. |
 |
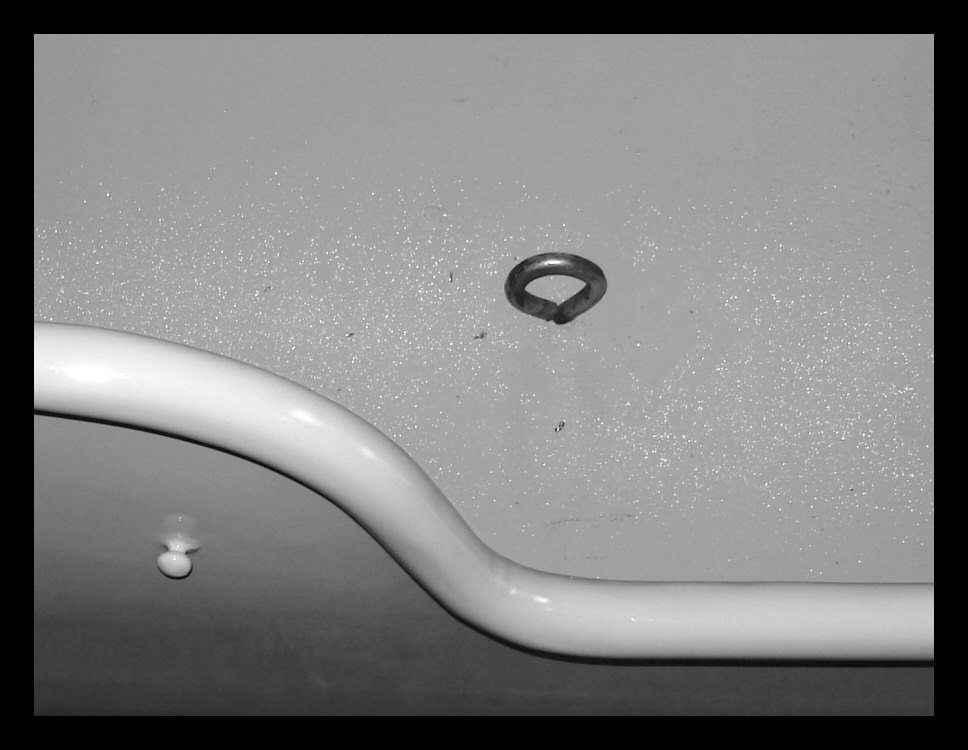
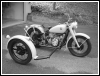
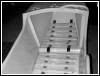
I ran the eybolt through the hole
in the floor where the seat cushion is secured. The wood
is snug against the bottom of the sidecar. |
 |
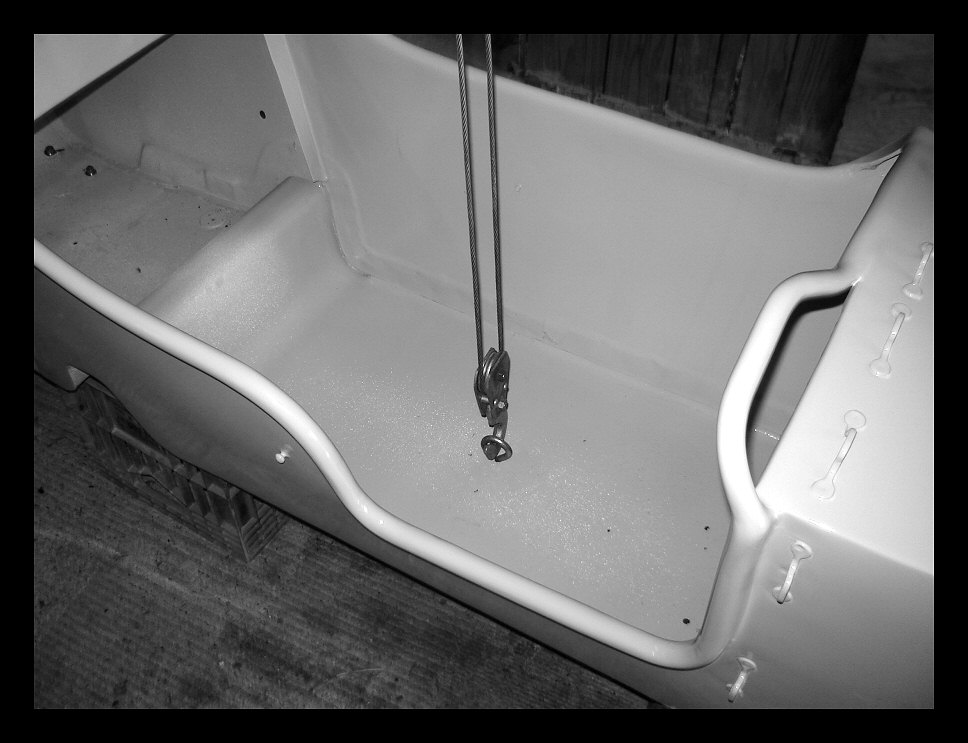
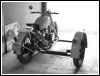
A come-along on the overhead beam
and presto, we're in business. I balanced the sidecar
with a few bricks so it would hang fairly level. With it
up in the air, you just roll the bike underneath it and
set it on the sidecar frame. |
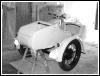 |
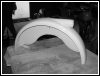
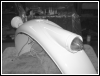
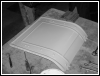
Here it's being lowered into place.
I put shop rags over the leaf springs to protect the
paint on the bucket. The tail is sitting on a step ladder
so the nose can be lowered and snugged first (for no
particular reason. I just did it like that.) The enlarged
image shows the whole setup. |
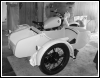 |
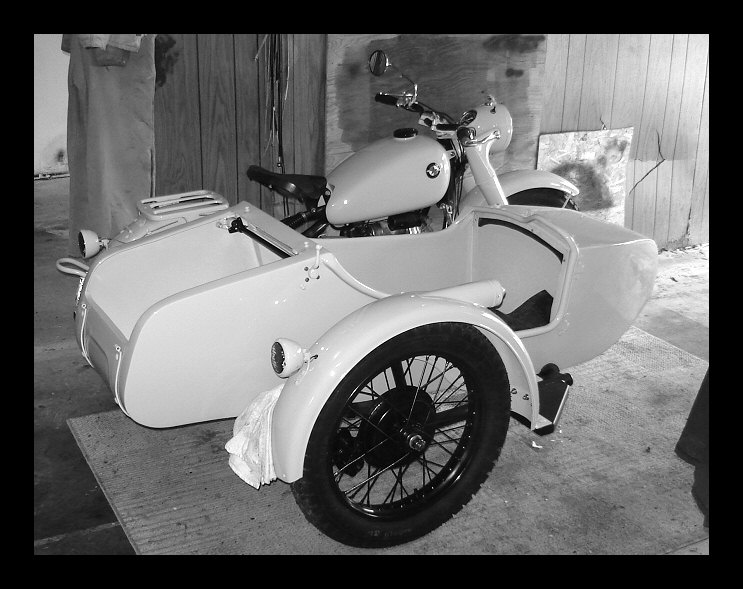
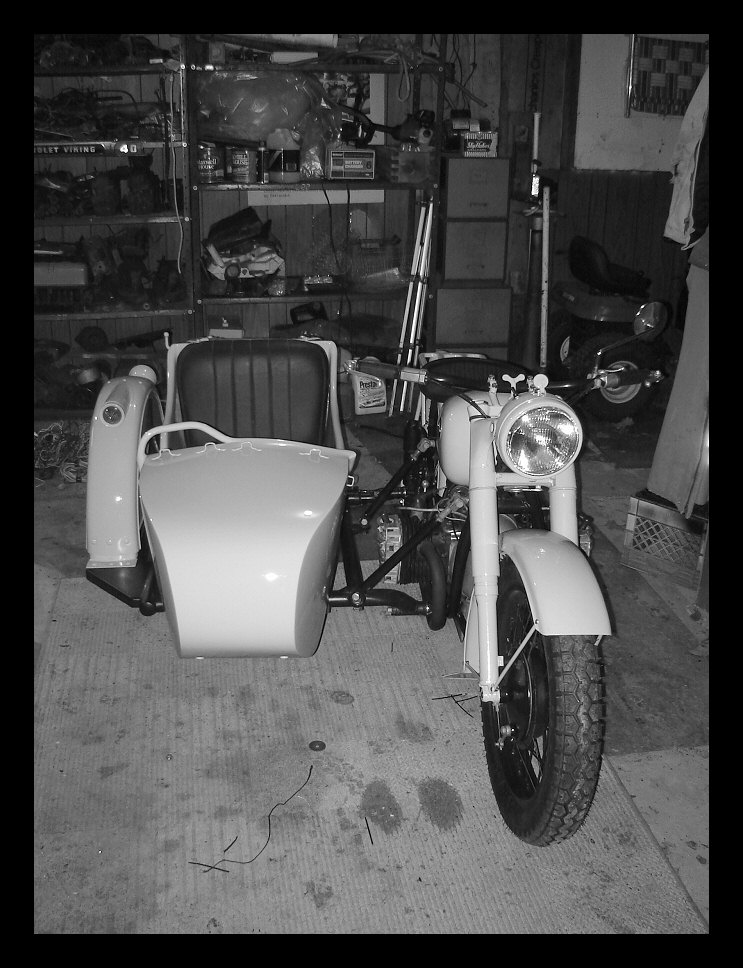
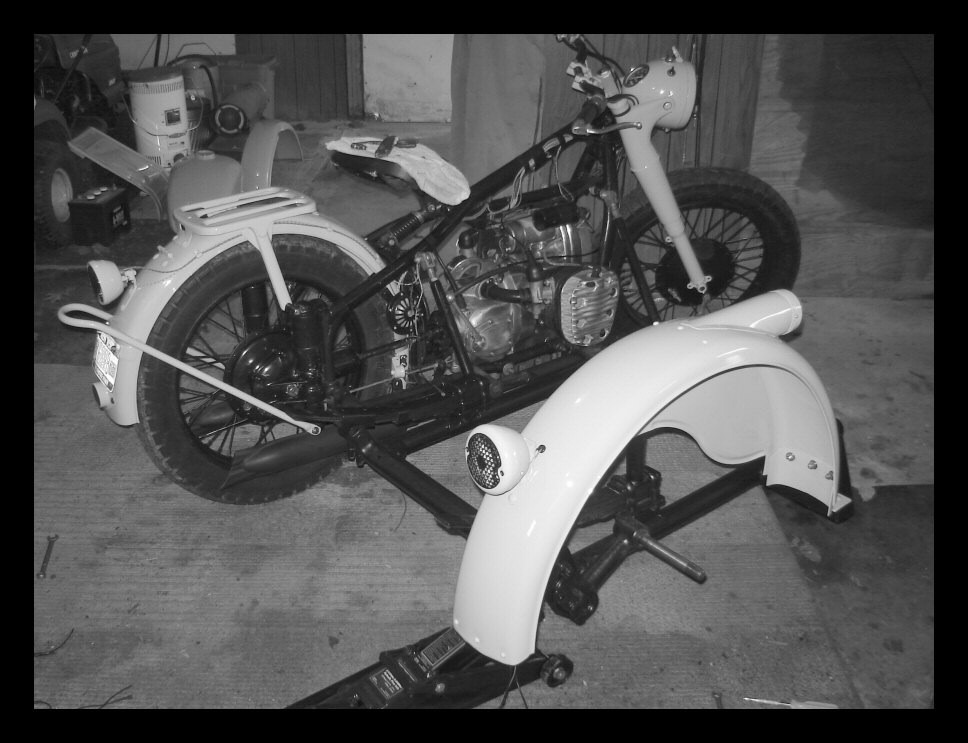
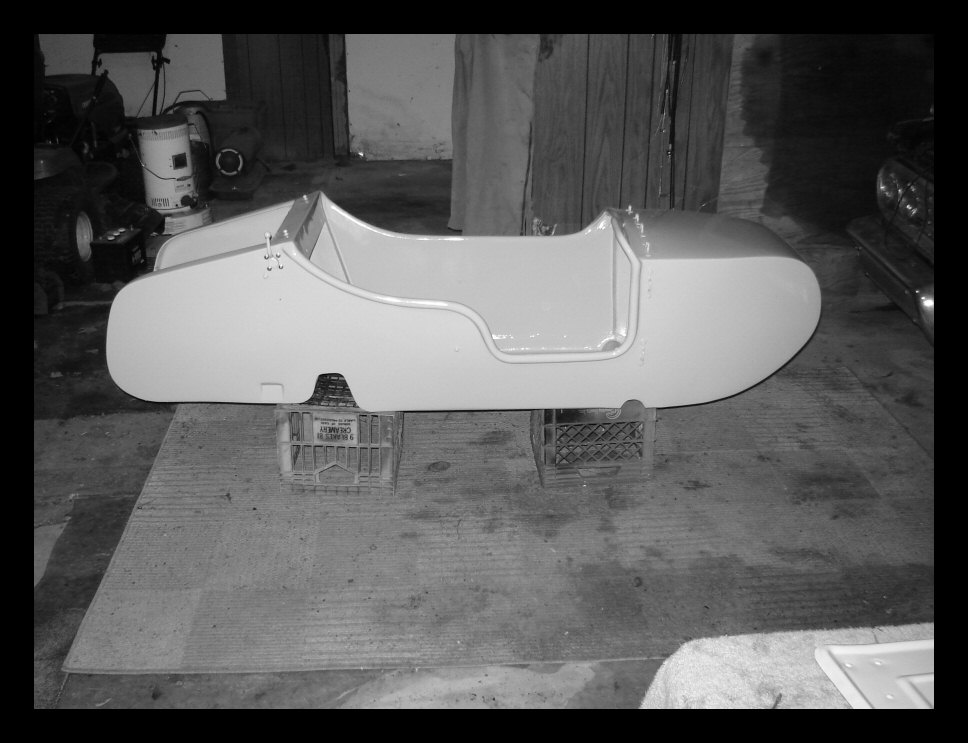
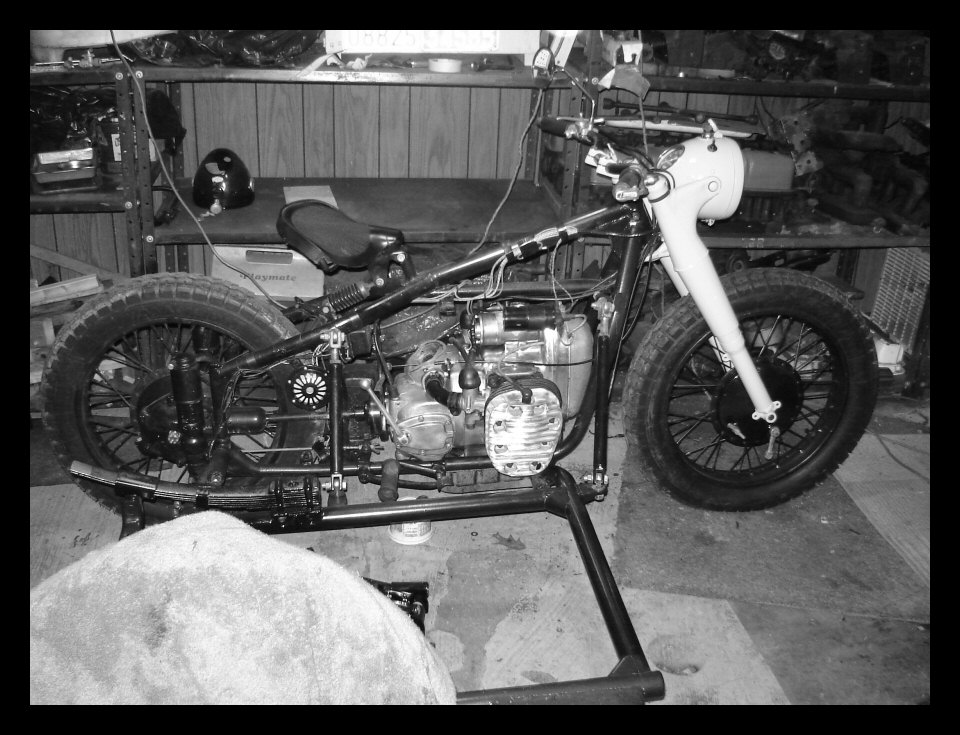
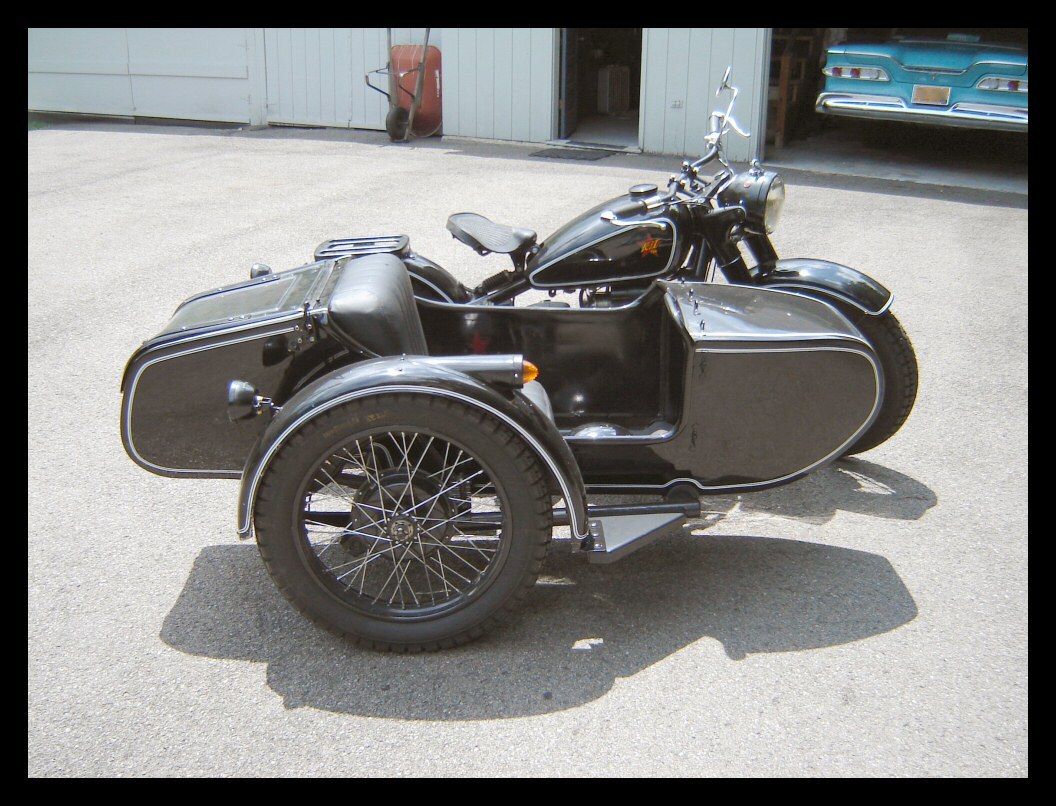
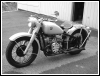
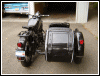
Sidecar in place, but there's still
so much more left to do... |
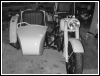 |
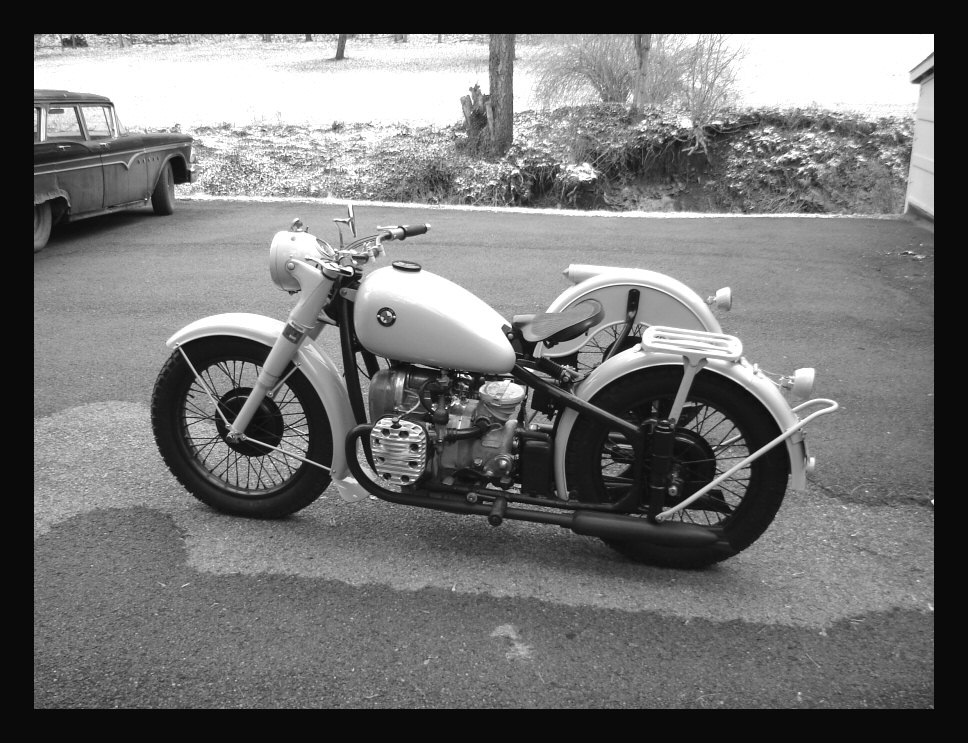
As of 6:00 PM, this year's big
winter project is now complete. Unfortunately, it was
dark so the official unveiling (in COLOR) will be
tomorrow. I'm totally pleased at how the project turned
out. |
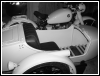 |
Consider this a little preview.
Having built the other bike twice, I learned a great deal
that I was able to apply this time around. I was able to
avoid all the mistakes I made doing my first CJ beauty
makeover, not to mention how fast this project went in
comparison. If a guy treated it like work as opposed to a
hobby, you could build a bike like this in under a week. |
|
|
 |
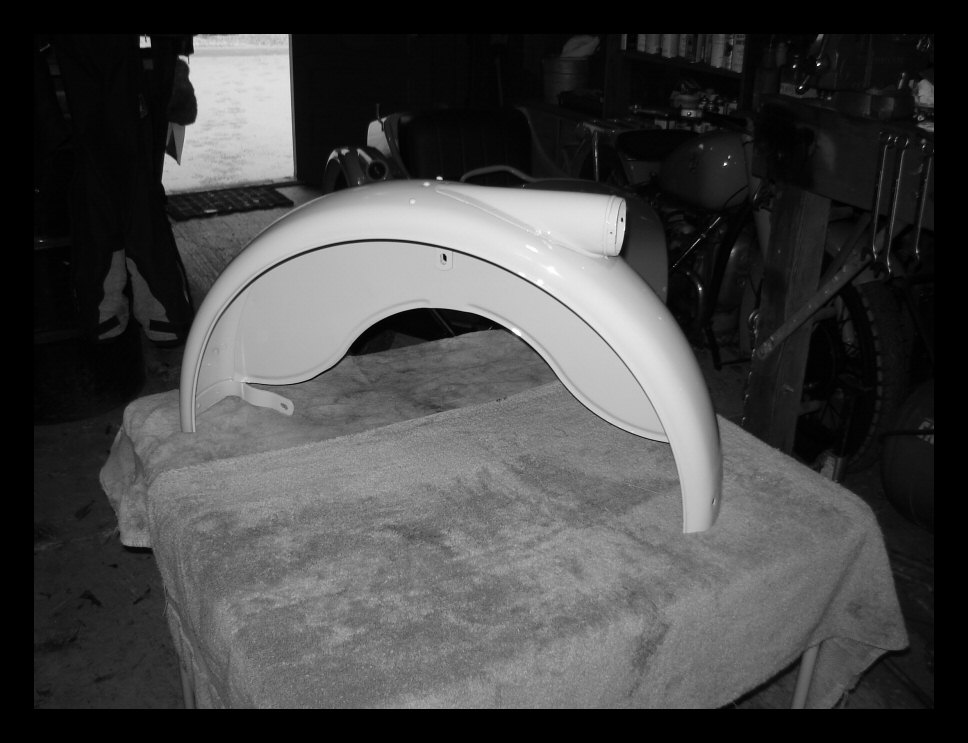
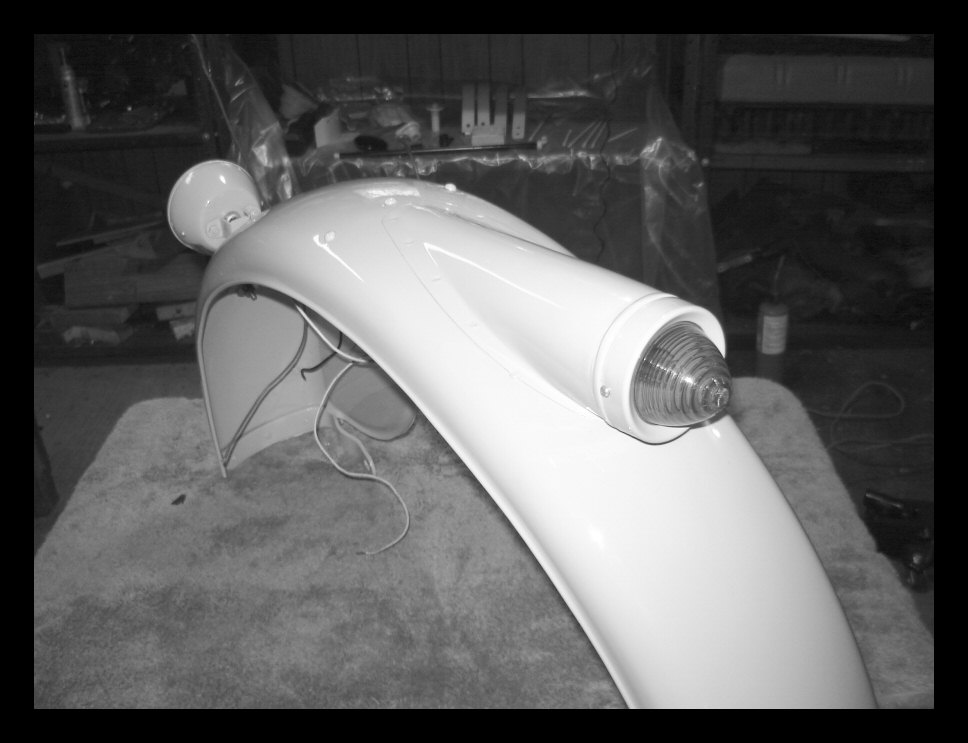
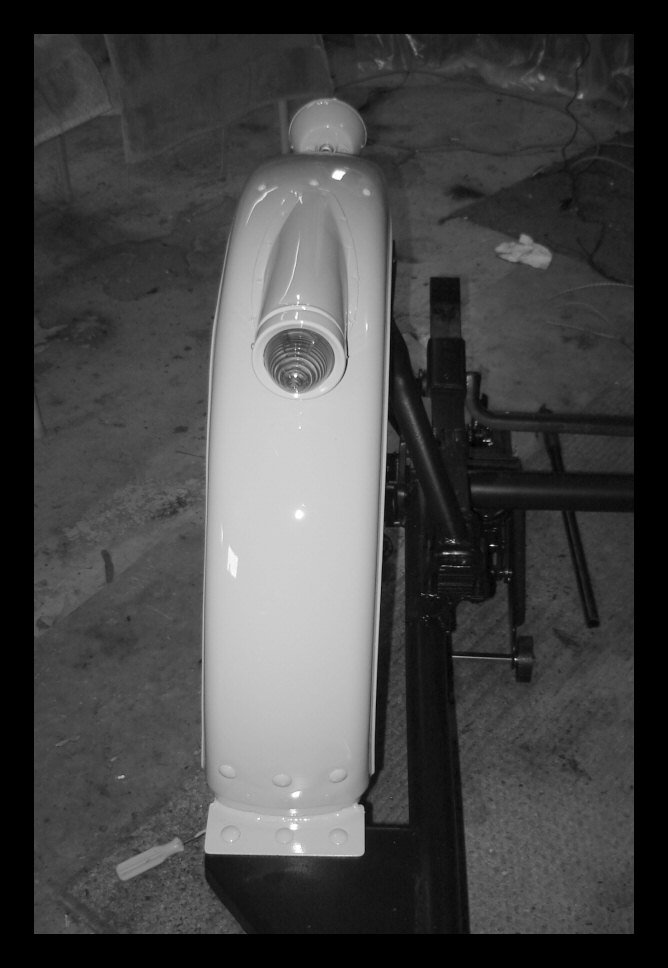
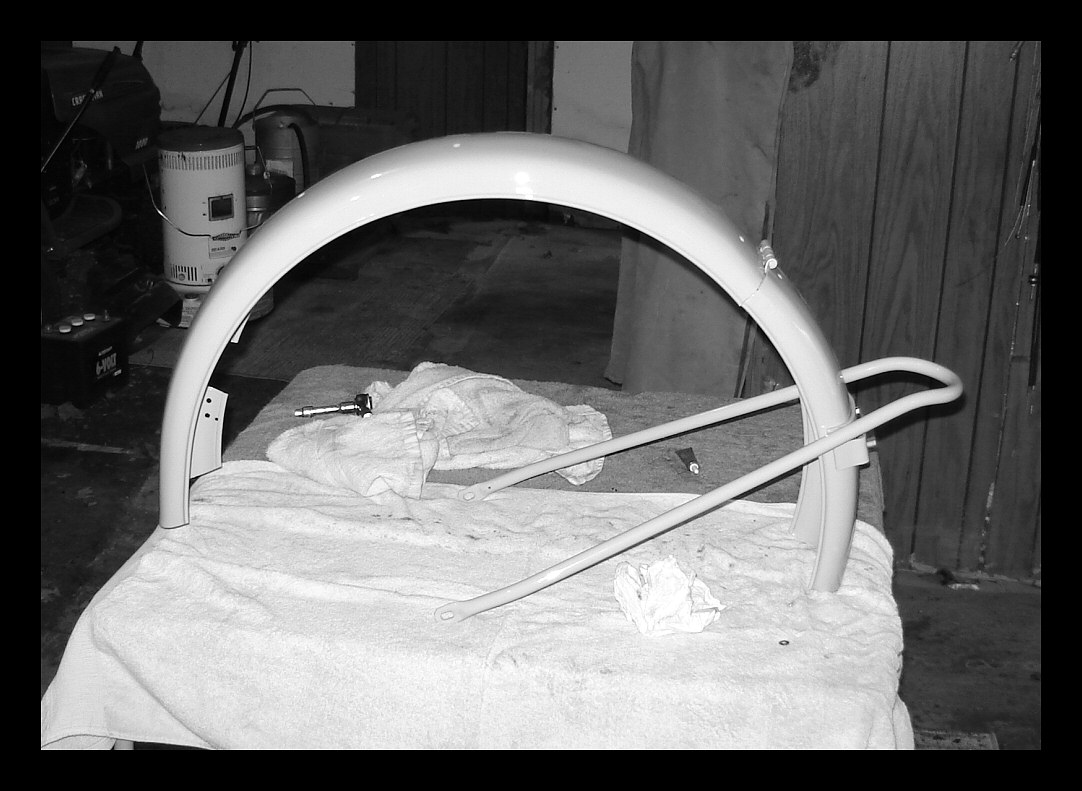
Today's shop session began with the
sidecar fender, freshly painted and ready to go. |
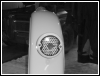 |
I mounted this 1930s car taillight
using stainless carriage bolts. |
 |
I made the bracket from some stuff
I got at the hardware store. |
 |
The running light lens is a
plastic, amber bullet lens from NAPA. |
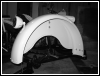 |
The fender is now finished and
ready to be mounted on the sidecar. |
 |
And there it is. The job went
easier than I expected... for a change. |
 |
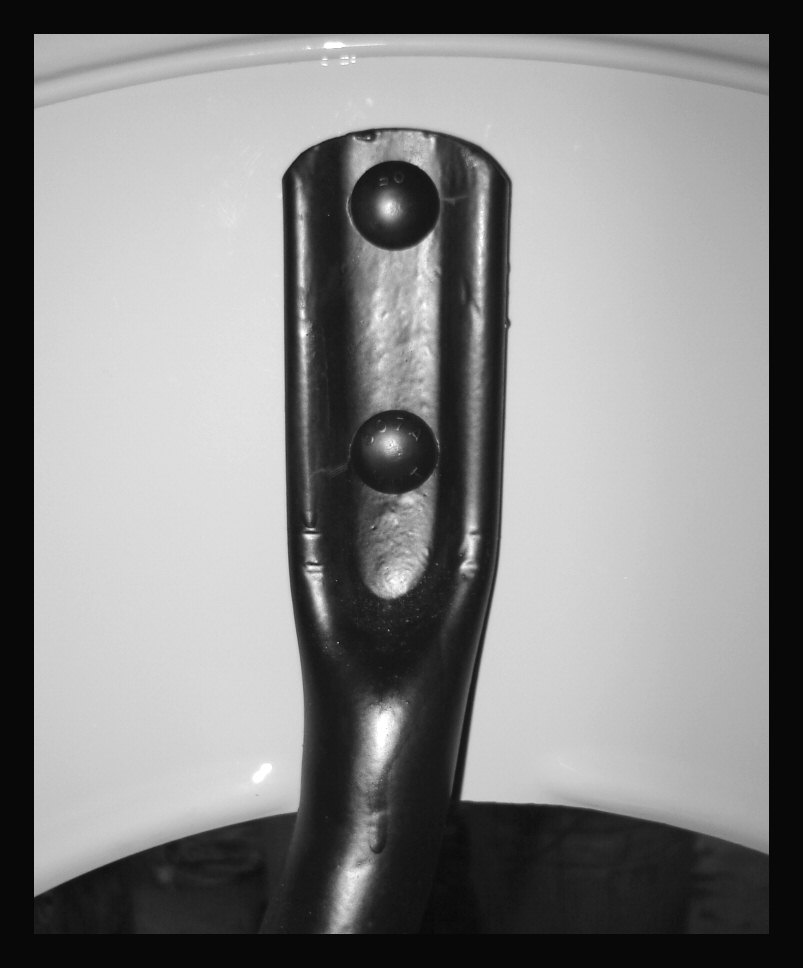
I used stainless carriage bolts on the
upright fender bracket. The heads are painted black. |
 |
Here they are again. |
 |
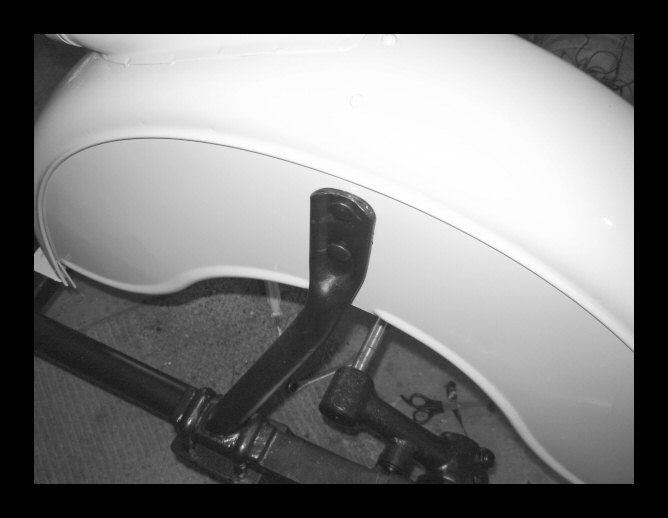
And carriage bolts on the lower,
front piece as well. |
 |
I'm pretty satisfied with this. |
 |
Here's the taillight, looking down
at it. The sidecar taillight wiring is inside the fender. |
 |
But the bike taillight wiring is
external. |
 |
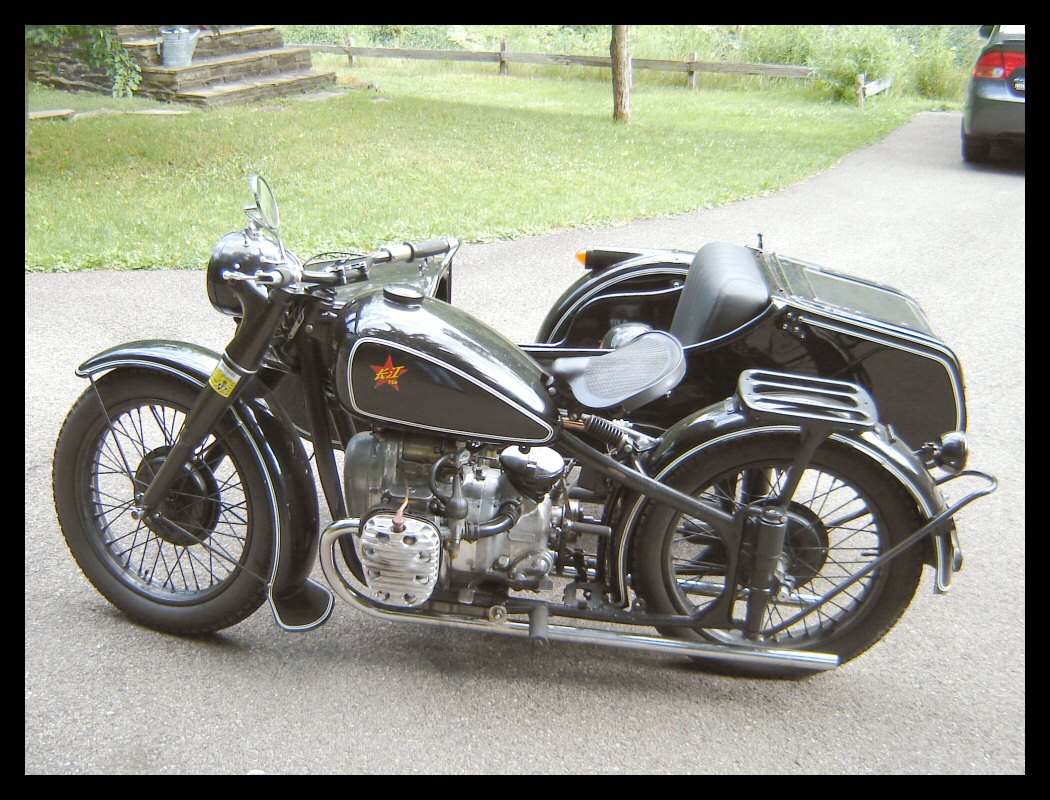
I also mounted the front fender
using a set of "slim line" fender brackets that
I made from tubing. The bike is finished except for the
sidecar bucket and a little cleaning up. |
 |
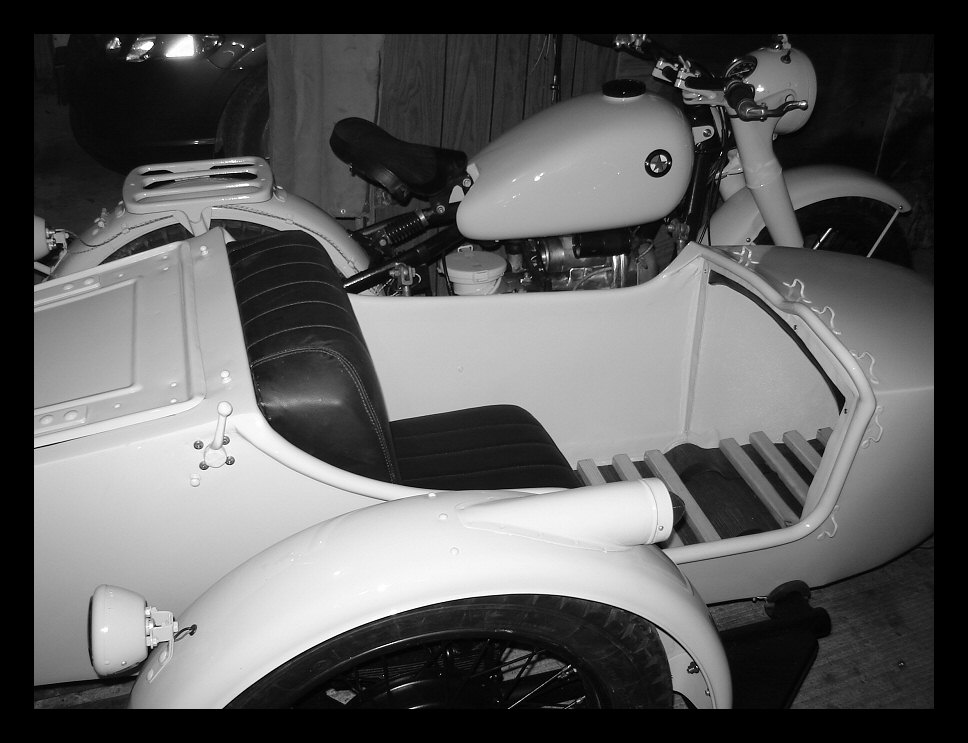
You can see Freddie's tank
badges. They look pretty nice on this bike. |
 |
Tomorrow I'll do the sidecar. I
plan to lower it from the rafter onto the frame,
otherwise I'll scratch the heck out of it. (That's from
experience.) |
 |
Are you wondering what the color
is? Here's a hint. It was widely used on Model A Fords. |
 |
Back inside the shop. I had to
clean up my mess before continuing with the project as
too much time was being wasted trying to find things
buried under all the crap that had piled up. |
 |
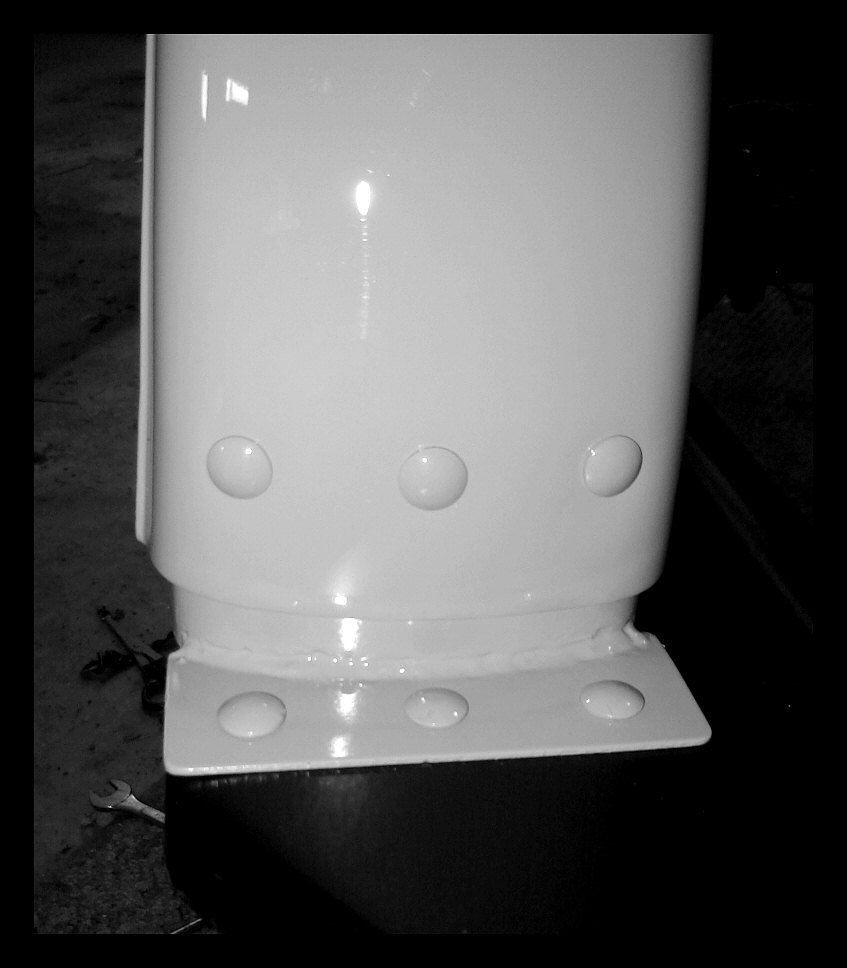
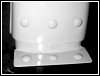
There's the bucket. All I did today was the
trunk latch and the lid. |
 |
The hinges are mounted on the trunk
lid, and that's it for today. I expect to have her done
tomorrow and will then be able to reveal the new, TOP
SECRET color. |
 |
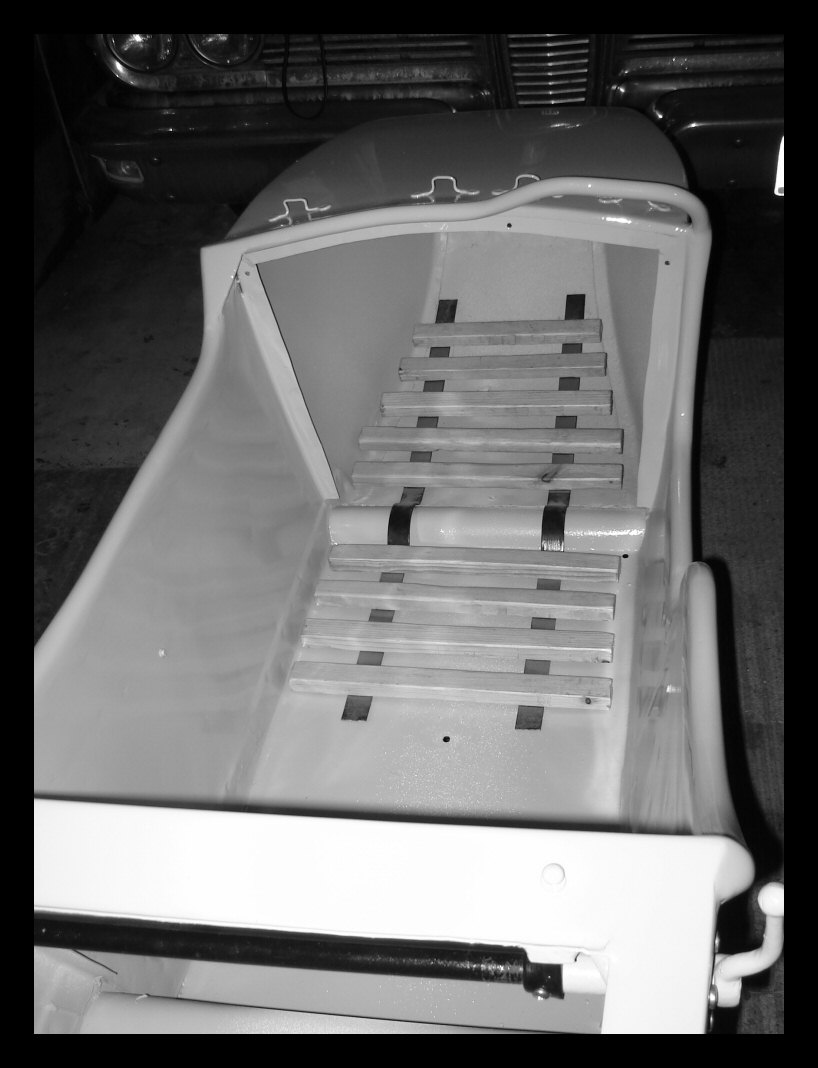
The FedEx guy showed up just as I
was leaving the garage, and low and behold, some new
duckboards (and some other goodies) from Jimbo's
Classic Sidecars. |
 |
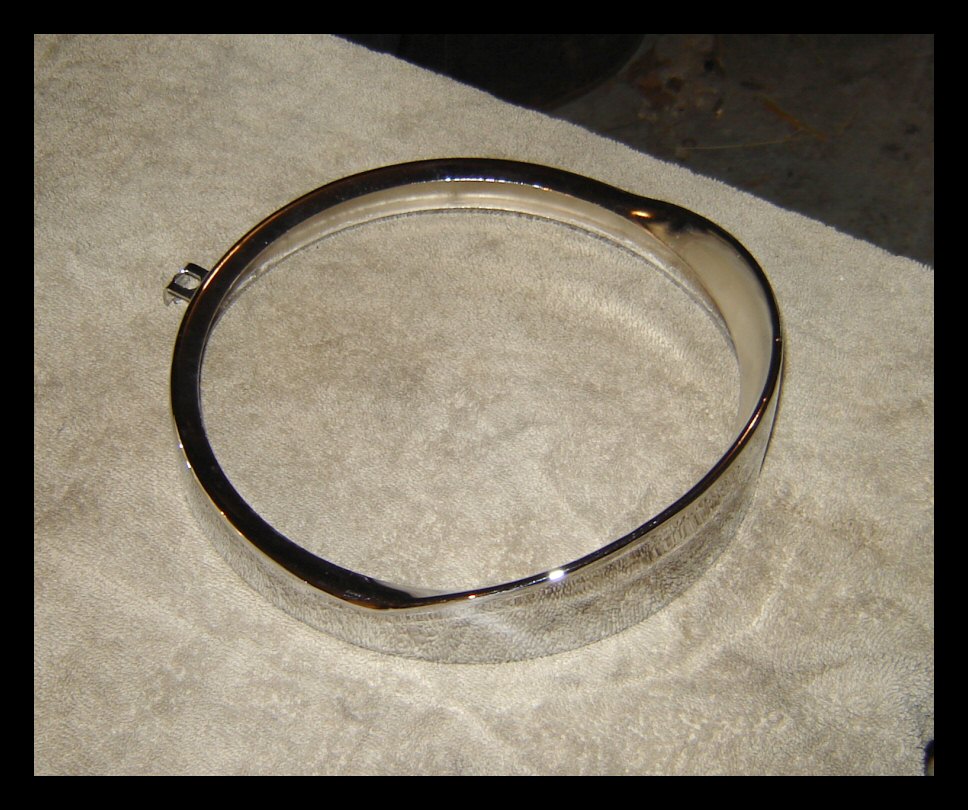
This item was included in the
shipment. It's a headlight bezel to replace the one that
got egged. It's chrome, so I'll be sandblasting and
painting it. |
|
|
 |
Sorry guys, but we're still doing
B&W until the official unveiling, sometime within the
next day or two. Meanwhile, I assembled and installed the
rear fender today. Here it is fresh from the paint shop. |
 |
For me, installing that big bracket
is always pretty interesting since it was originally
riveted to the fender. That's one thing I couldn't do if
my life depended on it. |
 |
So, this time I used SS hex bolts,
and getting the two outers to work was a pain in the
neck. When I go over the bike to touch up the paint, this
hardware will be sprayed to match the fender. |
 |
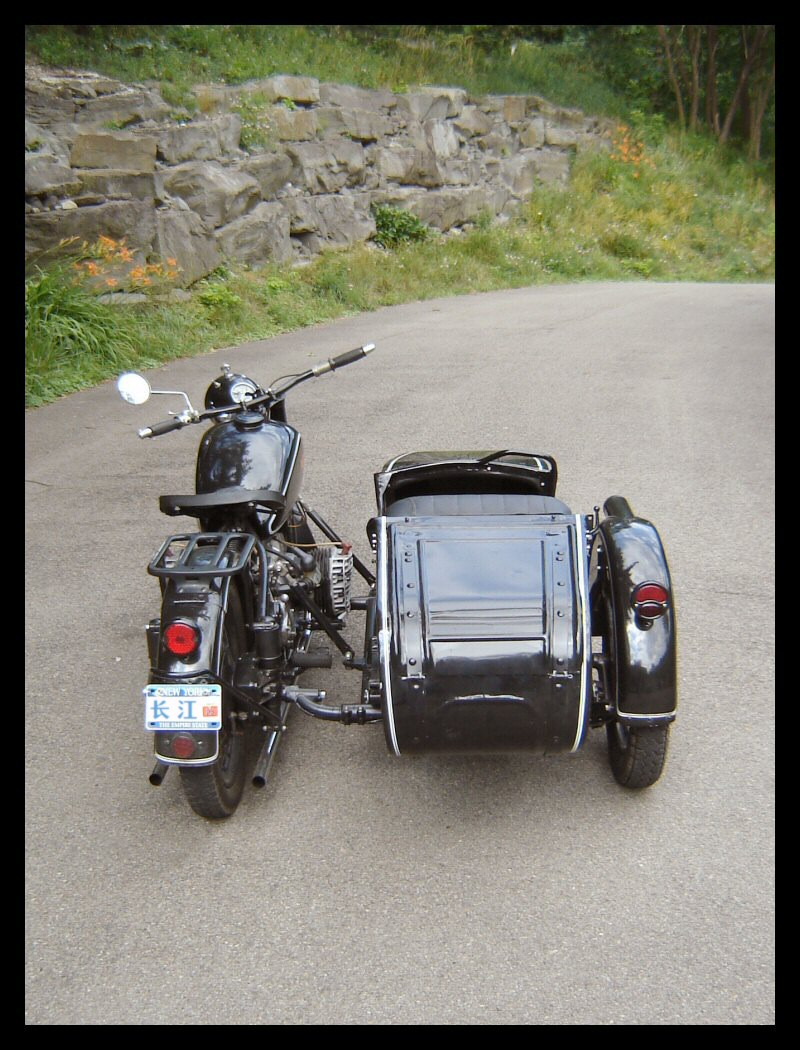
The taillight, license plate, wiring clips
and brake light switch are done. All that remains is the
reflector. The taillight wiring is exposed. It's antique
automotive wire with fabric insulation. |
 |
This took quite a bit more time
than I expected, but not enough to spoil the enjoyment. |
 |
Check out the black fishtails.
Tomorrow I'll may finish the bike unless I get too burned
out. |
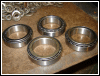 |
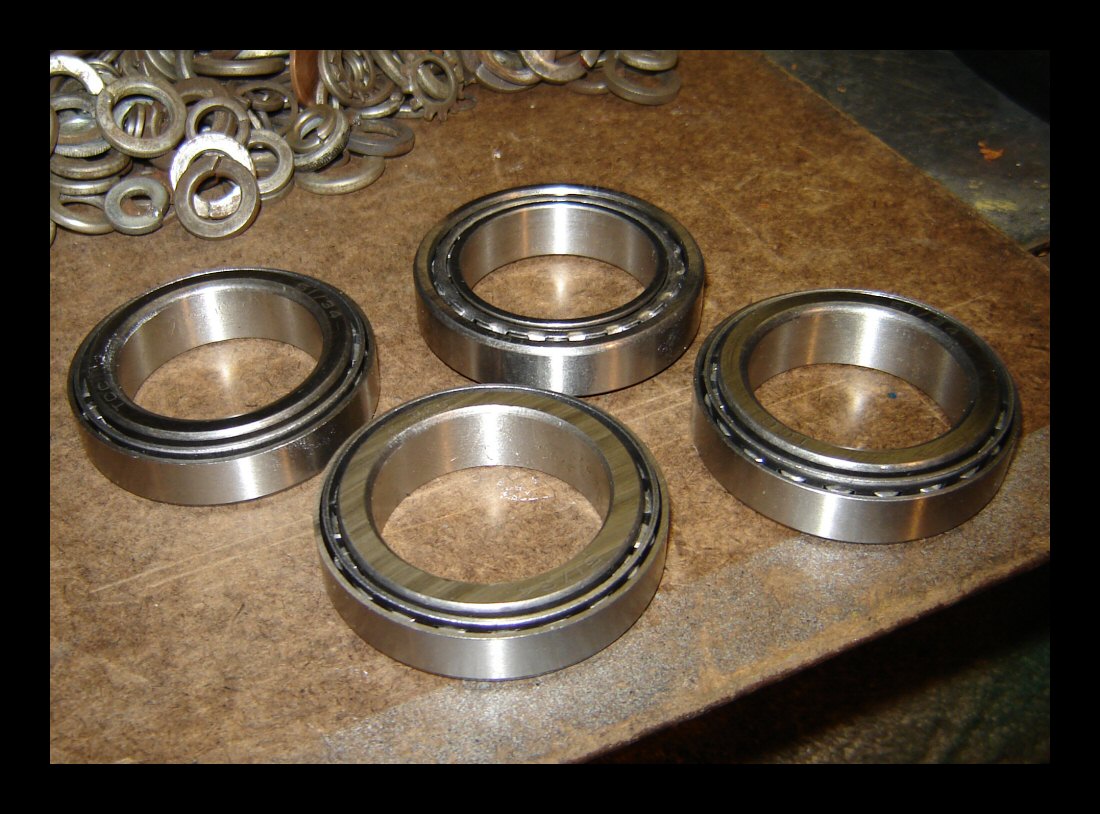
Meanwhile, in response to my
comments regarding the funky steering on the other bike, Miin
Leong & CJS came through
with not one but two sets of tapered bearings. The CJ
parts network is really great. I'll get going on the grey
bike as soon as this one's done. |
|
|
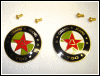 |
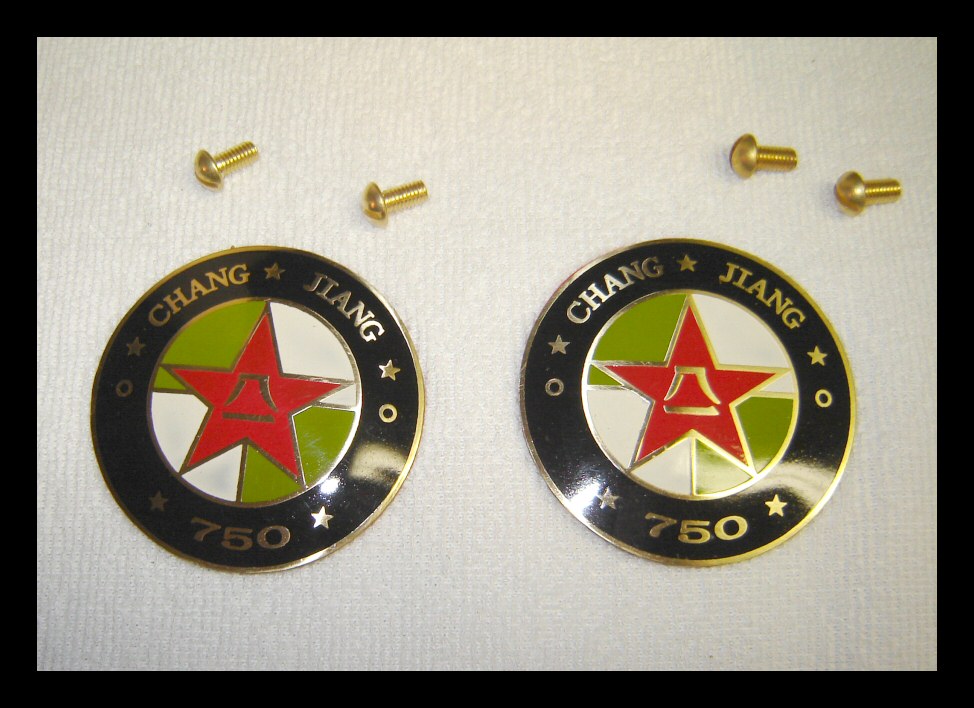
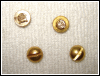
Here's a pair of Freddie's
tank badges. They'll be attached to the tank using
adhesive, however Freddie suggested simulating the use of
screws for cosmetic reasons. So based on what he showed
me, this is what I did. |
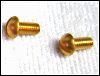 |
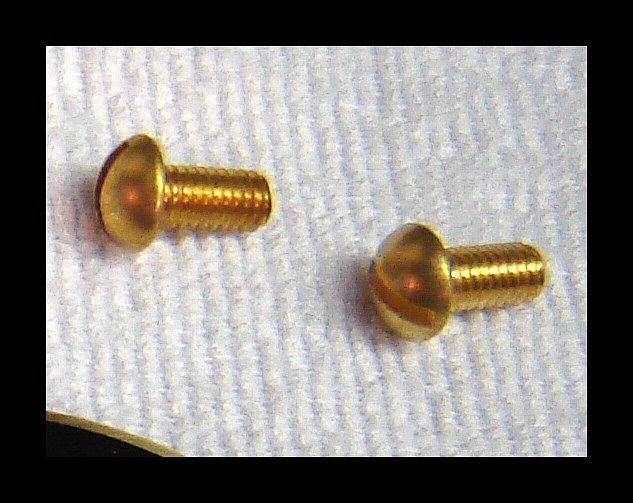
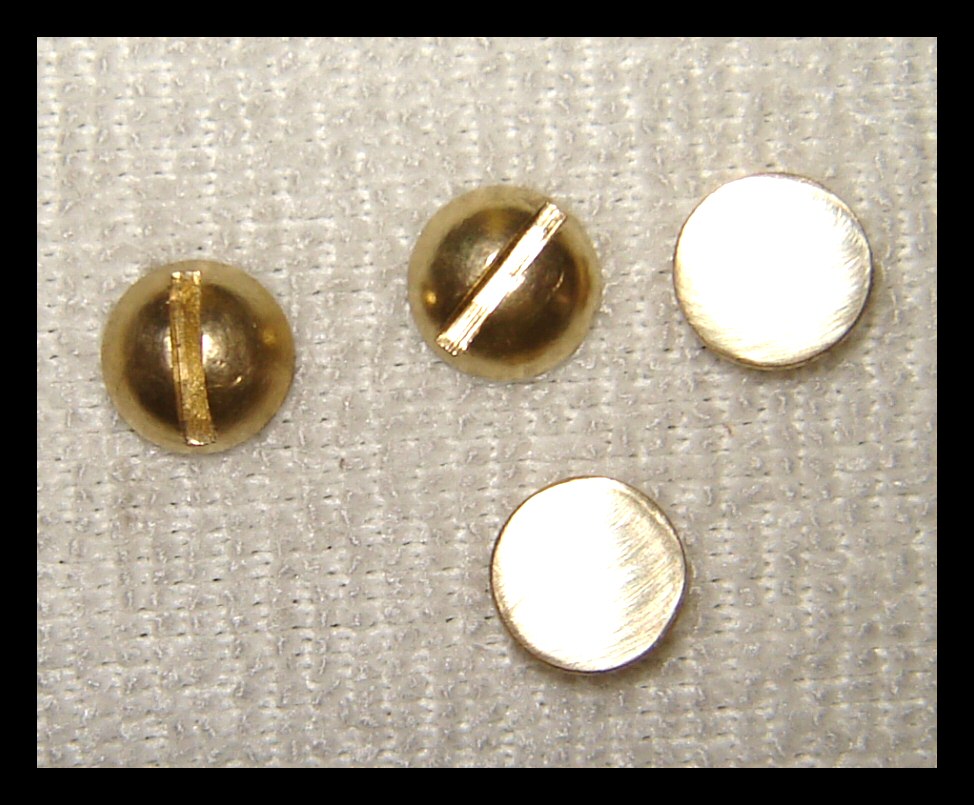
I chose brass for several reasons.
First, it looks good with the colors found on the
emblems. Second, it's soft and very easy to work with. I
wanted to use Philips head screws but the only ones
available in town had countersunk heads, so I got slotted
heads instead. I chose a slightly large head to provide a
bit more surface area for the epoxy. |
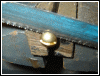 |
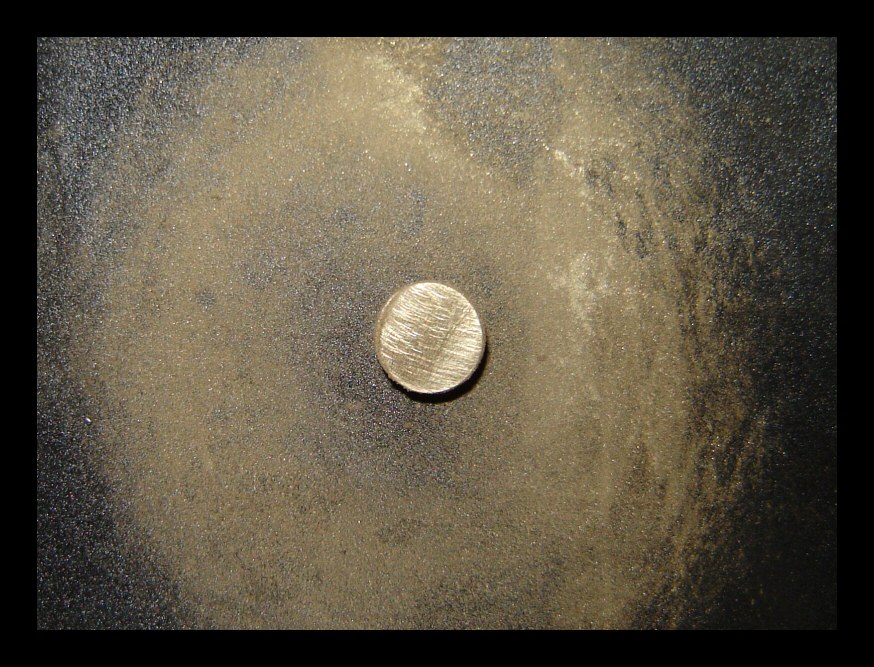
First, you cut the heads off the
screws. Cut just far enough away from the head so as not
to chew it up with the hacksaw blade. Freddie used a
Dremel tool to do his, but since I can't find mine, a
hacksaw it is. |
 |
The heads are off the screws but
not quite ready to use yet. |
 |
I swirled them on some medium emery
cloth until the burrs were gone. |
 |
Then I swirled them on some very
fine paper until they were as smooth as glass. With
brass, the entire swirling operation for all four screws
takes about five minutes. |
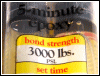 |
Here's the epoxy I used. I wouldn't
recommend using cyanoacrylate glues as they leave a nasty
white residue that can wreck the whole project. |
 |
Done. Whattayathink? |
|
|
 |
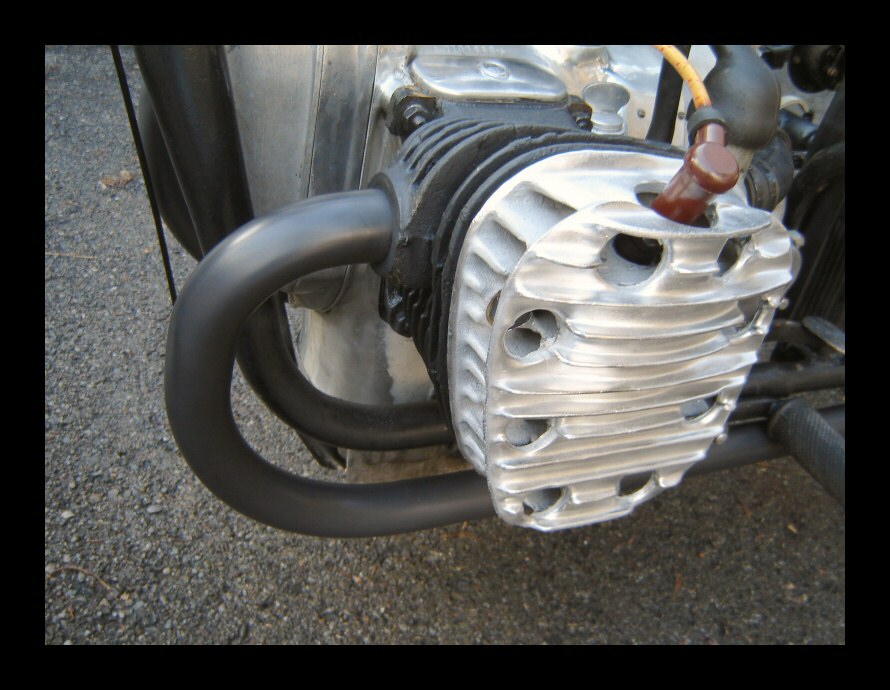
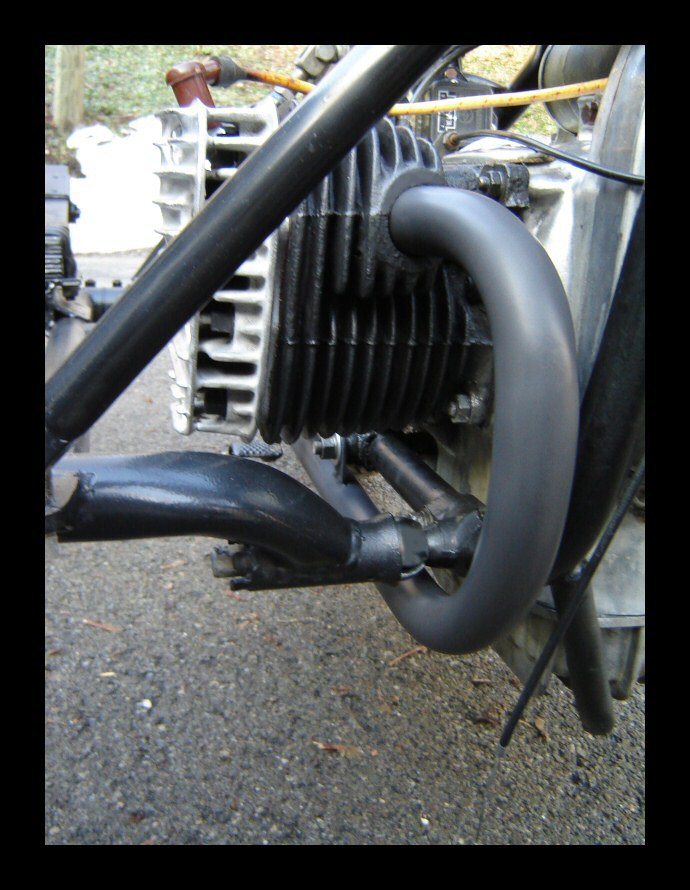
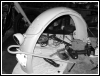
My experience with black headers
from China hasn't been very good. My first set came with
my grey DTE bike. The entire exhaust system was coated
with porcelain enamel and it really looked terrific...
until it got hot a few times. Then the porcelain chipped
and flaked like nobody's business. My second set was a a
pair of chrome headers that had been painted. |
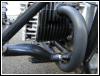 |
They lasted one ride. So, if you
want something done right, do it yourself. One option was
to spend a lot of money and have the headers powder
coated. The second was to spend hardly any and paint them
myself. Sand blast them thoroughly first, then make
certain they are absolutely free of any oil residue, and
last, shoot them with a high quality 1200° stove paint. |
|
|
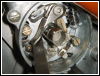 |
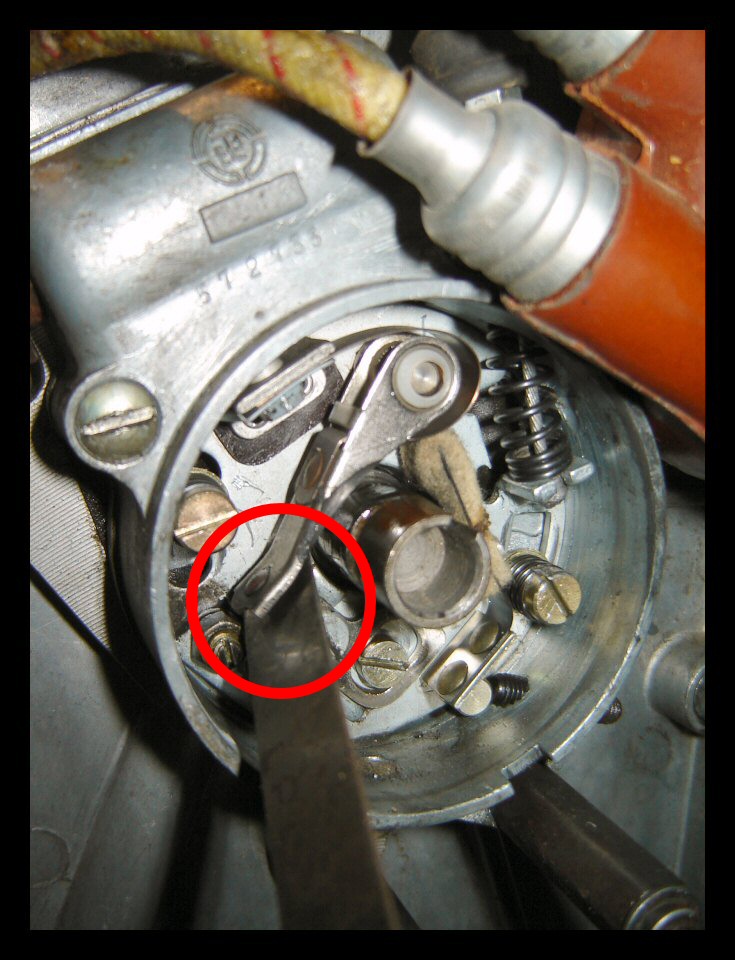
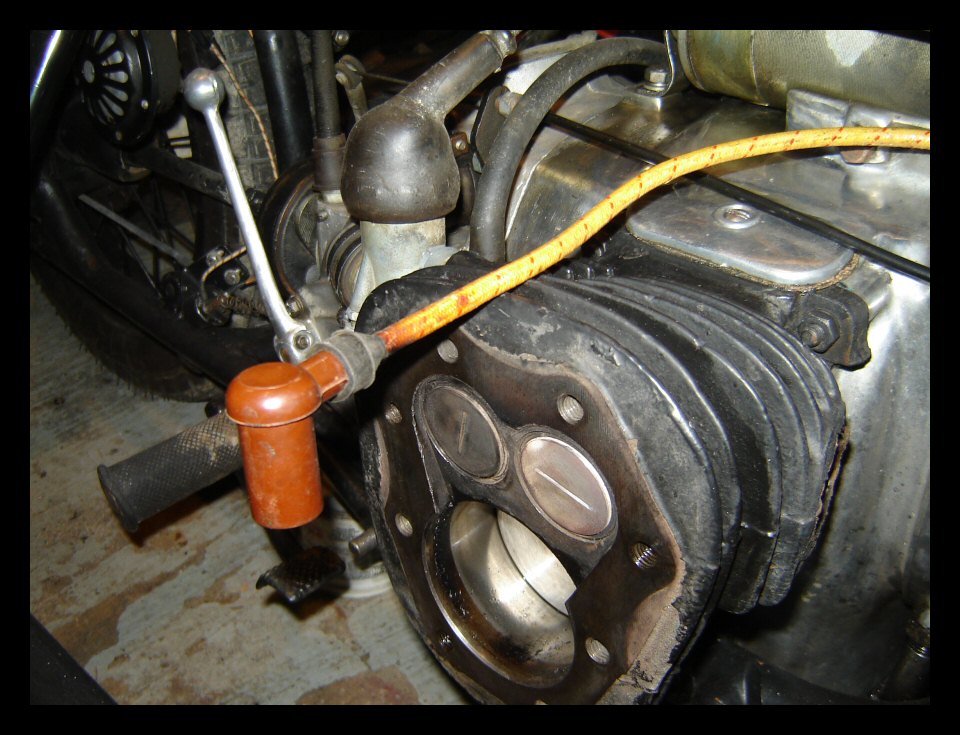
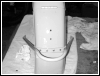
I replaced the plug wires today and
since the front cover was off, I checked the gap on the
points. I was looking for .018" ( 0.46 mm) which is
exactly what I found. No adjustment was necessary this
time. |
 |
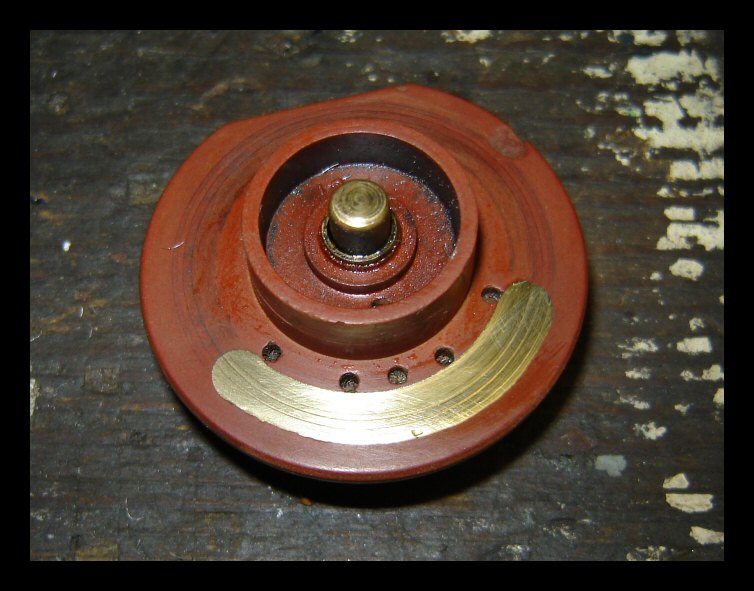
The rotor was pretty dirty and had
residue from the contacts inside the distributor cap, so
a little solvent on some fine steel wool cleaned it right
up. I shined up the center button, too. |
 |
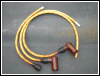
The new plug wires. The old-style
fabric insulation and bakelite terminals are one of
greatest detail items on these bikes. Since this bike is
getting a beauty makeover we might as well do the plug
wires too. |
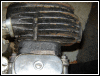 |
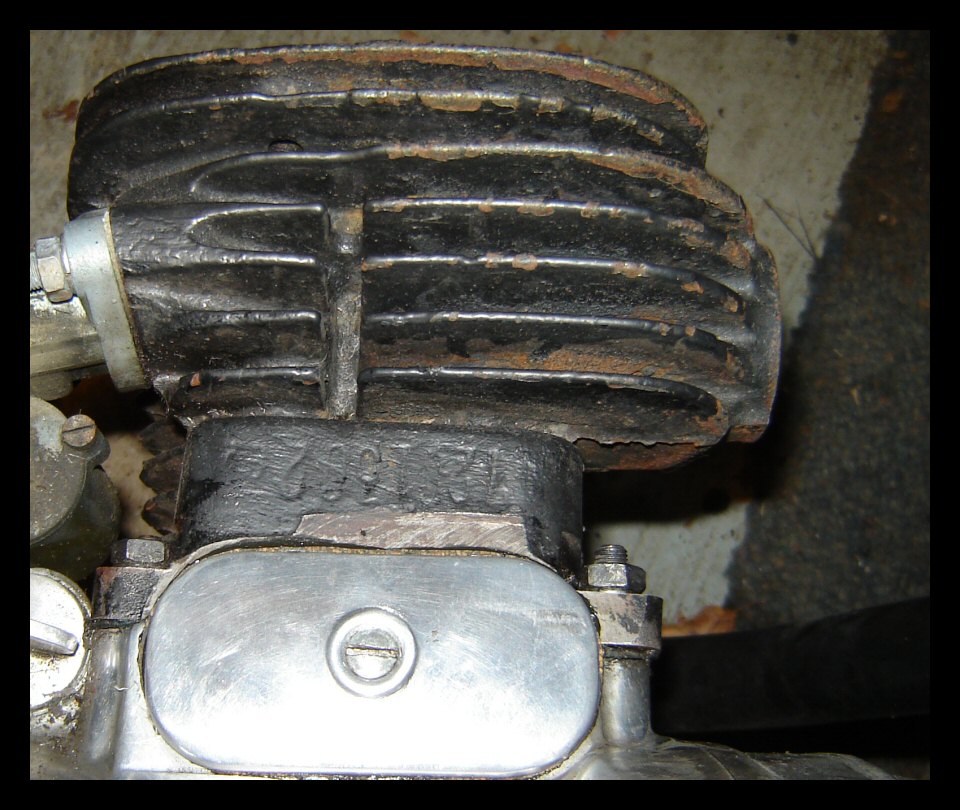
I probably should remove these jugs
and sandblast them... |
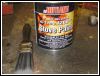 |
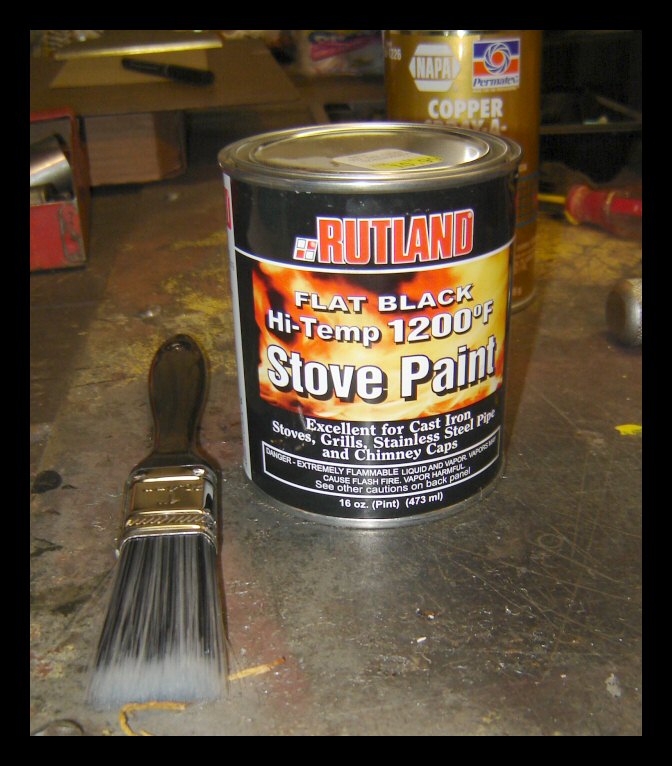
...but maybe next year. For now,
it's Rutland Hi-Temp stove paint and a 1" brush. |
 |
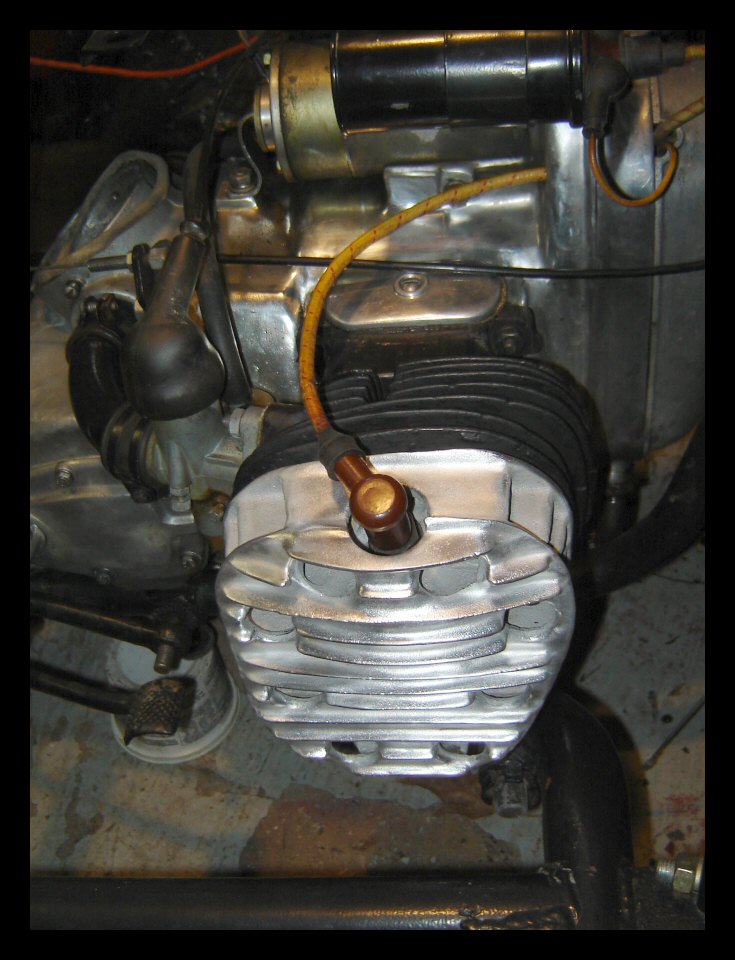
In this picture, the paint is only
partially dry. You can see that it's still wet in the
valleys. It ain't perfect but it's a far cry better than
before. |
 |
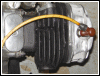
Starting to look pretty good. It's
funny, but as I work from the front towards the back of
the bike, it gets cleaned and detailed as I move along.
At this point, everything from the gearbox aft is still
pretty dirty and nasty. |
 |
Since the taillight wiring will be
mounted externally on the rear fender, I wanted to use
some wire that would look appropriate and look good.
Here's some old automotive wiring from the 1940s,
complete with fabric insulation. |
 |
Slowly but surely, everything is
falling into place. |
|
|
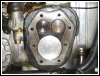 |
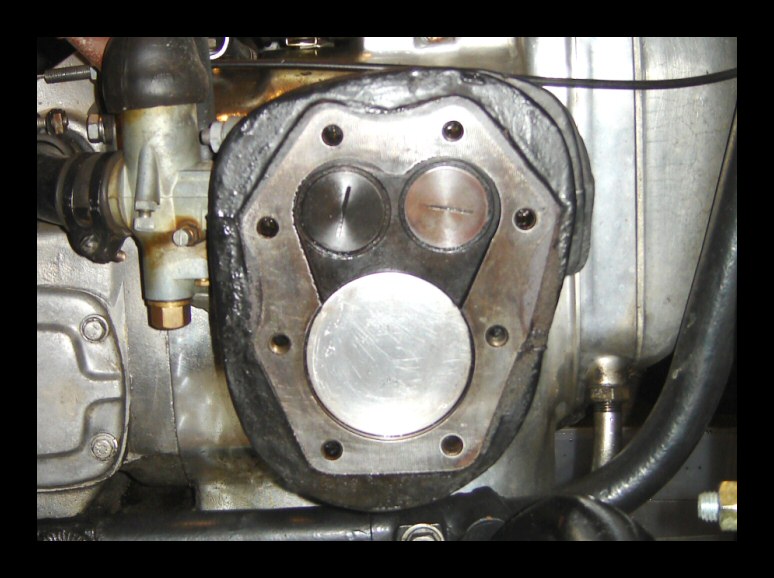
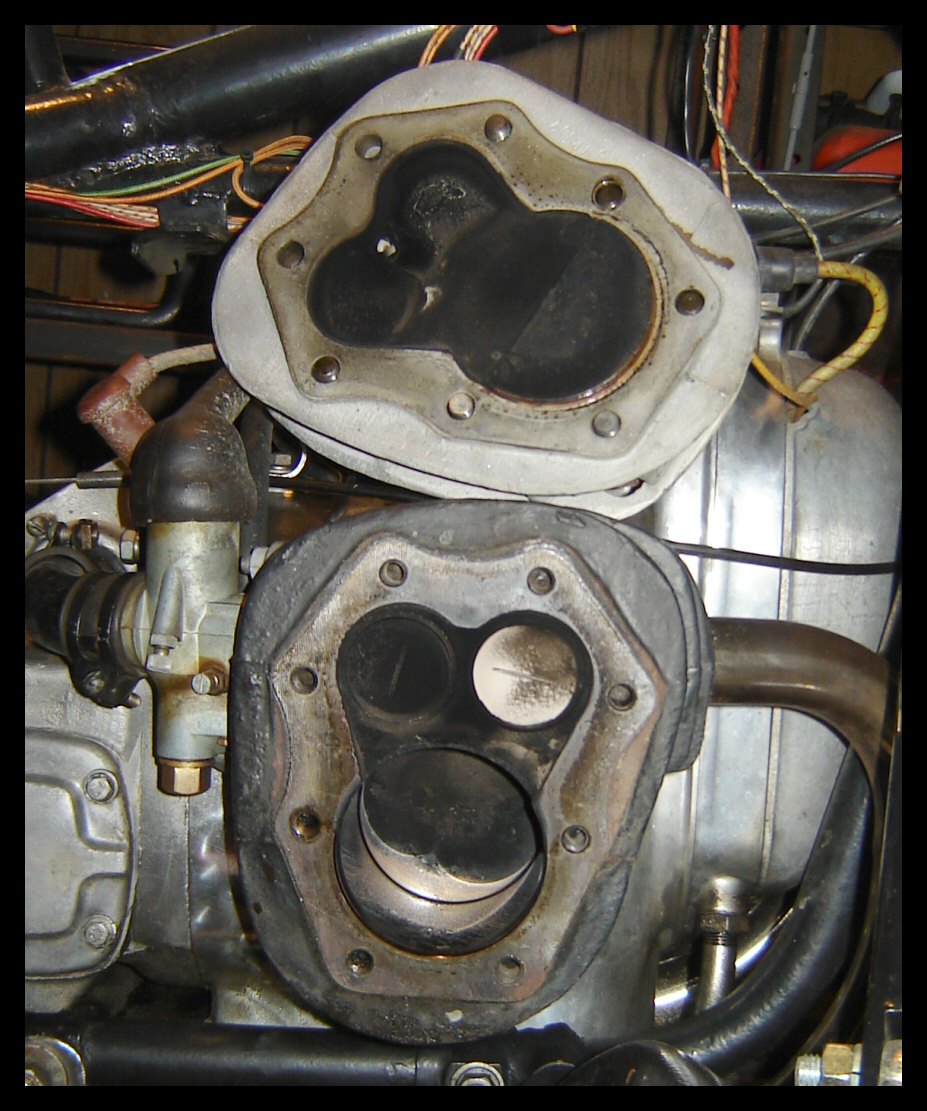
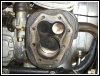
The decoking is done and it went very well.
There really wasn't that much crud, but it was as hard as
a rock. Even so, it didn't take but 10 or 15 minutes per
side. The valves will be adjusted and then the jugs will
be painted before I stick the heads back on. |
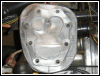 |
The heads cleaned up very nicely. I blasted
them on all sides with fine sand. Now they look brand new
again. The casting quality of this set of heads is really
excellent. I've got some other ones upstairs that were so
poorly cast that I'll probably never use them simply
because they look awful.. |
 |
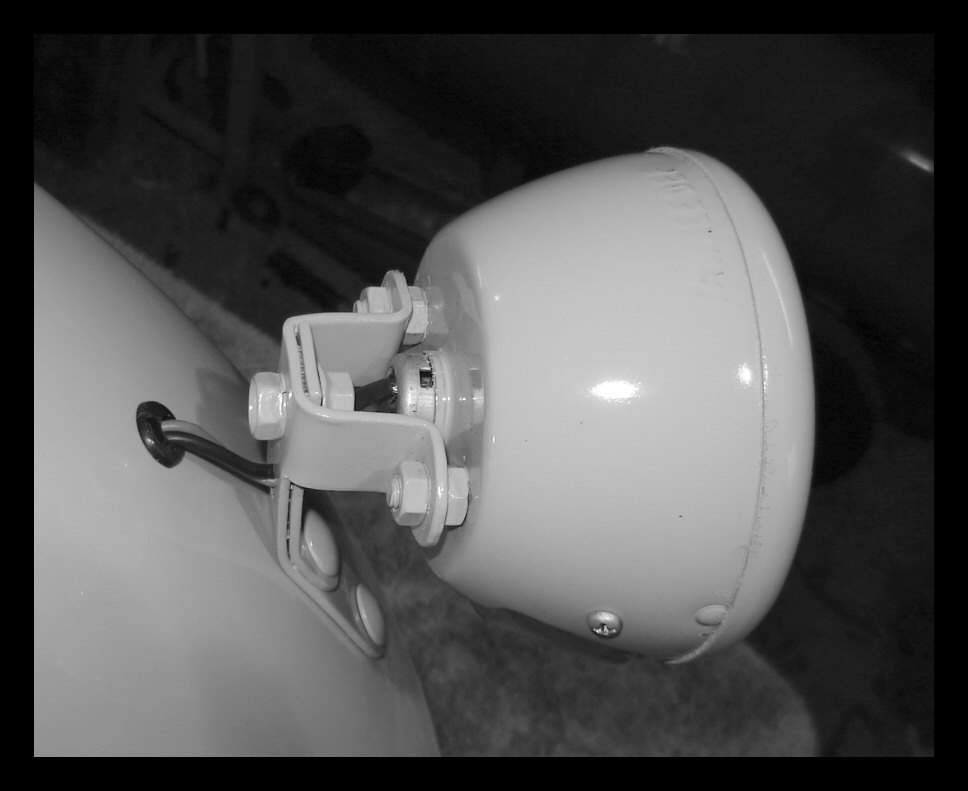
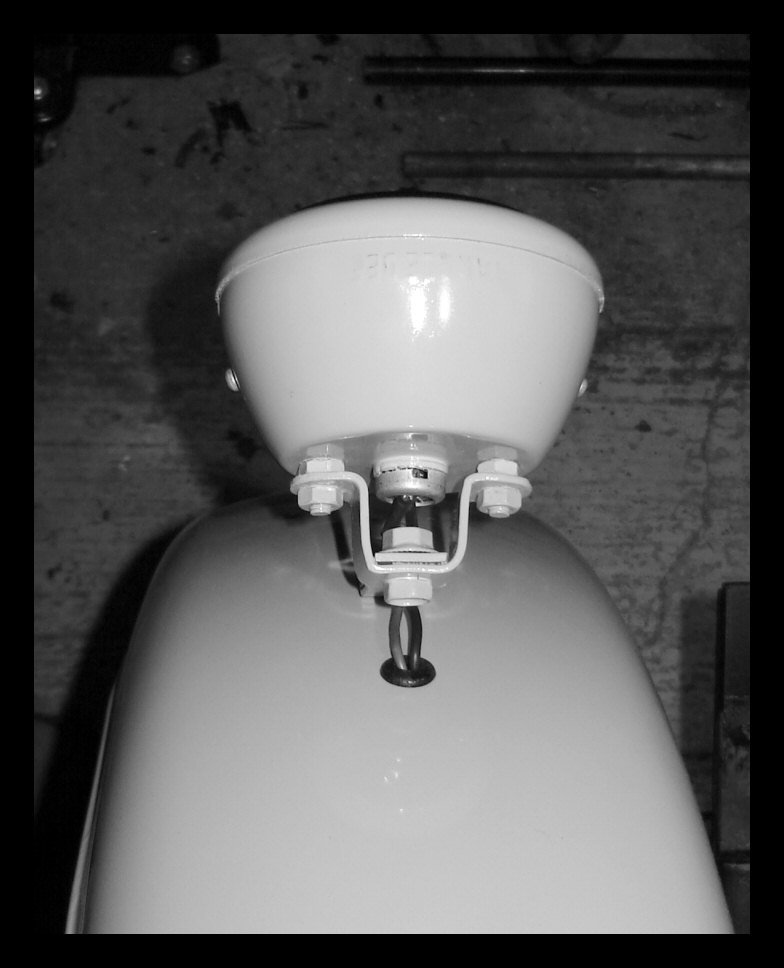
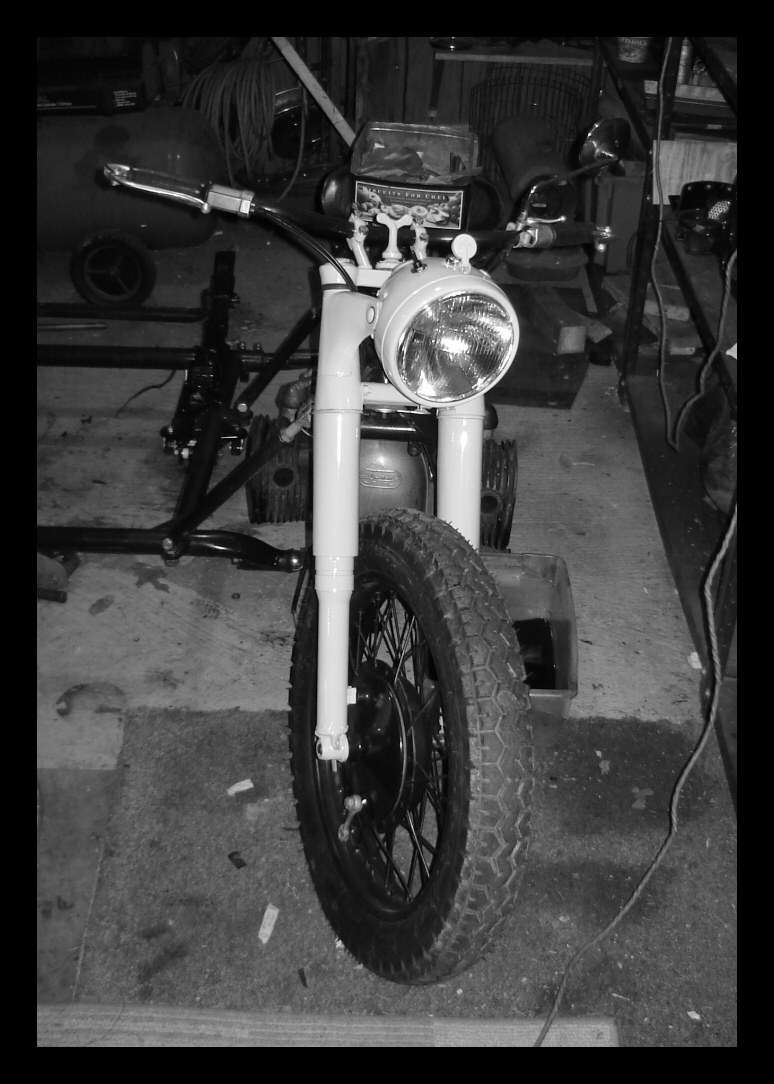
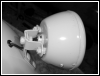
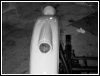
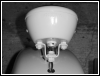
There's the headlamp, but getting it sorted
it didn't go without incident. While I was looking for
some washers, it rolled off the workbench and onto the
cement floor, slightly damaging the new paint and giving
the bucket sort of an egg shape. Luckily, I have another
one that will get painted within the next day or two. |
 |
Does anybody have a spare headlamp bezel
with the visor? I'll swap you something for one or will
buy it outright. Although this R71 style bezel looks
nice, the quality is piss poor. It's just too flimsy. |
 |
Here's a driver's-eye-view. What you don't
see is the huge mess that now covers the entire garage.
It will get even worse tomorrow. |
|
|
 |
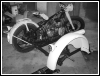
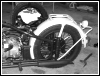
Getting ready for some decoke action. I
expected there to be a lot more carbon than this given
the fact that it's been two years since the last decoking
session. I run the bikes with rich fuel mixtures to keep
the heat down. This job won't take very long at all.
While the heads are off I'll also touch up the black
paint on the jugs. |
 |
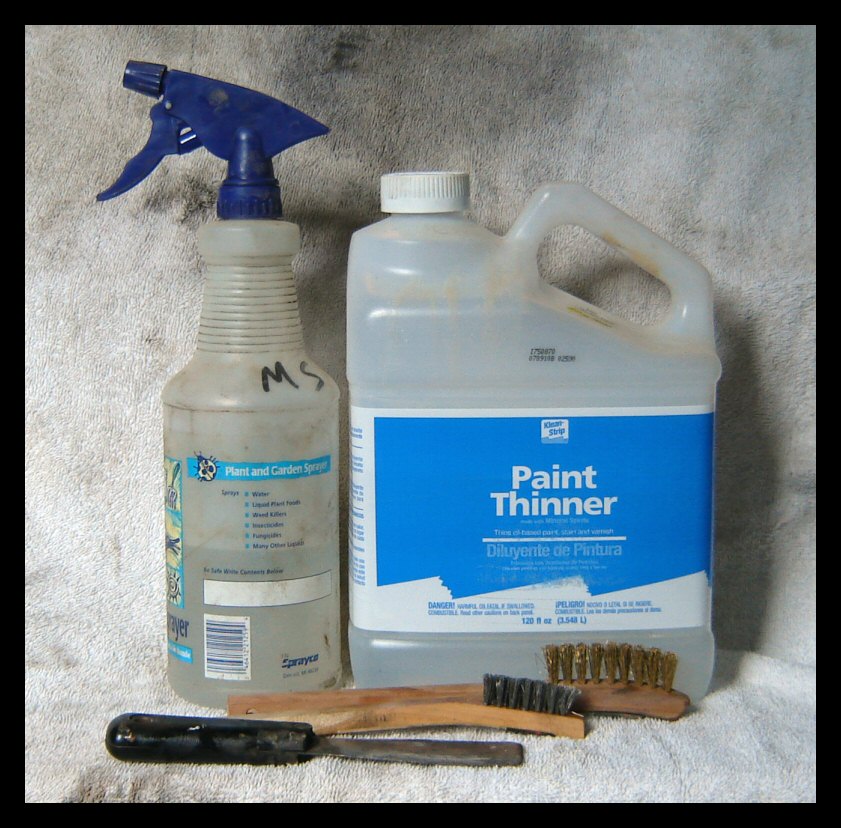
This is the decoking kit. What's not shown
here is the elbow grease. I'll be using using quite a bit
of that. To clean the heads I'll simply hit them with the
blaster. Might as well change the plugs and adjust the
valves while we're at it. |
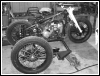 |
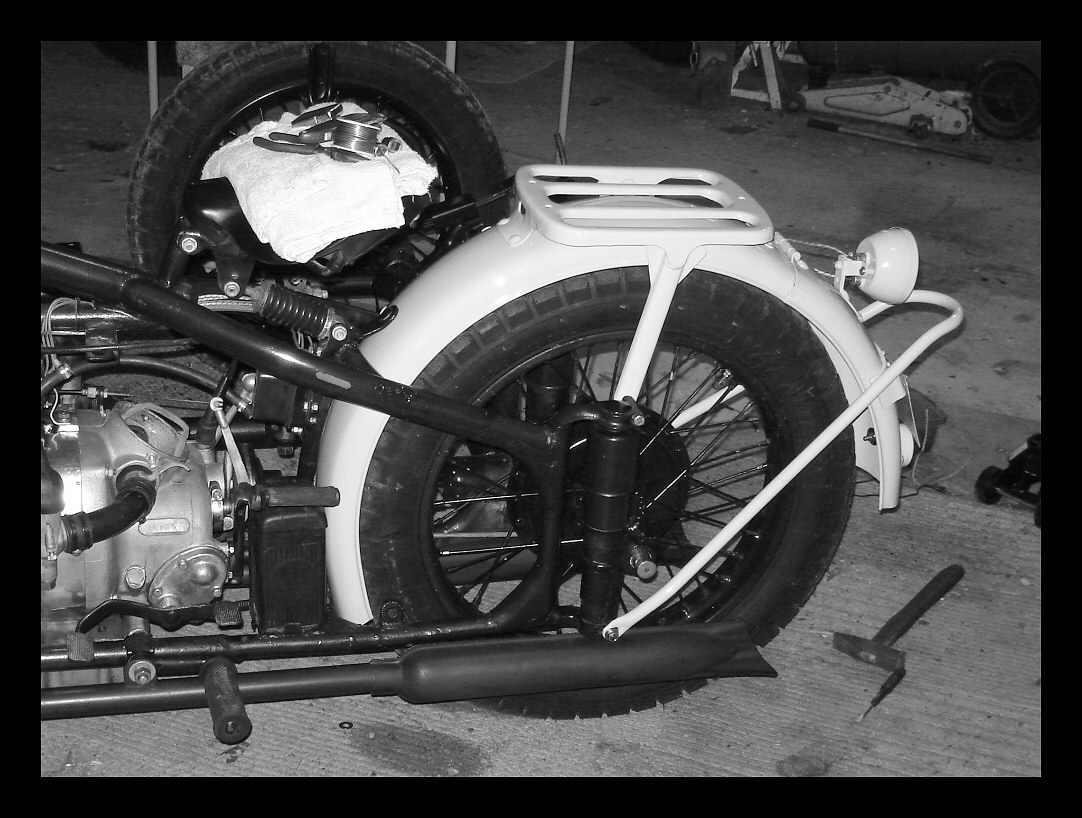
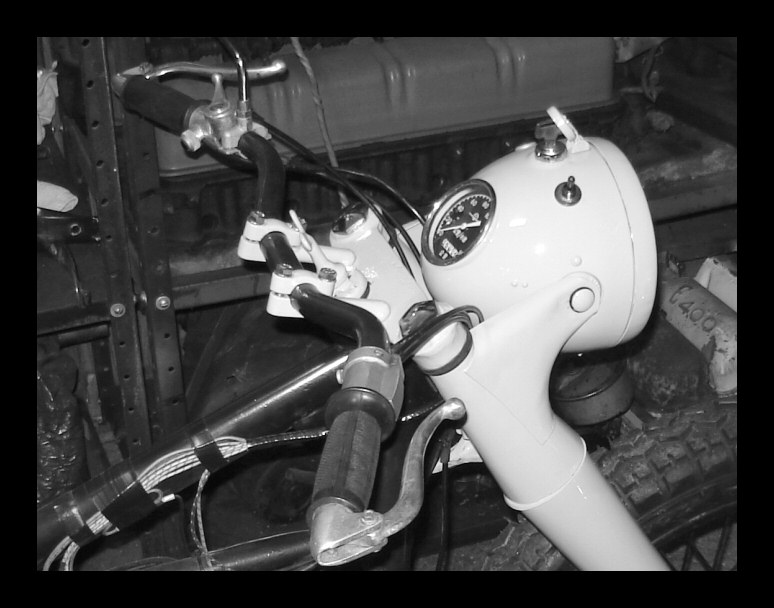
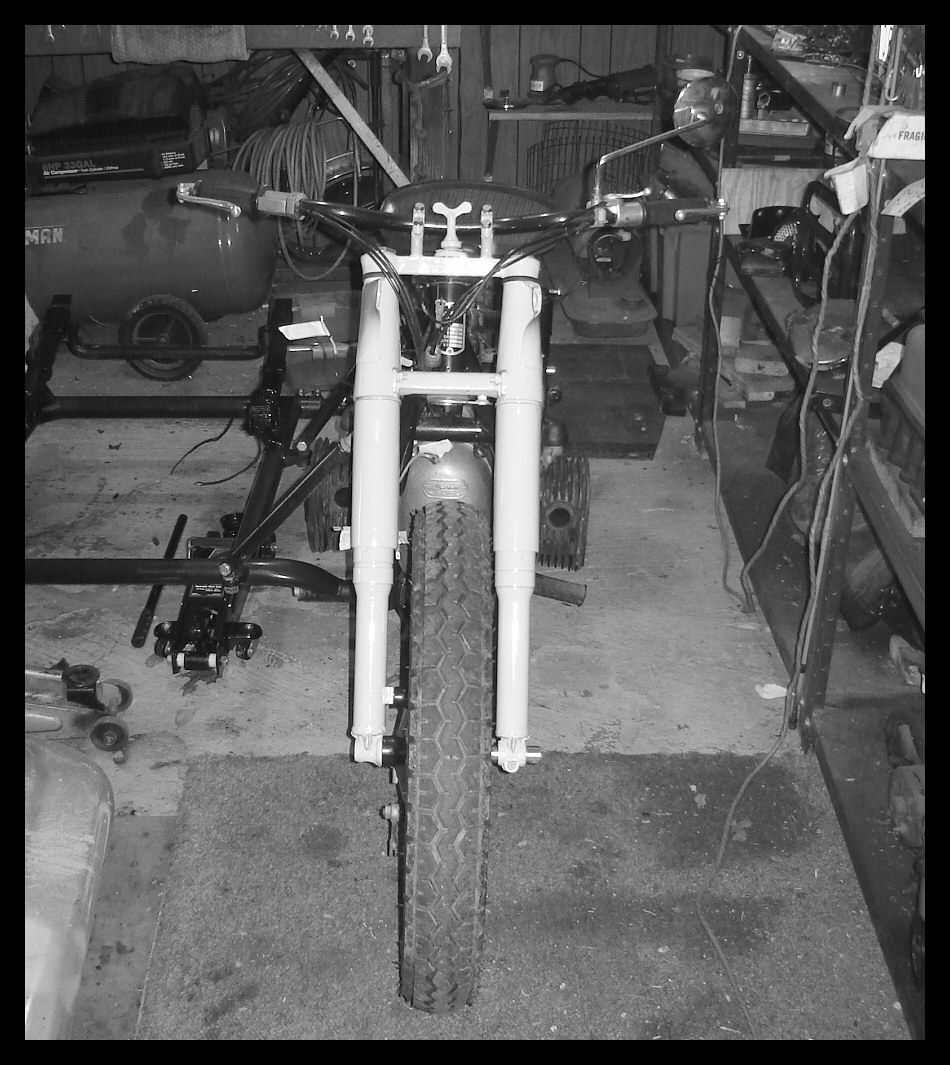
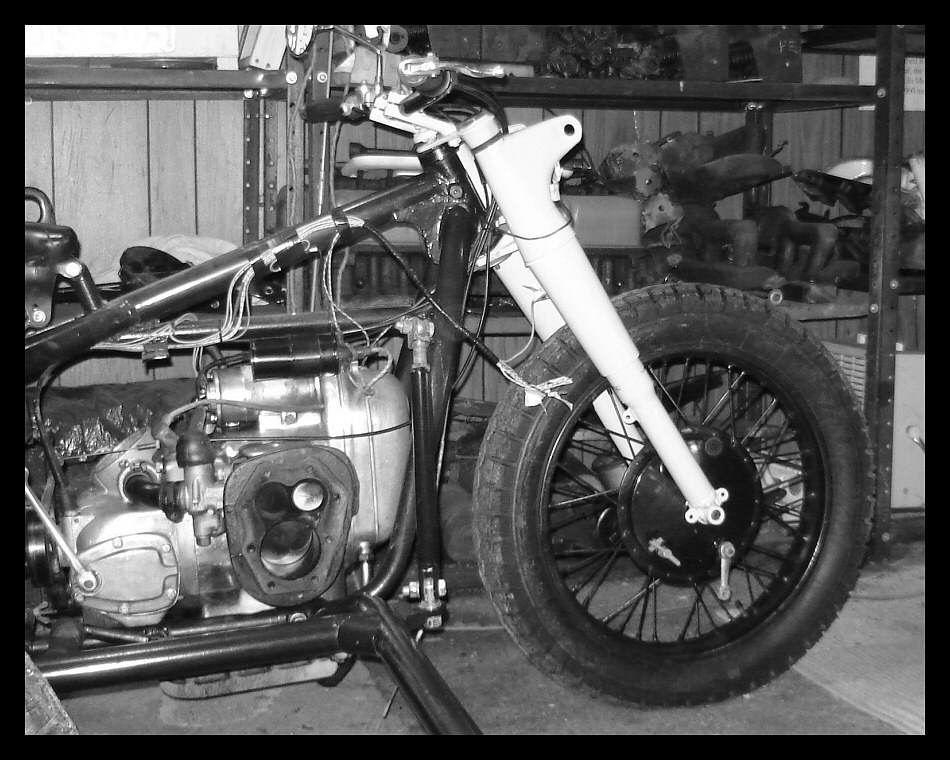
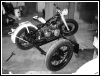
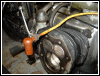
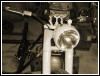
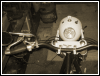
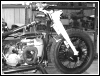
Some of the front end is now back on the
bike after painting. The rest will wait for more paint to
dry. Tomorrow I'll mount the headlamp. |
 |
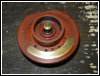
This bike has OEM steering bearings and the
other bike has tapered bearings. To be honest, when
riding I can't tell any difference between the two types.
Anyway, I cleaned everything and replaced the grease
before reassembly. It went like clockwork. |
 |
The new color is still TOP SECRET which is
why these pictures are in black and white. But, as you
can see, it's a light color that will greatly accentuate
the black frame, rims, spokes, front hub, final drive and
handlebars. Hint—the color was very popular on cars
in the 1920s. |
|
|
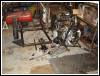 |
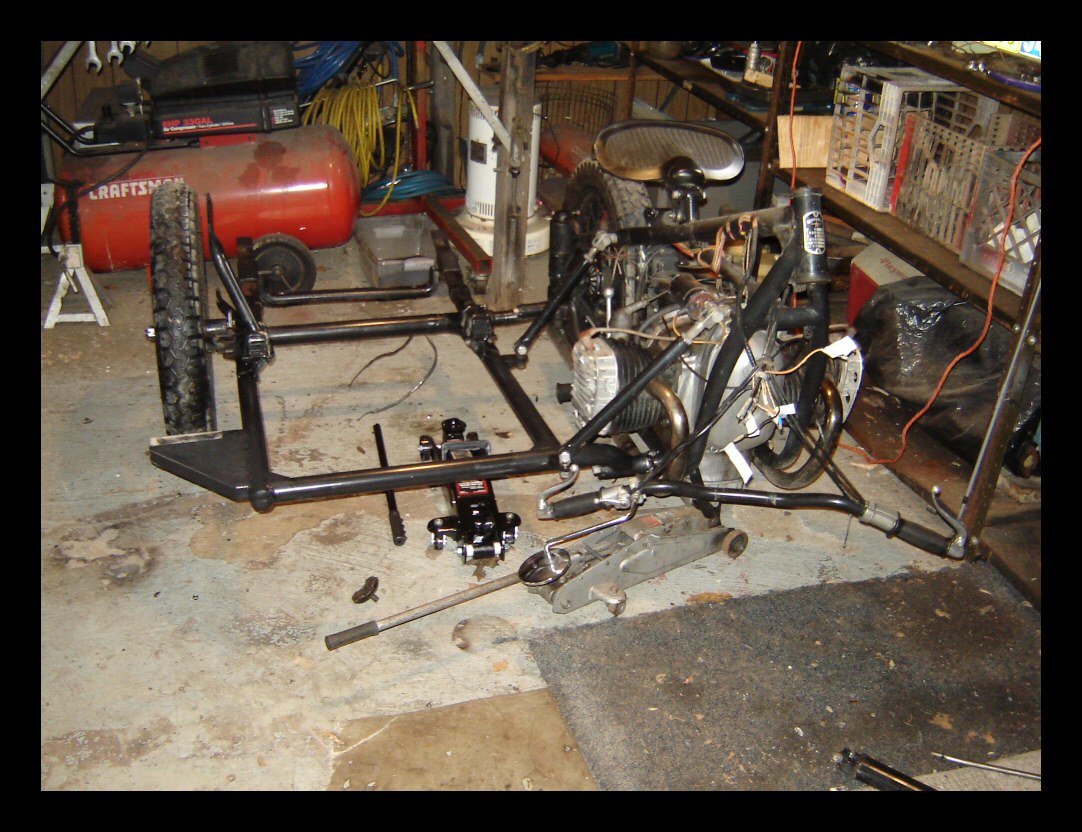
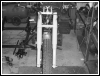
What have I done? Past experience has taught
me to budget time and to set realistic goals for each
day's work session. The worst thing you can do is try to
do too much at once. That not only kills the enjoyment
but it also leads to sloppy workmanship. Today's
objectives were pretty easily met. First was to wash the
bike while it was still mobile, then move it inside and
strip down the front end. Missions accomplished. |
 |
For anyone contemplating a project of this
nature who's never done it before, let me suggest that
you label and stow all the loose bits in a way that will
help you to identify what's what when reassembling the
bike, especially wiring. Trust me—you will not
remember. |
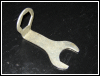 |
This tool comes with the CJ750 tool kit. It
has a 36mm box wrench for the upper fork nuts and a 41mm
(I think) open end wrench for the main nut on top of the
triple-tree. This is a great tool to have, let me tell
you. |
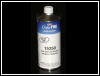 |
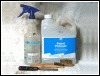
Here's a product I learned about this week.
It's used to strip wax and oils from paint before
sanding. If you've ever tried to paint a surface with
even a hint of paste wax residue, you know first hand how
important it is to make sure it's totally gone
beforehand. This stuff is sold in NAPA stores. |
 |
Life is full of tough choices, and I am
faced with one right now. Once the bike is painted I'll
be mounting badges on the fuel tank. I have a pair of Ross
Kowalski's cast CJ750 'swoosh' emblems and a
pair of Freddie's circular cloisonné
badges. The problem is, I love them both. A flip of a
coin may be the only way to decide which ones to use. |
|
|
 |
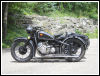
It's a good looking bike, but she really
could use a makeover after all the hard miles I've put on
her. The paint on the gas tank was worn clean through in
places. |
 |
After a couple hours in the driveway... |
 |
...the first step is complete. |
 |
Tomorrow, the front end comes off. |
 |
I'll be doing the heads and exhaust system,
too. |
|
|
 |
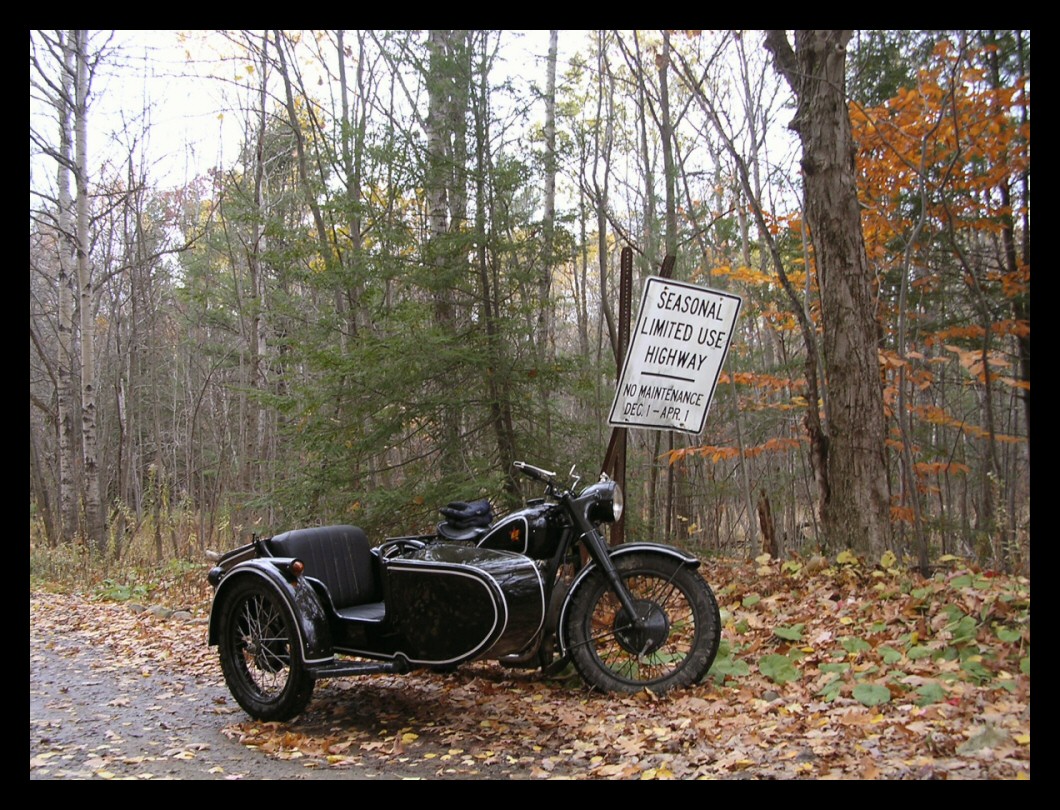
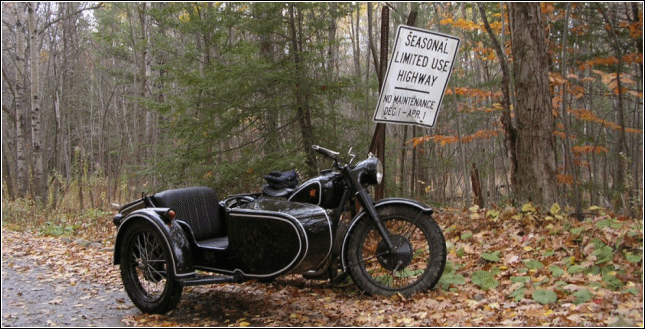
"SEASONAL
LIMITED USE HIGHWAY - NO MAINTENANCE DEC 1 - APR 1" |
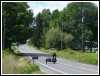
| Our county is covered with these
roads—although in most cases they're really just
trails (and certainly not highways.) They're perfect for
CJ riding. |
|
|
 |
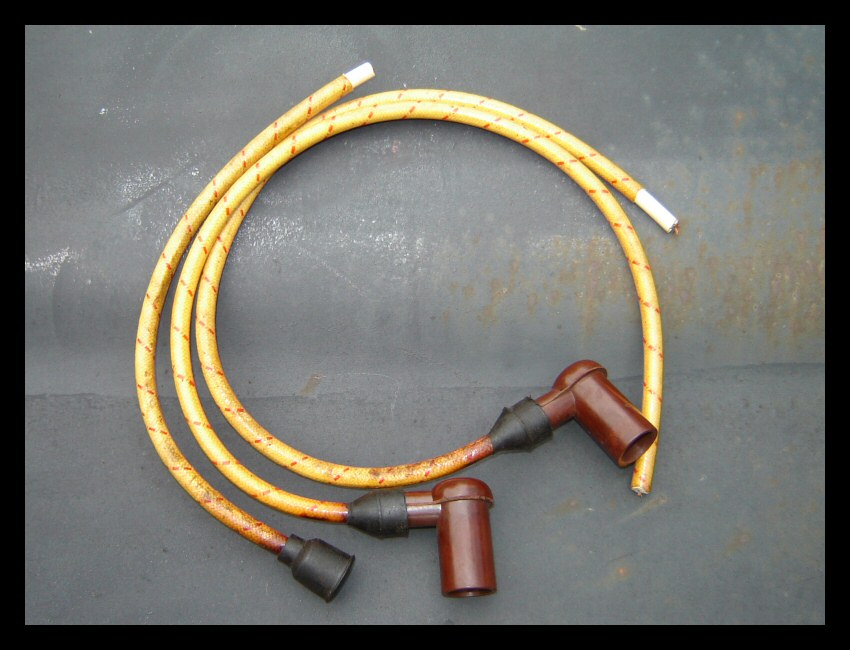
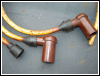
One of the best detail items on a CJ is
wiring that uses fabric insulation, especially the plug
and coil wires (with Bakelite terminals.) This is
technology straight out of the 1930s and they are still
readily available for low prices. |
 |
But don't take them for granted. Once the
stocks are exhausted there's no telling what they'll be
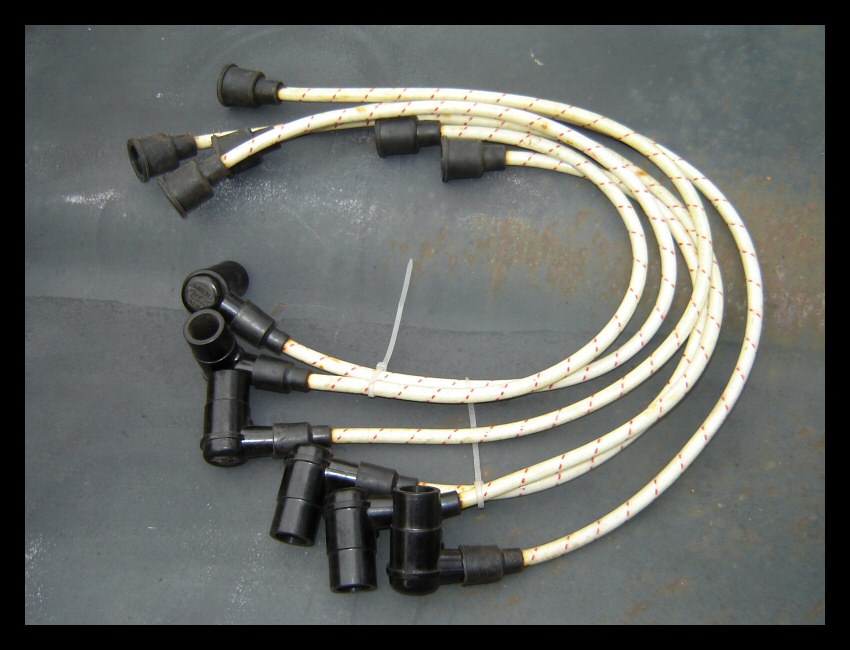
replaced with. In the lower pictures is a batch of
excellent wires from CJS. |
 |
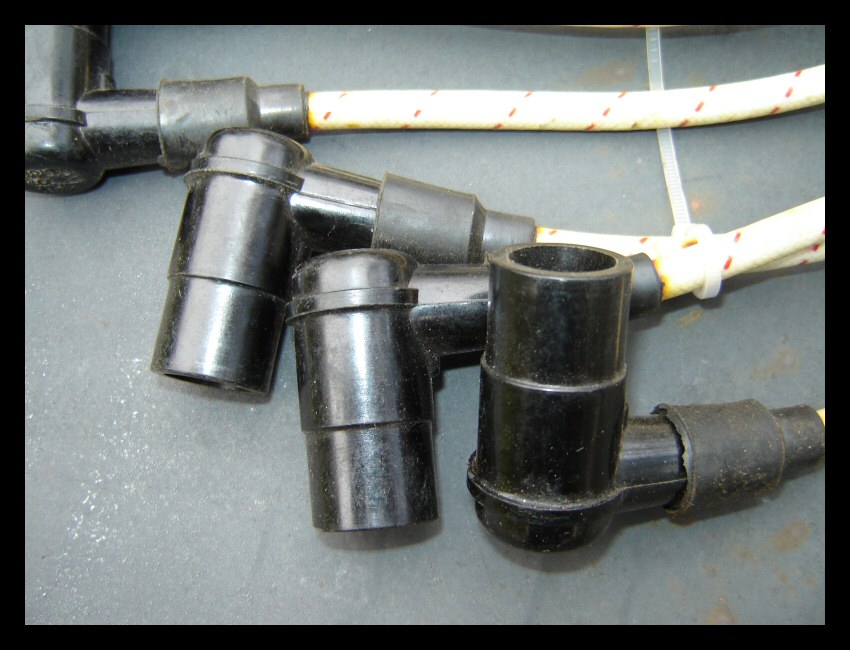
As you can see, they still use the fabric
covering, but the Bakelite has been replaced with plastic
(and the fabric is cream colored, like the other wiring
used on a vintage CJ.) |
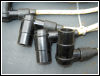 |
Even so, they still keep with the pre-war
Beemer tradition. My advice to you is to stock up while
it's still possible. |
|
|
 |
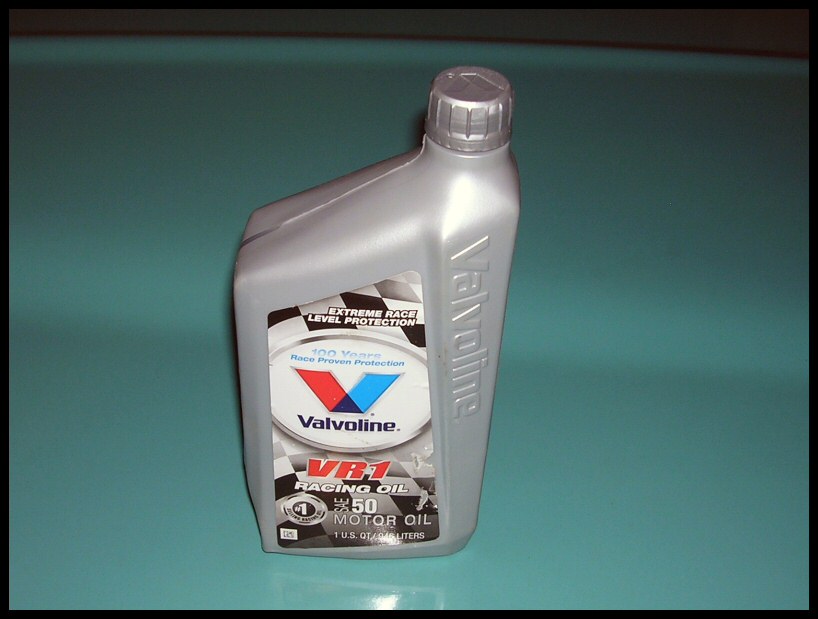
People sometimes ask what oil I recommend.
Well, I'll use just about anything I've got on
hand—10-30, 10-40, 20-50, SAE30, SAE40, etc. I don't
use lightweight, detergent or synthetic oils. I strive to
use Valvoline VR1 SAE50 racing oil. It may not be much
better than other oils but it sure does provide a sense
of security. |
|
|
 |
 |
 |
 |
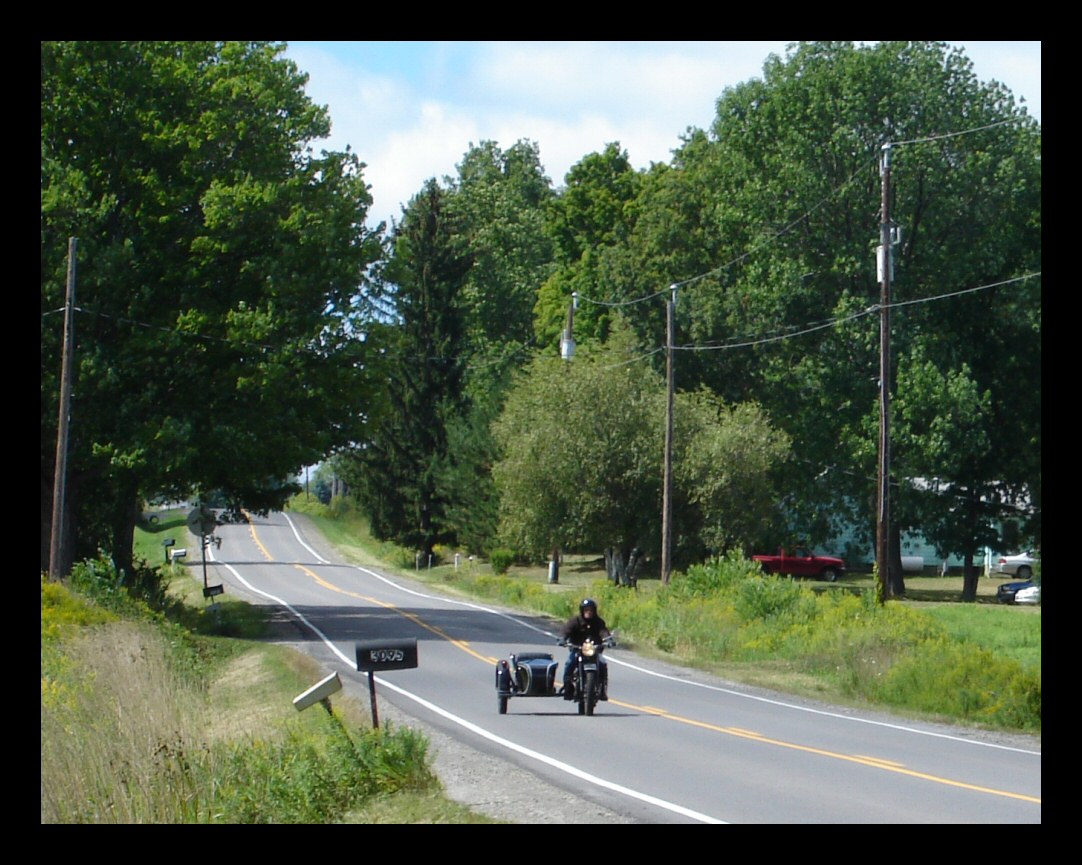
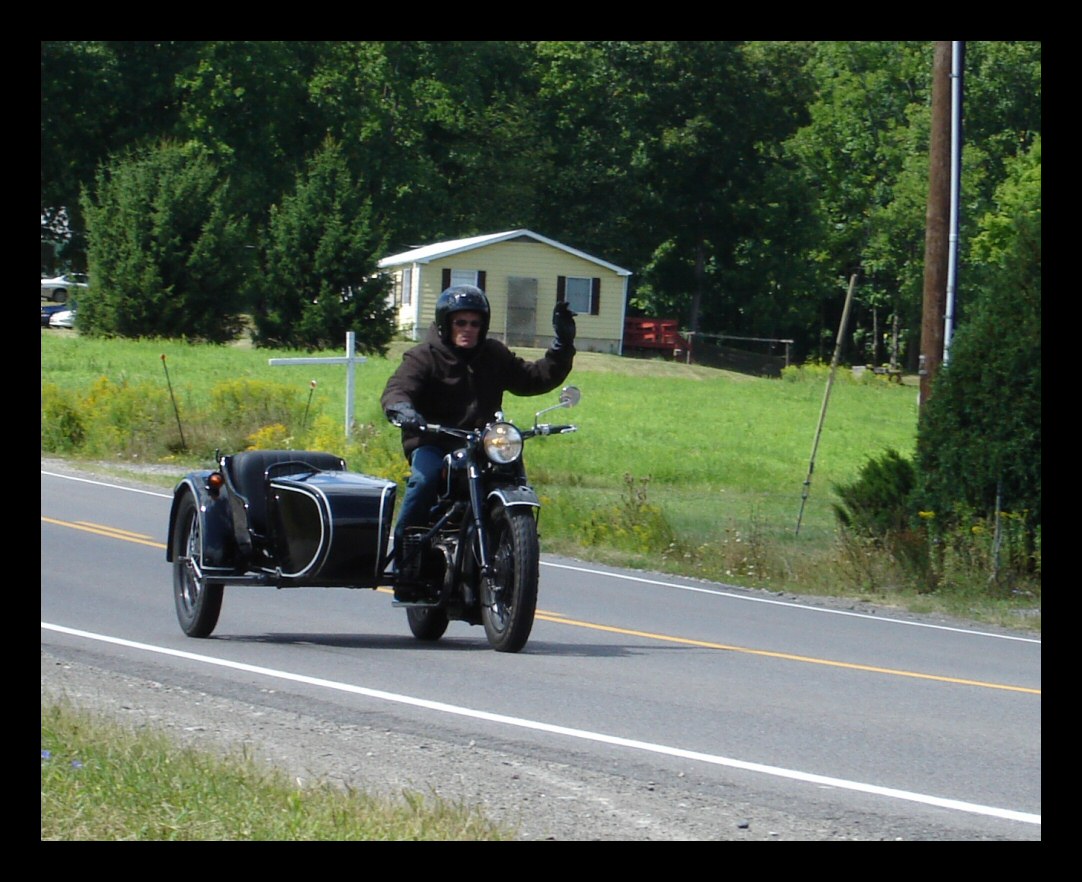
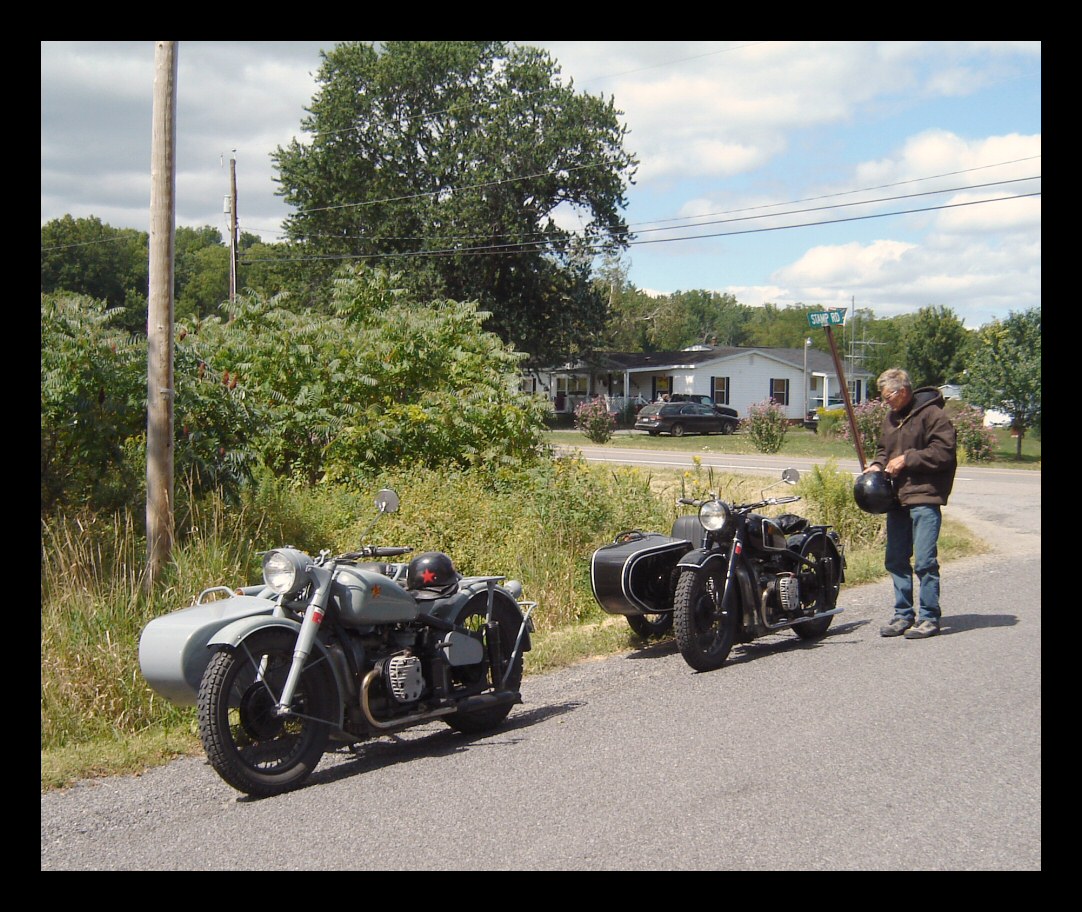
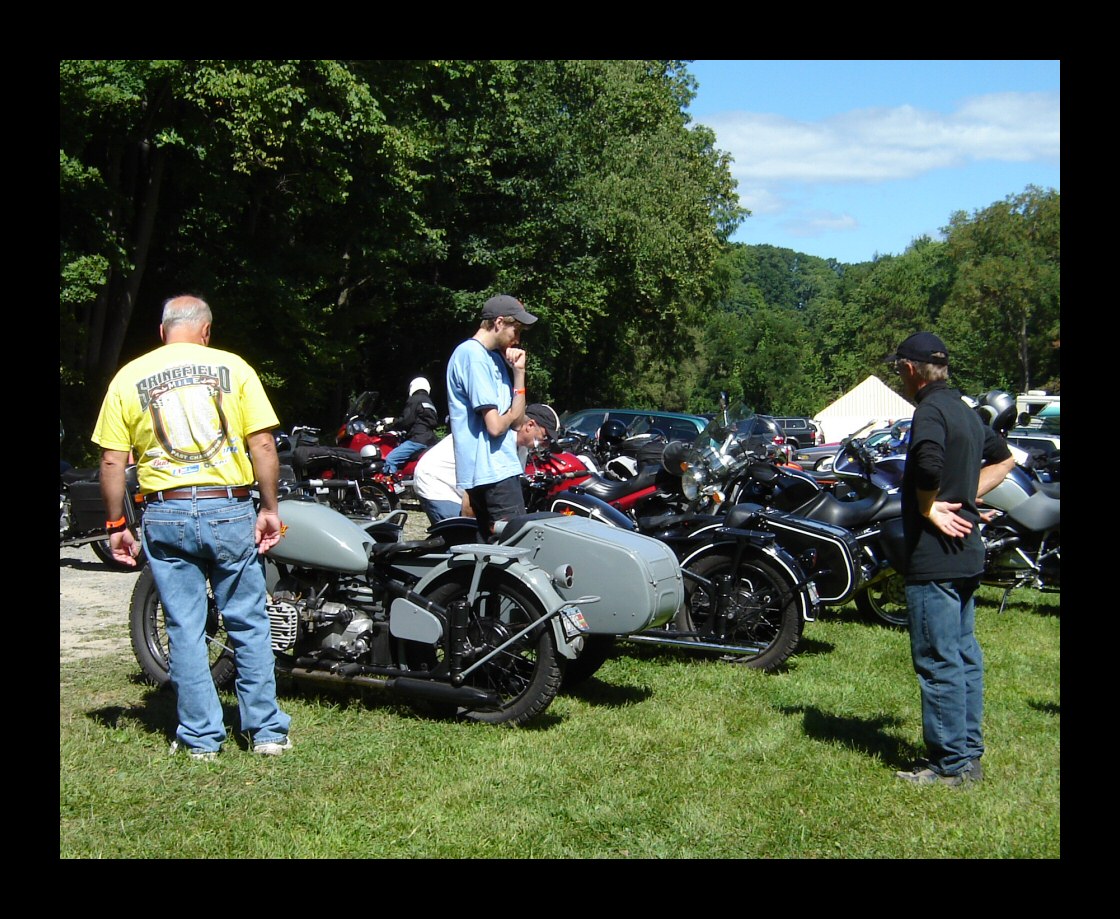
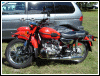
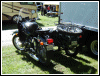
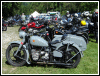
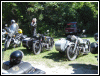
We rode a BMW rally near Watkins Glen today.
Roughly 1200 participants were there. We saw a few
vintage bikes, but no R71s. |
 |
 |
 |
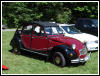 |
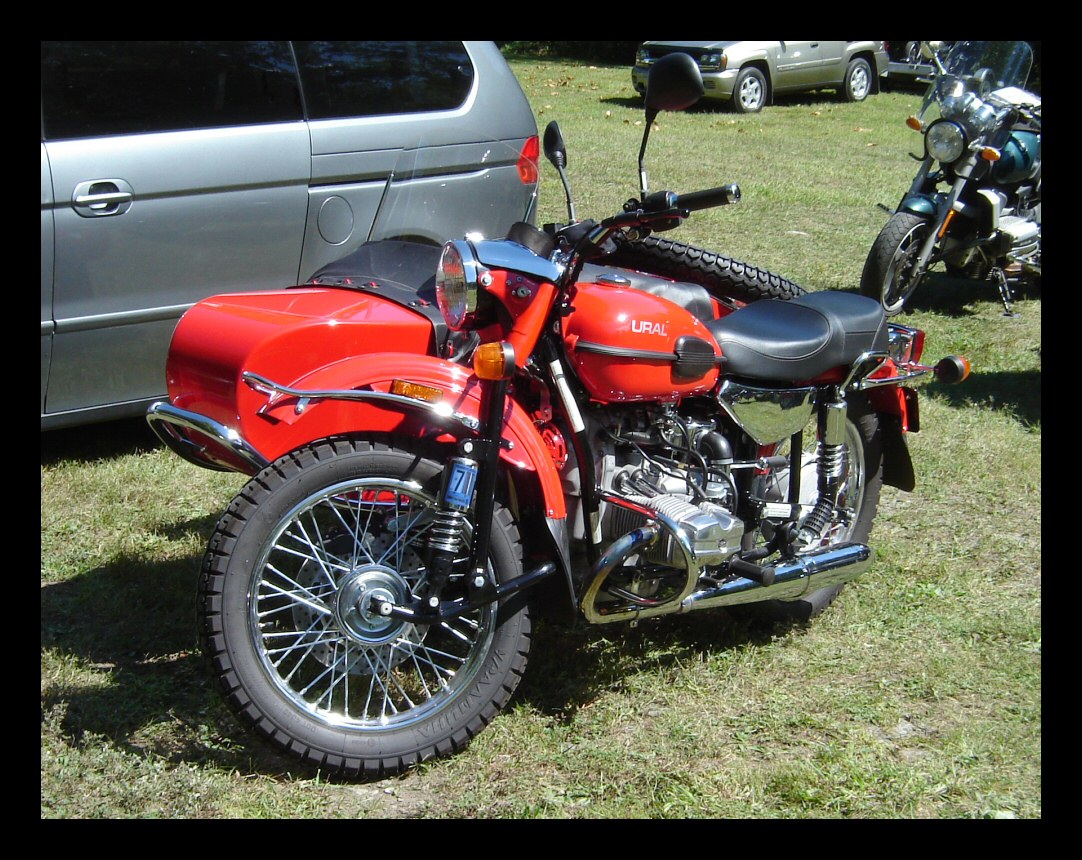
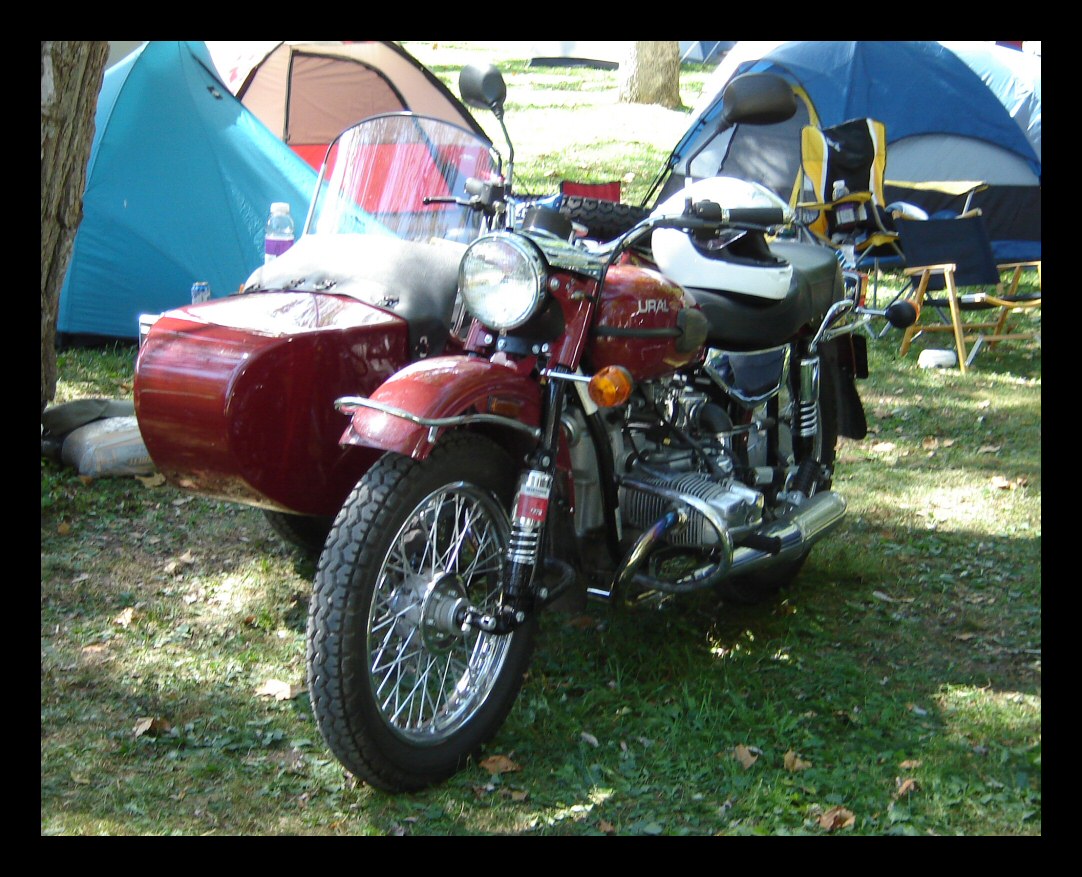
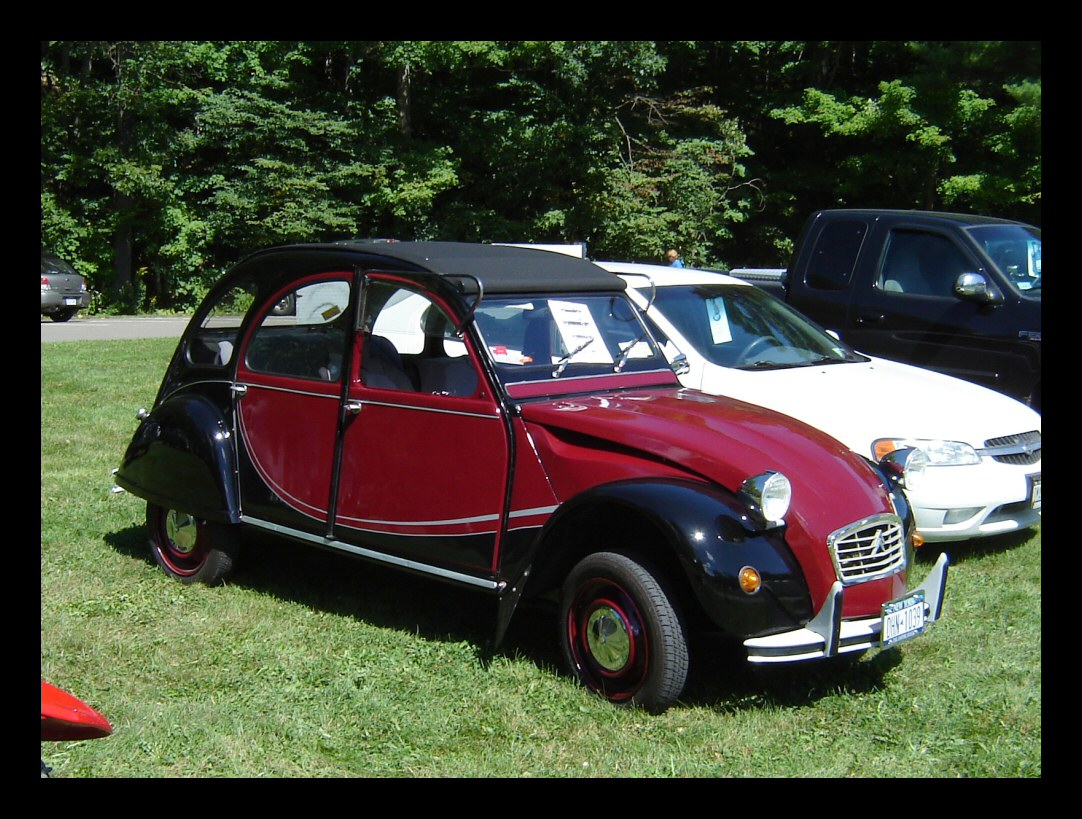
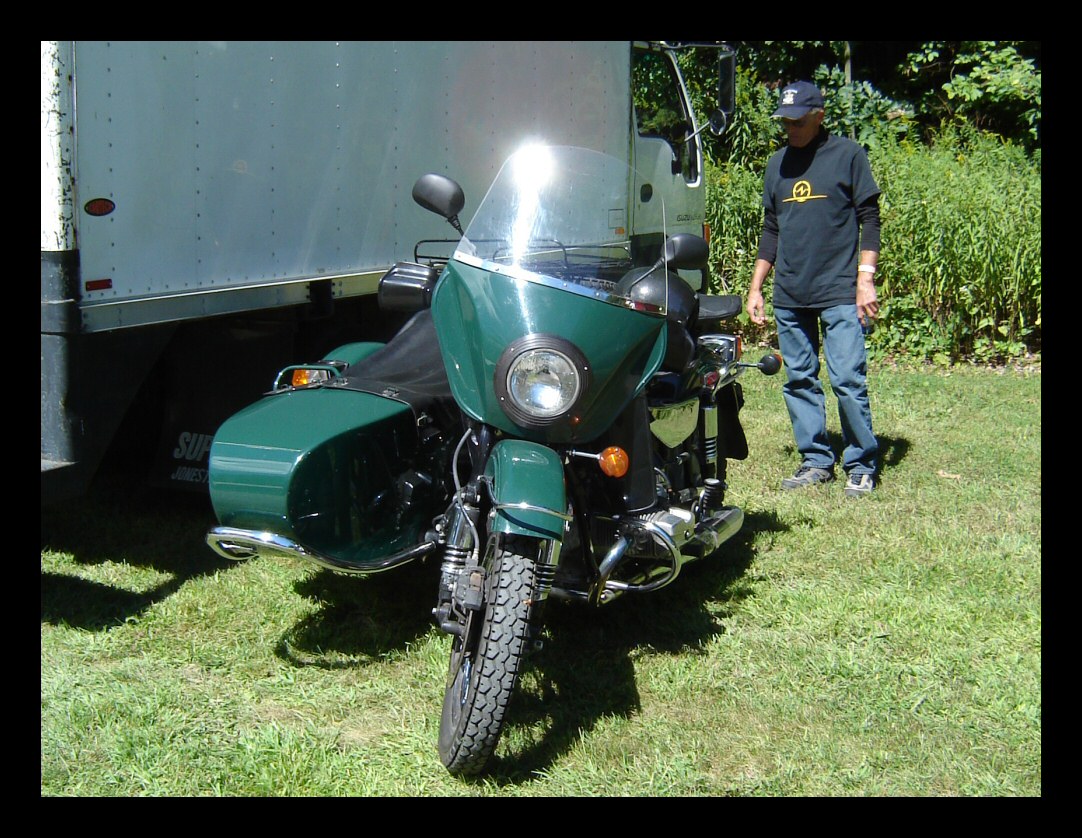
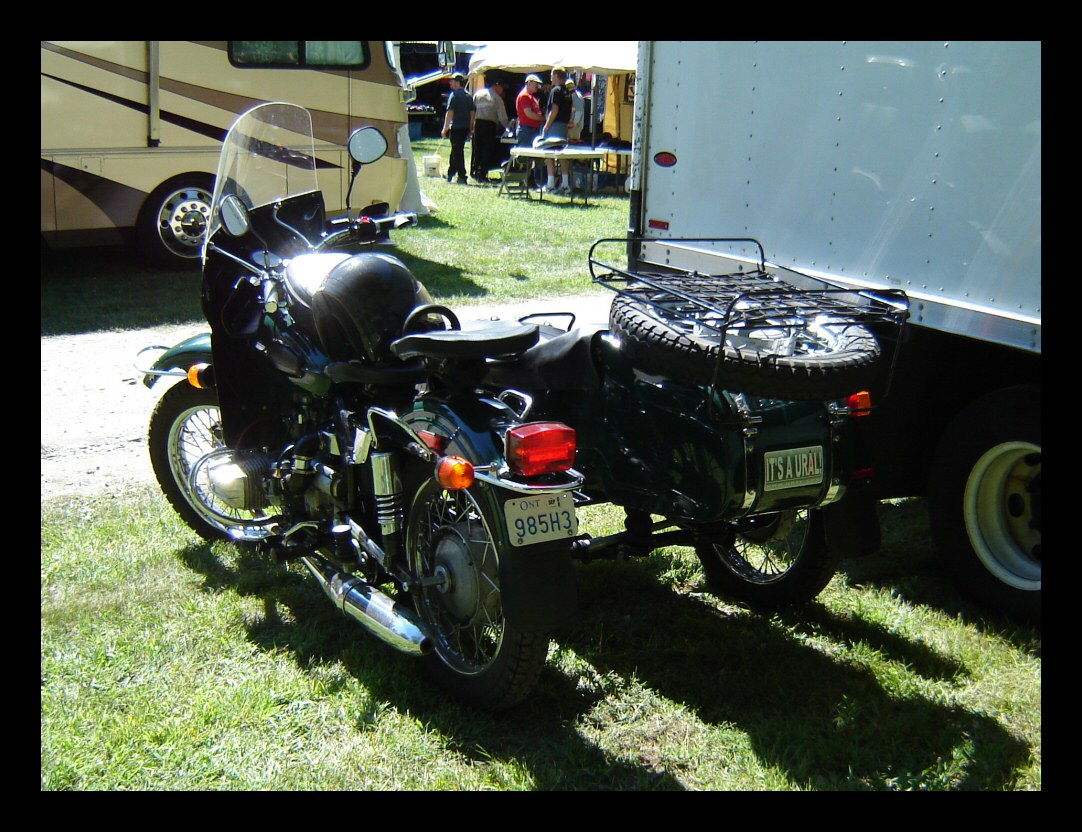
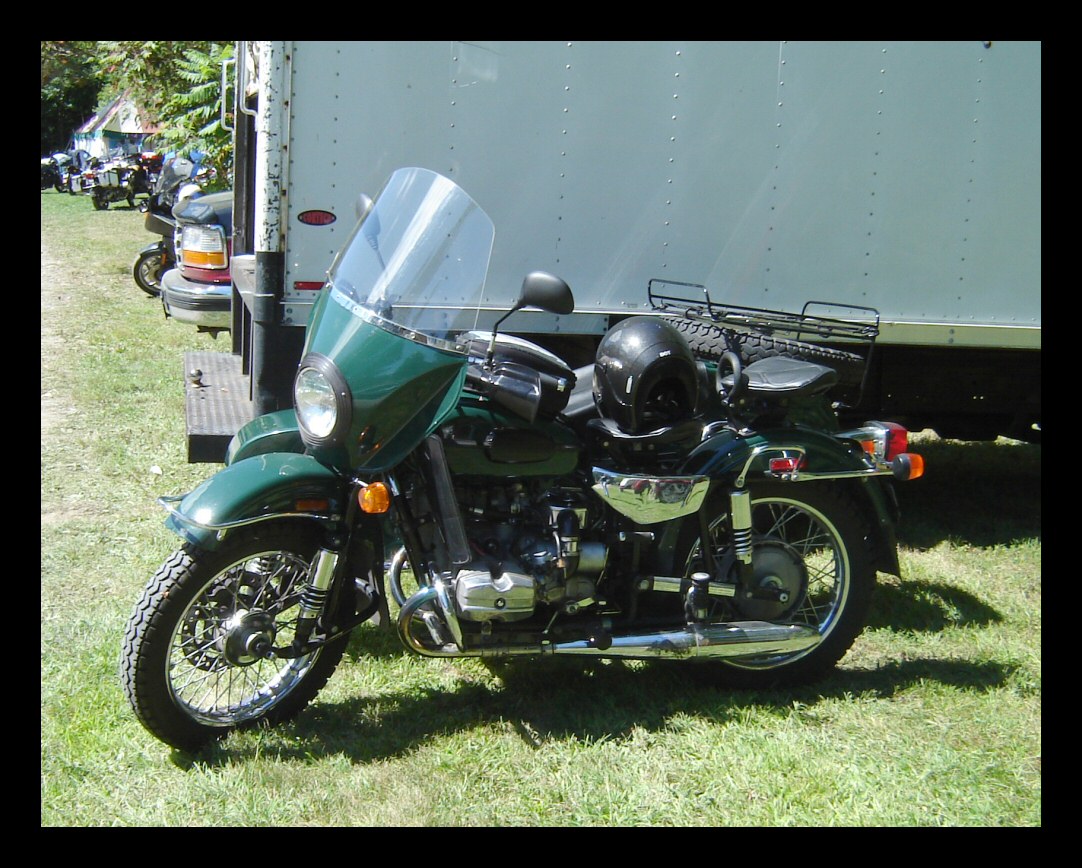
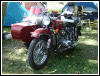
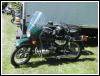
I got to lay eyes on a few URALs which are
becoming more common around here. There was also a
Citroen 2CV. |
 |
 |
 |
 |
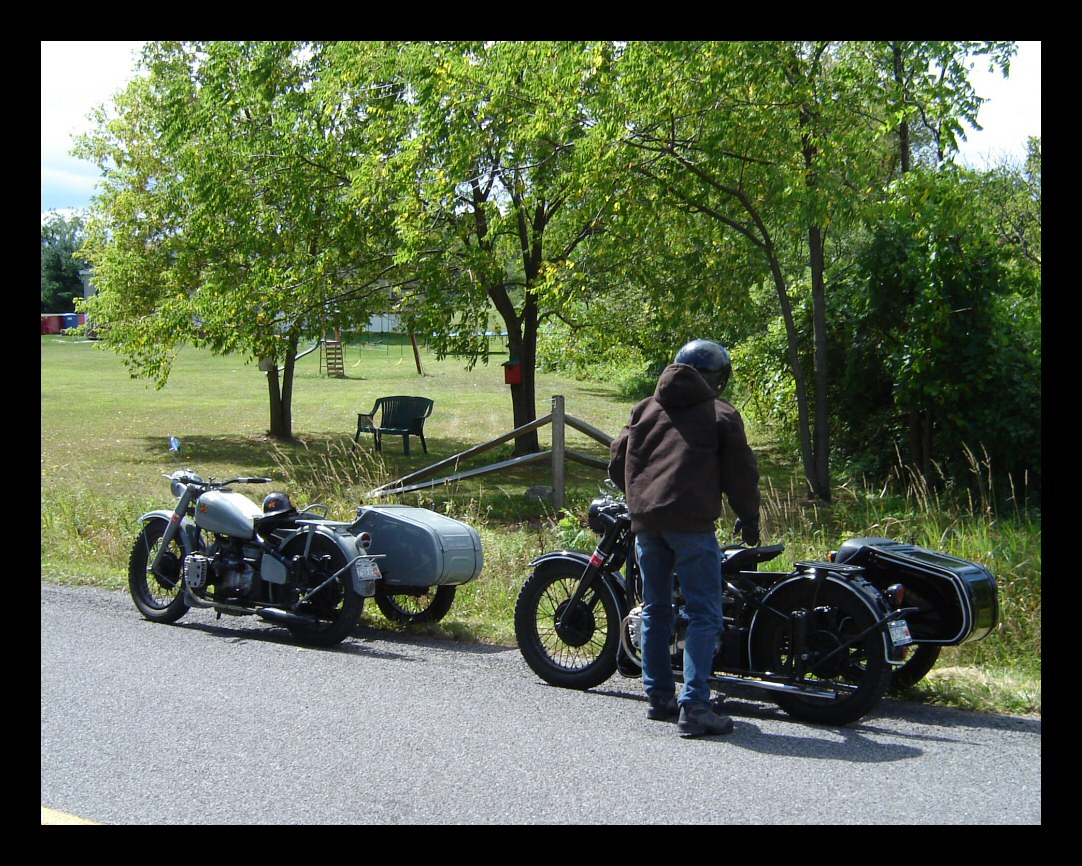
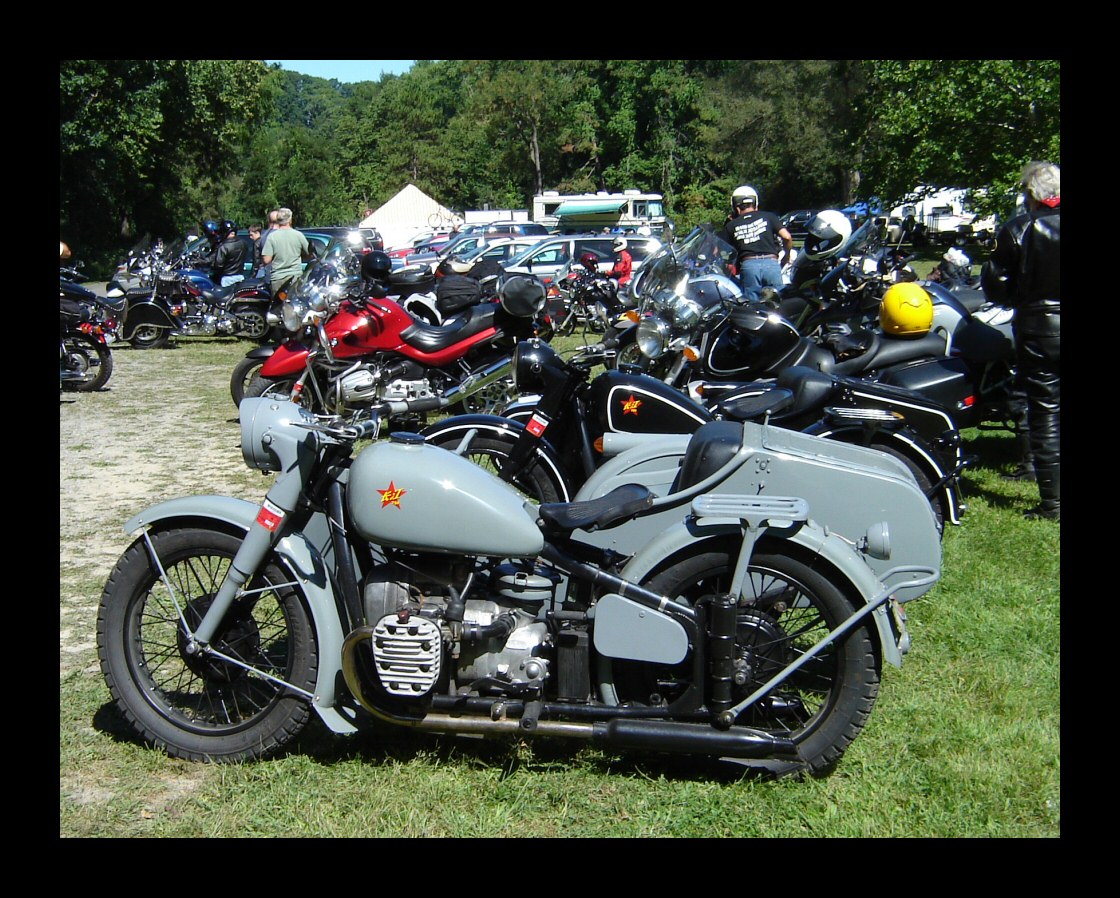
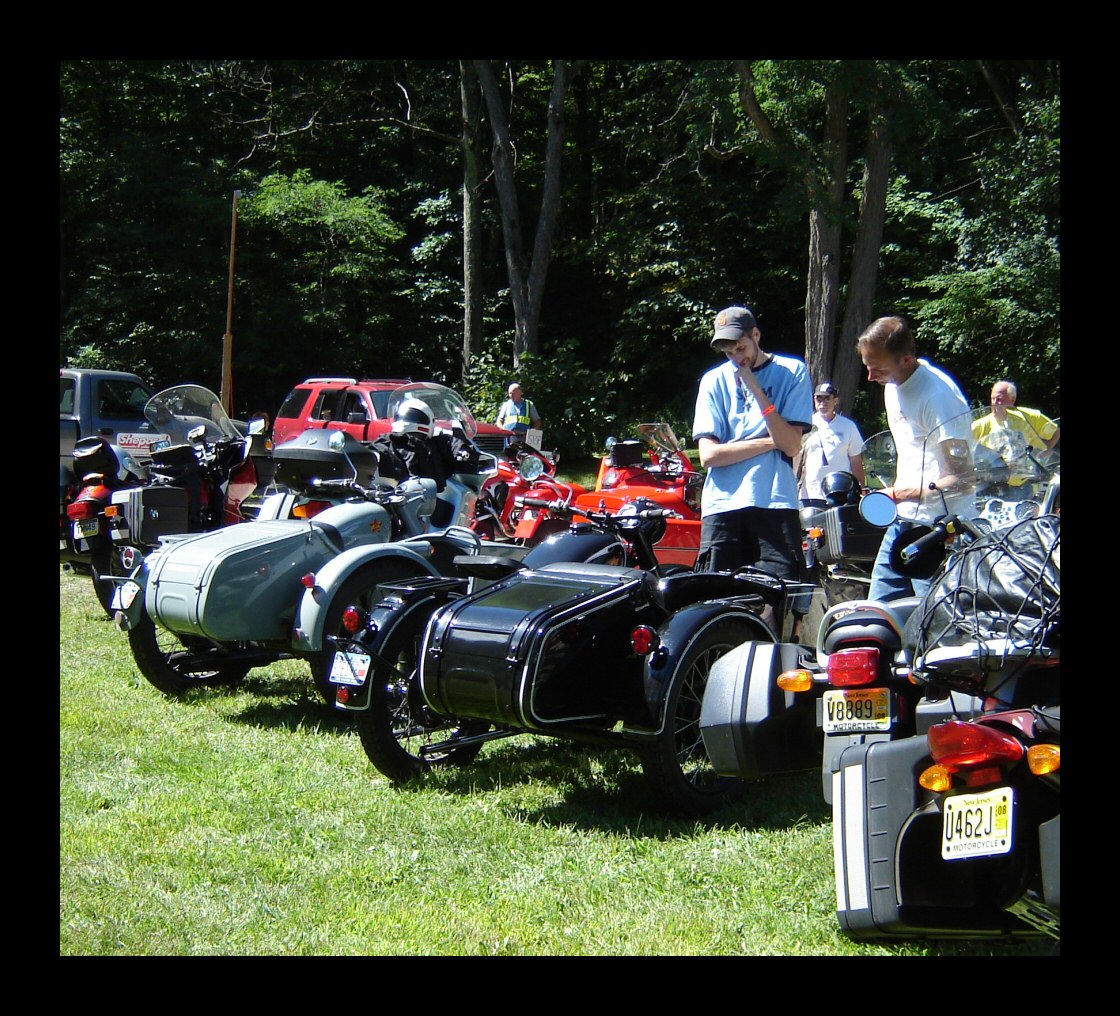
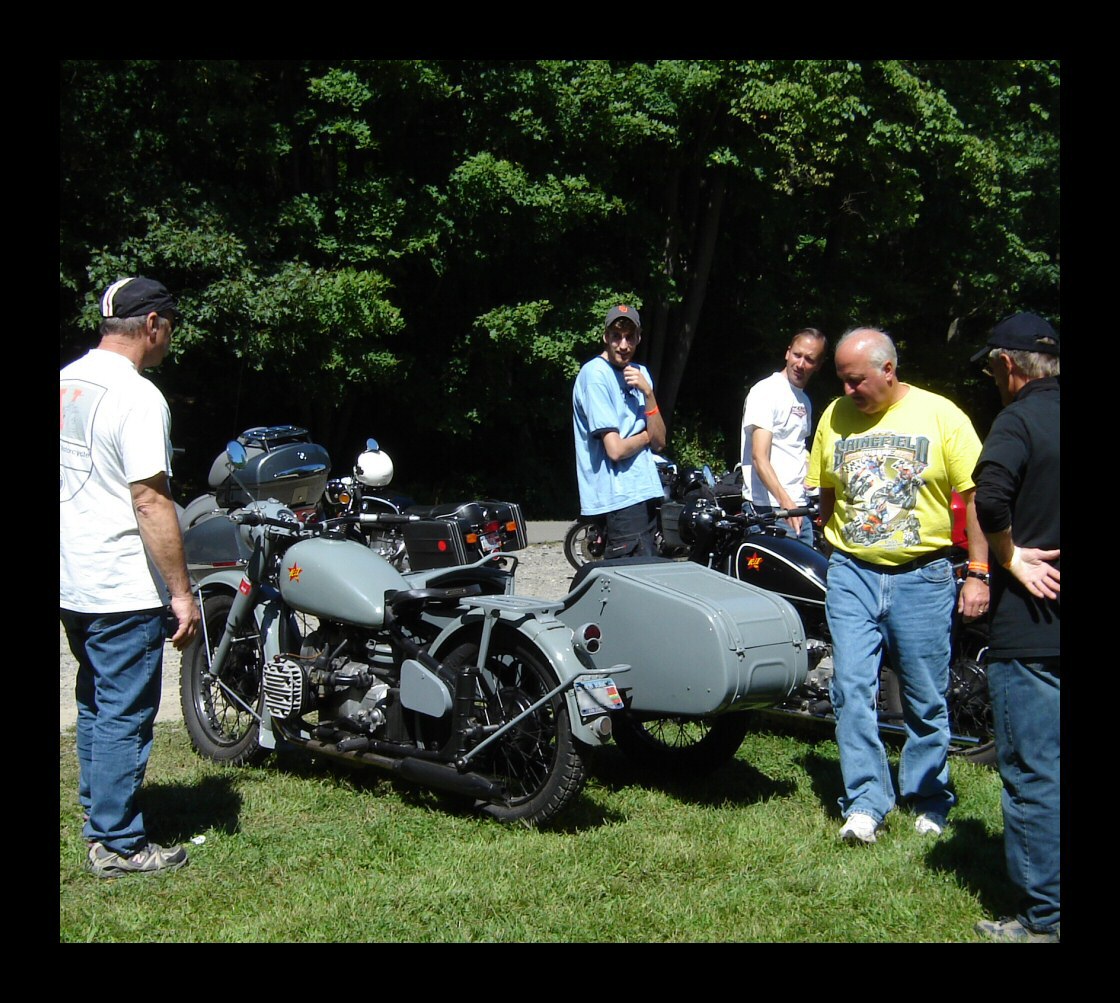
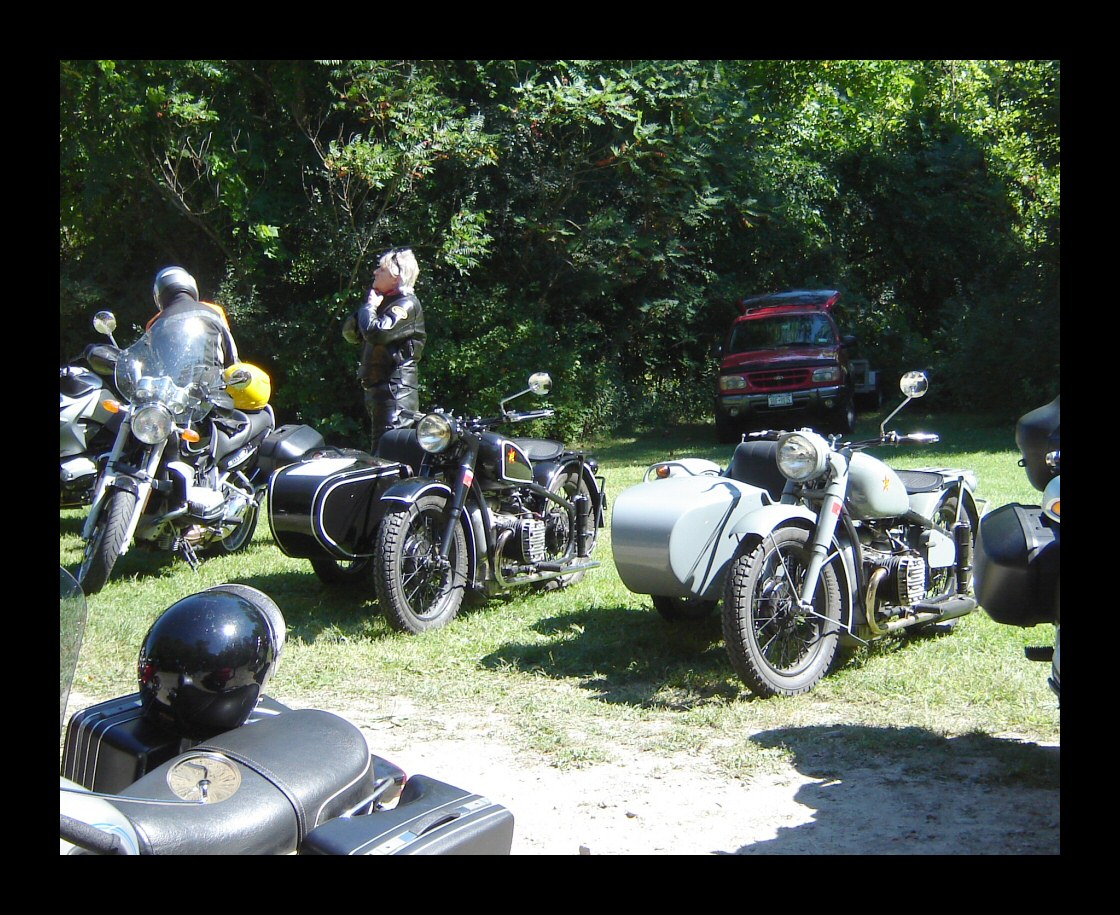
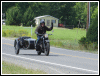
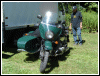
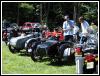
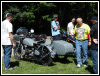
The four pictures show us having a smoke
break enroute to the show and the last ones illustrate
how the Changs attract people. |
 |
 |
 |
 |
About 30 cards were distributed before the
day was over. |
|
|
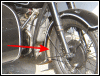 |
Sorry about the poor image quality. Anyway,
I'm not too big on having superdetailed show bikes. They
are, for the most part, pretty filthy most of the time.
But one thing that I can't stand is the way crappy
looking inner fenders detract from the bike's appearance.
All that road grit acts like a sandblaster. This just
won't do. |
 |
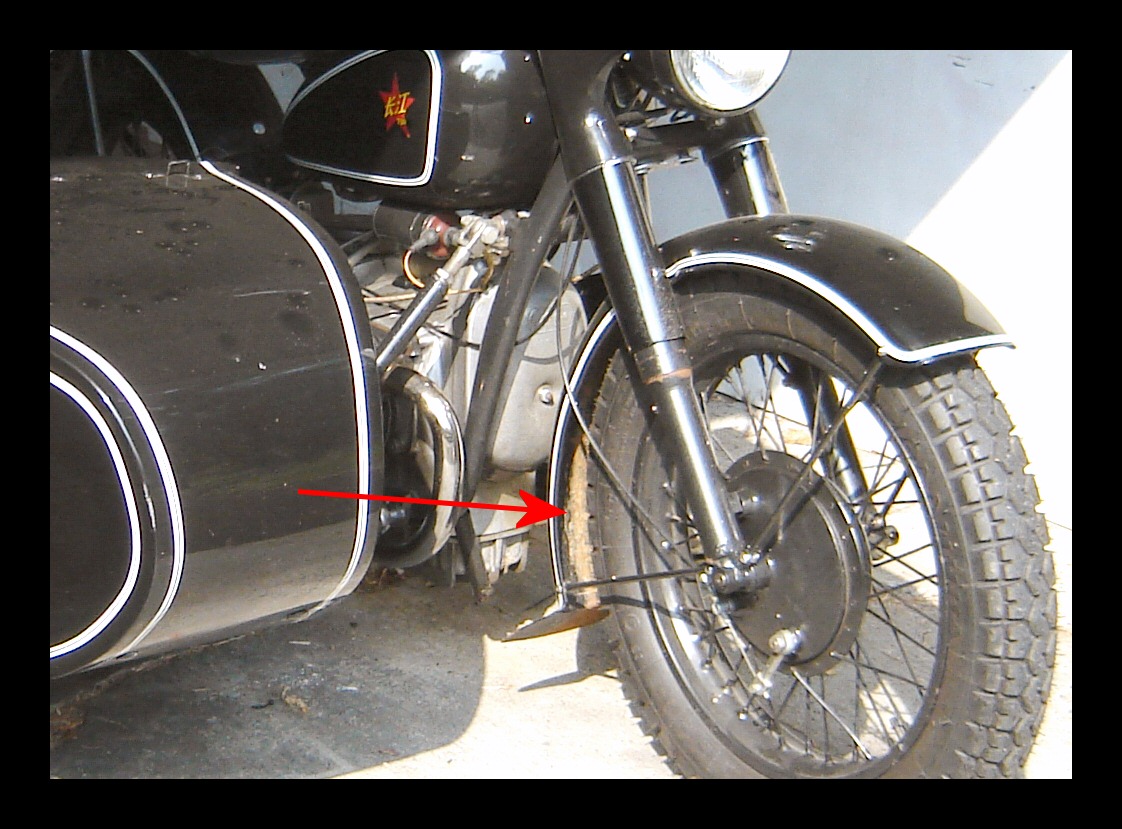
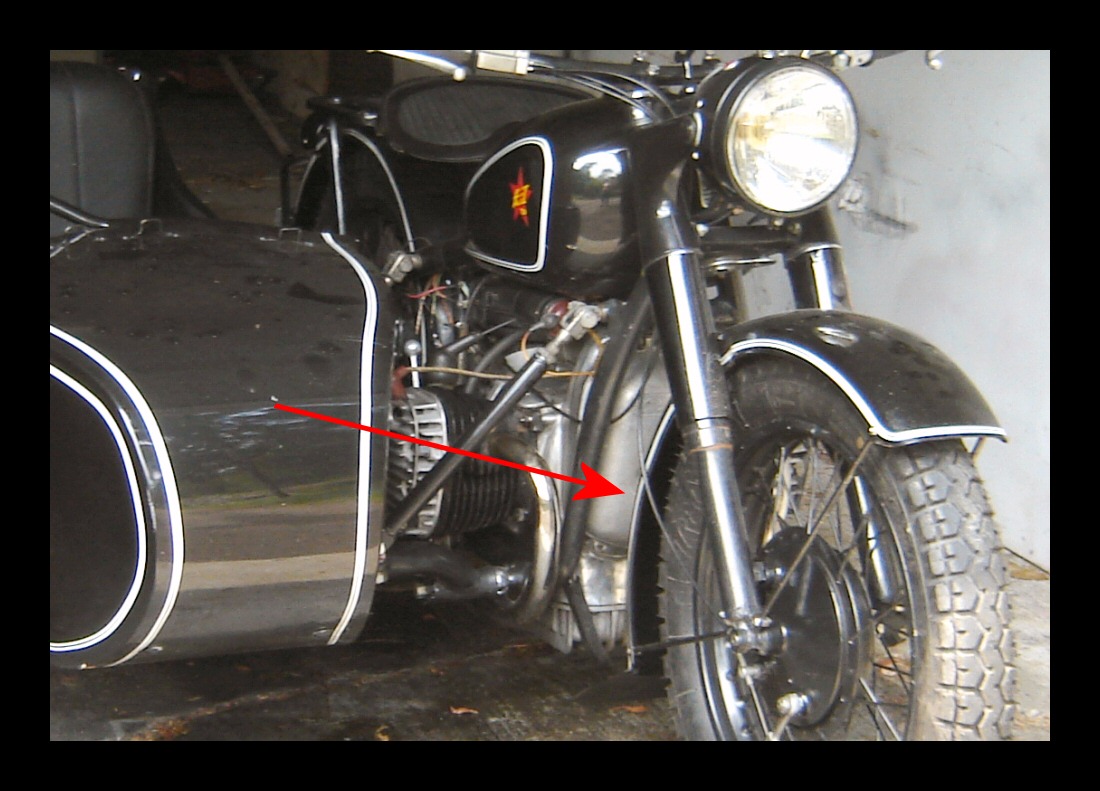
Know what's great about a black bike? You
can blast the inner fenders with Rustoleum and nobody's
ever the wiser. This is a trick car guys use. Nobody
notices a nice fender well but a nasty one sticks out
like a sore thumb. See the difference? Total time? About
20 minutes. |
|
|
 |
I swapped the sidecar taillight lens and
bezel with one that matches the one on the rear fender of
the bike. They're both from antique cars but I don't
remember what make. |
|
|
 |
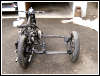
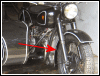
Troubleshooting a handling problem with OGM
involved swapping the fat Russian tires with the skinny
Chinese tires off LBB. |
 |
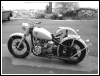
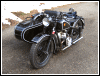
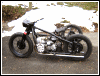
Well, look at this. LBB now
has an entirely different look. |
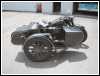 |
I really like it. |
|
|
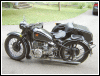 |
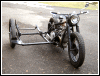
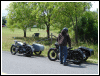
I was taking some pictures of the grey bike
after I finished messing around with it today. |
 |
Since the black bike was sitting nearby... |
|
|
 |
|
|
|
|
|