-
Workflow example: Open any RAW with Capture NX
To open your Raw file you can simply assign an editor in cPicture to open the file. But if you like to open a RAW file with another editor not supporting your used RAW Format, you can use the universal DNG format to link to your editor.
In this example, we will use external tools and a plugin script to create a simple workflow to open a non-Nikon RAW file with the Nikon RAW software Capture NX.
First the RAW gets converted to a DNG and then to a 16bit TIFF, which can be opened by Capture NX.You need the ImageMagick Tools and the Adobe DNG converter:
-
Download the ImageMagick Tools ImageMagick and install
Choose the Q16 Version of ImageMagick to ensure no loss in Quality: ImageMagick-6.8.8-6-Q16-x64-dll.exe -
Download the Adobe DNG converter Adobe DNG converter and install
Download the convert-Raw-to-TIFF.ps1 script, adjust the file path of the tools in the script- C:\Program Files (x86)\Adobe\Adobe DNG Converter.exe
- C:\Program Files (x86)\ImageMagick-6.8.8-Q16\convert
- C:\Program Files ikon\Capture NX 2\Capture NX 2.exe
and remove the trailing .txt from the downloaded script file.
Add the script file to the folder where you copied cPicture.exe.
Make sure you have the function plugin for powershell scripts installed.
Run cPicture, select your RAW picture and start the conversion script from the menu: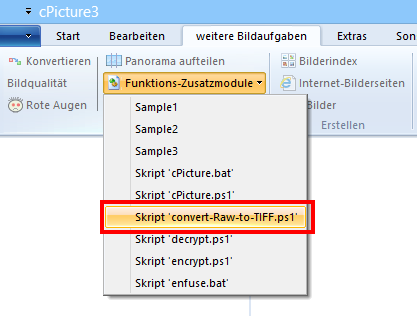
The script will first convert the RAW to a DNG and then using the ImageMagick Tools to convert the DNG to a 16bit TIFF that gets opened by the Nikon software. -
-
The Cat

-
Encrypt / Decrypt your pictures
These two plugins encrypt and decrypt your pictures to avoid unauthorized access. For example you can store your pictures in an online storage without the fear of anyone scanning and looking at your pictures. The encryption and decryption is done with the Windows .NET Security library via a powershell plugin and uses a 256bit symmetrical chiffre which keeps even the NSA out.
InstallUnzip the encrypt-decrypt plugin to the folder where you copied cPicture.exe
(Make sure you change the password and the secret phrases in both the encrypt and decrypt script!)
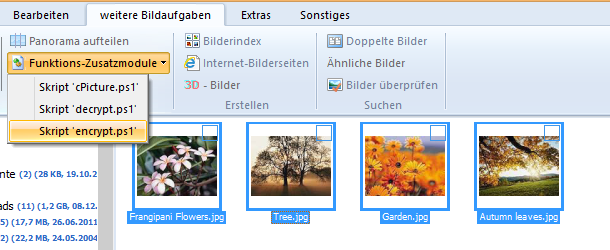
UsageSelect your pictures and click the function plug-ins button in the menu ribbon to select the encrypt script:
The pictures cannot be read anymore and will be shown as such. You would add those pictures to your online store or send it to someone. If you send the pictures to someone, you need to pass on your encrypt.ps1 and decrypt.ps1 script passwords in a secure channel. Since you encrypt before any Internet Transfer, there is no chance anyone looking at them.
To decrypt, select the encrypted pictures and click the function plug-ins button in the menu ribbon to select the decrypt script: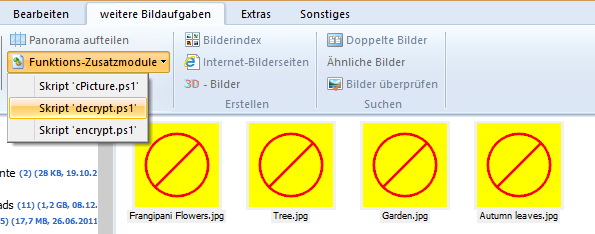
The pictures will be now visible again: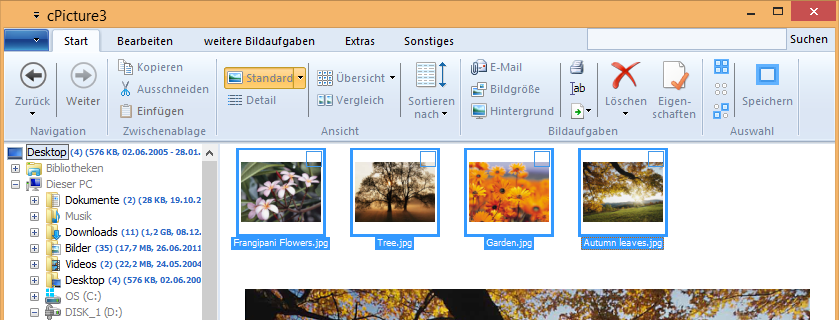
Note: The script plugin in this package does not display the Powershell console for each processed picture. If you like to have a console displayed for each processed picture, use the Script plugin for powershell scripts from the Plugins page.
The only difference in the script plugin is in line #204 plugin.cpp. See the source code of the plugin for more detail.shInfo.nShow = SW_HIDE; -
Function plugins
cPicture supports function plug-ins to process/display selected pictures.
The Plug-In is a DLL-File located in the same folder as cPicture and starts with 'cpp_'. For example 'cpp_fp1.dll'.
Click the function plug-ins button in the menu ribbon to display all installed plug-ins.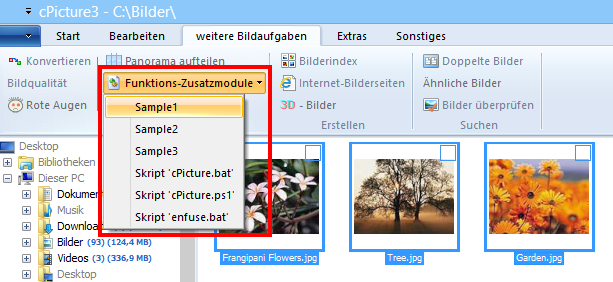
Sample 1

Sample 2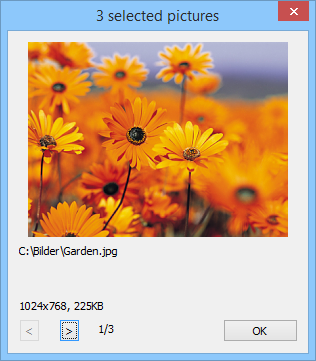
Sample 3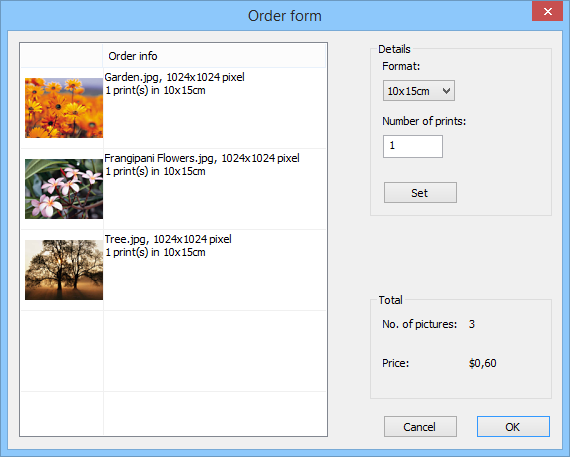
Script pluginThe script plugins for batch files and powershell files are consolidated into one script plugin, which also adds python script files.
The new plugin is available from the plugins option in cPicture.
Note: The old plugins are still valid, but should be removed as they cause duplicate entries (delete cpp_bat_script.dll and cpp_ps1_script.dll in the plugins folder).Example batch script
@echo OFF

echo file=%1
echo name=%2
echo dir=%3
echo width=%4
echo height=%5
echo sequence number=%6
echo number of files=%7

REM wait for user to close the console
pause
Example PowerShell script
<#
.DESCRIPTION
    Example PowerShell script to print the picture data

.NOTES
    This example is using the default cPicture custom data template
    for the $picture_data.cdata value.
    This value can be changed in the Settings (F9).
    The .DESCRIPTION text is used for the menu tooltip.
#>

# plugin variables
# Do not remove the leading # of the variable #[...]:

# console=true (default) displays a console, use this option for scripts with text output.
#[console=true]

# noexit=true keeps the console open, set to 'false' (default) to have the console closed when processing is done. This variable is only used when #[console=true].
#[noexit=false]

param
(
    [Parameter(Mandatory=$true)]
    [string]$picture_data_json
)

# Get the picture data.
$picture_data_set = ConvertFrom-Json -InputObject $picture_data_json

# Print the number of pictures.
[int]$size = $picture_data_set.length
Write-Host "$size picture(s):" -ForegroundColor White
Write-Host ("-" * 15)
Write-Host

# Print the picture data.
[int]$i = 1
foreach ($picture_data in $picture_data_set) {
    # Example:
    # $picture_data.file   : c:\Bilder\bild1.jpg
    # $picture_data.name   : bild1.jpg
    # $picture_data.dir    : c:\Bilder\
    # $picture_data.width  : 3712
    # $picture_data.height : 5568

    # $picture_data.audio        : false
    # $picture_data.video        : false
    # $picture_data.colorprofile : false
    # $picture_data.gps          : N 47° 37' 0,872498" W 122° 19' 32,021484"
    # $picture_data.aperture     : 5.6   # f/5.6
    # $picture_data.shutterspeed : 1250  # 1/1250s
    # $picture_data.iso          : 100
    # $picture_data.exifdate     : 133553225690000000
    # $picture_data.exifdate_str : 19.03.2024 11:49:29
    # $picture_data.model        : NIKON Z 30
    # $picture_data.lens         : 16-50mm f/3,5-6,3 VR f=44mm/66mm
    # $picture_data.cdata        :  # Configurable with F9
    # name               : Pike-Place-Market-Kreuzung-360x180.jpg
    # dir                : C:\Bilder\
    # size               : 1624x812 Bildpunkte
    # model              : [NIKON Z 30]
    # settings           : 1/1250s ISO 100/21°
    # contains           : Kommentar, XMP, Farbprofil,
    # gps                : N 47° 37' 0,872498" W 122° 19' 32,021484"
    # file_size          : 835 KB (855189 Bytes)
    # file_create_date   : Dienstag, 19. März 2024 um 11:49:29 Uhr
    # file_modified_date : Dienstag, 19. März 2024 um 11:49:29 Uhr
    # exif_date          : Dienstag, 19. März 2024 um 11:49:29 Uhr

    [int]$MP = $picture_data.width * $picture_data.height / 1000000
    "Picture '{0}' ({4} of {5}) with {1}x{2} pixel ({3}MP)" -f $picture_data.file, $picture_data.width, $picture_data.height, $MP, $i, $size
    "  name='$($picture_data.name)', dir='$($picture_data.dir)'`n"

    # Enumerate all data fields.
    foreach ($data in $picture_data.PSObject.Properties) {
        Write-Host "  $($data.Name)" -ForegroundColor Green -NoNewline
        Write-Host ": " -NoNewline
        Write-Host "$($data.Value)" -ForegroundColor Blue
    }

    <#
        Use ConvertFrom-Json when cdata is a json array to access the data elements.
        Otherwise cdata is arbitrary text and use $picture_data.cdata as a string, for example: Write-Host $picture_data.cdata
    #>

    # The default setting for the data is a JSON array matching the tooltip data in cPicture.
    $cdata = ConvertFrom-Json -InputObject $picture_data.cdata

    # Example usage:

    # Use specific data field.
    Write-Host $cdata.model -ForegroundColor Yellow

    # Enumerate all data fields.
    Write-Host "$($cdata.psobject.properties.Value.Count) elements in `$picture_data.cdata:"
    foreach ($data in $cdata.psobject.properties) {
        Write-Host "  $($data.Name)" -ForegroundColor Green -NoNewline
        Write-Host ": " -NoNewline
        Write-Host "$($data.Value)" -ForegroundColor Blue
    }

    "-" * 70

    $i++
}

# Use this to pause the console when using the #[console=true] option.
# Do not use when #[console=false] as the console is not displayed.
Write-Host "Press any key to continue ..."
[void]$host.UI.RawUI.ReadKey("NoEcho,IncludeKeyDown")
Example Python script
"""
Description: Example python script to print the picture data
"""

# plugin variables
# Do not remove the leading # of the variable #[...]:

# console=true (default) displays a console, use this option for scripts with text output.
#[console=true]

# noexit=true keeps the console open, set to 'false' (default) to have the console closed when processing is done. This variable is only used when #[console=true].
#[noexit=true]

import json
import sys
import base64

COLORS = {
    "red": "\033[31m",
    "green": "\033[32m",
    "yellow": "\033[33m",
    "blue": "\033[34m",
    "magenta": "\033[35m",
    "cyan": "\033[36m",
    "white": "\033[37m",
    "reset": "\033[0m"
}

def colored_text(text, color):
    return f"{COLORS.get(color, COLORS['reset'])}{text}{COLORS['reset']}"

# Get the picture data.
def picture_data(base64_string):

    # Decode base64 string
    json_string = base64.b64decode(base64_string).decode('utf-8').rstrip('\0')

    # Parse JSON string
    data = json.loads(json_string)

    # Print the number of pictures.
    print(f"{len(data)} picture(s): {"-" * 15}")
    print()

    # Print the picture data for each selected picture.
    for i, item in enumerate(data):

        # Example:
        # item["file"]   : c:\Bilder\bild1.jpg
        # item["name"]   : bild1.jpg
        # item["dir"]    : c:\Bilder\
        # item["width"]  : 3712
        # item["height"] : 5568

        # item["audio"]        : false
        # item["video"]        : false
        # item["colorprofile"] : false
        # item["gps"]          : N 47° 37' 0,872498" W 122° 19' 32,021484"
        # item["aperture"]     : 5.6   # f/5.6
        # item["shutterspeed"] : 1250  # 1/1250s
        # item["iso"]          : 100
        # item["exifdate"]     : 133553225690000000
        # item["exifdate_str"] : 19.03.2024 11:49:29
        # item["model"]        : NIKON Z 30
        # item["lens"]         : 16-50mm f/3,5-6,3 VR f=44mm/66mm
        # item["cdata"]        :  # Configurable with F9

        print(colored_text(f"Picture {i+1}:", "yellow"))

        mp = int(item["width"] * item["height"] / 1000000)
        print(f"Picture '{item["file"]}' ({i+1} of {len(data)}) with {item["width"]}x{item["height"]} pixel ({mp}MP)")
        print(f"  name='{item["name"]}', dir='{item["dir"]}'")
        print()

        for key, value in item.items():
            print(colored_text(f"  {key}", "green"), end="")
            print(": ", end="")
            print(colored_text(f"{value}", "cyan"))
        print()

        # Use specific cdata field.
        element_name = "Modell"
        if 'cdata' in item and len(item['cdata']) > 0:
            element_value = item['cdata'][0].get(element_name, None)
            print(f"Value of cdata element '{element_name}': {element_value}")
        else:
            print(f"cdata element '{element_name}' not found.")

        # Print cdata elements if they exist.
        if 'cdata' in item:
            print(f"{len(item['cdata'][0])} elements in cdata")
            for i, cdata_item in enumerate(item['cdata']):
                for key, value in cdata_item.items():
                    print(colored_text(f"  {key}", "green"), end="")
                    print(": ", end="")
                    print(colored_text(f"{value}", "cyan"))

        print("-" * 70)

if __name__ == "__main__":
    if len(sys.argv) == 2:
        picture_data(sys.argv[1])
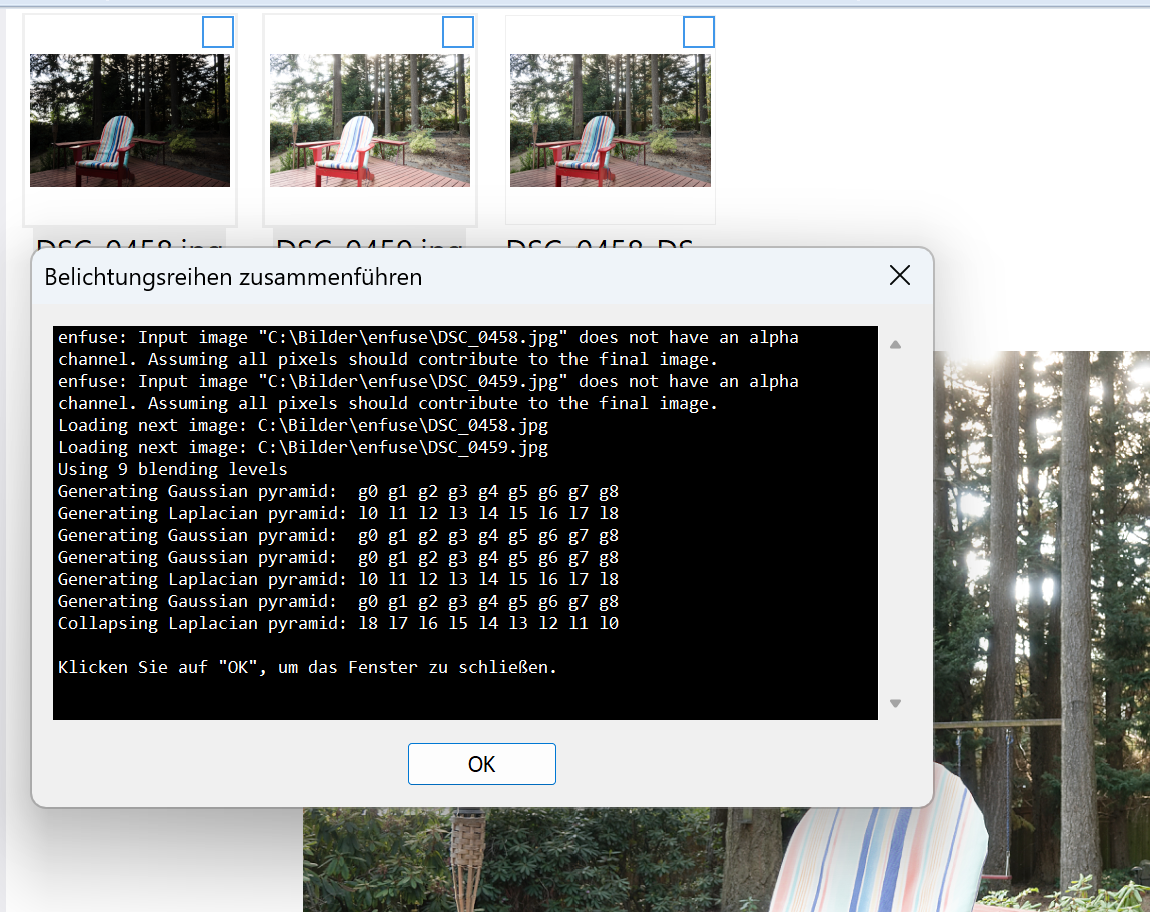
HDR enfuseThis plugin uses the enfuse tool to create a HDR picture from at least 2 pictures.
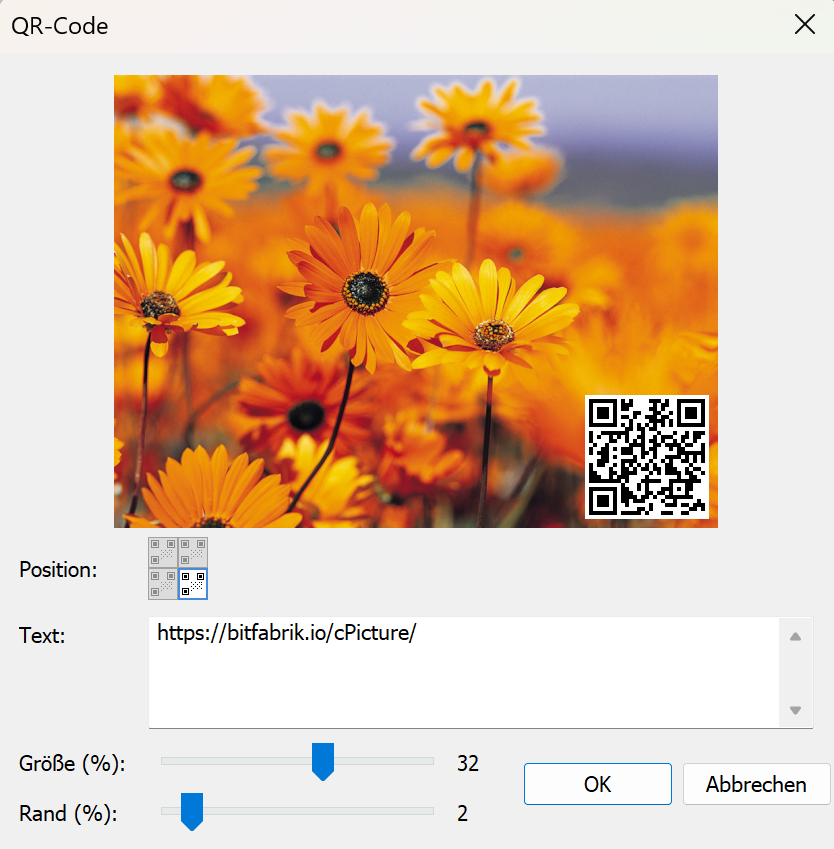
QR-CodeOverlays a QR code onto your pictures. Enter any text or URL, choose the corner position, and adjust size and margin with sliders.
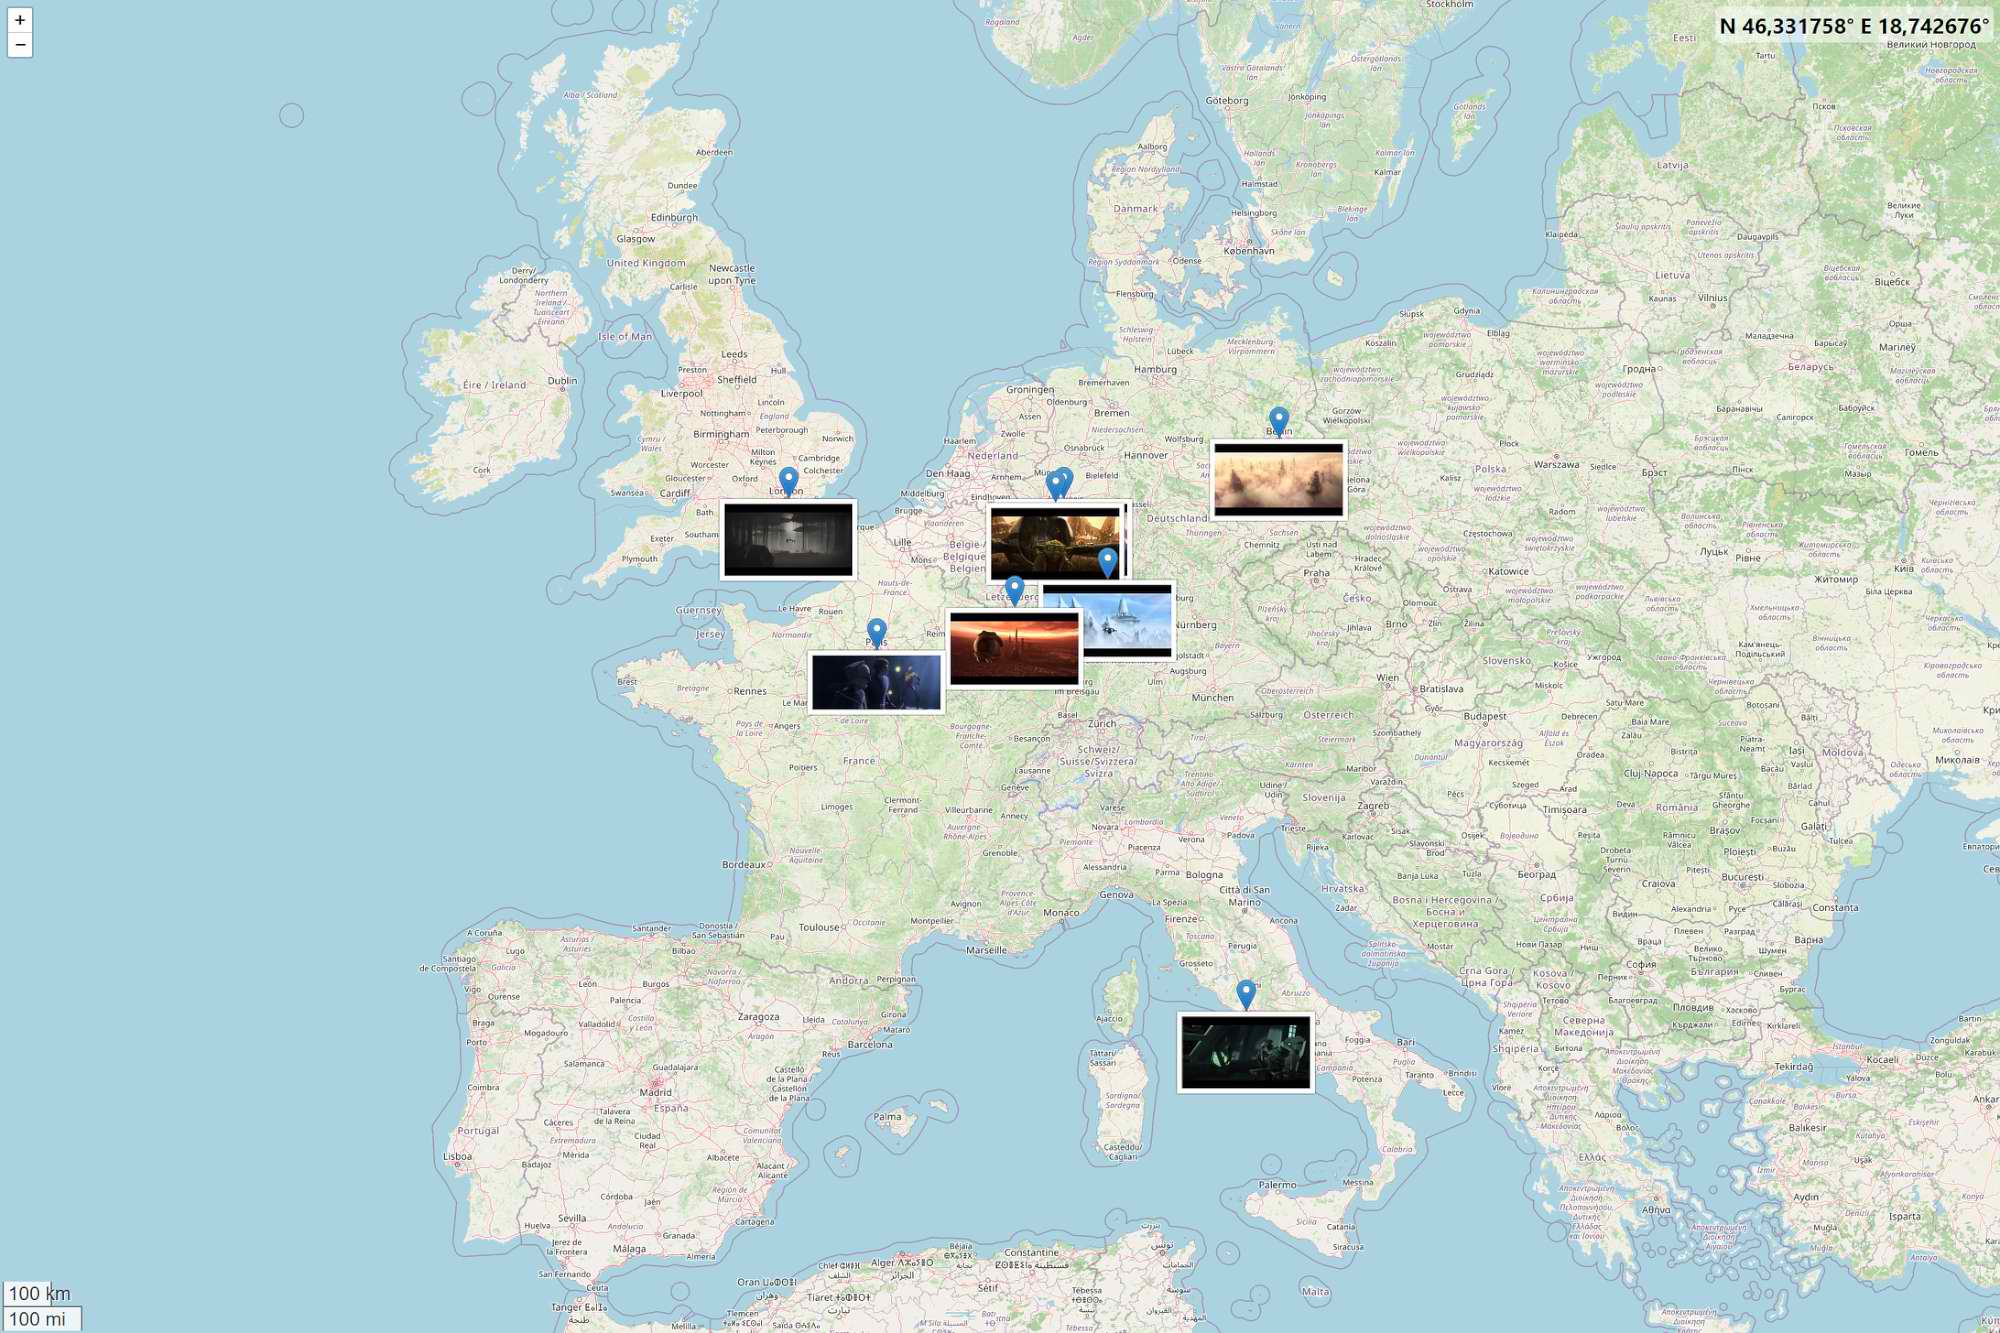
Time CapsuleThis function plugin creates a story poster from multiple selected pictures with title, route strip, location clusters, summary and thumbnails. The dialog lets you configure the sorting mode, location radius and thumbnail size.
The route is built from available GPS data and linked to the picture thumbnails, creating a visual summary of a trip, series or shoot.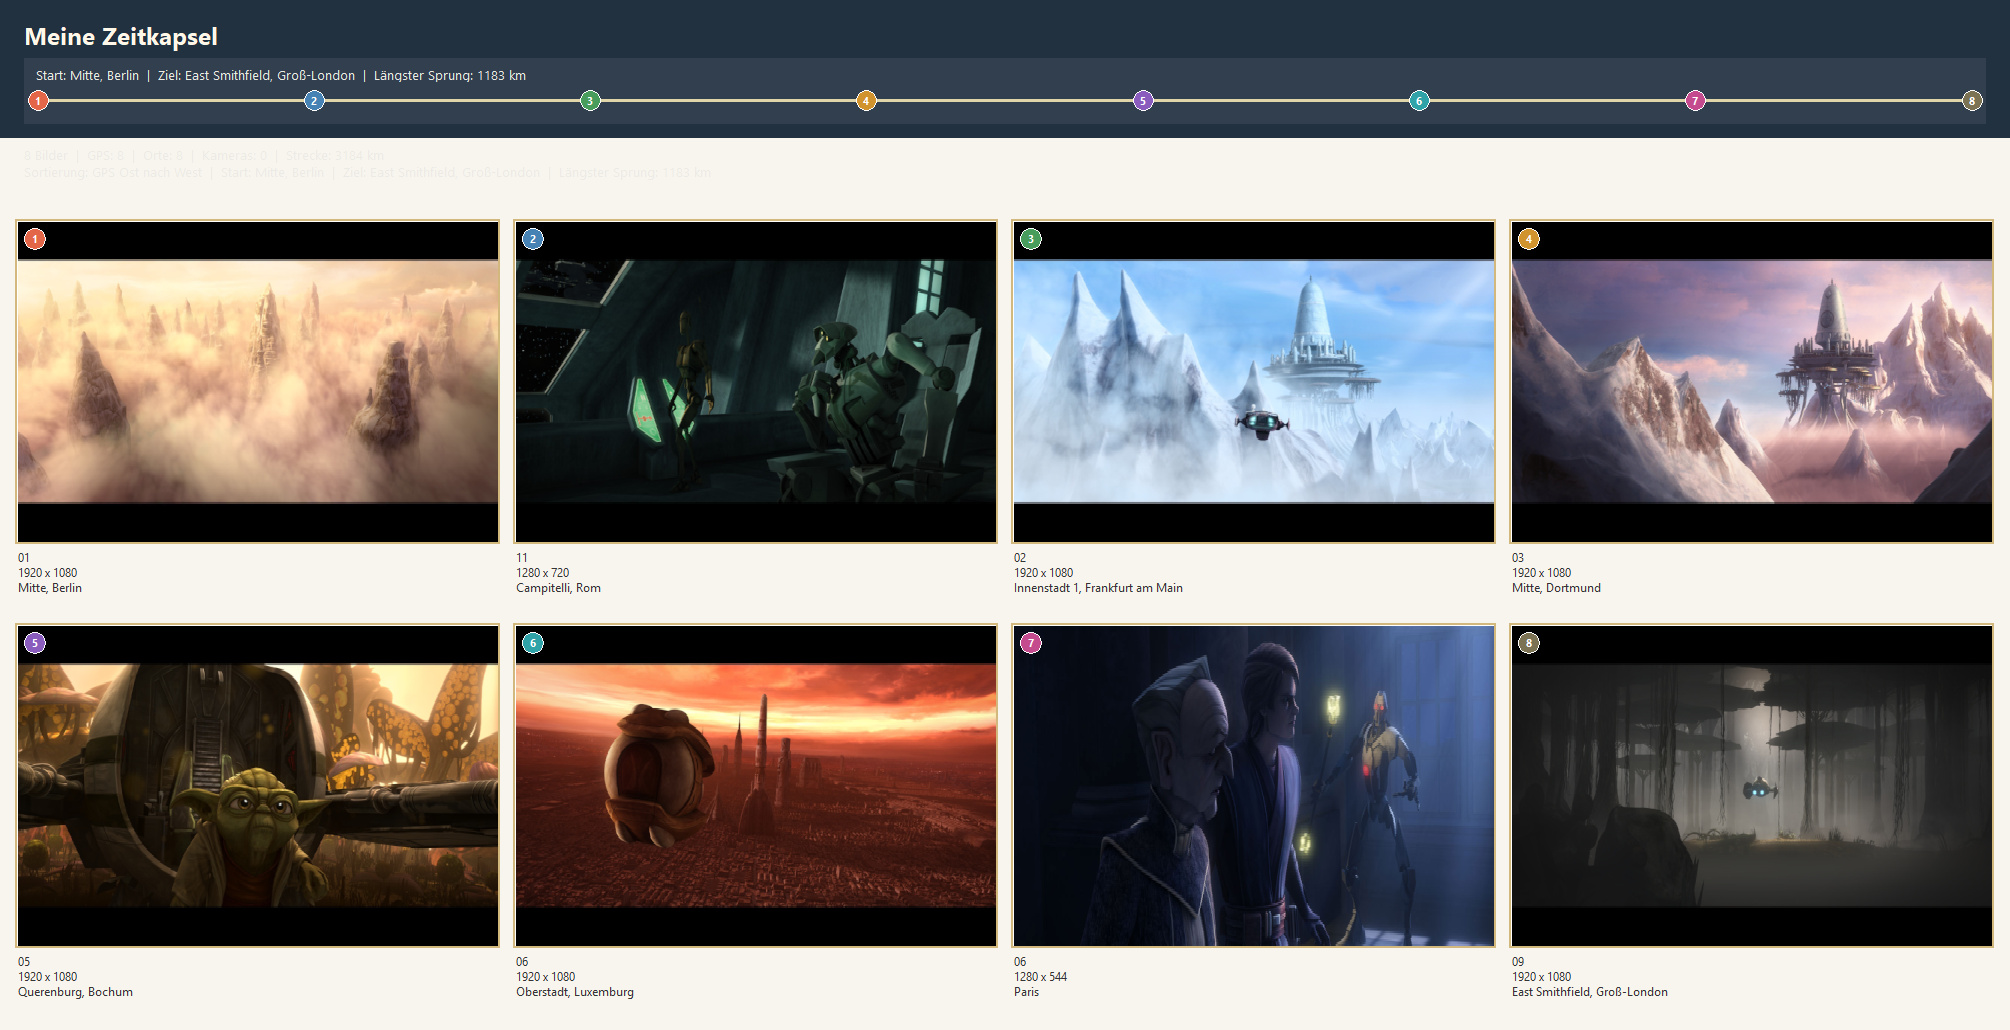
Created with cPicture's map view:
X-RayThis function plugin creates an analysis board for each selected picture with the original view, an edge map, an 8x8 block analysis and a combined heat map. Scale, sensitivity and the optional 8x8 grid can be configured in the dialog.
The output helps highlight structures, compression artifacts and visually suspicious image regions.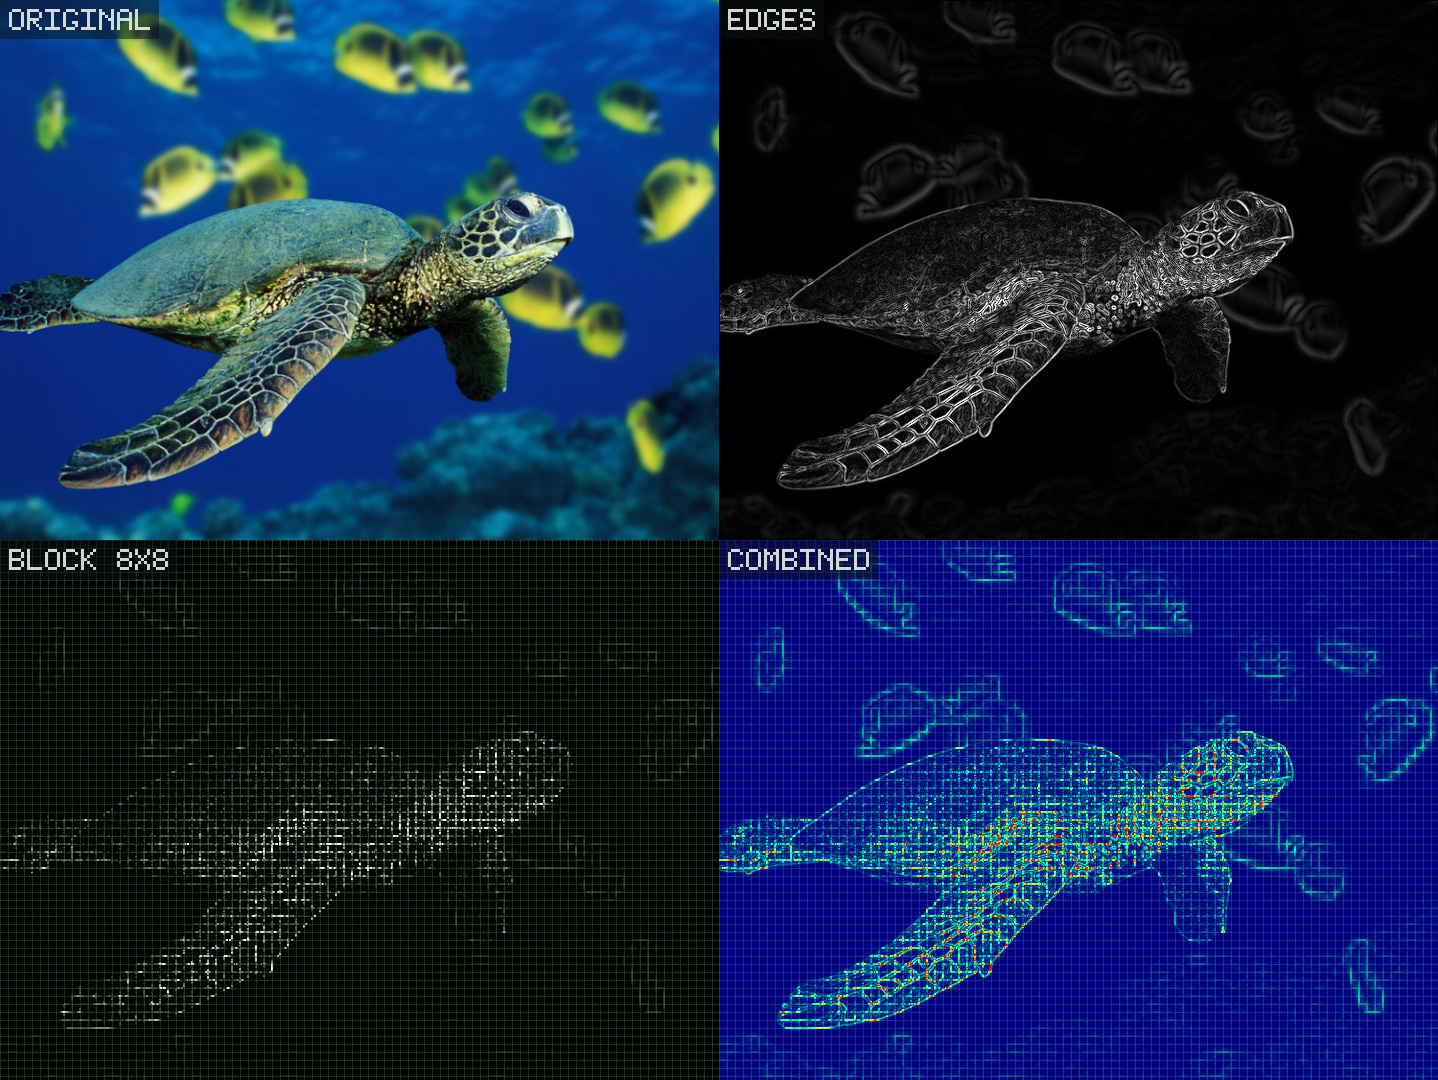
Motion ComposerThis function plugin combines multiple pictures into a single composition with motion and trail effects. Output size, threshold and optional trail colorization are configured in the dialog.
It is especially useful for sequences with movement, such as people, vehicles or repeated actions.
Composed from these two pictures:
 Created with the Sample plugin #5
Download the plugin from
Function plug-insmenu and selectManagein cPicture.
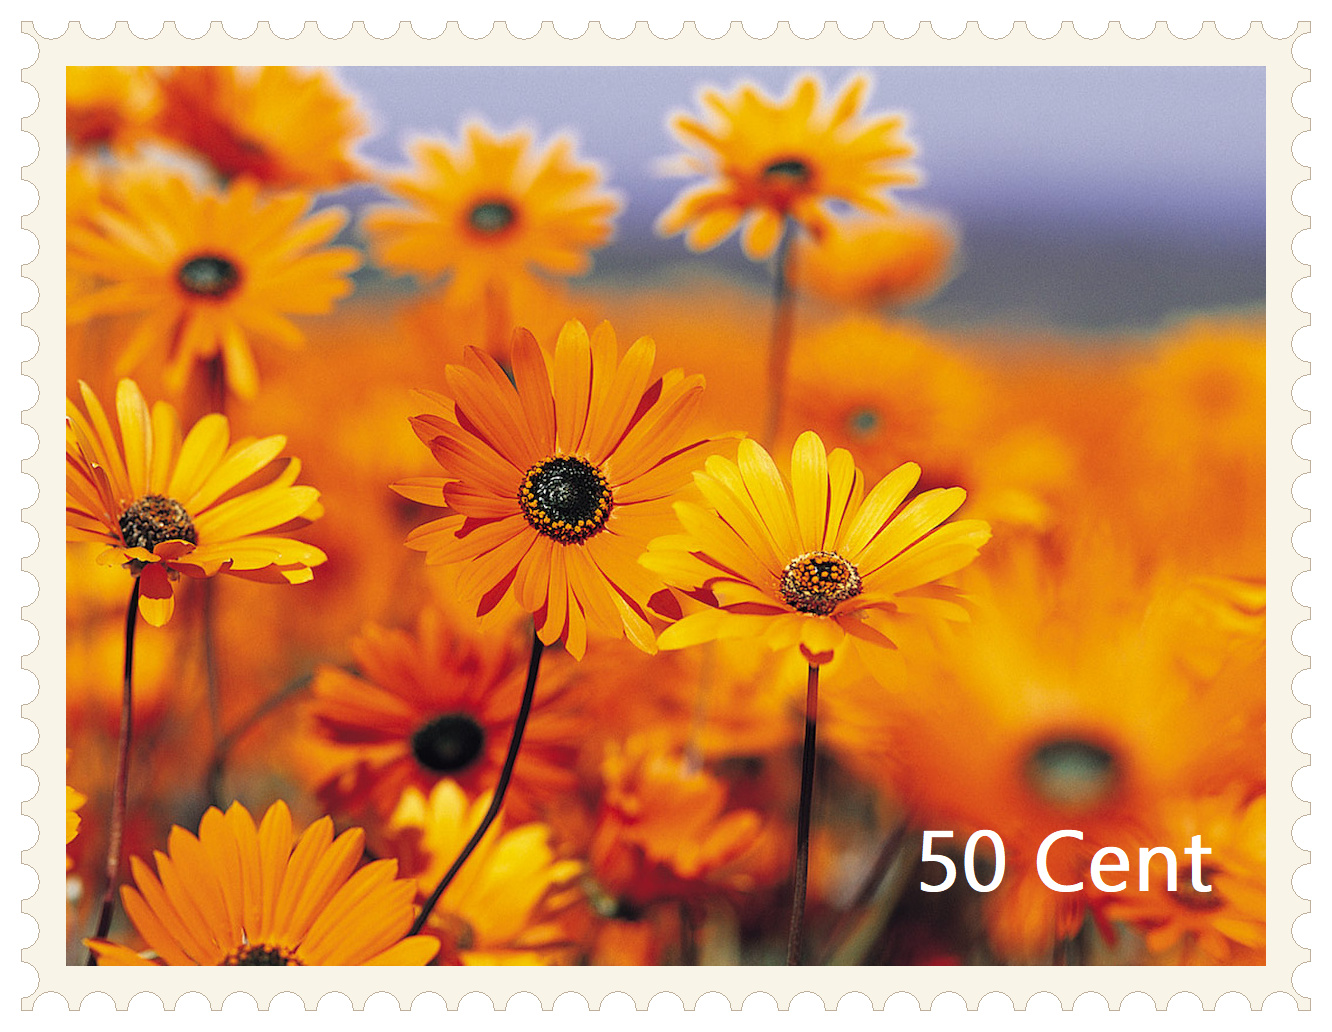
PostageThis function plugin turns selected pictures into postage stamps with a perforated border.
The dialog lets you configure the paper style, border spacing, text, text corner, font and text color.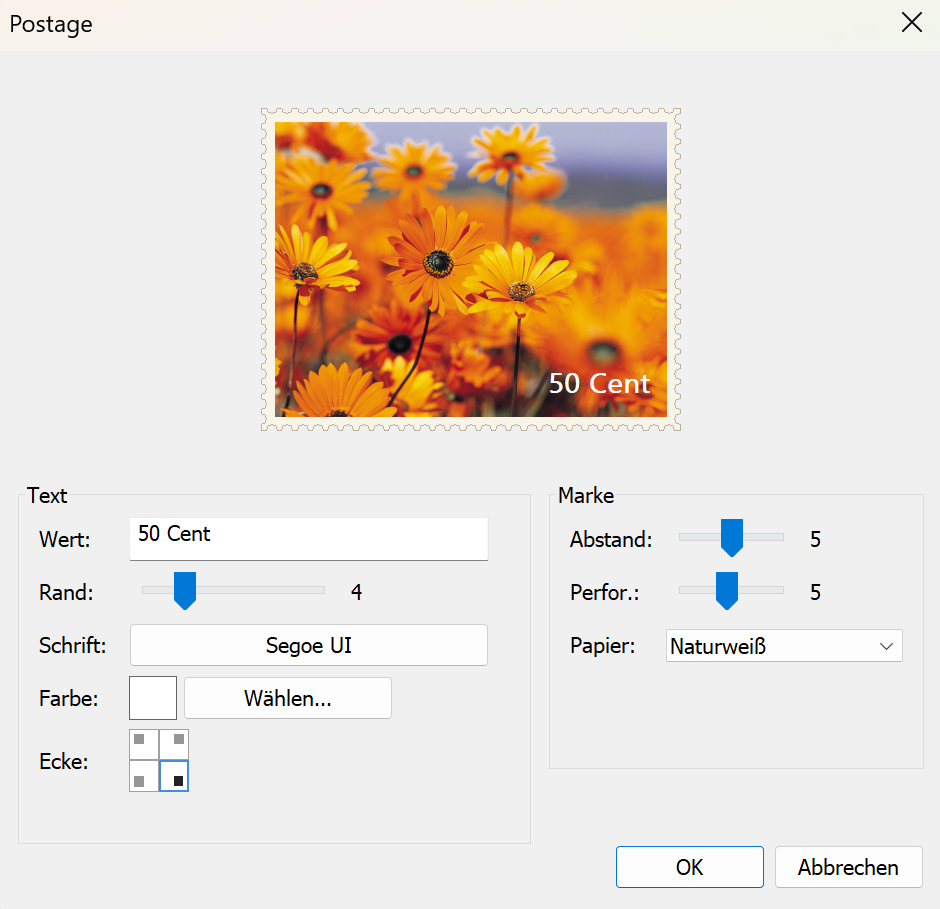
 Index print created with cPicture
(Perforation 4, Distance 8, Offwhite paper with default font, Standard Index print with no border)
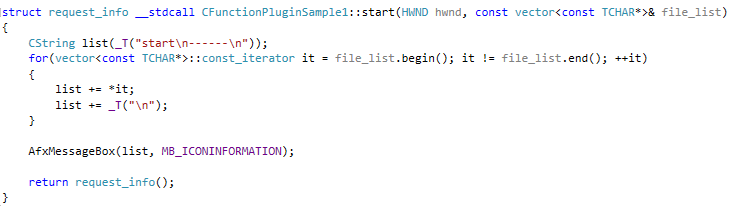
Structure and detailsA function plug-ins will be executed in 3 steps. The following example displays a message box for each step.
Step 1
The function start(...) will be called with a list of all selected pictures. In this first sample, all picture names will displayed in the message box:
Step 2
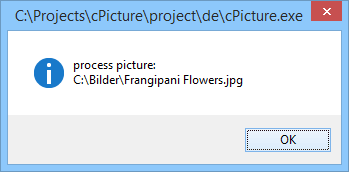
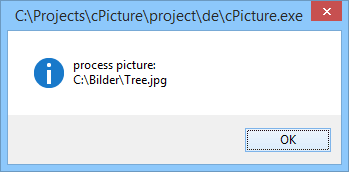
The function process_picture(...) will be called for each selected picture:

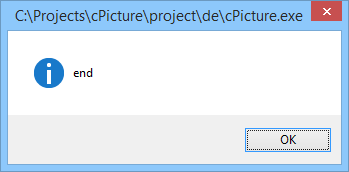
Step 3
The funktion end() will be called last:

The return value determines which pictures were modified/deleted or added. cPicture adjusts the display accordingly.
cPicture can supply each picture with additional picture data. This is controlled by the return value of start(...). With this you can easily create external display applications (example above) or simply call a script or an external program. The execution stops if the return value is set to 'false'.
DownloadDownload the plugin from
Function plug-insmenu and selectManagein cPicture.C++ plugin source codeon github -
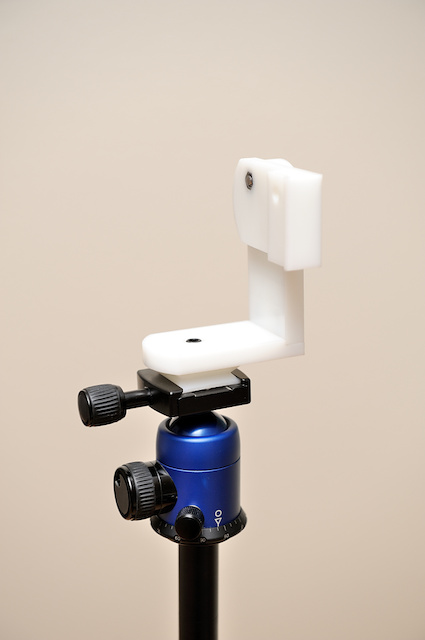
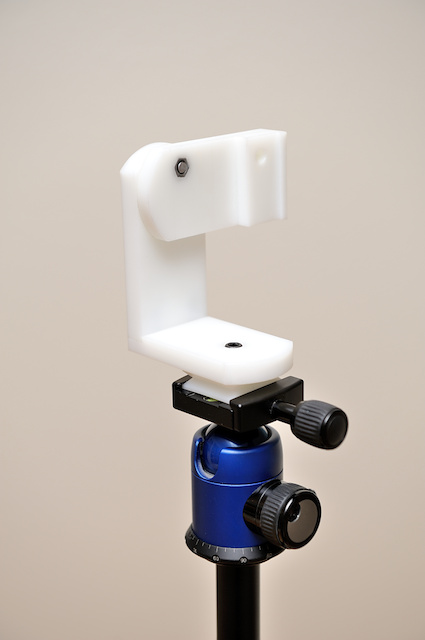
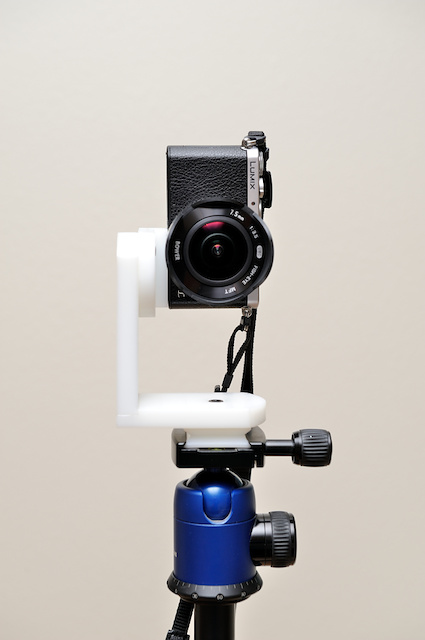
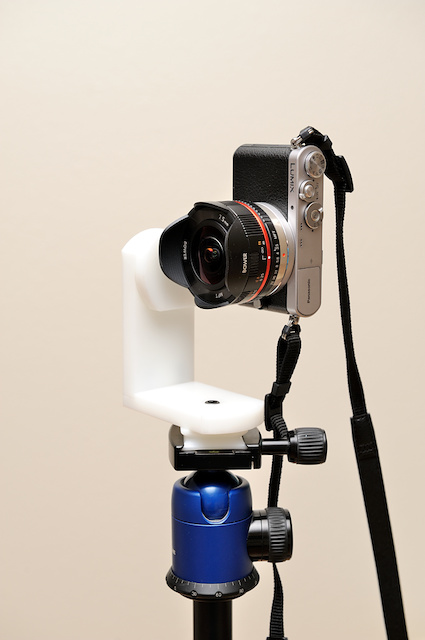
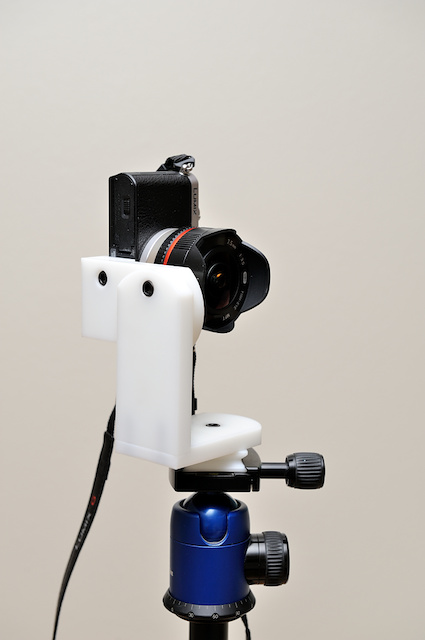
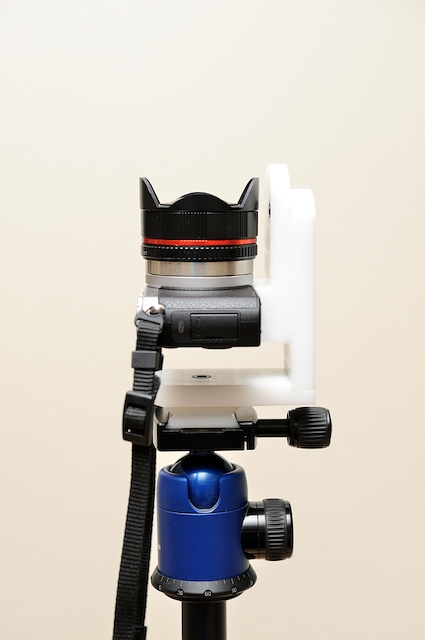
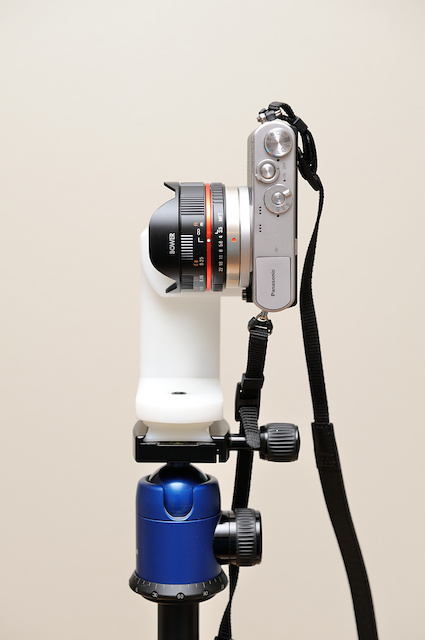
Micro 4/3 7.5mm Fisheye, Panorama - Part 2: Custom adapter
To create a spherical panorama, the only important part is to rotate the zero paralax point of the lens around a fixed point in space. It is not necessary to level the adapter because the full sphere is captured.
The plane of the zero paralax point of the 7.5mm fish eye lens is between the front barrel and the hood.

Custom adapter
This is a custom adapter specific to the Panasonic GM1: