-
cPicture review
With todays content replication on download websites to increase traffic, reviews might be outdated or not accurate, but this one is different. The editor actually run the app instead of copy&paste content from previous pages.
Nicely done.
http://www.softpedia.com/get/Multimedia/Graphic/Digital-Photo-Tools/cPicture.shtml
-
Perfectly Square
How to make a rectangular object perfectly square using the panotools:
The frame is straight, but somehow the photo looks distorted.

The camera (film/sensor) was not exactly parallel to the object during the exposure and resulted in a slightly skewed frame along with some distortions (bowed lines) caused by the lens:

This can easily be fixed with the panotools: start with vertical and horizontal control points. For this I'm using the PTGui software. Note: by default t1 points (vertical line) are selected. Change horizontal control points to the t2 type.
It is important to align vertical and horizontal control points not only at the corner points but also in the middle of the sides. Any camera lens has a distortion and lines are not straight. Using the middle points will fix those bows too.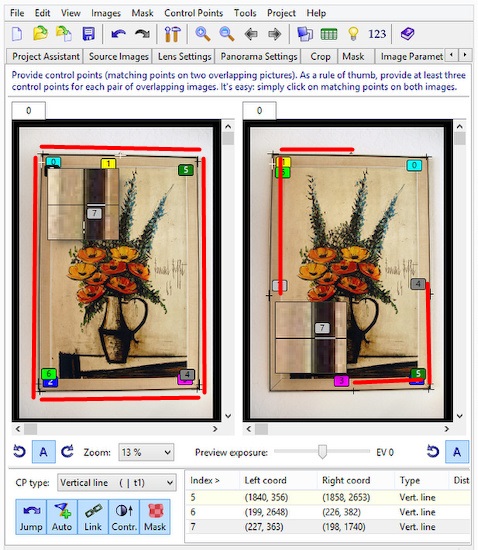
Make sure the lens type is rectilinear: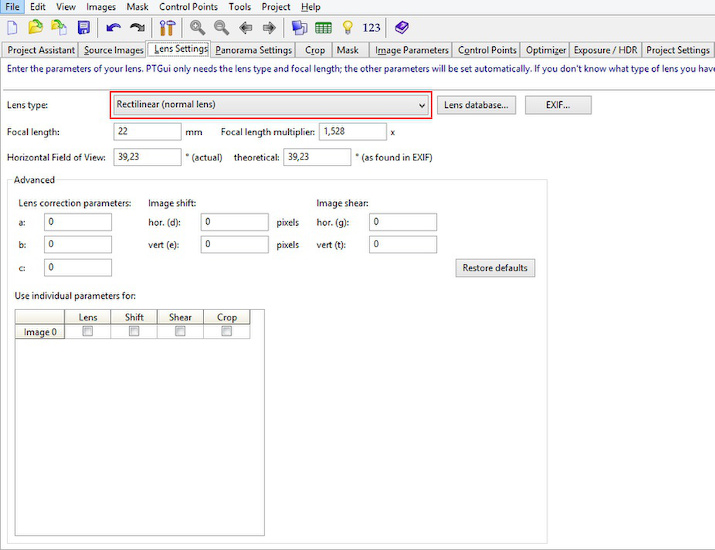
And the projection is set to rectilinear:
Select Raw, Pitch and Roll and run the first optimization. It is important not to select all variables at once: optimization is finding a low spot in a multidimensional field and optimizing for Raw, Pitch and Roll first you make sure not to optimize on a local spot in a wrong location.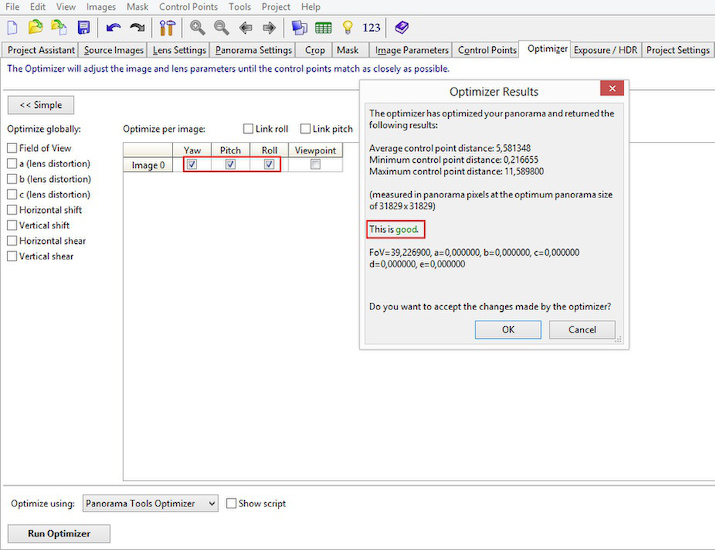
The first result looks good and corners are aligned correctly. Now we fix the bowed lines.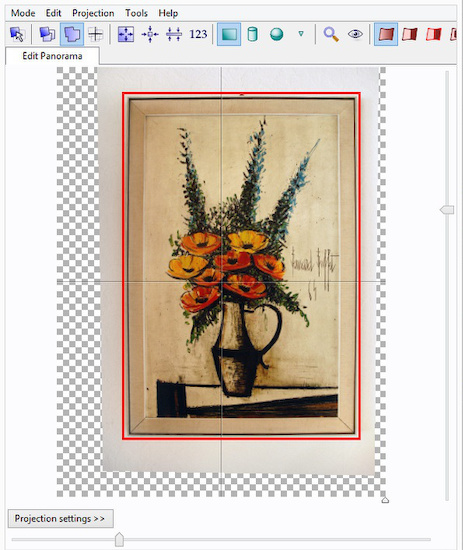
Add the Field of View, b and vert/horz shift. Do not use a, b and c altogether. Just the b parameter is perfectly suited for the non-wavy camera lens distortions. The optimizer can now calculate the exact parameter values: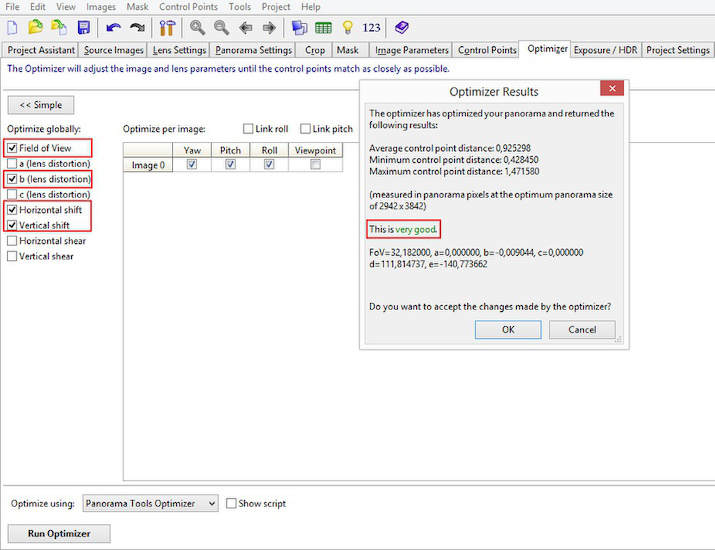
The object is now straitened: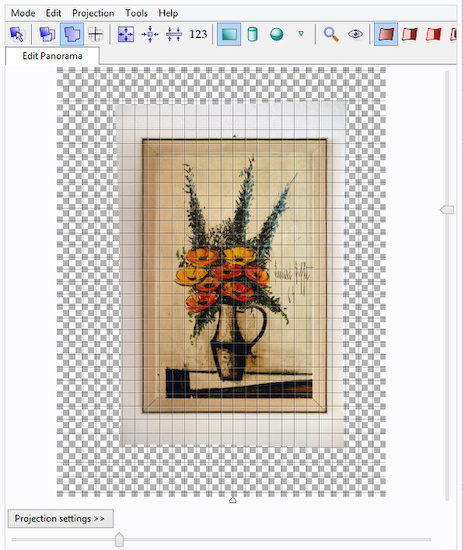
The panotools take all the calculated parameters and create the final output image:
Perfectly square:
-
What the cPicture paid upgrade adds
The free version covers the core: fast browsing, lossless editing, JPEG handling. This post shows what gets added when you upgrade: tools grouped around image organisation, batch operations, and metadata control. The kind of features that don't matter until they do.

-
Open With
-
Selection handling and saving
-
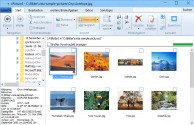
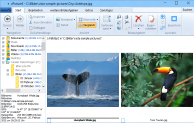
Display mode 'Detail'

-
Display mode 'Overview'
-
Display mode 'Side-by-Side'

- Set date for all time stamp variants

- Macro processing
- Picture format conversion
- Picture quality enhancement
- Lossless panorama splitting
- Picture index pages
- Internet picture pages
- 3D picture creation
- Check duplicate pictures
- Check similiar pictures
- Check and search for broken pictures

- Save&Recreate thumbnail picture
- Save color profile
- Kodak Exif-Audio support
- Import/Export of picture data (Exif)
- Create picture lists in free defined Textformat and XML
- Read picture from Scanner
- Tethered camera
- Copy from clipboard

- Fast picture folder search
- Picture folder diff
- External display on 2nd monitor
- Jpeg repair function
-
-
cPicture 3.5
cPicture is updated to version 3.5.
A new selection is added for most of the commands to choose the actual selection. It makes using the app so much easier!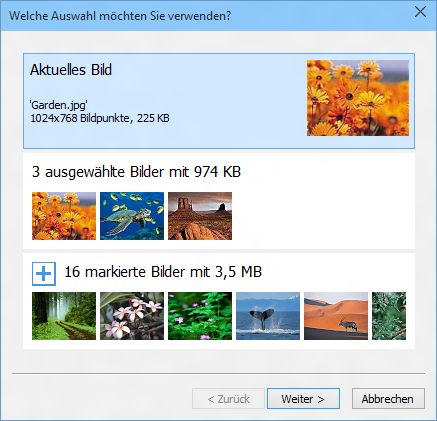
cPicture is a portable App with no installation required.
Download the .ZIP file, (click here for the 64bit version) open the ZIP file and copy the cPicture.exe anywhere on your computer to run the app or use the 'Check for updates' button in the 'Other' category.
For convenience use the Microsoft Installer to create a program folder and copy the app:
Download German 32bit Installer MSI Download English 32bit Installer MSI
Download German 64bit Installer MSI Download English 64bit Installer MSISee the Download Instructions for more details.
For questions, please mail to: cpicture
-
cPicture 3.4.4
cPicture is updated to version 3.4.4
- added support for Scanner using WIA (Windows Image Acquisition)
- fix problem for size and order of detailled view columns
- minor updates
32bit version contains Scanner access via TWAIN or WIA

64bit version contains Scanner access via WIA

cPicture is a portable App, so no installation is required.
Download the .ZIP file, (click here for the 64bit version) open the ZIP file and copy the cPicture.exe anywhere on your computer to run the app or use the 'Check for updates' button in the 'Other' category.
See the Download Instructions for more details.For questions, please mail to: cpicture