-
Chang Jiang Unlimited Archive – Original Content Restored
For years, Chang Jiang Unlimited (CJU) was the go-to resource for owners and enthusiasts of the legendary Chang Jiang 750 motorcycles. It offered technical documentation, restoration tips, parts information, and a wealth of knowledge that kept these classic sidecar bikes on the road.
❓ What Happened
The original CJU website changjiangunlimited.com disappeared years ago. The domain went offline, and most of its content was lost to time. Even the Wayback Machine only preserved fragments. For many in the community, this meant losing an irreplaceable source of information.
✅ The Good News
Back when CJU was still online, site owner Dan Crossman offered to share the entire site content with anyone willing to preserve it. I accepted that offer and secured the complete dataset, which takes up about 10 GB of disk space across nearly 60k files.
Not sure if there is another copy, but anyway, here it is.This archive includes:
- Original technical guides and toolbox resources
- Historical documentation for CJ750 models
- Restoration and customization guides
- Community knowledge
The content is now fully integrated into the new site and is freely available here1:
https://bitfabrik.io/cju
Everything is preserved in its original structure and format, including the classic gold-and-red colors we would never dare to put on a bike.
-
See also my restoration projects, technical details, and riding experiences with the Chang Jiang 750 ↩
-
Burgen am Rhein 🏰
Zeichnungen von @jamila.draws

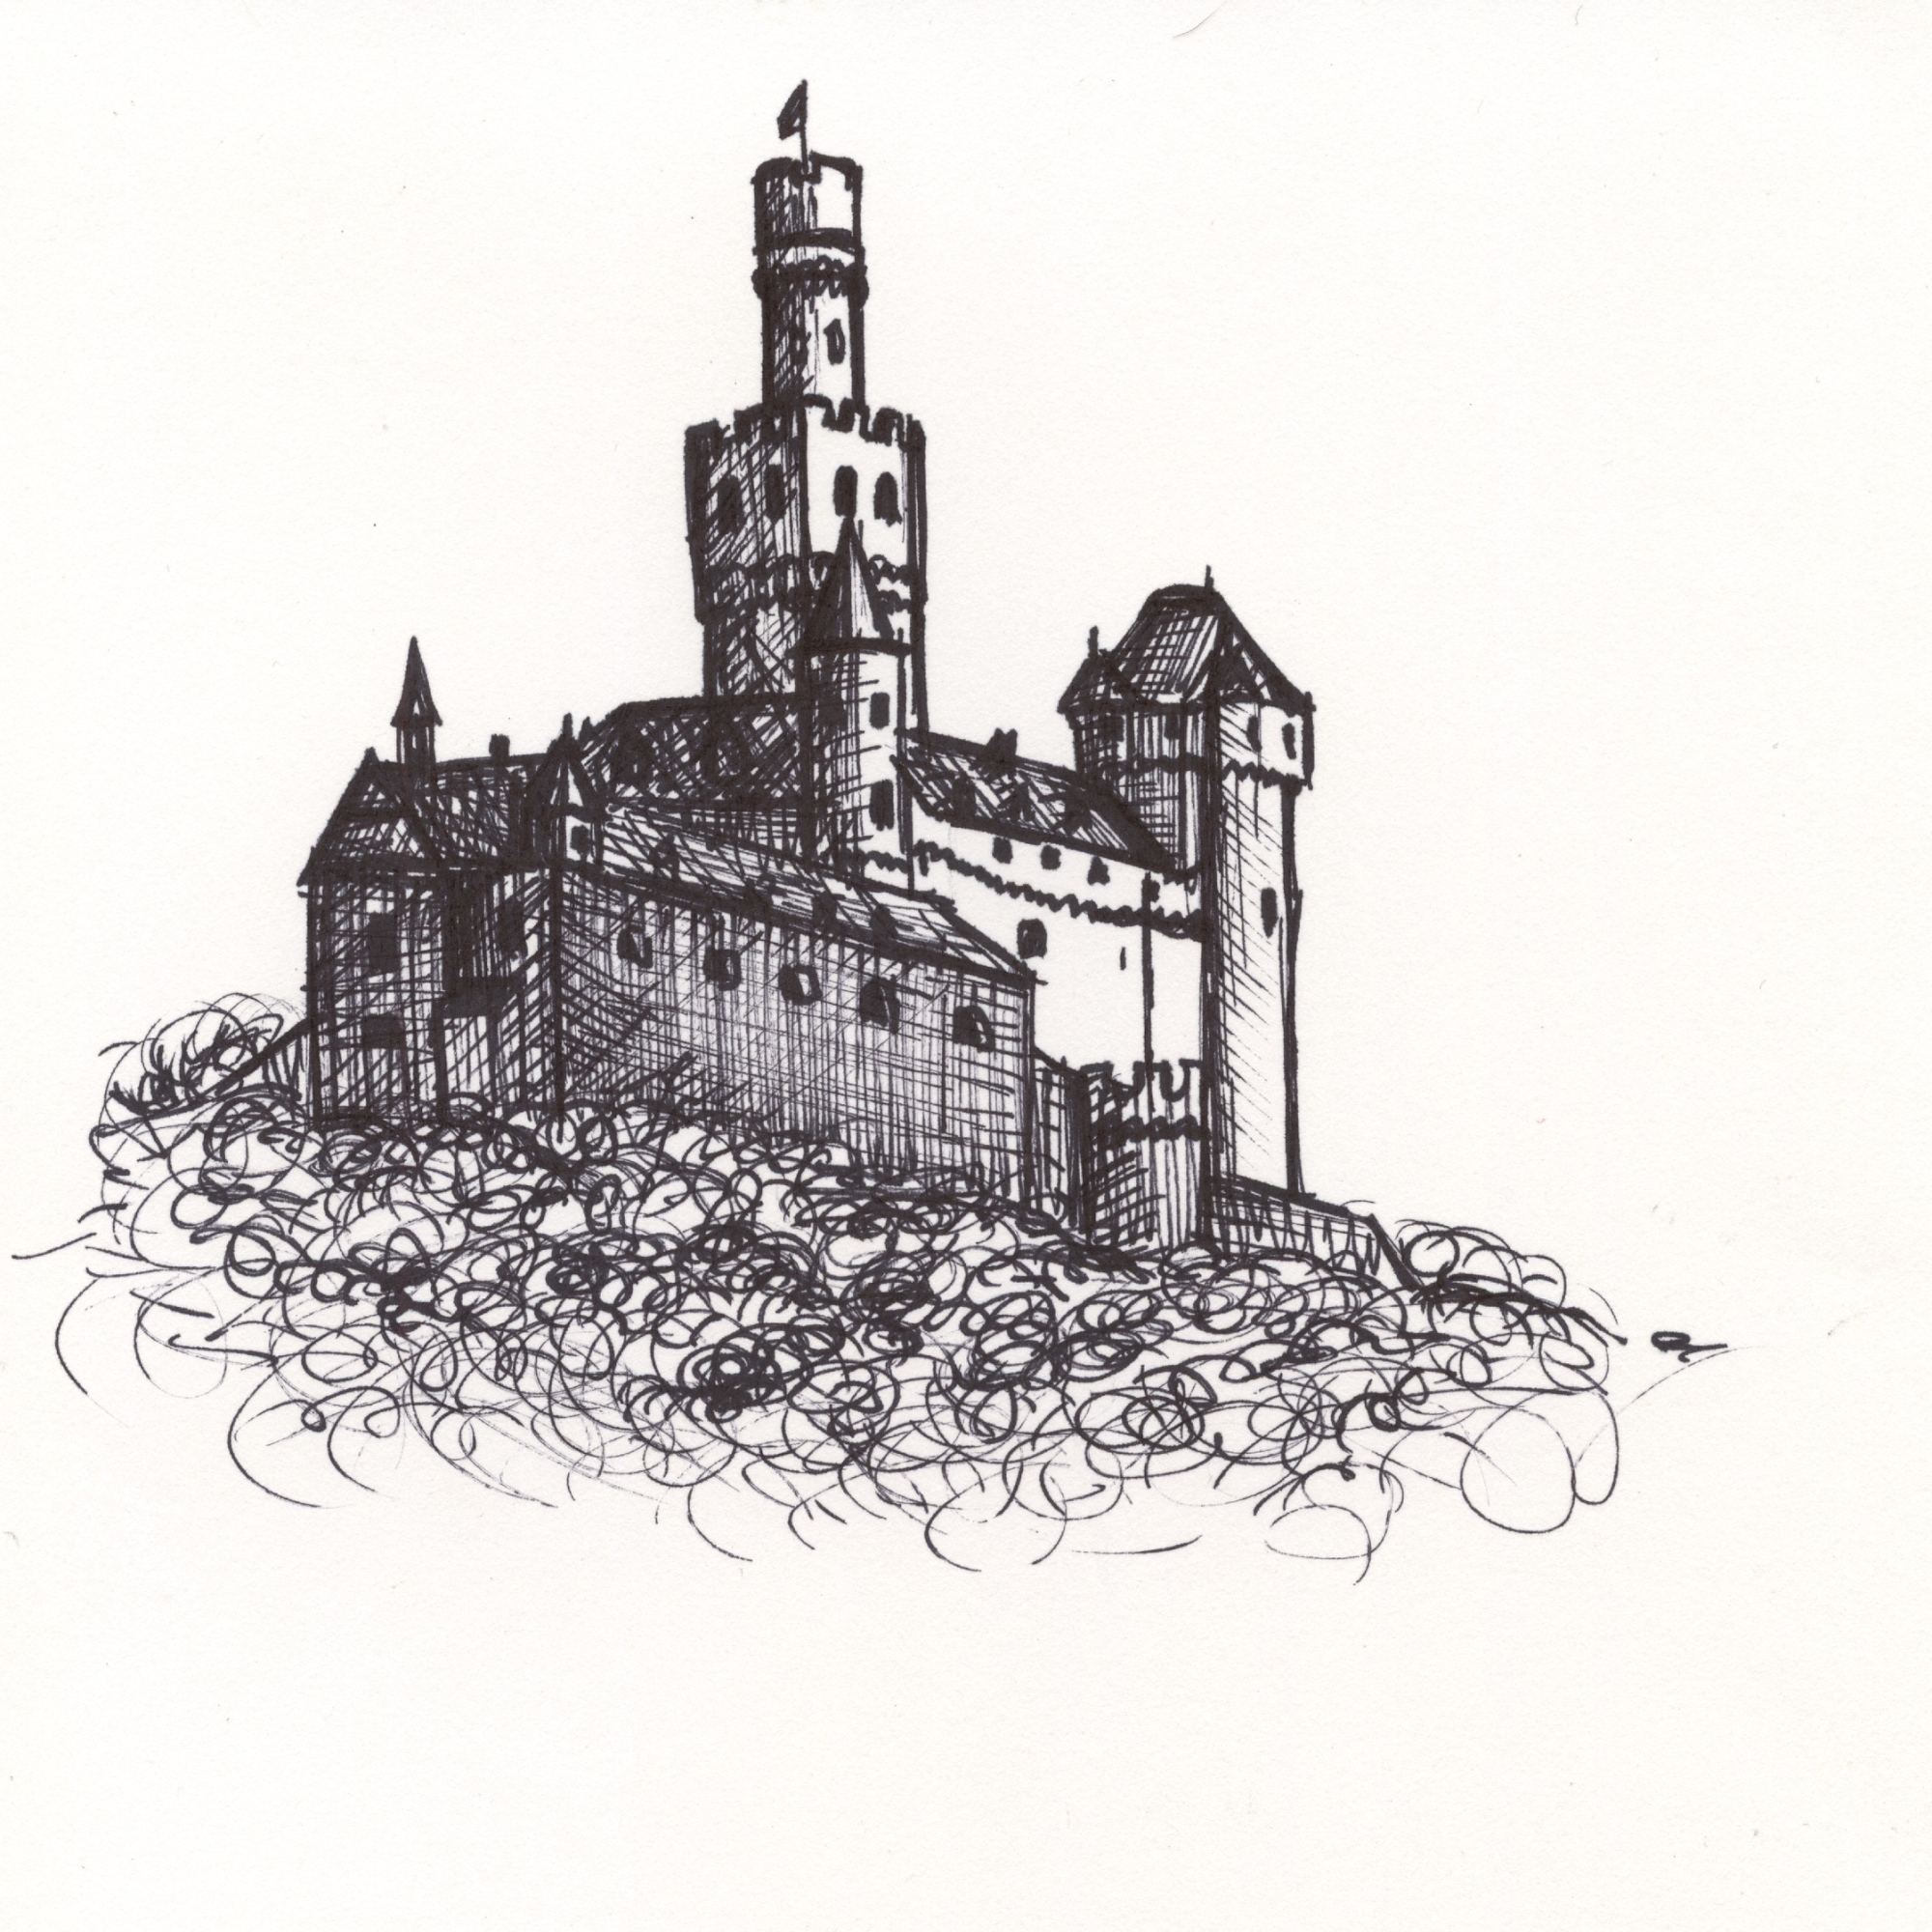
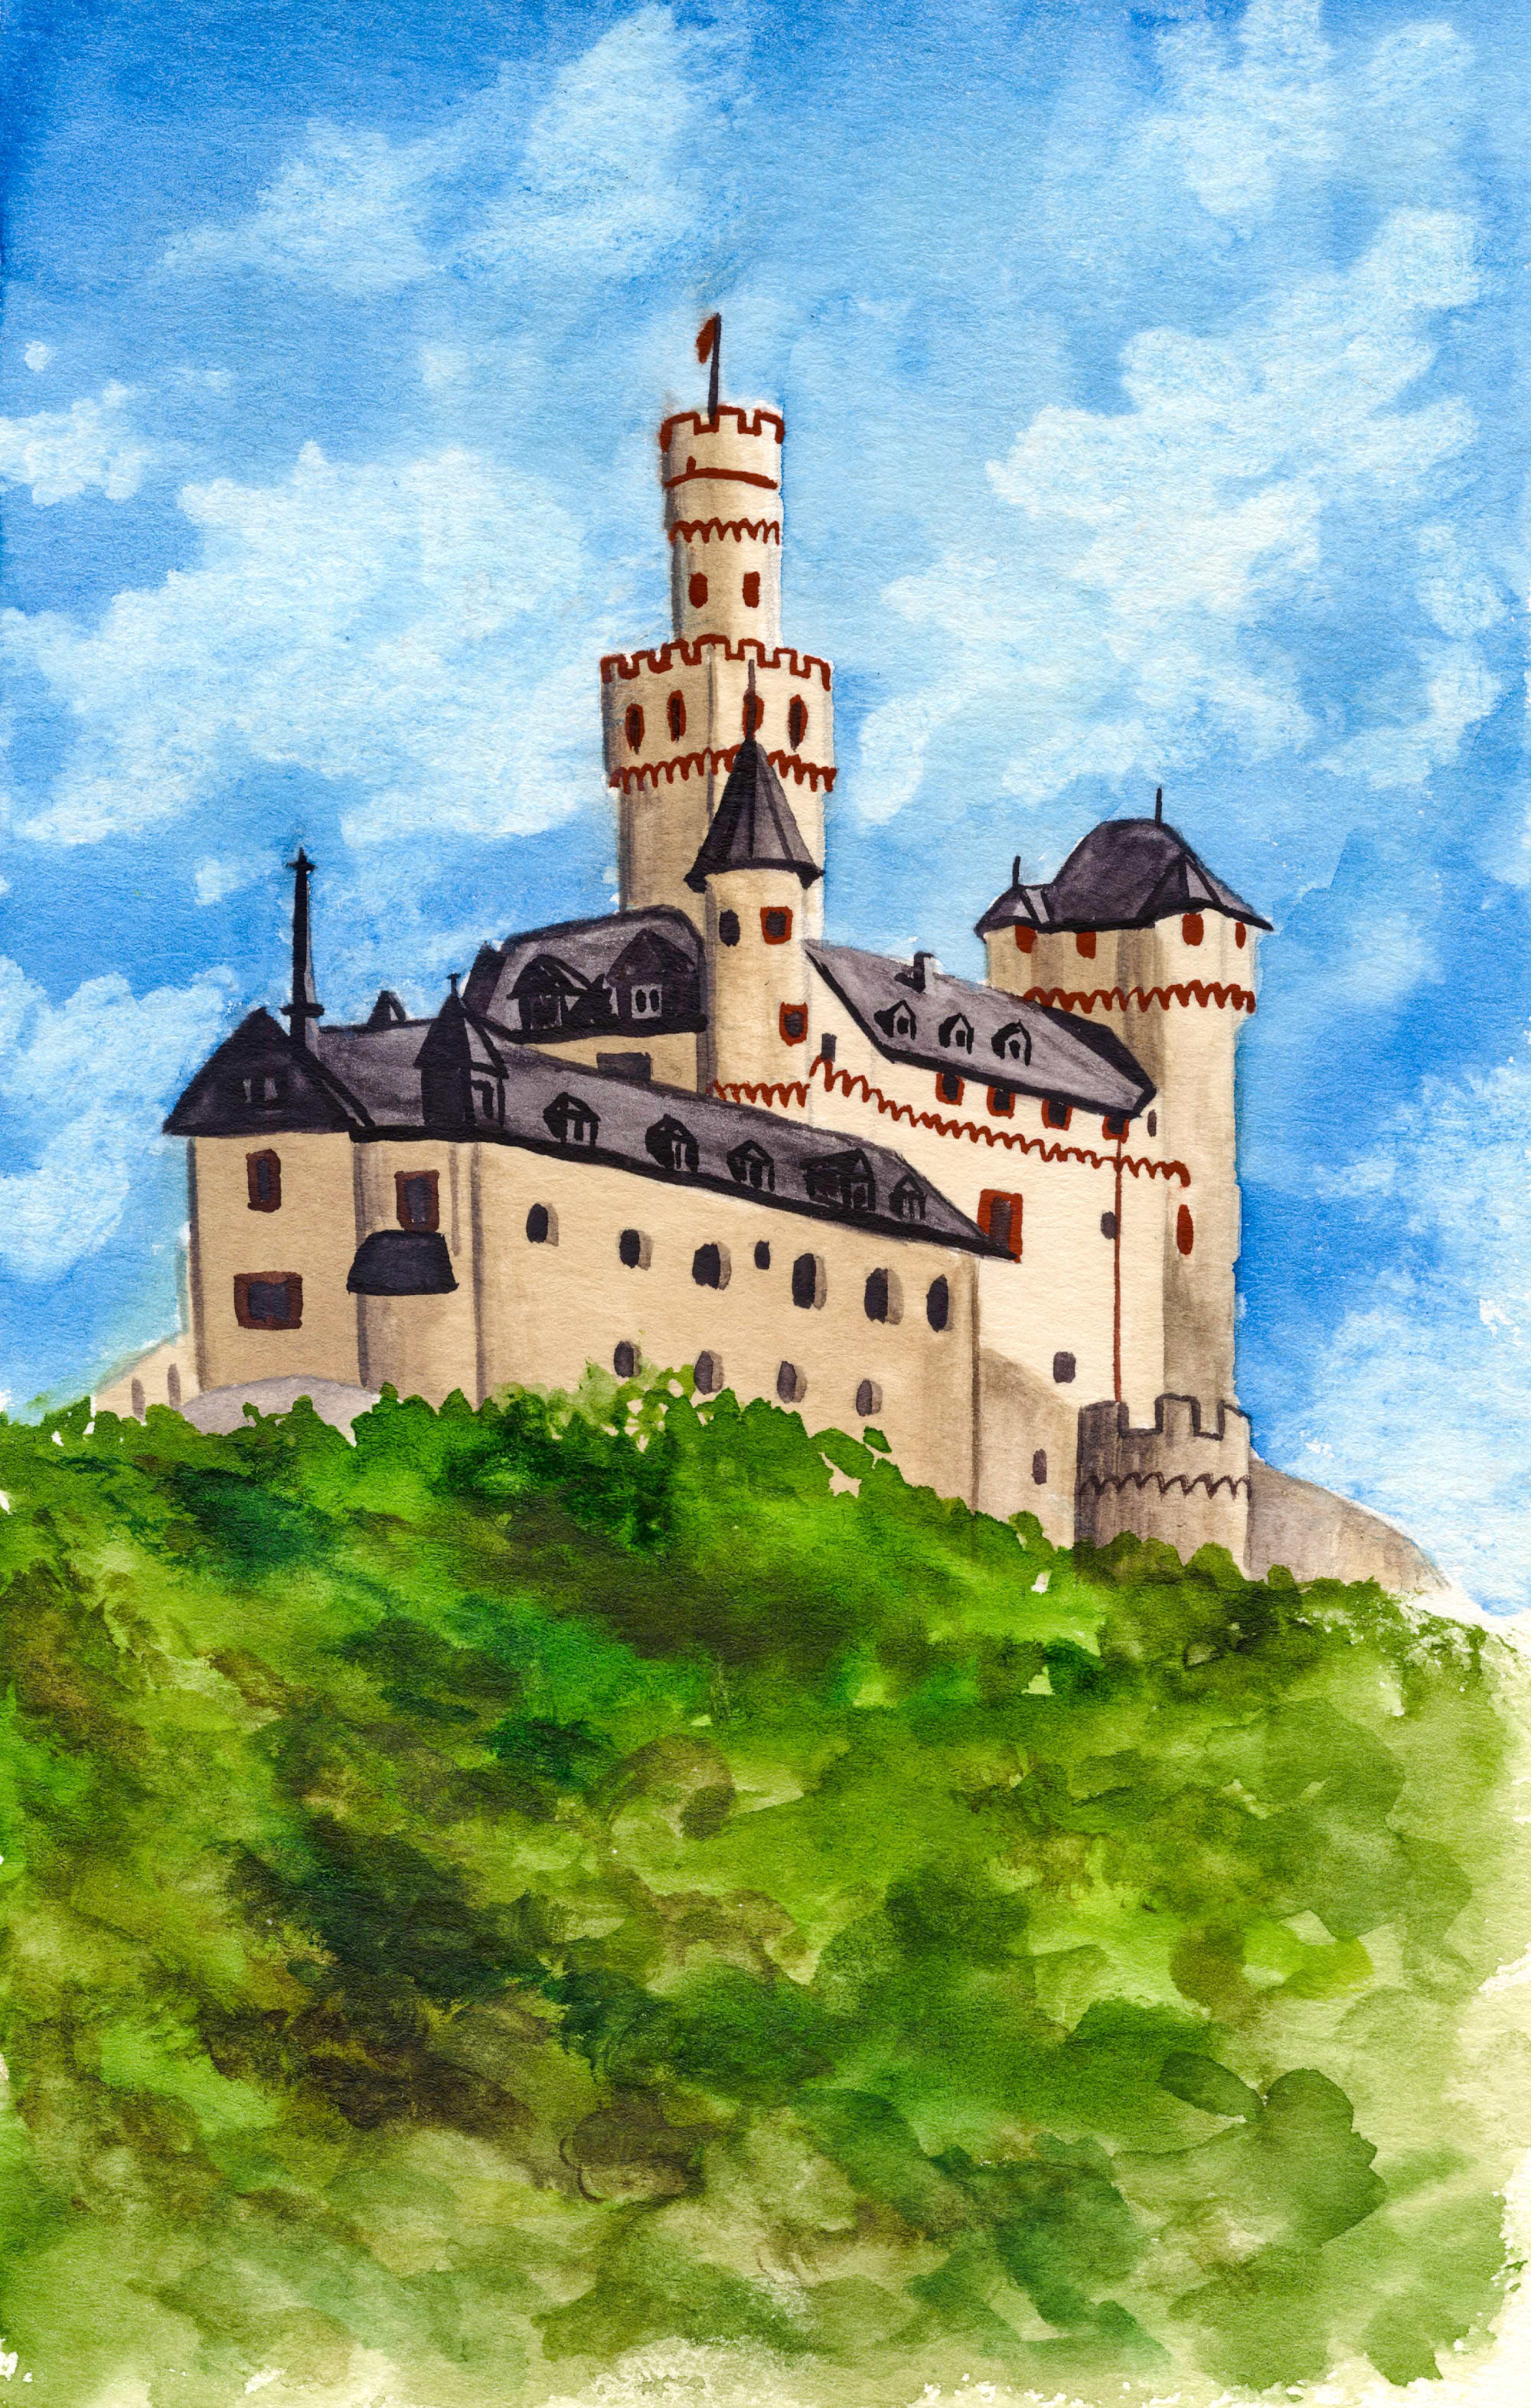
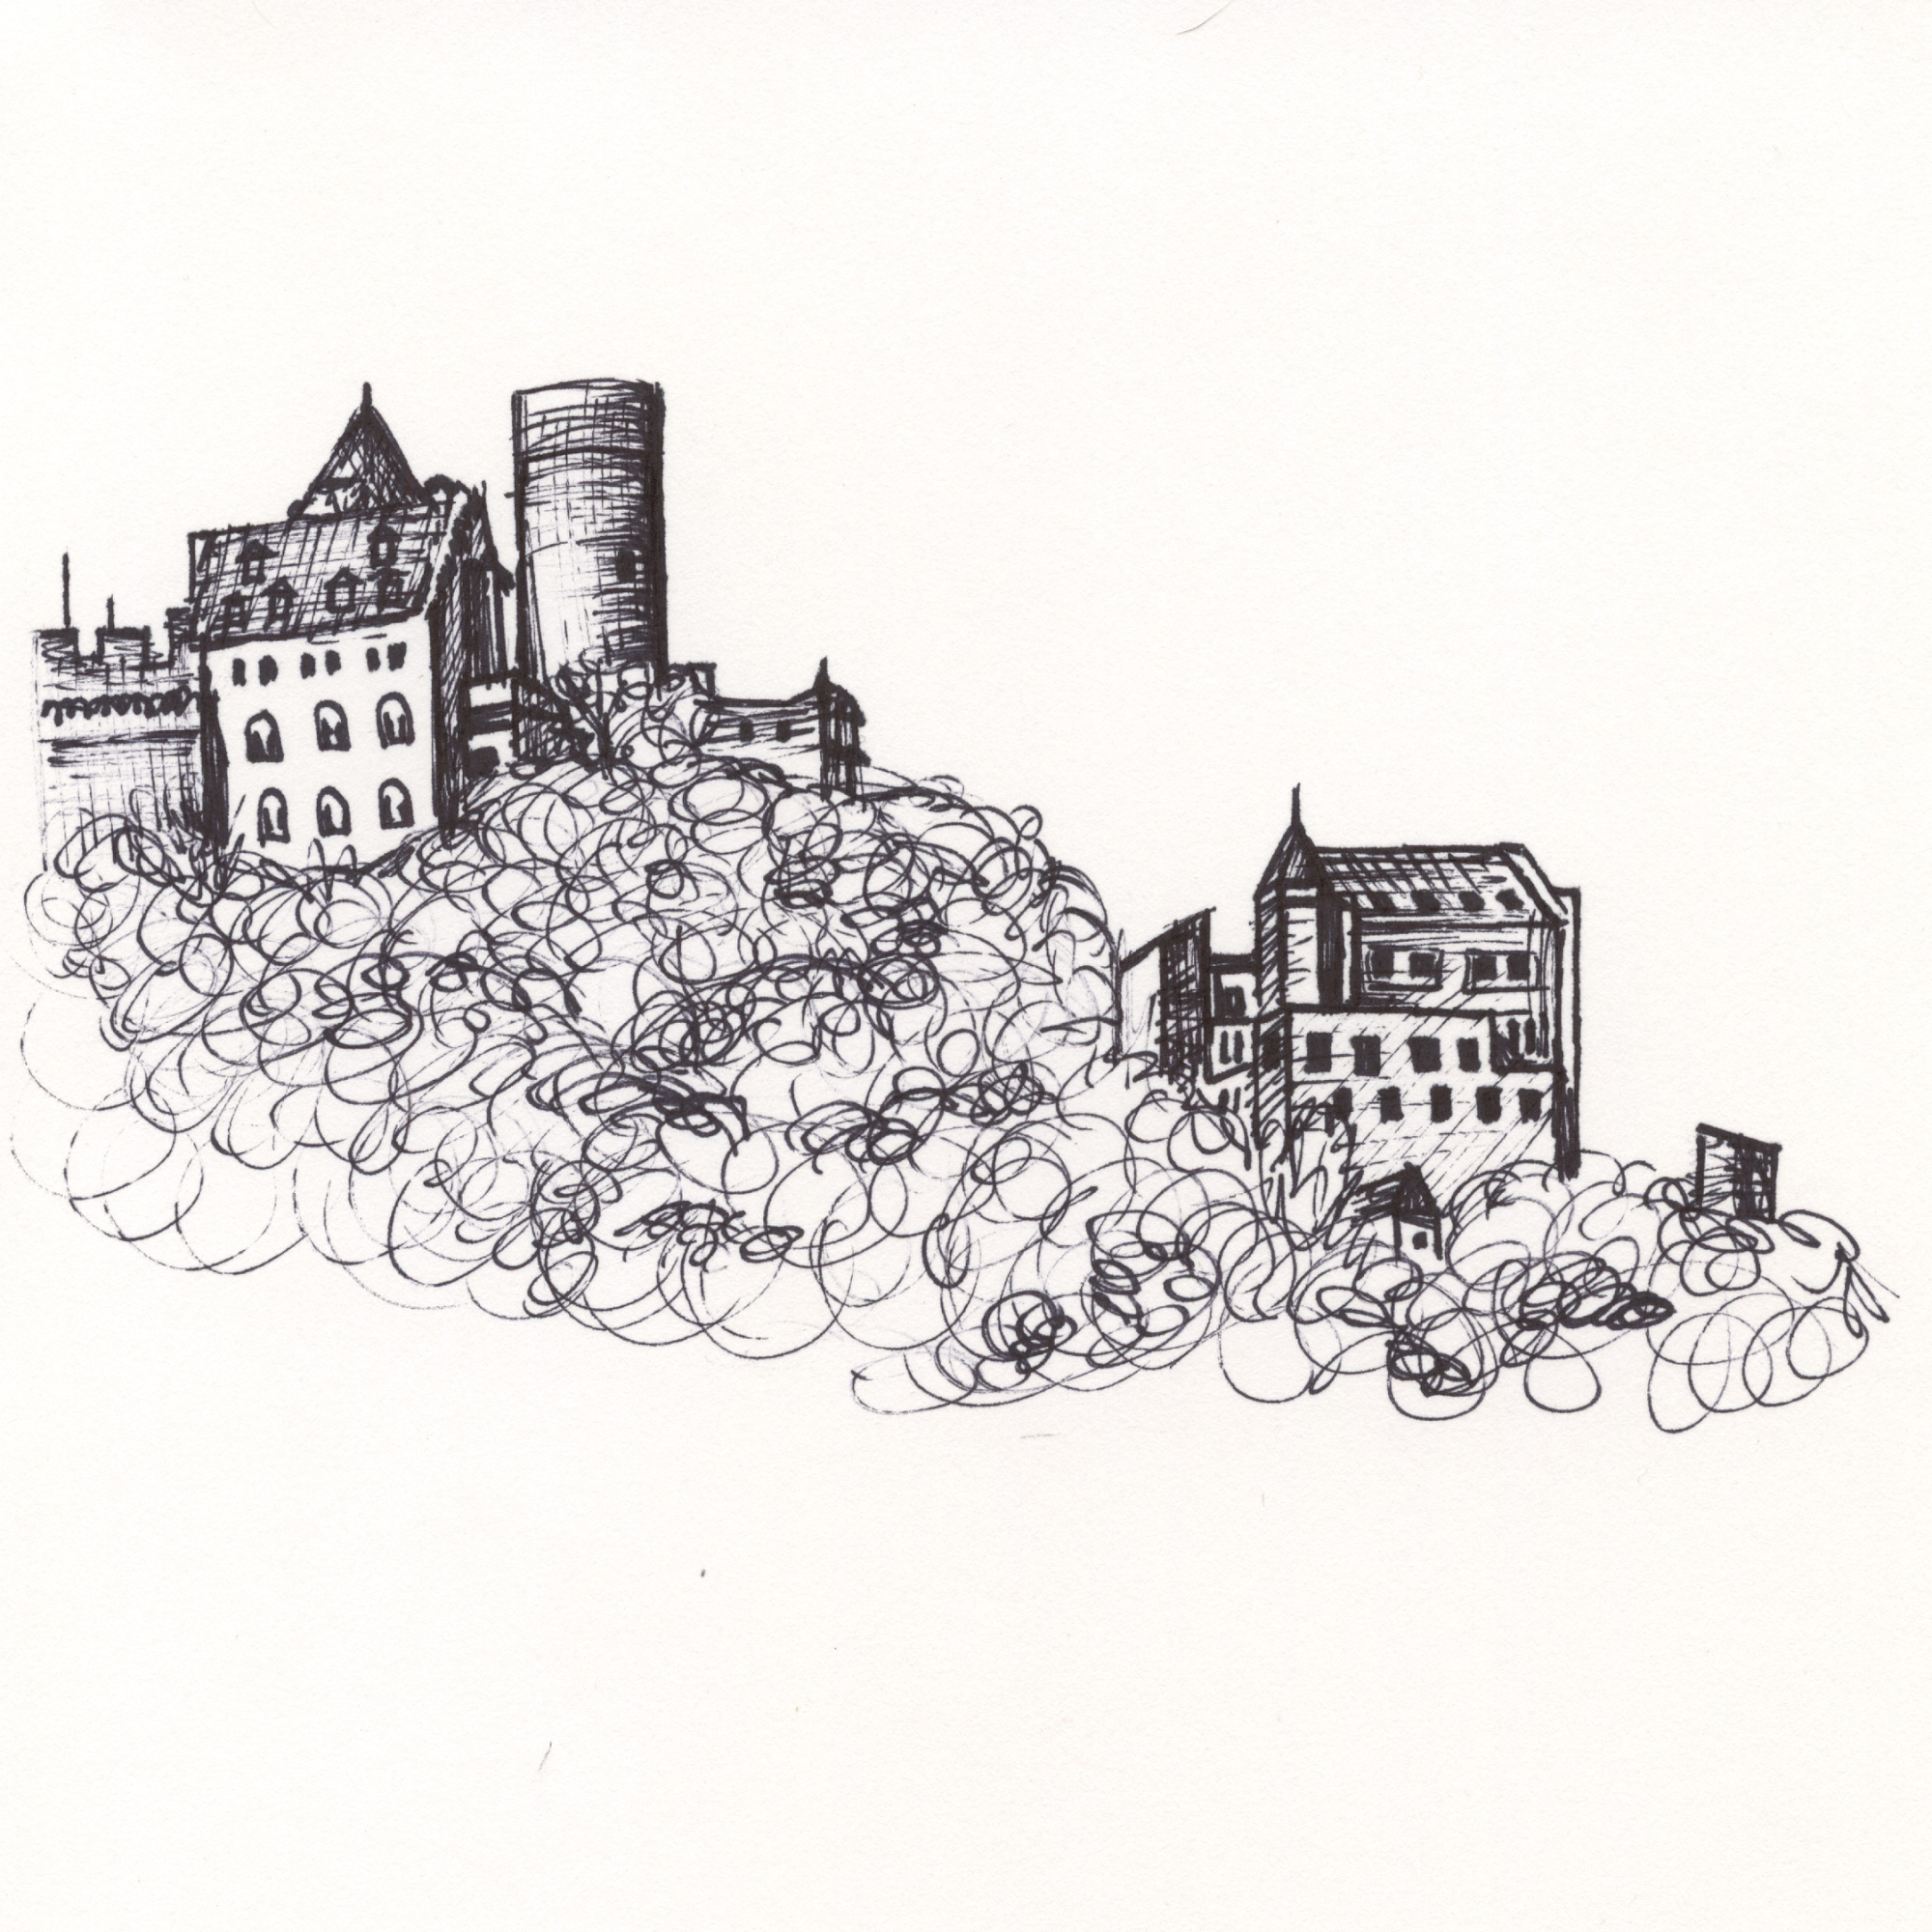
Marksburg
Die ungebrochene Burg am Rhein
Die Marksburg bei Braubach wurde im 13. Jahrhundert errichtet und gilt als einzige Höhenburg am Mittelrhein, die nie vollständig zerstört wurde. Mit ihren Türmen, Mauern und Zwingern verkörpert sie die Stärke und Beständigkeit einer Epoche, in der Schutz und Macht untrennbar verbunden waren. Ein seltenes Original, das den Geist des Mittelalters authentisch bewahrt.
 Marksburger
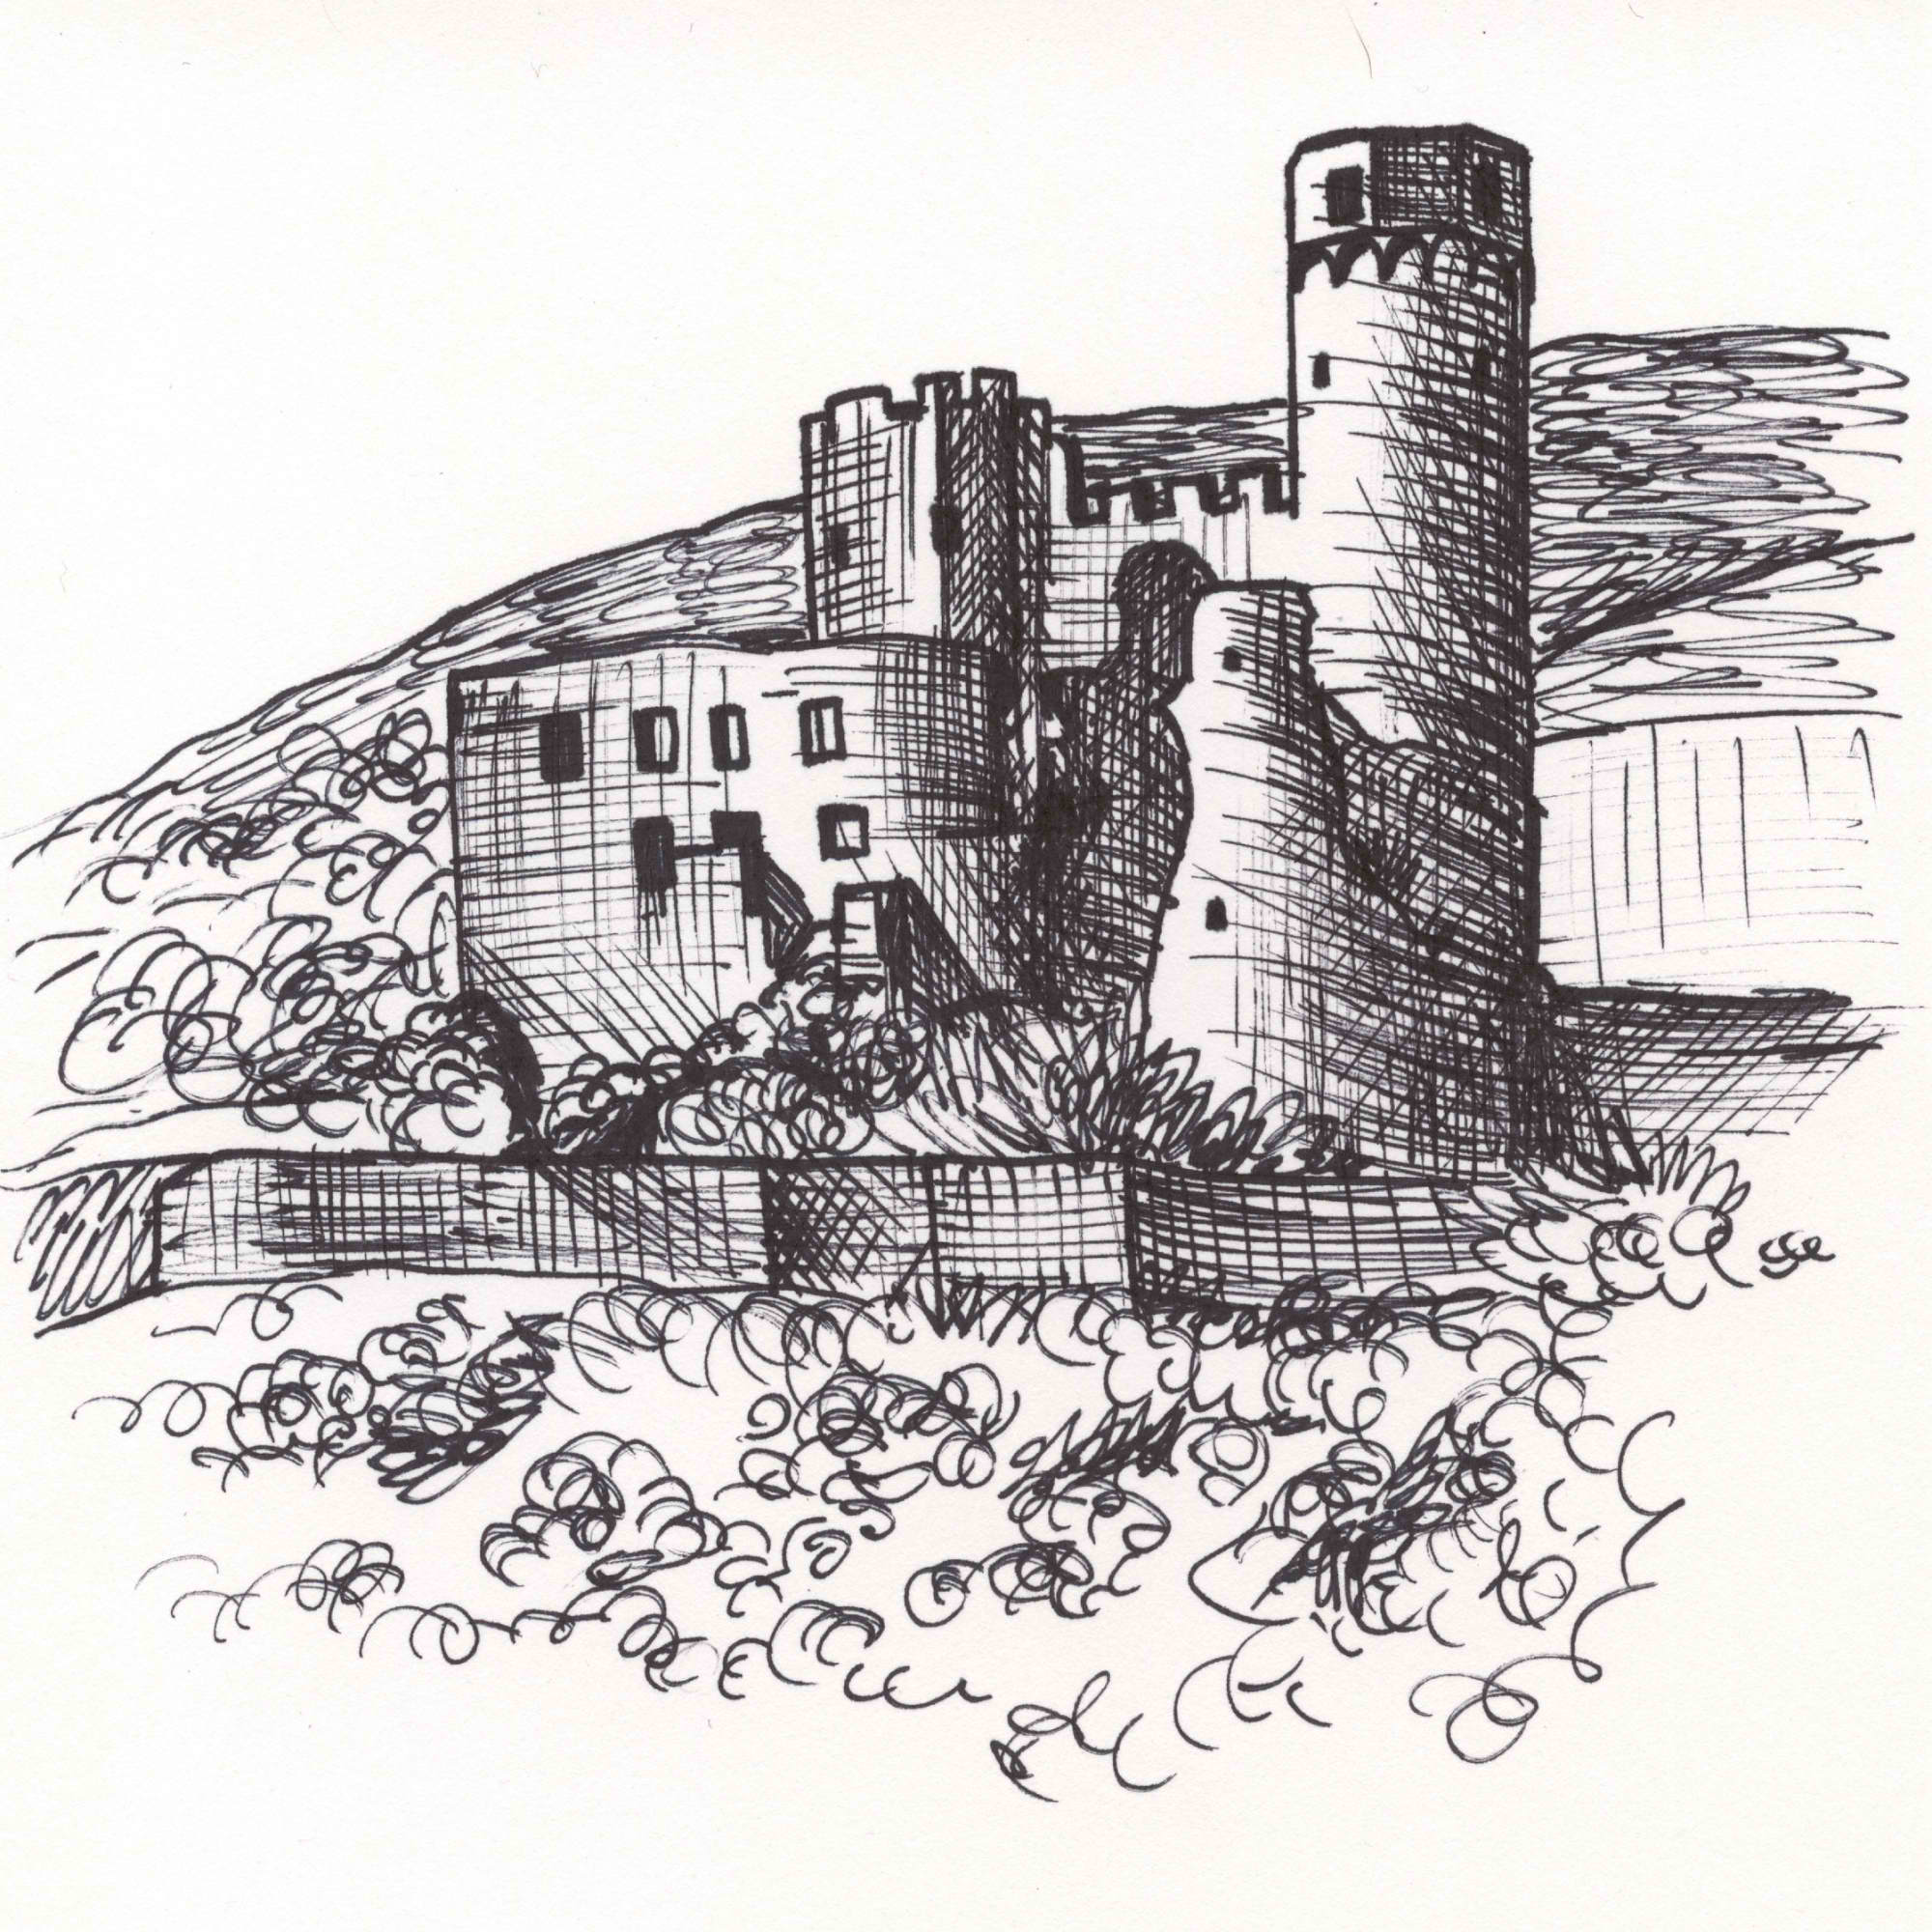
Burg Maus
Bollwerk der Grafen
Die Burg Maus, offiziell Burg Peterseck, wurde ab 1356 von den Trierer Kurfürsten errichtet. Ihre Aufgabe war die Sicherung des Rheinzolls und die Machtdemonstration gegenüber den benachbarten Grafen von Katzenelnbogen. Schlanke Türme und massive Mauern spiegeln die Prinzipien von Ordnung und territorialer Kontrolle wider. Bis heute fasziniert sie als steinernes Zeugnis mittelalterlicher Macht.
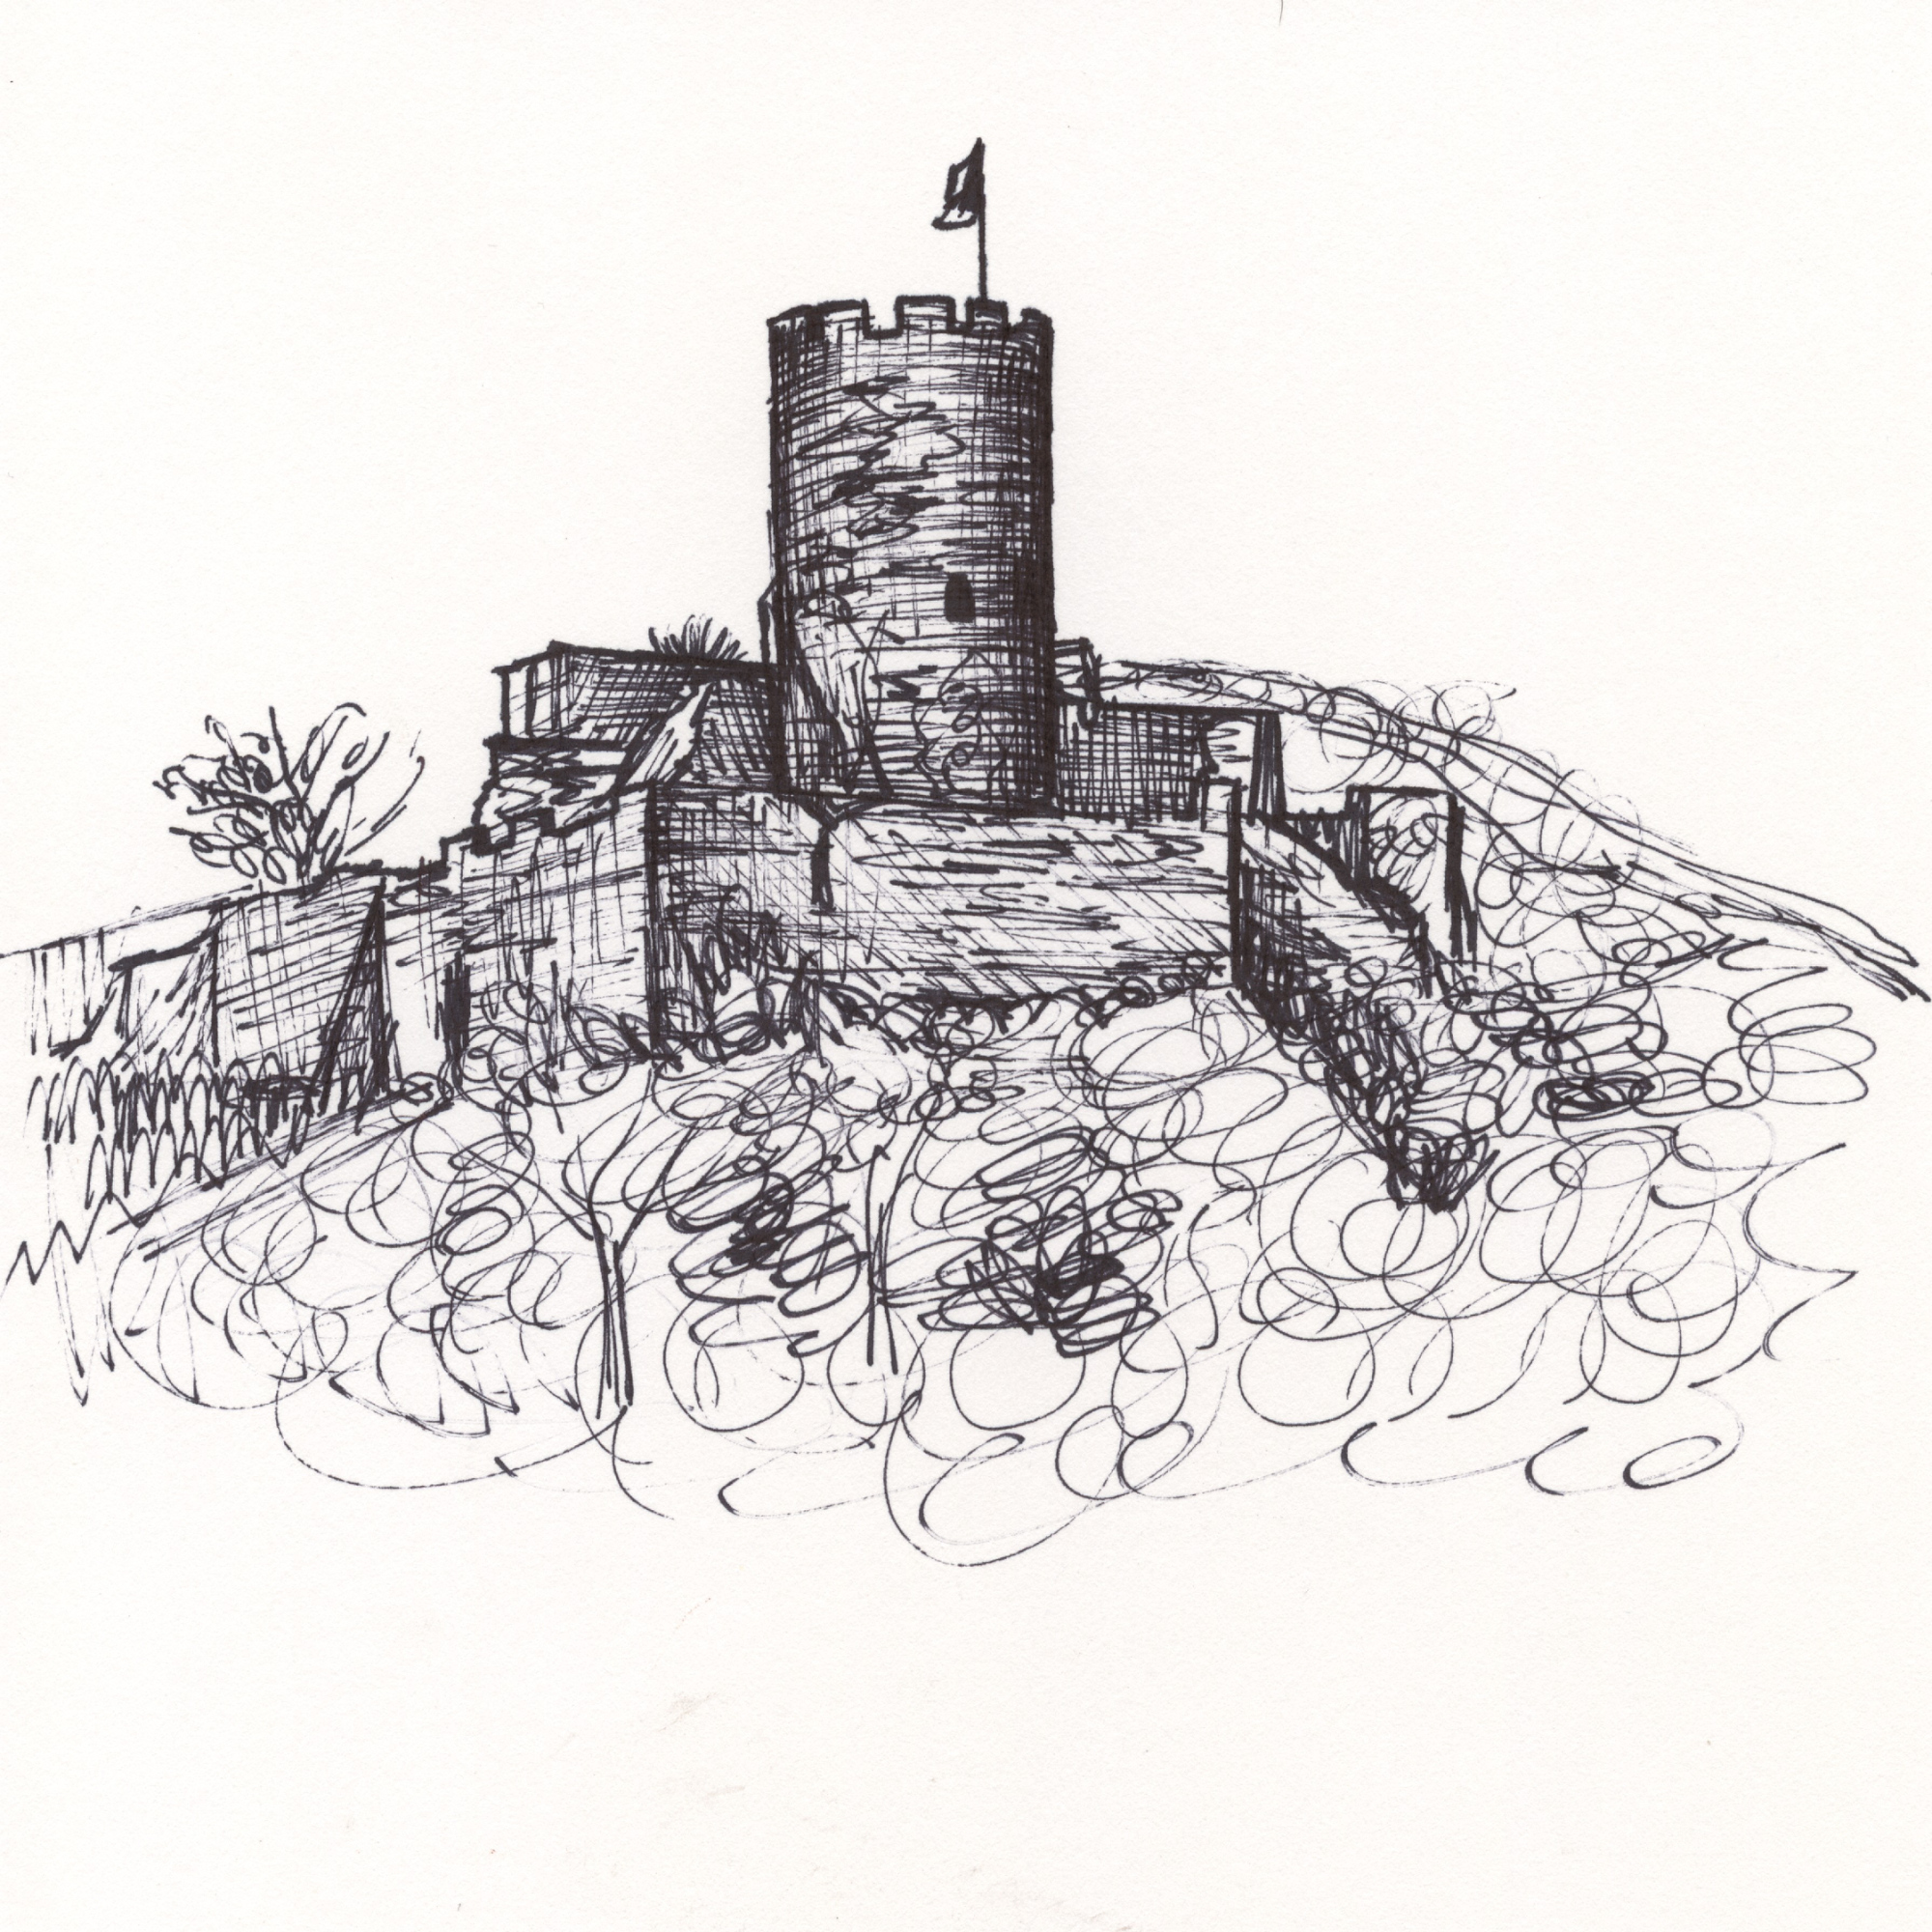
Burg Katz
Symbol strategischer Macht
Oberhalb von St. Goarshausen erhebt sich die Burg Katz, um 1371 von den Grafen von Katzenelnbogen errichtet. Ihre Aufgabe war klar: Kontrolle des Rheins und Sicherung der Zolleinnahmen. Die kompakte Bauweise und die markante Lage stehen für Einfluss und herrschaftliche Dominanz. Noch immer beeindruckt sie als Monument strategischer Weitsicht.
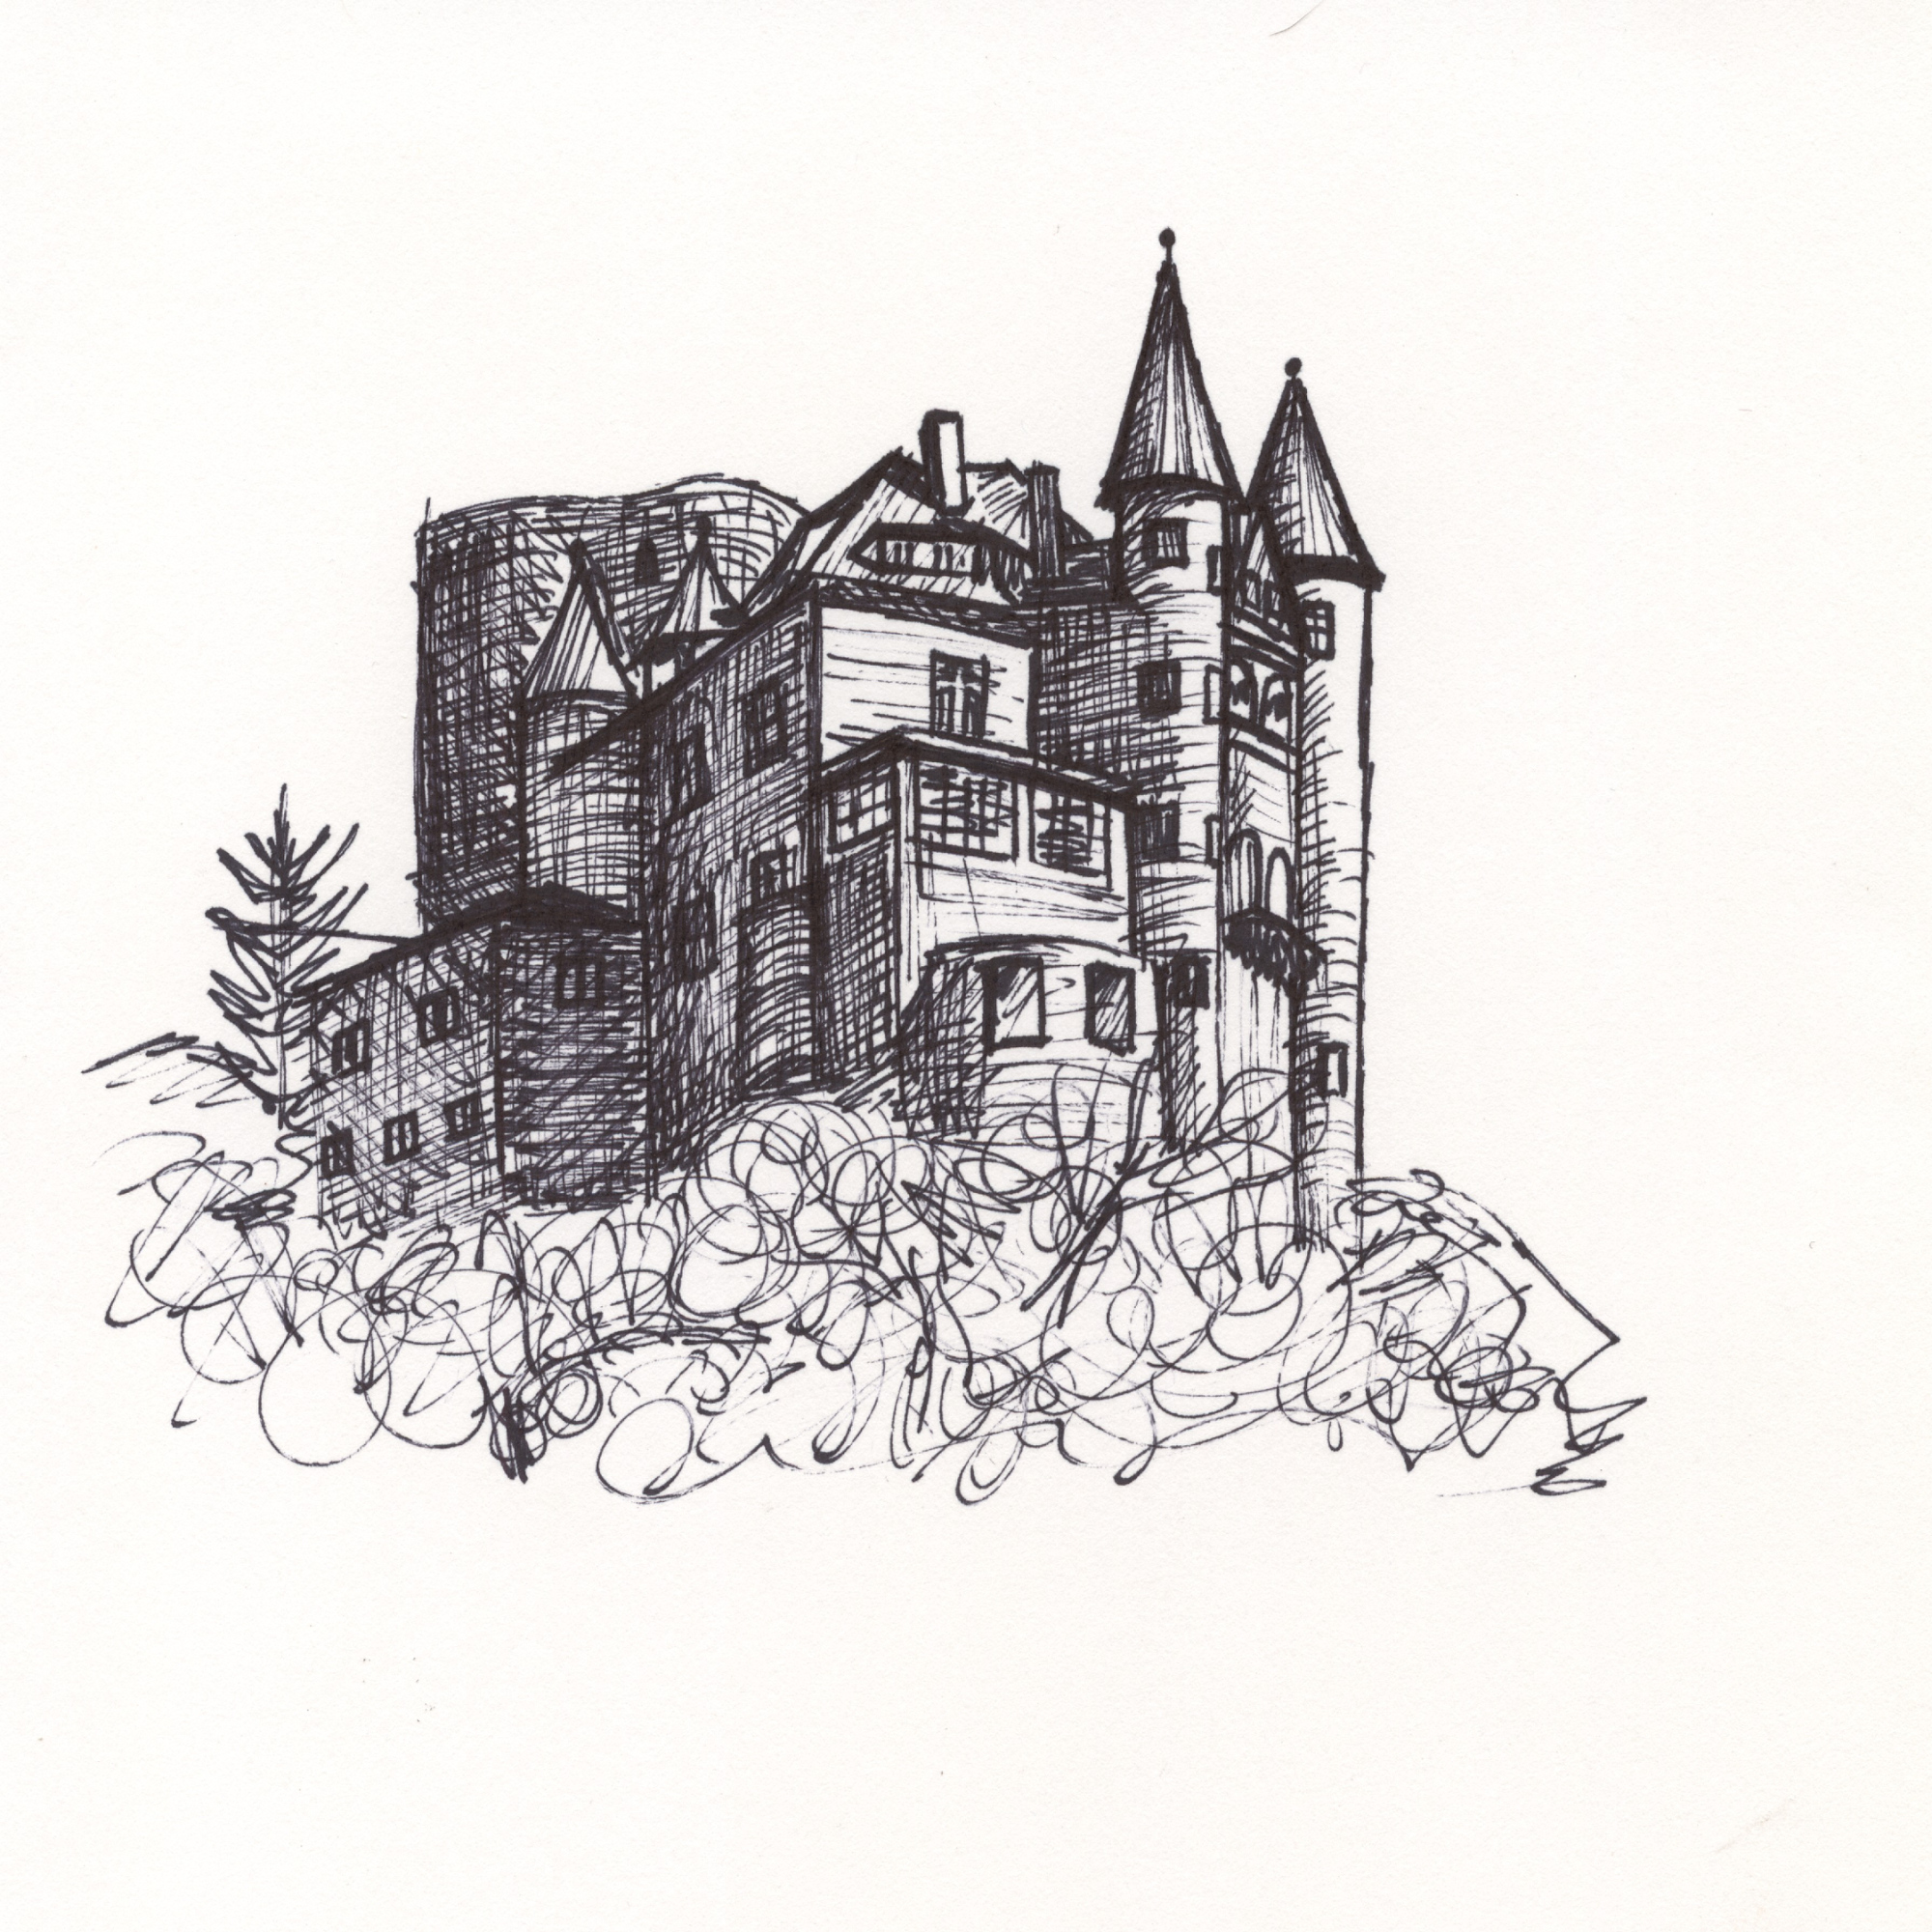
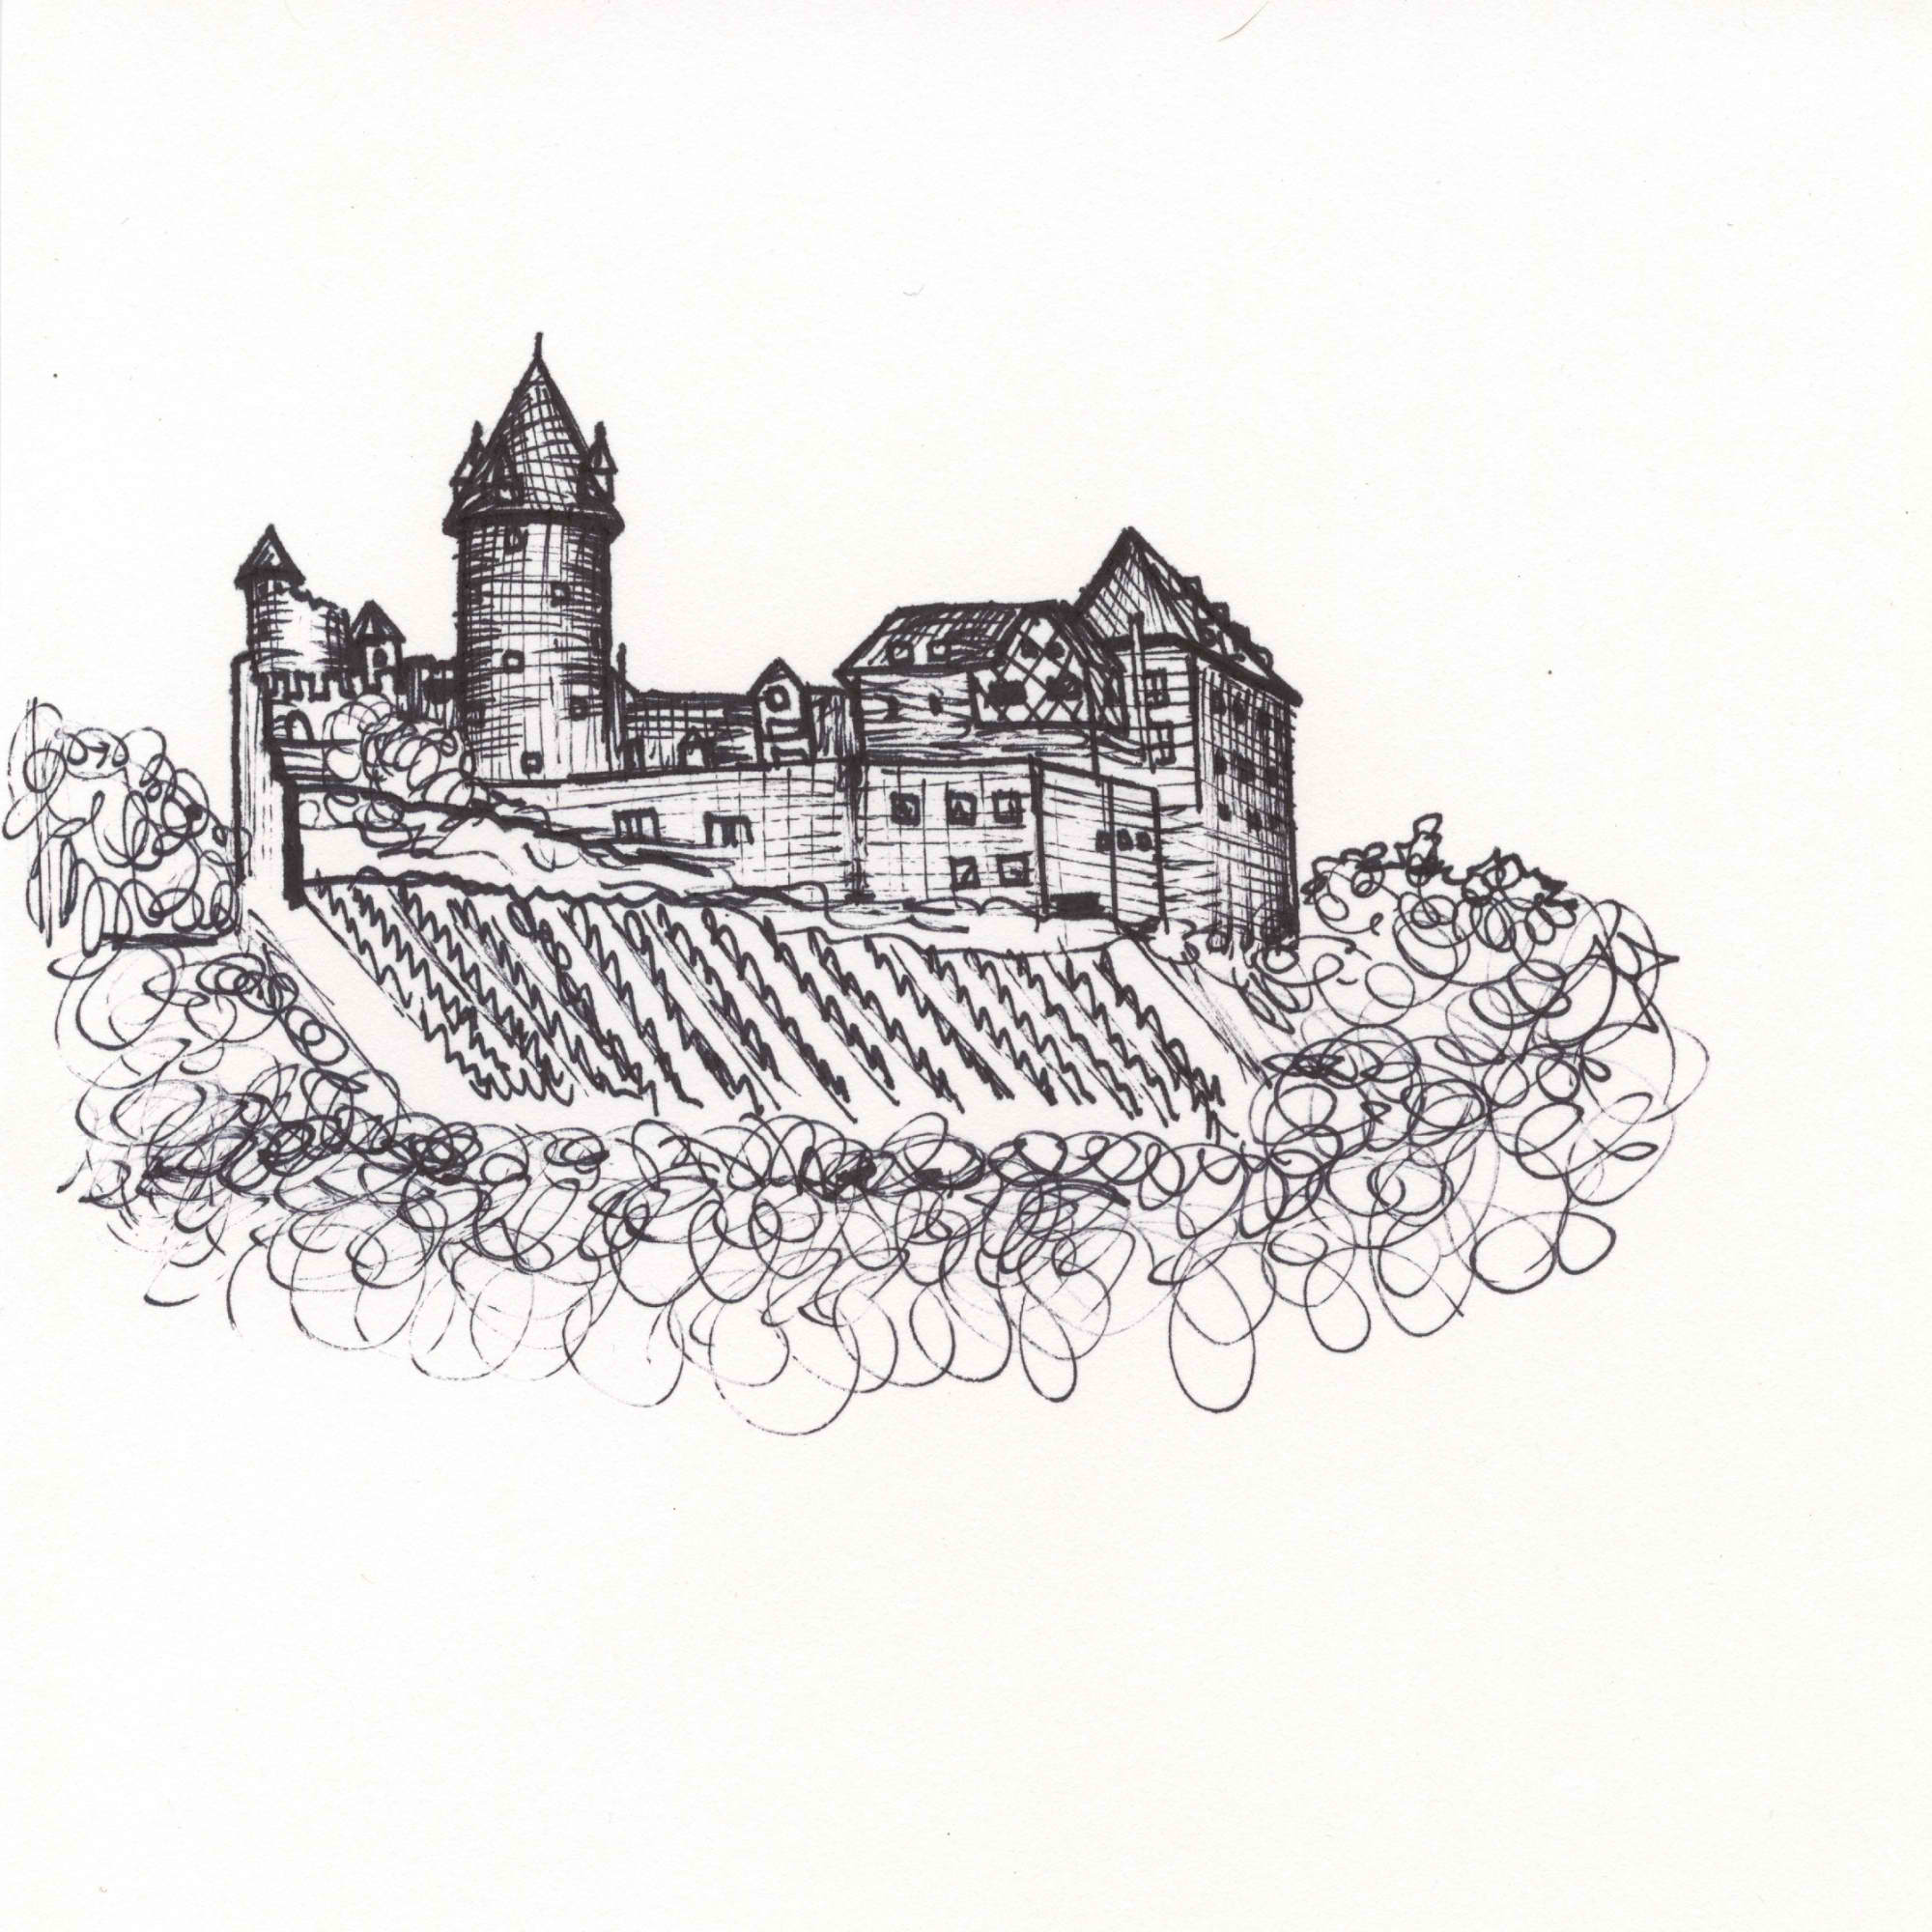
Schönburg
Festung der Macht und des Ansehens
Über Oberwesel thront die Schönburg, deren Ursprünge bis ins 12. Jahrhundert zurückreichen. Sie war Symbol für die mittelalterliche Ordnung: Lehnstreue, Schutz und Kontrolle der Handelswege. Mit ihren Mauern und Türmen überwachte sie den Rhein und bot Sicherheit vor Fehden und Überfällen. Ihre Geschichte erzählt von einer Zeit, in der Kontrolle und Schutz über allem standen.
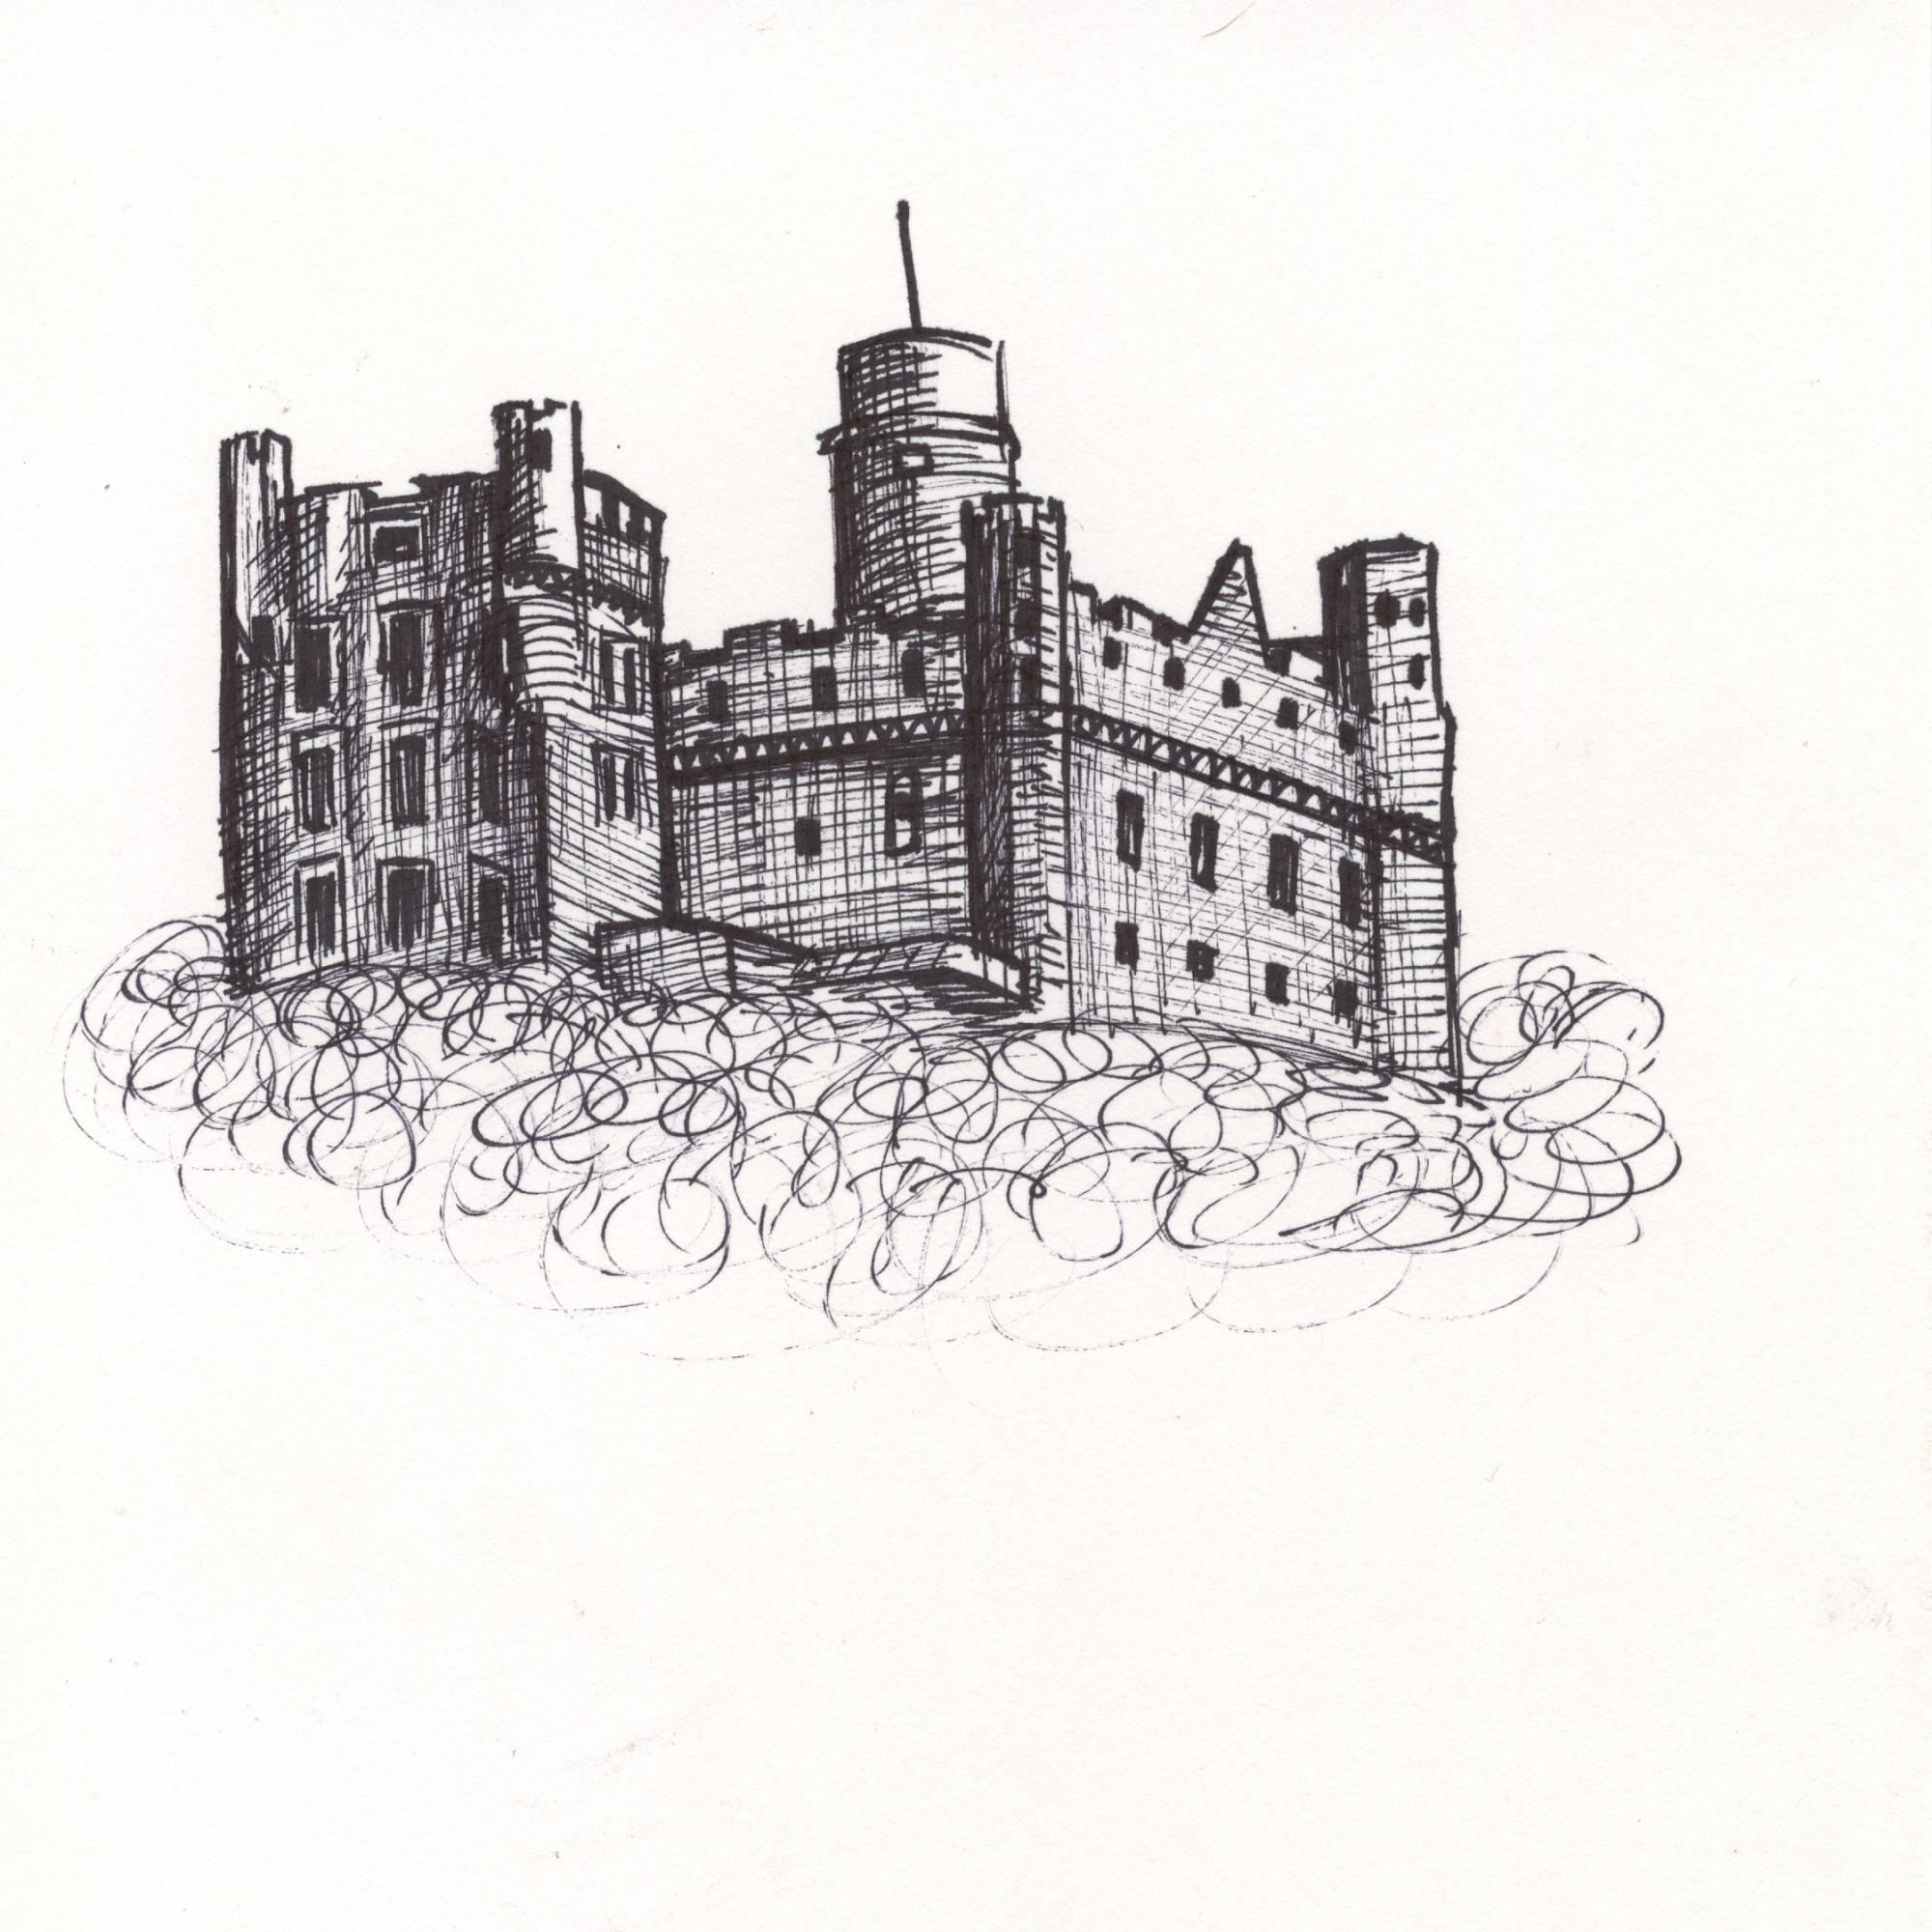
Burg Stahleck
Festung und Fürstenhof
Die Burg Stahleck bei Bacharach wurde im 12. Jahrhundert errichtet und war einst Sitz der Pfalzgrafen bei Rhein. Ihre Aufgabe: Kontrolle des Handels und Demonstration fürstlicher Macht. Die Burg vereint Schutzfunktion mit repräsentativer Architektur: ein steinernes Zeichen für Einfluss und Status. Heute beherbergt sie eine Jugendherberge, doch ihre Mauern bewahren die Aura fürstlicher Macht.
Burg Fürstenberg
Kontrollpunkt des Stroms
Hoch über dem Rhein erhebt sich die Burg Fürstenberg, errichtet um 1219 als Zoll- und Schutzburg. Ihre Mauern verkörpern die Ideale von Ordnung und Herrschaft. Strategisch platziert, kontrollierte sie den Flussverkehr und sicherte den Einfluss der Kurfürsten. Die Ruine öffnet den Blick in eine Vergangenheit, in der Besitz und Macht sichtbar gebaut wurden.
Burg Ehrenfels
Grenzposten des Rheingaus
Die Burg Ehrenfels thront oberhalb von Rüdesheim, erbaut um 1211 als Zollburg der Mainzer Erzbischöfe. Ihre Lage war ideal: Kontrolle des Rheins und Schutz der Weinbaugebiete. Die mächtigen Mauern und der dominante Bergfried zeugen von einer Epoche, in der Macht und Besitz durch Stein manifestiert wurden. Ein romantisches Relikt, das den Blick über Rhein und Weinberge eröffnet.
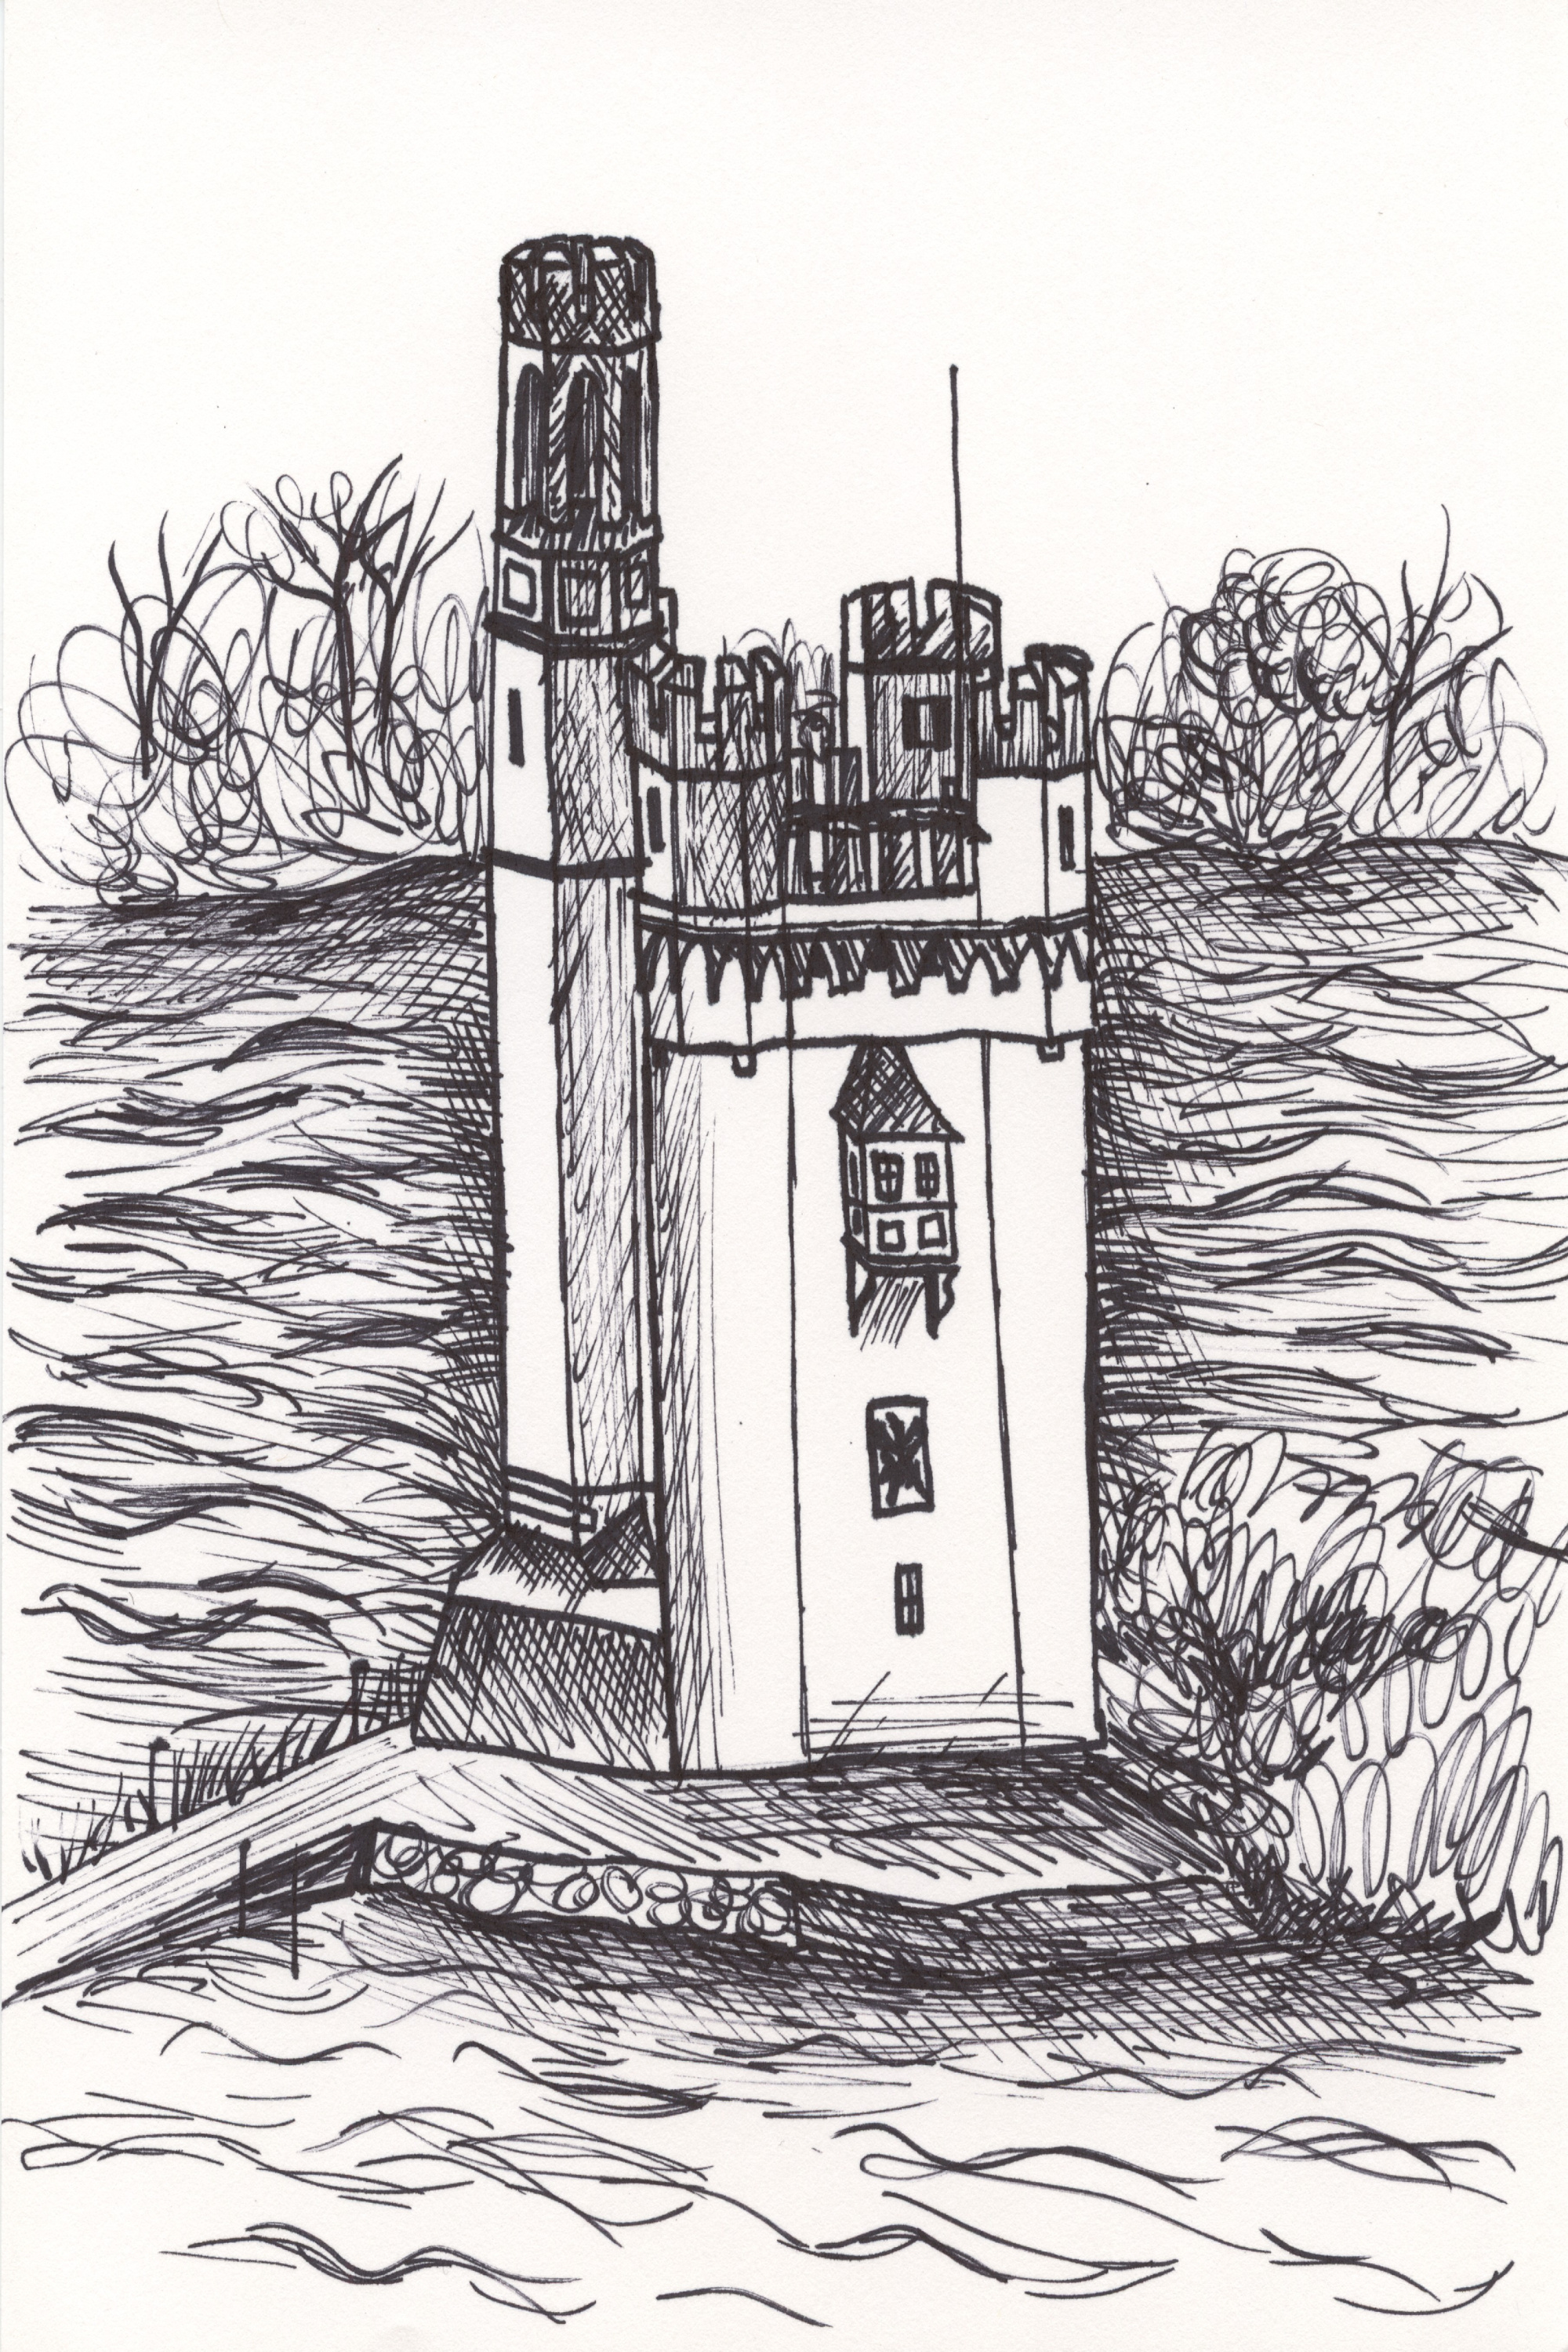
Mäuseturm
Legendenwacht im Rhein
Der Mäuseturm bei Bingen, ursprünglich im 13. Jahrhundert als Zollturm errichtet, steht auf einer kleinen Insel mitten im Rhein. Sein Name ist von einer düsteren Sage geprägt: Ein grausamer Bischof soll hier von Mäusen gefressen worden sein. Eine Mahnung gegen Hochmut und Tyrannei. Strategisch diente der Turm der Kontrolle des Schiffsverkehrs und der Sicherung von Einnahmen. Das markante Wahrzeichen verbindet Geschichte und Legende auf einzigartige Weise.
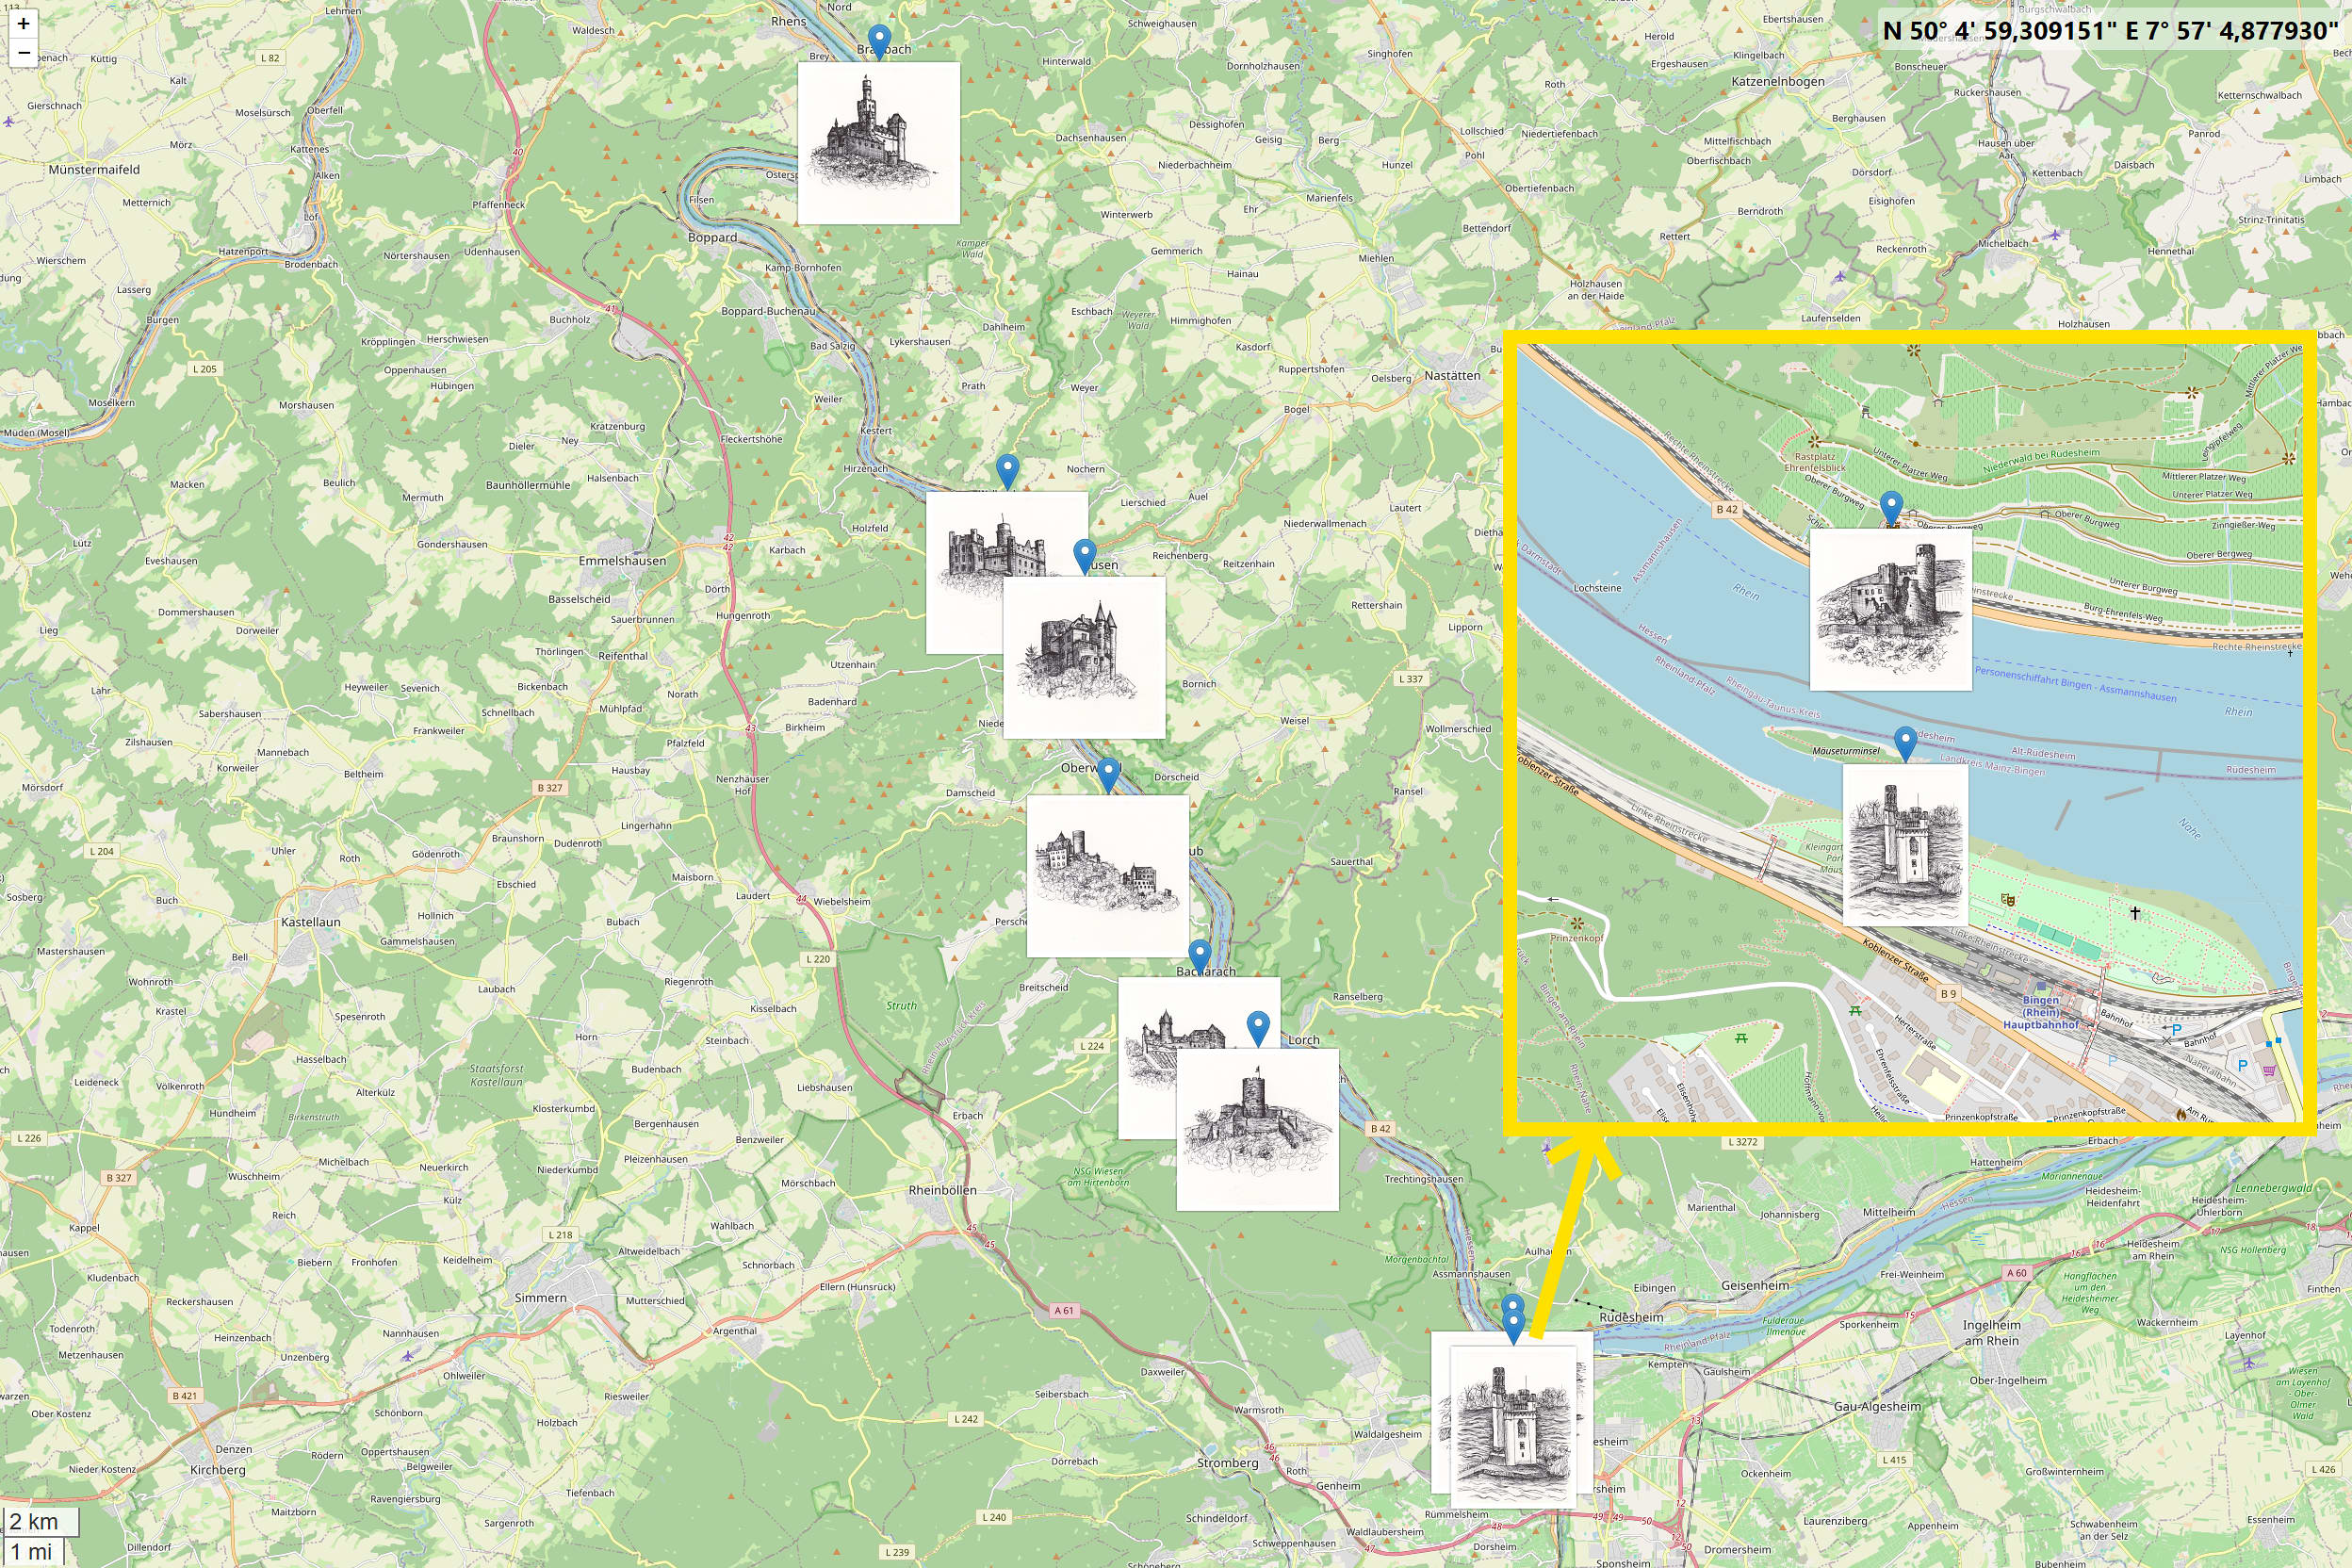
Karte: Standorte der Burgen am Mittelrhein
-
StickyMCP: Notes That Stick, Even in the Cloud
A MCP server is something an AI system can reach out to and actually do something with, unlike its usual diet of stale training data and existential boredom.
StickyMCP implements something refreshingly familiar: sticky notes. You type a short message, and it gets stored. Just like the real ones you stick on your coffee machine, desk surface, or whiteboard. Minimalism meets machine memory.
I built it during hackathon week, where ideas fly fast and only the sticky ones survive 🧷
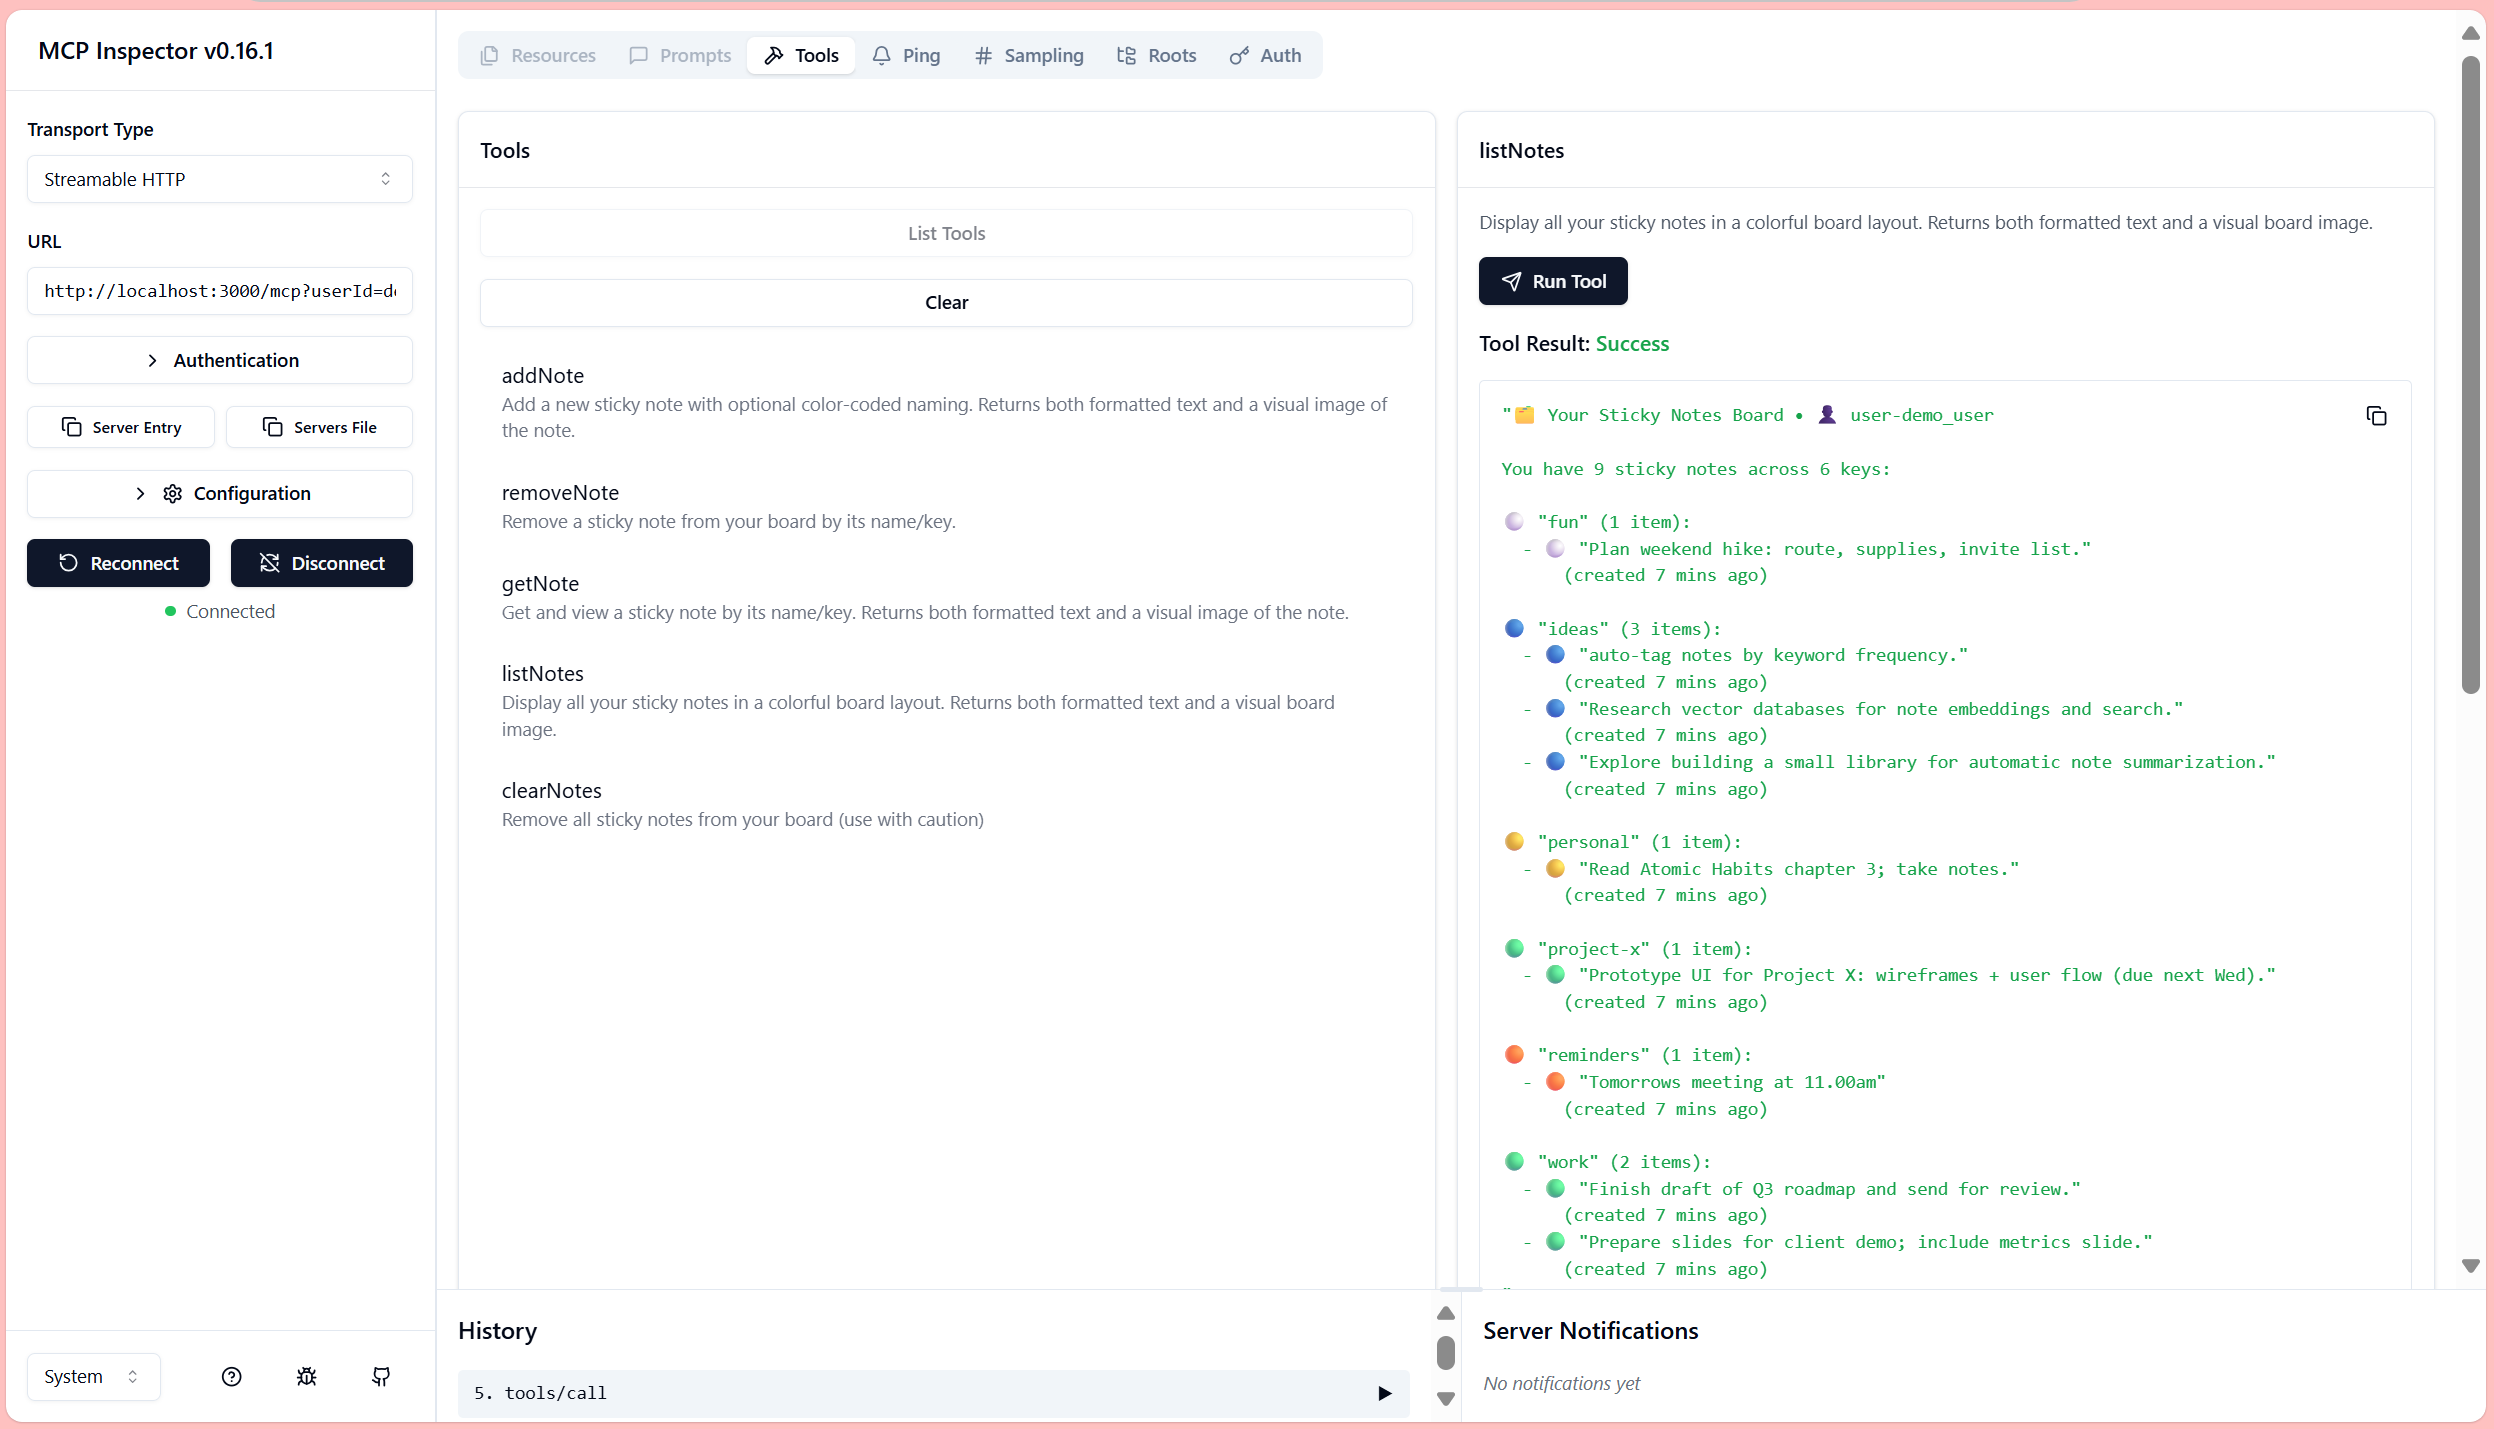
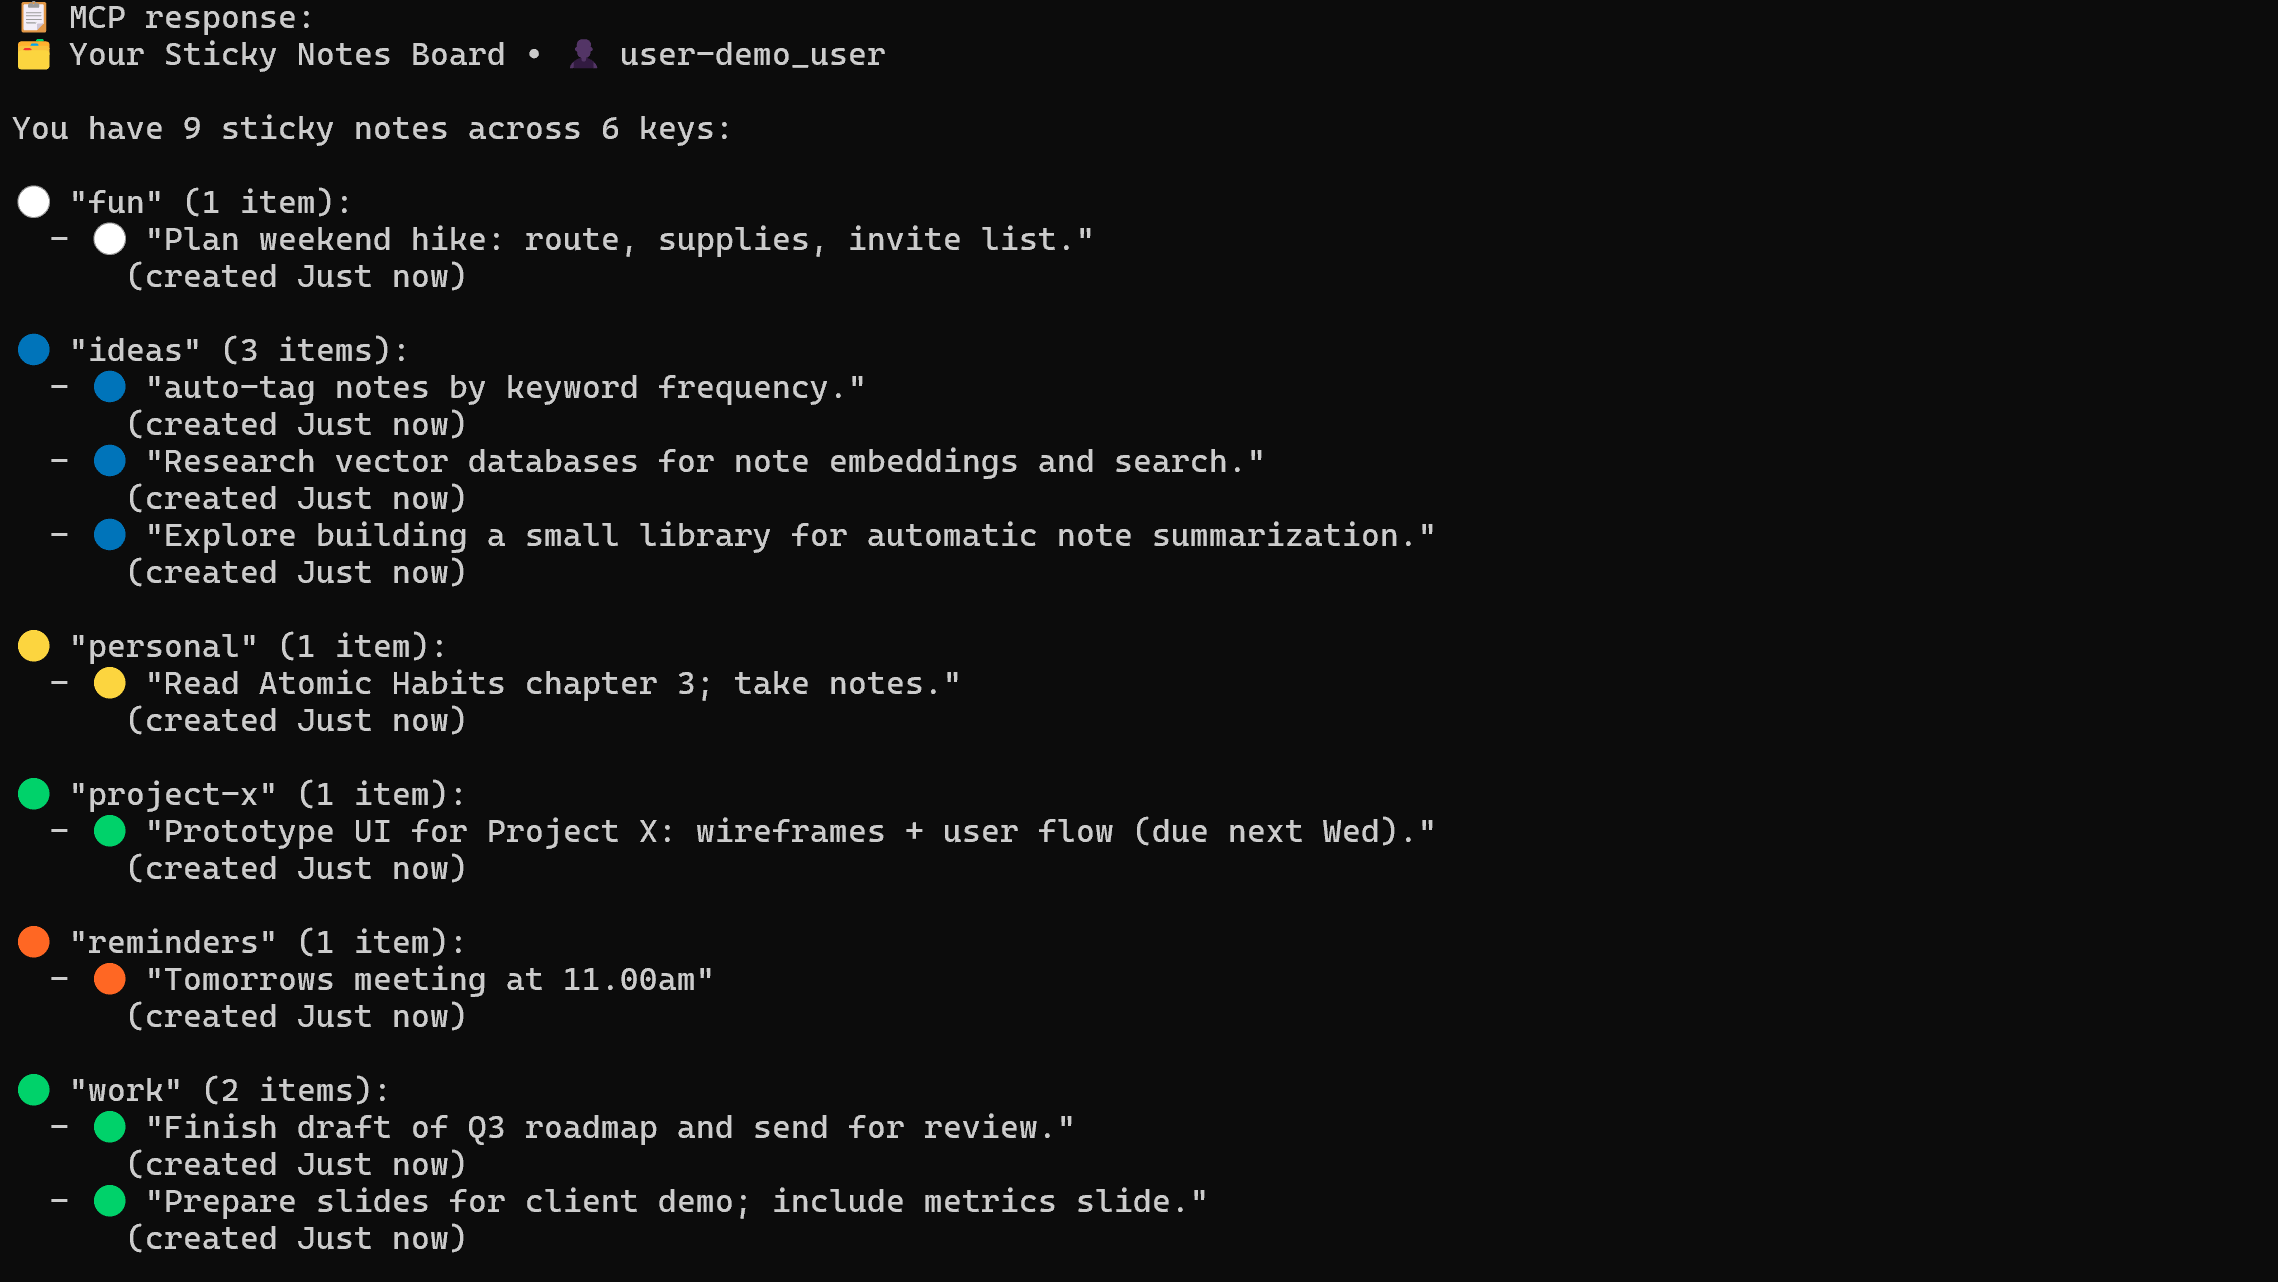
Example: Using MCP Inspector to Display Text and Graph Output from the StickyMCP Server
🐙 GitHub Repository
Sticky code, sticky notes, find it all here:
https://github.com/jurgen178/mcp-sticky-notes
(or from my repo at https://github.com/microsoft/mcp-sticky-notes)🔧 What It Is
StickyMCP is a lightweight MCP server that lets users create, list, and delete virtual sticky notes, stored in Azure Table Storage and rendered either as plain text or classic sticky note-style PNGs. It showcases how the Model Context Protocol (MCP) can power distributed, developer-friendly microservices with visual flair.
StickyMCP provides a clean API for managing notes across systems, integrates naturally with Visual Studio Code Copilot Chat, and supports both HTTP and STDIO transports.
Each note is stored in Azure Table Storage (with in-memory fallback) and rendered as:
- Plain text (for automation and workflows)
- PNG images (for dashboards, markdown previews, or collaborative tools)
🧪 Core Features
- Add note
- List all notes
- Get note by ID
- Delete note by ID
- Delete all notes
- Group notes by logical key (e.g., personal, work, ideas)
- Render notes as PNGs
- Use in-memory fallback if Azure is unavailable
- HTTP or STDIO transport protocol
🖼️ Example Screenshots
Add a Sticky Note from a Client
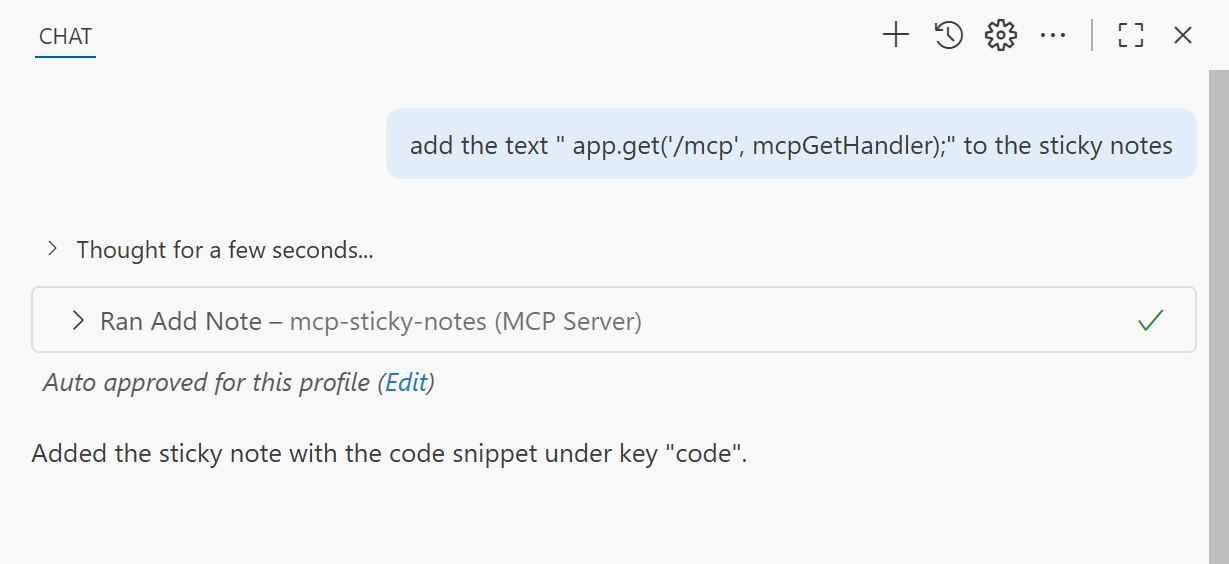
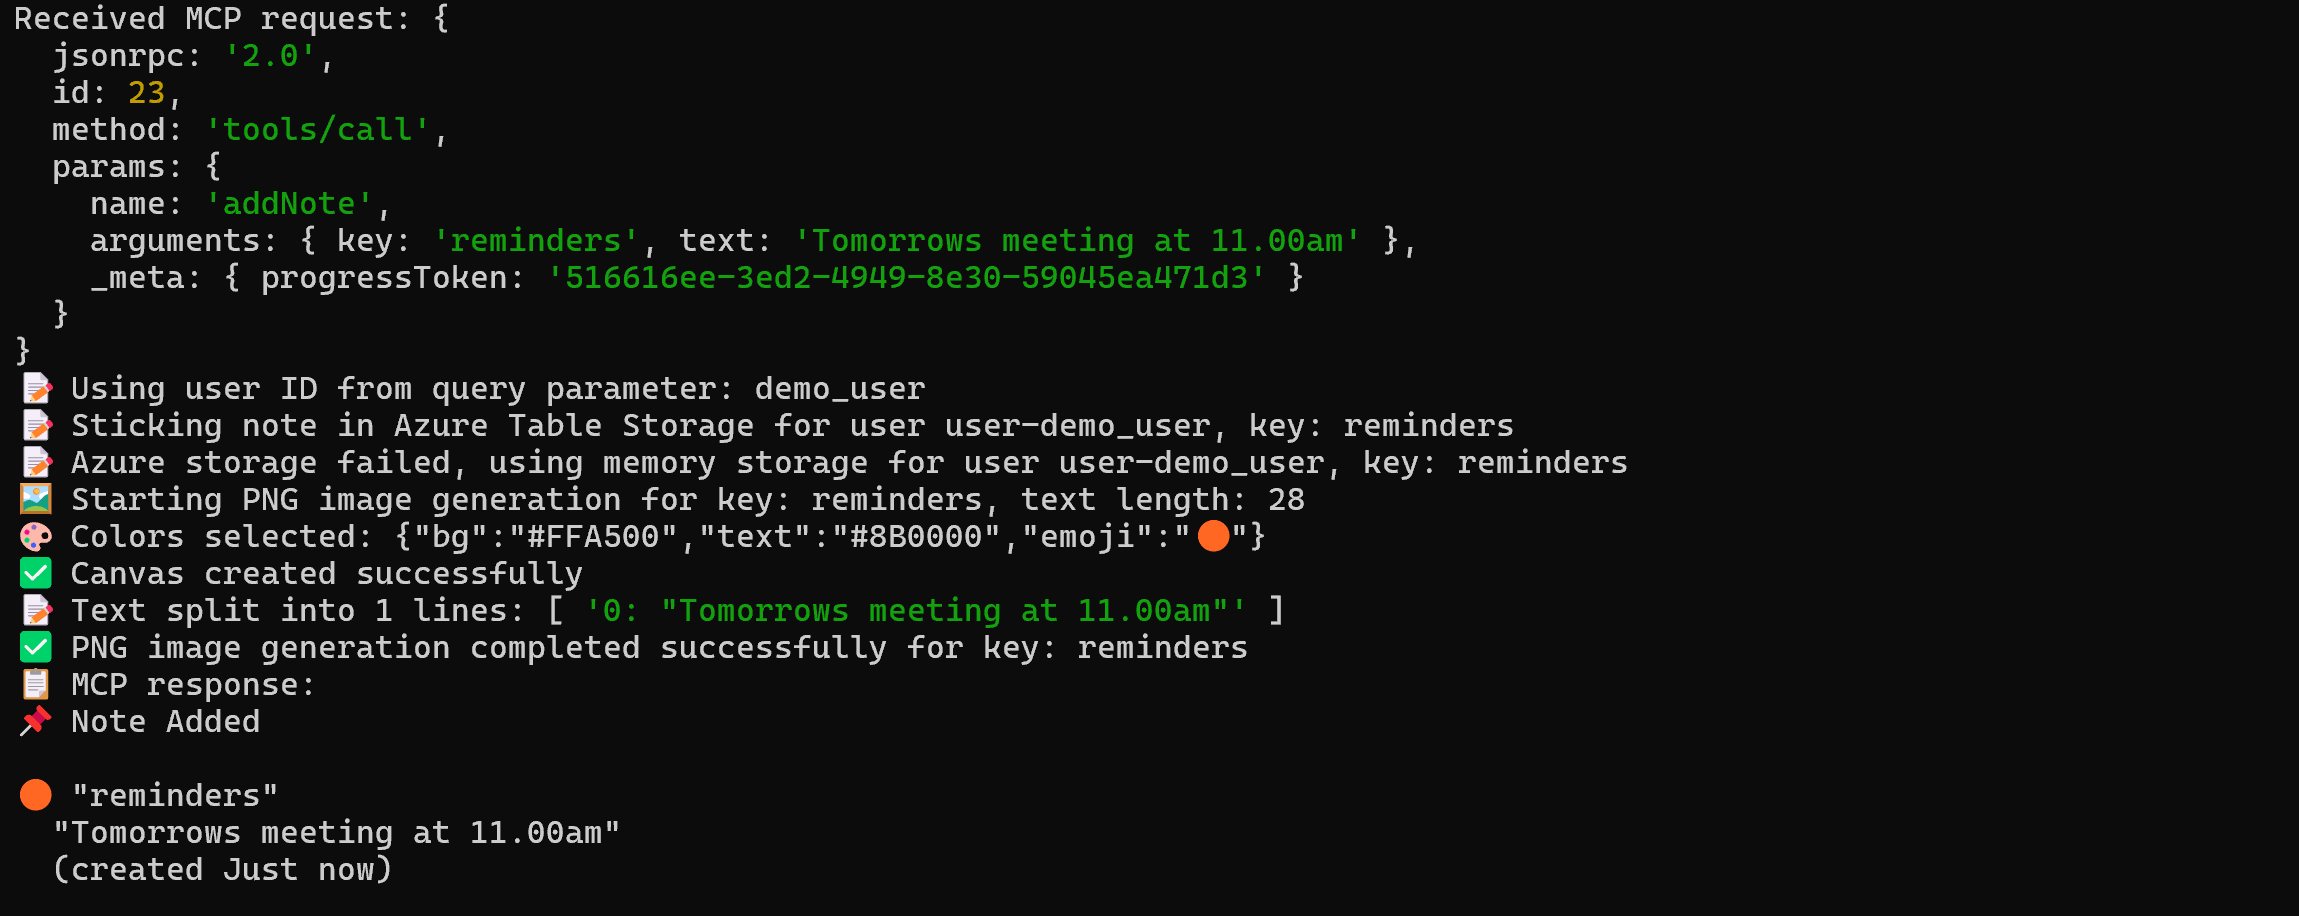
Console Logging for Adding a Sticky Note
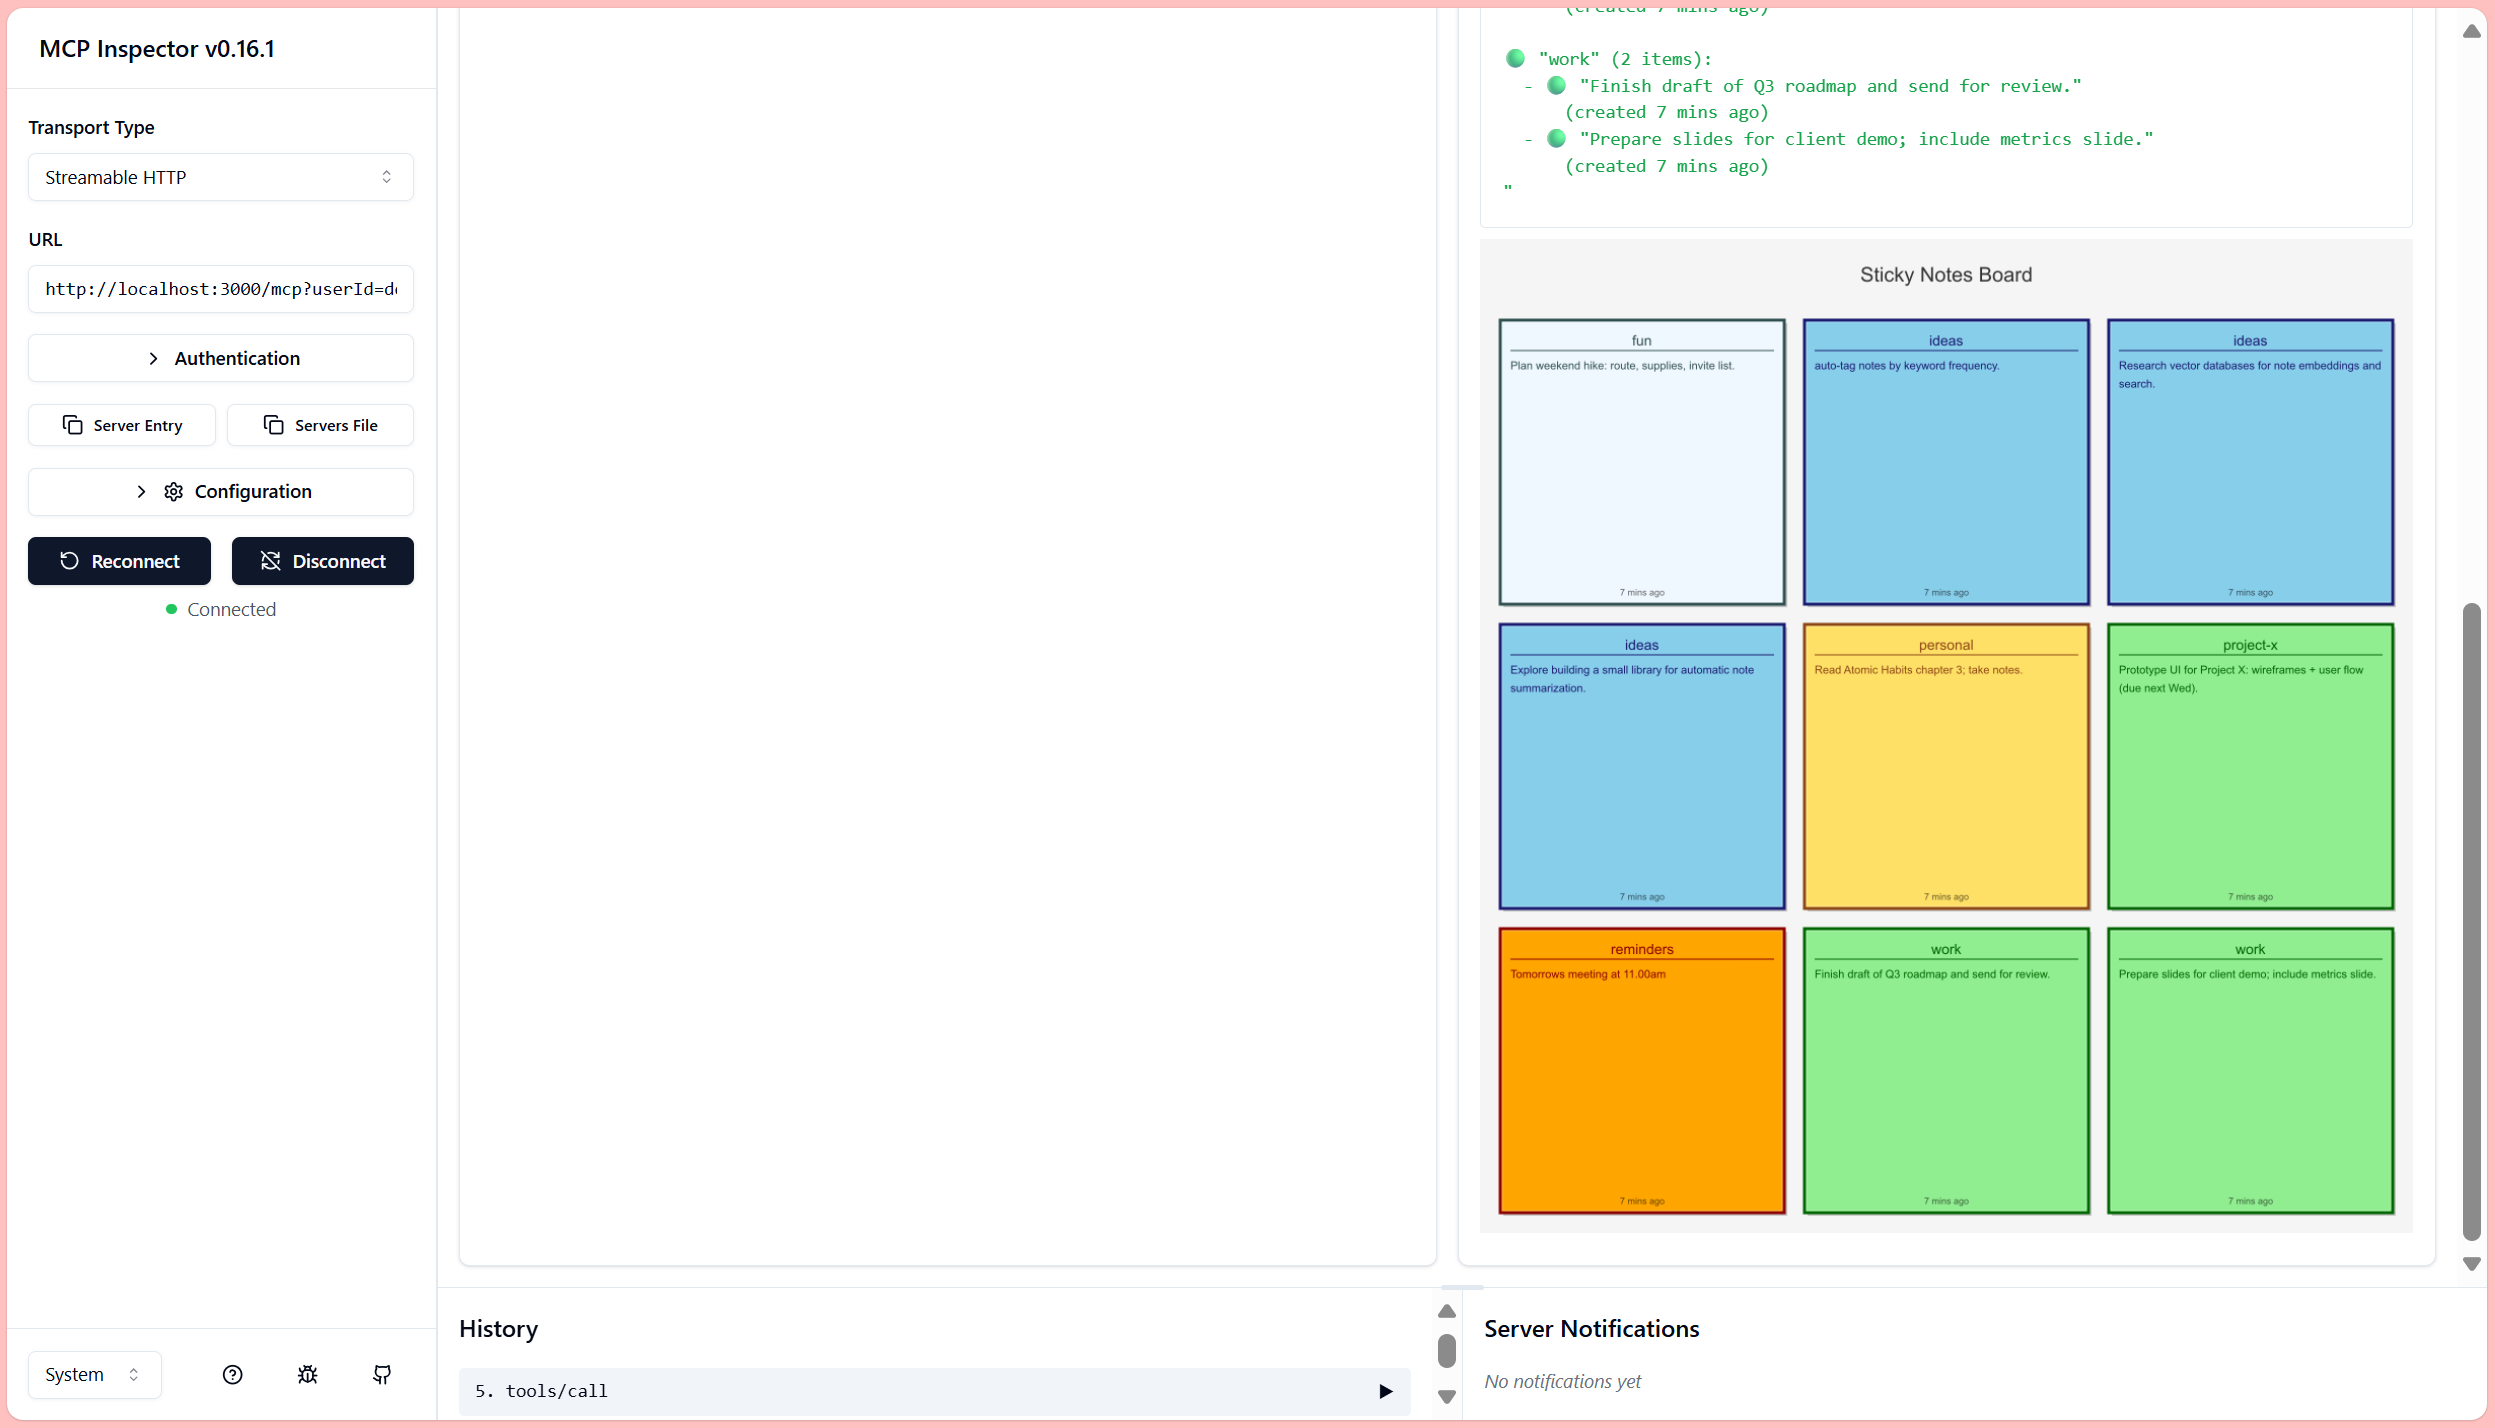
List all Sticky Notes from a Client
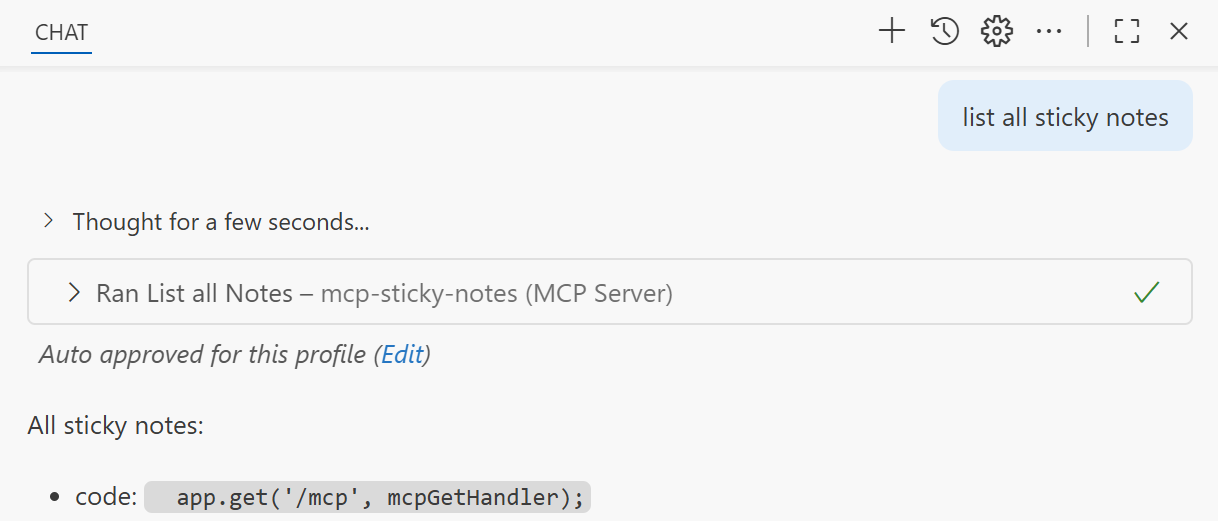
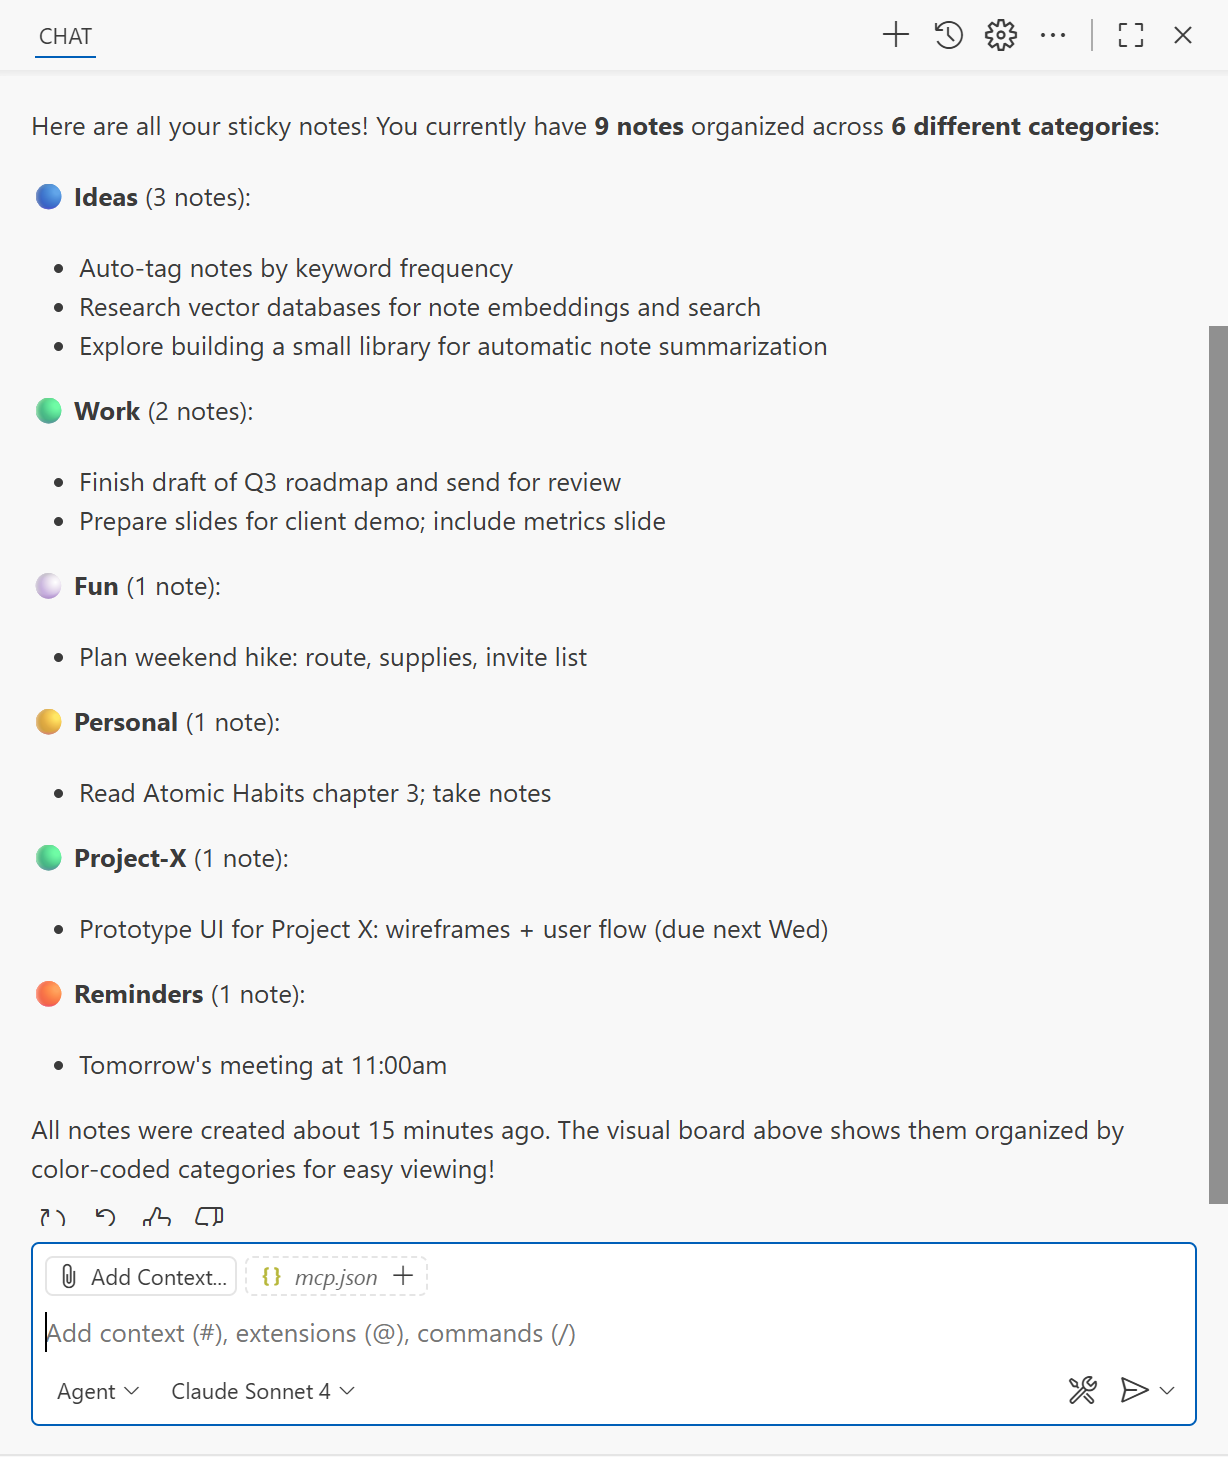
Console Logging for Listing All Sticky Notes
Short demo video showing how to add, list, and inspect sticky notes using MCP Inspector
🛠️ Tech Stack
- Server: MCP implementation in TypeScript
- Storage: Azure Table Storage (Managed Identity preferred)
- Rendering: PNG generation via node-canvas
📦 Installation
git clone https://github.com/jurgen178/mcp-sticky-notes
cd mcp-sticky-notes
npm install##### ☁️ Run on Azure Deploy server.ts as a WebApp on Azure. CoPilot can assist with setup, it is trained to handle this kind of deployment. Just ask.
##### 💻 Run Locally ```npx ts-node server.ts``` Server responds on ```http://localhost:3000``` Update your mcp.json: ``` { "servers": { "mcp-sticky-notes": { "url": "http://localhost:3000/mcp?userId=demo_user" } } } ```🧭 MCP Inspector
Use the MCP Inspector to debug
npx @modelcontextprotocol/inspectorSet command to
http://localhost:3000/mcp?userId=demo_user🌐 HTTP Endpoints
POST /mcp
GET /mcp
DELETE /mcpMCP clients must initialize first to receive a mcp-session-id.
🖼️ Client Limitation for Images
Not all clients can display the generated PNG images. For example, Visual Studio Code Copilot currently does not render them. Until image support is available, visual results can be viewed using the MCP Inspector.
📍 Why It Matters
StickyMCP demonstrates how MCP can be used to build scalable, visually engaging microservices that integrate seamlessly with Azure and developer tools.
-
Waving at Hitchcock: A New Movie Mistake in North by Northwest
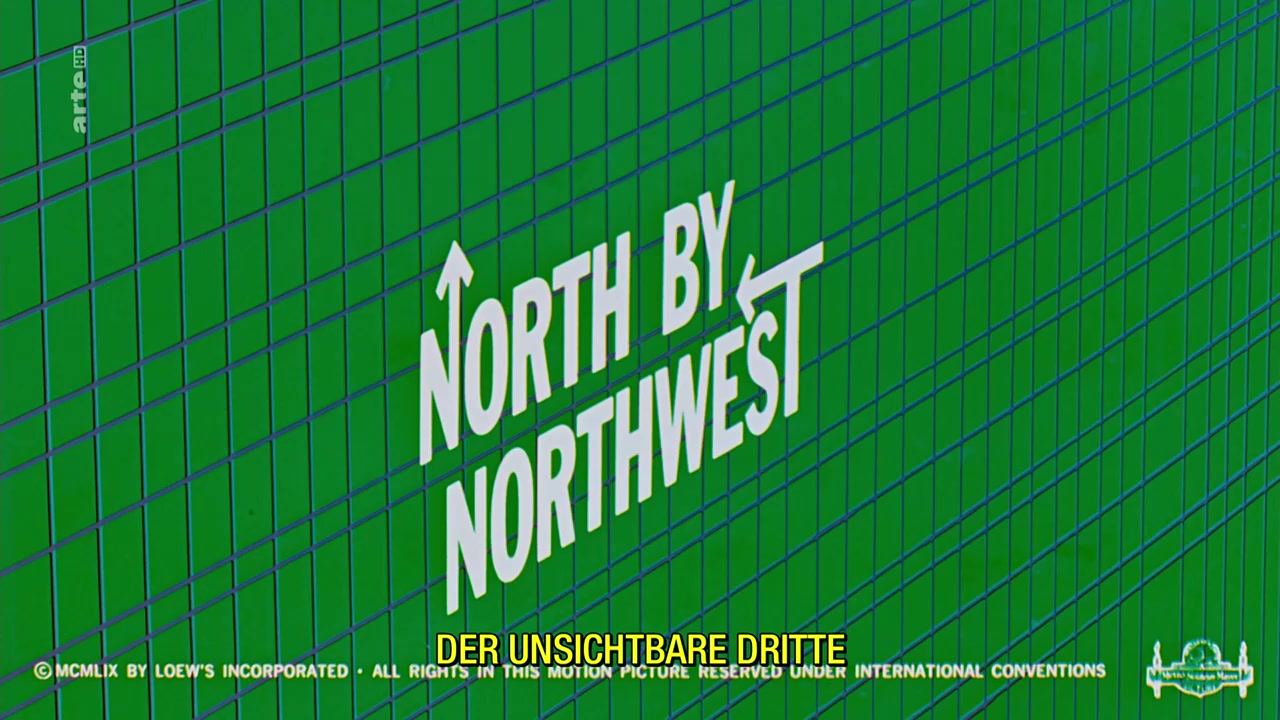
Alfred Hitchcock's North by Northwest (1959, deutscher Titel: Der unsichtbare Dritte) is a masterclass in suspense, style, and cinematic precision. But even the most iconic thrillers have their unscripted moments. Sometimes, spontaneity finds its way into the frame.
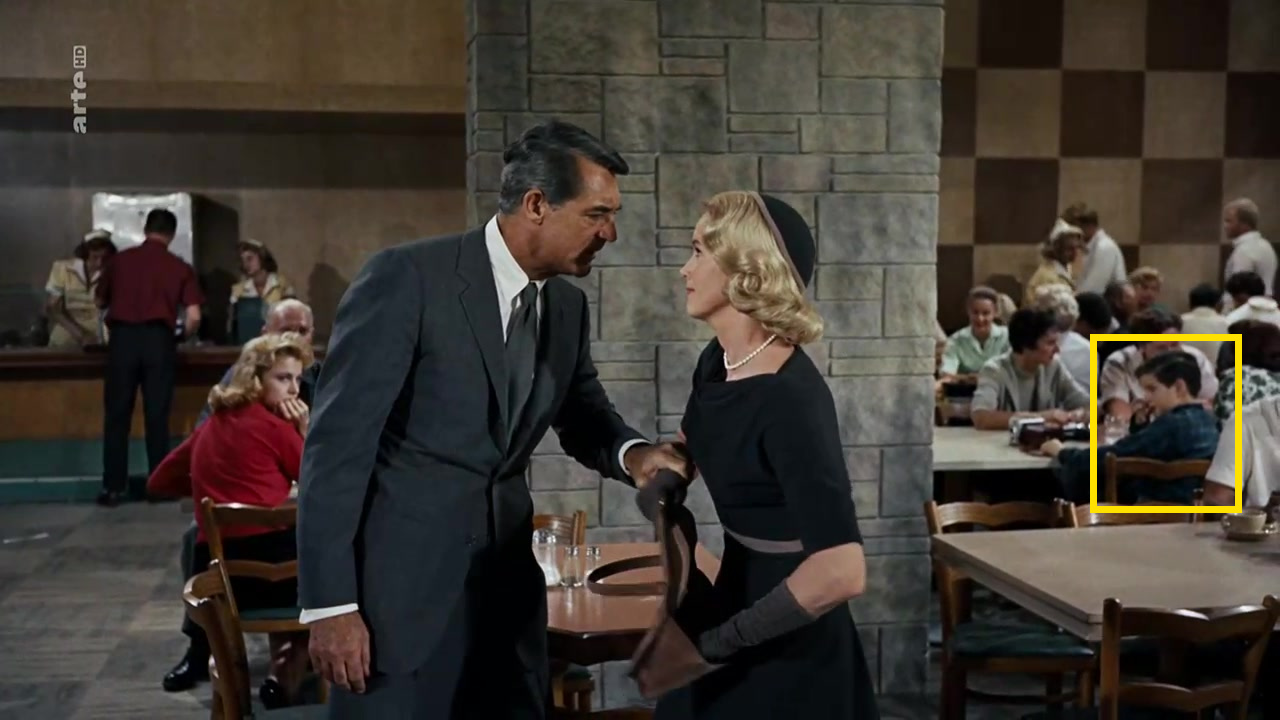
While watching the film, an unintended moment came to light: just after Roger Thornhill (Cary Grant) exits the train, he steps out of the washroom in his suit, having removed the porter's uniform. At that exact moment, a mother and her two children pass by, and the kids cheerfully wave into the camera. The girl walking ahead of them also looks directly into the camera. It is brief and easy to miss. A moment that does not belong, but remains visible to those who look closely.
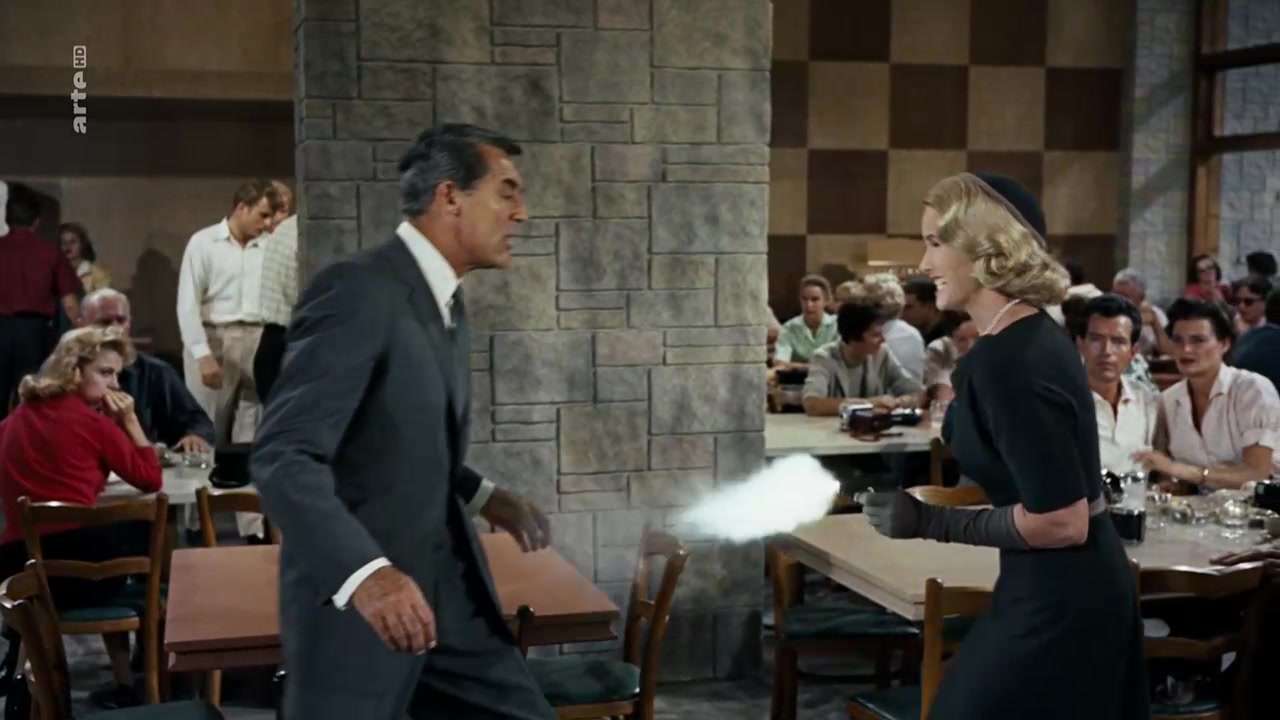
For comparison, I have included another well-known moment from the Mount Rushmore visitor center scene, where a young boy preemptively plugs his ears before Eve Kendall (Eva Marie Saint) fires a gun. That one's been noted before. The train station wave? Not yet.
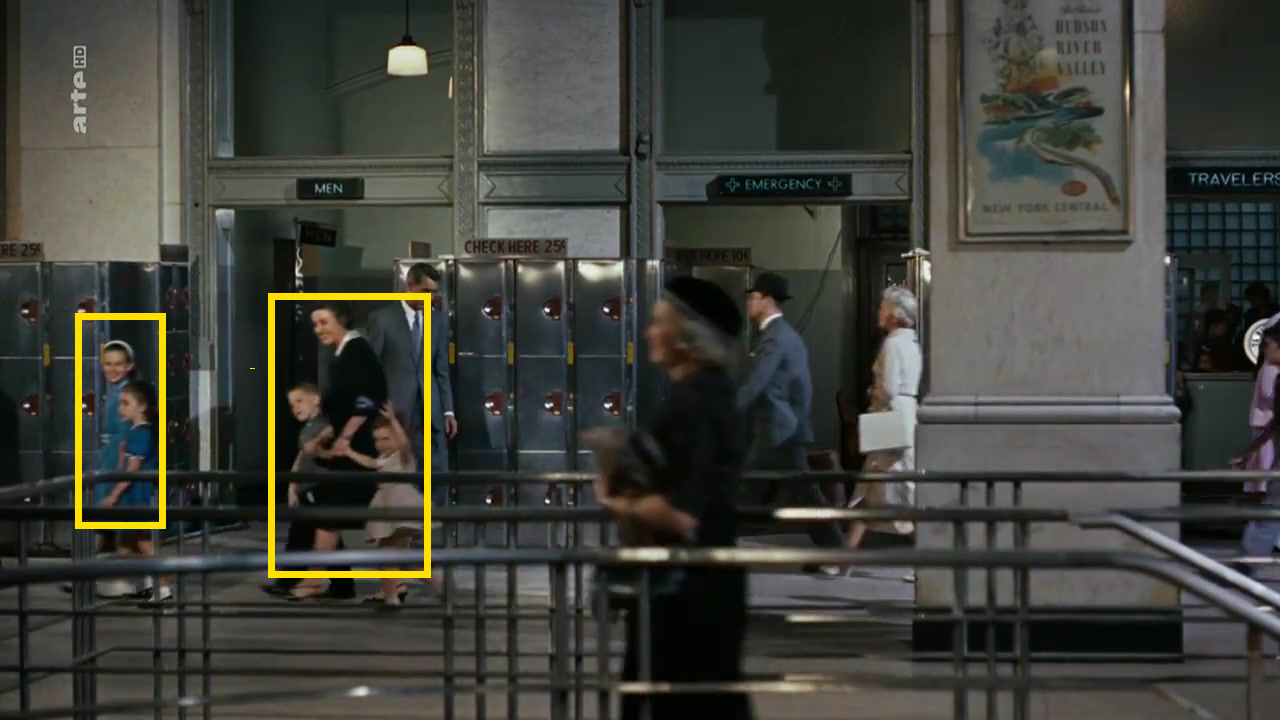
Station Scene: Unscripted Awareness at 01:01:25
As Roger Thornhill exits the washroom and steps into the station, a mother walks past with her two children. The kids wave directly toward the camera crew, and the mother, visibly amused, allows herself a brief smile. She knows they are in a film and chooses not to interfere.
Check the Scene – Unexpected Interaction
And for comparison, there is a moment that is already familiar:
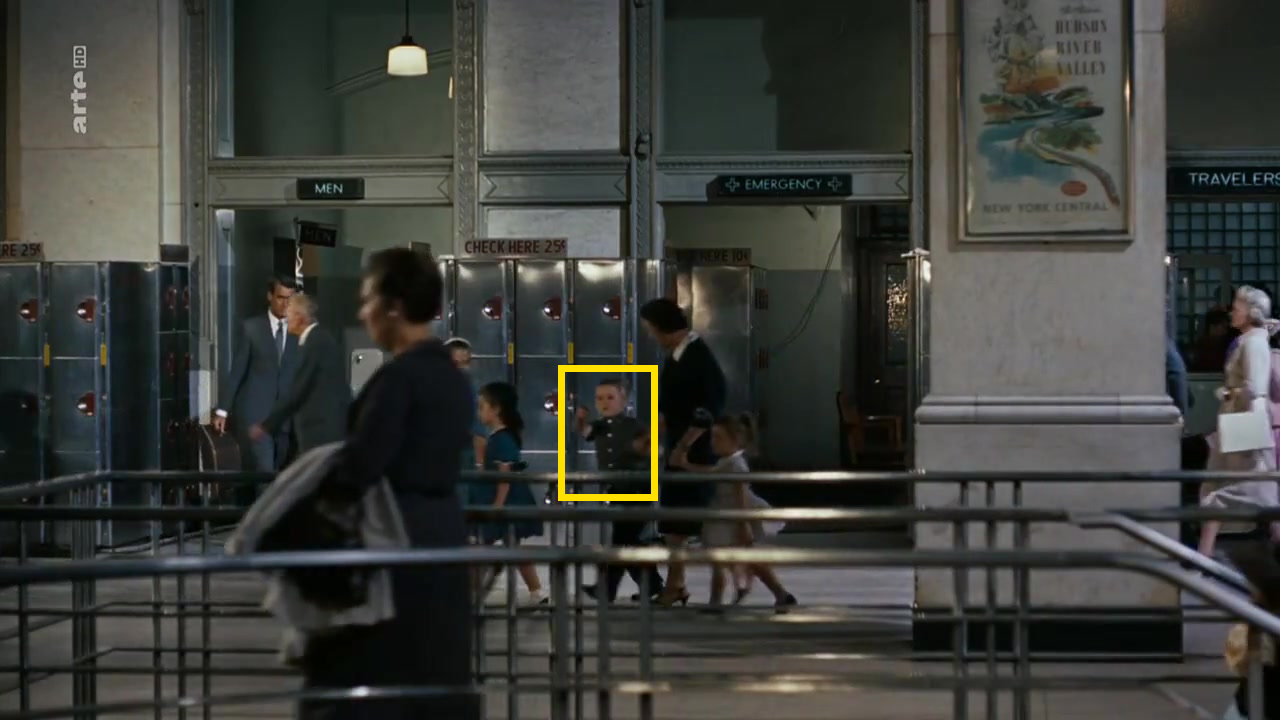
Visitor Center: Predictable Surprise at 1:40:55
In the Mount Rushmore visitor center, a young boy plugs his ears just before the gun is fired. The moment is well-known among film enthusiasts and serves as a quiet reminder that not everyone on screen follows the director's timeline. Whether anticipating a loud bang or waving at the director, they rarely wait for the cue.
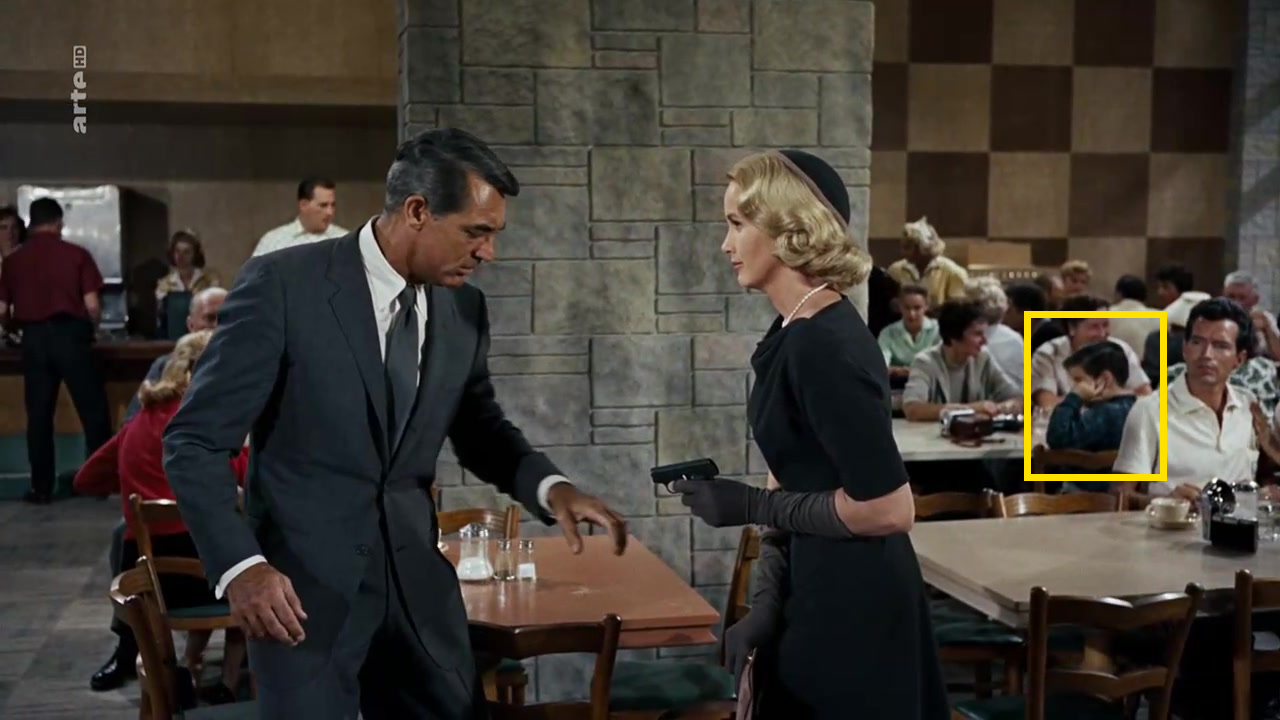
Check the Scene – Visitor Center Timing
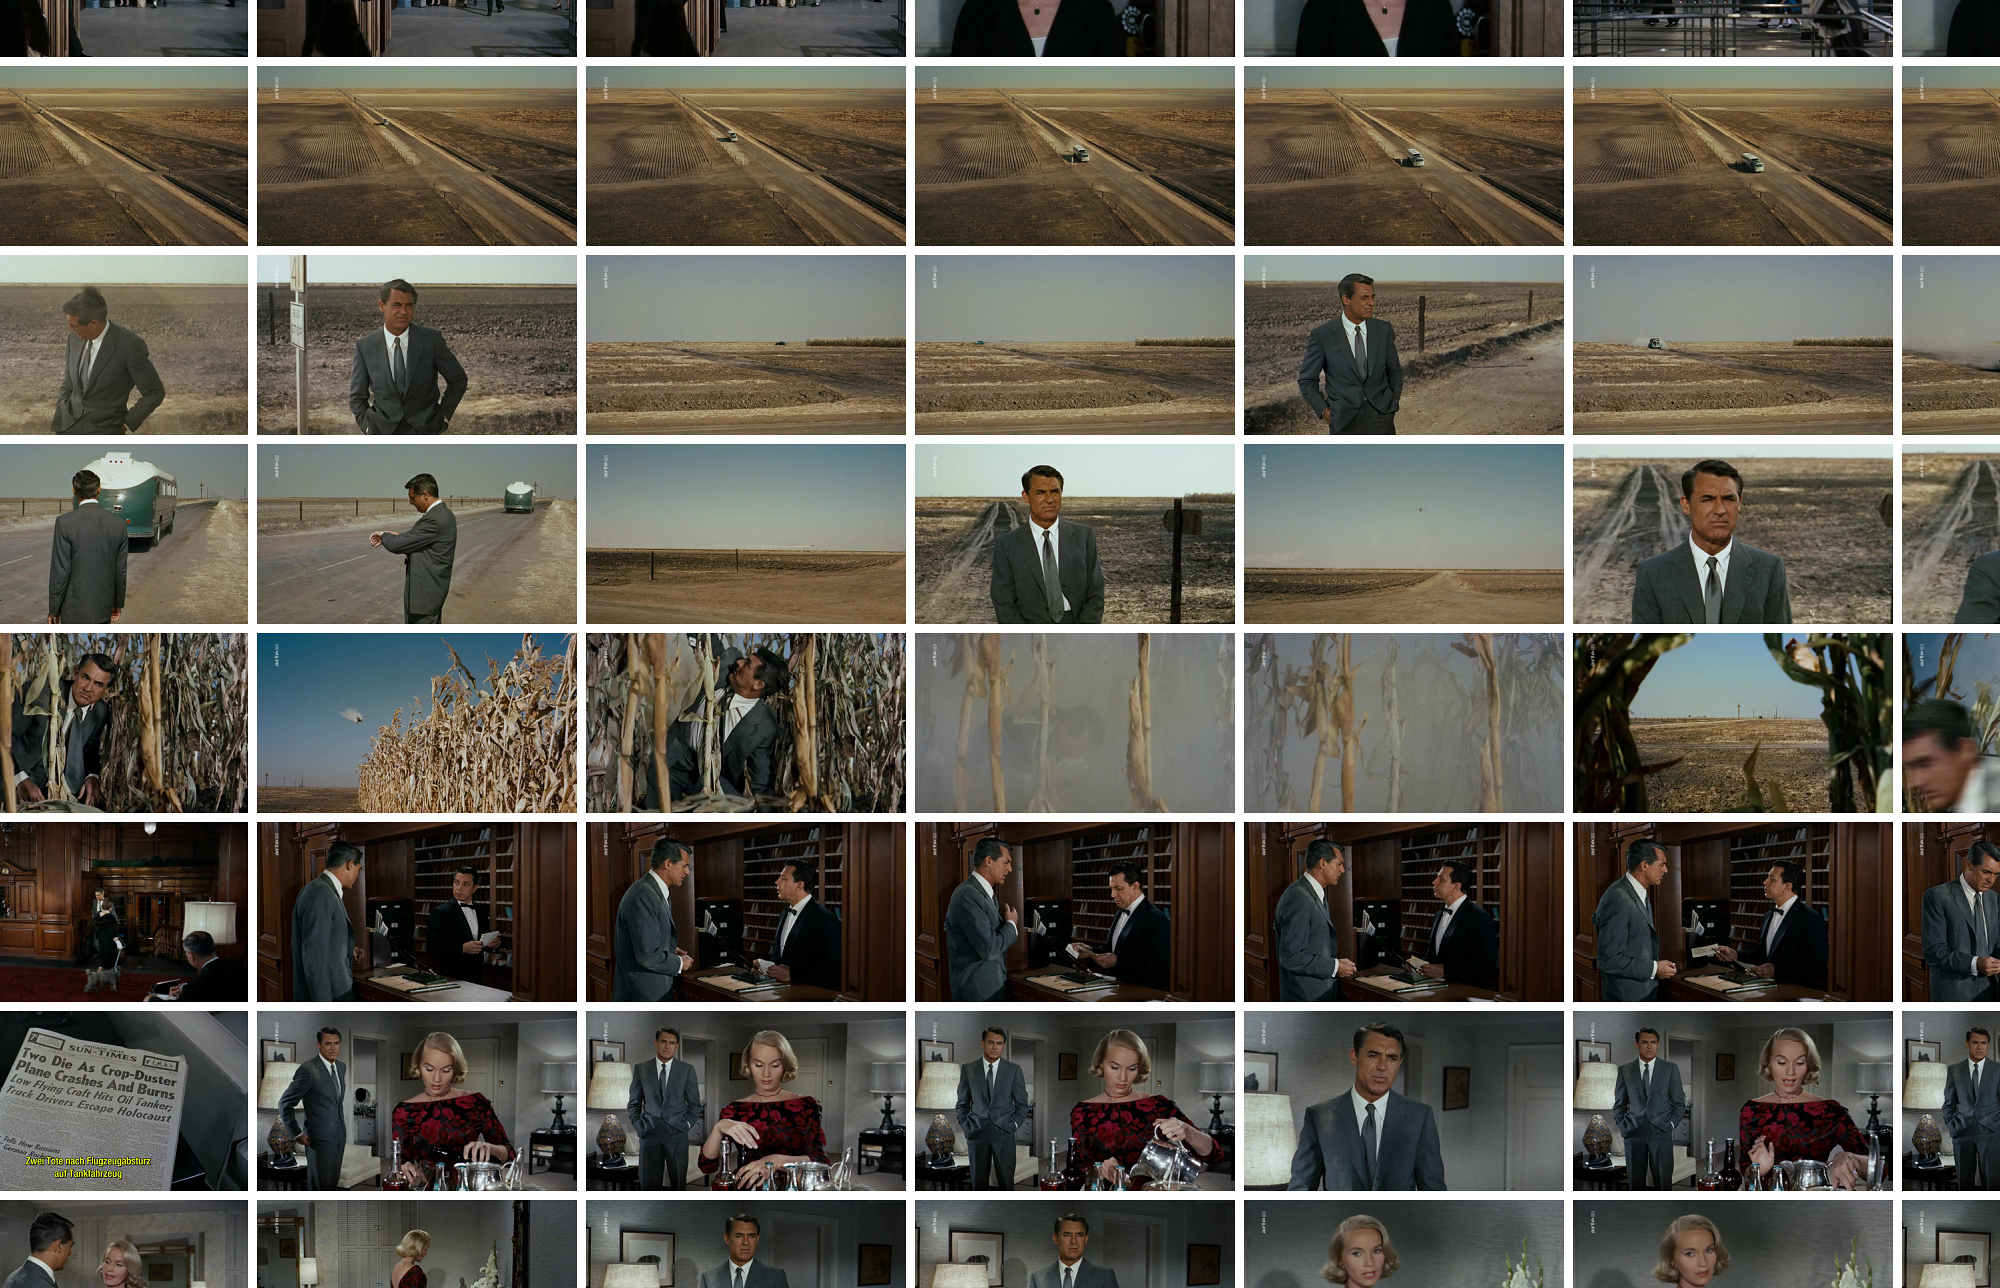
Director's cut, The One Master Frame
A visual analysis of North by Northwest through all 1,566 I-frames2, arranged in a 54×29 mosaic.
Runtime: 2h 10m 30s3. Rated: frame-heavy.
7,830 seconds of cinema, with one I-frame captured every 5 seconds. A mosaic of suspense, one frame at a time, for continuity analysis and visual structure.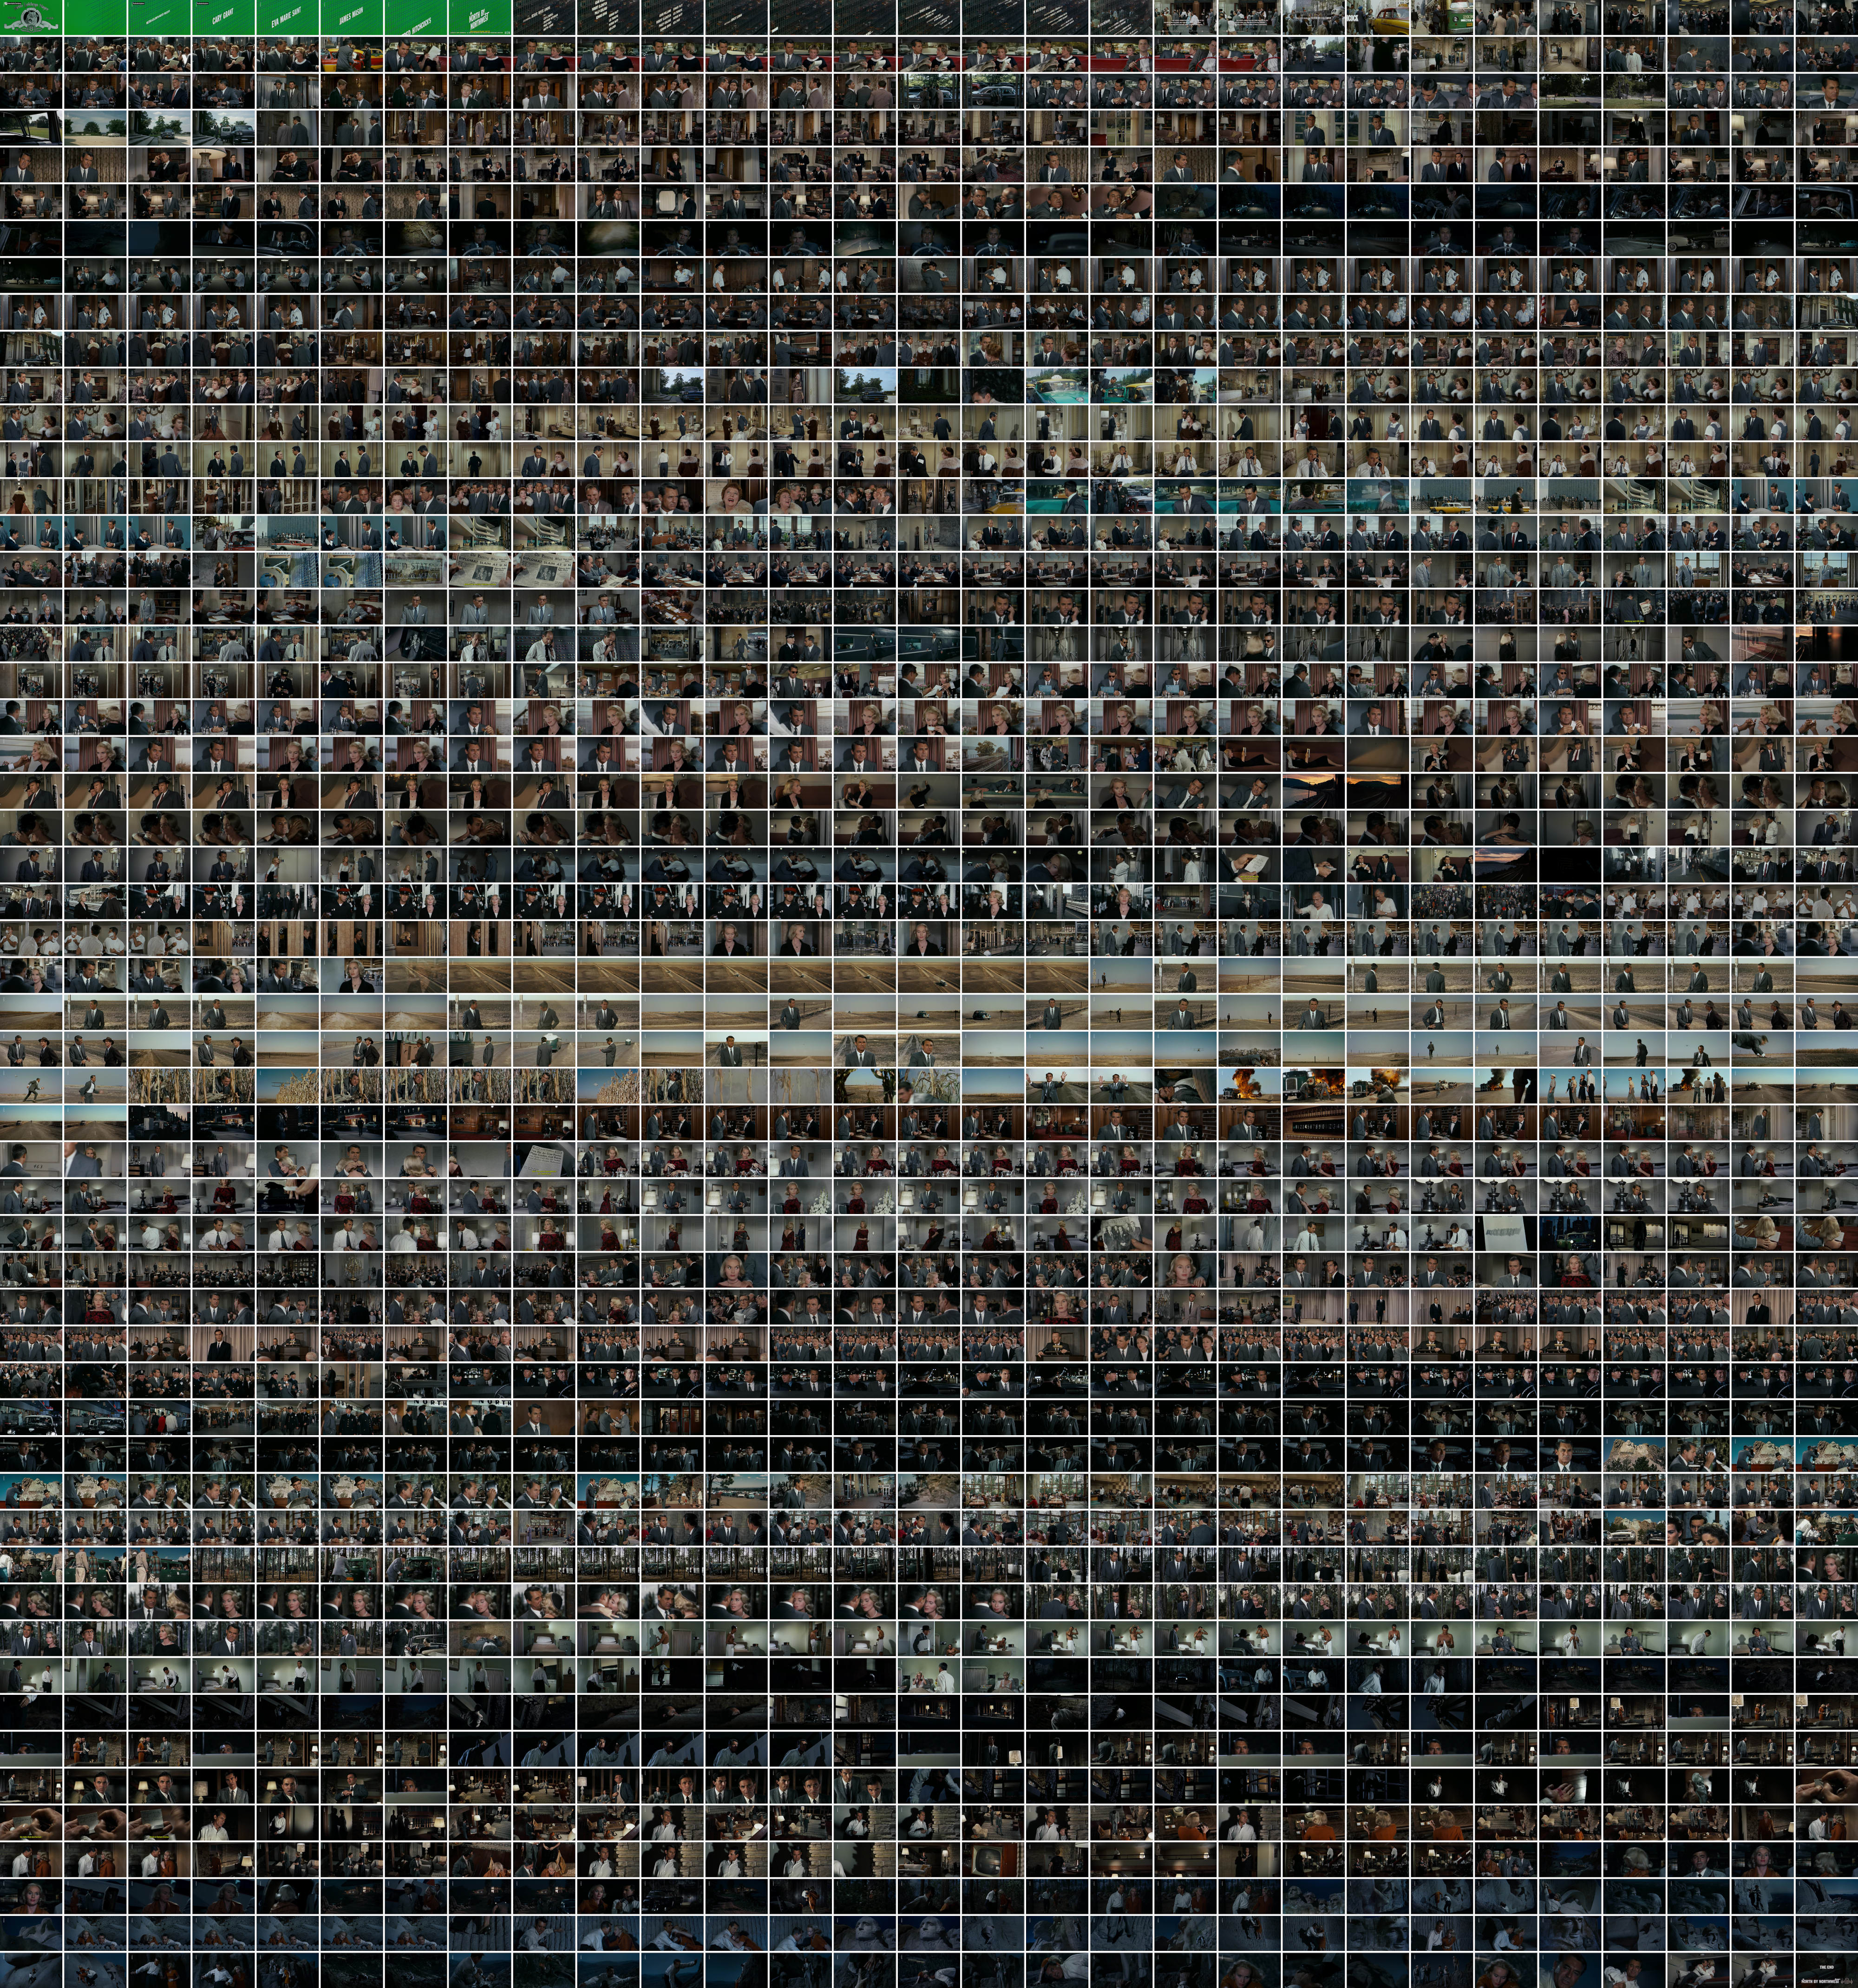
Zoom in for more continuity errors4
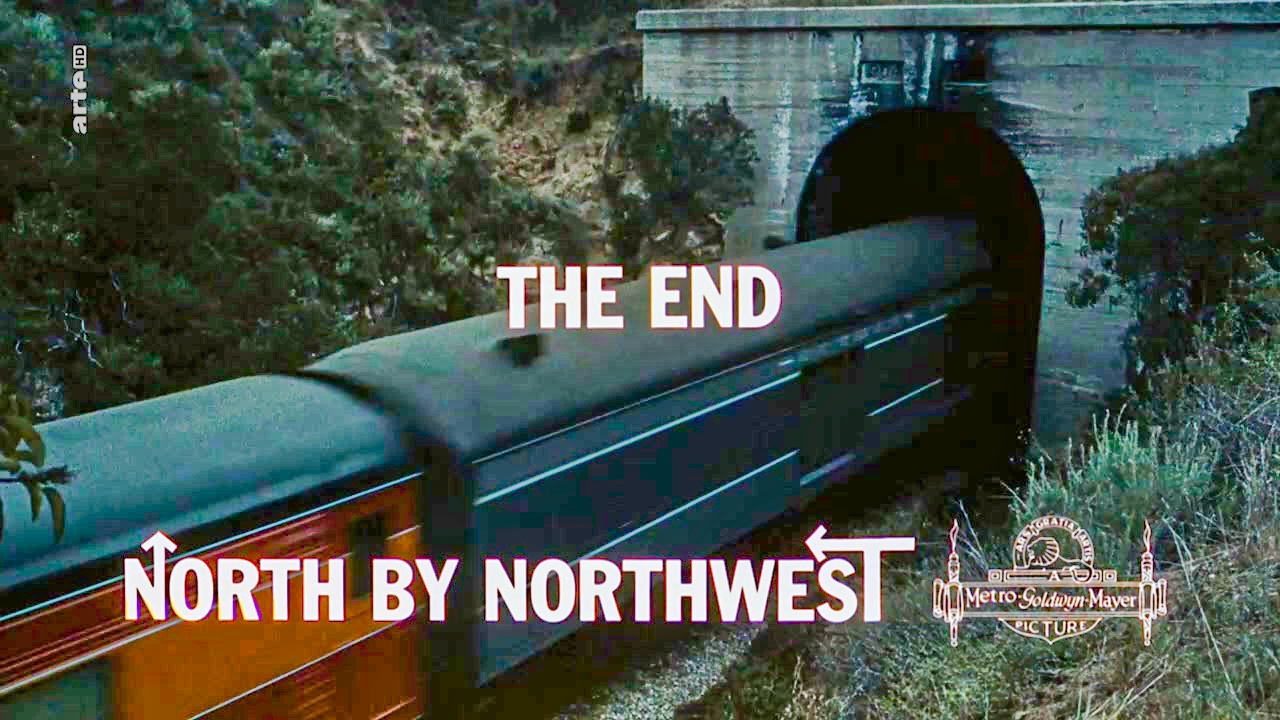
More slips from the same classic
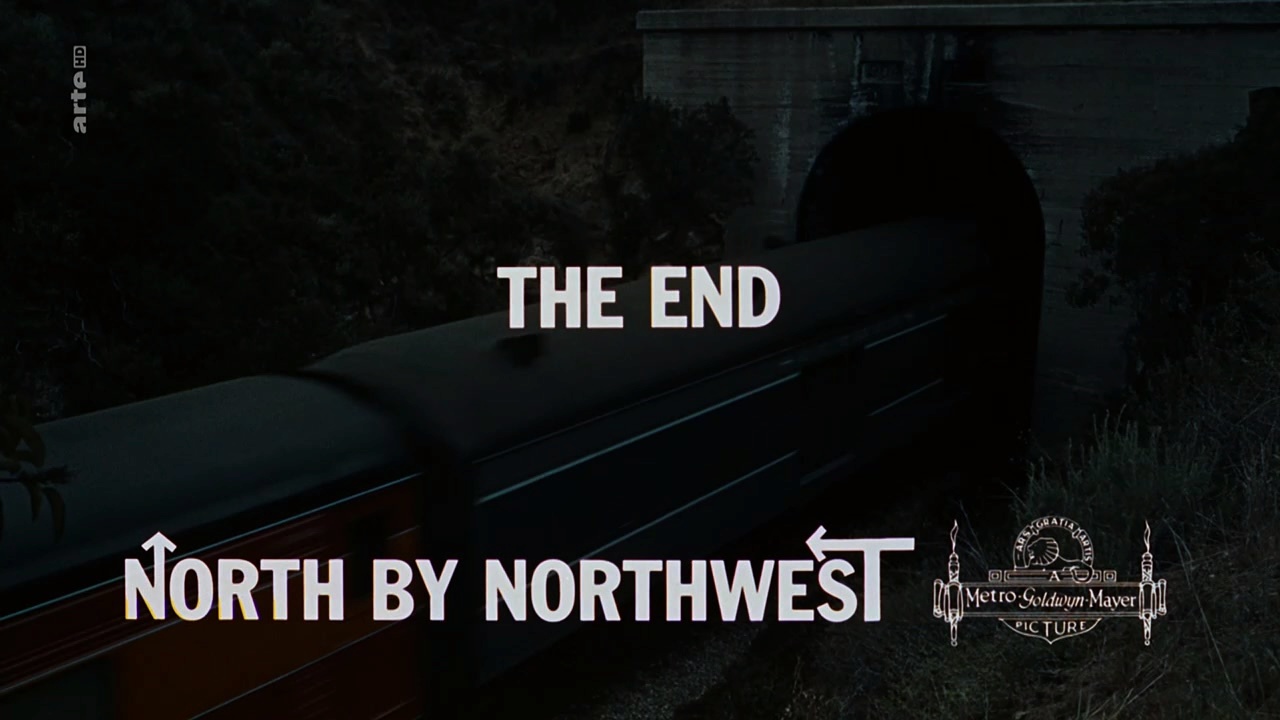
Details everywhere, even in the last frame.
-
An I-frame (intra-coded frame) is a complete image in a video stream that can be displayed independently, without relying on any other frames. It serves as a reference point for decoding, unlike P-frames and B-frames, which only store changes between frames and depend on surrounding data to be reconstructed. ↩
-
The original film runs 136 minutes at 24 frames per second (fps), which is standard for cinema. In Germany and other PAL regions, films are converted to 25 fps for broadcast and DVD. This causes a PAL speed-up of about 4%, meaning the entire movie plays slightly faster.
Adjusted runtime = 136 ÷ (25 ÷ 24) ≈ 130.5 minutes
So the German version is about 5½ minutes shorter, even though no scenes are cut, it is just played faster. This is a common quirk in PAL-format video releases. ↩ -
All screenshots, video excerpts, and the frame mosaic, including a selected frame with adjusted brightness to highlight visual details, are used under the quotation exception (§ 51 UrhG) for the purpose of critical commentary and analysis. The original material is from the film North by Northwest (1959, MGM), as broadcast by arte. The use is non-commercial and limited to what is necessary to illustrate identified continuity issues, filmmaking inconsistencies, visual structure, and unscripted actions. ↩
-
-
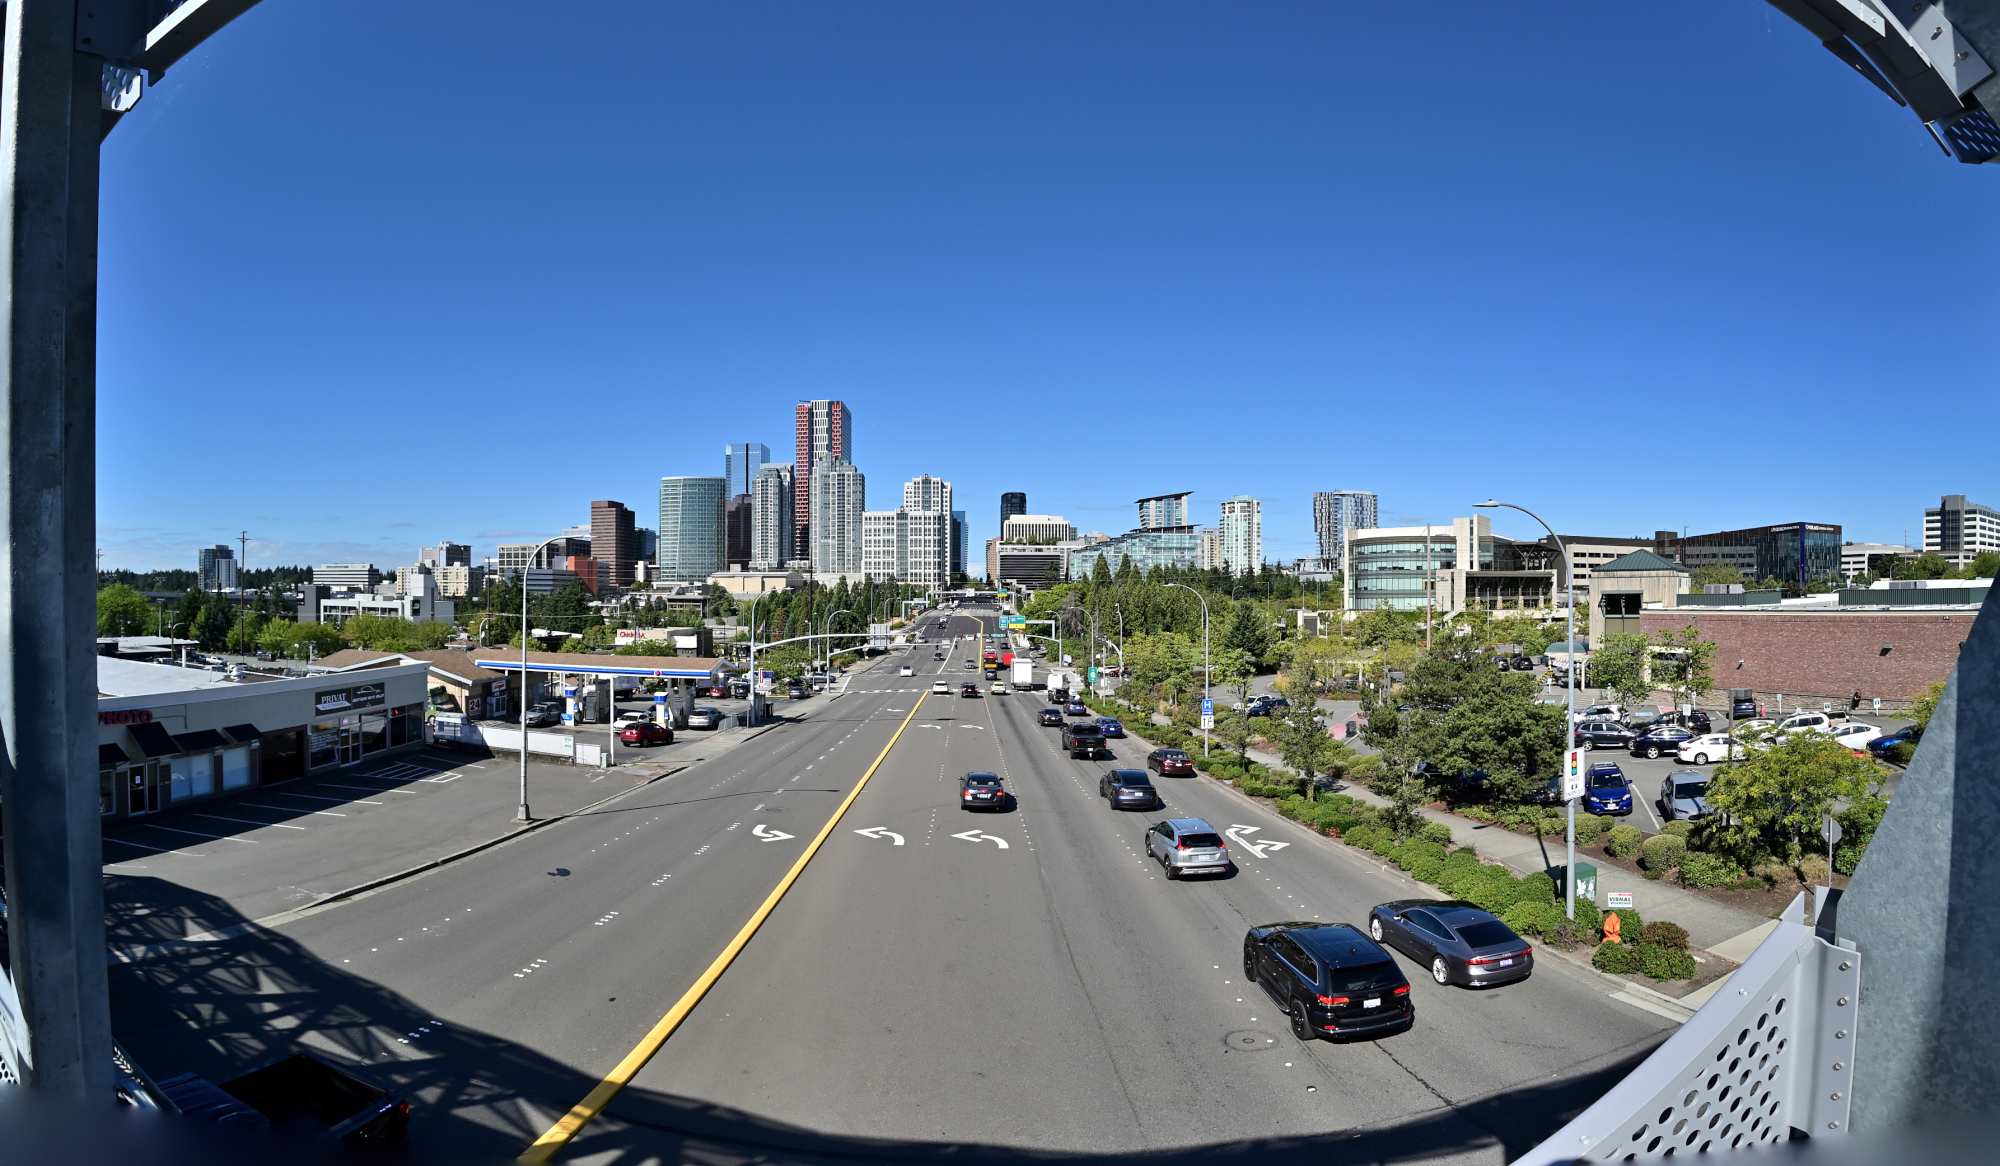
Bellevue Connector Bridge
Die Bellevue Connector Bridge – Licht, Schatten und der perfekte Moment
Die Bellevue Connector Bridge ist Teil eines städtebaulichen Konzepts, das Fußgänger und Radfahrer besser mit dem Stadtzentrum verbindet. Sie steht exemplarisch für moderne Infrastruktur, die nicht nur funktional, sondern auch ästhetisch ansprechend gestaltet ist.
Am Vormittag liegt die Seite der Brücke mit dem Mural5 im Schatten:
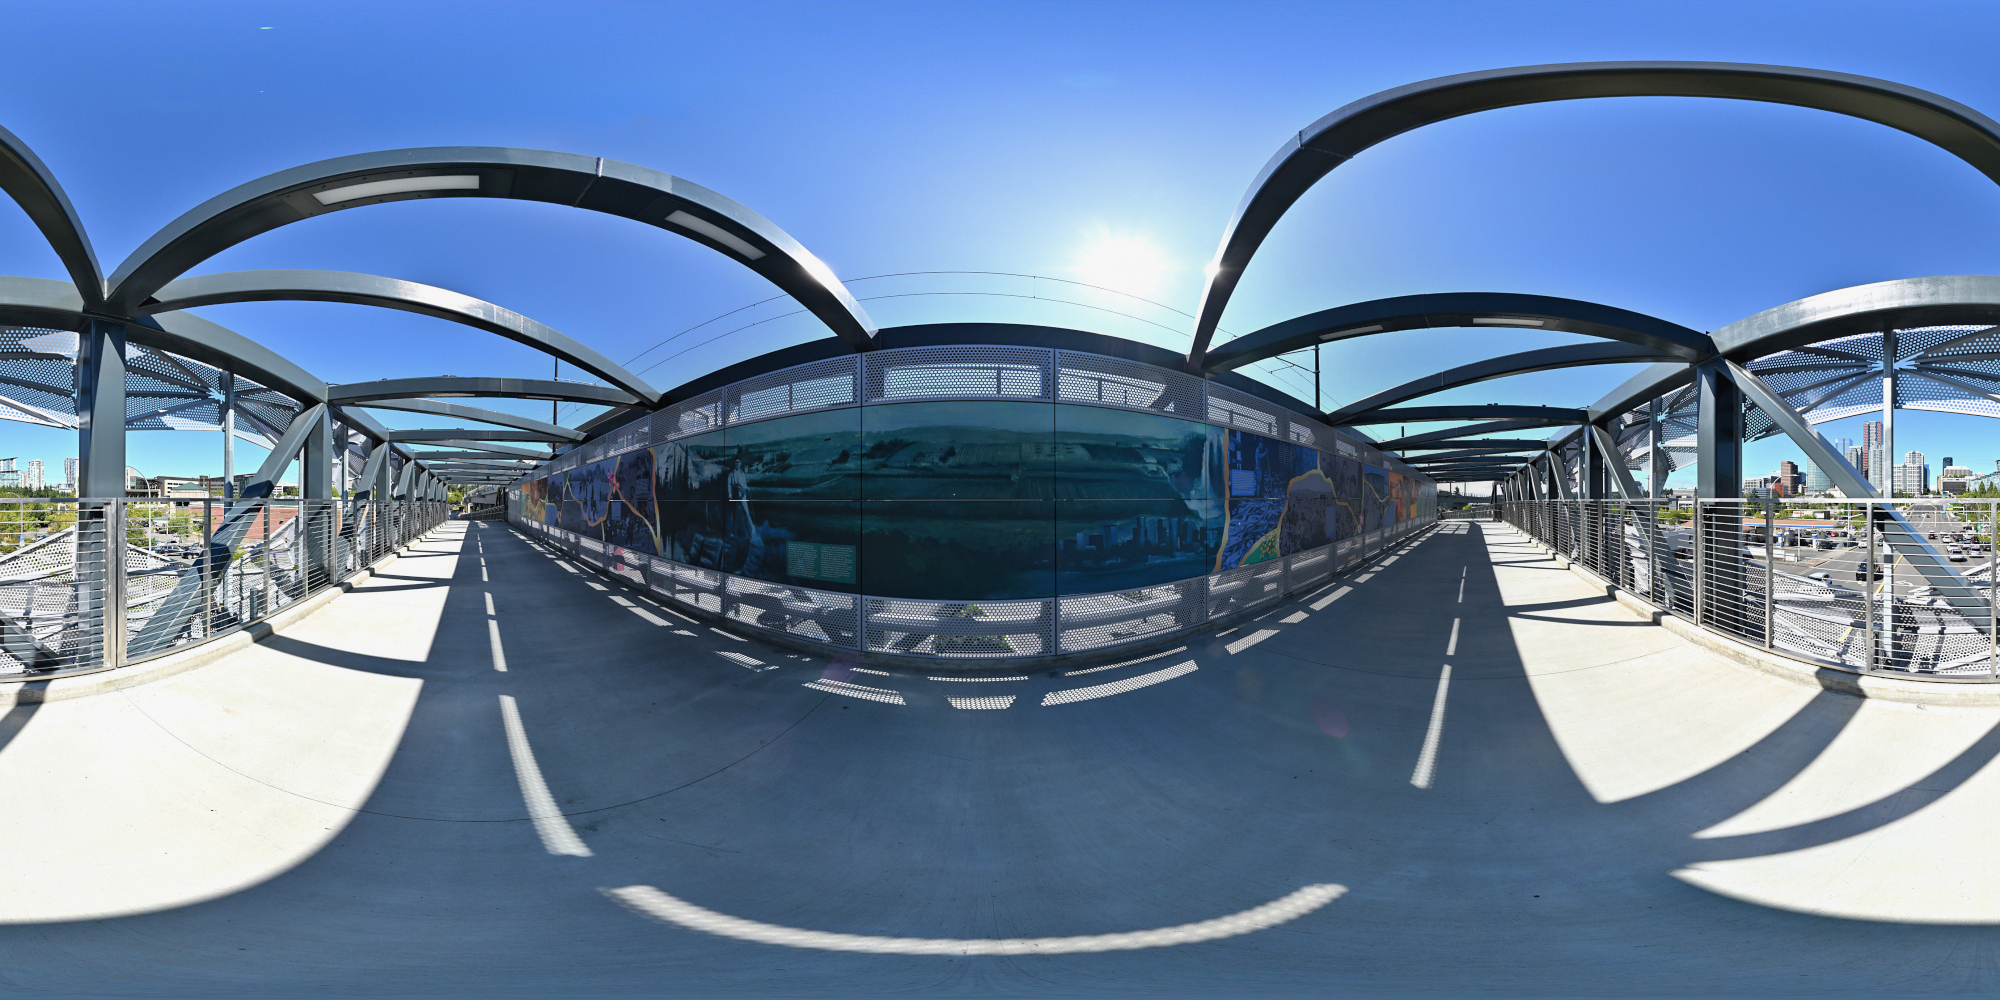
Erst am Nachmittag fällt Sonnenlicht direkt auf das Mural. Allerdings werfen dann auch die architektonischen Elemente der Brücke markante Schatten auf die Wand.
Kurz nach Mittag entsteht ein besonderer Moment: Die Sonne steht in einem Winkel, bei dem das Mural vollständig aus dem Schatten tritt, während die Brückenarchitektur noch keine Schatten wirft. Ich habe diesen seltenen Lichtmoment genutzt, um das Panorama aufzunehmen. Fast so selten wie eine Sonnenfinsternis, nur ohne Schutzbrille und mit deutlich besserer Auflösung.
Die Nord-Süd-Ausrichtung sorgt dafür, dass die Sonne einmal täglich exakt genug steht, um das Mural für wenige Minuten wie eine Bühne auszuleuchten. Ein Moment, in dem Architektur und Sonnenstand kurz in Konjunktion treten.
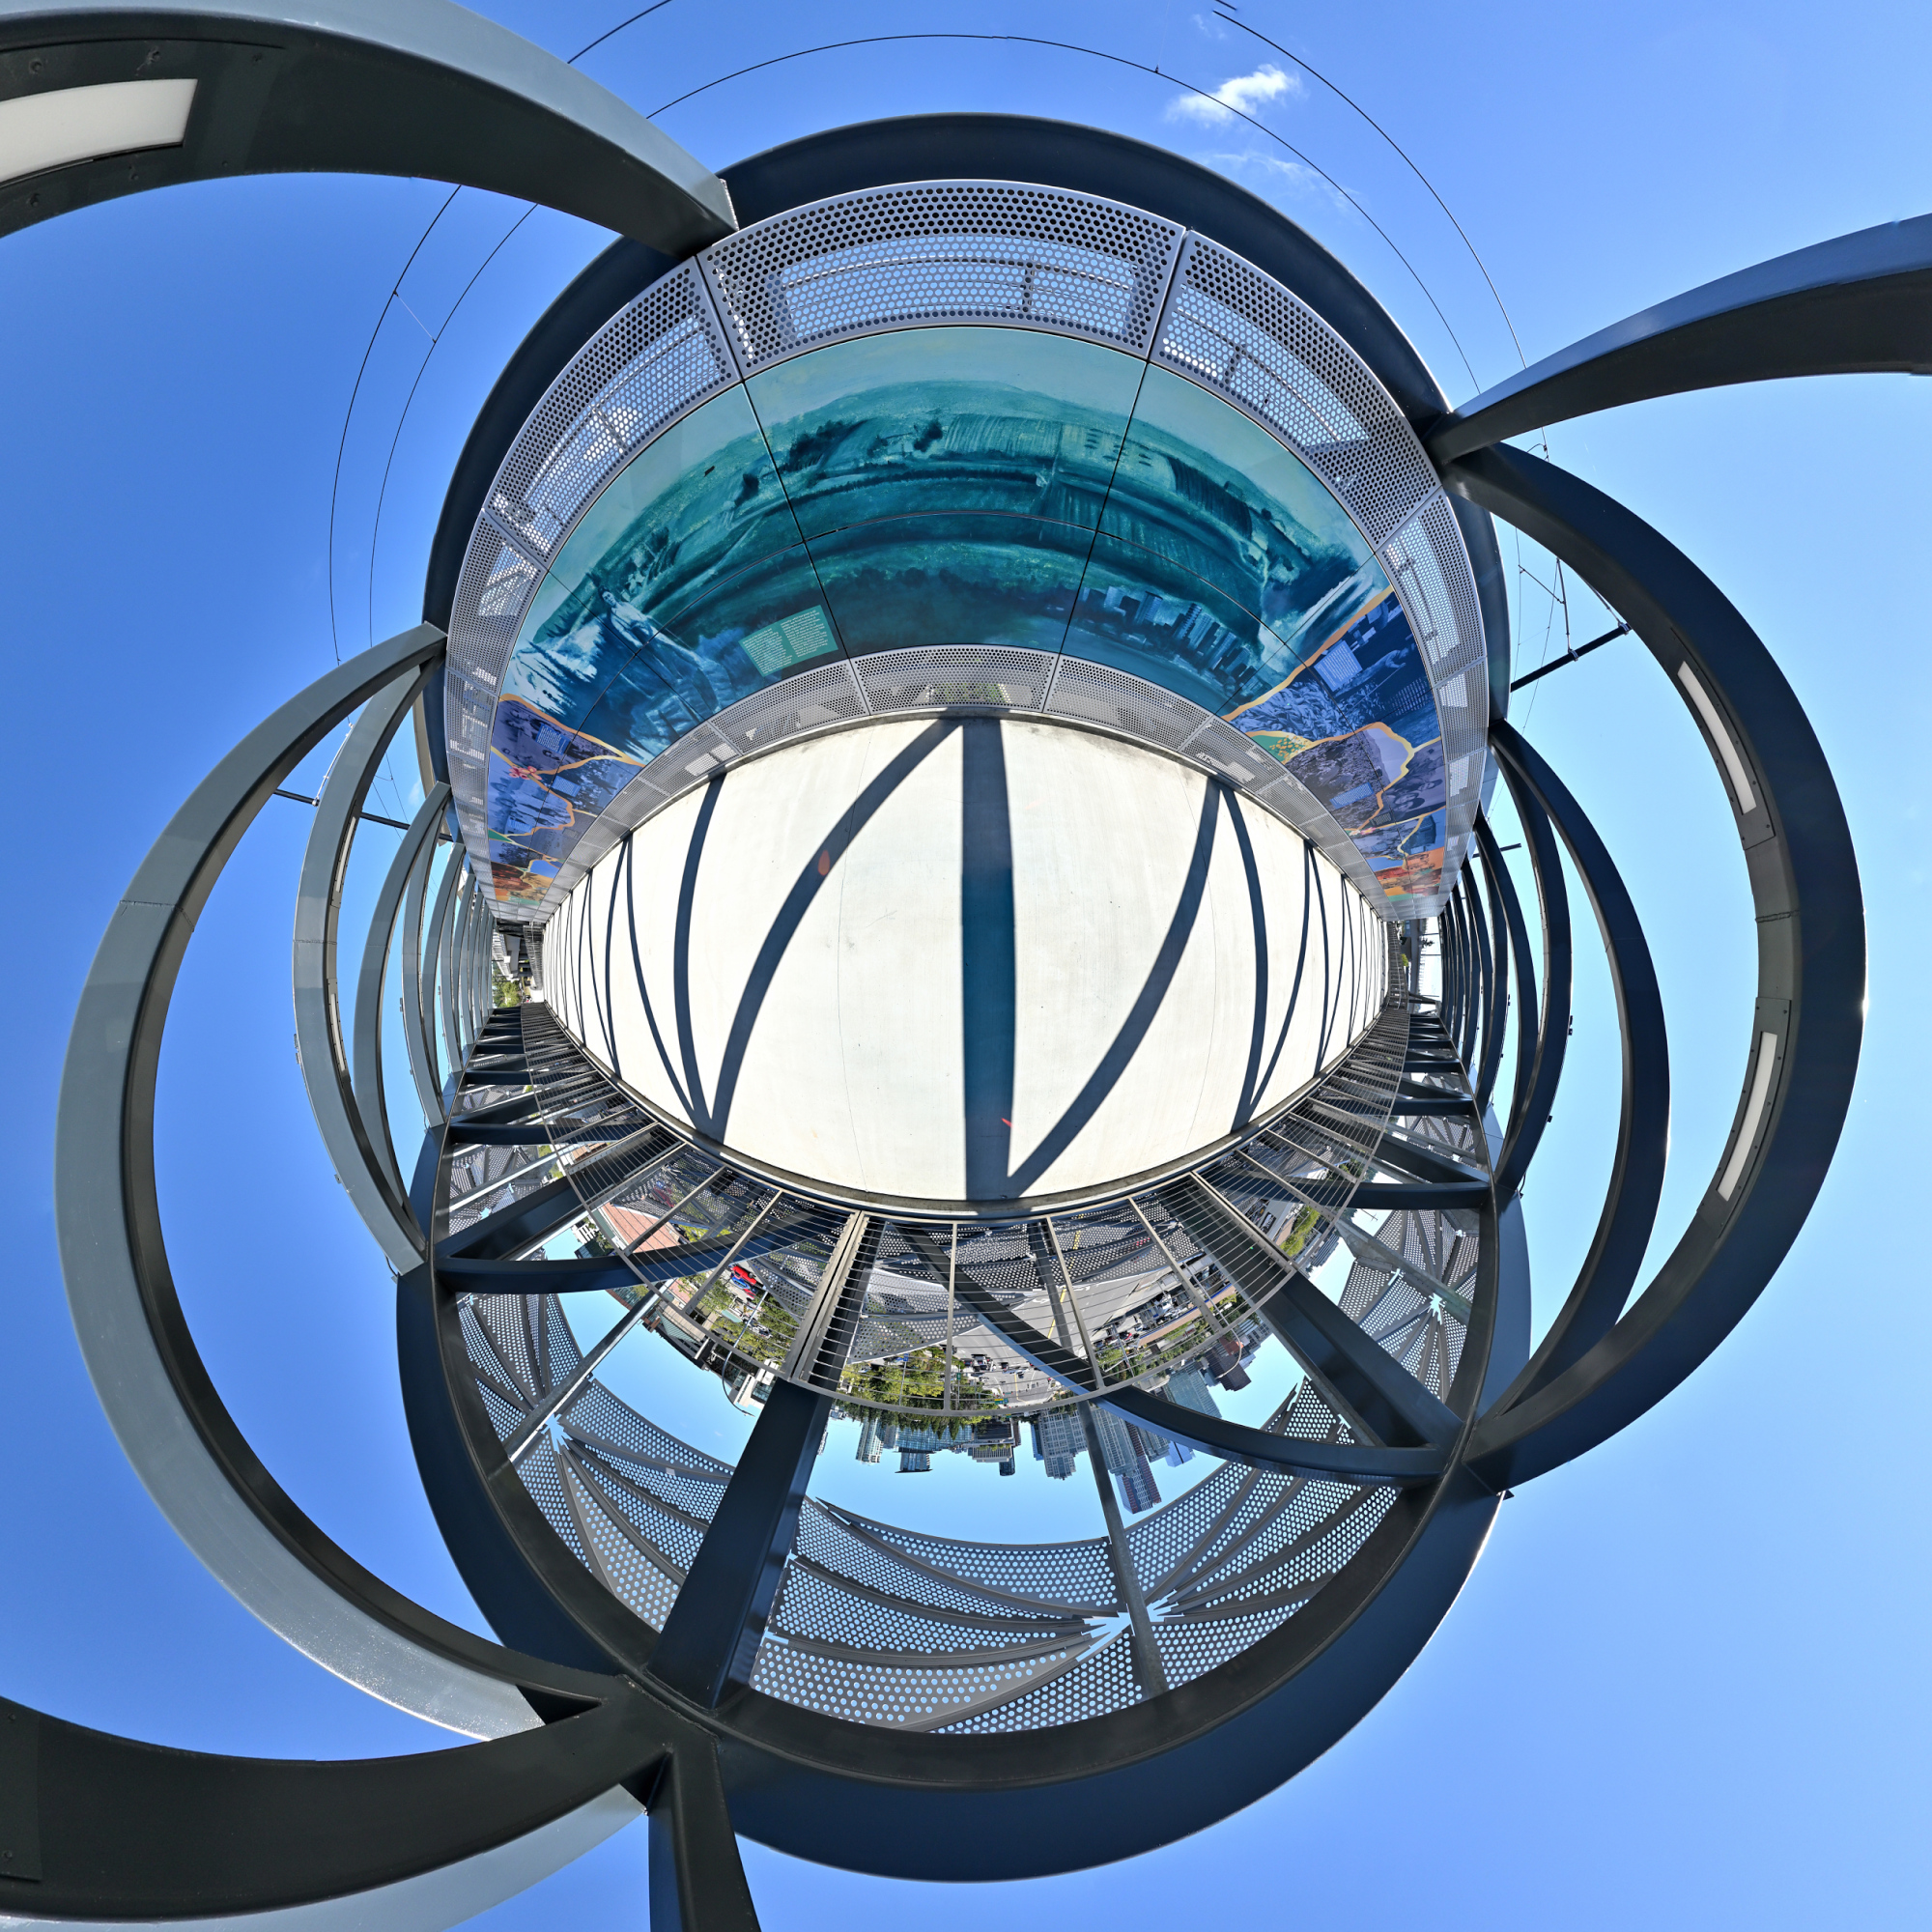
Interactive Panorama Bellevue Connector Bridge
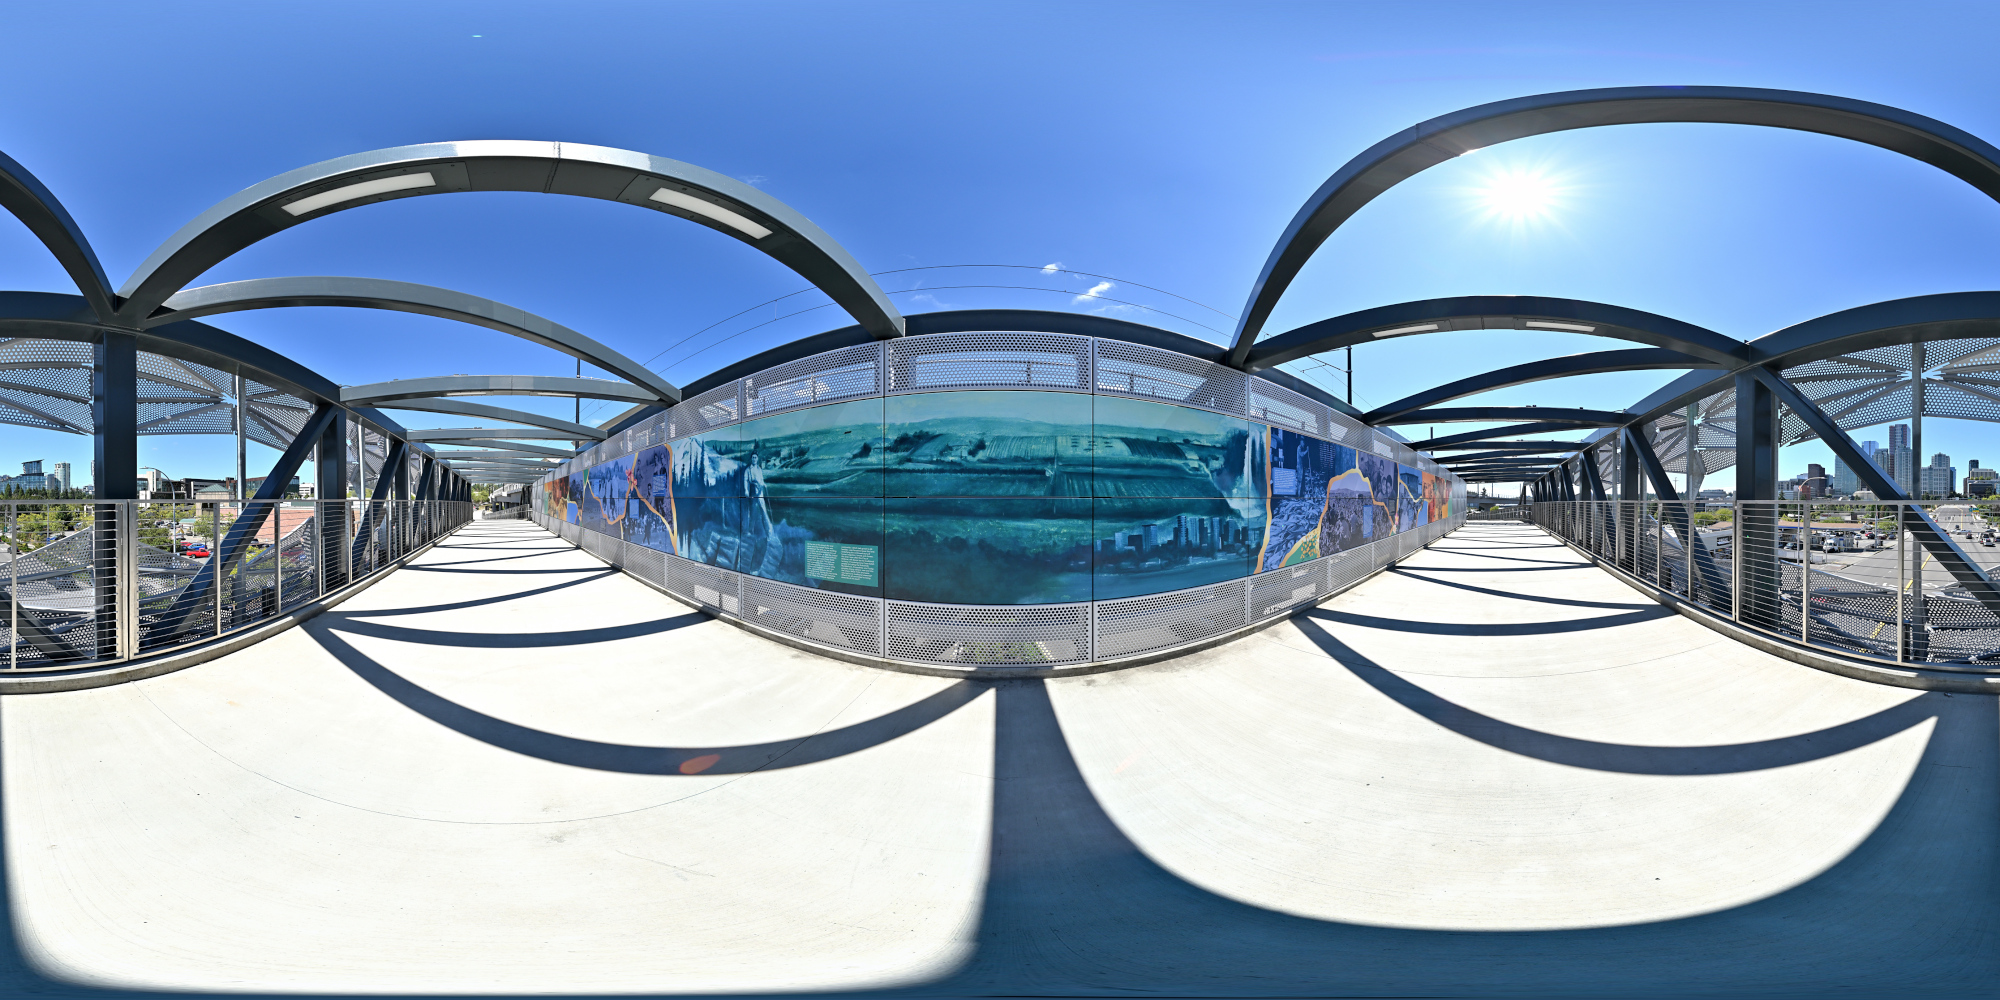
1/800s f/5,6 ISO 100/21° f=7,5mm
Ein Blick hinter das Geländer
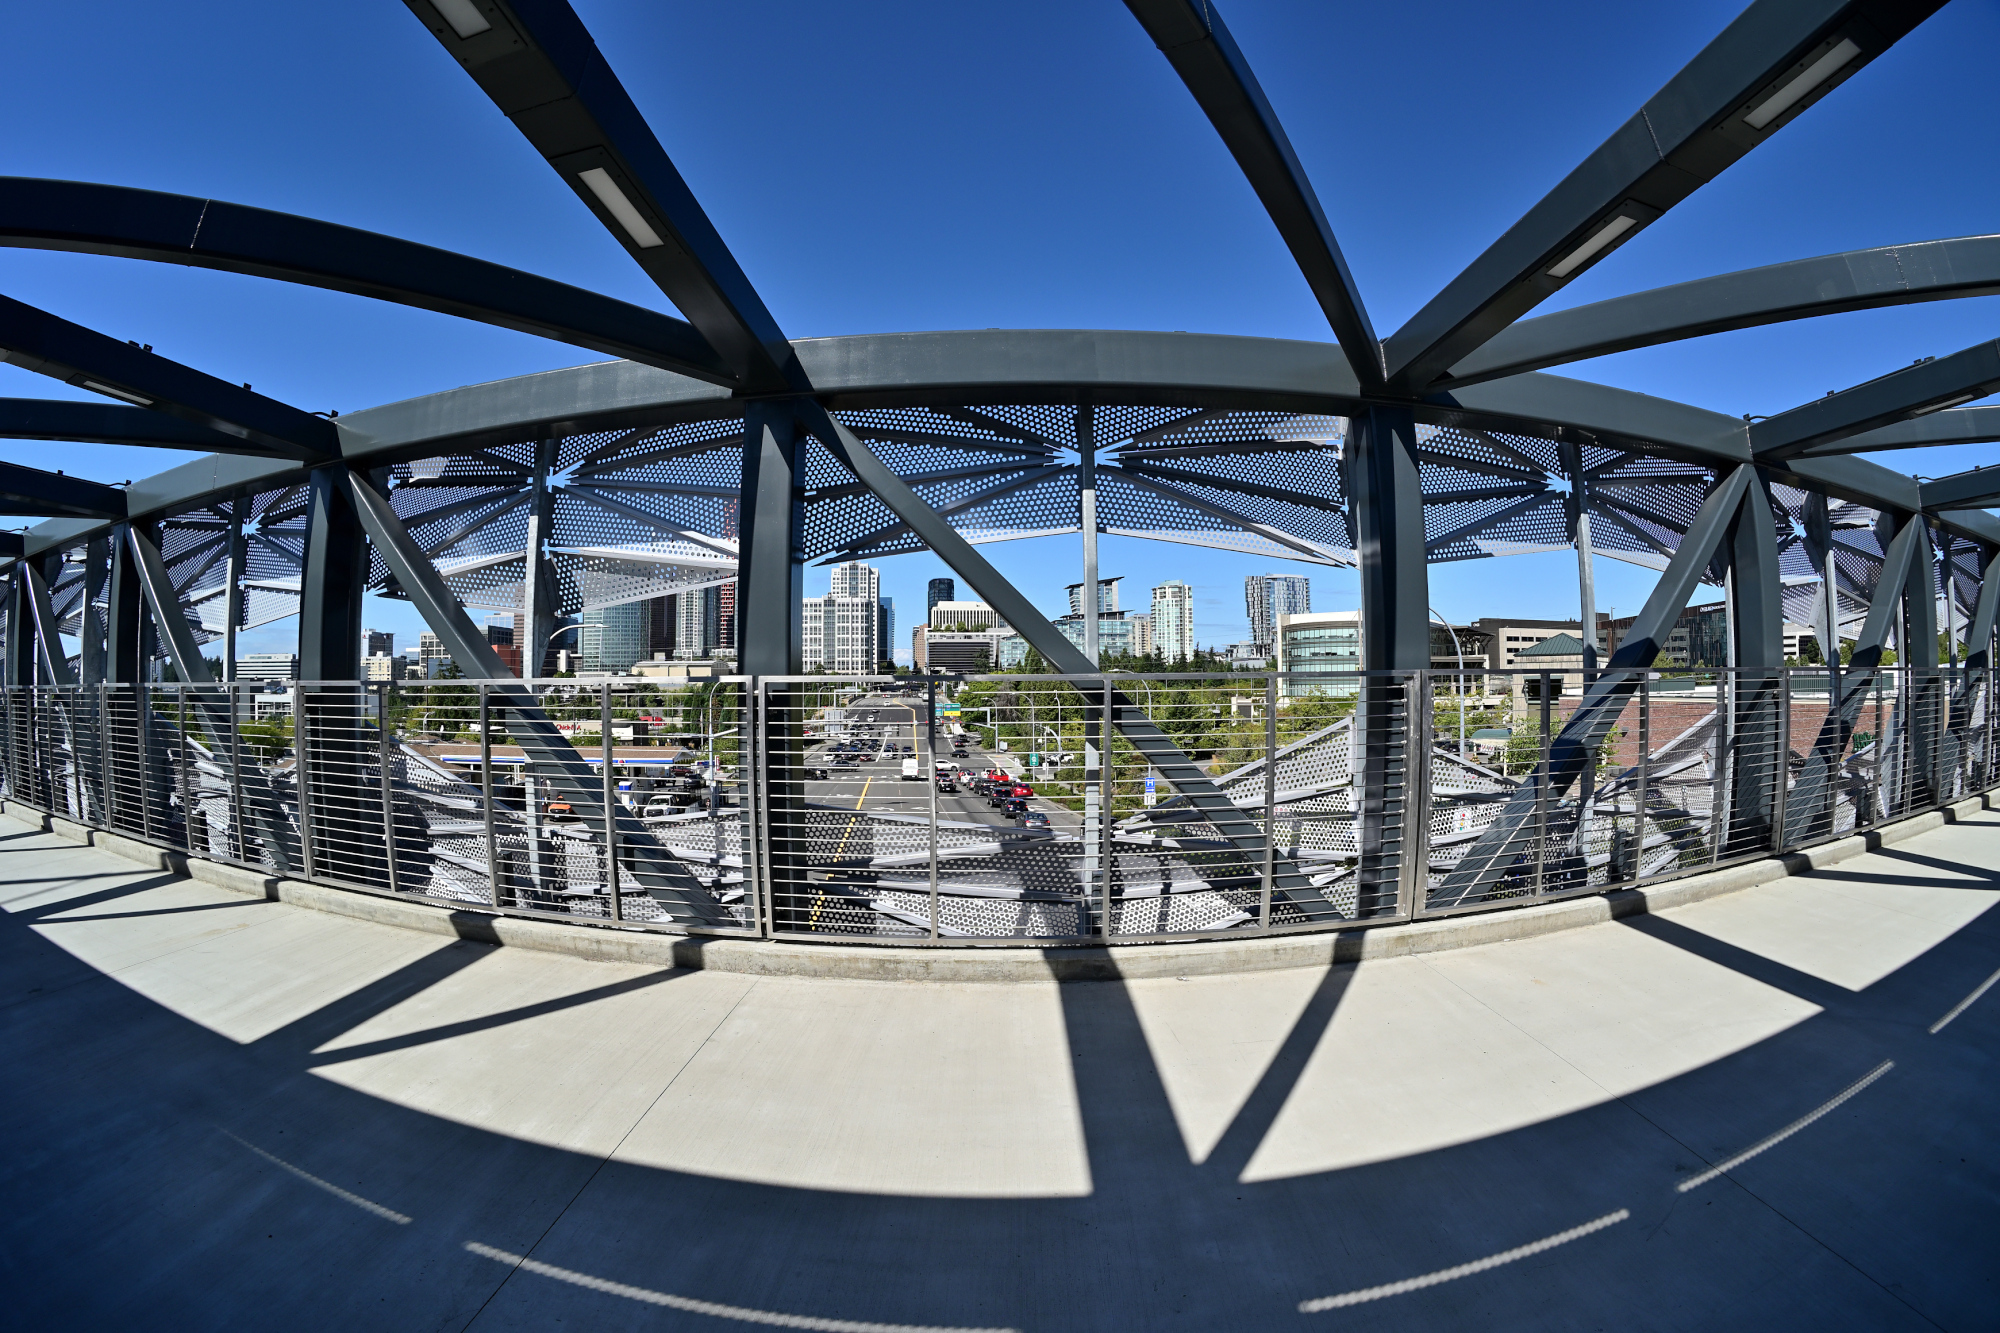
Und nebendran rauscht ein Zug vorbei. Vermutlich weil der Lärmpegel noch nicht ganz bei 'Großstadt' war.
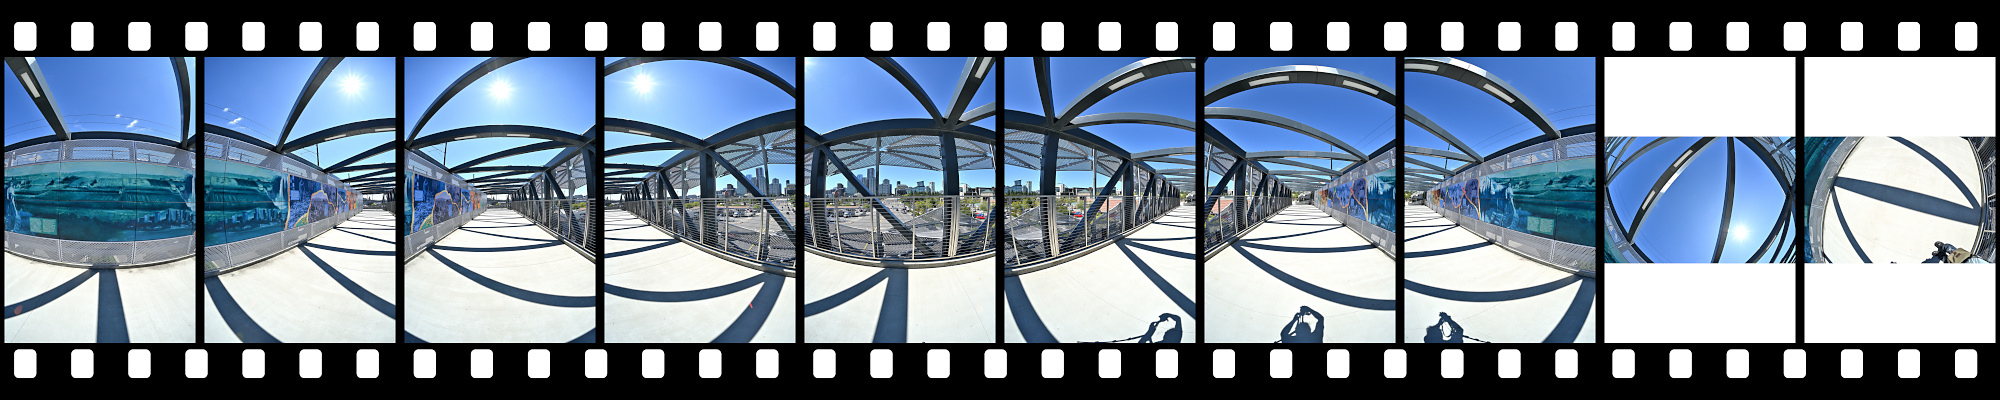
Mural als lineares Panorama:
1/320s f/6,3 ISO 100/21° 18-140mm f/3,5-6,3 VR f=18mm/27mm

Skaliert auf 7k×500 für die Webansicht:

Größere Version mit 27k×2k, 13MB
-
Ein Mural ist ein großflächiges Wandgemälde, das direkt auf eine Wand oder andere architektonische Oberfläche gemalt oder aufgebracht wird. ↩
-