 |
CJ750 toolbox |
| The CJ 6V distributor by Ross
Kowalski |
| The condenser went bad on the M1 the other
day. I got arcing at the points so I immediatly suspected
the condensor. I clipped on my test condesnor (a
condenser with an allegator clip on the holding strap)
and bingo, problem solved. I remounted the condenser
directly to the coil as that would make it easier to fix
if it goes again. While I had things open, I cleaned and
photographed what's in there for reference if someone is
going to open theirs up. This is not a set of
instructions, just a tour. |
 |
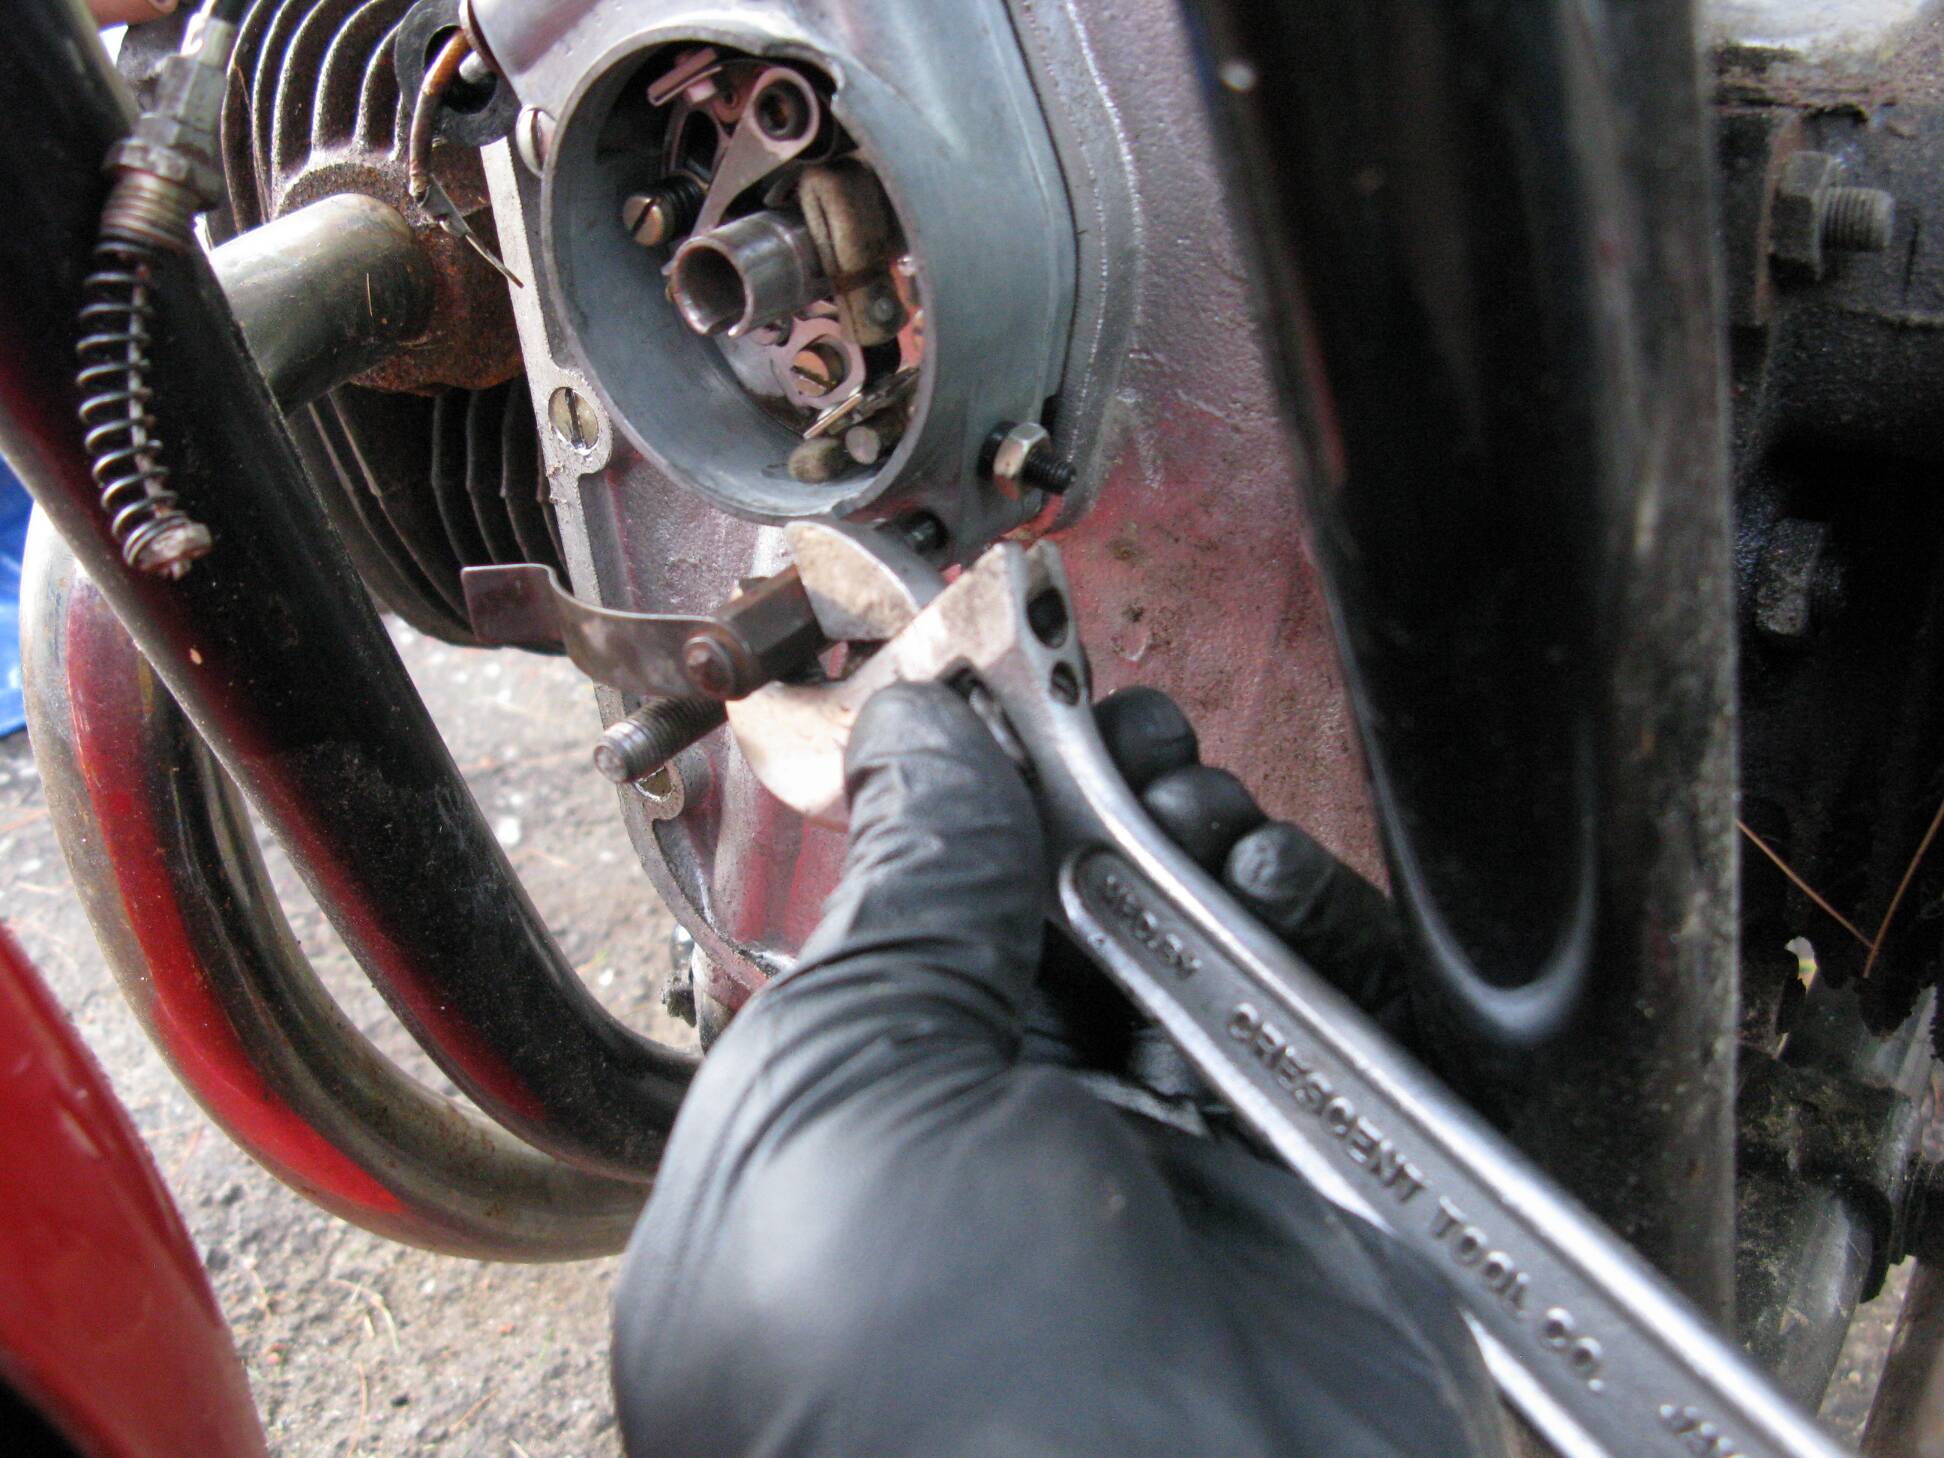
Removing the cap hold down stud. |
 |
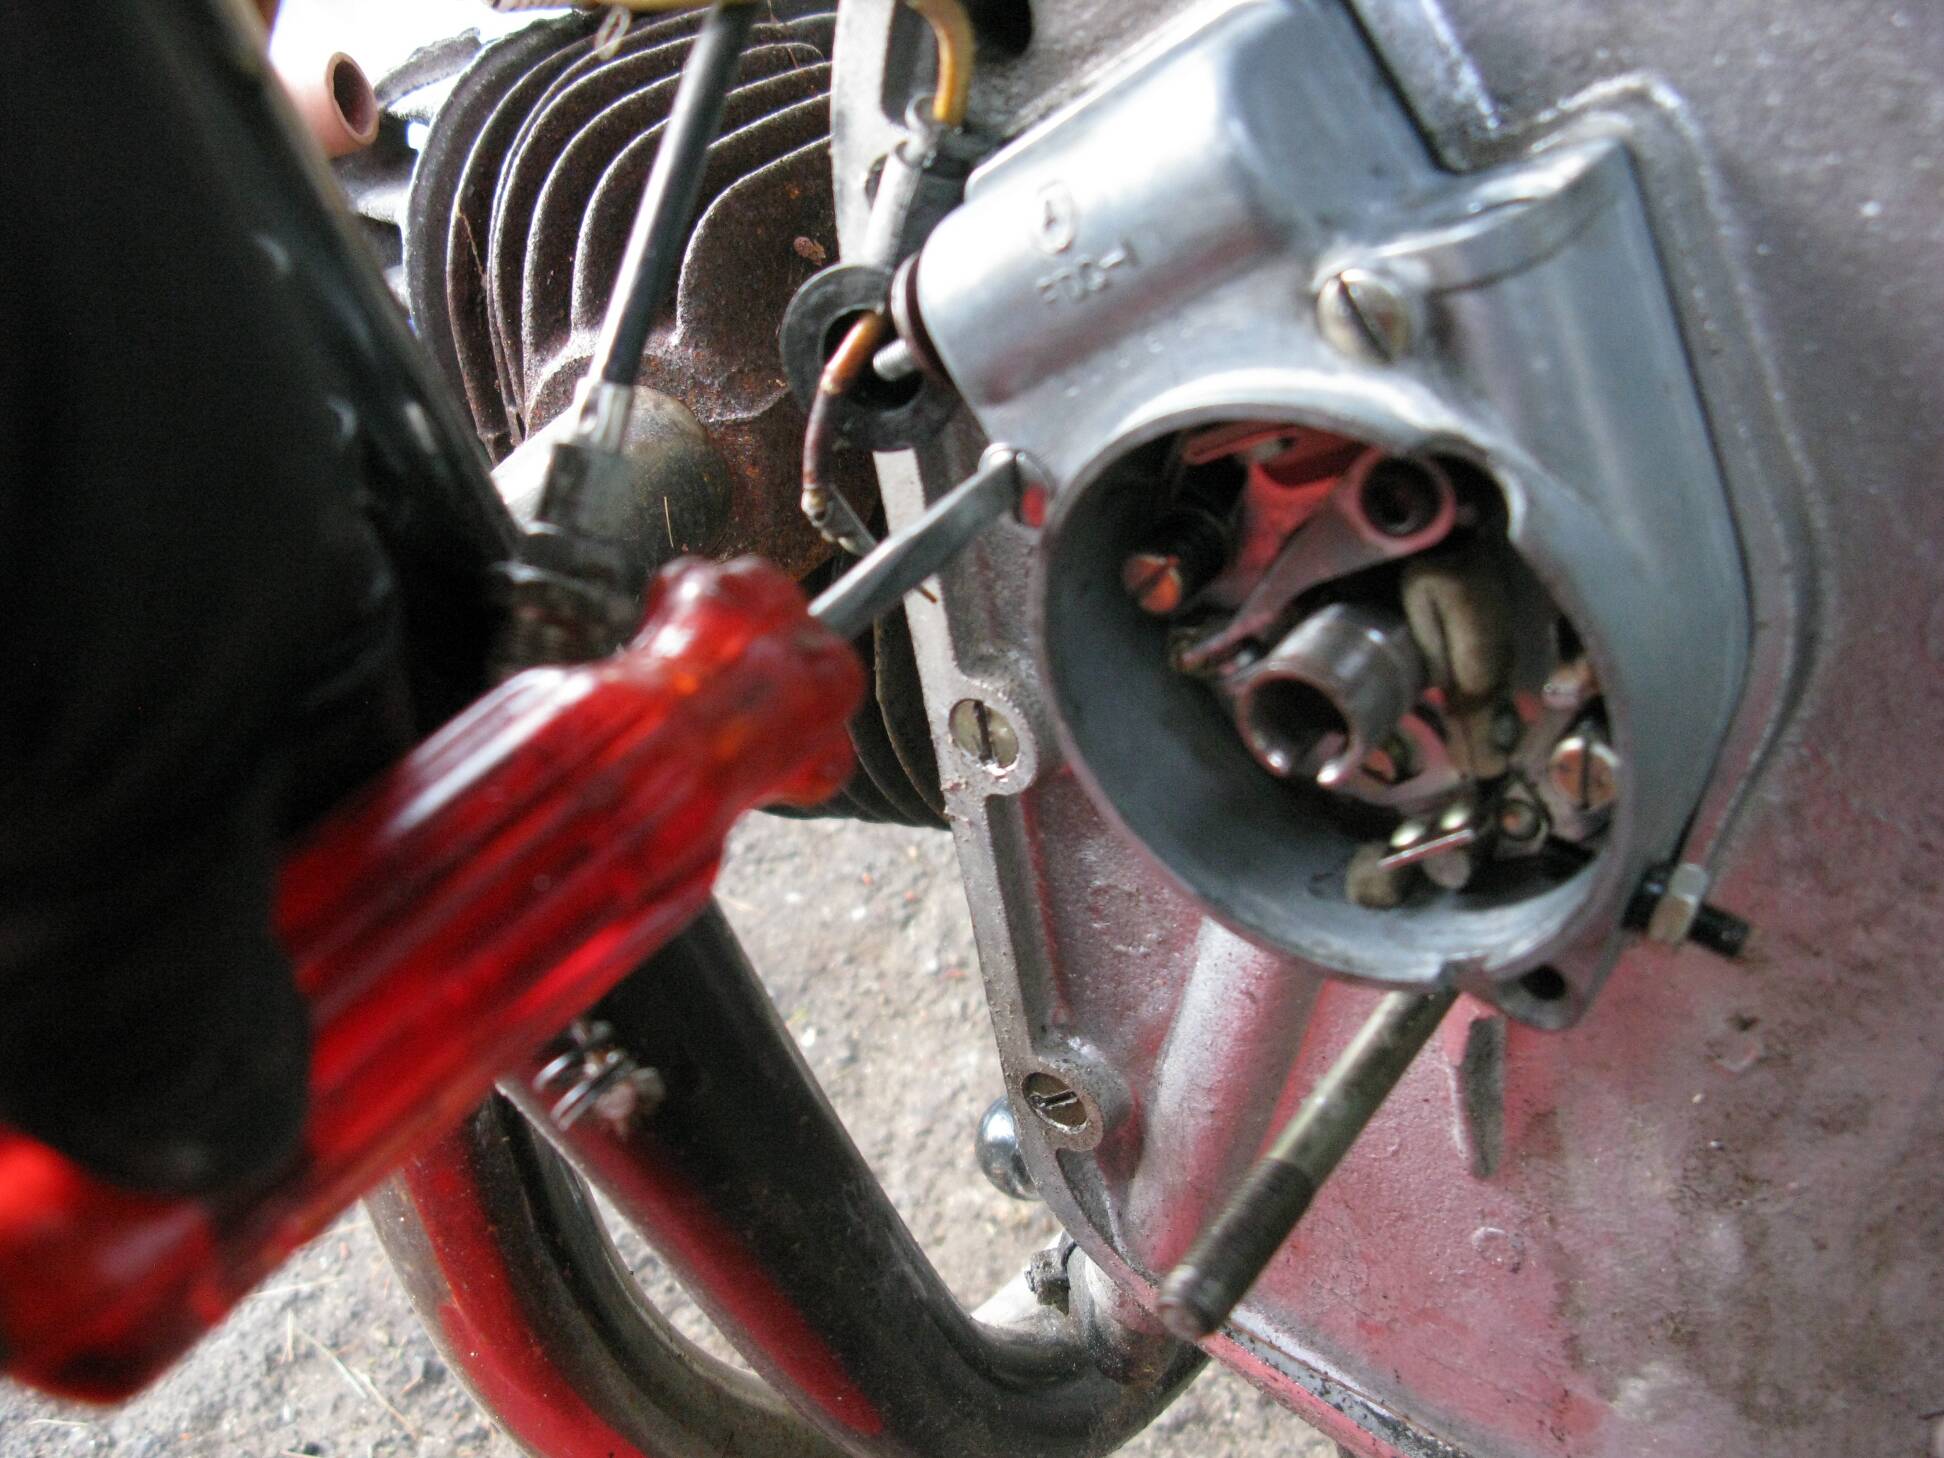
Removing the mounting machine screws. |
 |
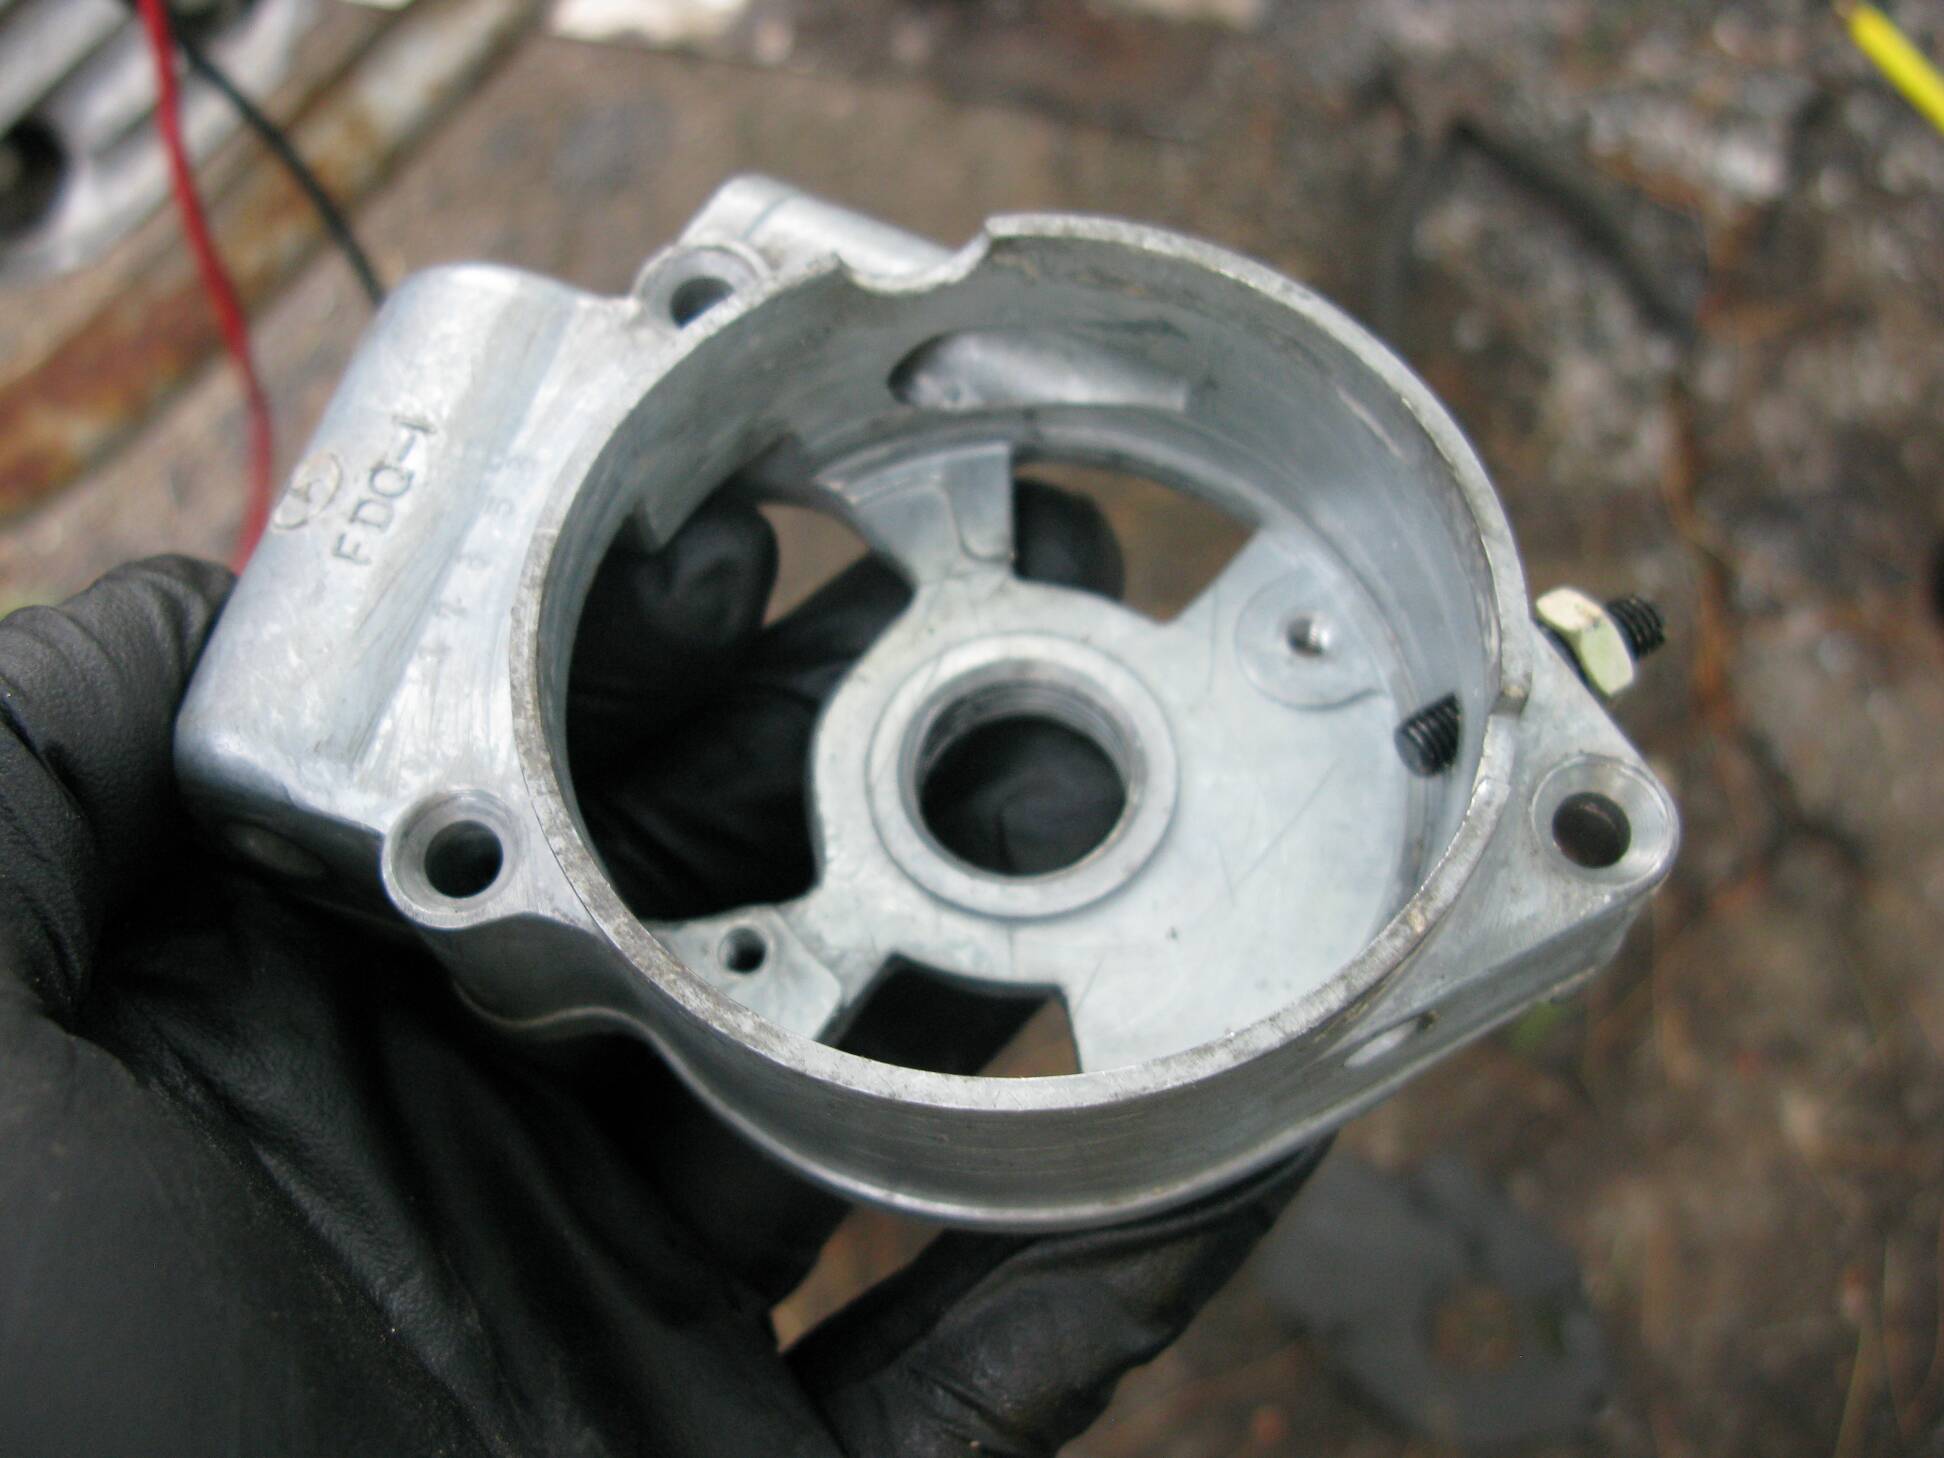
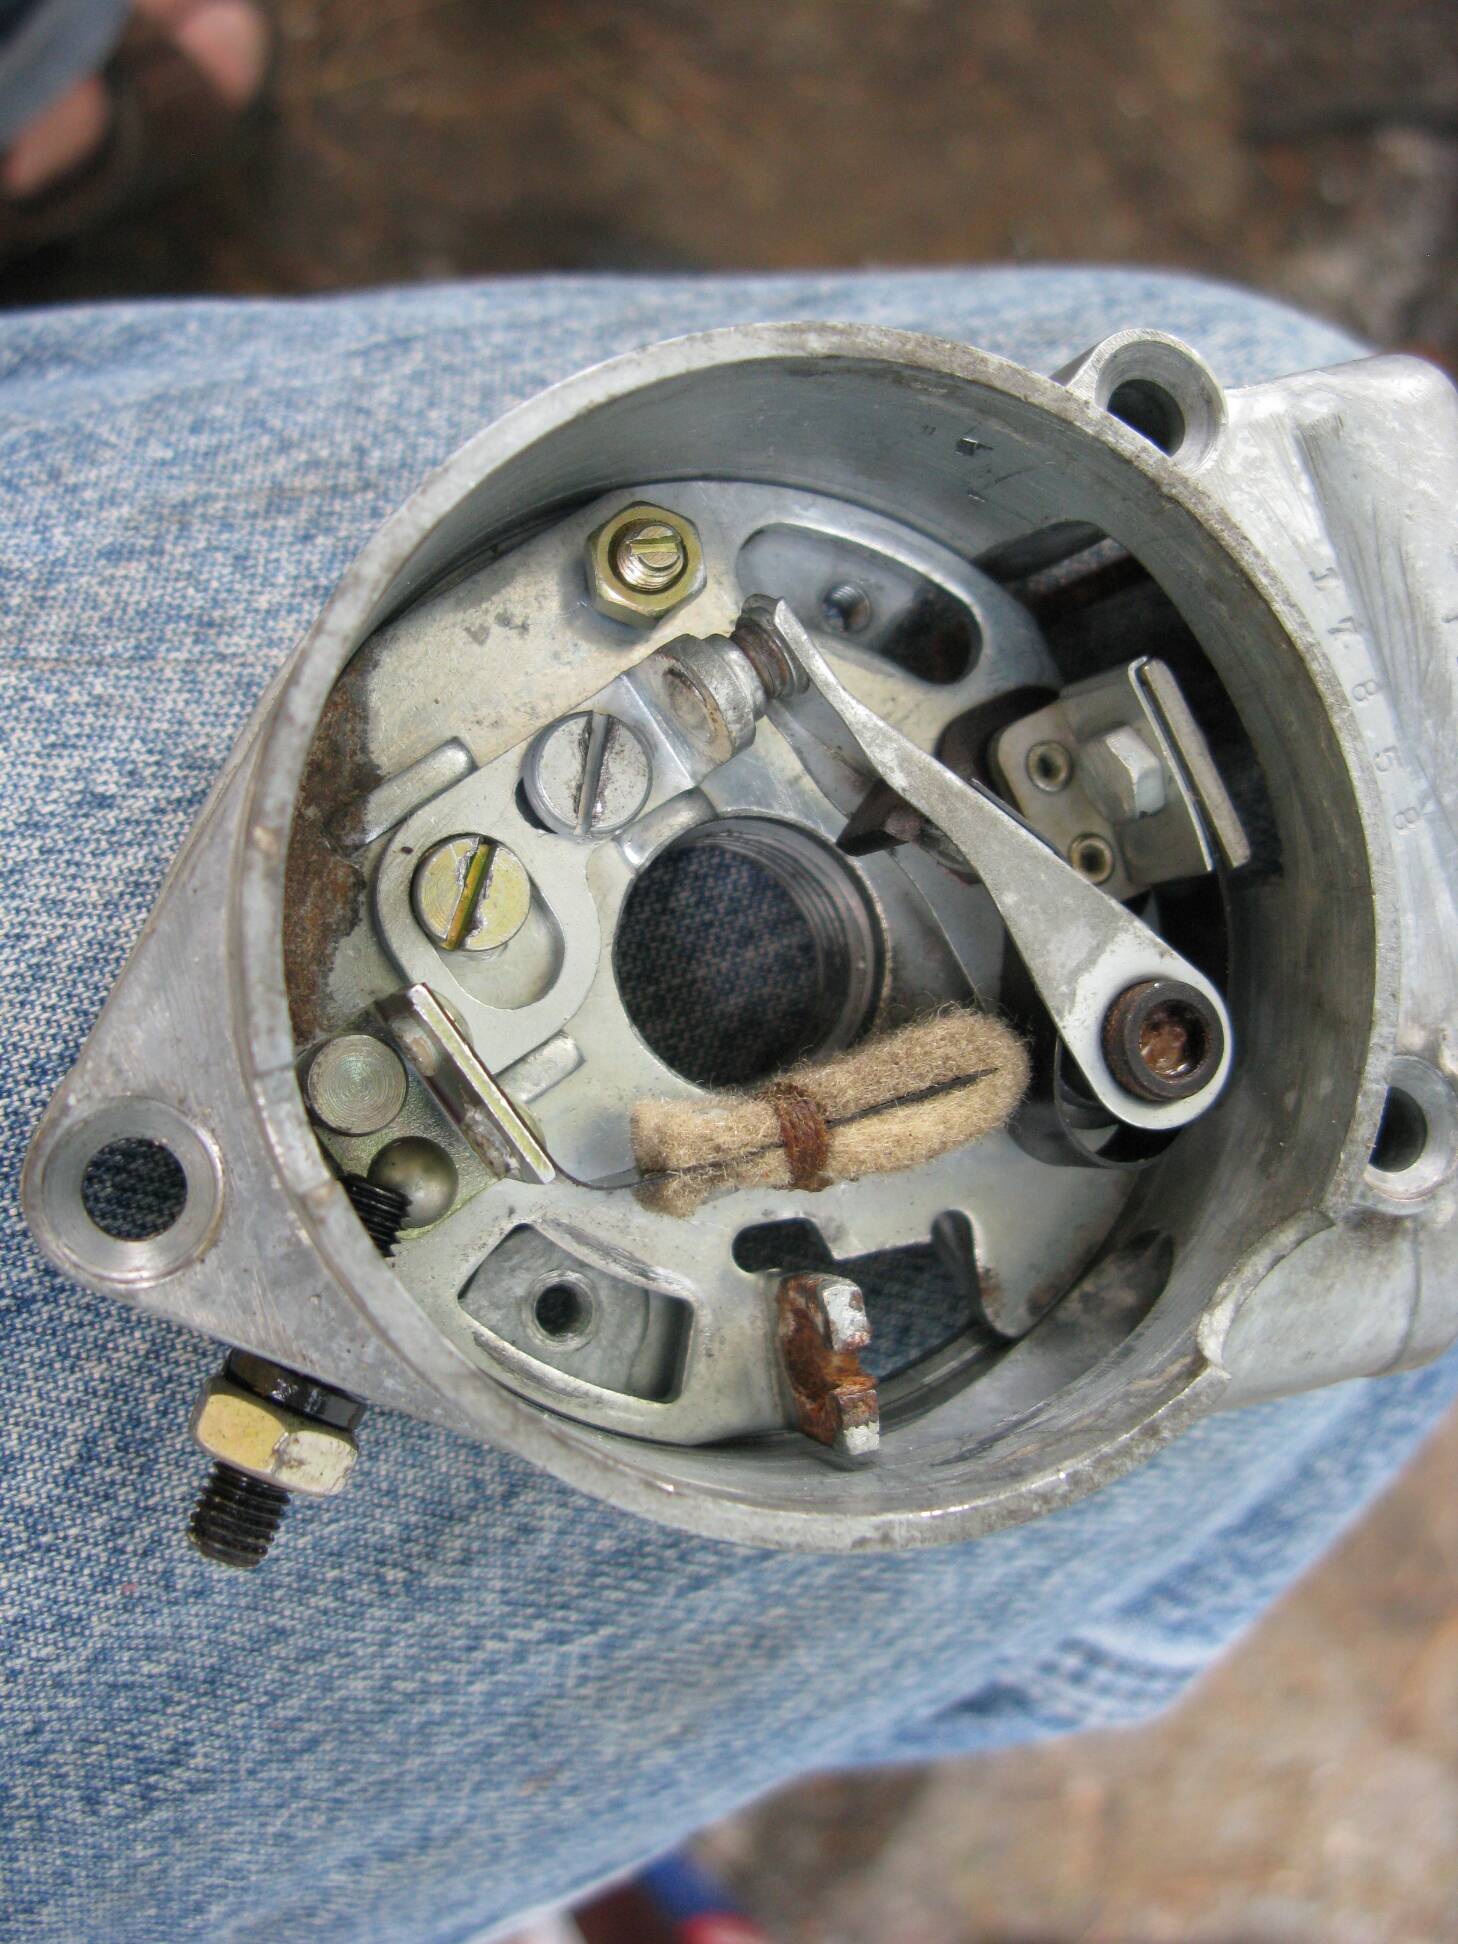
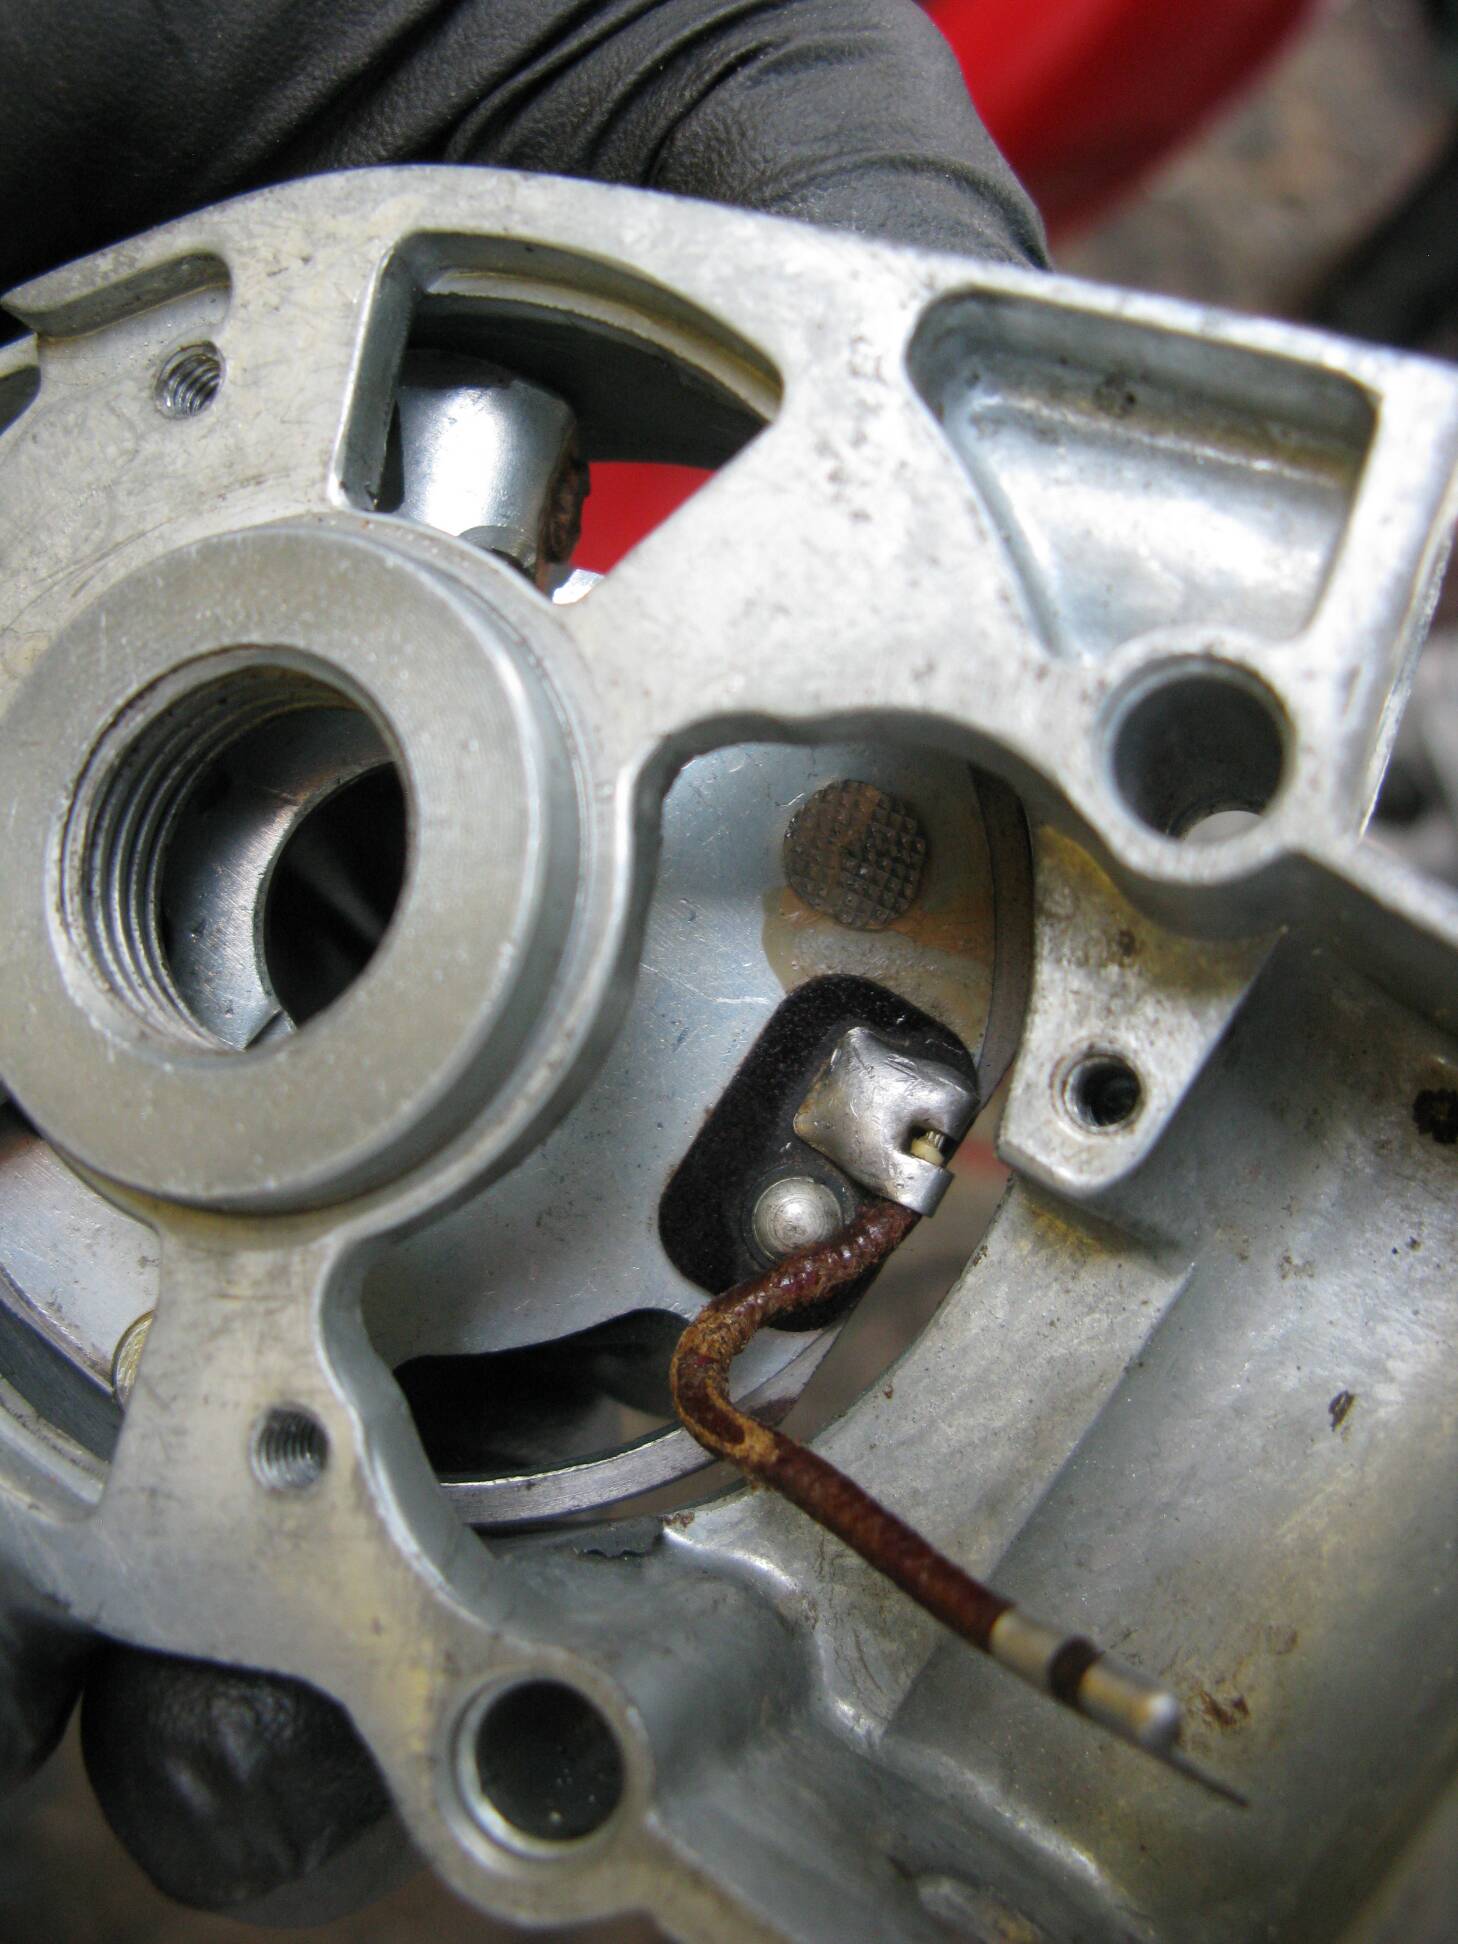
A front view of the housing . |
 |
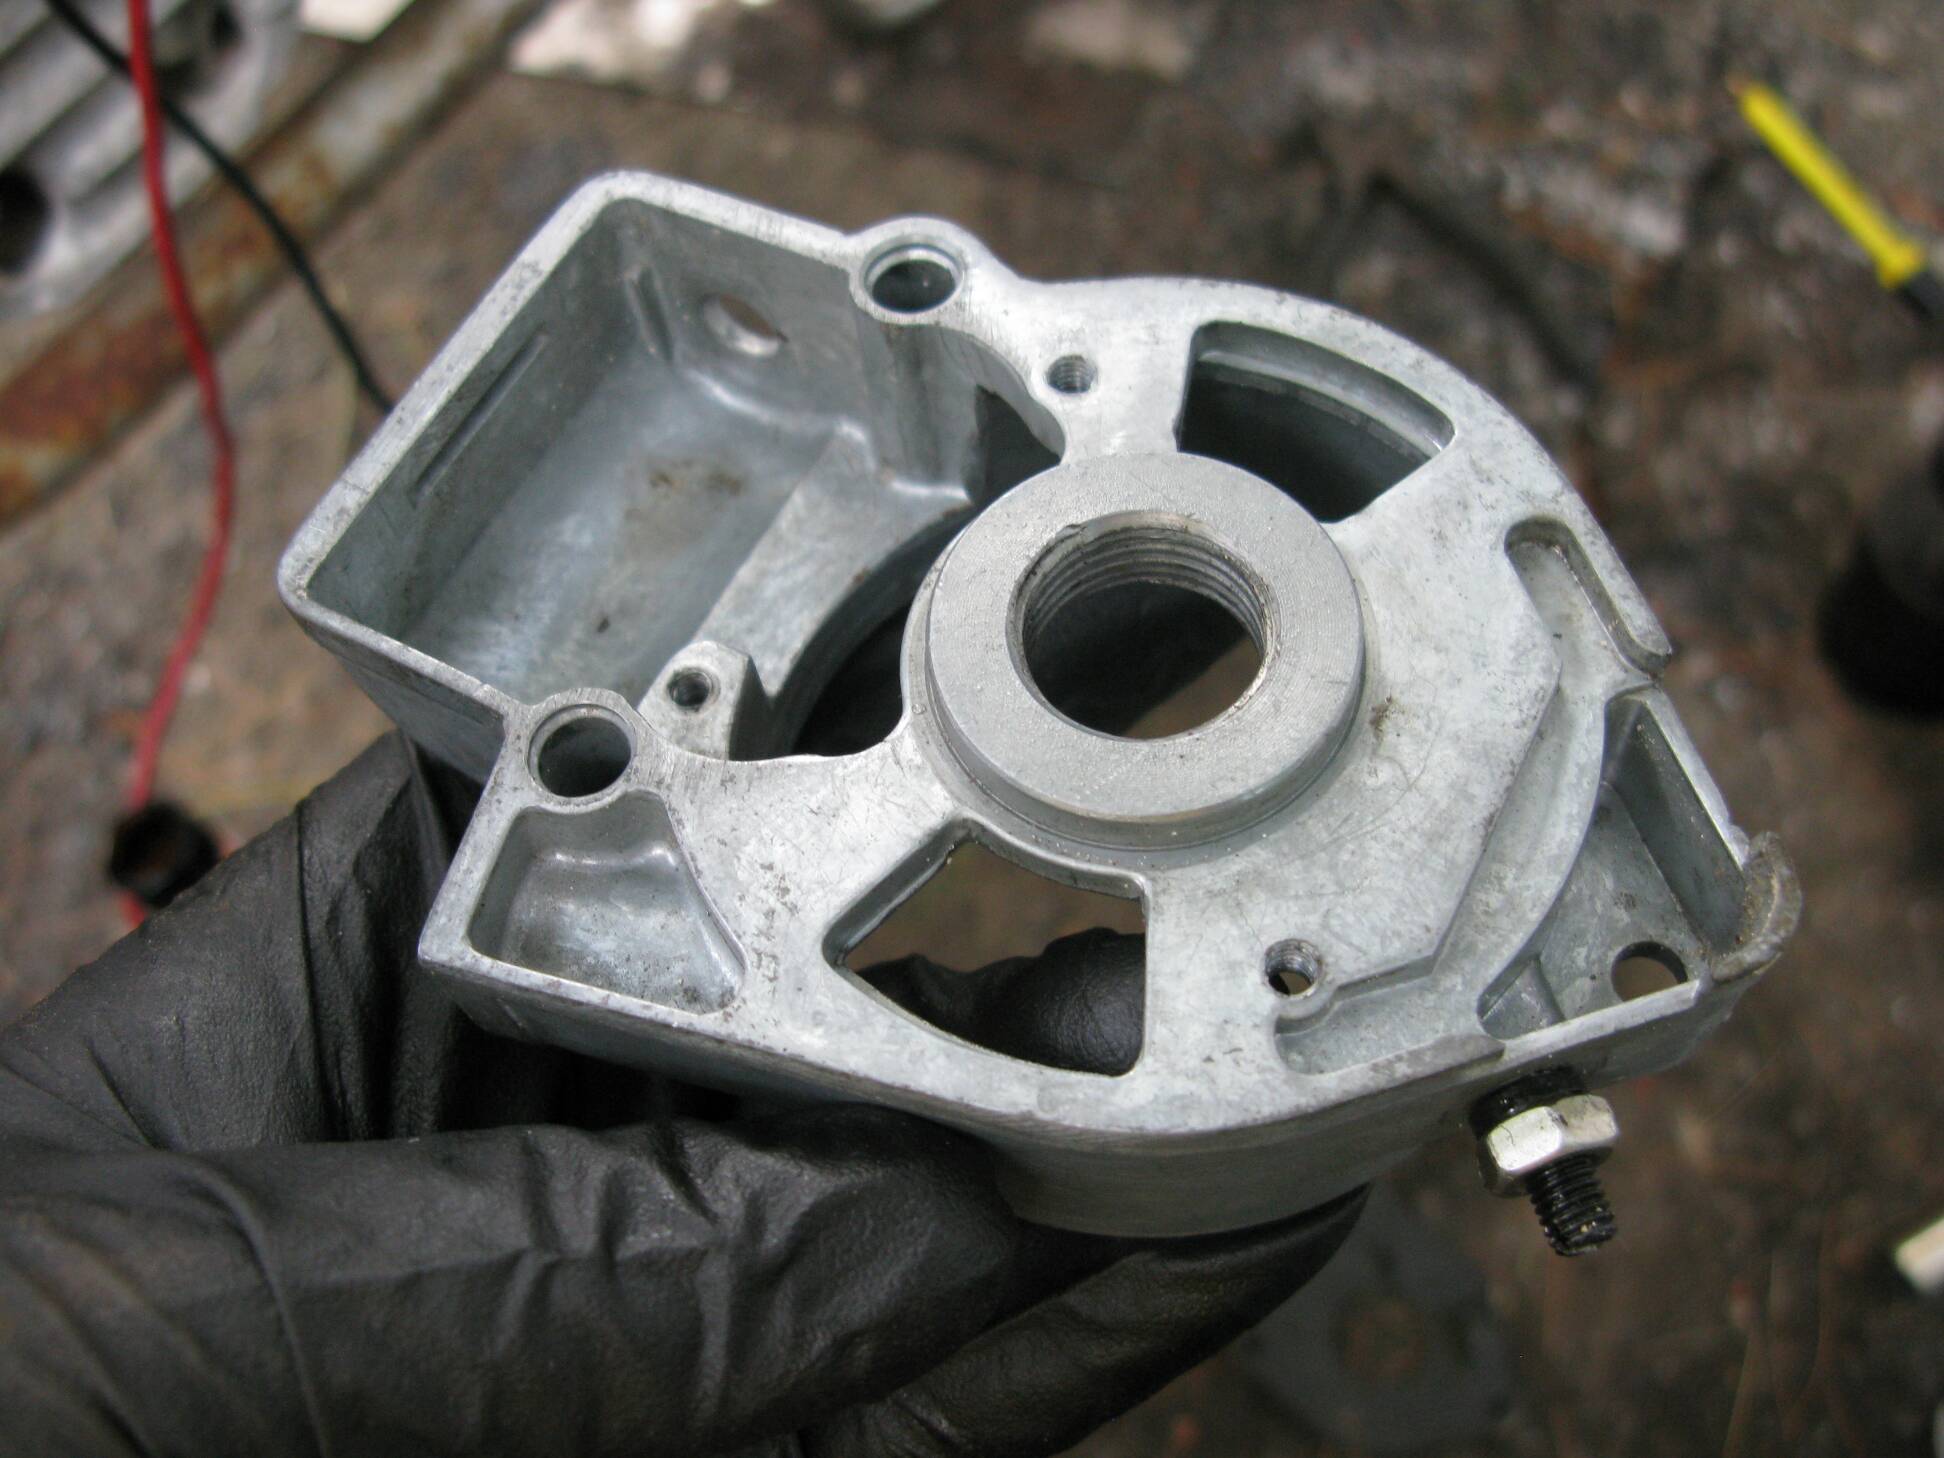
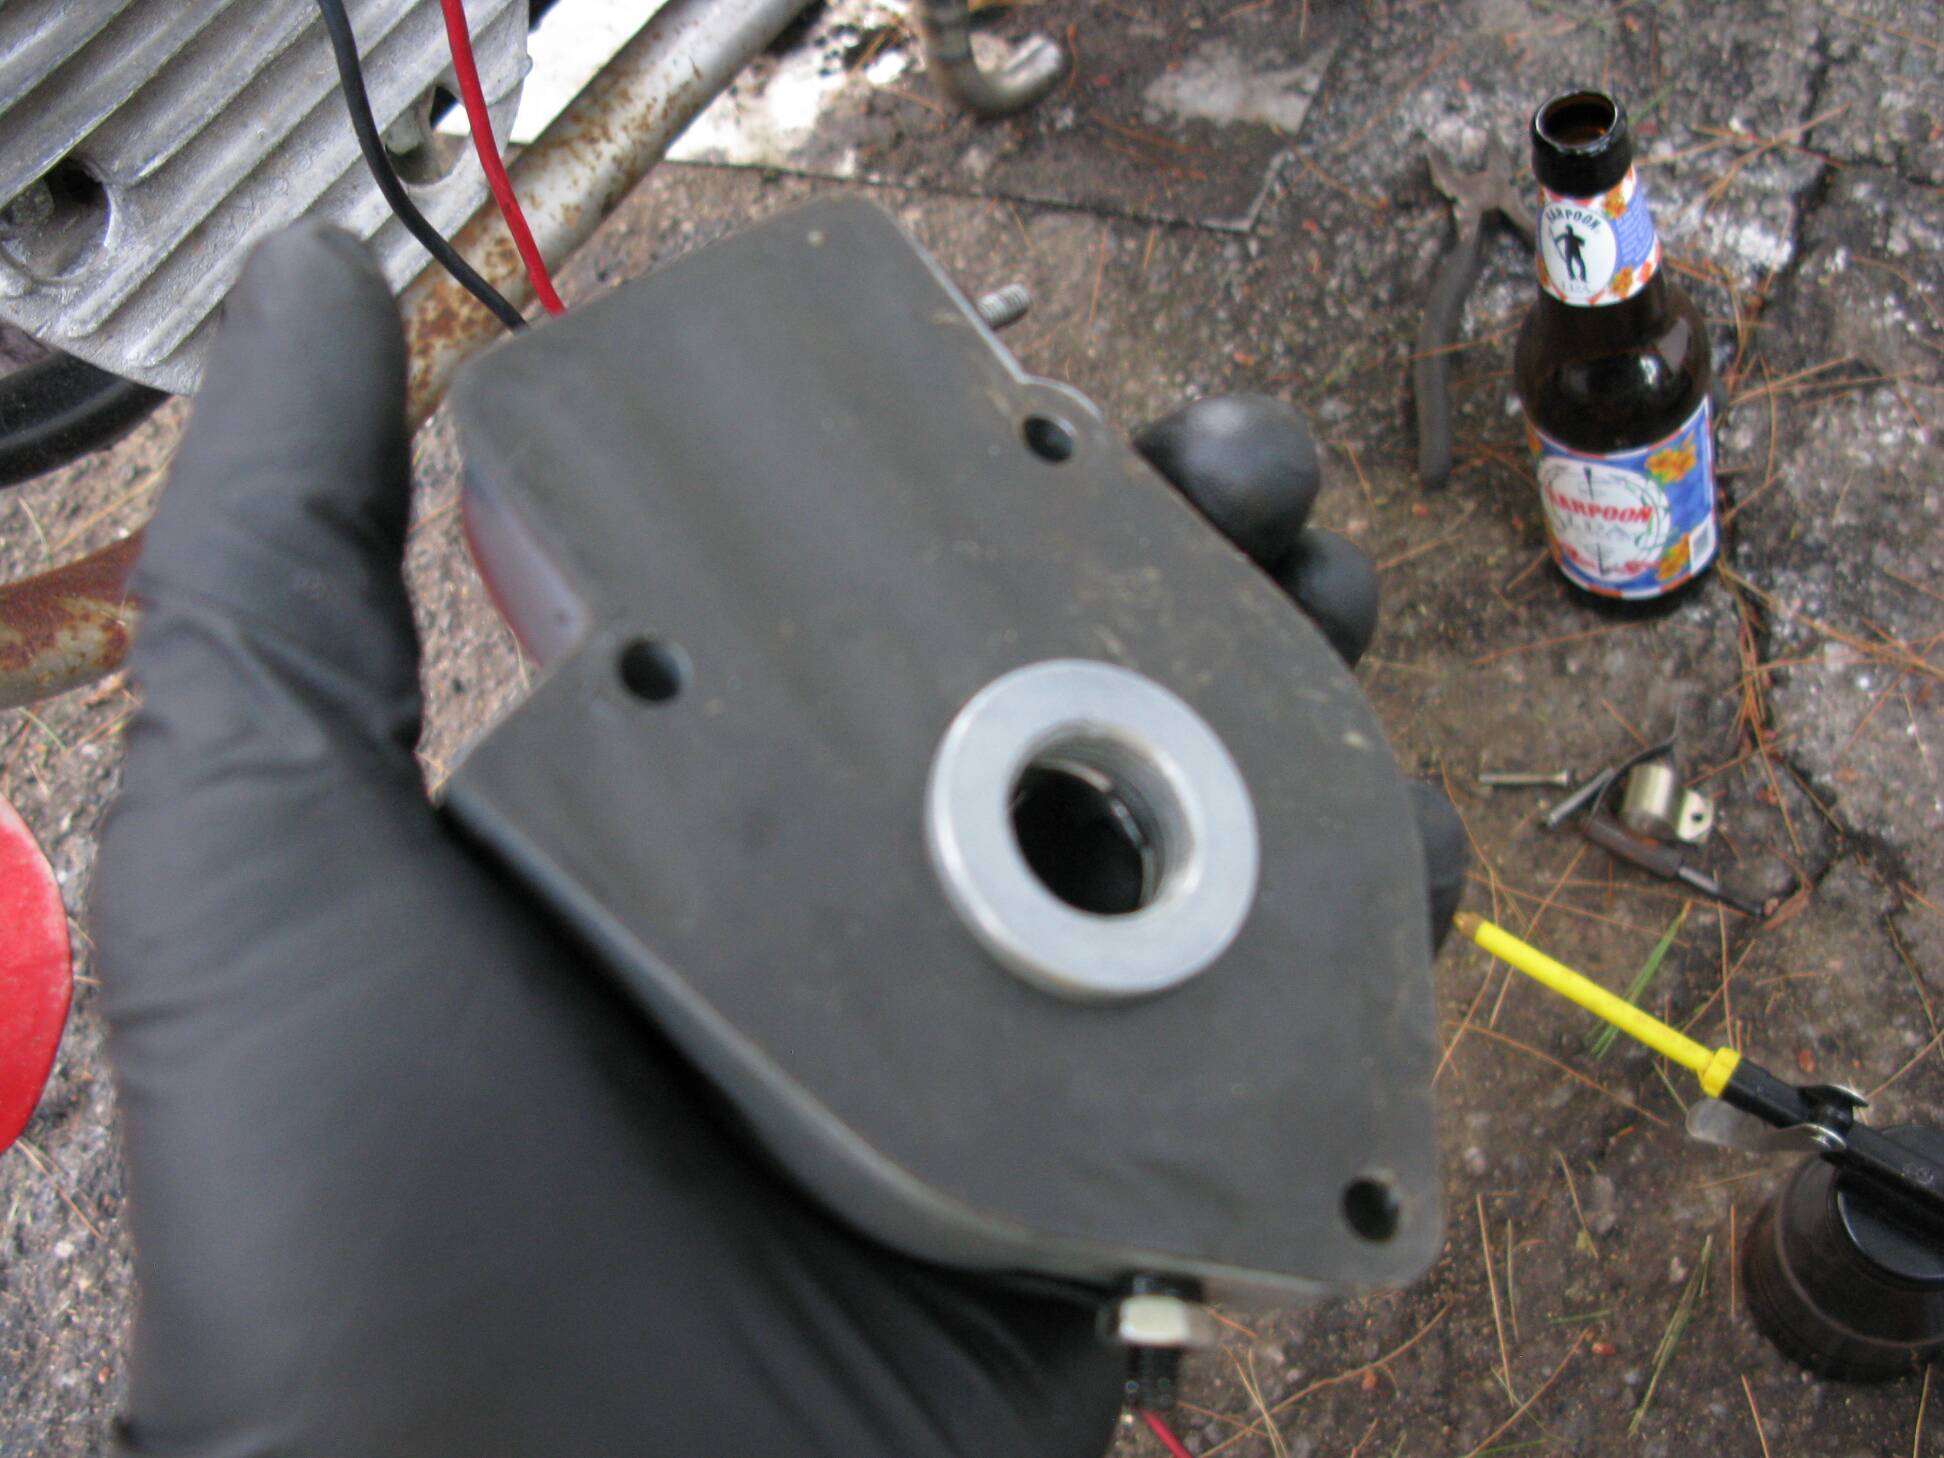
A view of the back of the housing. |
 |
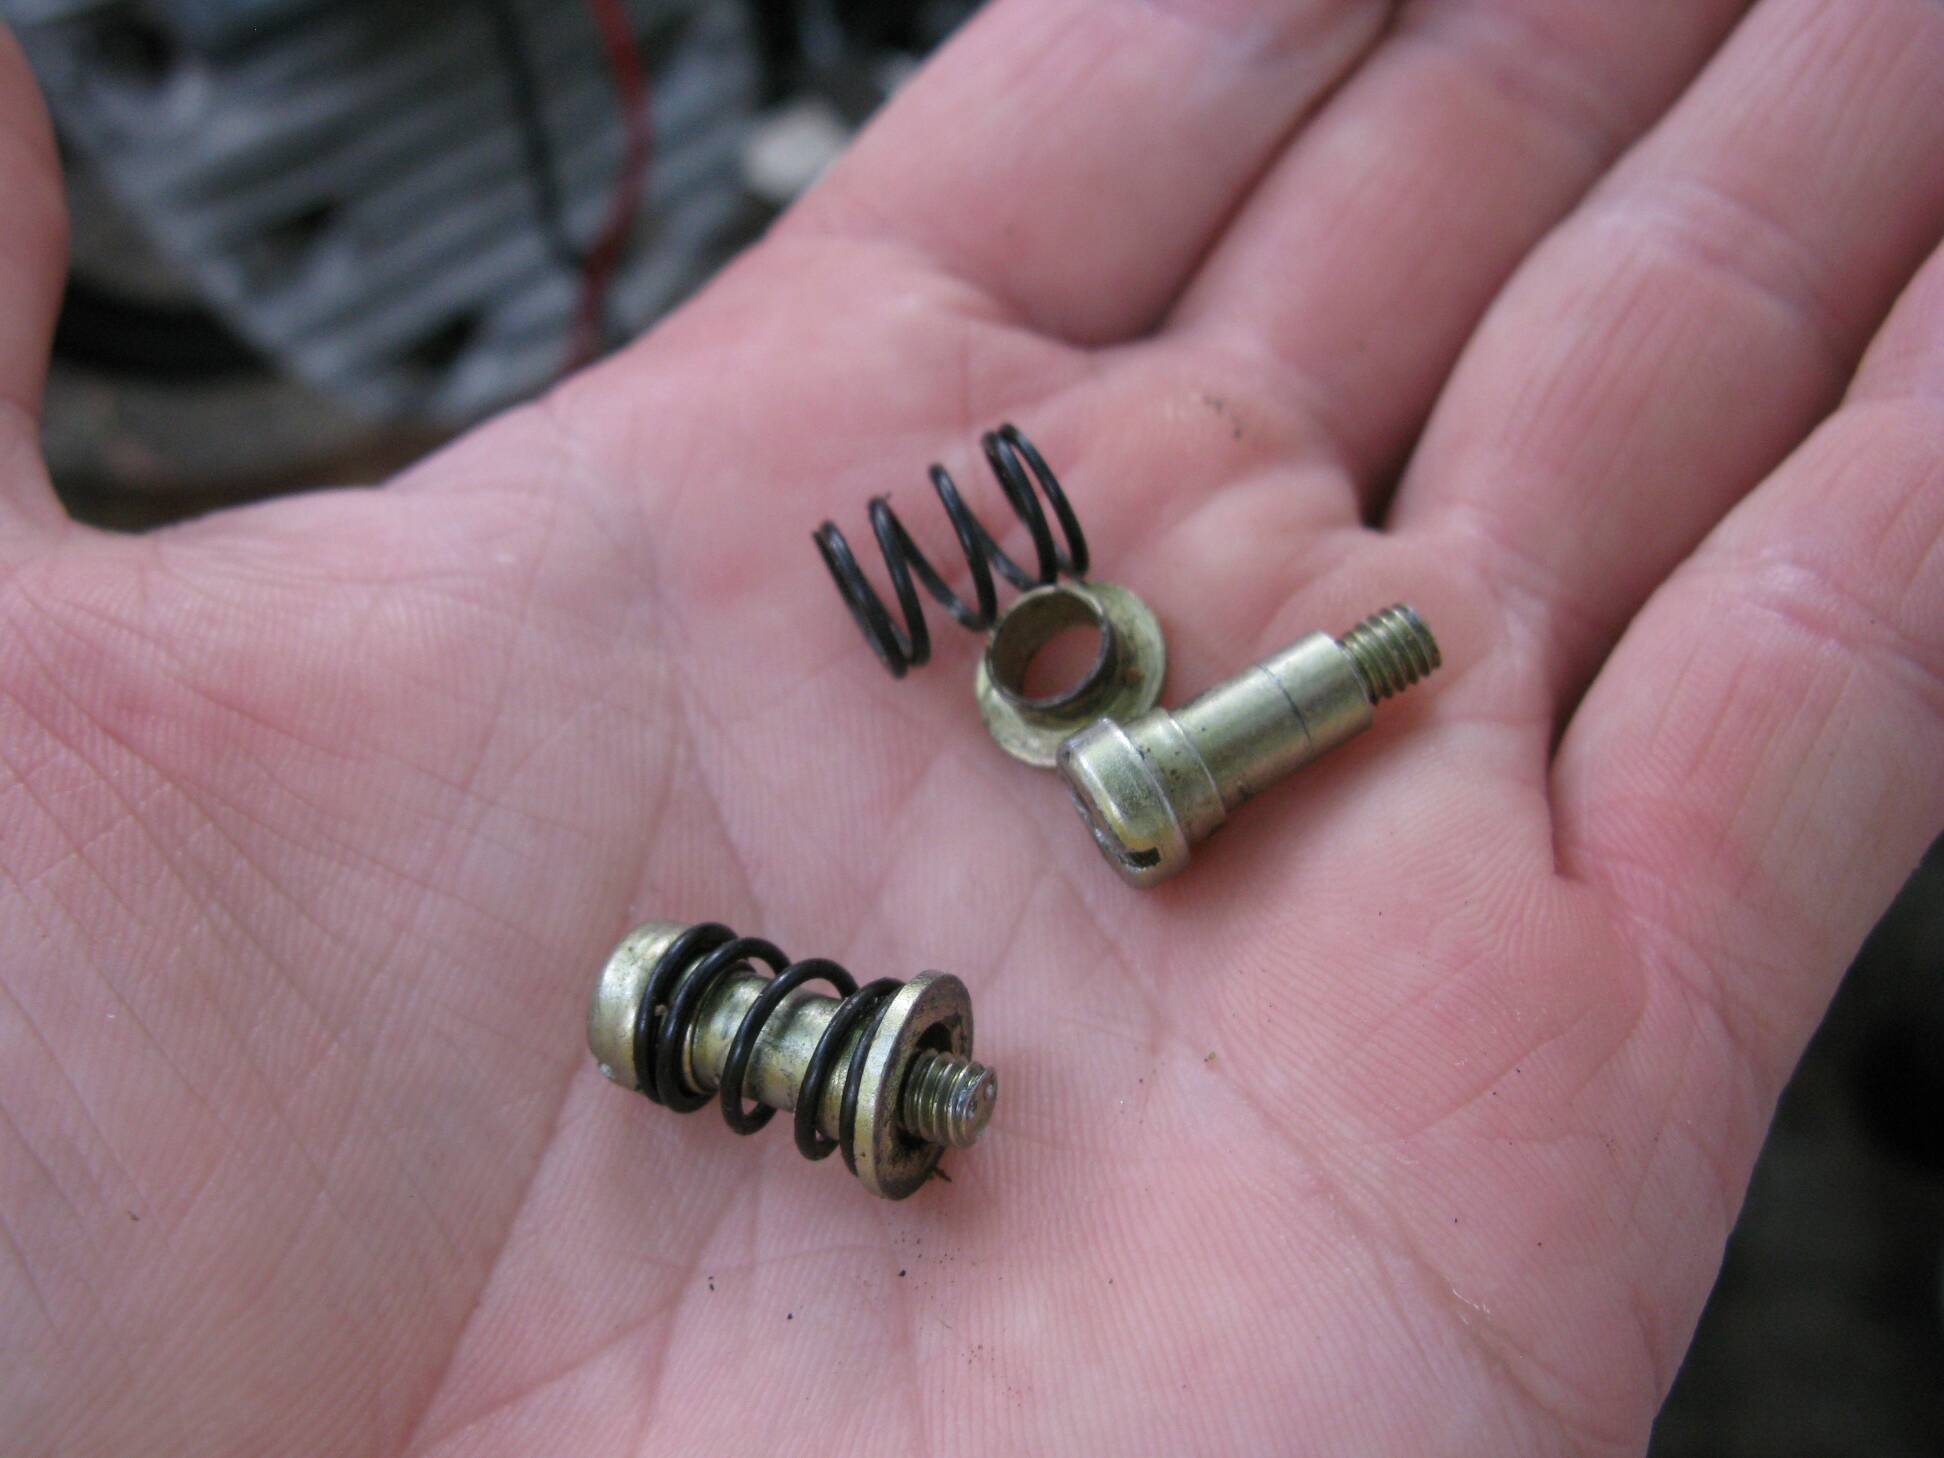
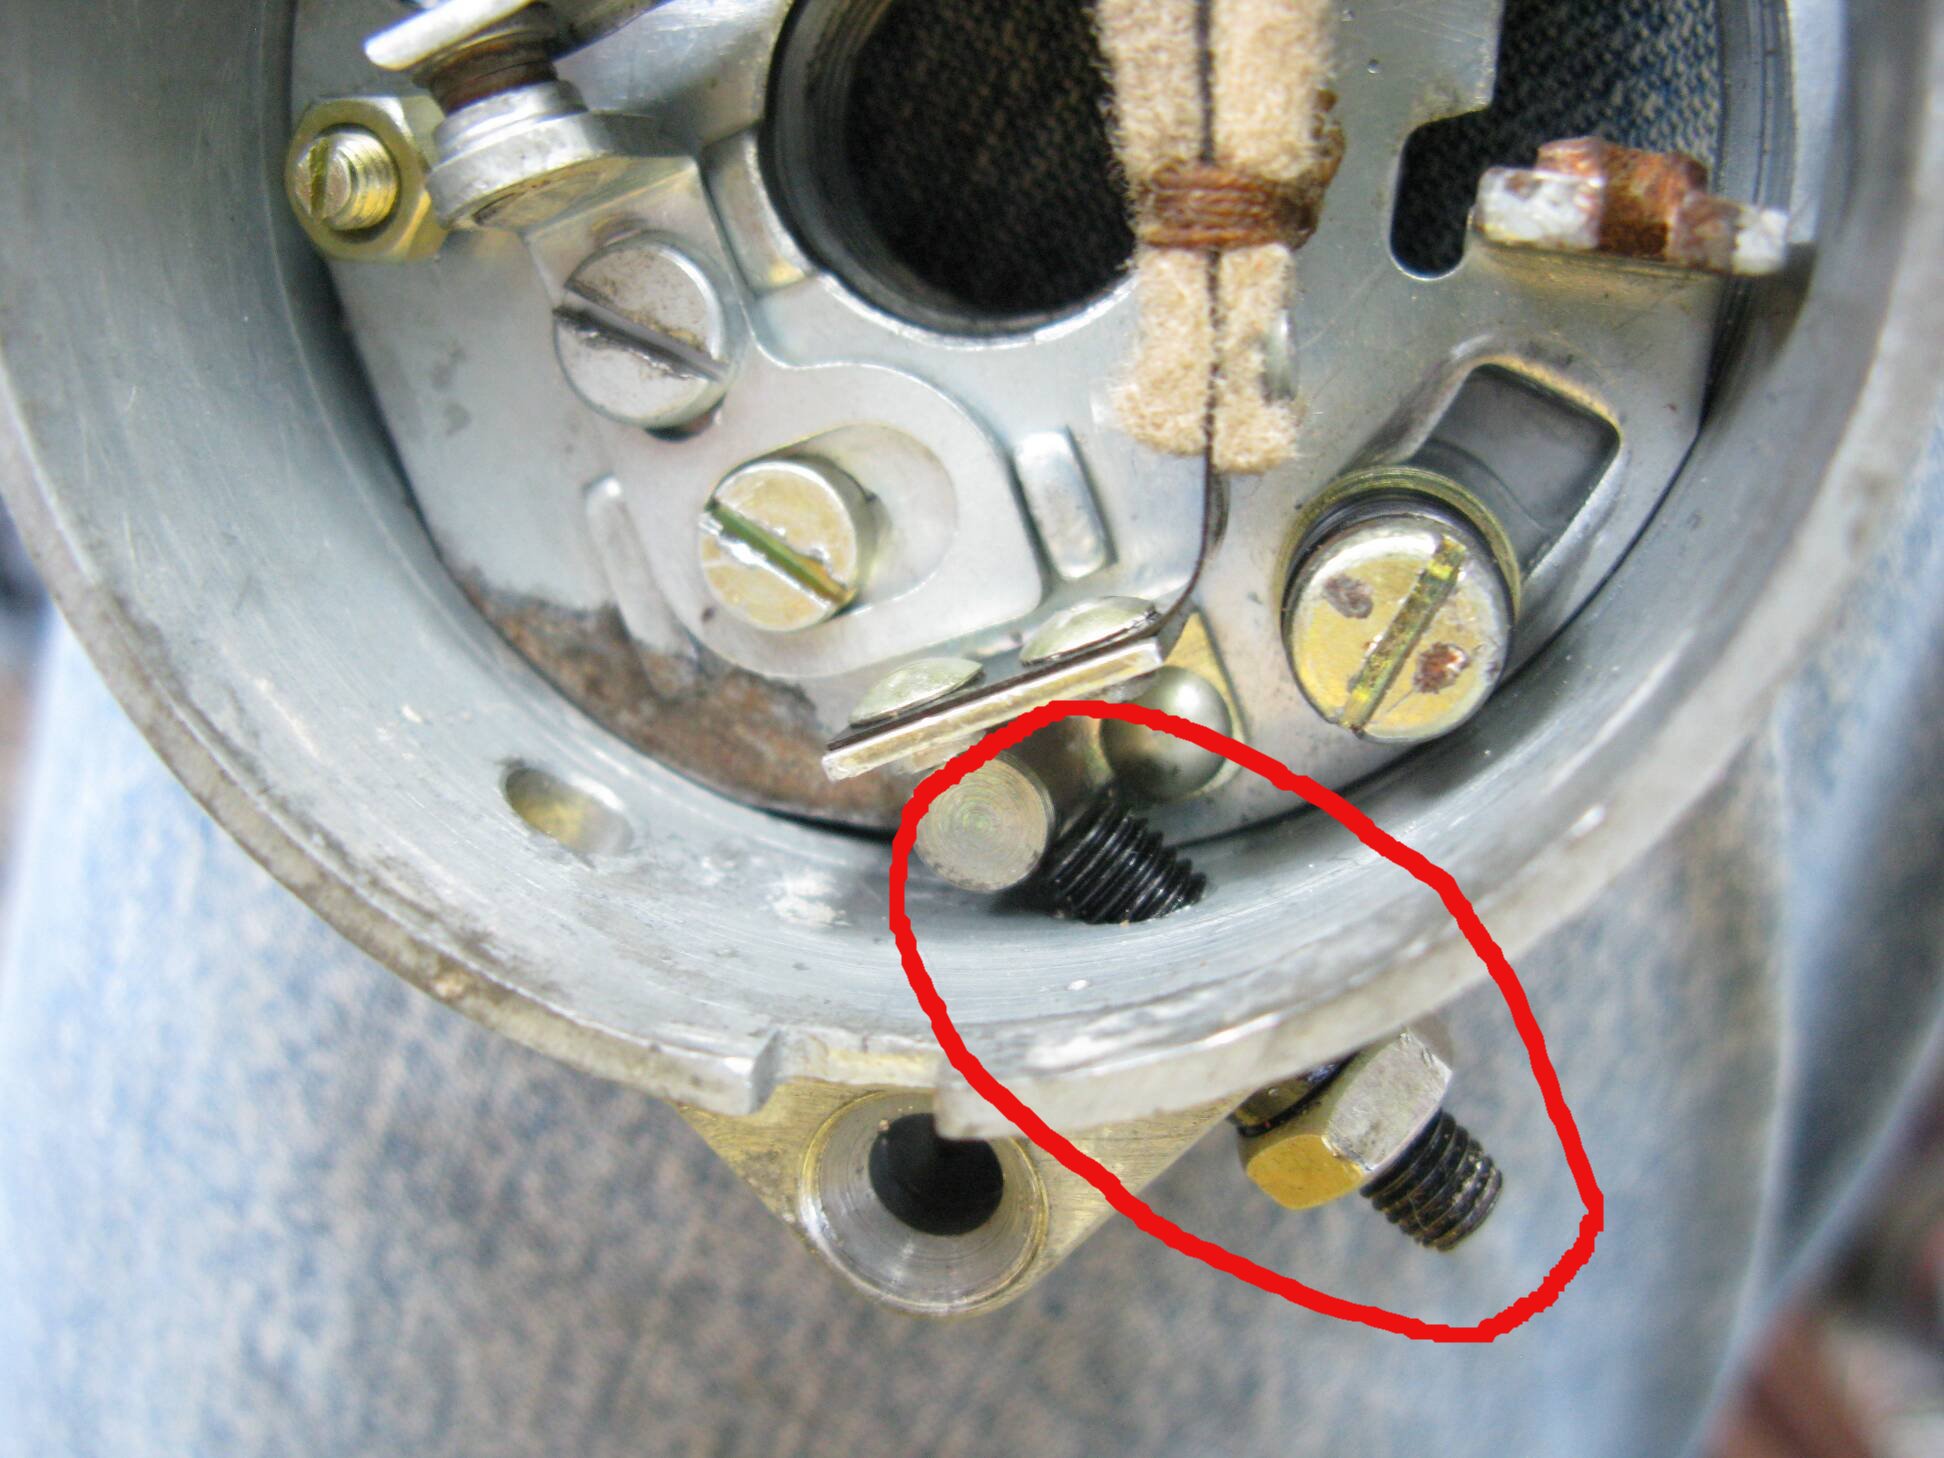
The spring bolts that hold the point plate
down. |
 |
Closeup of the spring bolt assemblies. |
 |
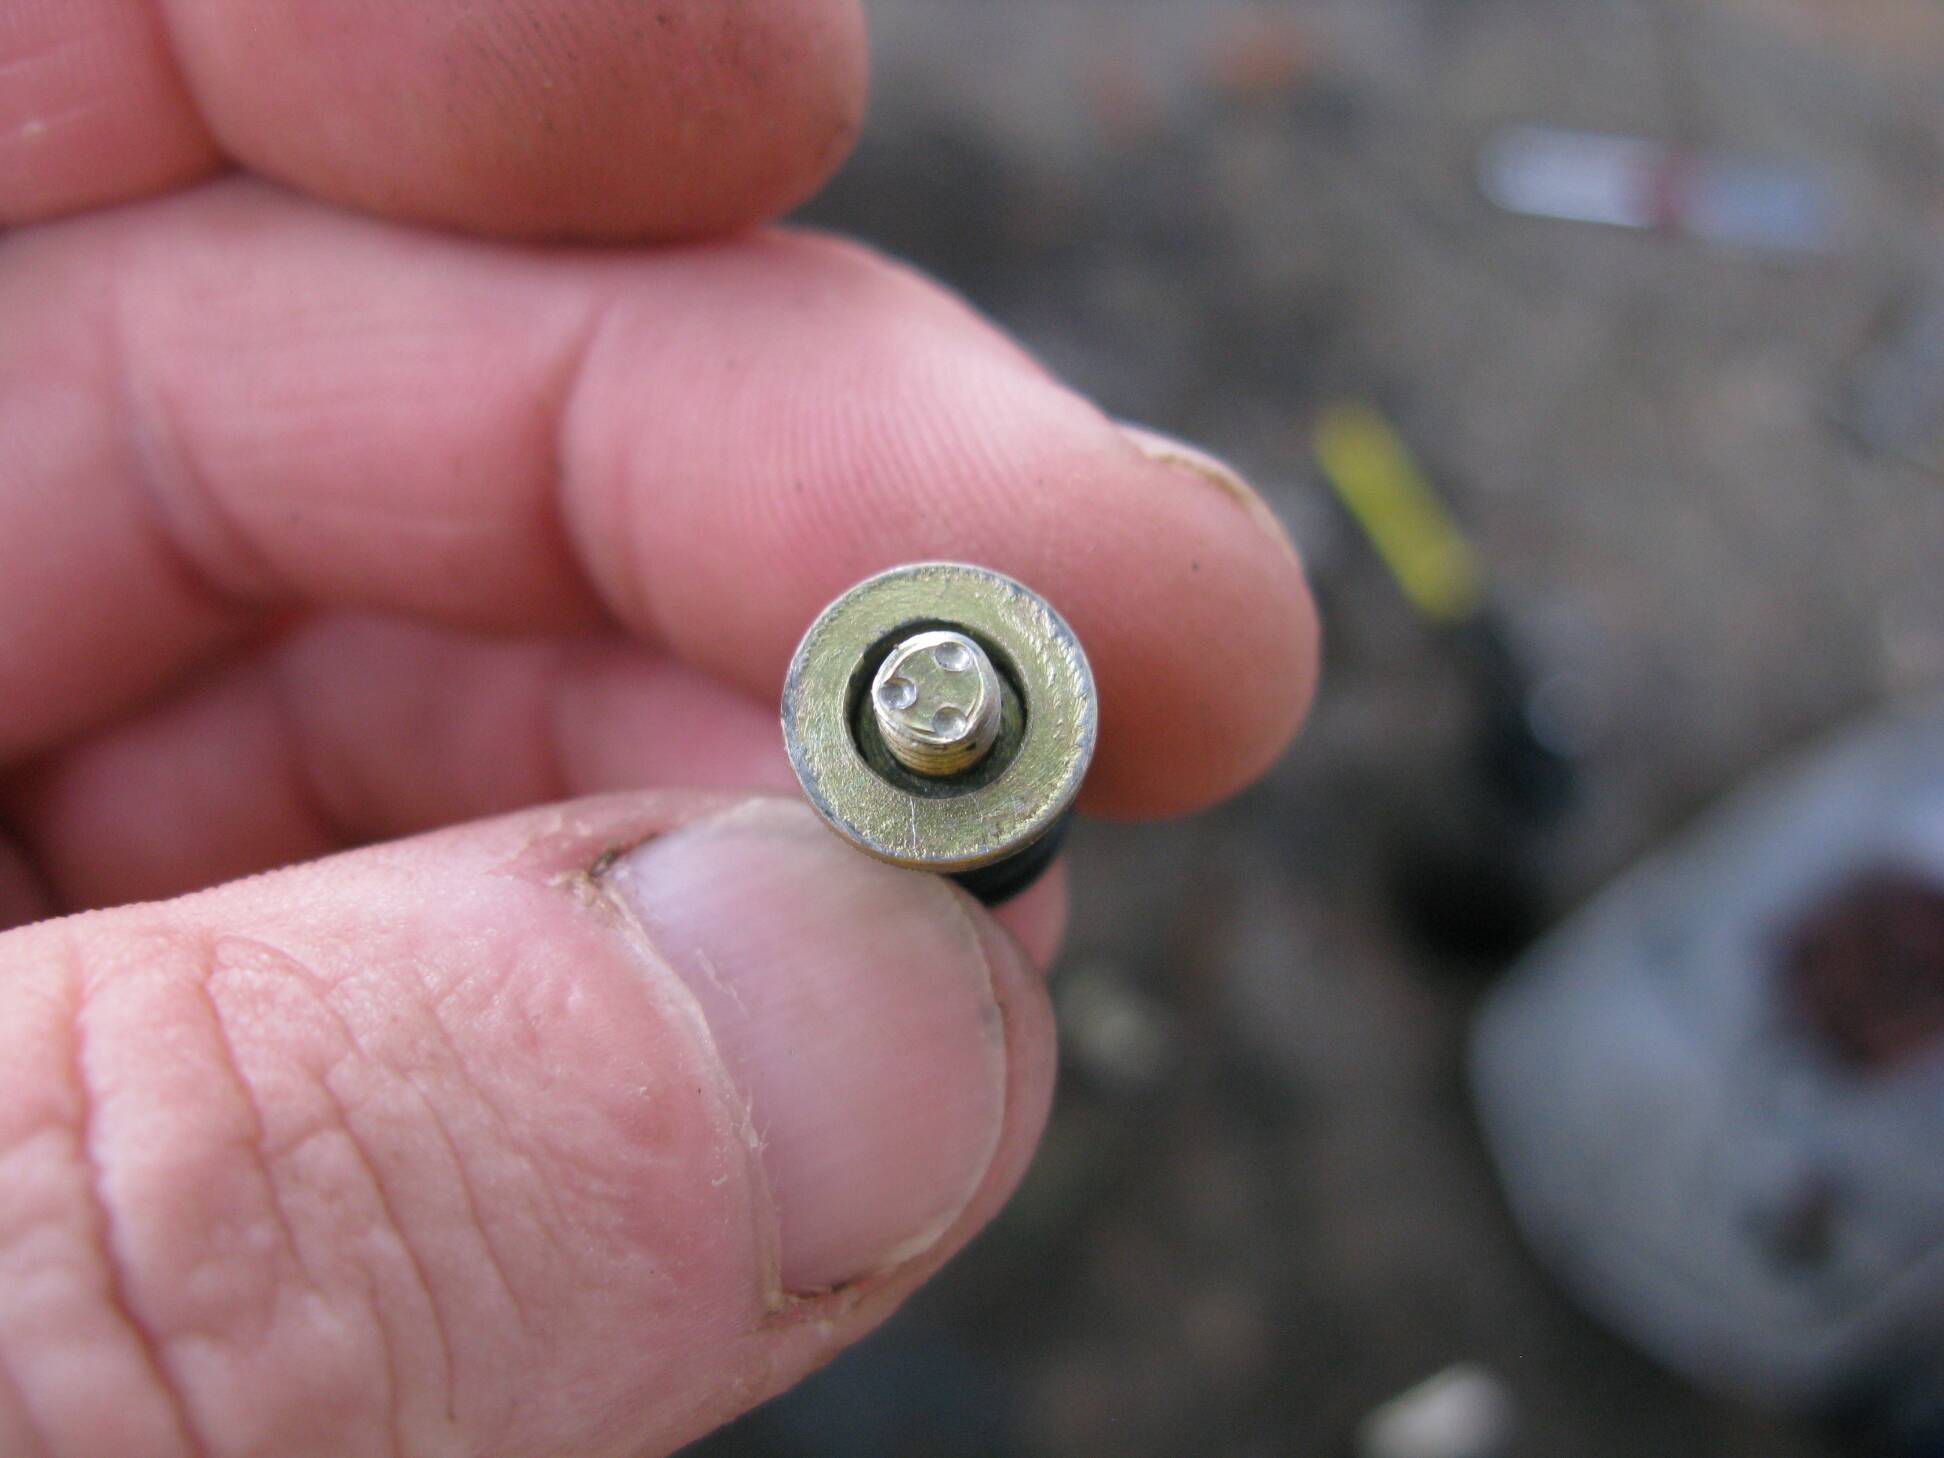
The bottom looks like it was staked in
place. Better remember to use some Loctite on that. |
 |
The point plate with the bolts removed. |
 |
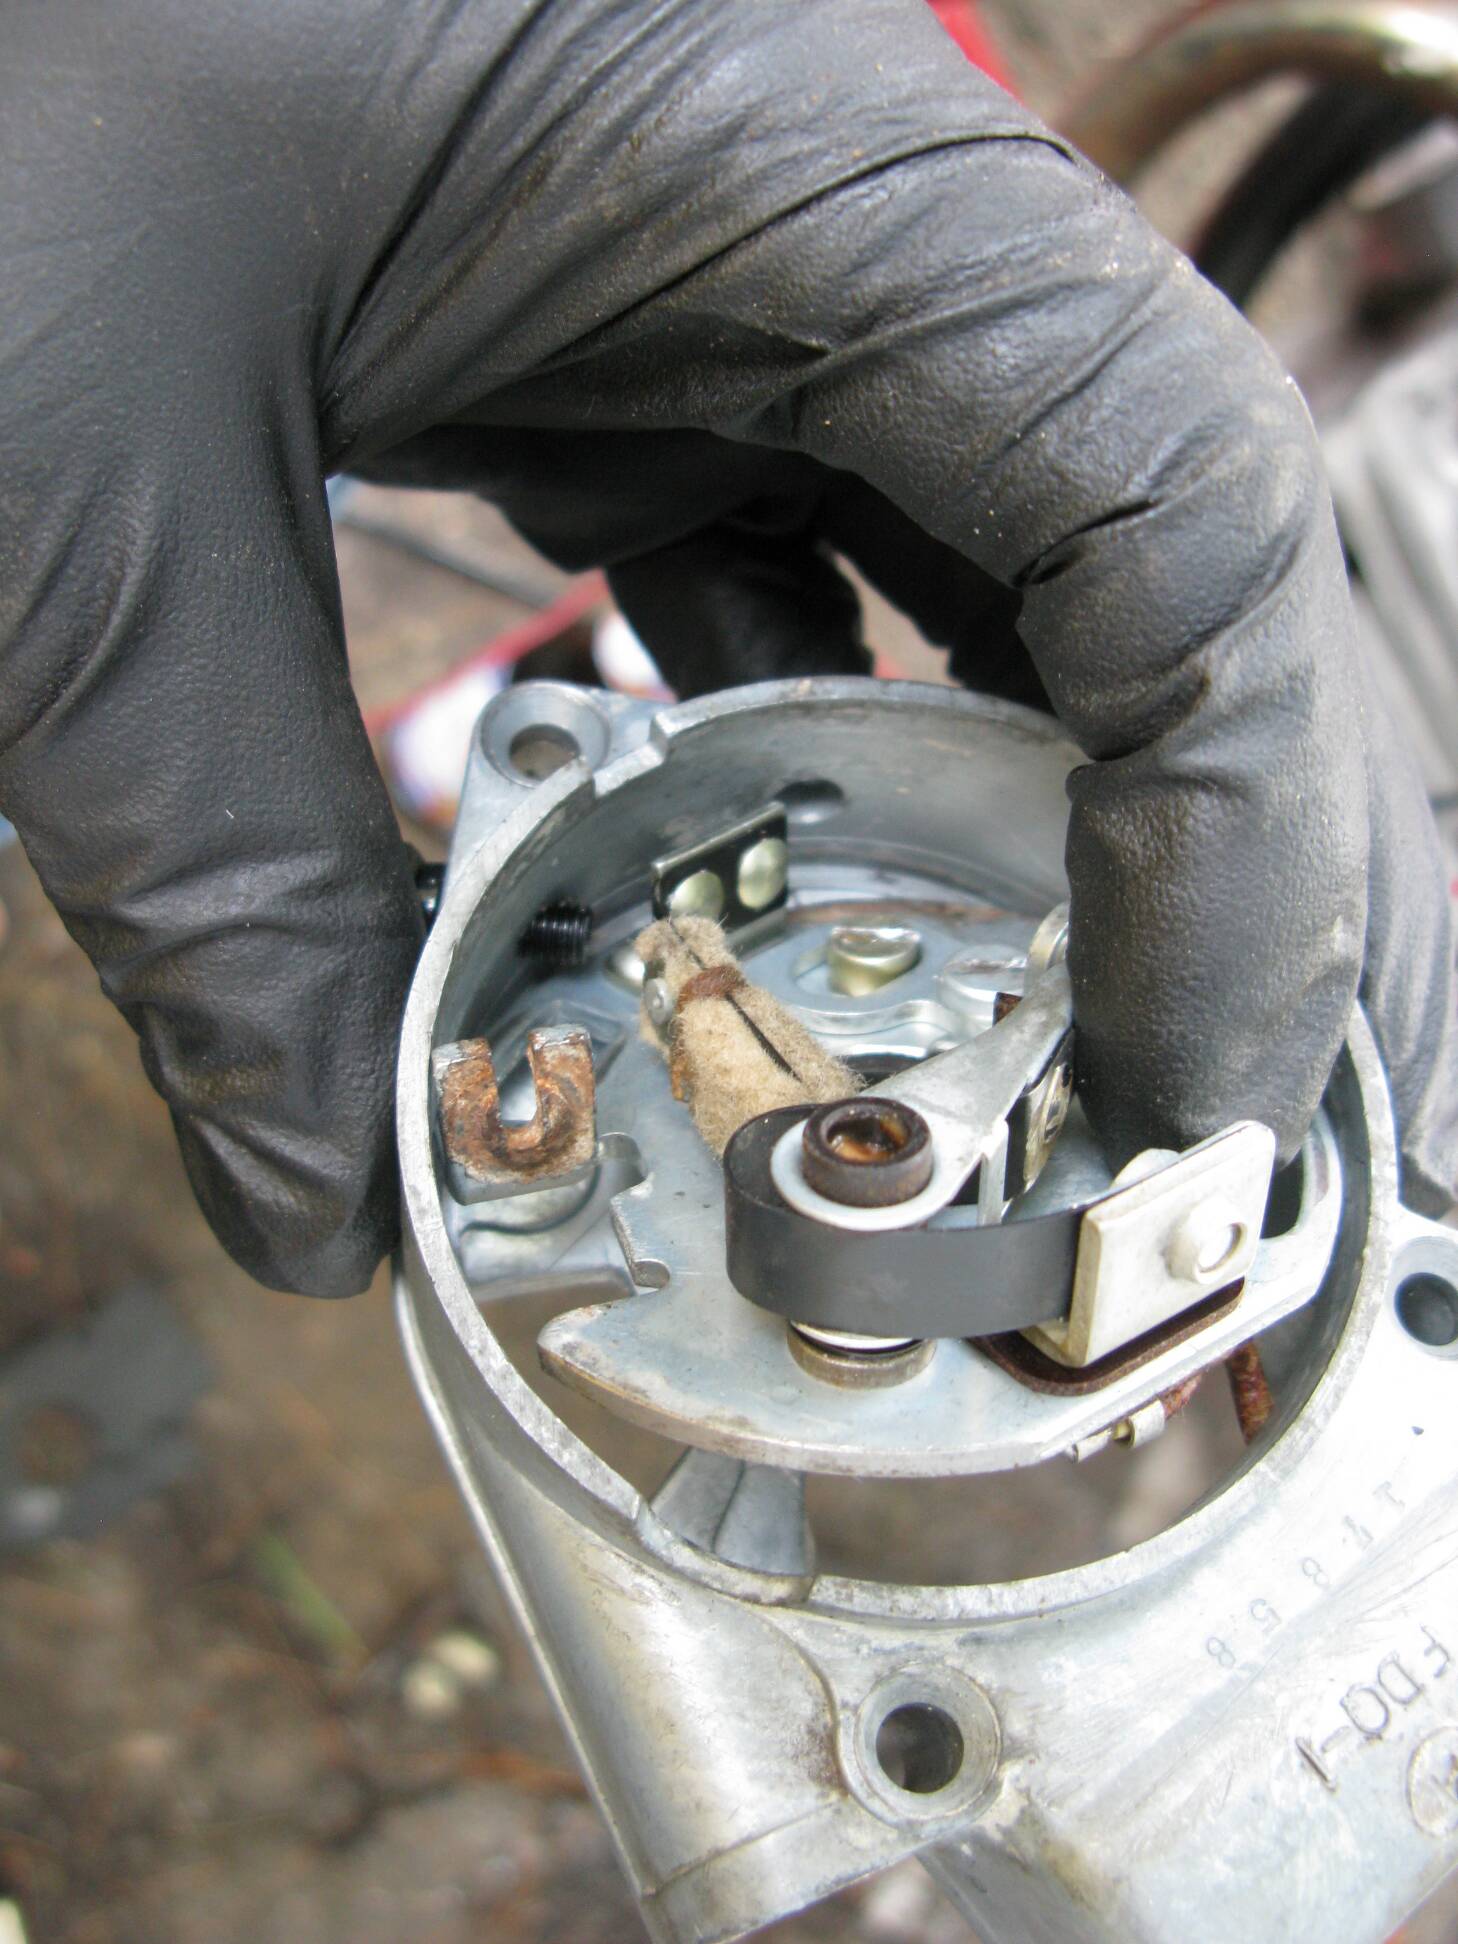
Removing or installing the point plate. |
 |
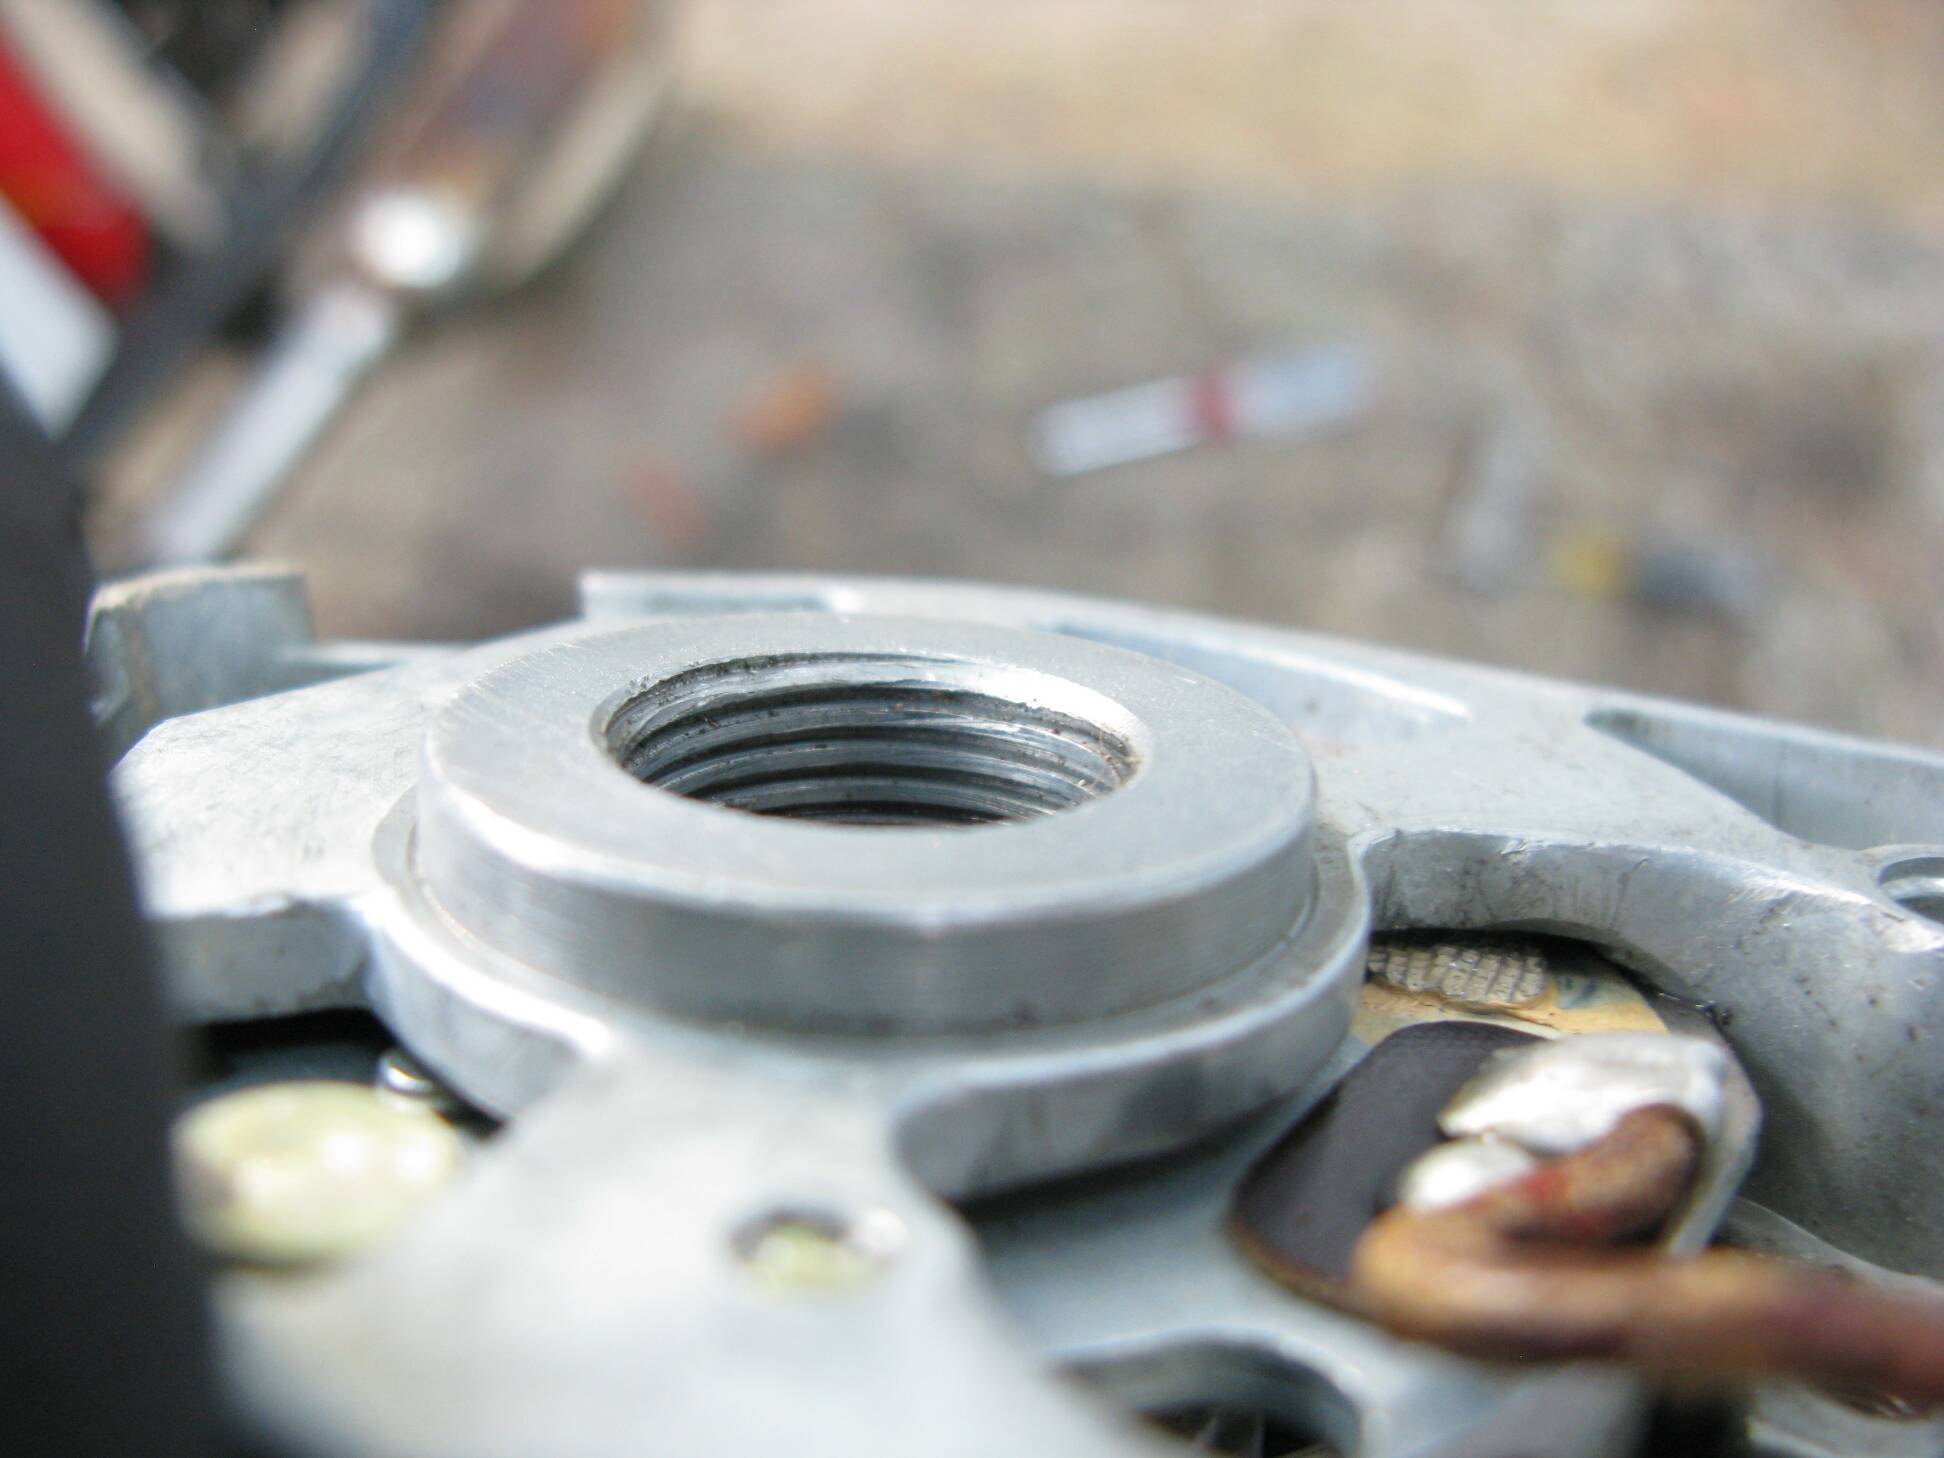
The cam hole has left hand threads to stop
any oil from the engine from getting in there. |
 |
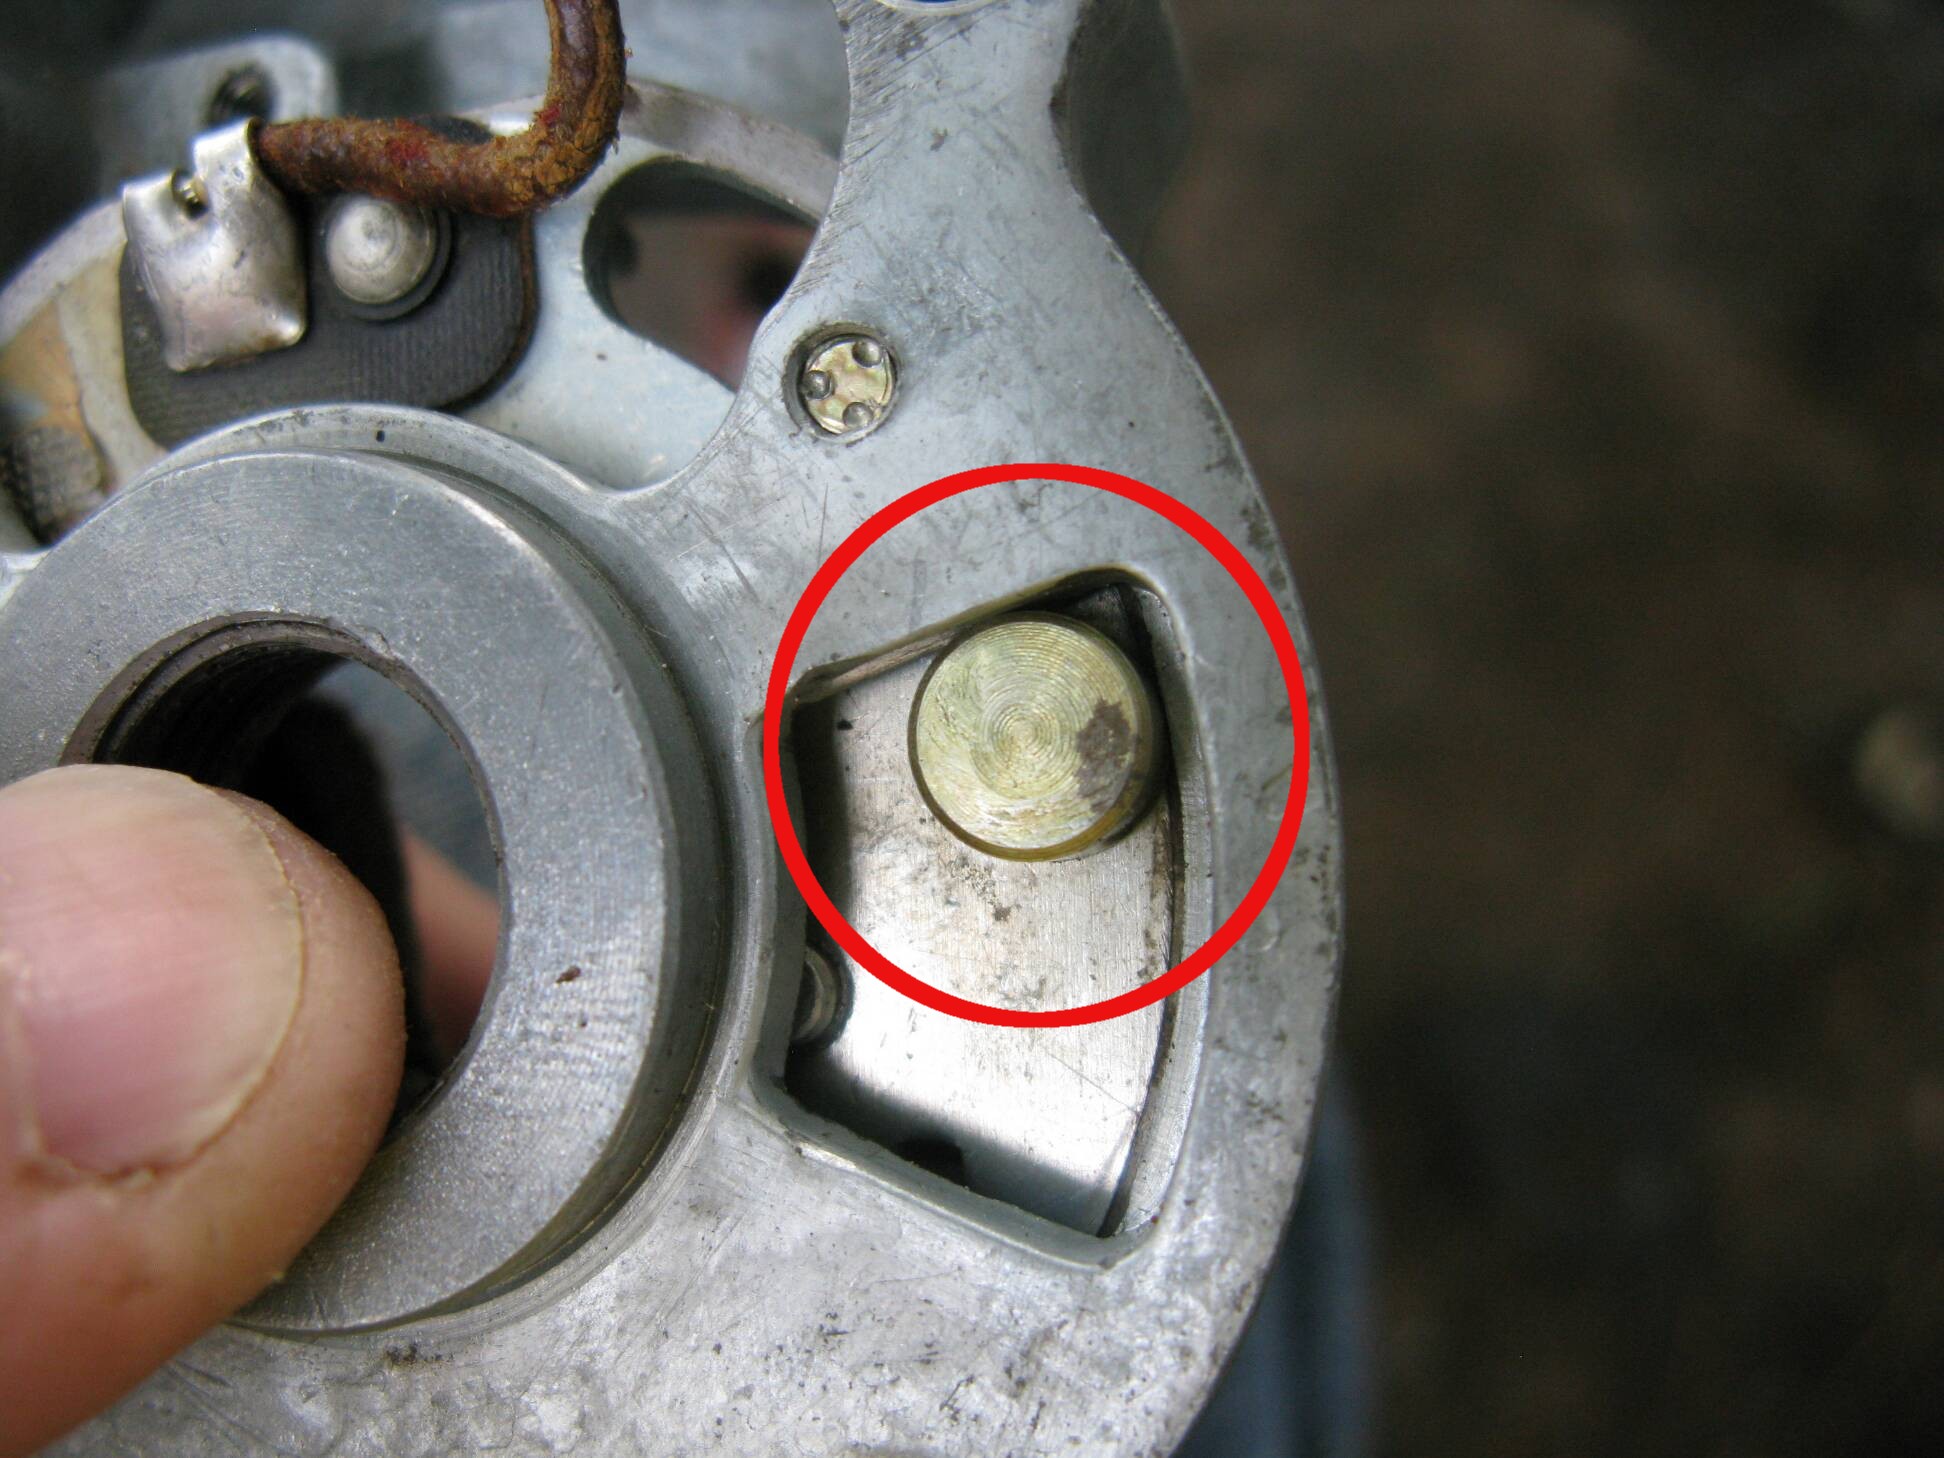
The advance stop cam. |
 |
The adjustment for the advance stop cam. |
 |
The advance stop cam. |
 |
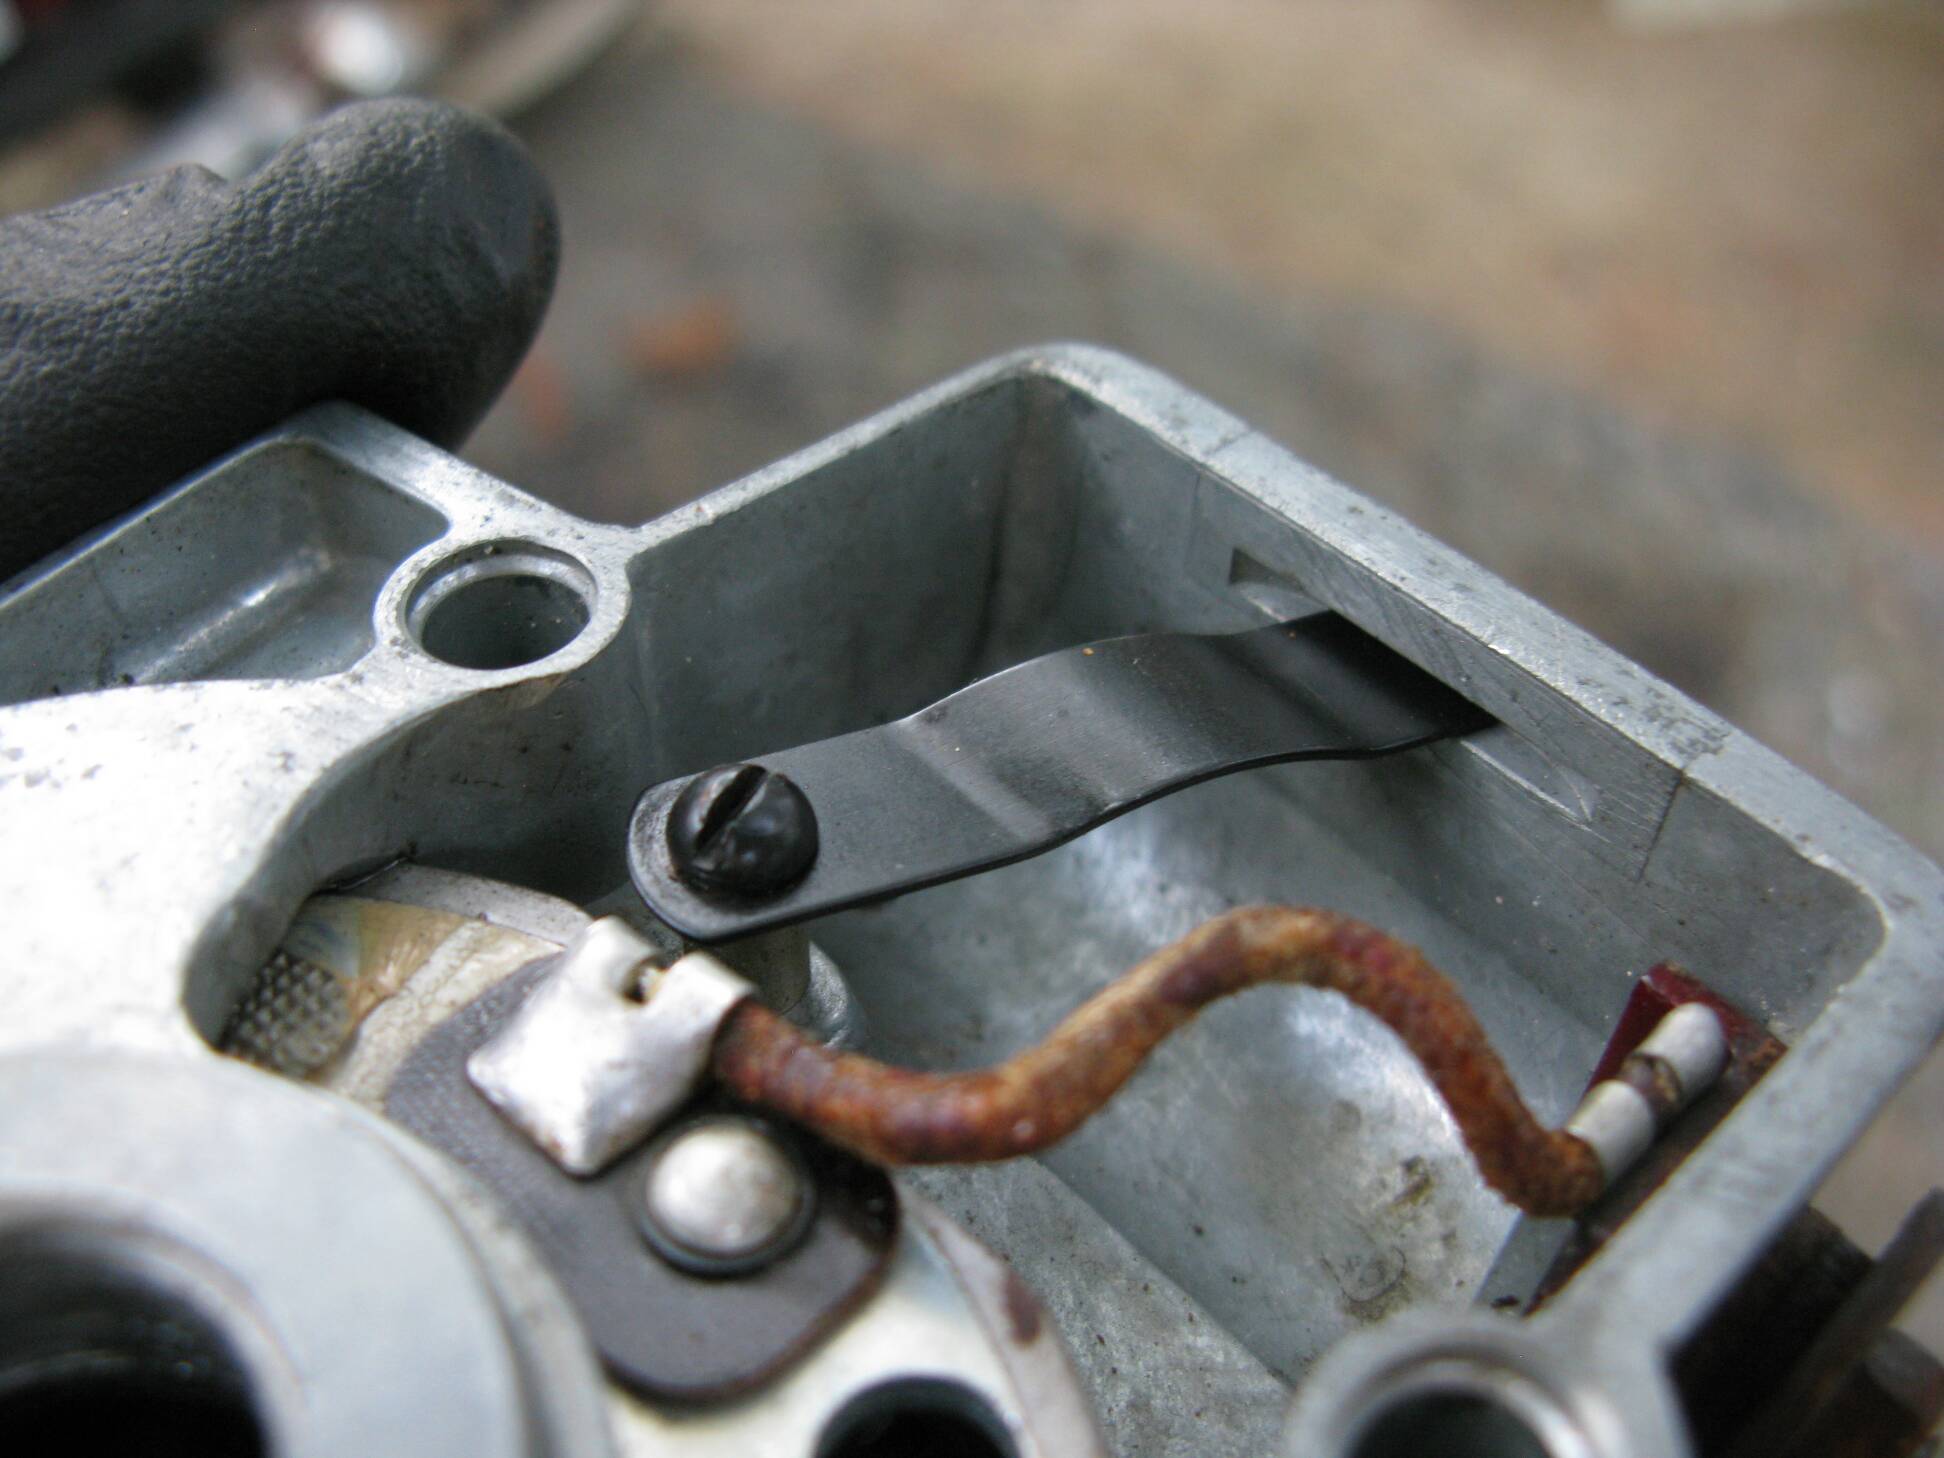
The retard stop screw. |
 |
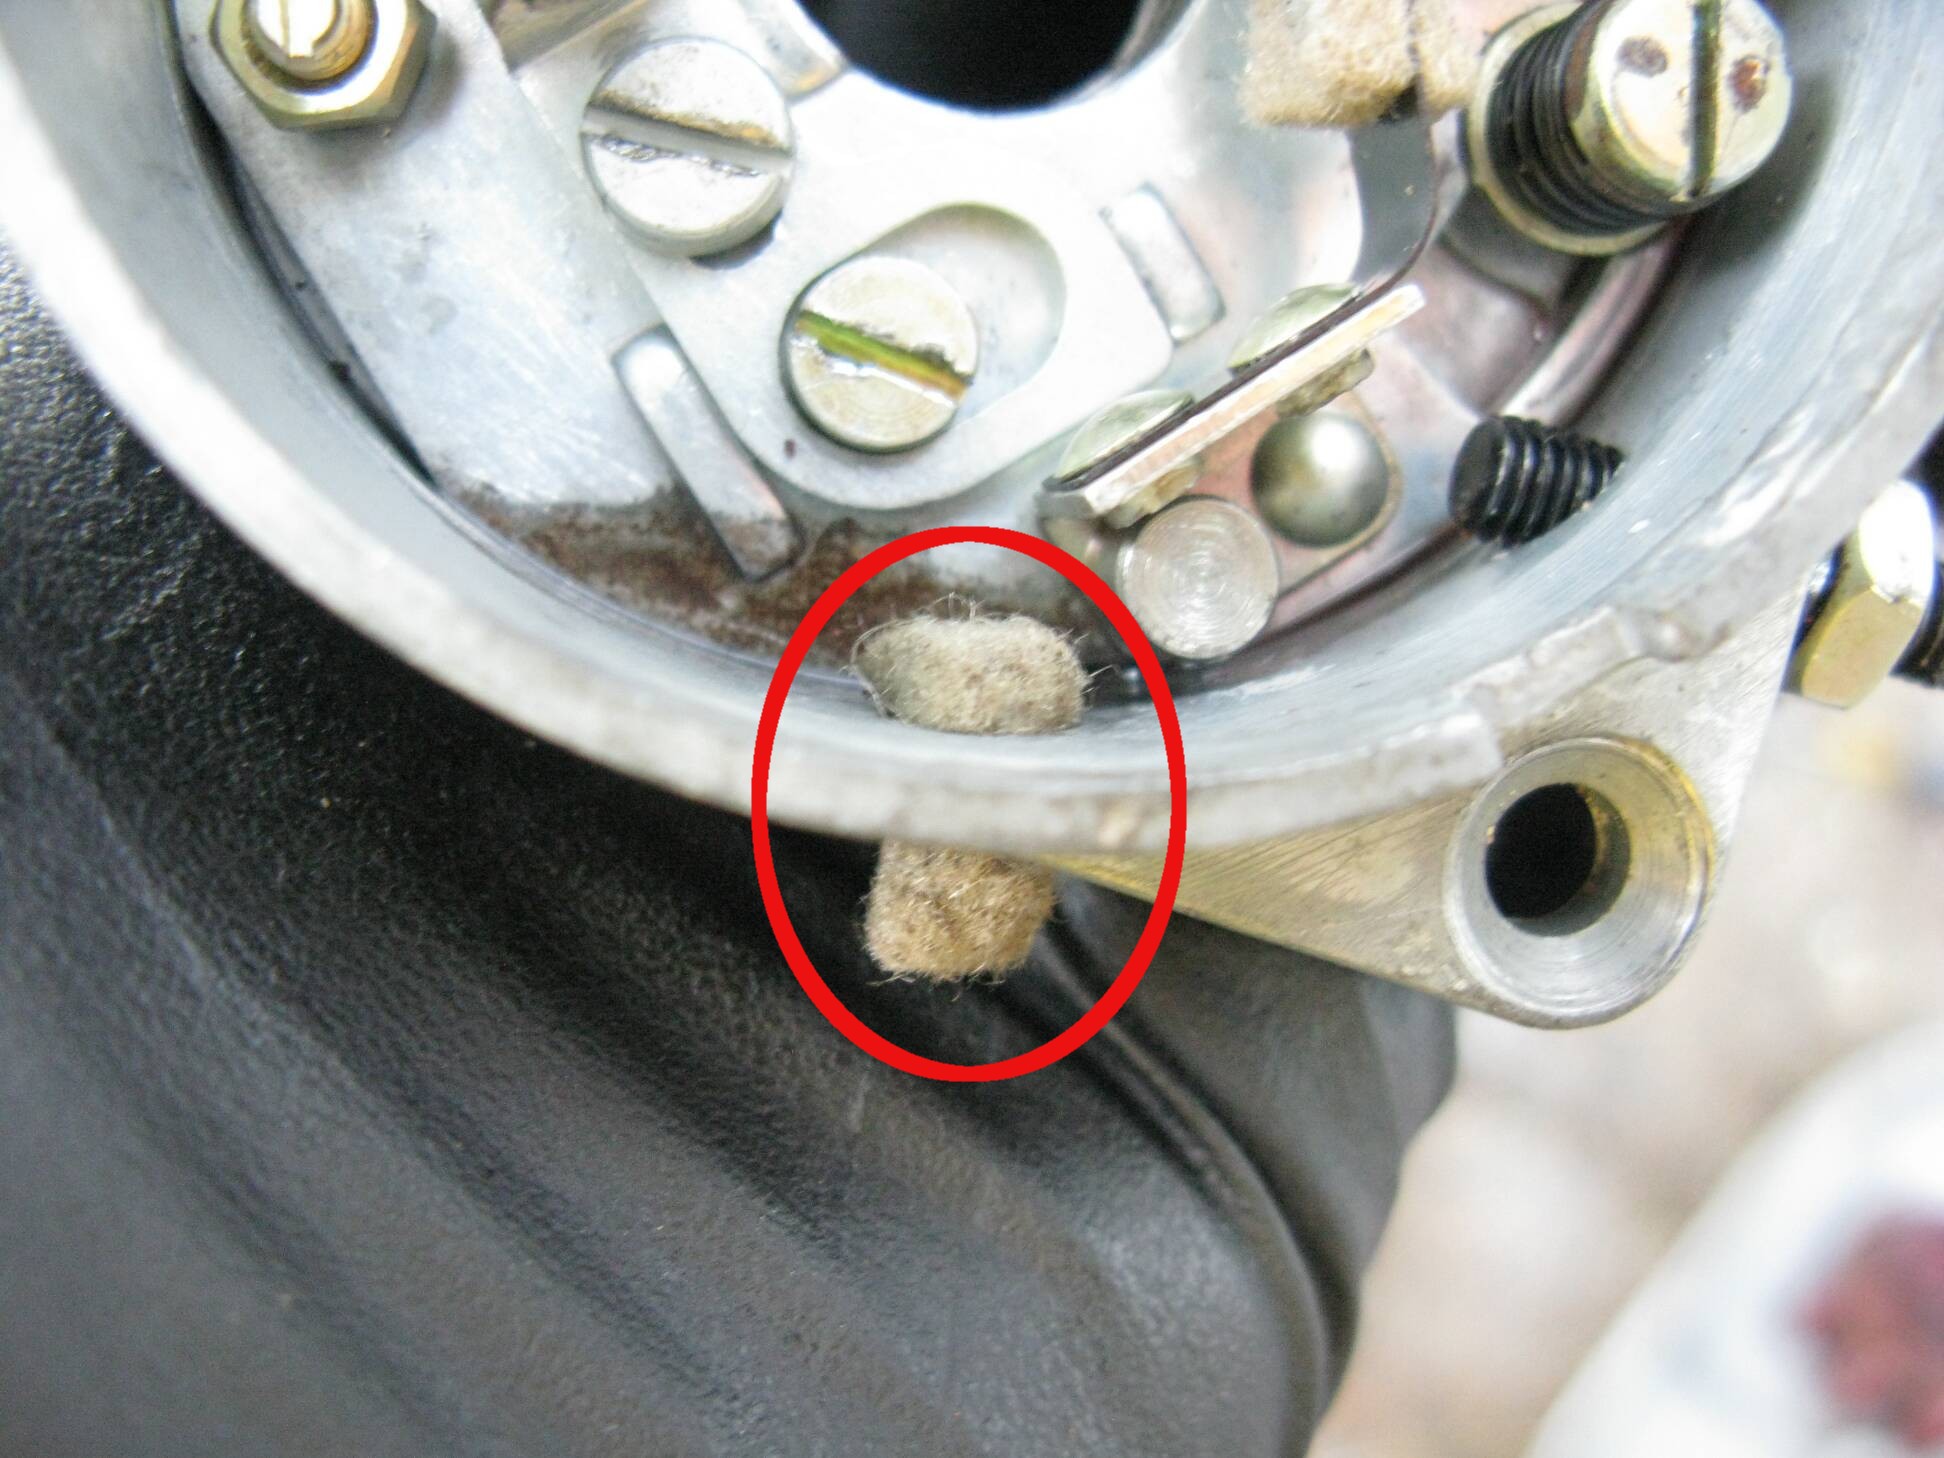
A felt wick to collect errant oil and direct
it through the drain hole.. |
 |
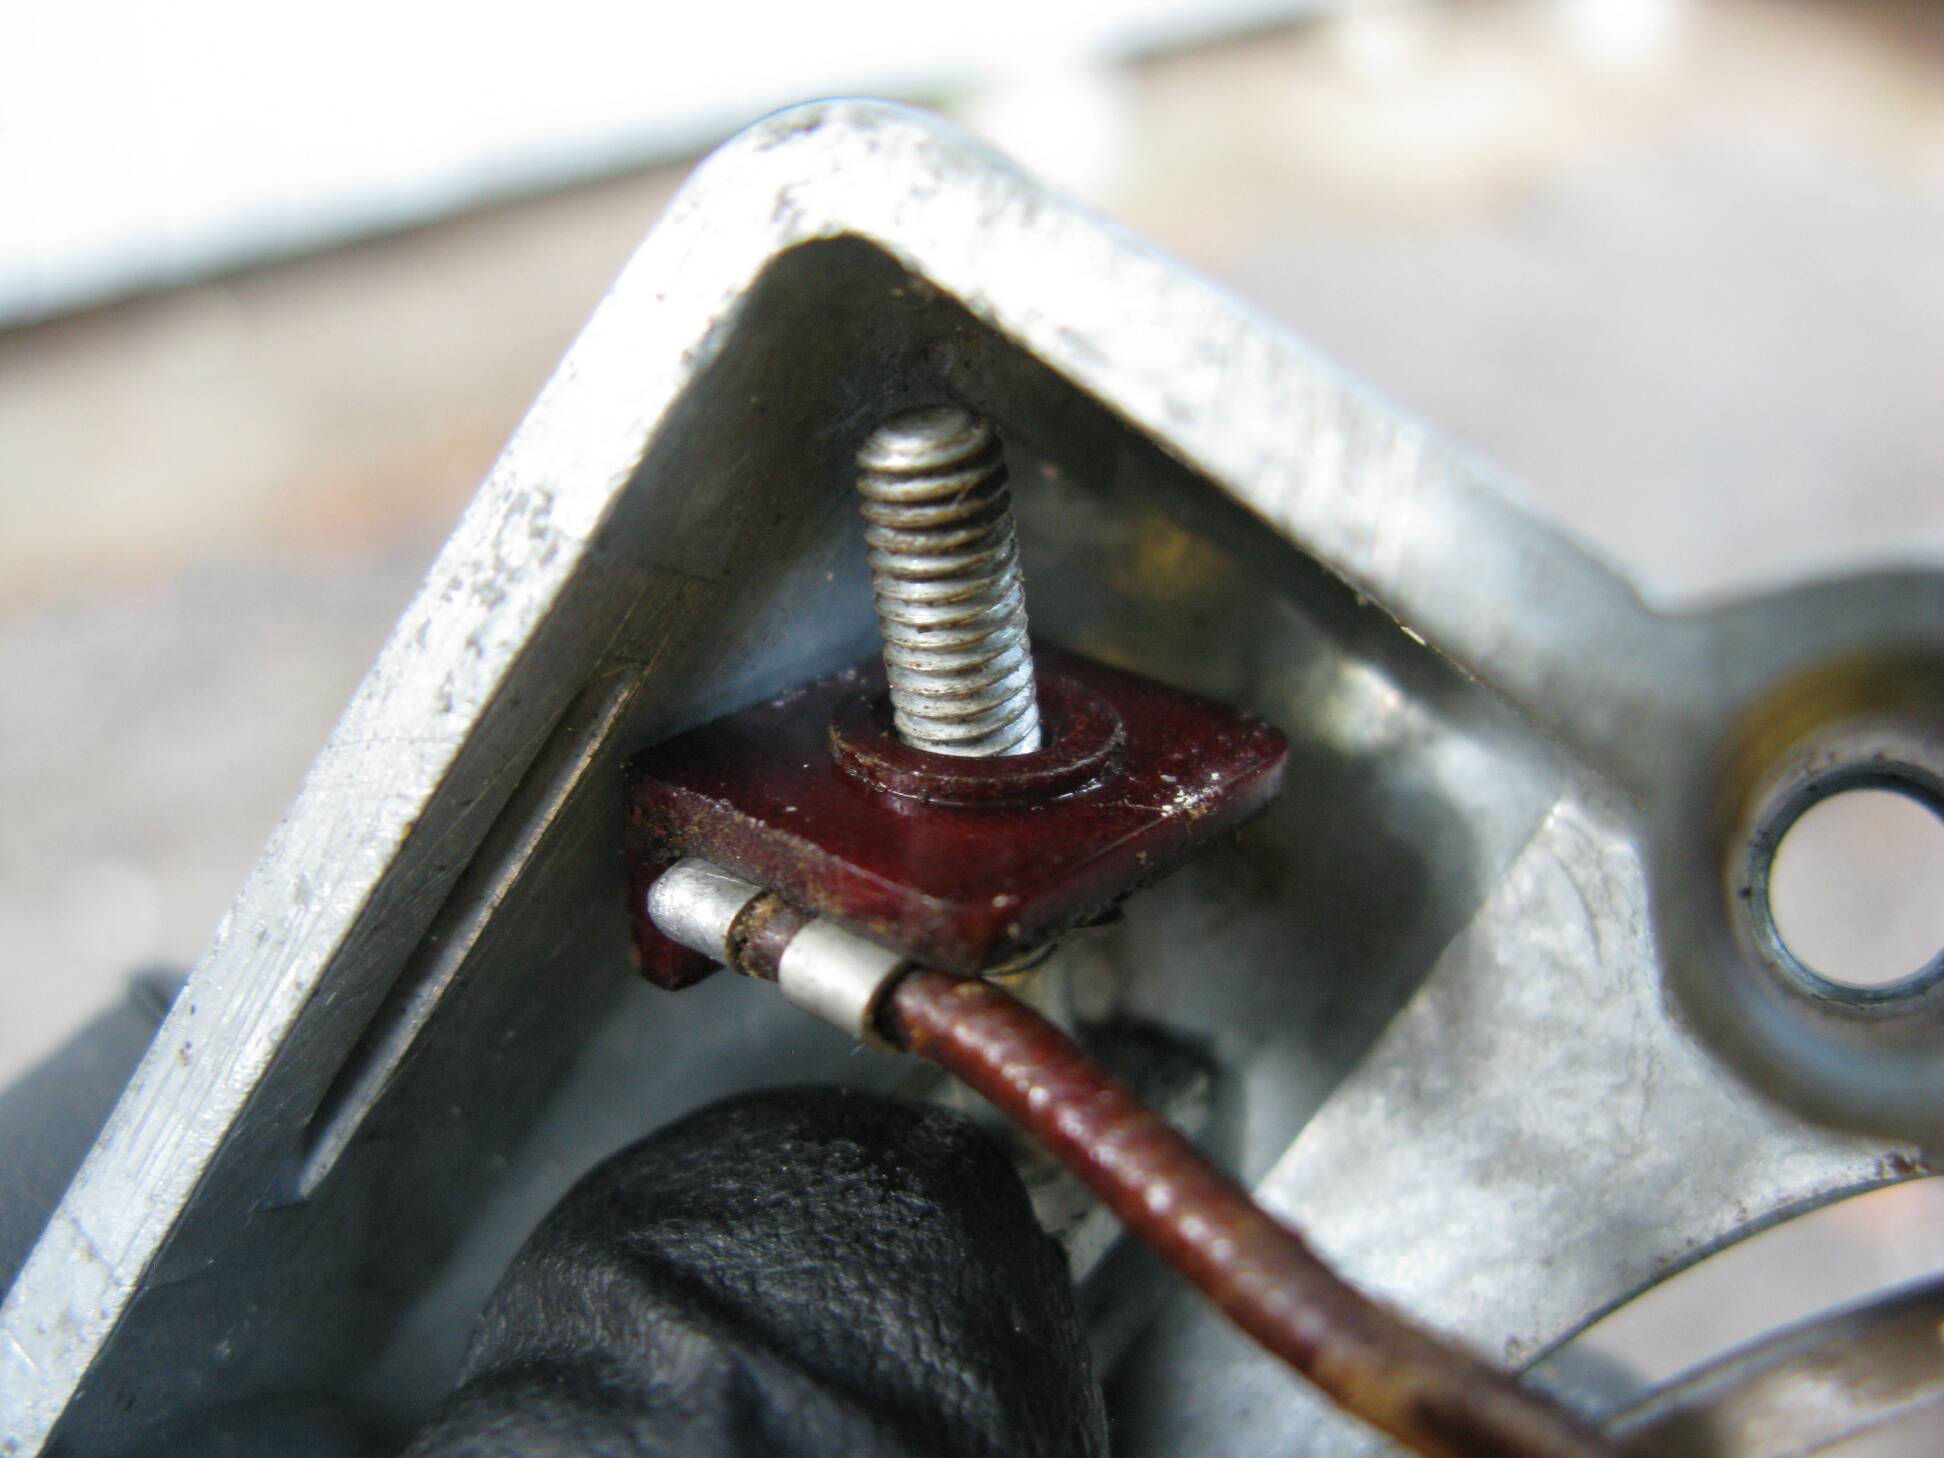
The condenser insulator. |
 |
A closeup of the coil connection. |
 |
A shot of the condenser clip installed. I do
not have a condenser in here as I relocated it externally
for easier access. |
 |
The paper gasket behind the housing. |
 |
|
|
|
|
|