 |
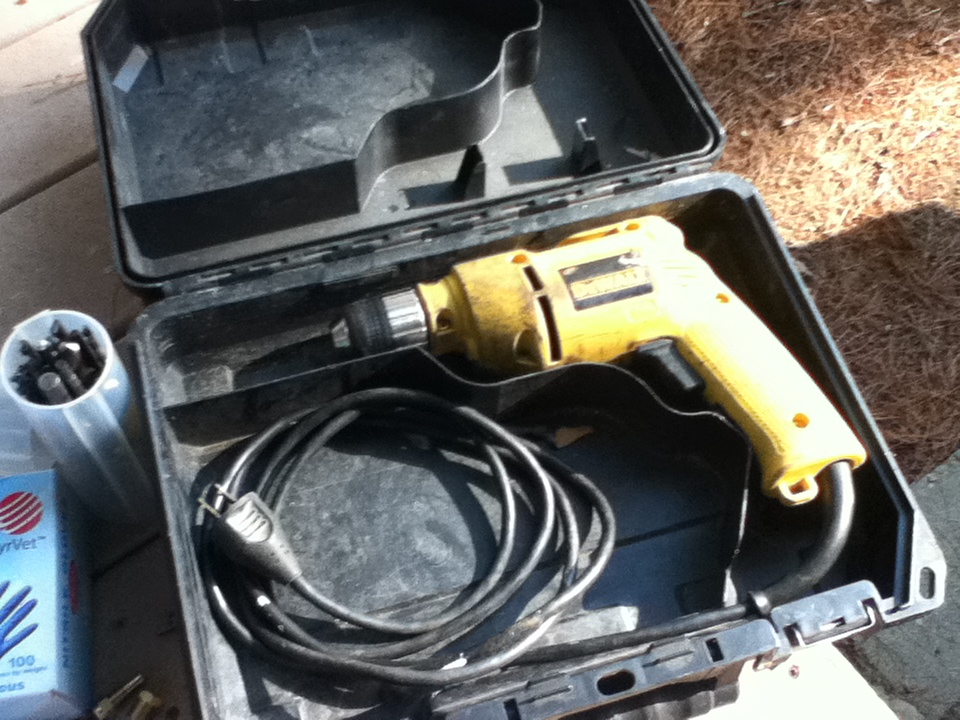
CJ750 toolbox |
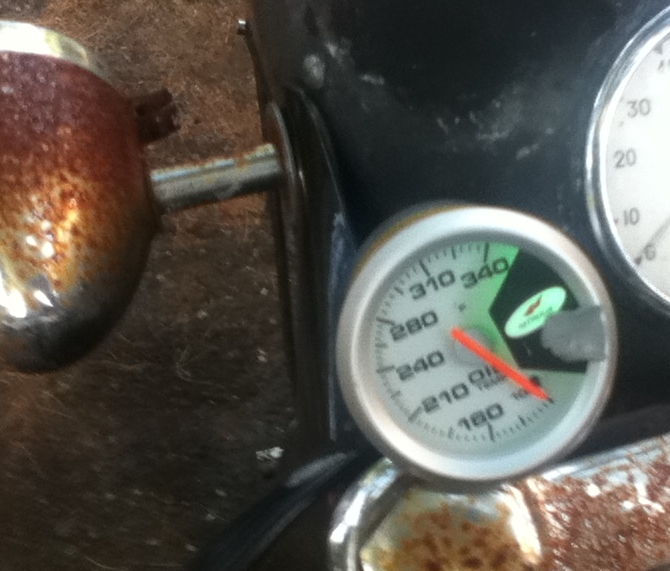
| Nitros oil temperature gauge
installation by Ross Kowalski |
| I wasn't planning on installing an oil
temperture gauge, but the Harbor Freight Tools store had
them on clearance for $10 July 2011. |
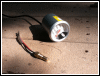 |
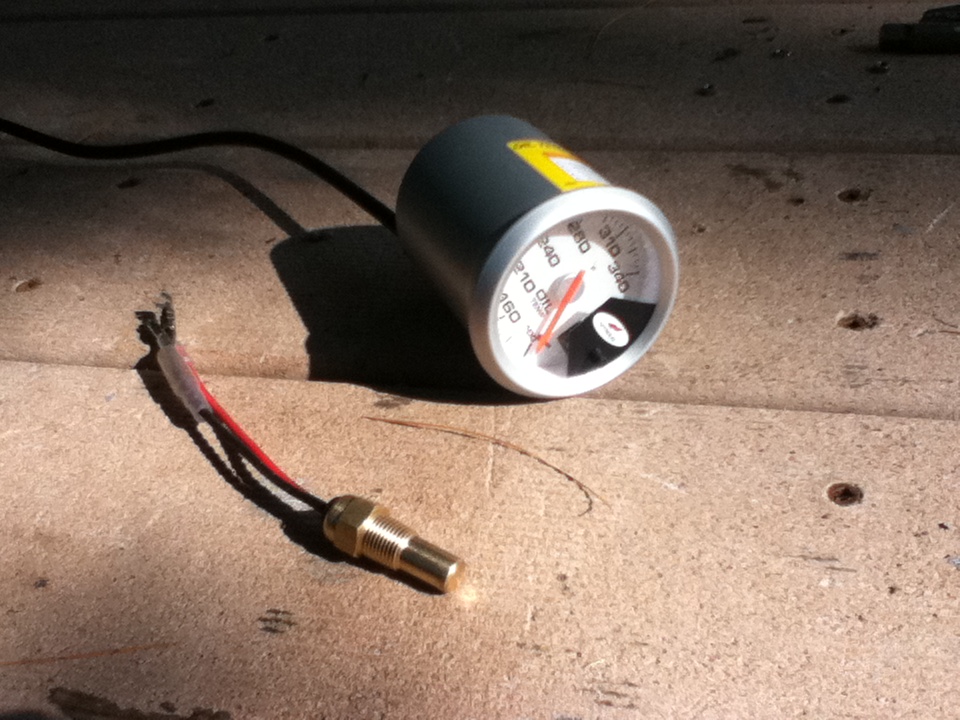
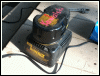
This is the oil temp gauge that I got and
the included sending unit, it is a Nitros brand. |
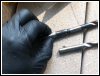 |
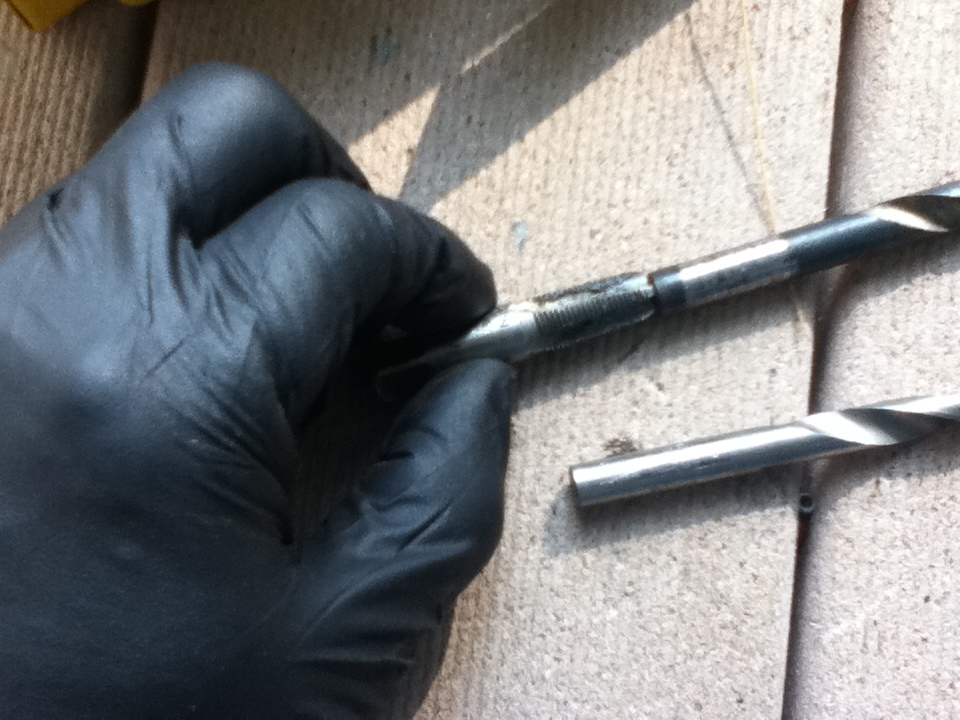
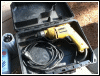
First I made sure I had a drill for the 1/8
npt tap I would need to mount the sensor in the crank
case. |
 |
Loosen the drain plug to drain out the oil. |
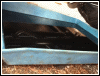 |
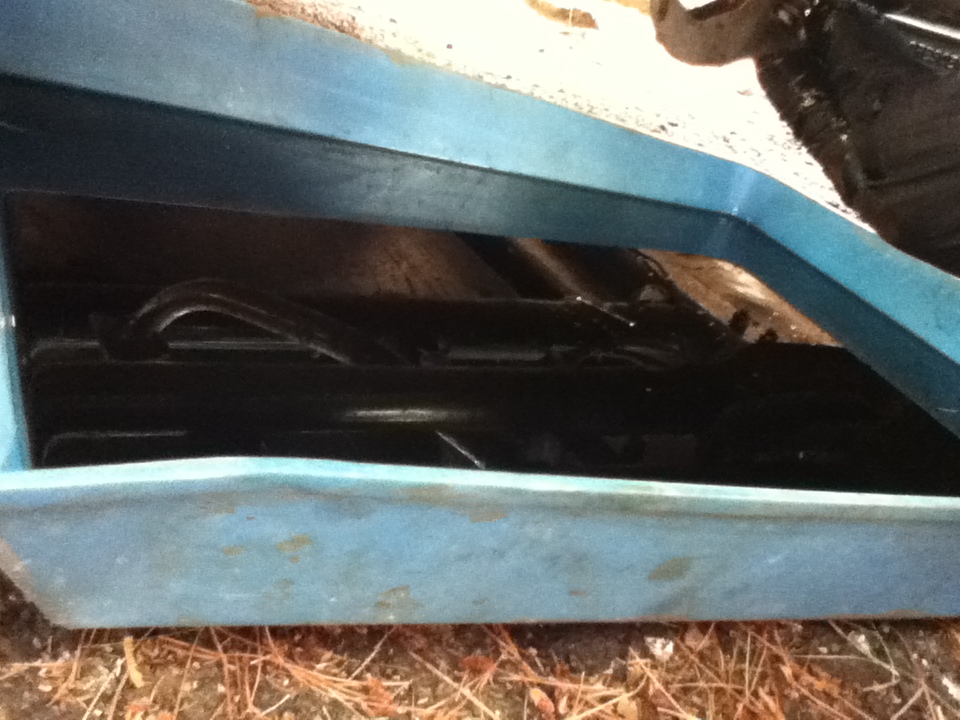
Because I was going to reuse the oil, I put
it into a pourable film developing tray (Film was
something the dinosaurs used to take photographs).. |
 |
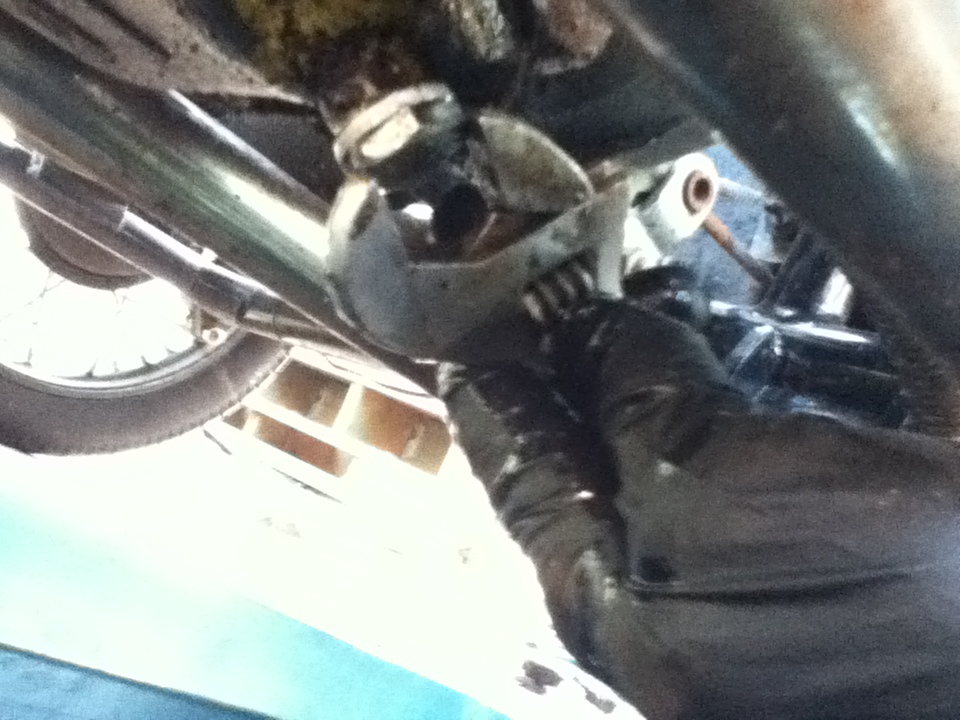
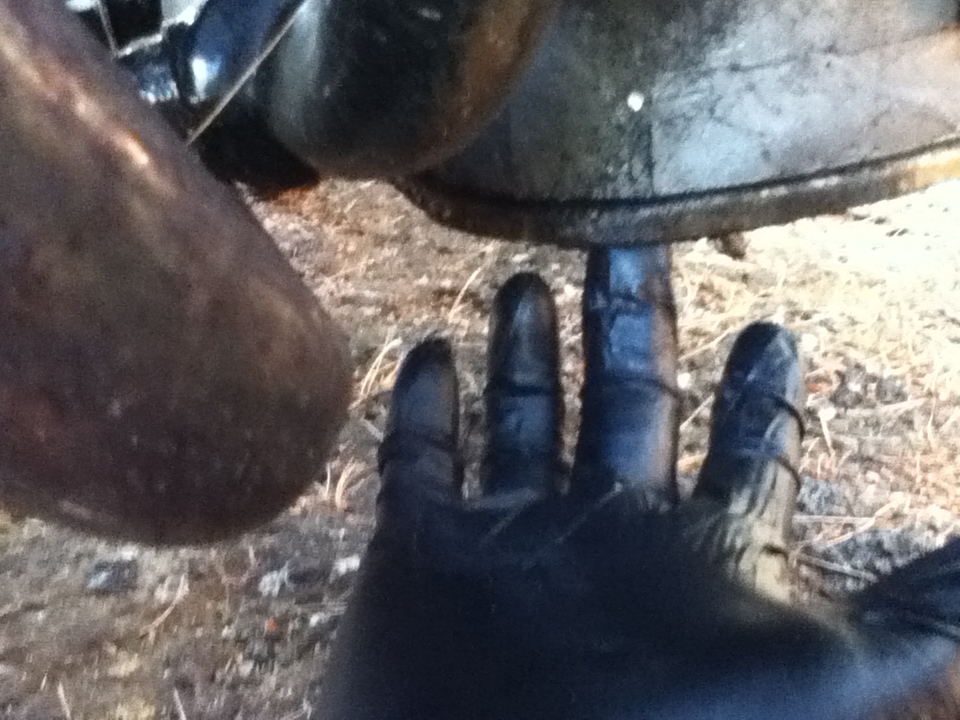
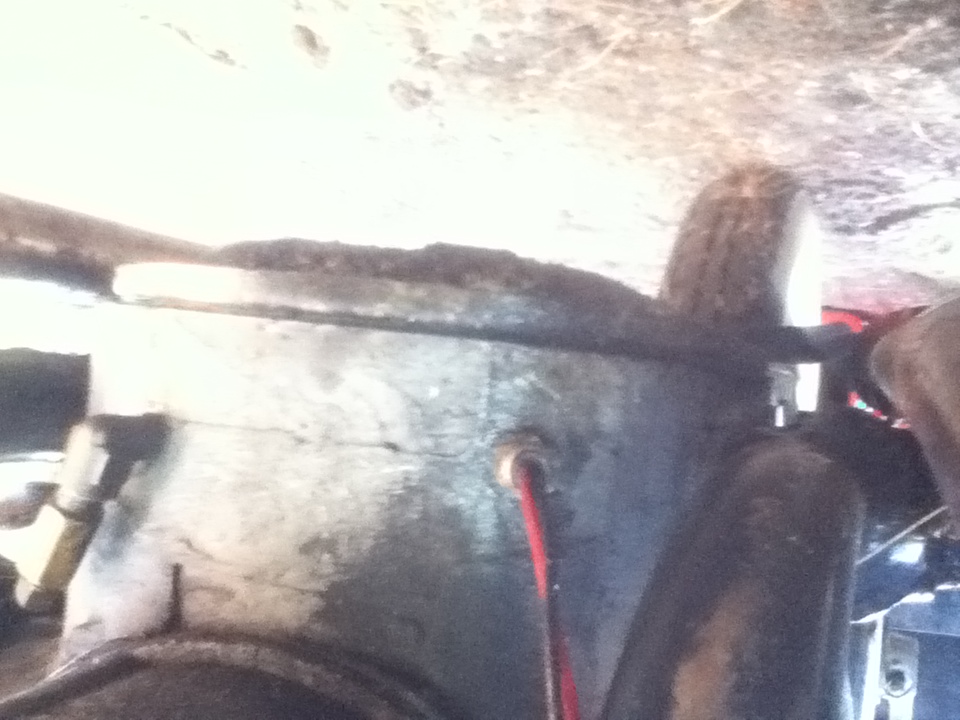
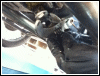
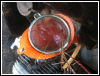
I located the two oil pan bolts in the front
sidecar corner of the block, and marked a point between
them. |
 |
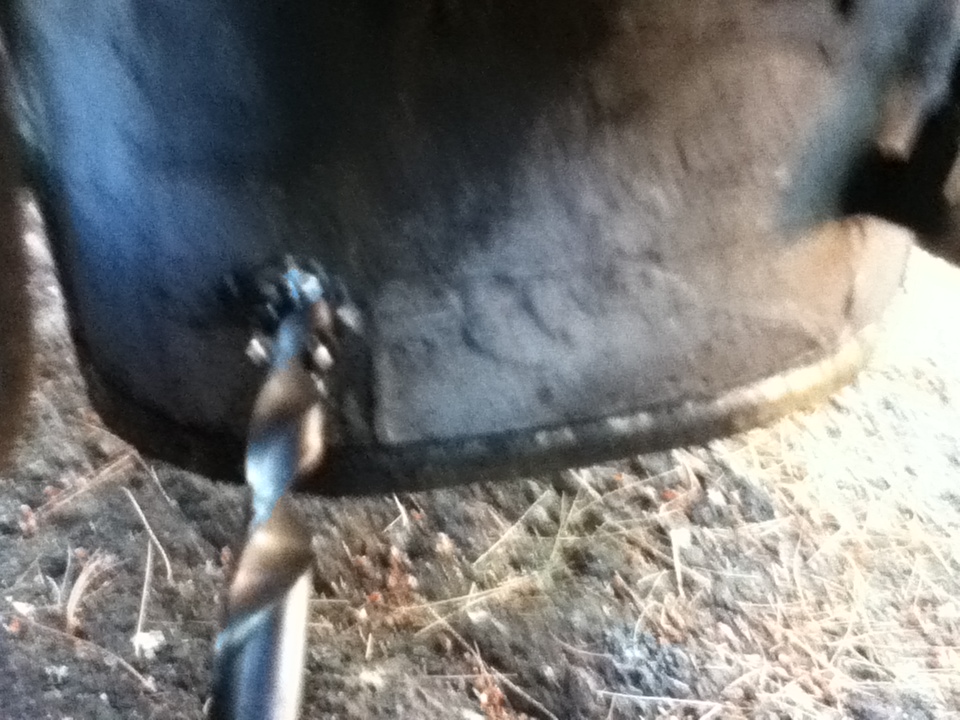
I drilled the holes with a greased drill to
collect chips. |
 |
Even with the grease, when I was almost
through, I stopped and removed the chips from the drill
and regreased it. |
 |
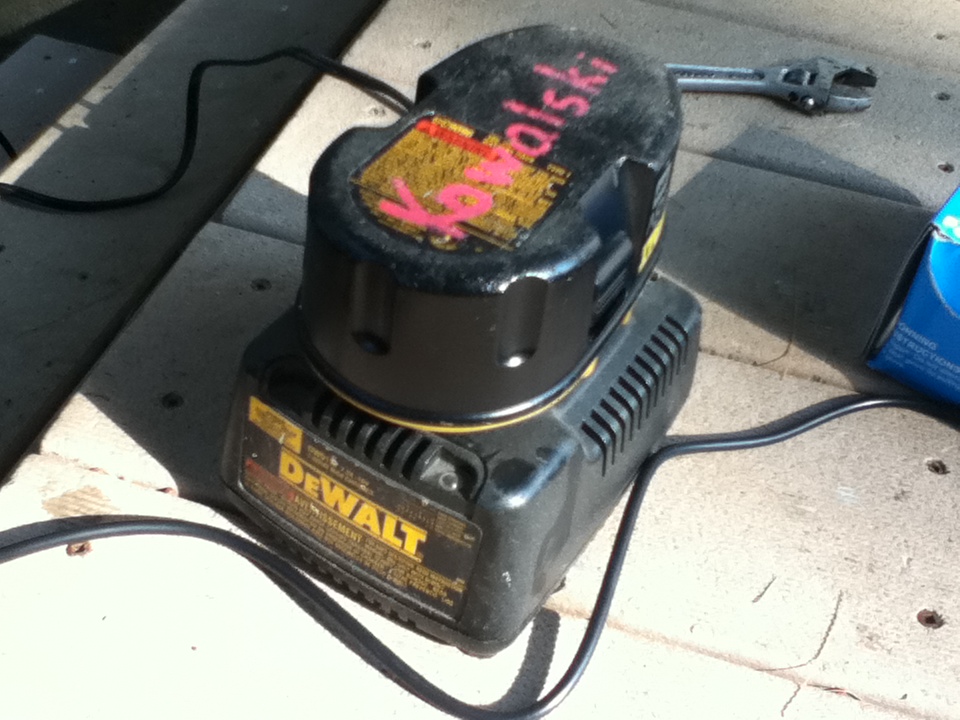
Of course the drill died at the last minute.
I put the drill back on the charger, and now the race was
on. Ross installing the temp gauge vs the DeWalt charger
charging the battery pack. |
 |
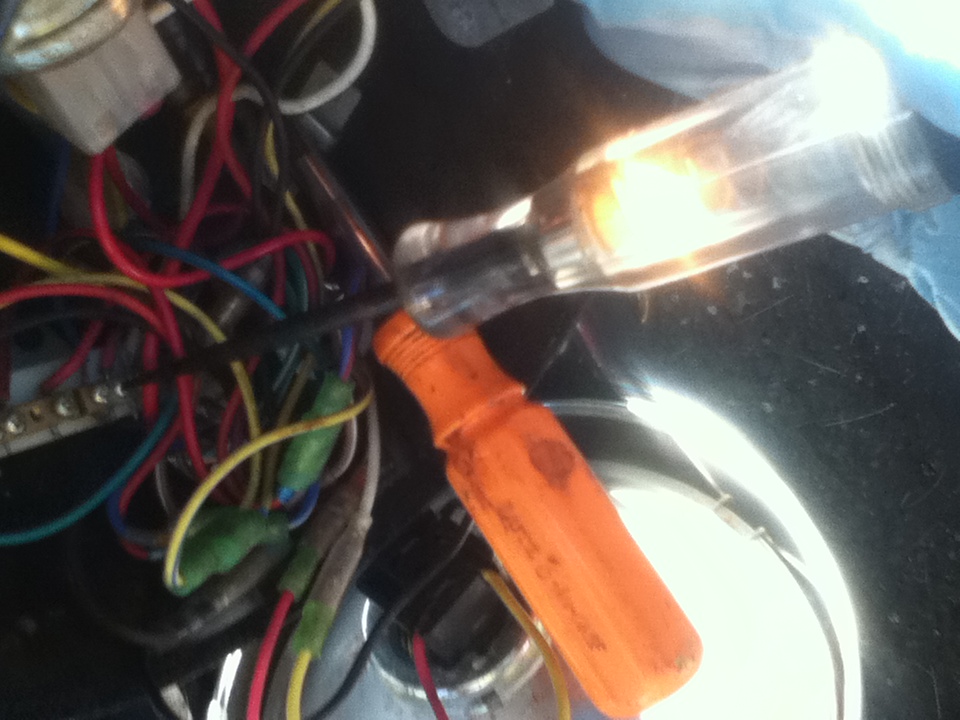
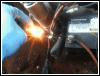
Out comes out the corded drill to tap the
hole. (What dinosaurs used to make holes, odd that I own
both a film tray AND a corded drill). |
 |
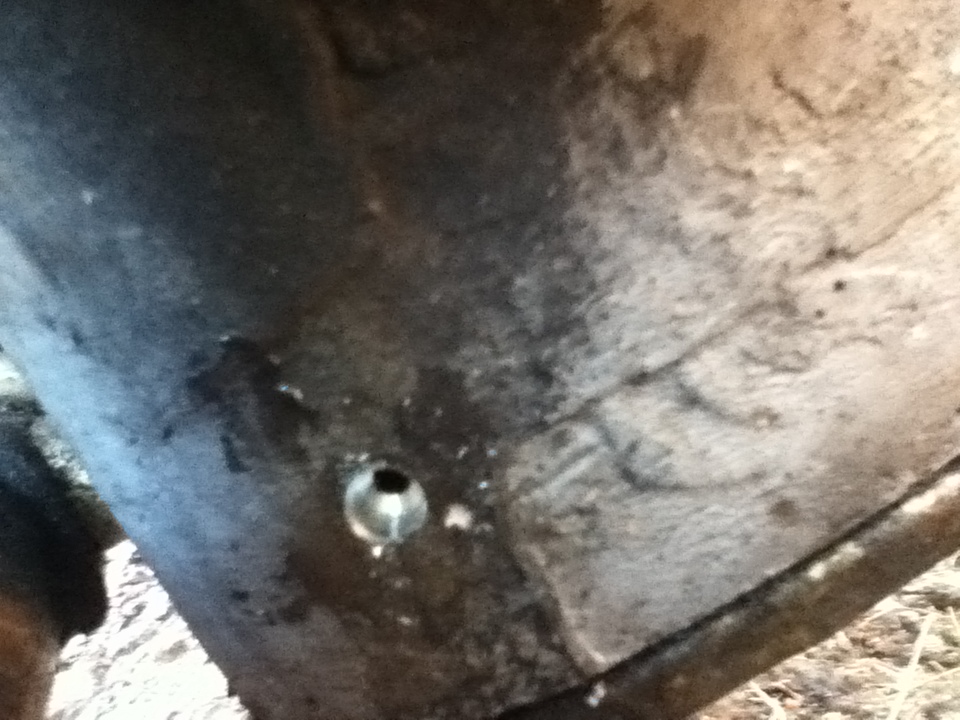
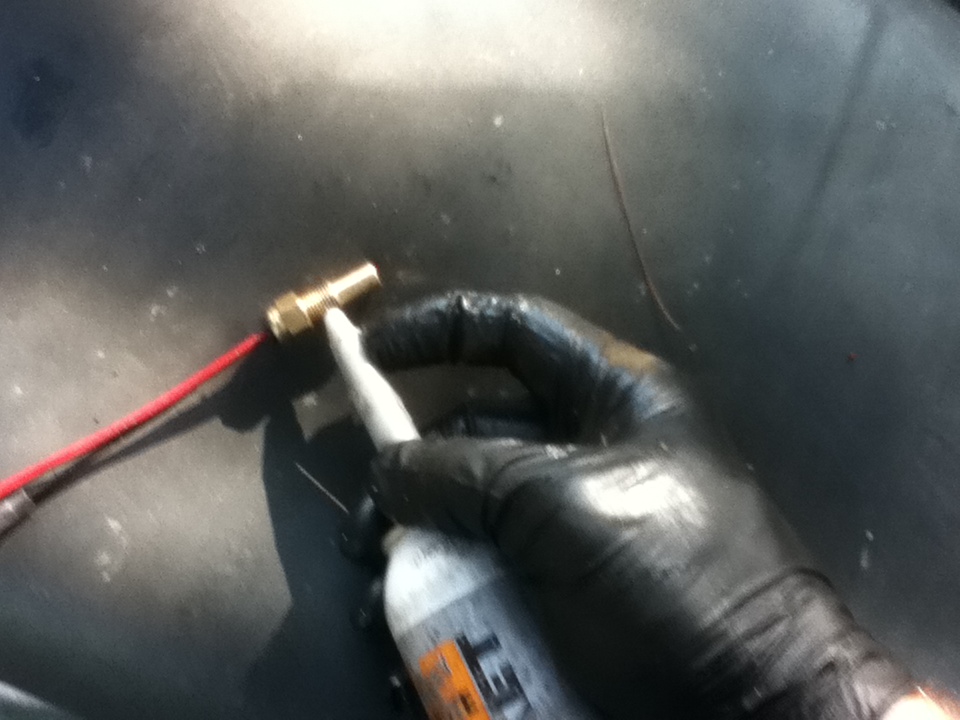
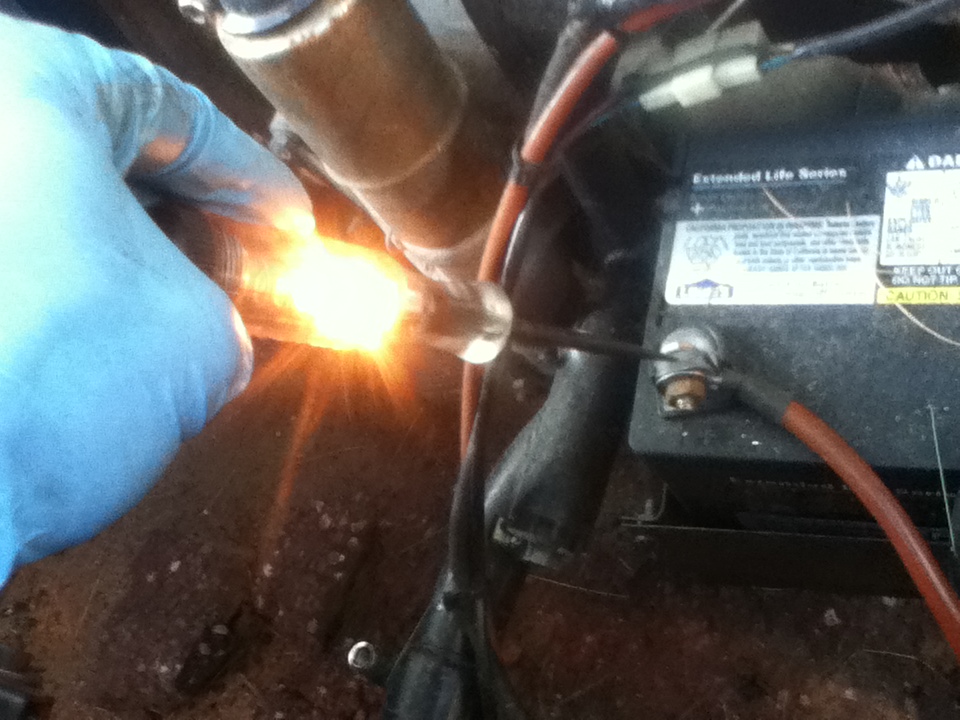
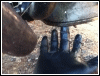
With the hole tapped I put sealer on the
threads and screwed in the sensor. |
 |
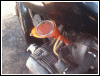
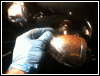
Here is the sensor installed, I put it about
2cm from the bottom of the crankcase. |
 |
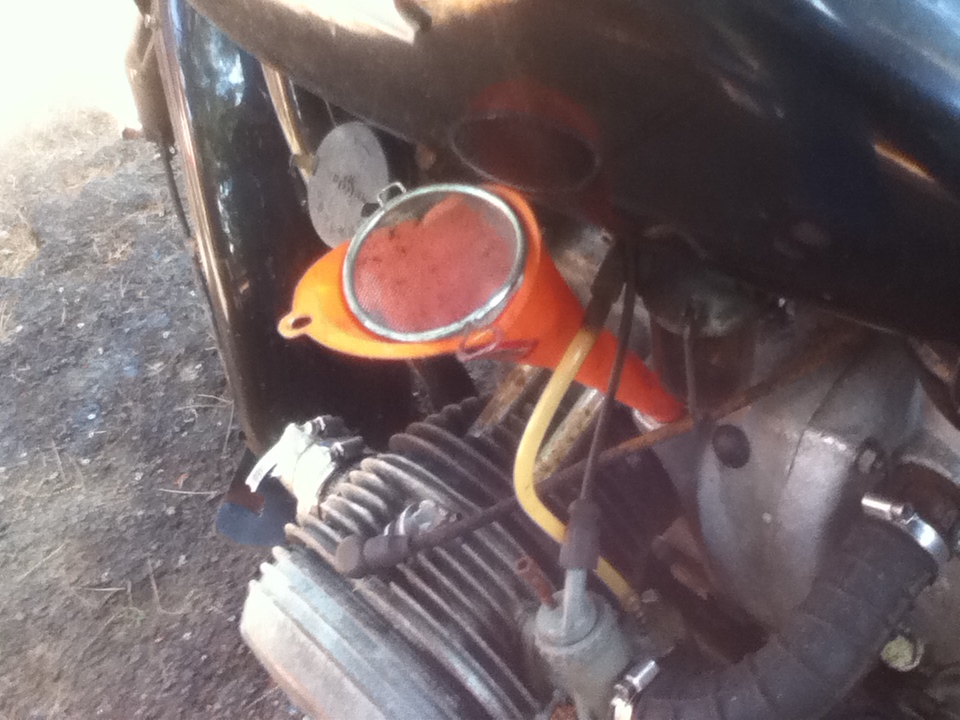
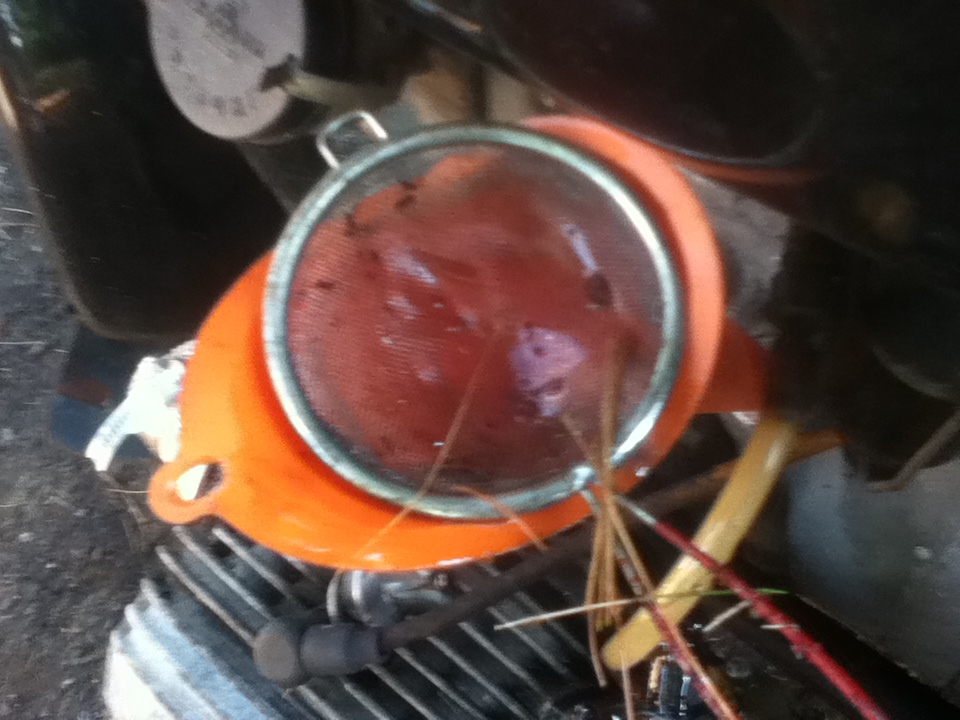
Time to put the oil back in, so the funnel
gets the strainer. |
 |
Good thing I used the strainer. |
 |
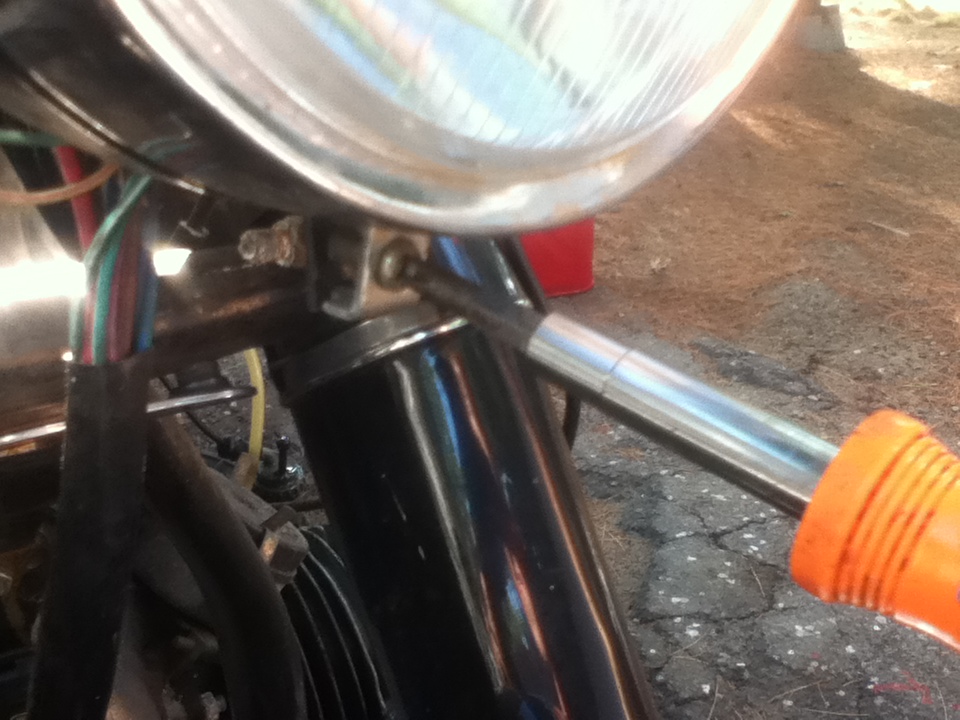
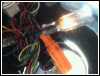
Remove the headlight. |
 |
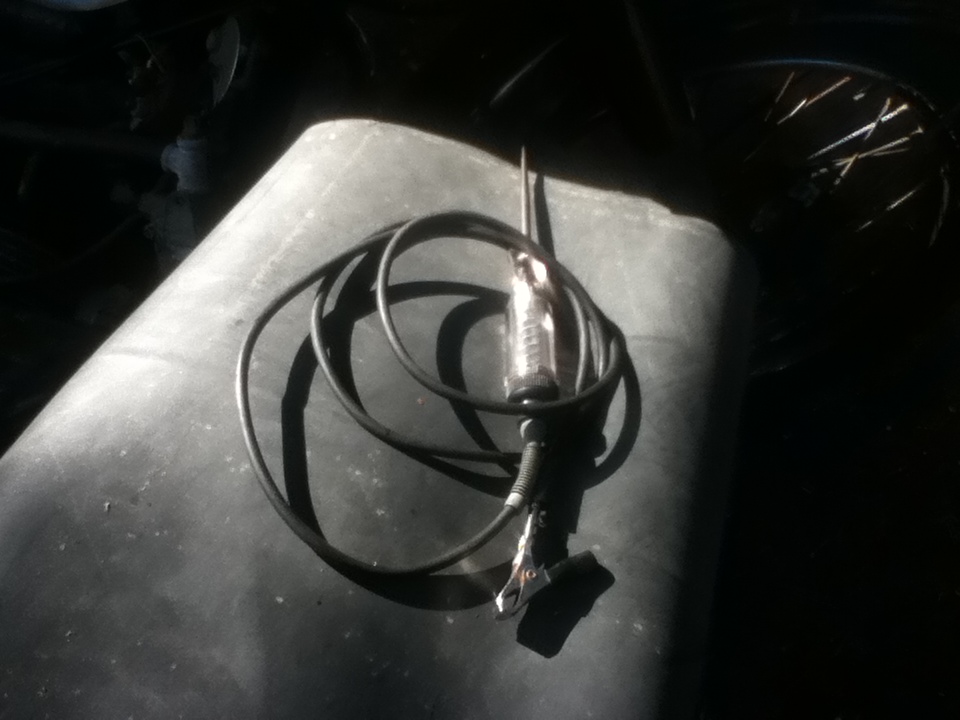
Take out the testlight to figure out what's
what. |
 |
Clipping the test light to a ground. |
 |
A good practice is to check that the ground
is good by checking a known positive source. The battery
terminal is about as good as it gets. |
 |
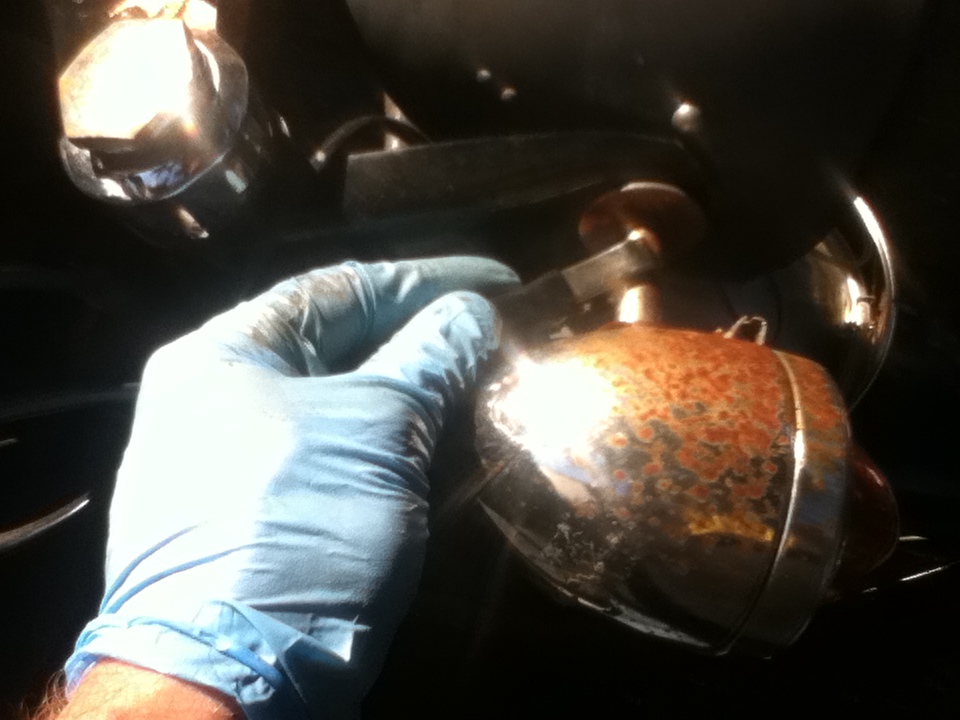
The lower power rail in the headlight
nacelle is positive on my bike. |
 |
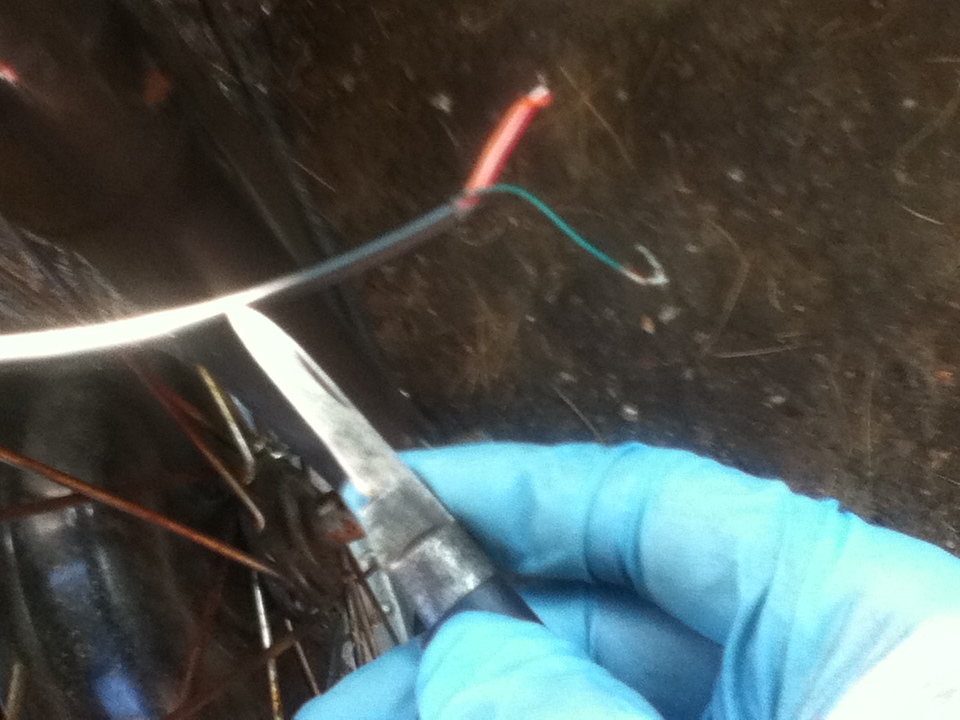
Strip back the insulation a bit to make
installation easier |
 |
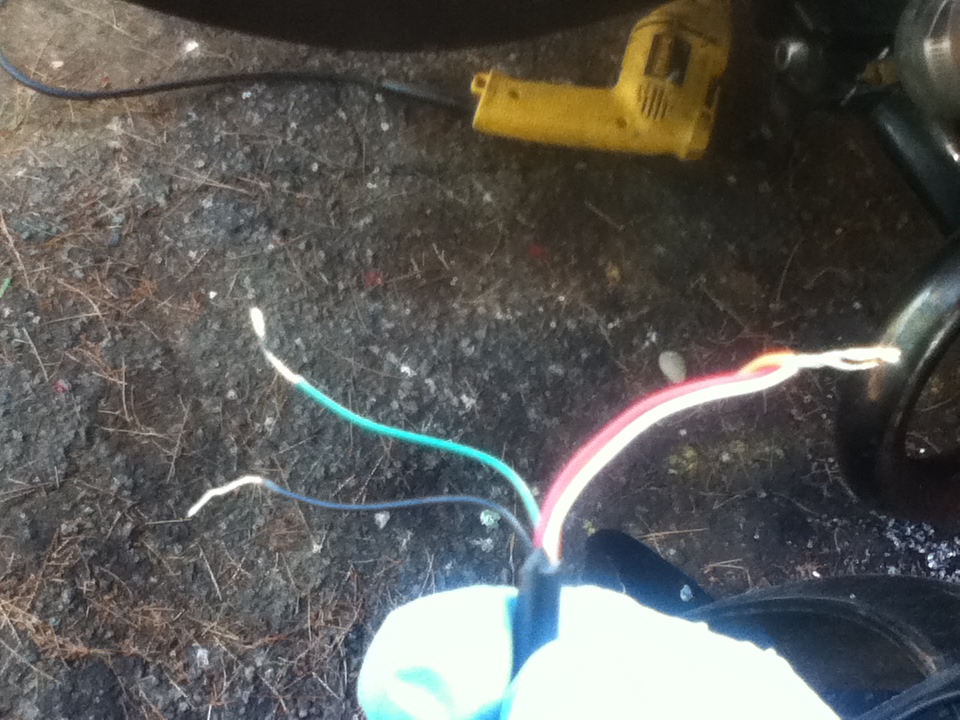
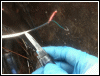
There are five wires, though in practice
there are three. The white, orange, and red wires are all
some sort of power. This way, the light is always on and
the gauge (which is capable of color change) cannot
remember the color you set it to so it is always green. I
don't care to figure out what is switched, what is
lights, and then have parasitic power loss just so I can
have the color stay set. The black wire is ground, and
the green is to the sensor. |
 |
The sensor has a red and black wire. I wired
the black wire to the ground rail in the nacelle and the
red wire to the green wire from the temperture gauge. |
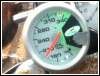 |
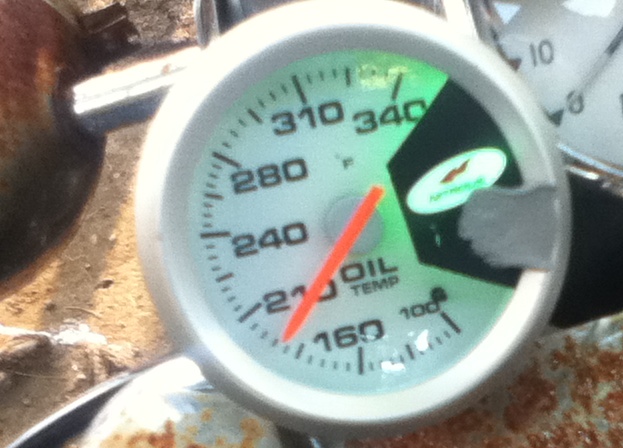
I took the bike out for a quick ride trying
to get it hot, revs-load-slow, it wasn't long before it
started showing 180F. |
 |
|
|
|
|
|