| CJ750 toolbox | |||||
| A greatly improved 6V charging system | |||||
| In ten years of M1 ownership, I've never
been terribly impressed with the charging system. I've
tried every combination of generators and regulators
available from China with varied results. One setup would
cook the battery while another would drain it. Up to now,
the best combination seemed to be a 6V VW regulator used
with the MZF-11 generator. Although it was adequate, the
battery still needed to be topped off all the time. It
appeared that the lighting was more than the system could
handle. Growing frustrated, I decided to plunk down some money and experiment with components available through the old car hobby. As luck had it, the very first regulator I tried was a success. (Note: I use an Autocraft 1-1 6V car battery. Anything smaller may not be compatible with the following.) |
|||||
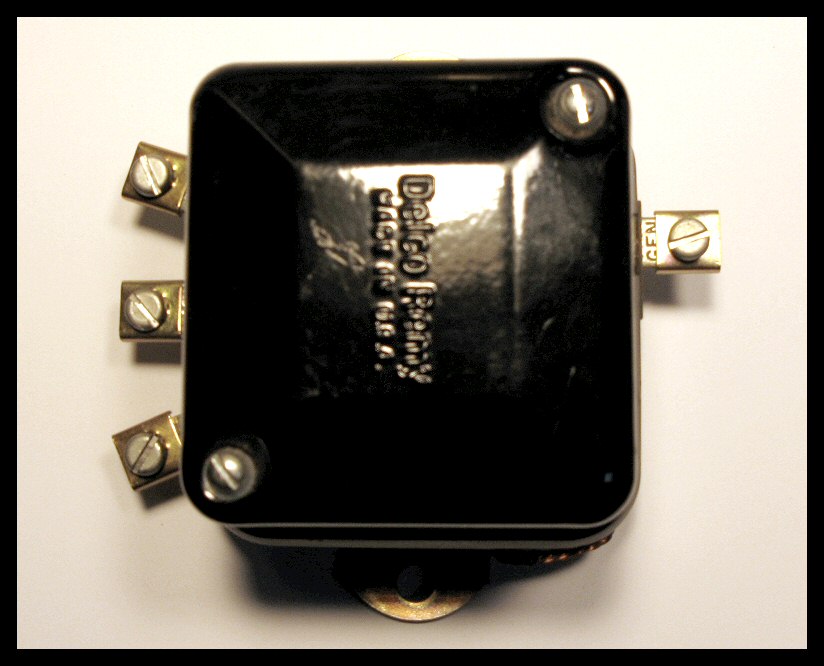 |
This is the Delco-Remy 575 6V cut-out regulator. It was once widely used on a variety of vehicles as well as tractors. As a matter of fact, it was a vintage tractor blog where I first read about it. The 575 has rubber shock mounts built right into it, so vibration won't be an issue. So... how well would it perform on a Chang? | ||||
 |
Mounting the regulator required an adapter plate which was made from a piece of scrap 1/8" thick steel. It's just a rectangle with two pairs of screw holes drilled in it, then painted black—not exactly rocket science. This diagram shows the plate with the regulator overlaying it. It's to scale. | ||||
 |
This diagram is also to scale and provides all the dimensions you'll need for whipping up a mounting plate. The rounded corners are purely cosmetic. With a bench grinder, they can be done in two minutes flat. | ||||
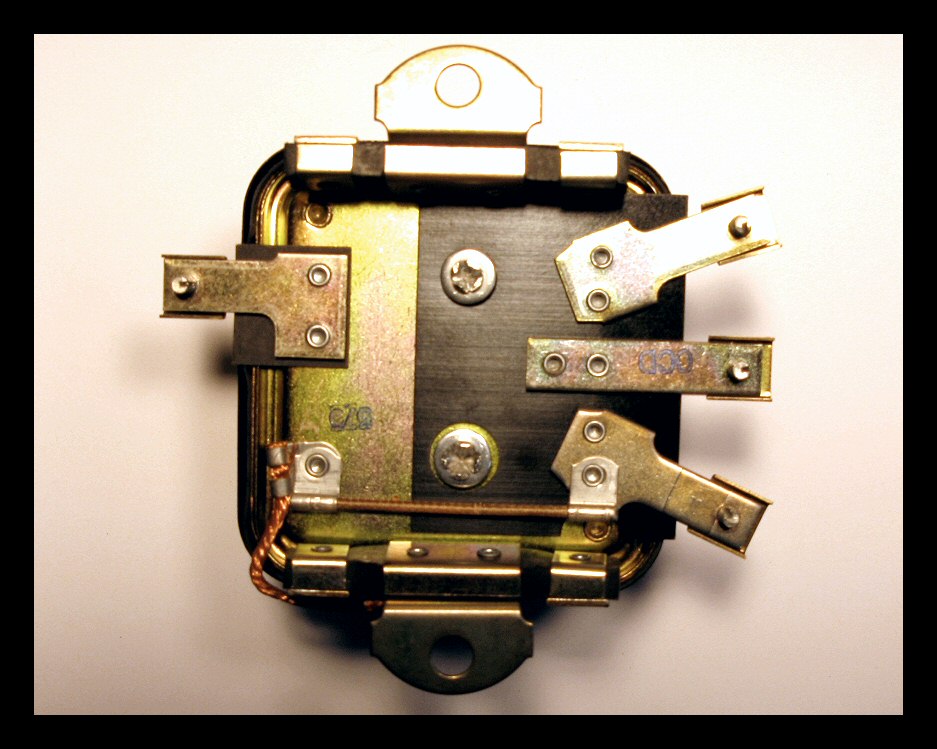 |
The 575 has four terminals labeled L, F, BAT and GEN, so some decoding was in order. Once again, an antique tractor blog provided all the necessary information, and the bike was rewired accordingly. | ||||
 |
As you can see in this schematic, the wiring had to be modified to accomodate the extra terminal, but it's still the essence of simplicity. (The color coding shown here is mine. It won't correspond to your bike.) You'll also see an ammeter in the charging circuit which has proven to be useful beyond my wildest expectations. | ||||
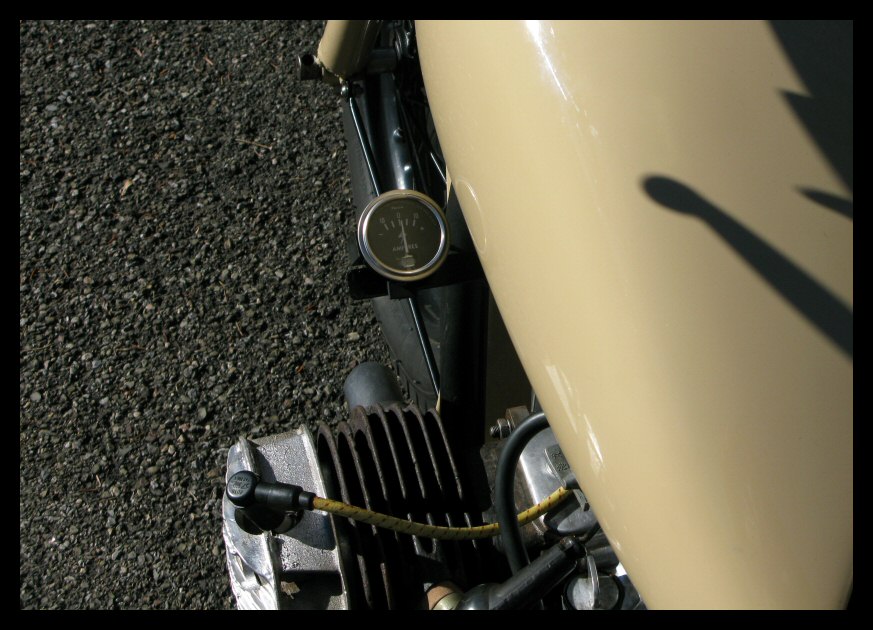 |
 |
Ammeters like this one are readily available for under twenty bucks. It's invaluable for projects like this. It tells you precisely what's happening with your charging system. The only drawback is finding a suitable way to mount it on a Chang. | |||
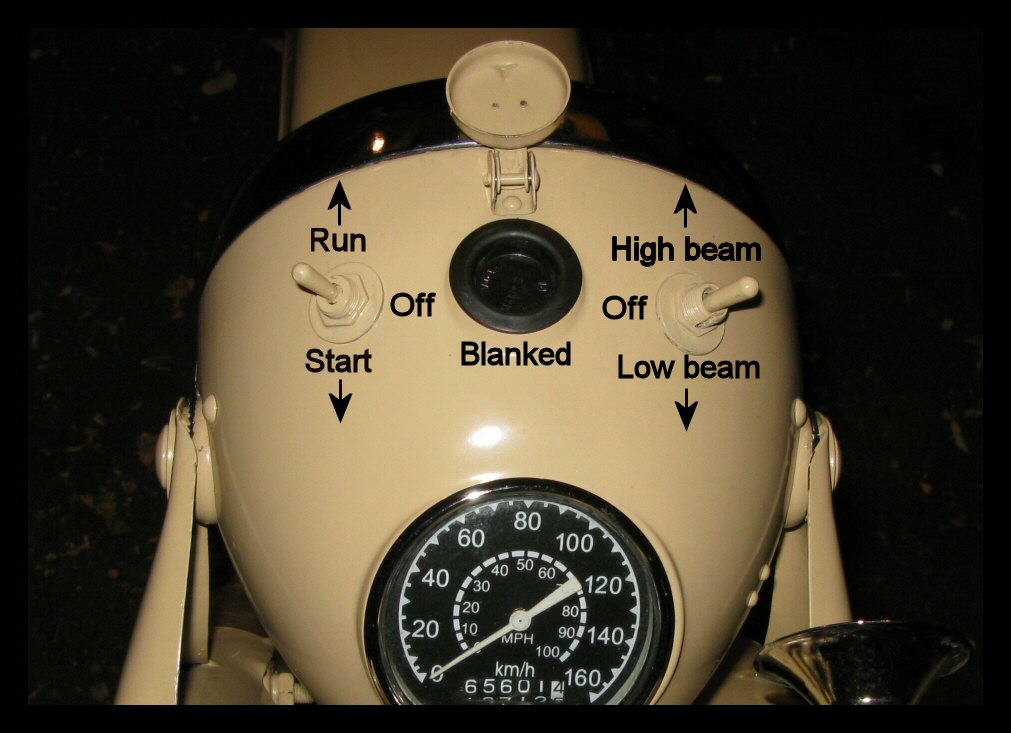 |
In the schematic, you'll also see a single-pole-double-throw (SPDT) switch which is used in lieu of a regular ignition switch. This switch sends battery juice to the coil for kick starting. Once the bike is running, you simply toggle over to the LOAD position which sends juice from the regulator. No more crappy Chinese igntion switches to worry about, either. | ||||
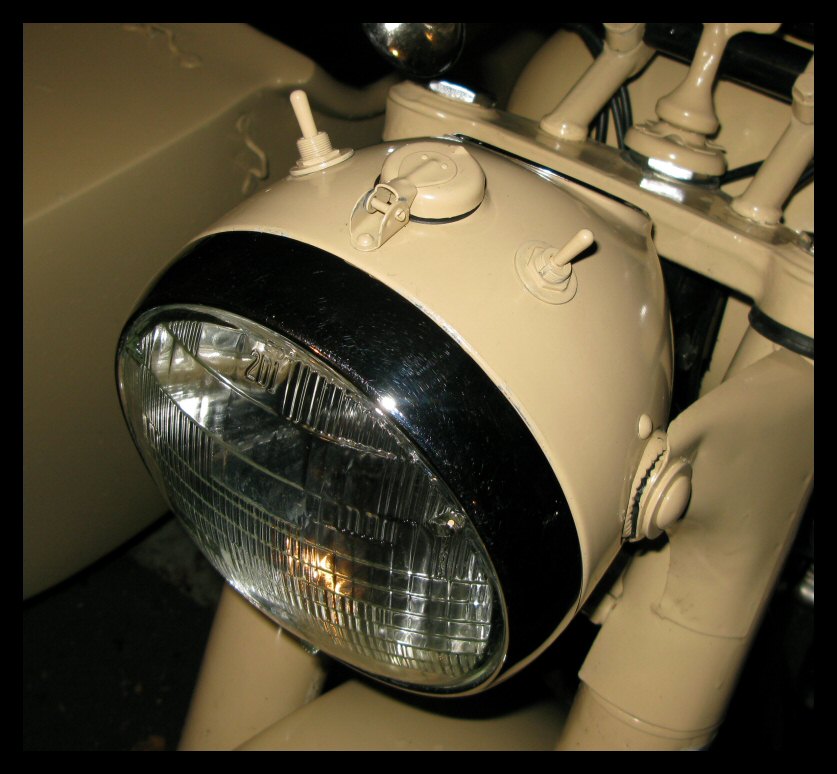 |
The entire setup is inexpensive and dead simple. Indeed, you can buy the 575 regulator for $24. A 20A SPDT switch is less than $3. All in all, the switches don't look that bad. Heck, the correct sized holes for them are already there! This configuration works like a dream as confirmed by the ammeter—and lights that remain bright all day long. | ||||