 |
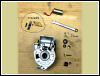
CJ750 toolbox |
| Moving a 6V condenser to a more
logical location |
| Normally, changing a condenser isn't that
big a deal, but when you're doing it by the roadside, it
can be a real pain in the patootie, especially if it's
105° in the shade, or pouring down rain. There's no real
reason this task needs to take more than a minute or
two... as opposed to the 15-20 minutes it might normally
take, especially on a hot motor. |
 |
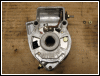
Here's why it's a dumb job. In order to get
at the condenser, you need to pull the distributor. That
means removing the cap and rotor, then disconnecting the
coil. None of that should be necessary. With advance
preparation, you can replace a condenser in a minute or
two. |
 |
 |
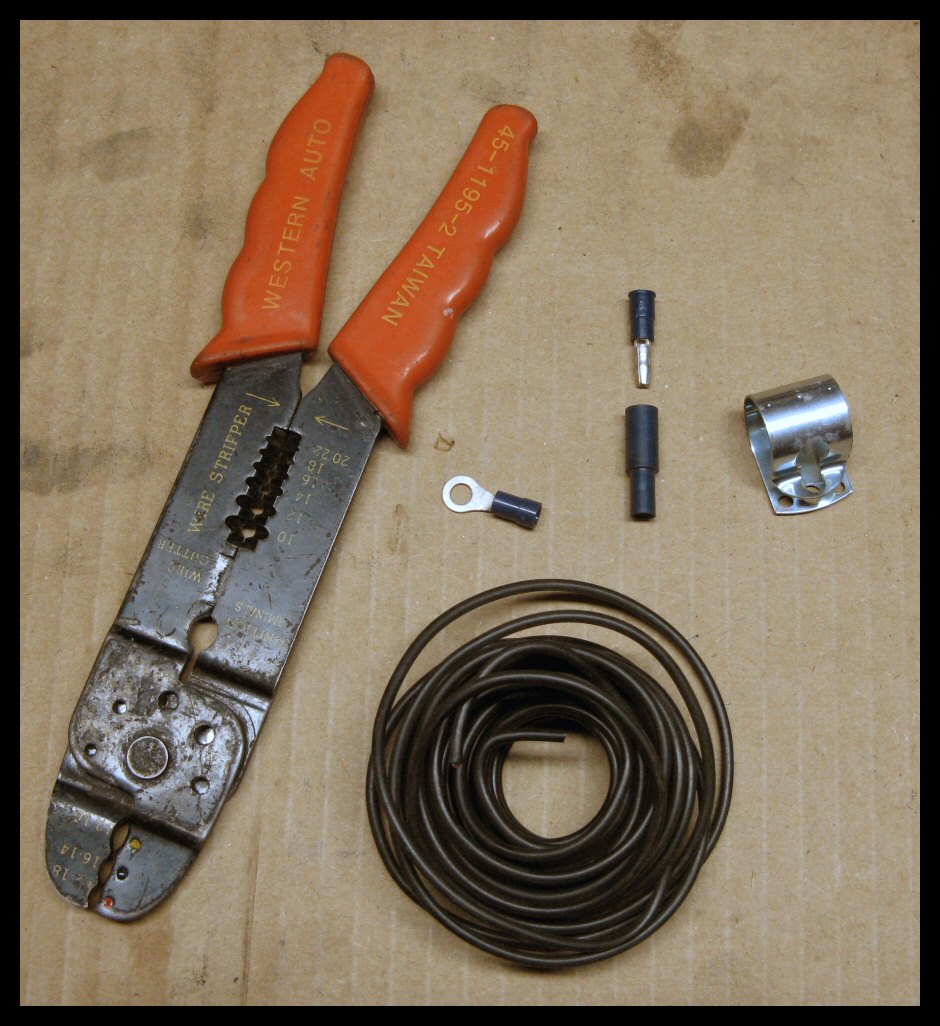
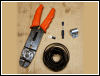
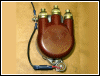
This is what I used to relocate the
condenser. You can use any type of quick-disconnect
terminals. I just happened to have this type on hand. The
only one that really matters is the ring connector. |
 |
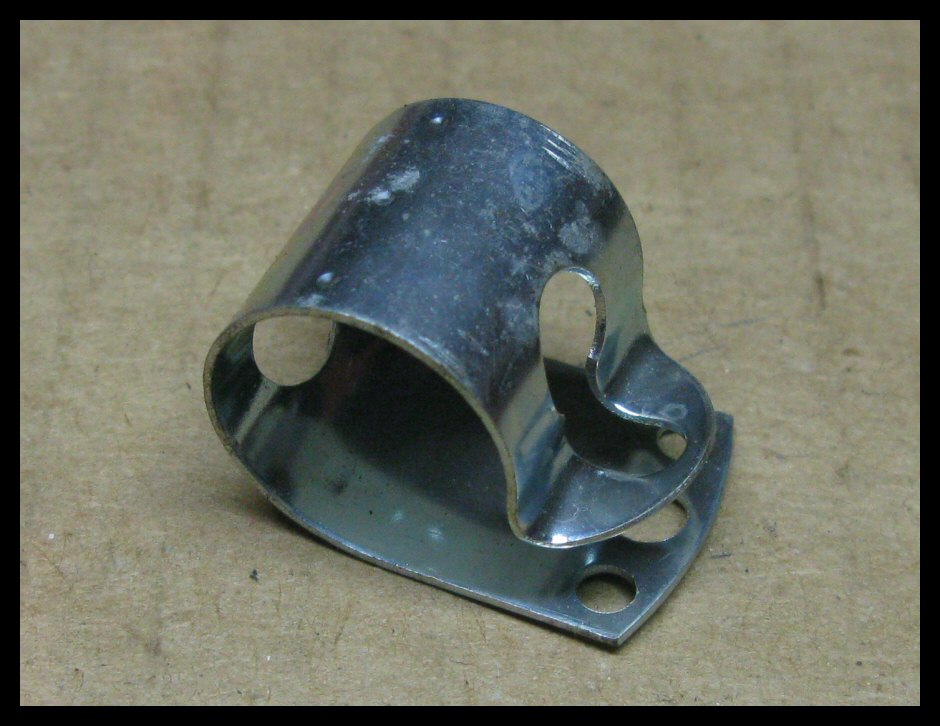
Many condensers come with a little bracket
like this one. It was in the junk box. You can probably
get one or something very similar to it at an auto parts
store. |
 |
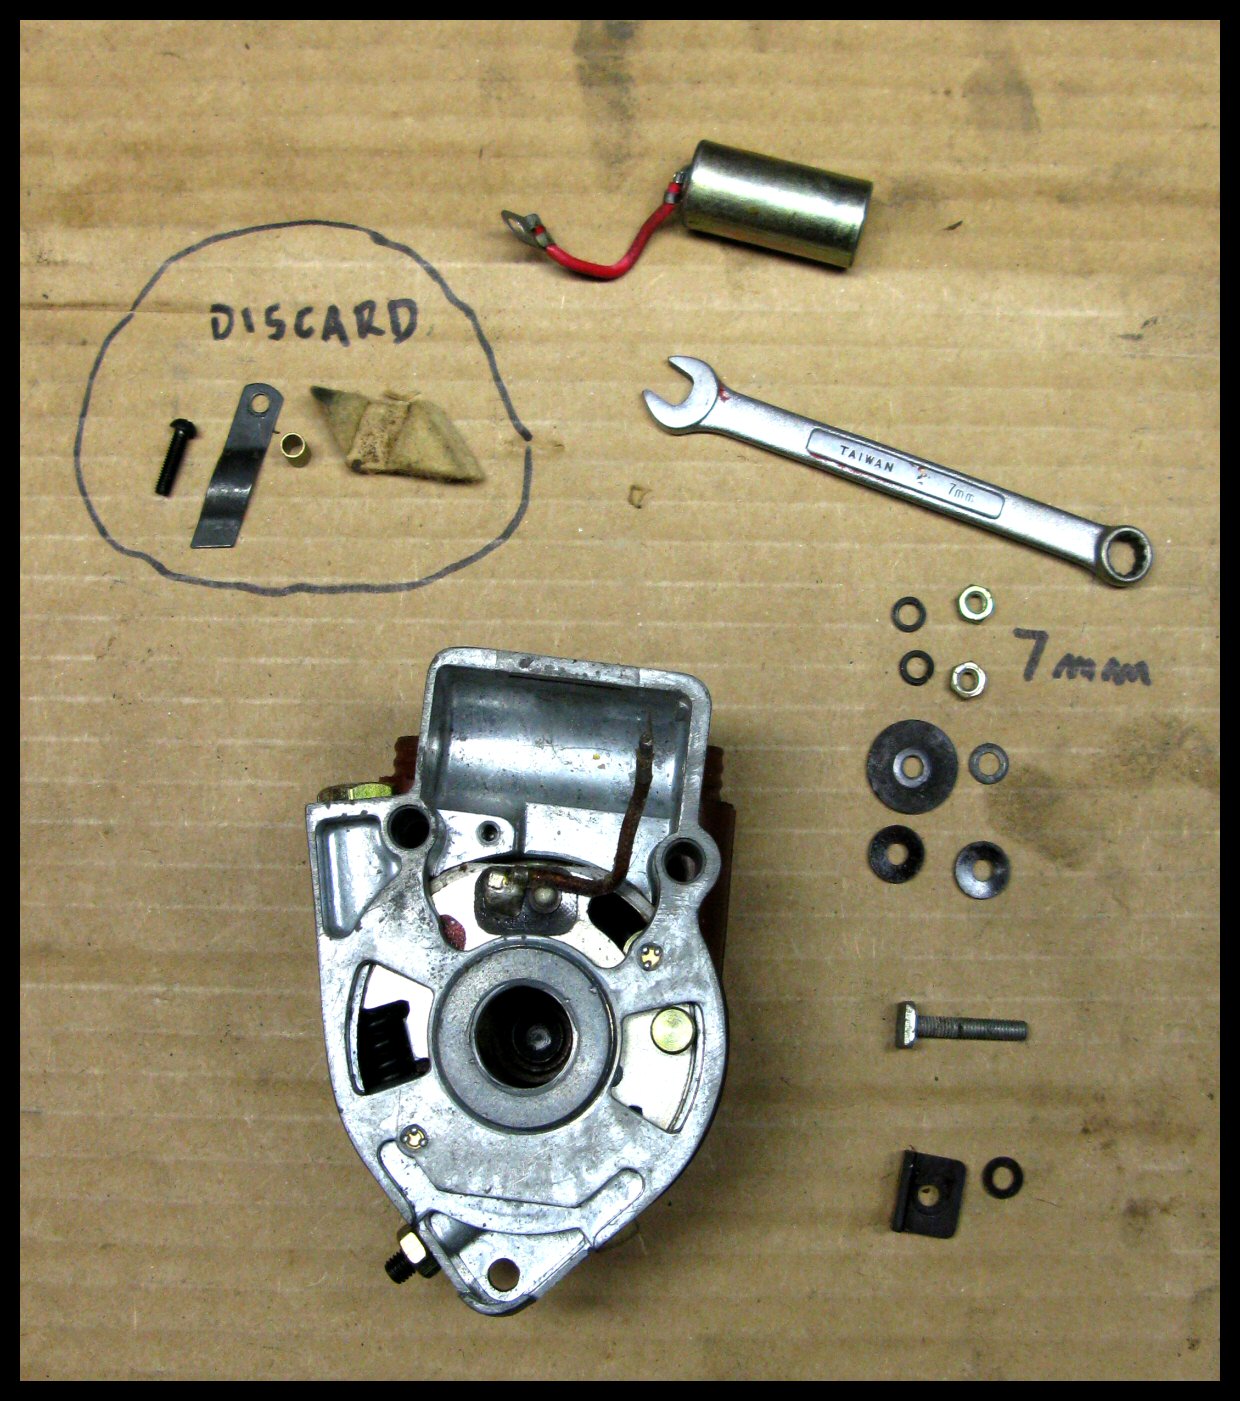
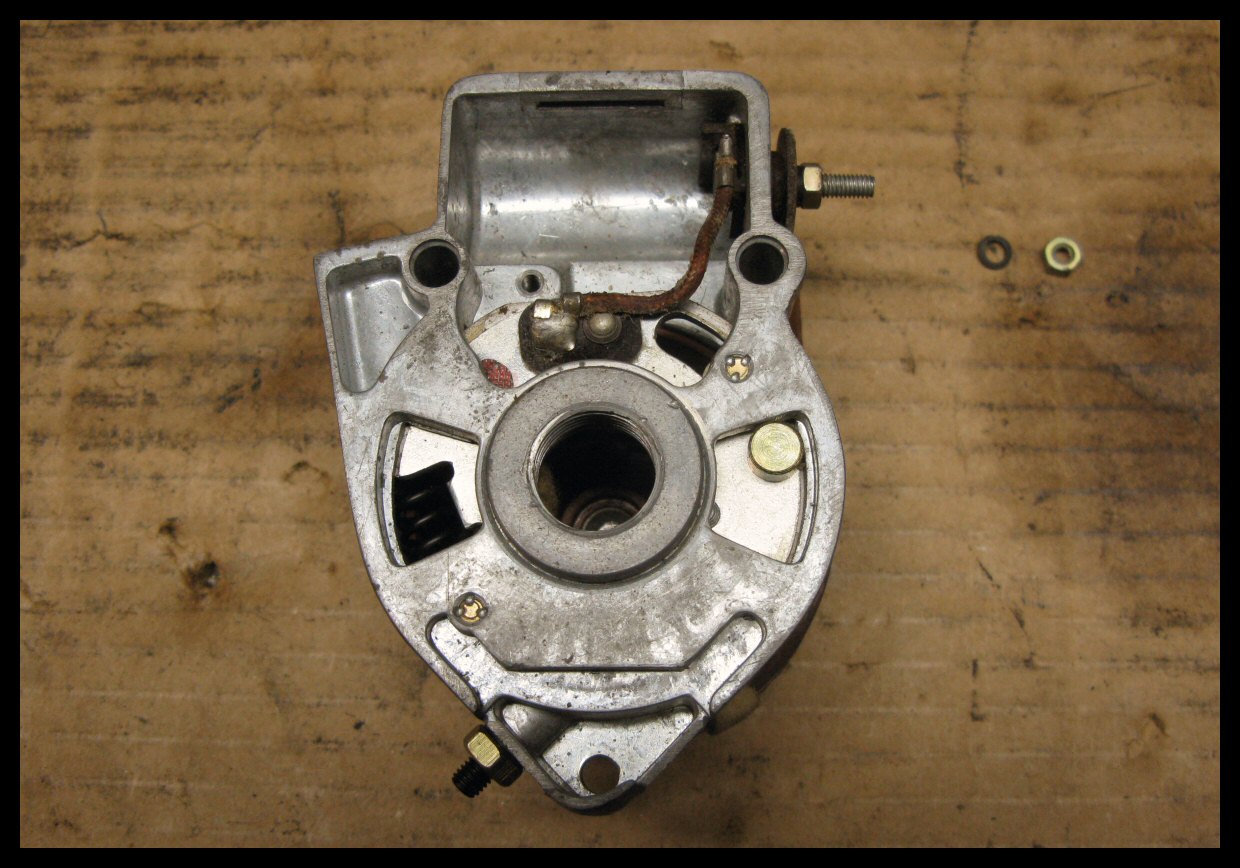
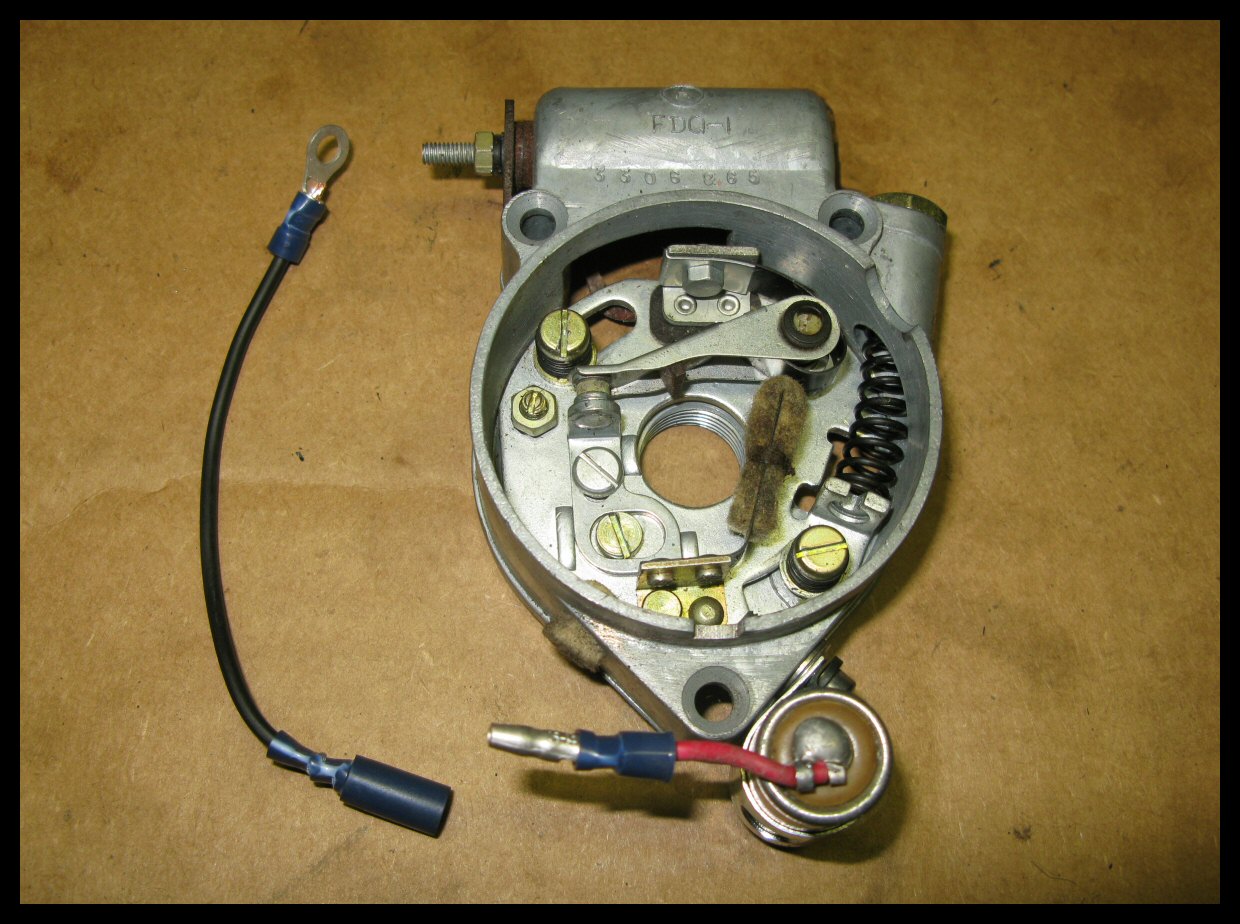
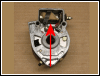
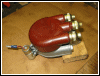
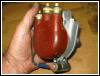
As you can see here, the condenser has been
removed. Look at all the washers and stuff. |
 |
Once the condenser is out, everything else
has to go back exactly as it was beforehand. Be sure to
note how the insulator block and insulated washers were
originally positioned. The terminal screw must be totally
insulated from the housing, otherwise your bike won't
run. |
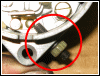 |
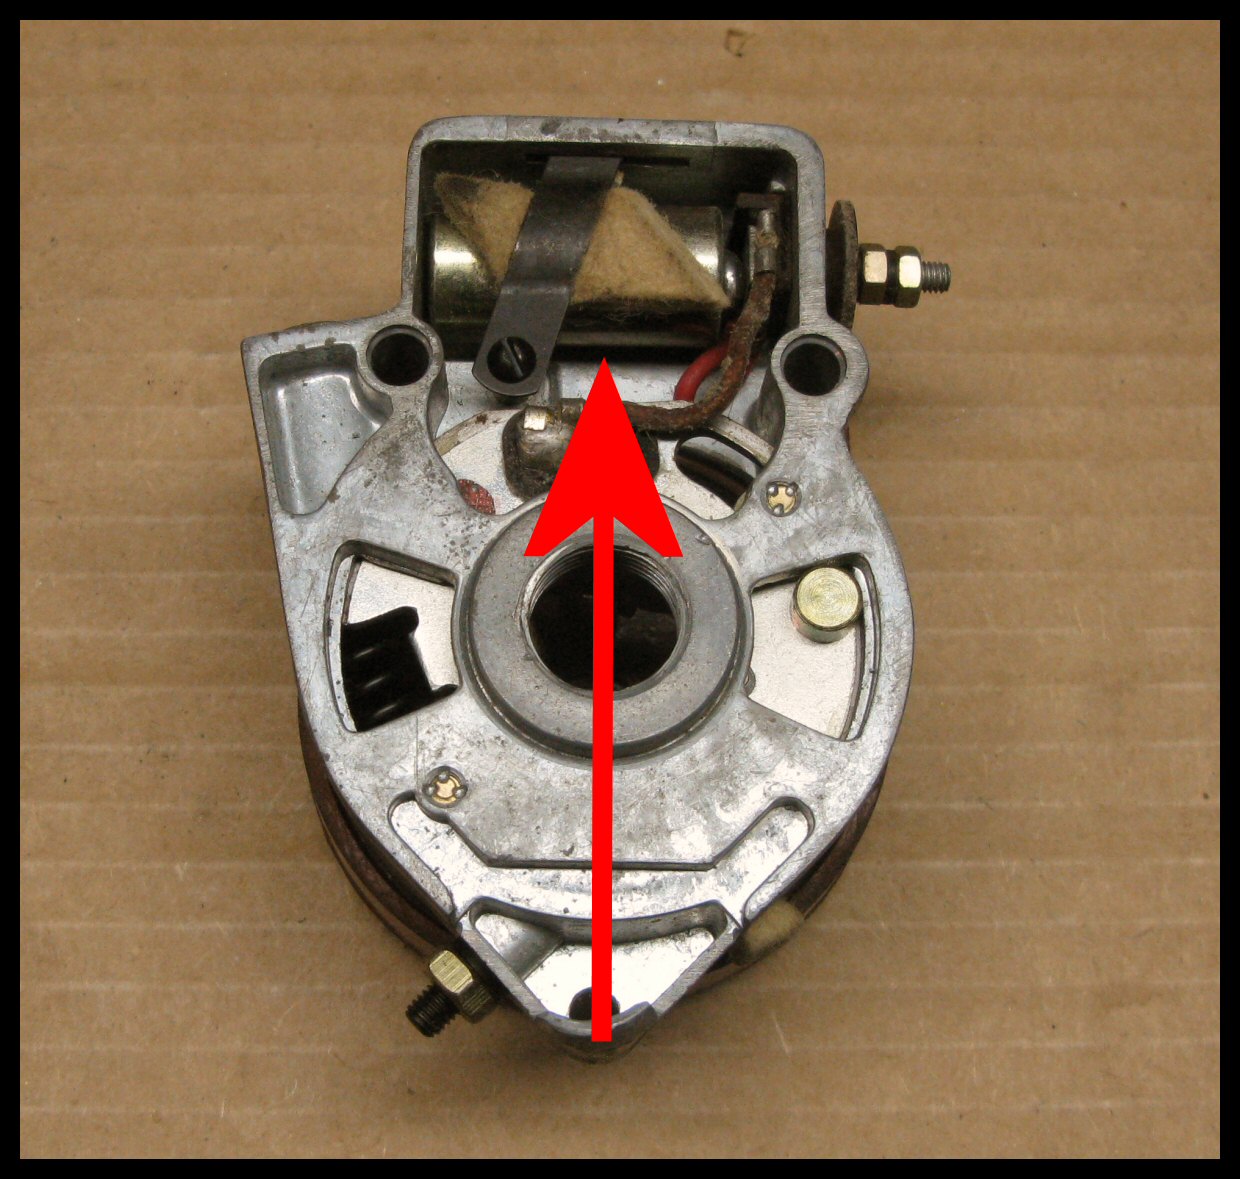
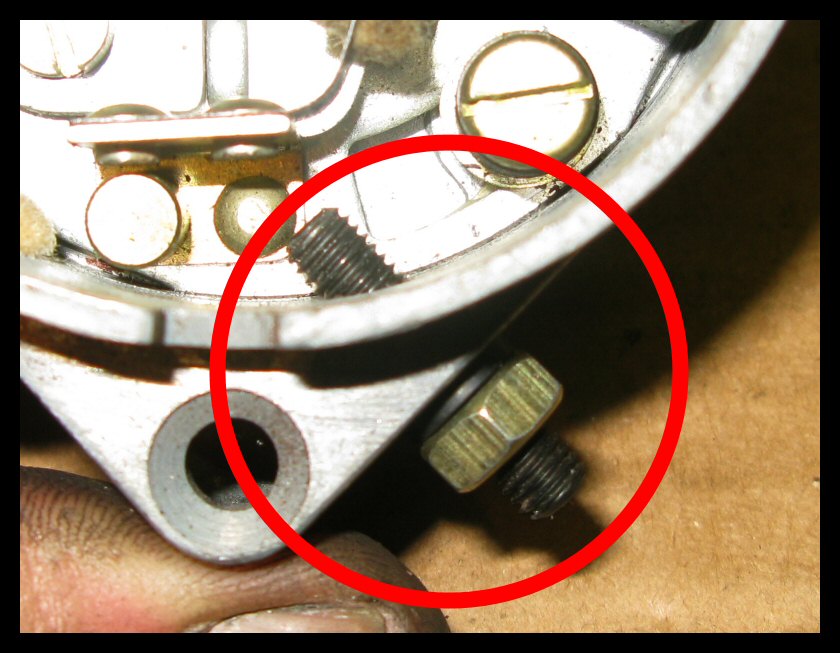
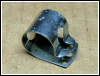
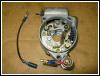
One place to mount your condenser bracket is
where the stop screw for the spark advance protrudes from
the distributor. What's this screw for, anyway? Visualize
the innards of the distributor rotating counterclockwise
as you pull the spark advance lever. This screw is what
stops them from going beyond whatever point you deem
appropriate. |
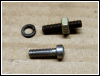 |
The original screw is slotted so it can be
adjusted, then locked in place by the nut and lock
washer. I replaced it with a ½" screw. Personally,
I want the innards to have a full range of travel. I keep
things adjusted tight enough that the distributor stays
in whatever position the lever is left in. Therefore, the
stop is unnecessary, but a nice place to mount a
condenser. |
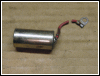 |
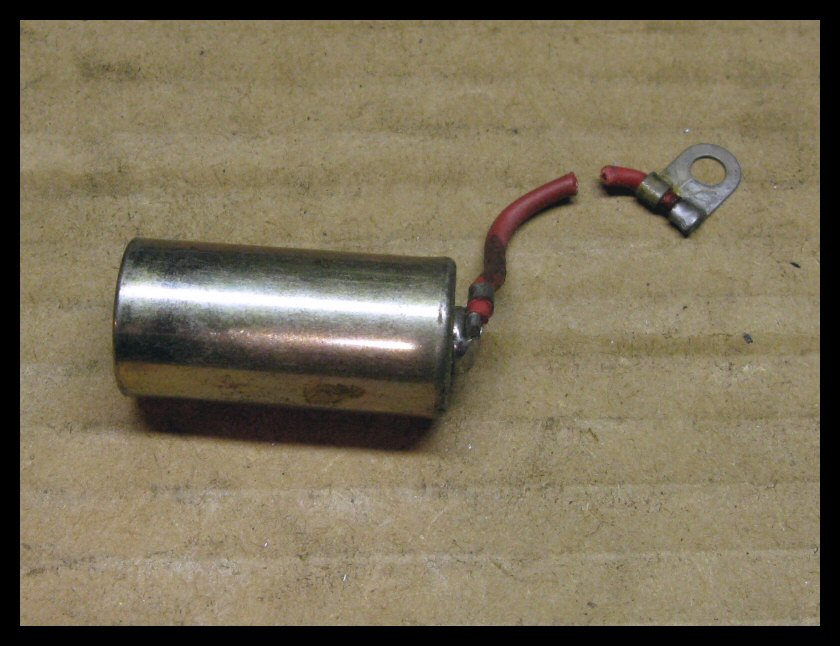
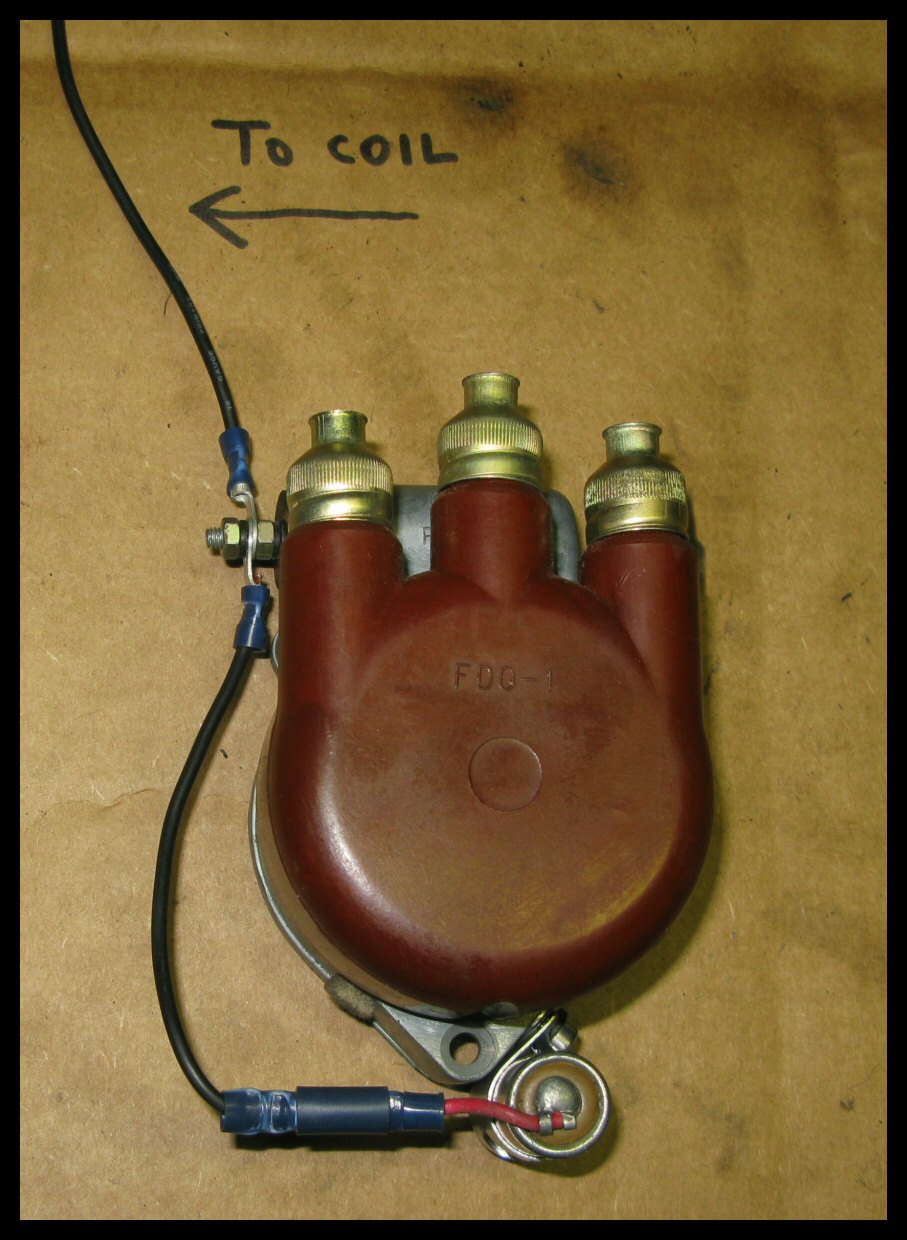
Here's the condenser with the wire clipped
about an inch from the body. |
 |
And here's the male quick connector crimped
in place. As I said earlier, you can use any type of
connector that floats your boat. |
 |
That looks pretty good. Now we need to
connect it. |
 |
This is roughly 3" of wire with a
female quick connect on one end and a ring connector on
the other. |
 |
 |
 |
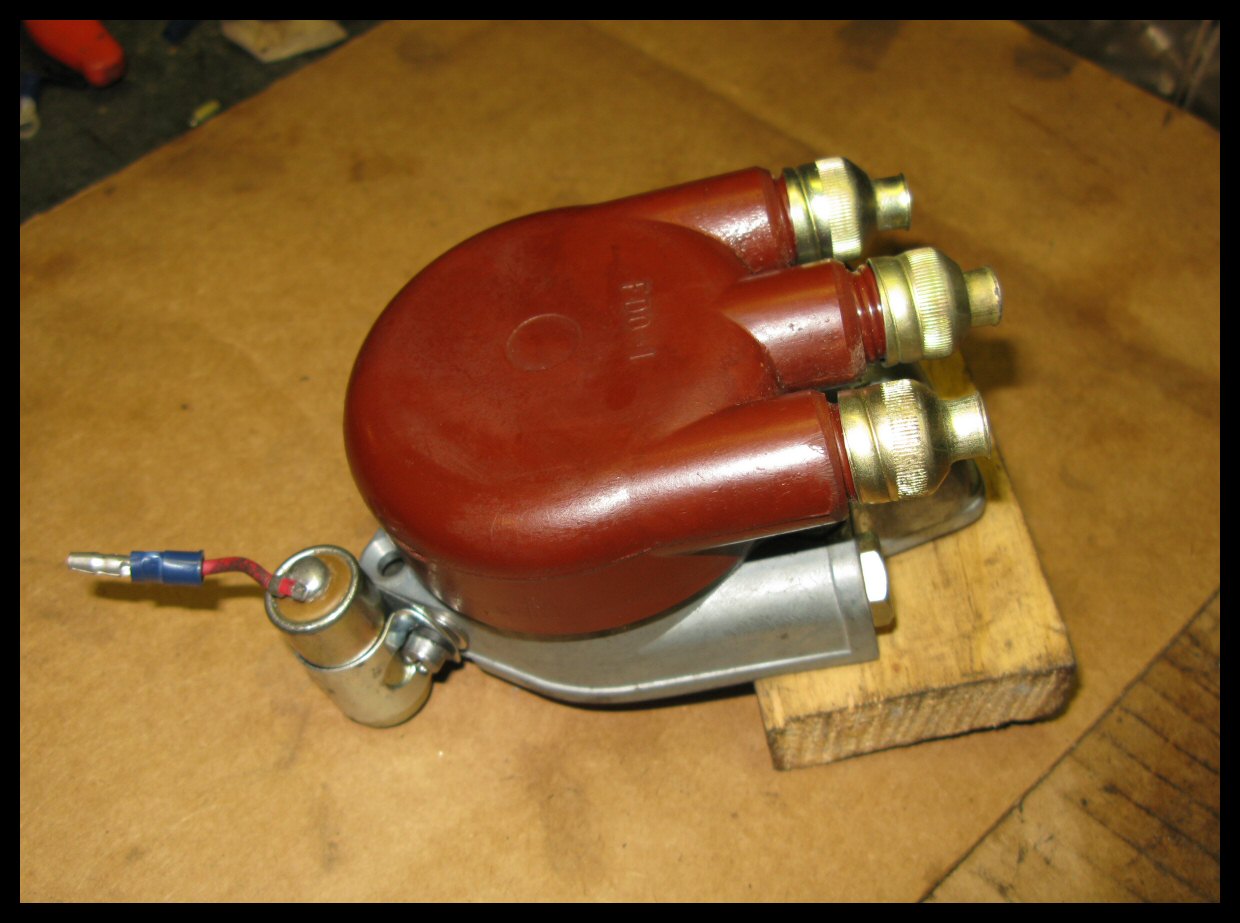
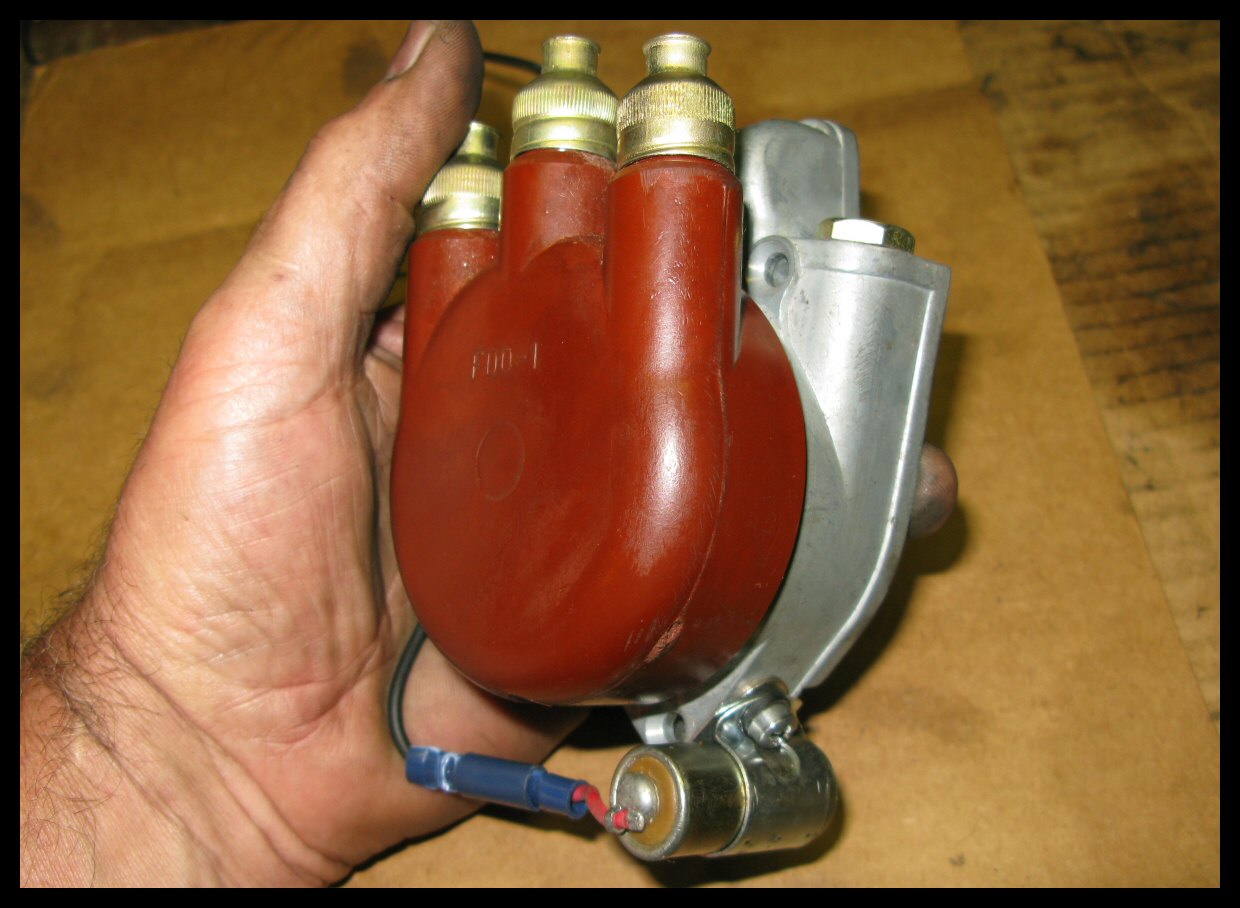
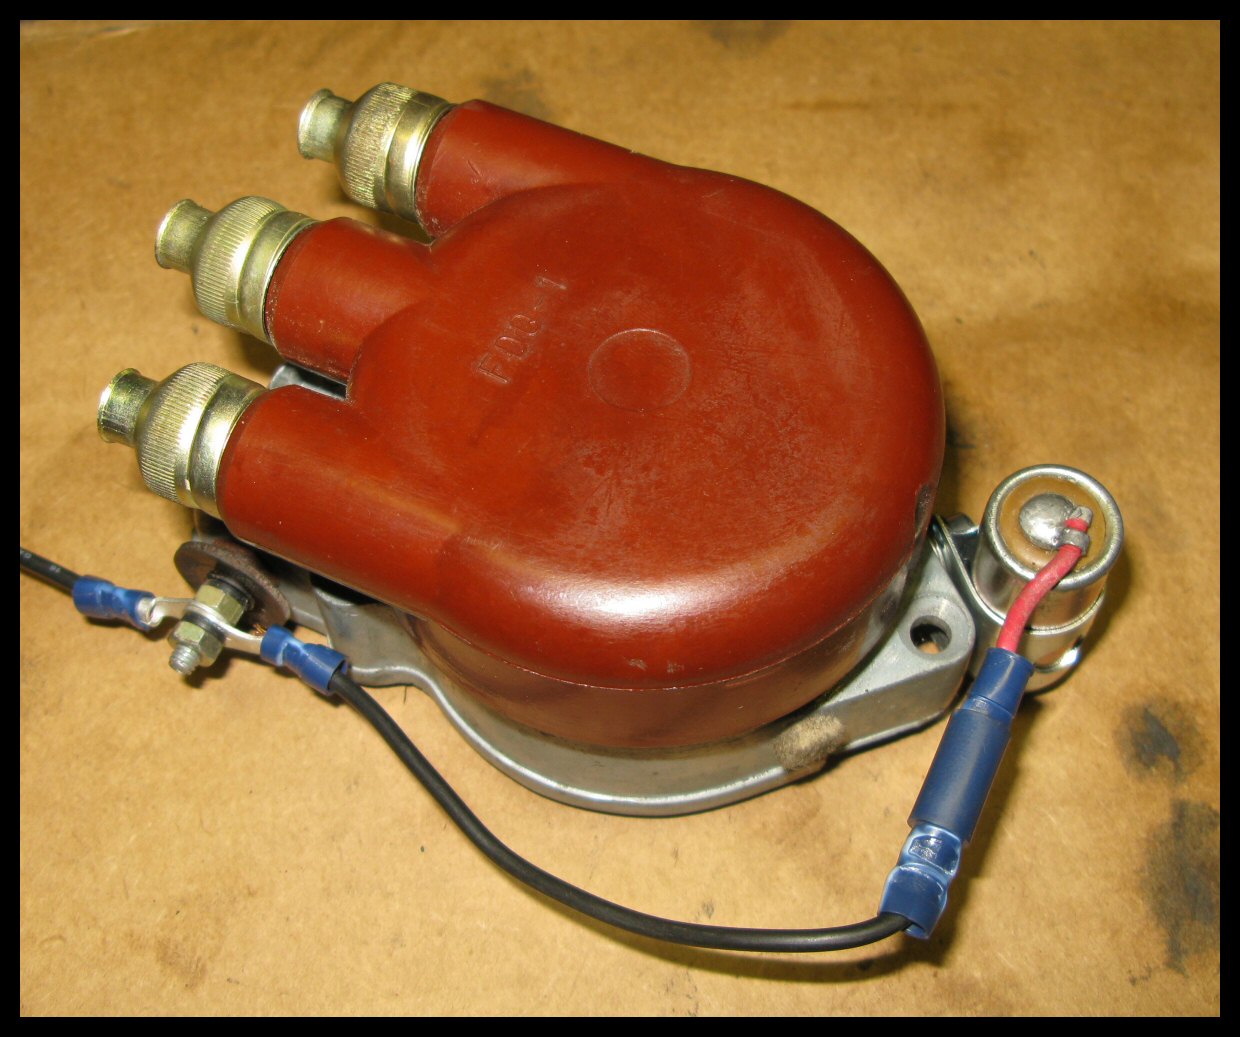
And this is how it looks upon completion. To
remove the condenser, you loosen the bracket screw, slide
the condenser out and pull the wire apart at the quick
disconnect. |
| Of course, the only way to reap the full
benefit of this arrangement is to have a spare condenser
that's been made up in advance. Carry one or two in your
toolbox, and your next roadside condenser change will
take all of two minutes. |
 |
|
|
|
|
|