| Echlin regulator installation by Trevor Bos | |||||
| I just put the Echlin VR1003 voltage regulator in my Chang and took some stills of the process, pretty straight forward and it fits nicely with a couple small modifications. The VR1003 is a three-wire regulator with the following colour code: black = ground, green = field, red = battery | |||||
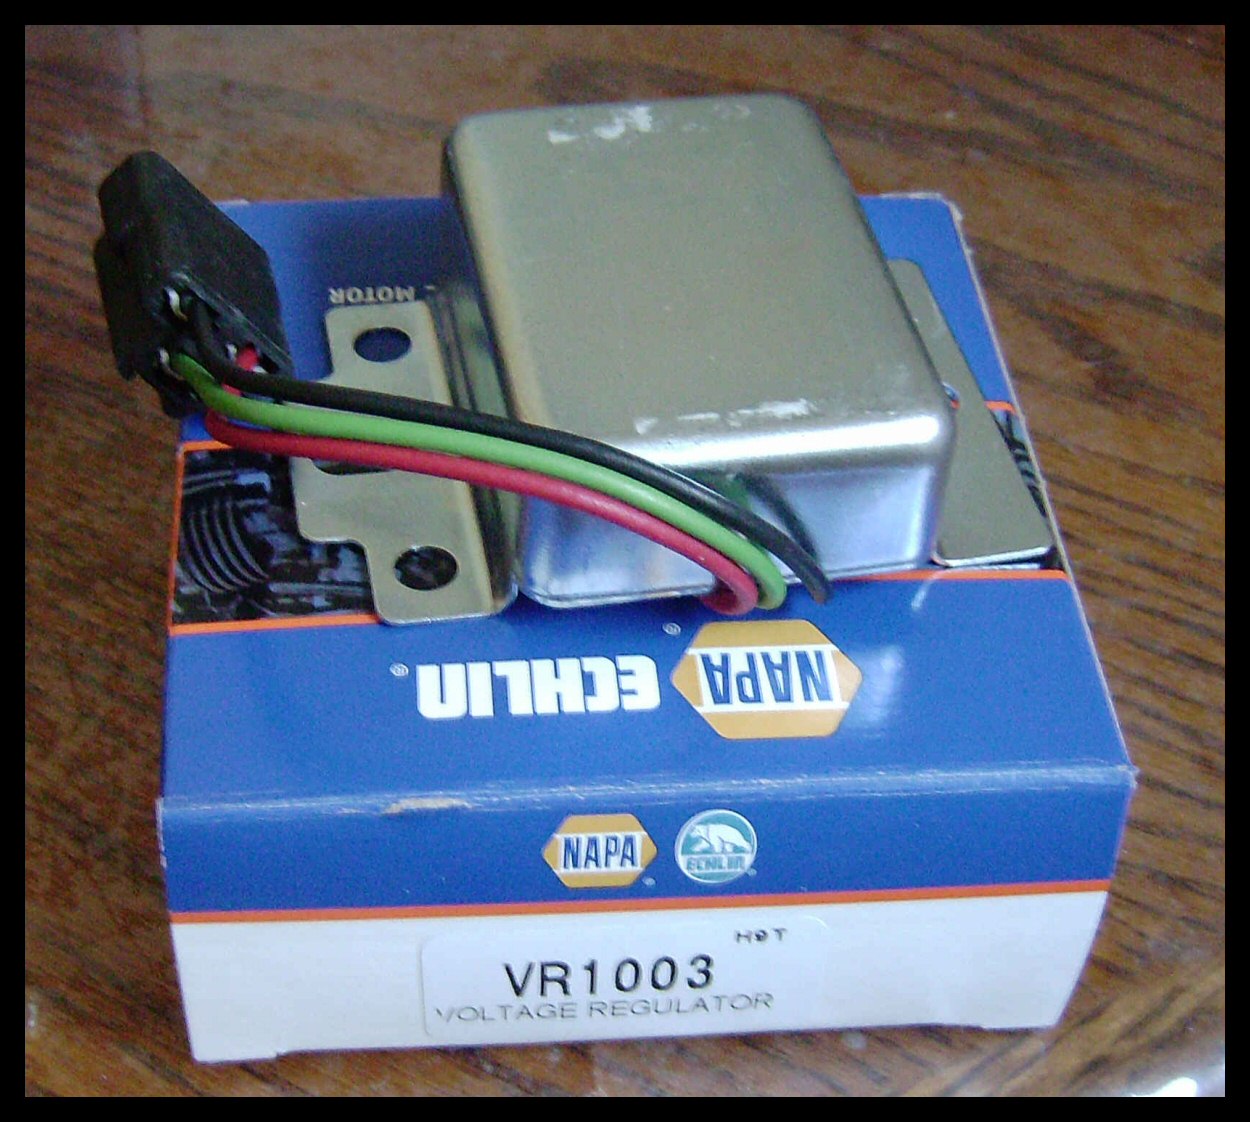 |
The new regulator as received | ||||
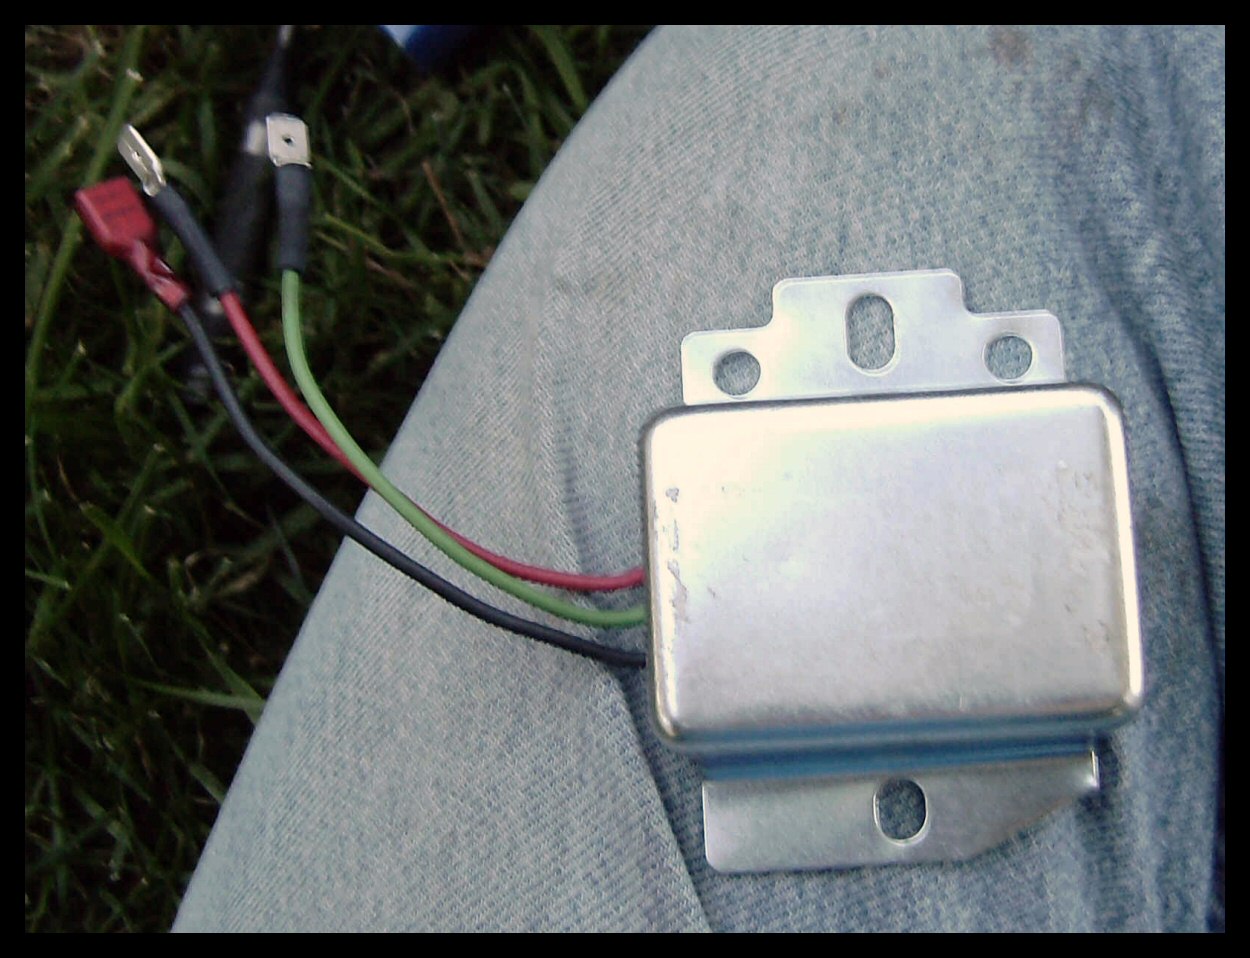 |
The modifications. Clip the connector off as close as possible and discard. To use the lower screw hole in the case, I needed to clip a corner from the regulator with a pair of snips, then with the regulator in place, the upper hole was marked and drilled. No way around it, but one extra hole is better than two. | ||||
| Two notes on electrical connections:
The regulator is grounded through the chassis, not the starter relay. Place ring terminals on the regulator ground (black) wire and the ground (green) of the starter solenoid. These will need to be taken to chassis ground. The upper mounting screw served handy. The other is to check that the field and battery wires have been previously connected properly. If the field and battery wires were reversed before, transfering them as is still won't solve anything. This was the root cause of my overcharging problem. |
|||||
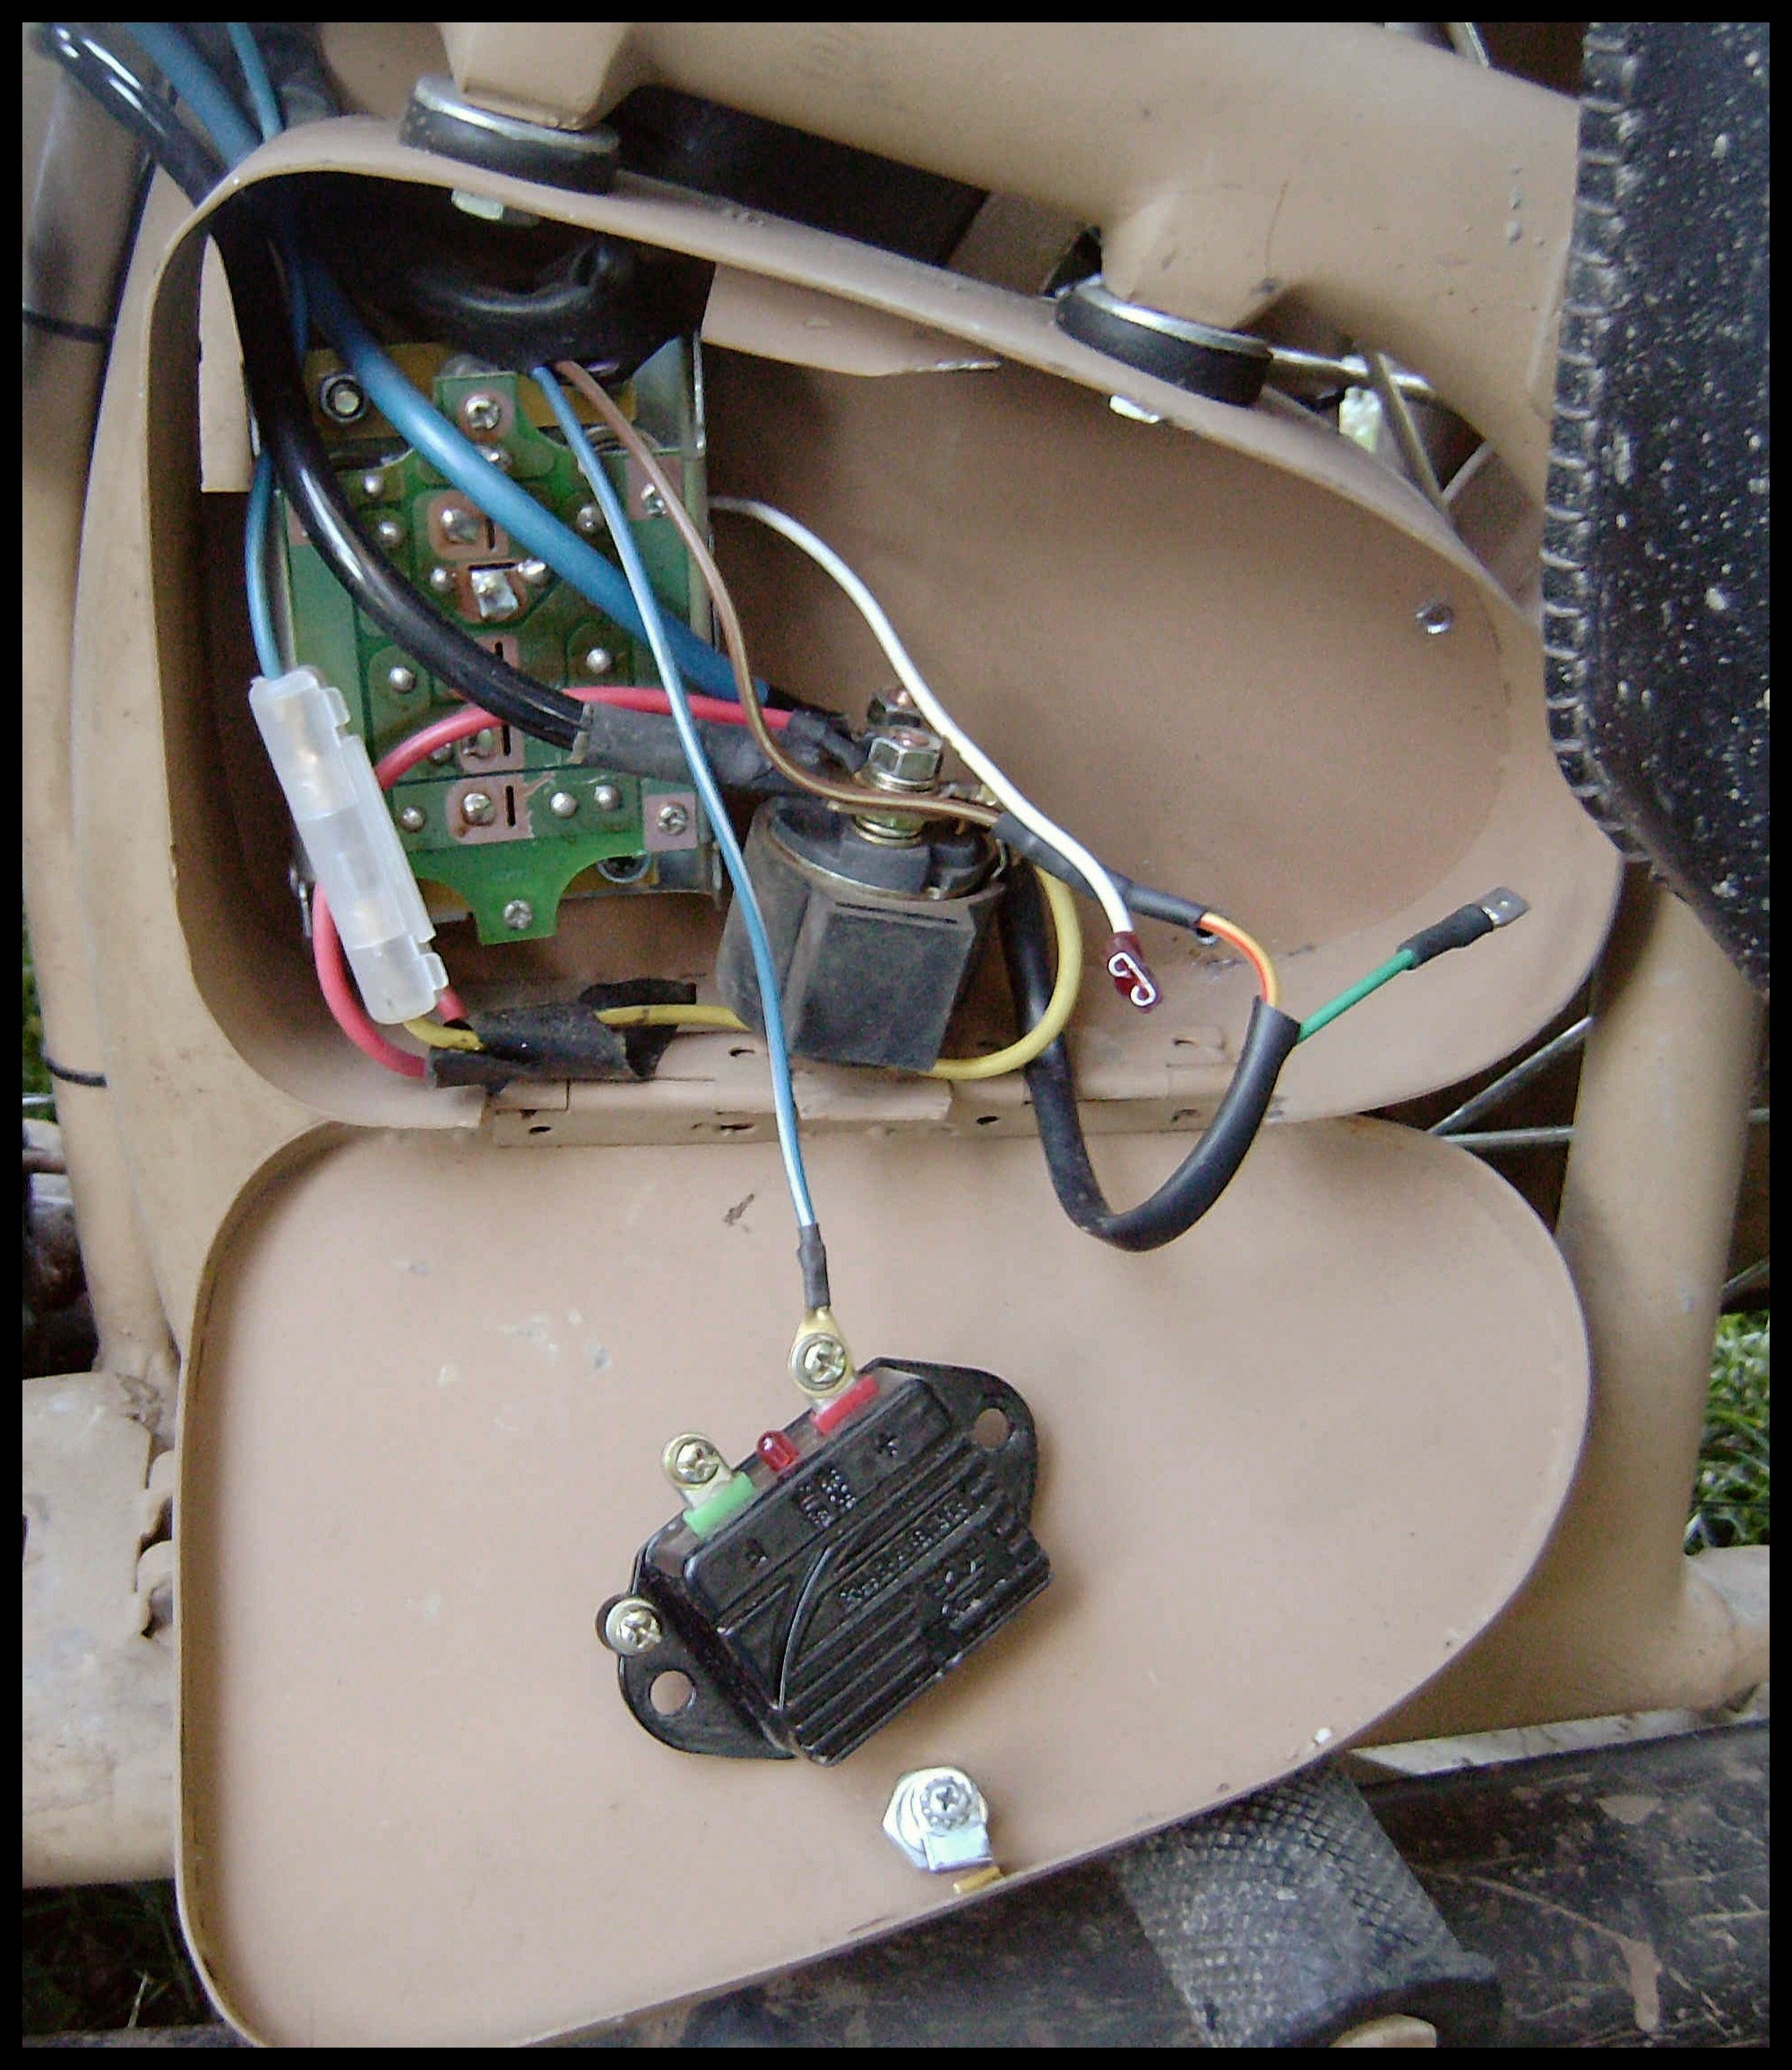 |
The old regulator partially removed | ||||
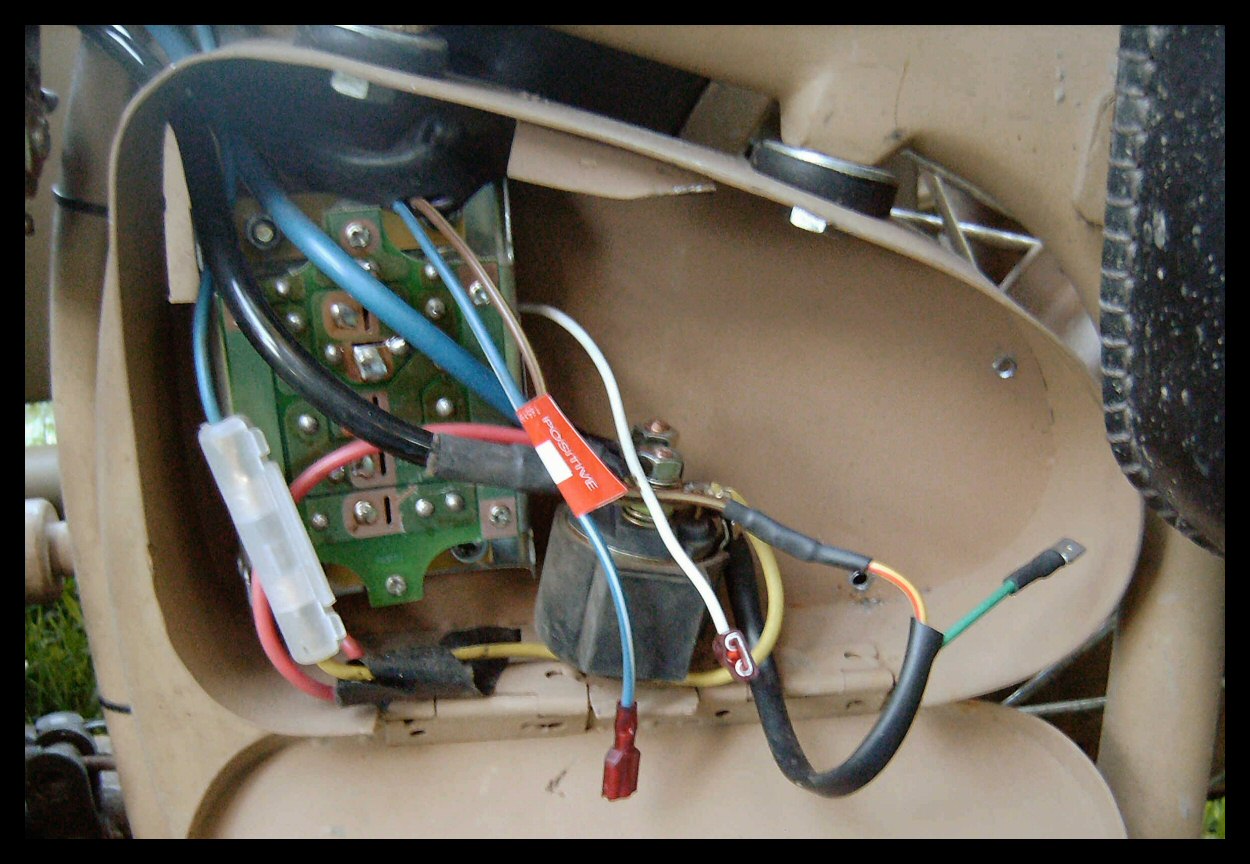 |
Completely removed. I used insulated spades. The male spade was swapped to a ring terminal and in hindsight, putting one female on each side of the connection would eliminate any guesswork instead of relying on the tag I attached to the battery wire. | ||||
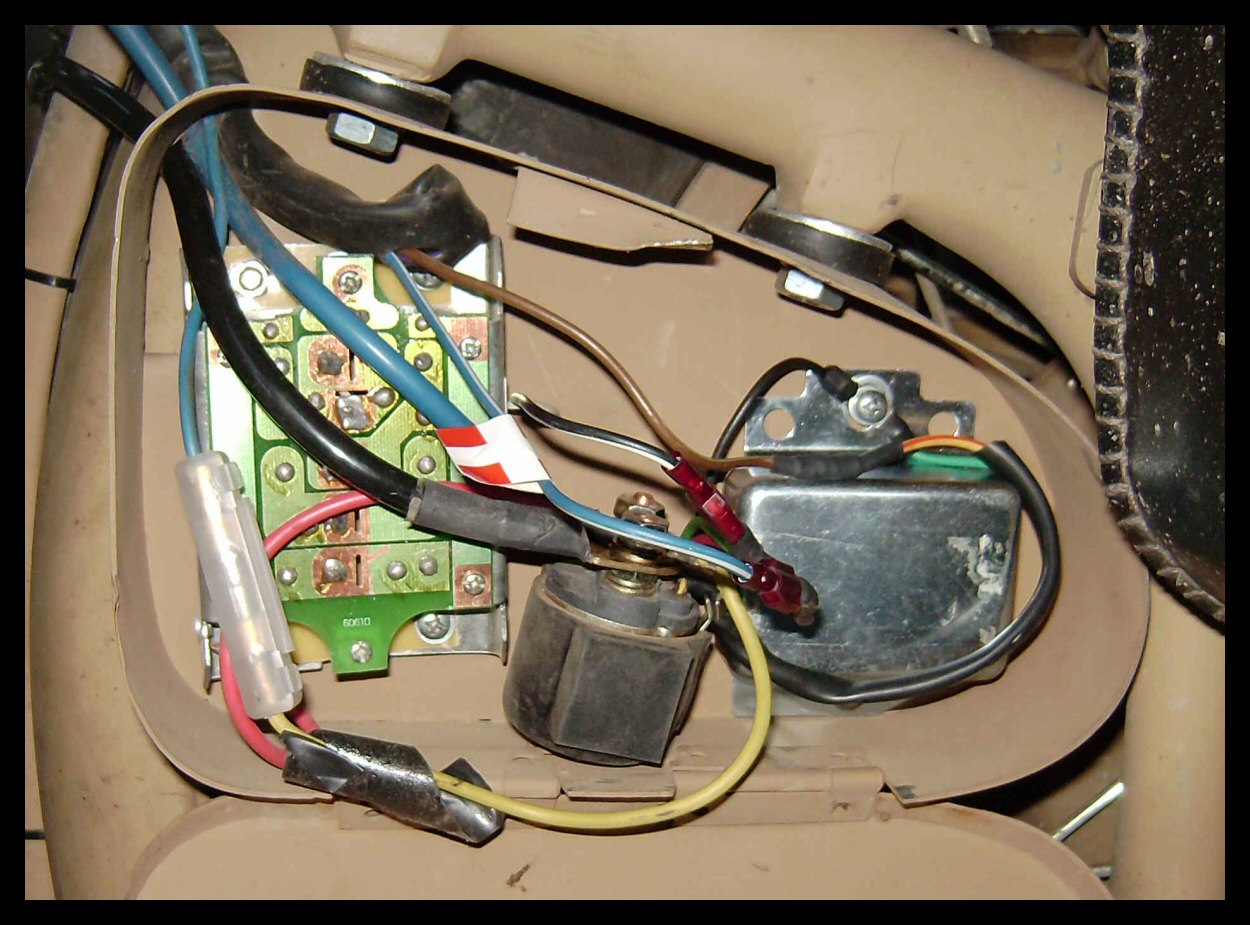 |
The finished result | ||||