 |
Changing & setting 6V
points by Francois Roux |
 |
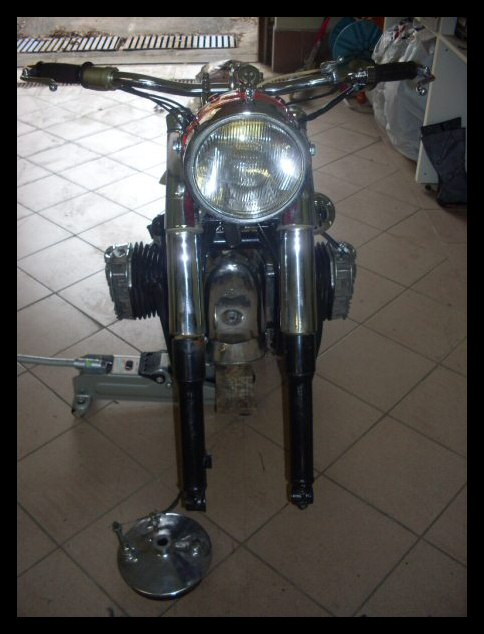
For a correct access and easy work, I advice
to remove the front wheel as well as the mudguard. |
 |
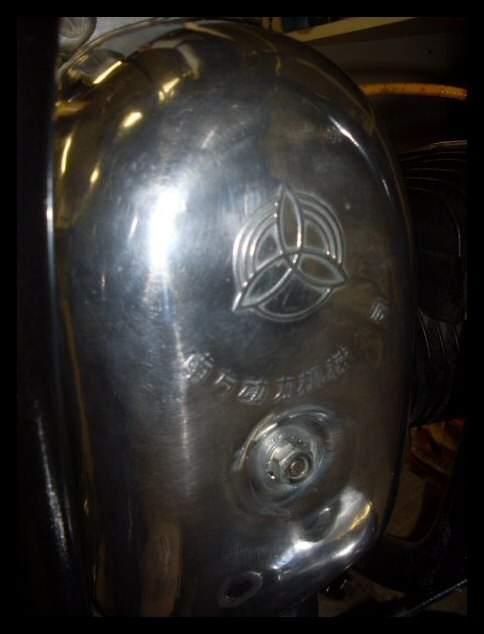
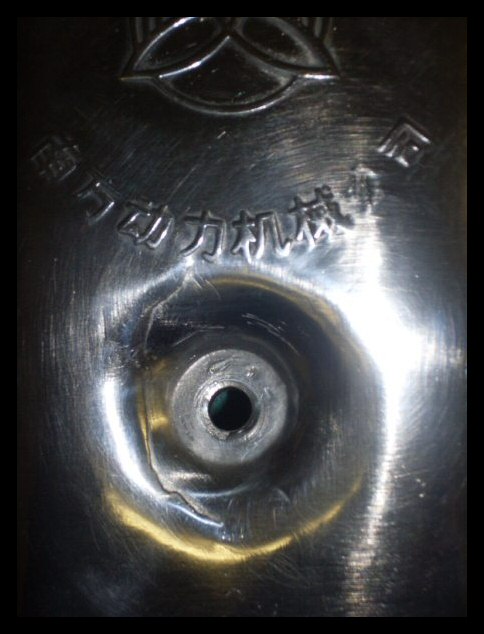
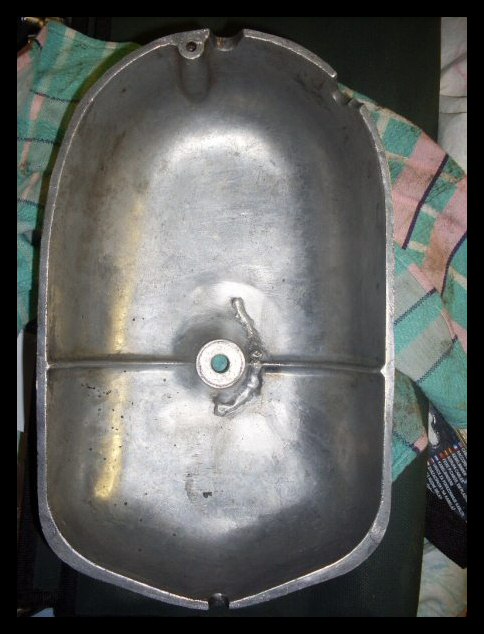
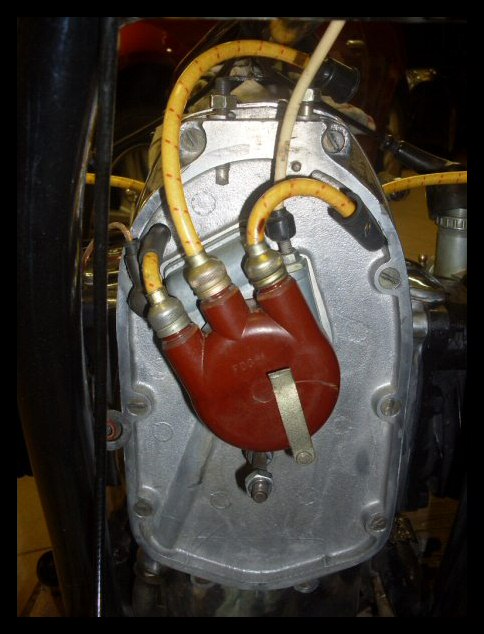
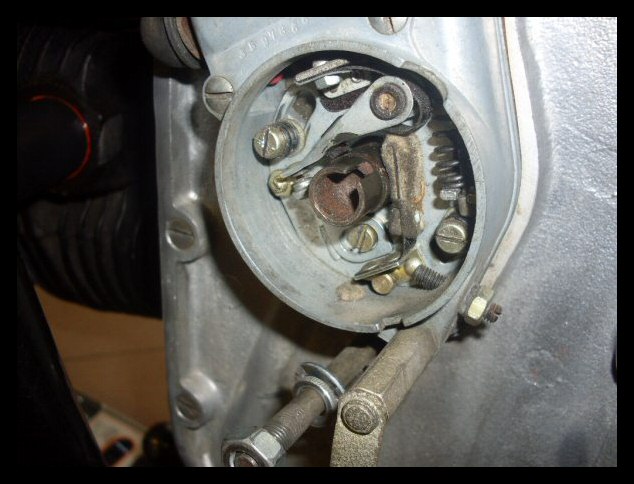
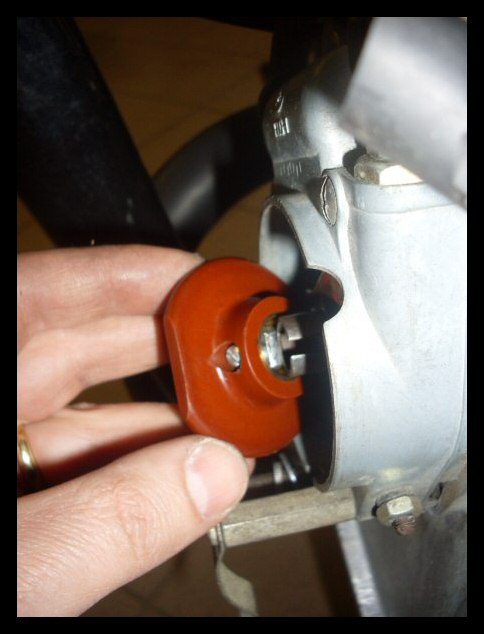
Remove the protection case by unscrewing it. |
 |
Beware it's a delicate alliage, and when
putting it back don't squeeze the screw too much, you
might break it. |
 |
I needed to have it welded, and it's
aluminium, so it's a bit hard to find a guy that could do
it.. |
 |
Remove the light brown bakelite cover by
sliding the lever. |
 |
 |
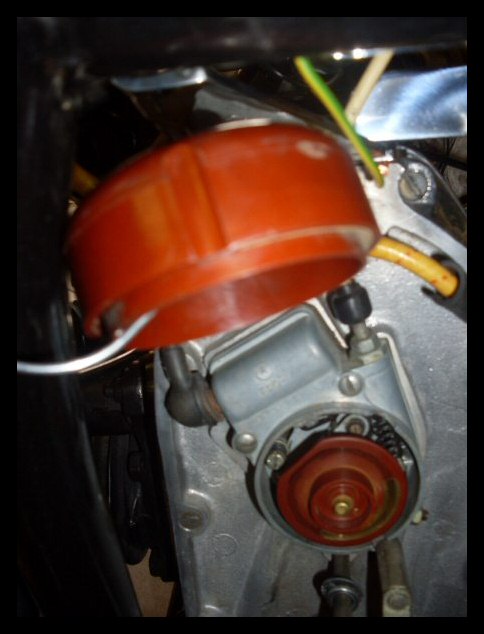
For easy work, I used an old piece of
metalic hanger, to have the cover permanentely open. |
 |
There you are. Turn the engine with the
quickstarter, so to turn the rotor and make possible the
access to the 'hidden' screw. |
 |
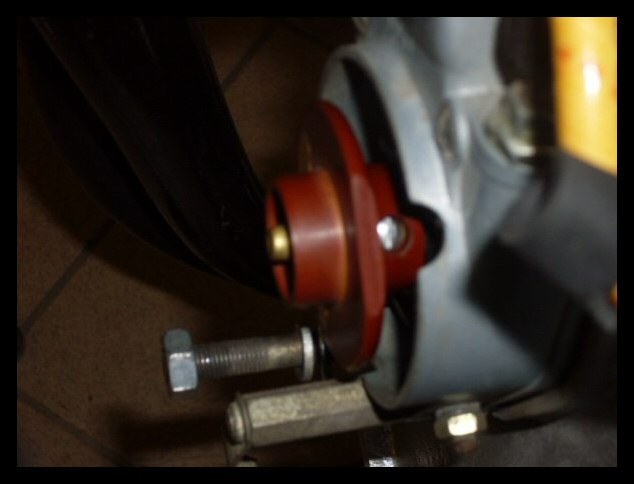
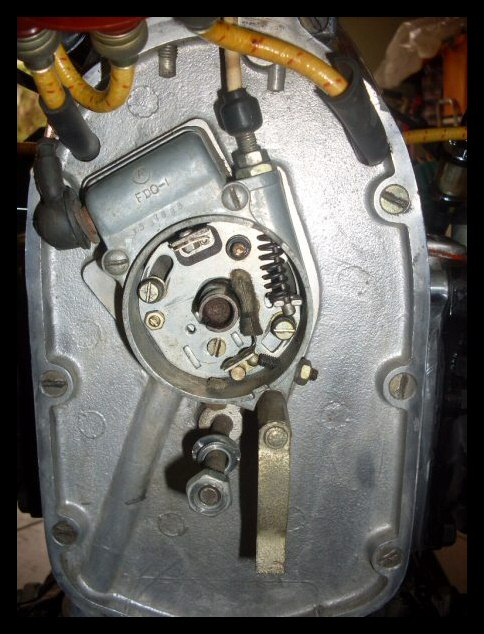
Remove the screw and the rotor by pulling it
forwards gently. |
 |
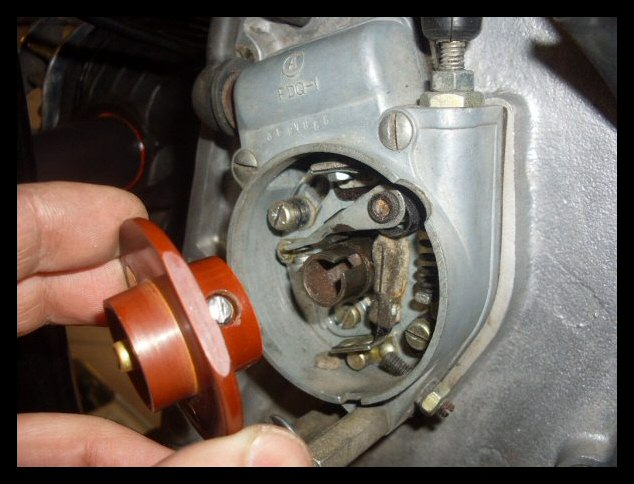
You can see the points, with the fix contact
and the moving one. |
 |
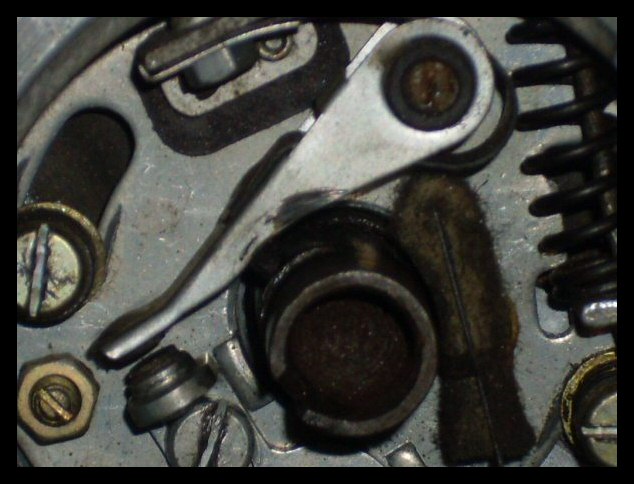
Once again, turn the engine thanks to the
quickstarter, untill the contacts are wide open. Note
that the rod connected to the camshaft is not round.
Therefore, opening the points means to have the contact
of it, on the highest part of the camshaft rod. |
 |
Then for fun, you can measure the space
between the contacts. Mine was 0. 7mm, while 0.45mm is
recommended. |
 |
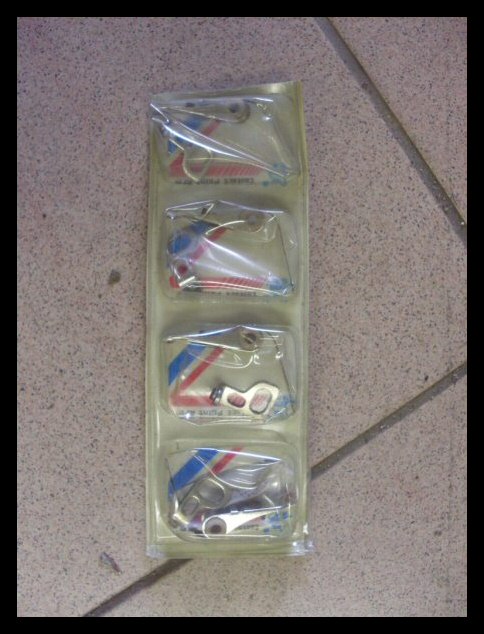
I decided not to tune them up but to change
them directly. |
 |
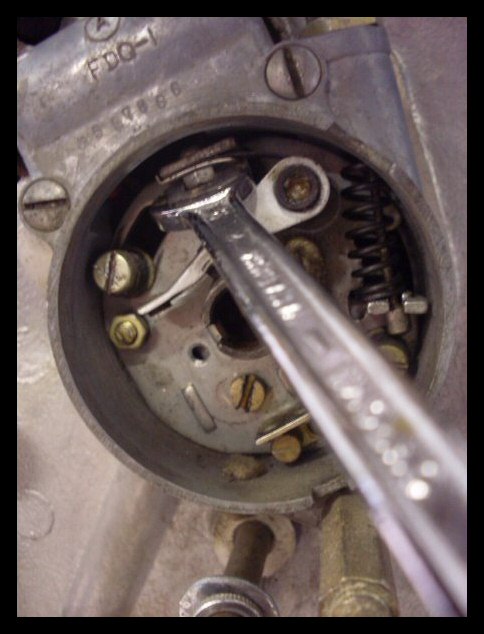
Unscrew the left screw of the lower contact,
it comes out easily. The other screw is for adjusting the
correct gap. Leave it in place. You need to use a 6mm
wrench to remove the fixing screw of the upper point. |
 |
Then pulling gently the point, will allow
you to remove it easily with it spring. |
 |
Then, proceed exactly the opposite way to
put back in place the new points. |
 |
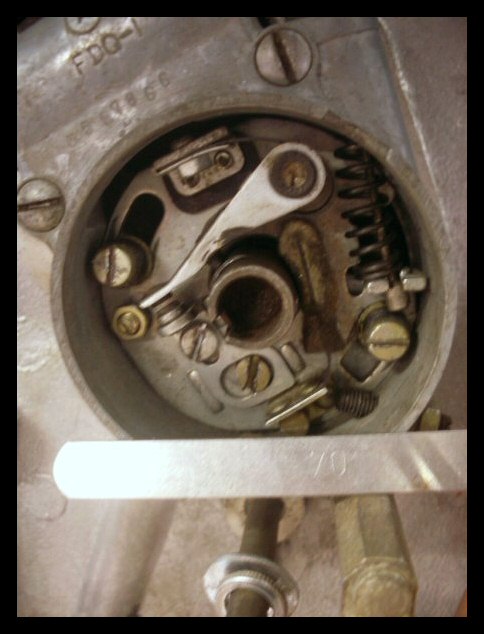
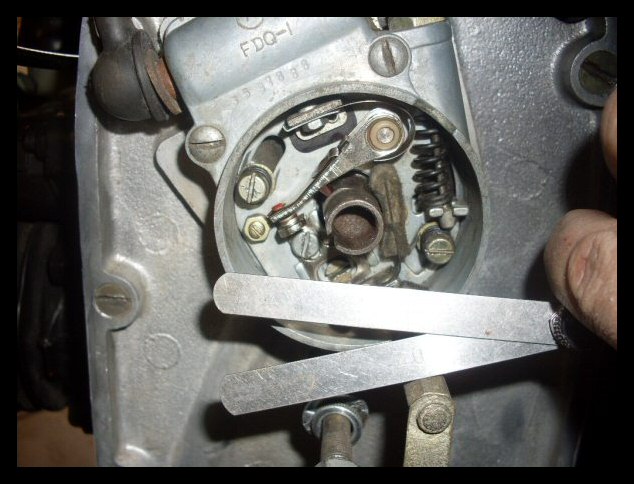
Before putting the new points, use a soft
tissue and some drops of solvant to clean the case from
carbon dust. When screwed, adjust the space between the
points by using a measurement guage and
screwing/unscrewing slowling the lower tuning screw.
According to what I read, it must be 0.45mm, so I used
alternatively the 0.4 and 0.5mm guages to adjust
everything properly. |
 |
 |
You just need to turn again the engine with
the quickstarter to make a 180° round and check the gap
between the point with your guage. It must be the same
0.4-0.5mm. Put back the rotor after cleaning softly with
solvant, the light brown bakelite cover and finally the
dust aluminium cover. Crack your engine, and that's done!
|
 |
|
|
|
|
|