 |
Valve installation using a
drill press by Dan Cason |
 |
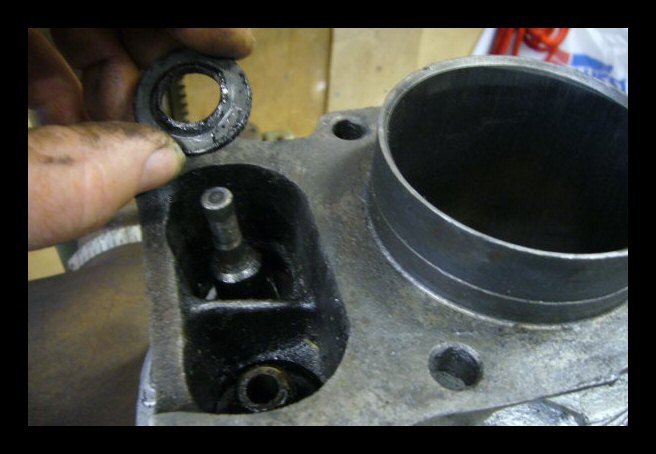
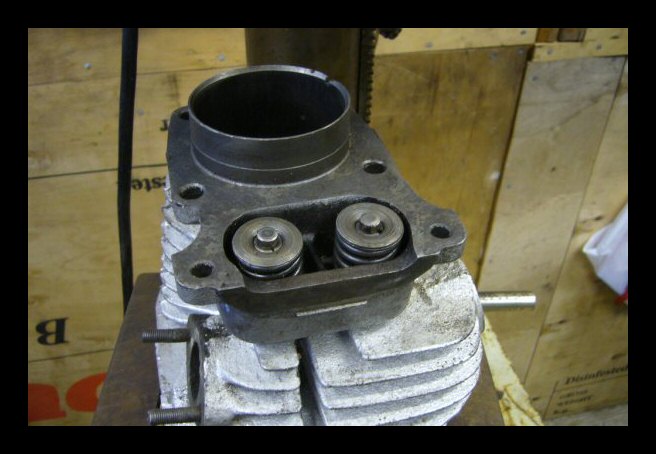
Here's the spring seat. There is a seal
under this. You probably don't have to remove this to lap
your valves. The seals on mine were old and brittle. |
 |
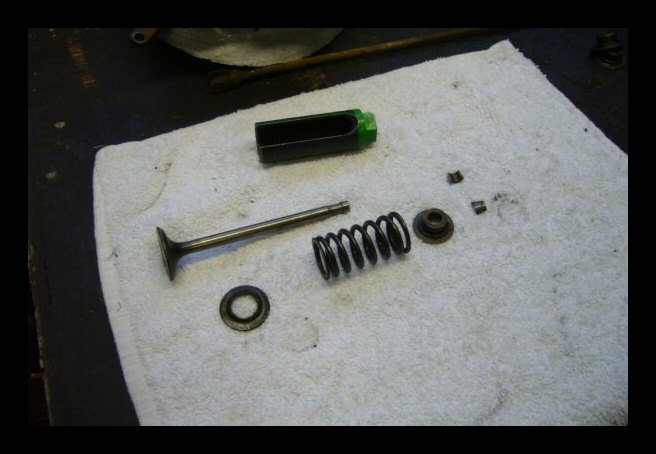
The parts of a valve assembly. |
 |
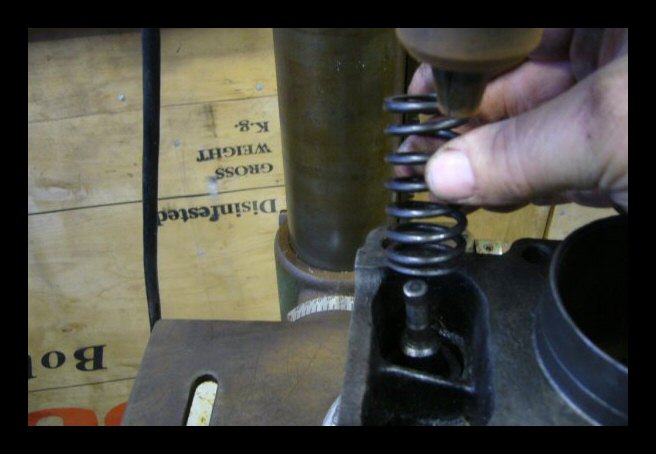
Spring goes on next... |
 |
...then the top spring cap. |
 |
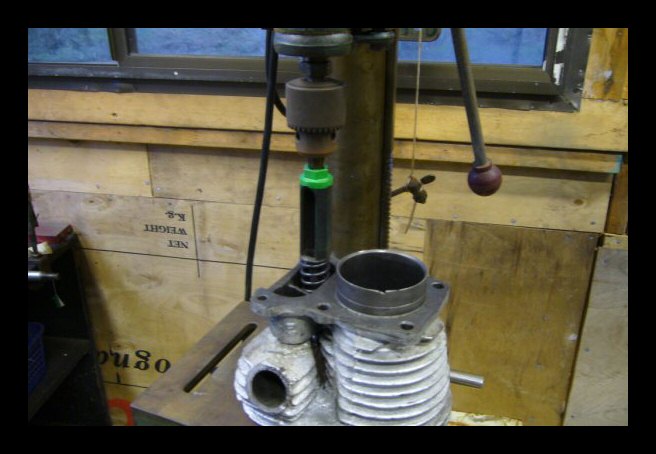
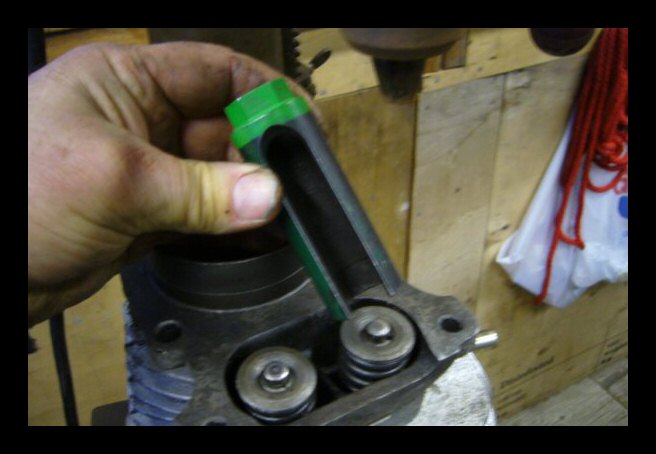
The setup ready to compress in the drill
press. The thing used for pressing on the spring cap is a
special socket for removing an oxygen sensors on a car.
You can get them at any auto parts store. |
 |
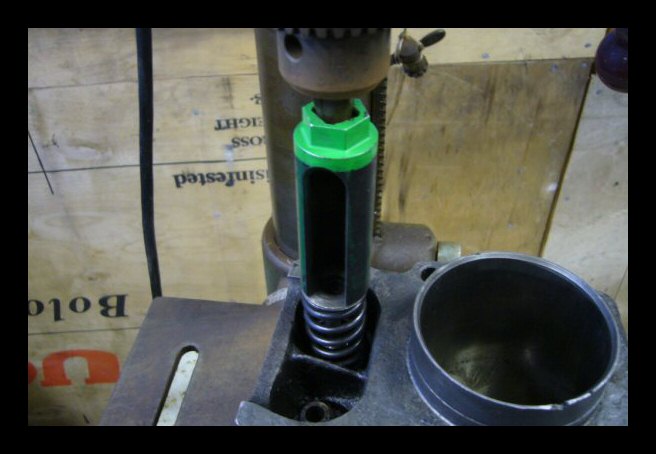
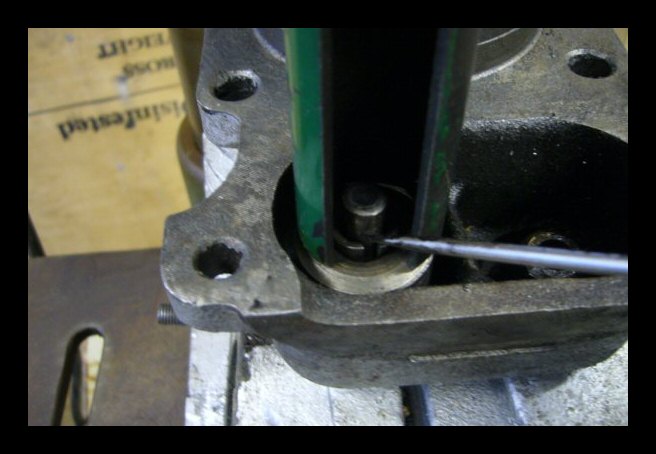
Pull down on the drill press handle to
compress the spring far enough to expose the notch in the
top of the valve stem that the keeper clicks into. |
 |
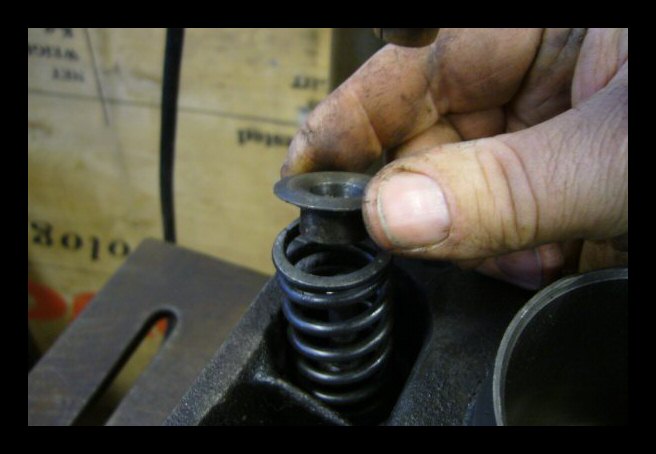
I sometimes use a magnetic screwdriver to
get the keeper back into the notch. Our valves are large
enough that your fingers will work okay here too. |
 |
Bad pic... |
 |
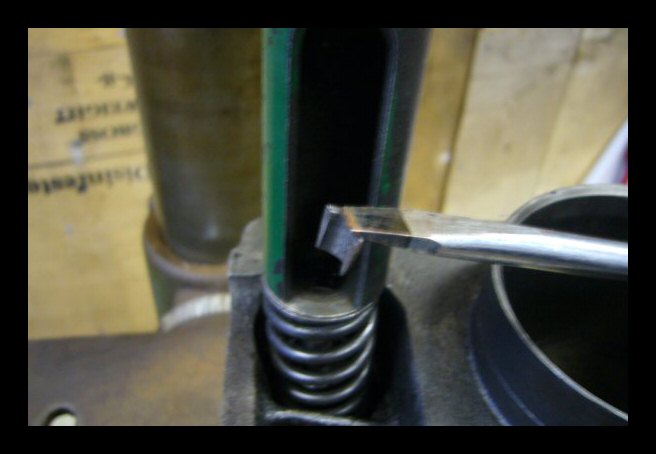
Use a pick to move the wedges around until
they are lined up properly to fall into the notch as you
let up pressure on the spring. |
 |
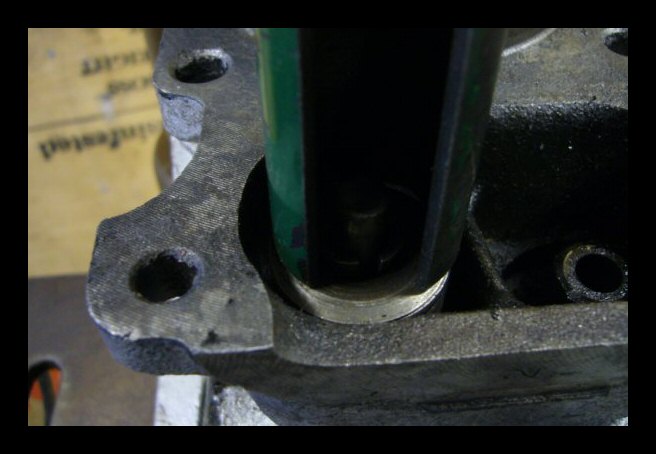
Success. |
 |
This is the socket. You can use this method
on the overhead valve models also, but you may have to
slide a little wedge under the face of the valve to get
the assembly to line up better. |
 |
|
|
|
|
|