 |
Rear spring removal &
installation by Dan Cason |
 |
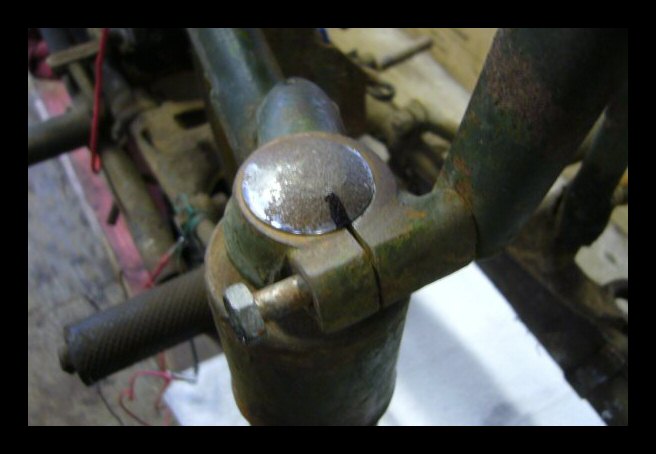
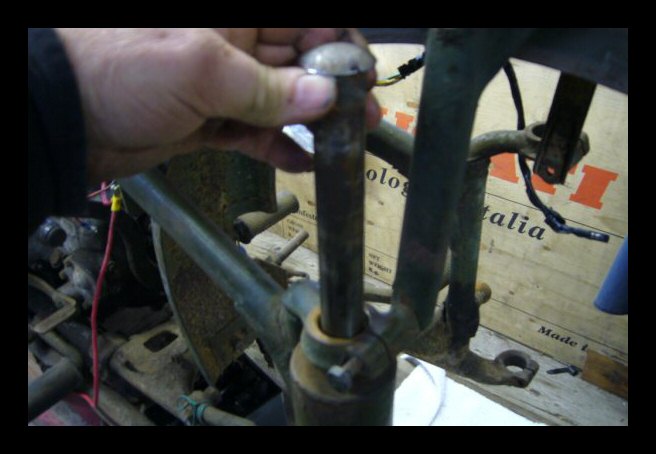
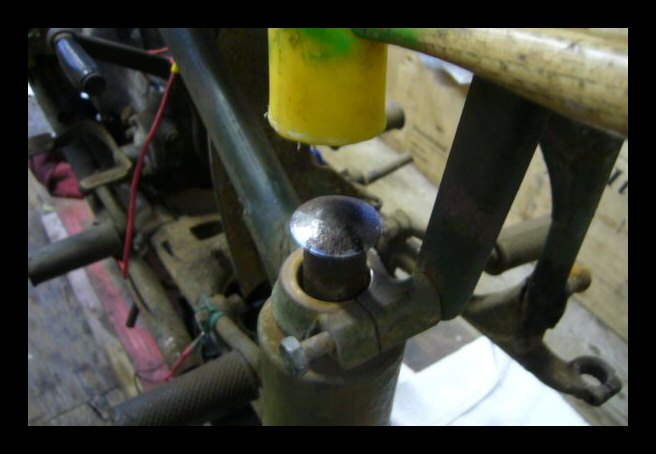
First, mark the cap and reference it to the
frame. It makes it easier to put back together. |
 |
Next, loosen the top pinch bolt and
completely remove the bottom pinch bolt. |
 |
This shows the same. |
 |
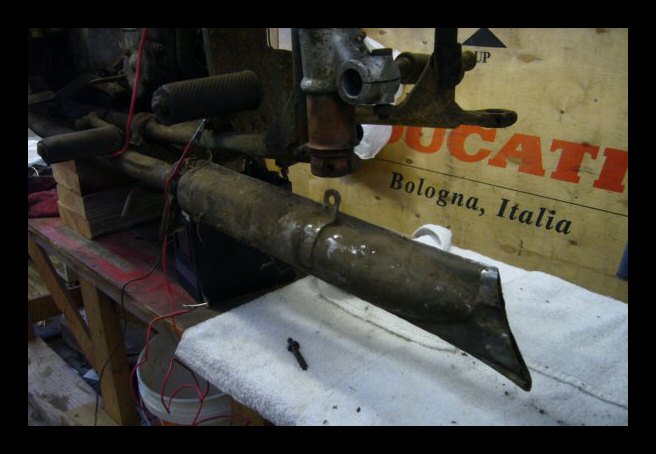
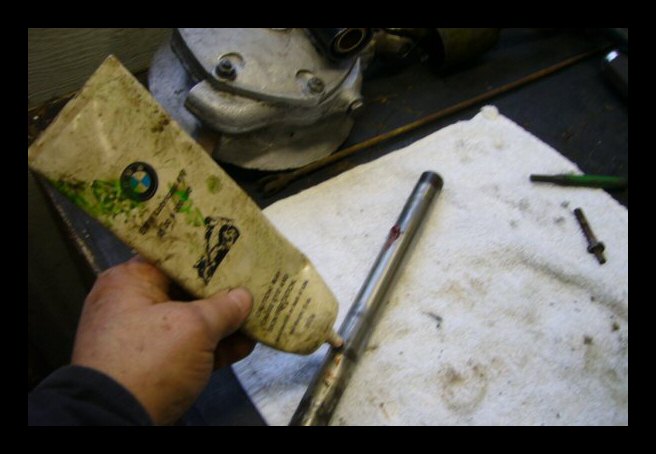
You'll need to remove the muffler to get
clearance to drive the pin up. |
 |
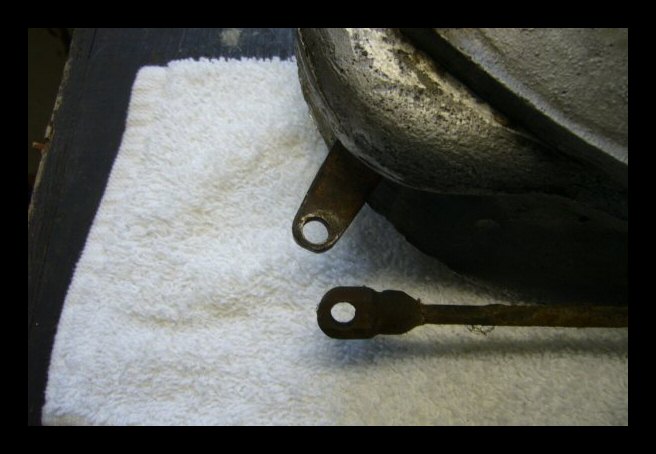
When working on the final drive side, be
sure to remove the rear brake actuating rod from the
brake cam lever. |
 |
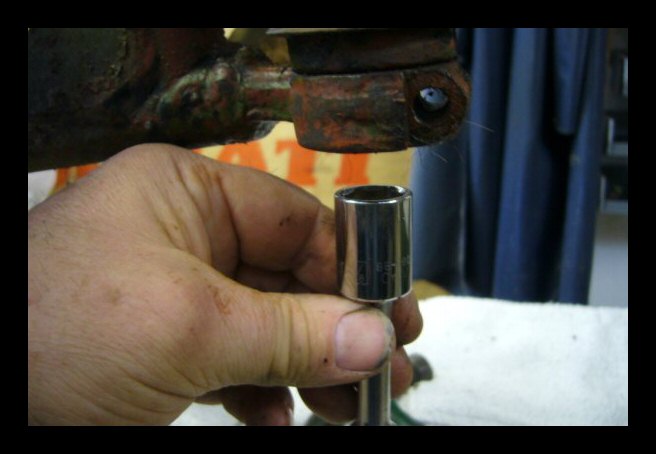
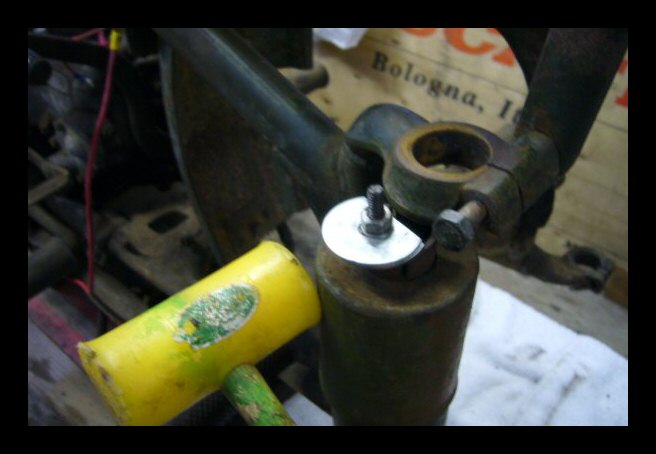
Use a socket with a smaller diameter than
the frame hole to tap the pin upwards. It will pull the
rest of the way by hand. |
 |
Sometimes it sticks all the way, but not
usually. |
 |
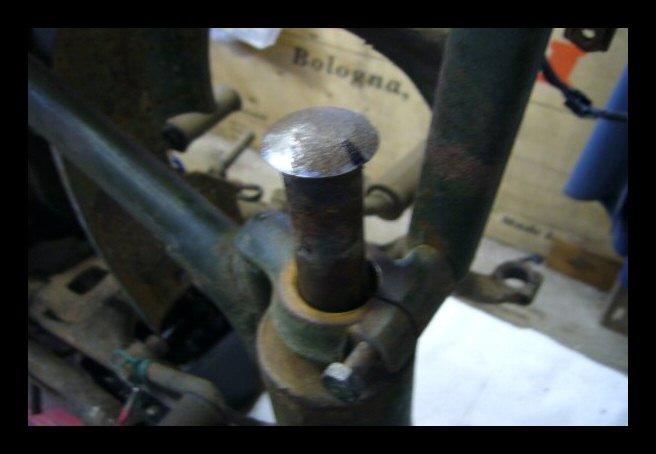
Pull the pin all the way up... |
 |
... and out. |
 |
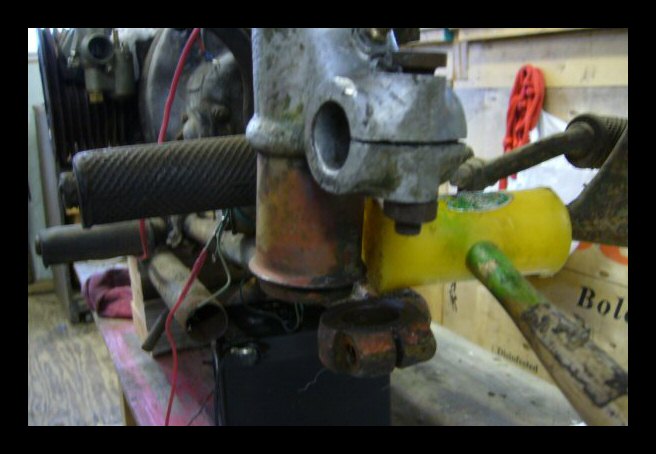
Tap the assembly out away from its perch
from the bottom. When it pops out, pull down carefully to
wiggle the top bushing out of the frame. Be carefull not
to force things here as the uper split bushing is kind of
fragile. |
 |
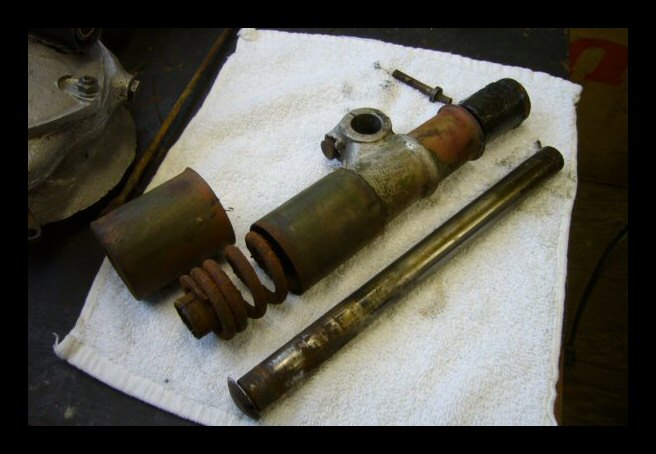
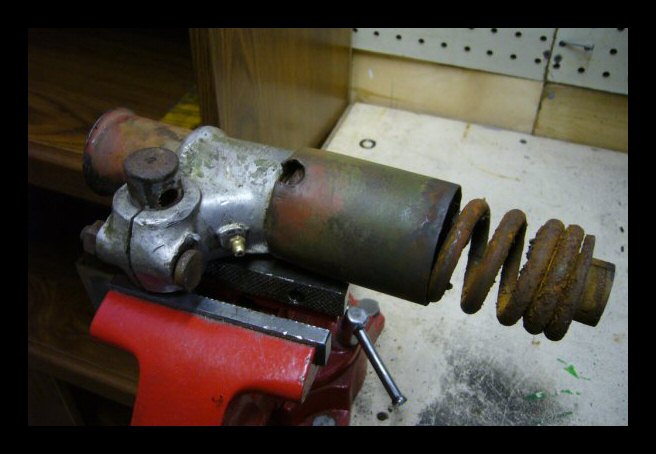
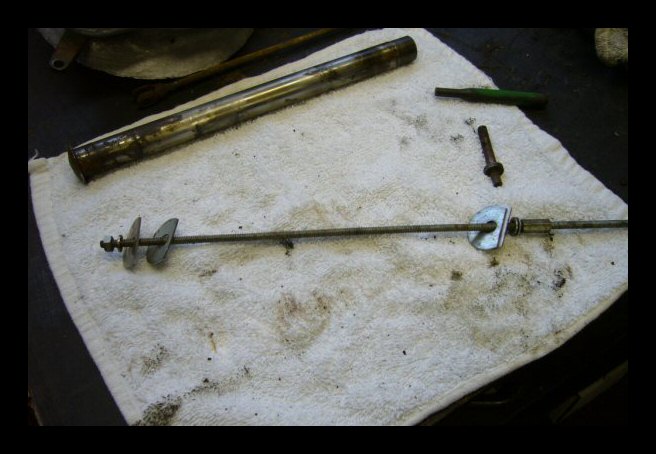
These are all the parts you removed so far
and probably as far as you need to go. There you are,
you're done. |
 |
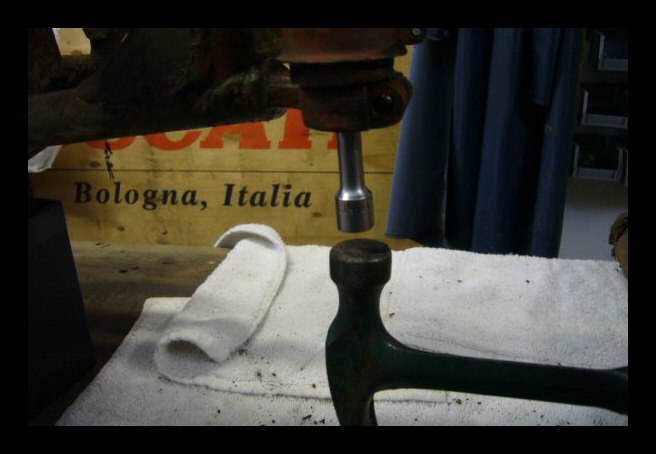
See how the socket fits through the frame. |
 |
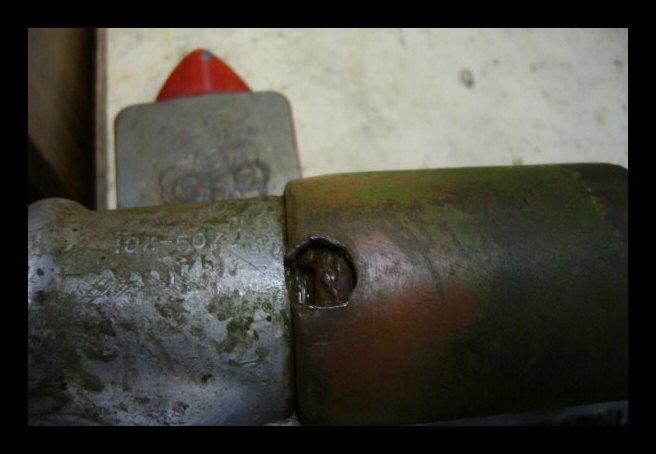
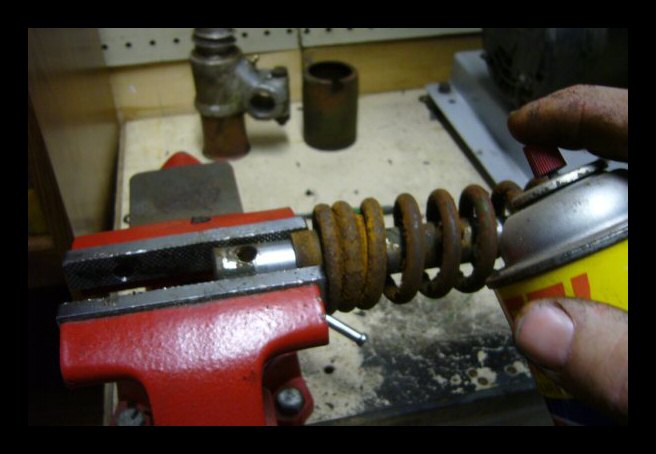
Here's how to remove things the rest of the
way. Clamp the part in a vice and rotate the spring cover
untill you see the end of the spring showing in the hole.
Sometimes this is easy and sometimes you have to use a
spanner or a chisel or dynamite to get the cover to move. |
 |
The end of the spring in the hole. |
 |
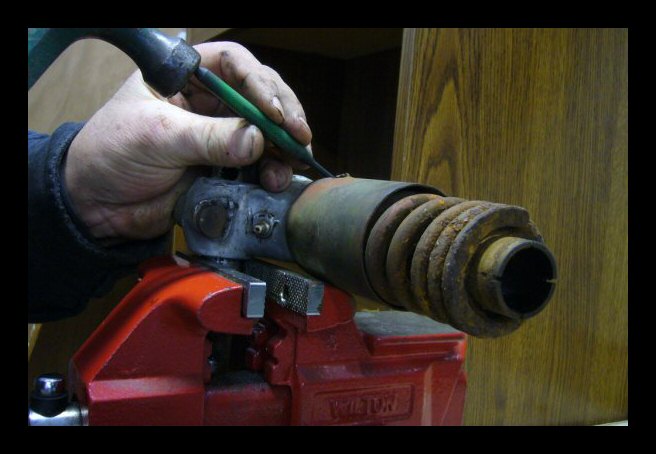
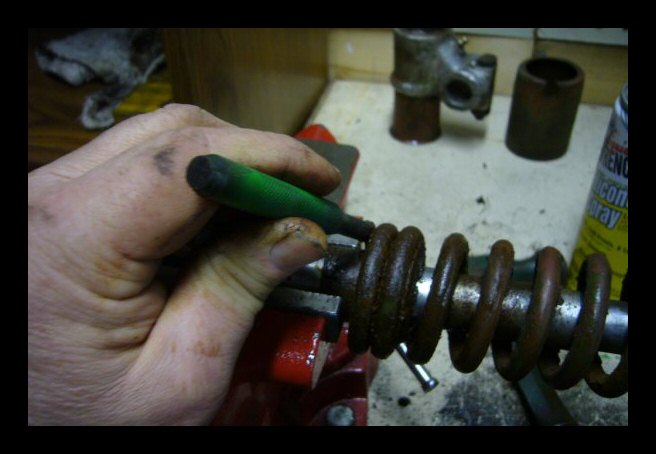
Tap the bottom of the spring loose with a
punch. Sometimes easy, sometimes hard. The spring is like
a thread, a left handed thread. If you try to turn the
spring by hand it can tighten and not move. Tap it a
little and it will start to turn. |
 |
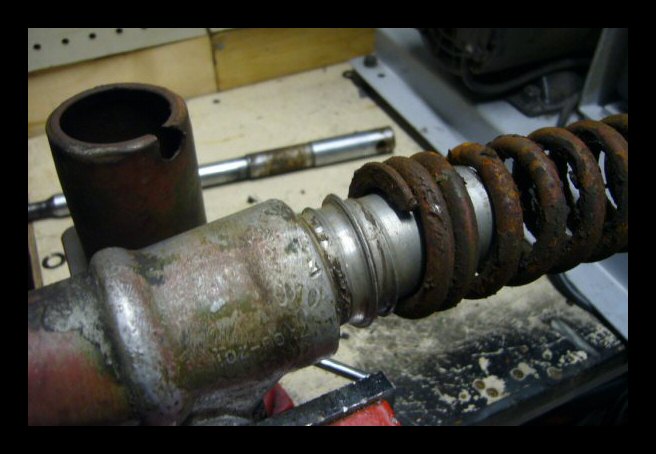
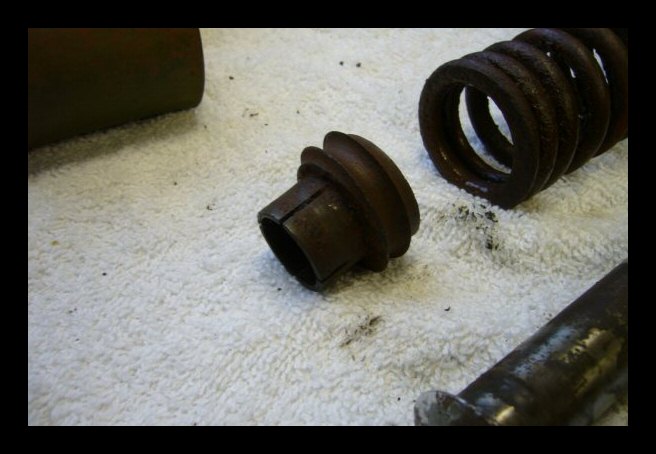
You can see what the spring threads on to.
Careful, the edges are SHARP! |
 |
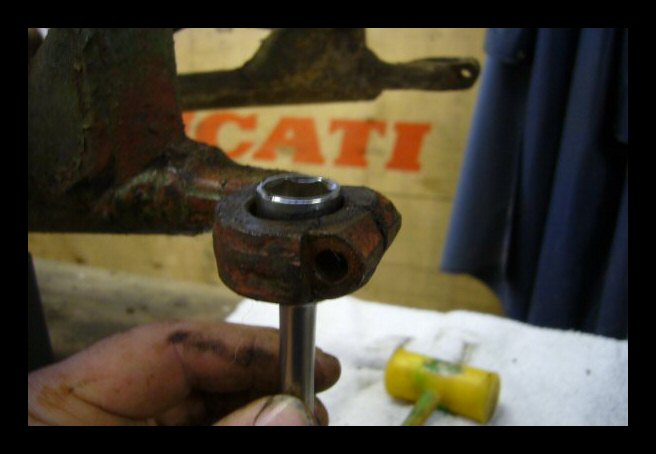
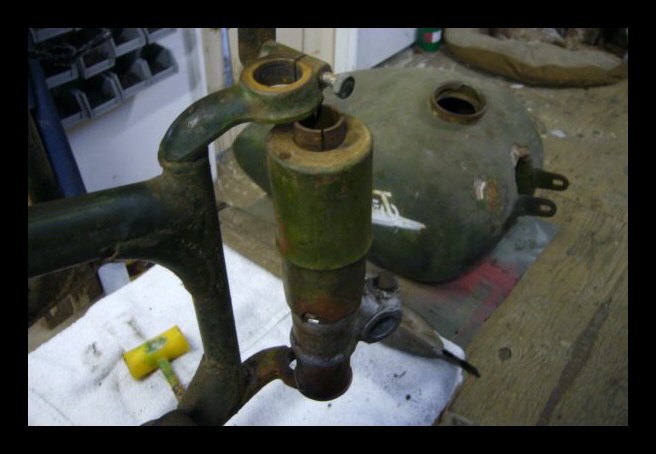
To remove the top bushing, it's best to
clamp the split end of the bushing over a pin. I used the
axle in this pic, but it would be best to use the shock
pin because it's a better fit. Don't clamp any harder
than necessary. These parts are a little fragile. |
 |
Tap the spring off the threaded bushing with
a punch till it will turn by hand. Some Kroil, Liquid
Wrench or WD40 can be helpful here. |
 |
This is what you are removing. |
 |
To put it back together, just do it all
backwards. You may have difficulty getting the assembly
to squeeze enough to slip back into the frame. |
 |
You can make a simple tool to compress the
shock assembly enough to stick inside the frame on just
the edge of the assembly. Use a little all-thread,
hacksaw some washers, some nuts and you've got a special
compressor tool. This is the nonviolent way to do it,
especially if you have one of those pretty bikes. |
 |
A little gentle tapping and careful
direction and the top will snap into place. You will have
to remove the special tool to get it in. |
 |
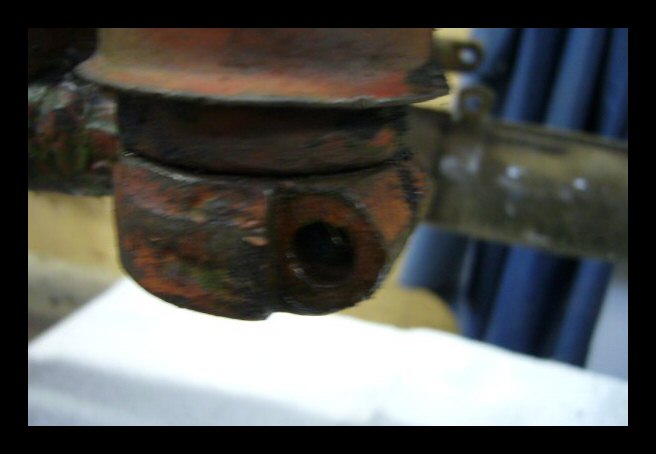
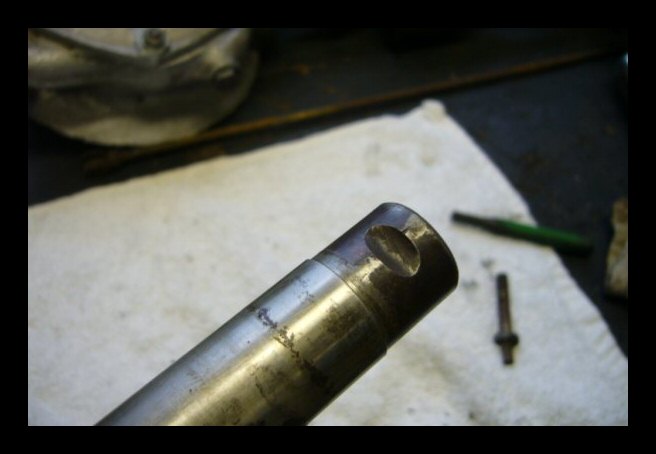
This is the notch at the bottom of the shock
pin that you marked the top for in the first step. It has
to line up perfectly in the bottom pinchbolt hole. |
 |
Use a little grease on the pin before you
push it in. You will probably have to tap the pin in the
last 4 inches or so. Be SURE to use your mark to line up
the pin as it goes in. Look into the bottom hole to be
sure it's lined up for the pinchbolt to go through. |
 |
You will have to wiggle the bottom of the
shock tower as you gently tap the pin in the last bit. |
 |
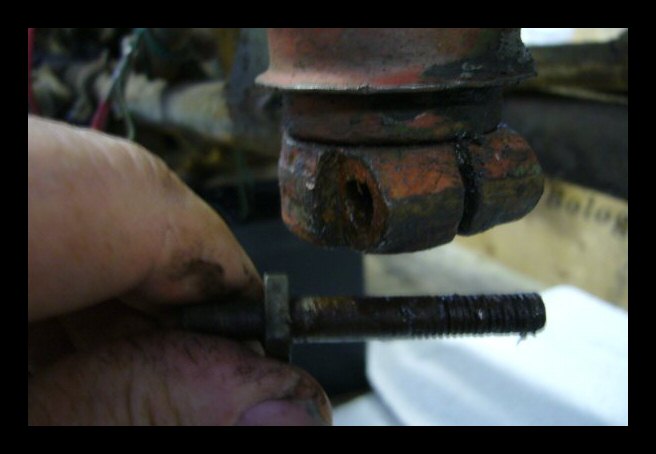
The pinch bolt has a flat that must match a
lug on the frame. Don't worry if your setup is a little
different here. It's the diameter of the bolt in the
notch in the pin that locks the shock together. There you
are, you're done. |
 |
|
|
|
|
|