| Making a set of black straight pipes | ||||||
| Squeeze more performance out of your bike by
replacing the mufflers with straight pipes. You'll also
get a magnificent sound—especially when hauling a load up a stiff
grade. You should consider running with larger carburetor
jets to compensate for the open exhaust. My bikes have black exhaust systems, so making straight pipes doesn't present a problem with the finish. (For chrome, just order full length headers from vendors in China.) |
||||||
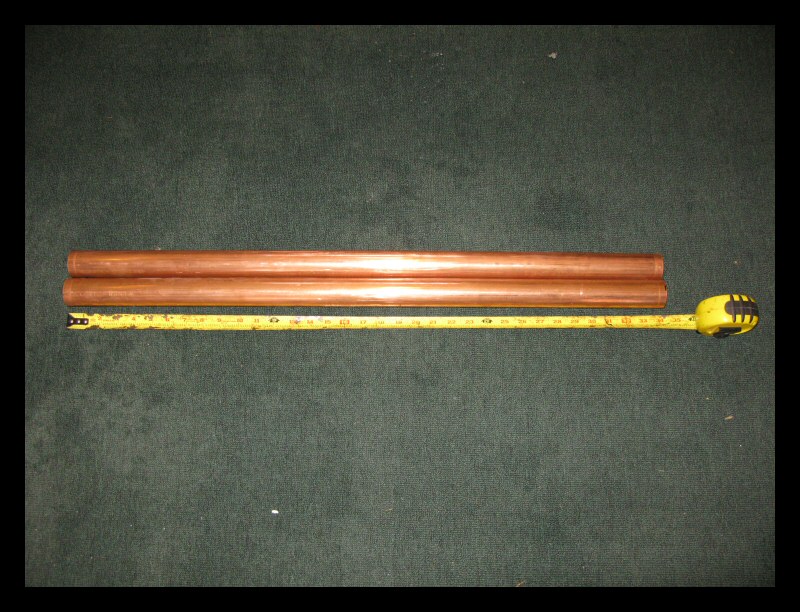 |
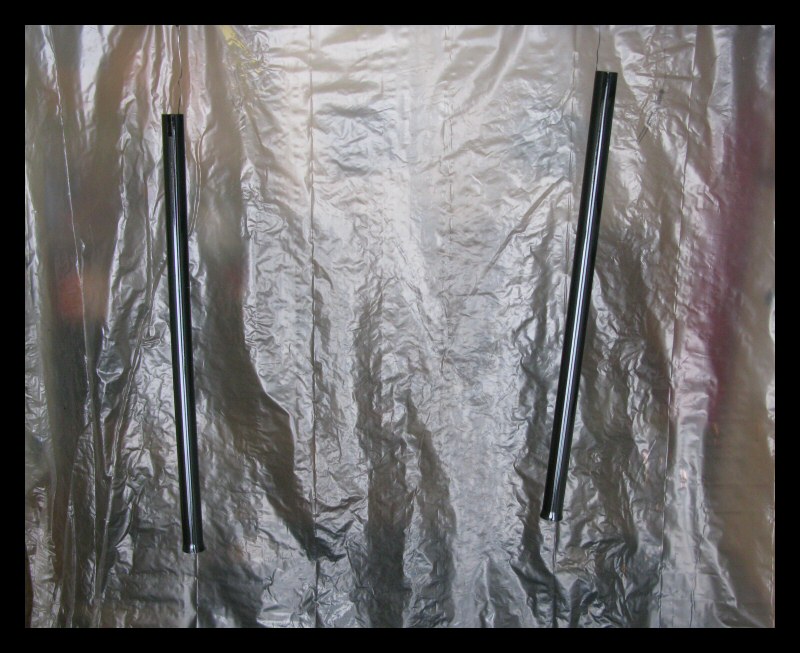
Start with two 34" lengths of 1½" diameter copper pipe, M NSF 61, 1/16" wall thickness. | |||||
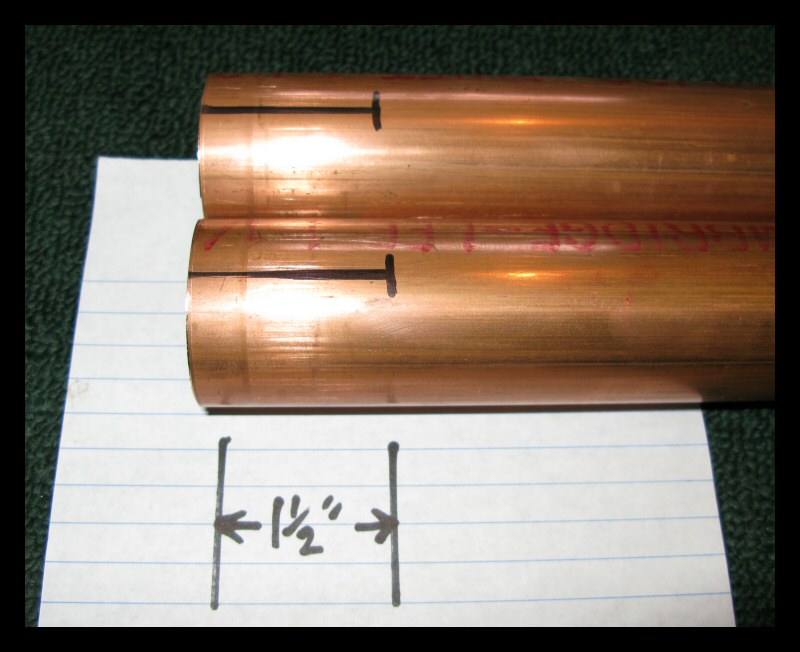 |
Make a 1½" line for cutting a notch that's ¼" wide. You'll see what they're for in a minute. | |||||
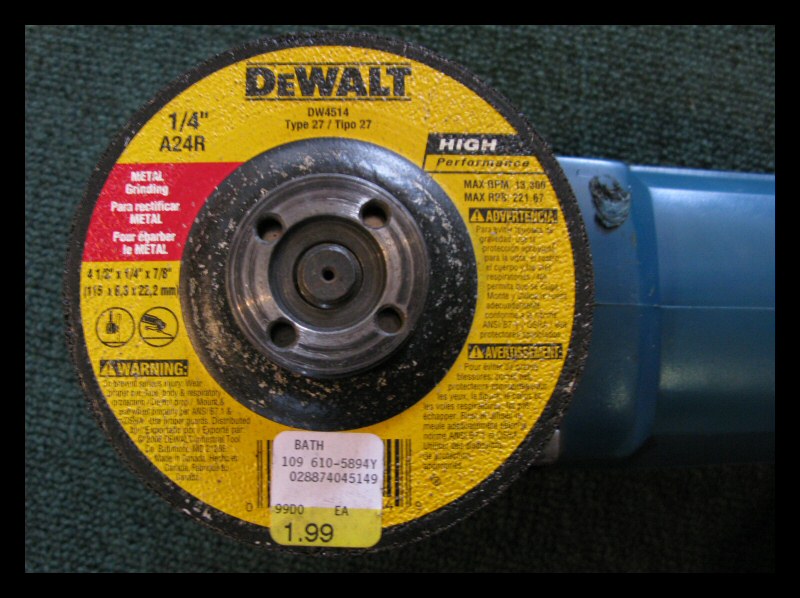 |
An angle grinder works well for cutting the notches. | |||||
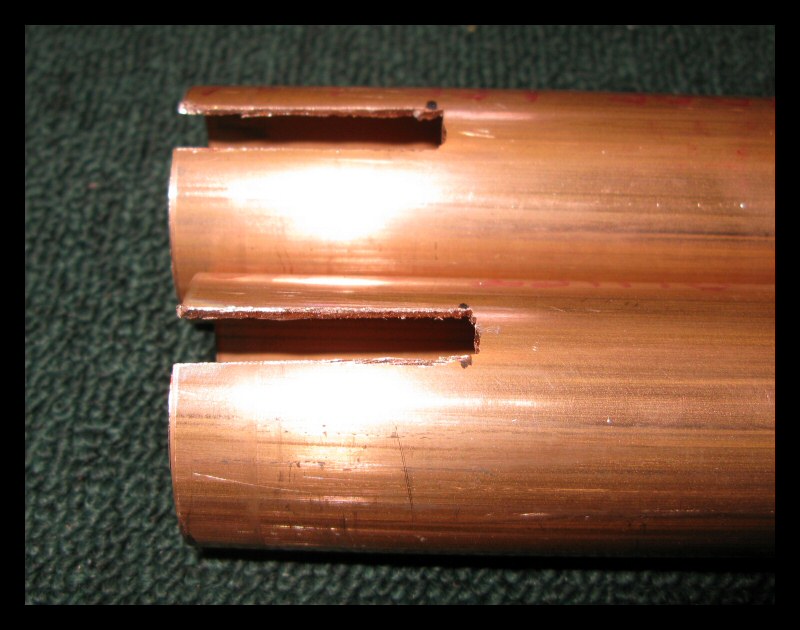 |
There. These will be cleaned up with a file and wire wheel. | |||||
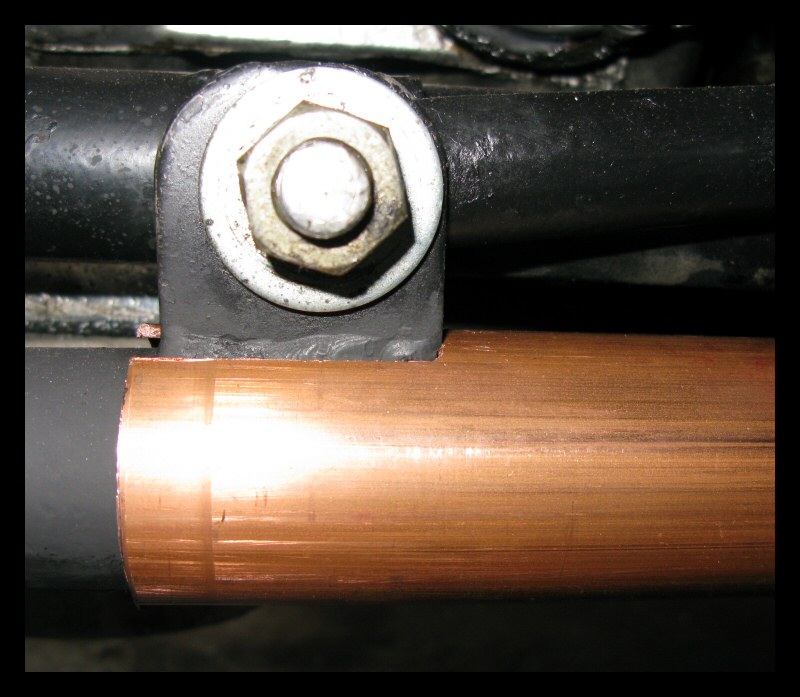 |
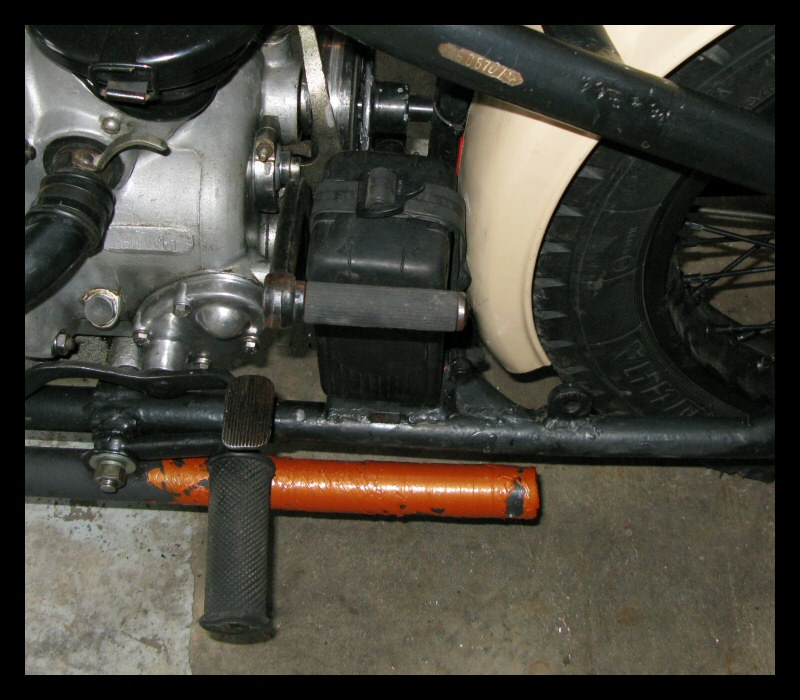
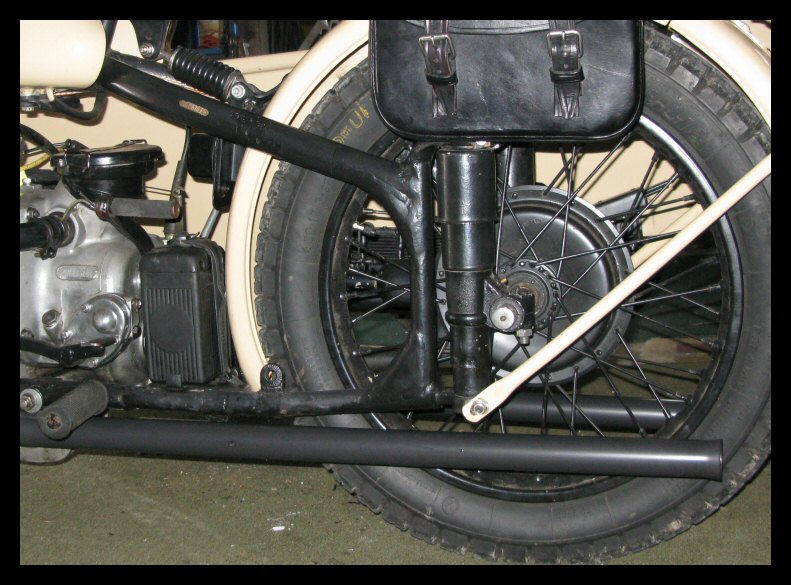
The notch fits the mounting tab on the header and prevents the pipe from rotating. (You'll probably ascertain from some of these pictures that the bike here isn't exactly a show bike. It gets thousands of kilometers put on it every year.) | |||||
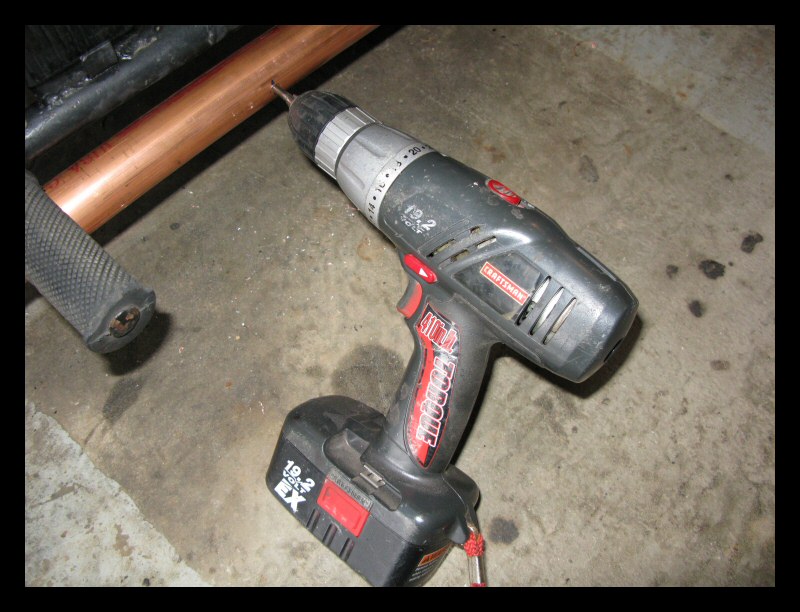 |
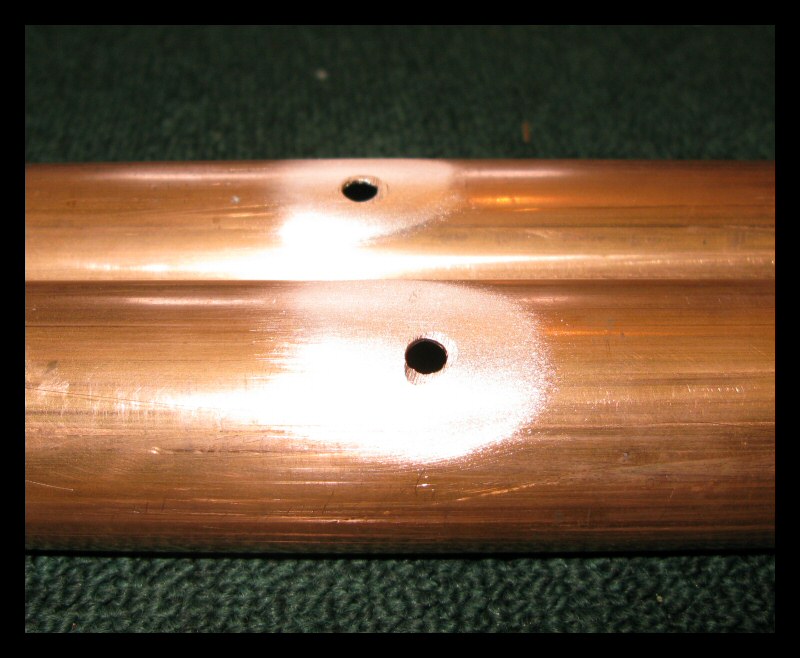
With the pipe in position over the header, poke a ¼" hole in each pipe for retainer bolts. Drill all the way through and out the other side. | |||||
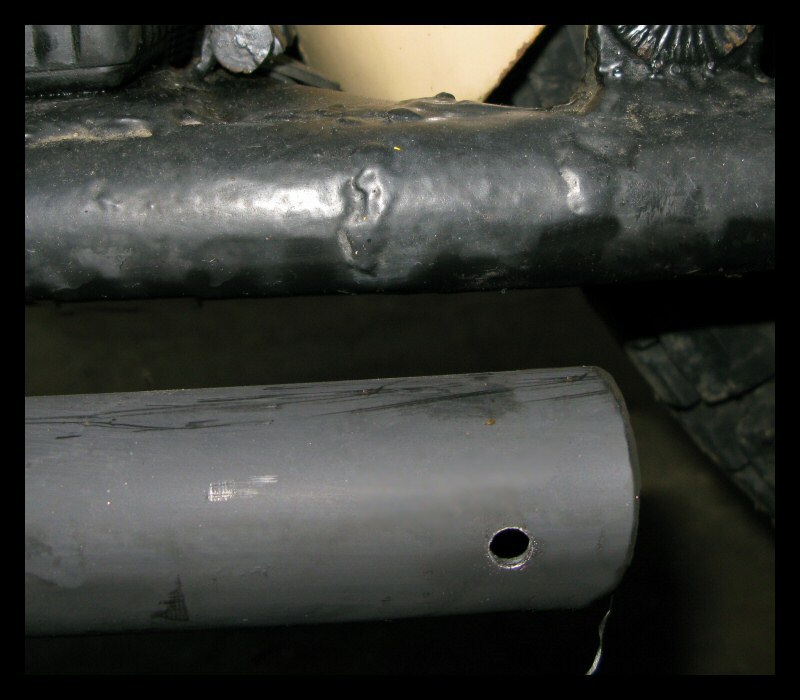 |
The holes are positioned close enough to the ends of the headers that they'd be covered if reverting to mufflers. After the holes are drilled, remove the straight pipes. Keep track of which pipe is which since the holes won't line up if they get swapped. | |||||
 |
This is a good time to cut your stainless hardware down to length if necessary. My bolts were too long, so I stuck them through the pipes, put the washers and nuts on, then cut them back to a couple threads from the nut. The nuts repair the threads when removed. | |||||
 |
Flaring the ends is optional. With copper, it's not difficult. My junk box produced this riveting die that's spot-on for flaring 1½" pipe. You could improvise other ways to do this, or just leave the pipes as they are. | |||||
 |
With the die tucked in the end of the pipe, whack it vertically against the floor a few times, and viola. To remove the die, drop a socket in from the notched end. It'll knock the die out. | |||||
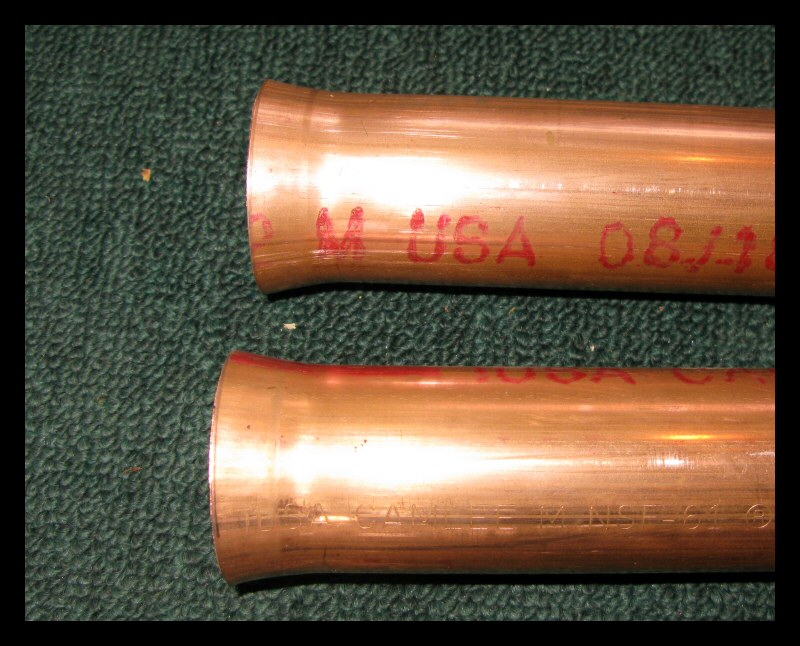 |
Flares complete. | |||||
 |
Tidy up the pipes for painting by smoothing off burrs, especially where you drilled the holes. | |||||
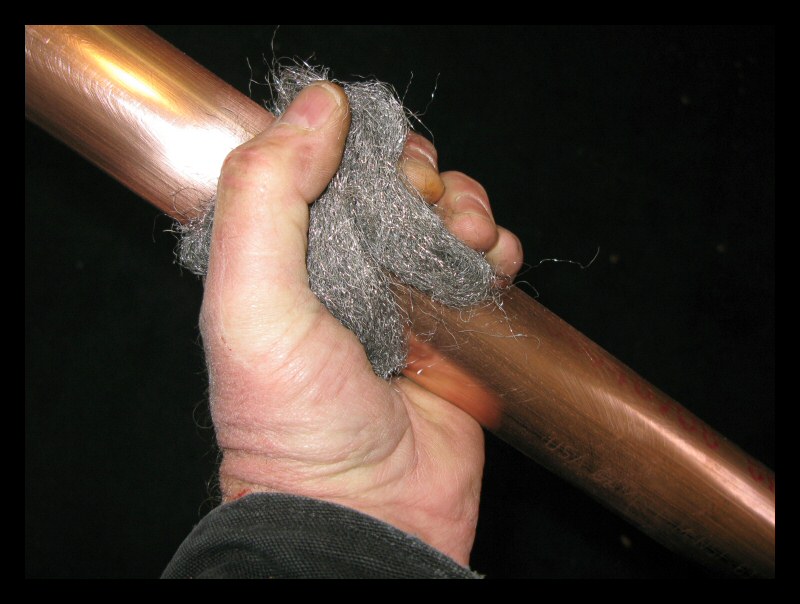 |
Go over the entire pipe surface with coarse steel wool. | |||||
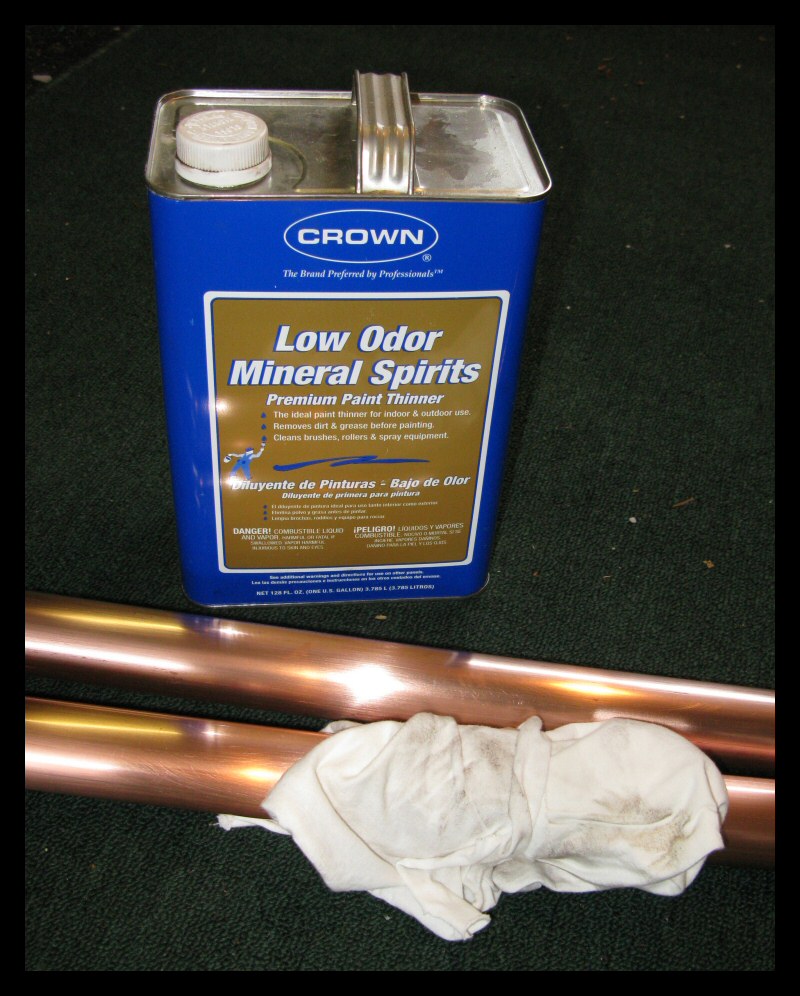 |
Rub them down with mineral spirits, then dry with clean rags. | |||||
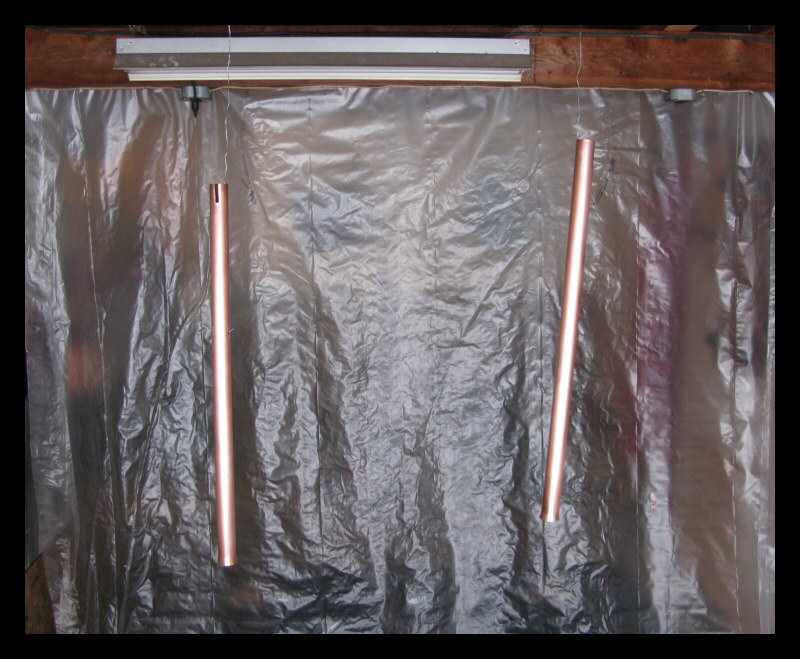 |
Hang them for painting and give them one final wipe. | |||||
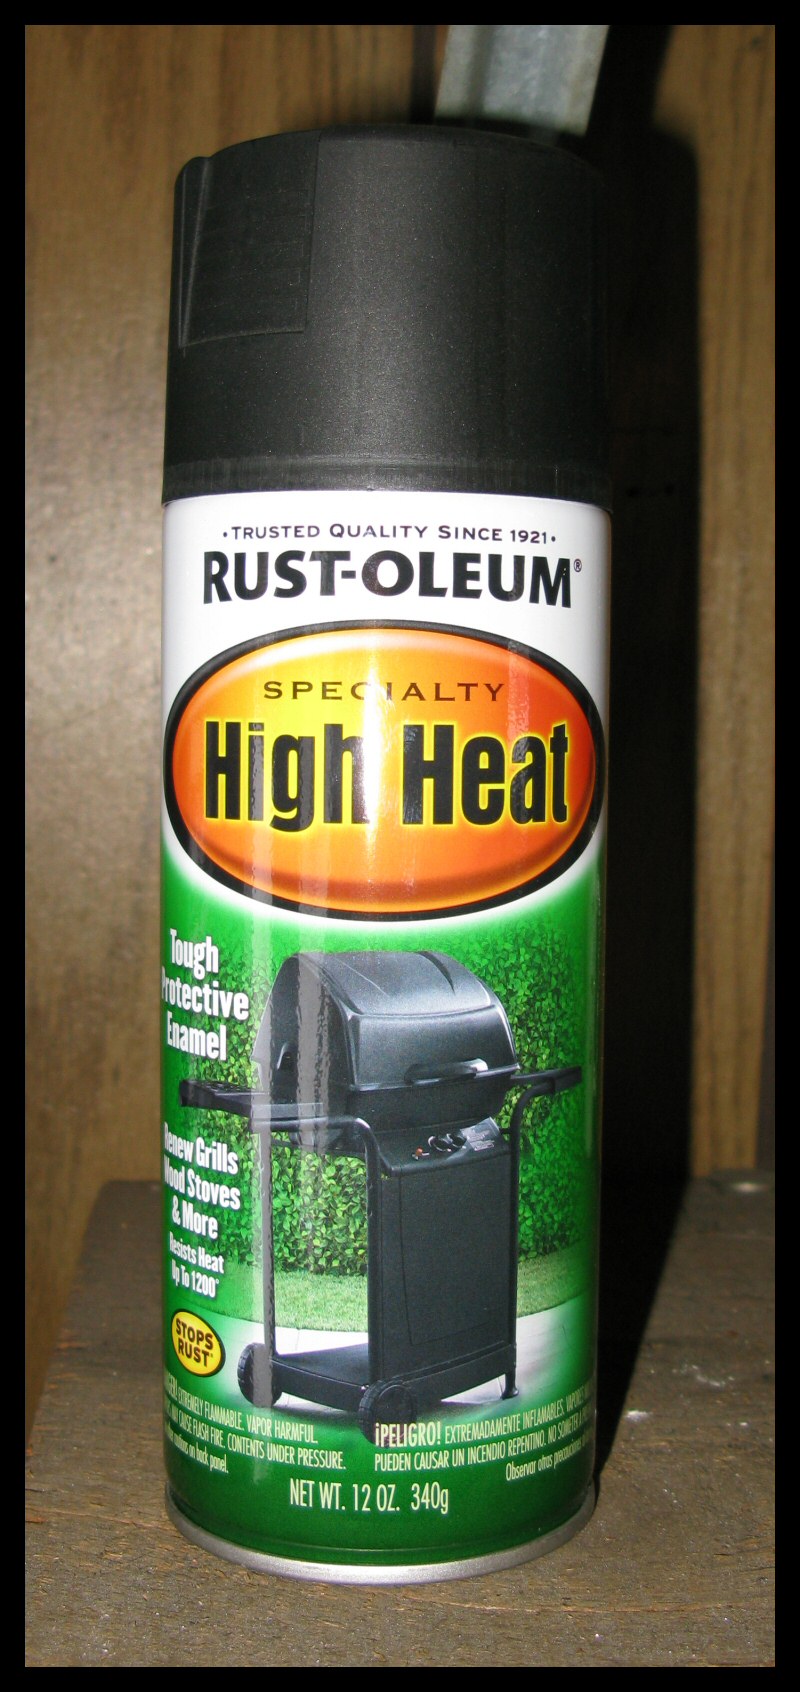 |
I've used several brands of stove paint. Rust-Oleum High Heat is the best. | |||||
 |
This paint adheres really well to copper. It dries flat, but you can use cotton cloth or paper towels to buff out a semi-gloss finish. As your pipes age, keep them looking good with occasional resprays. | |||||
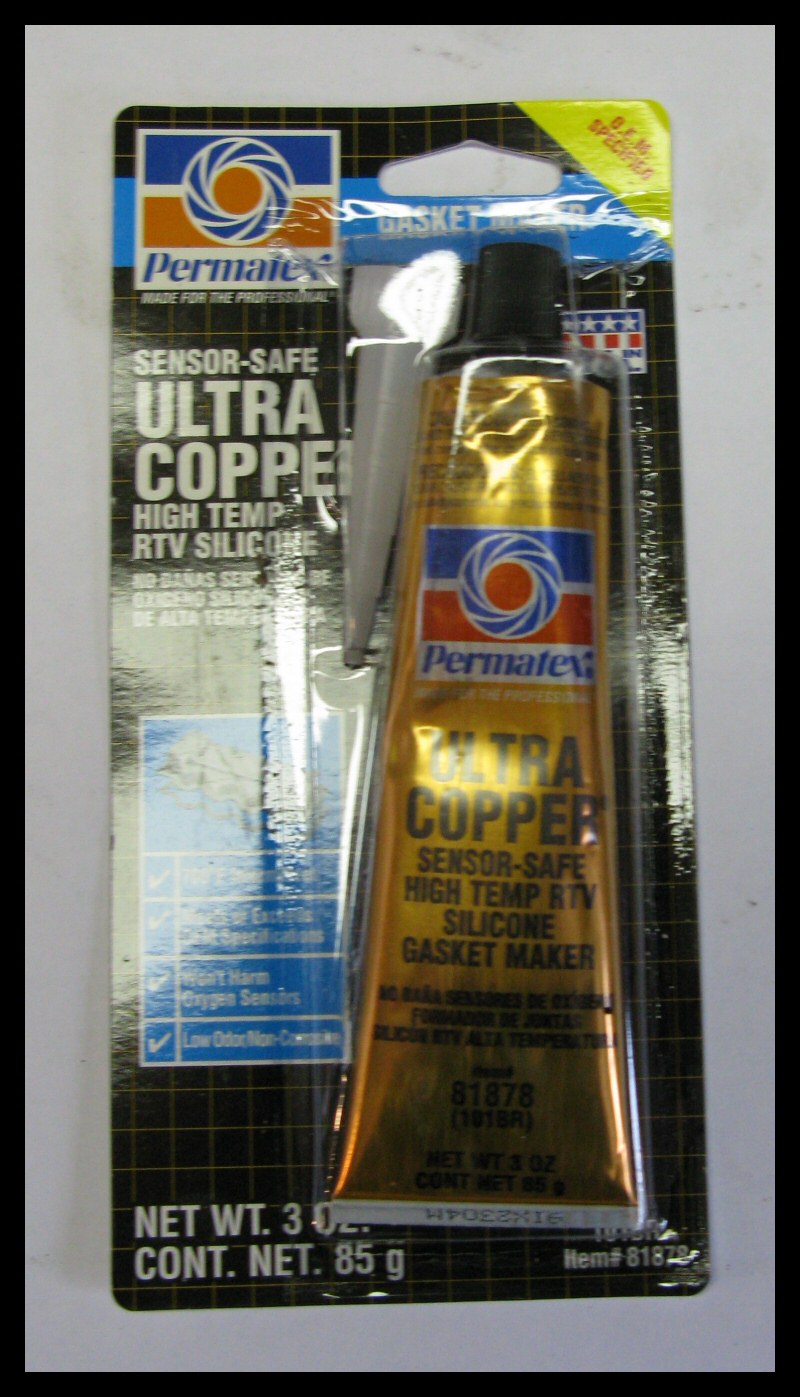 |
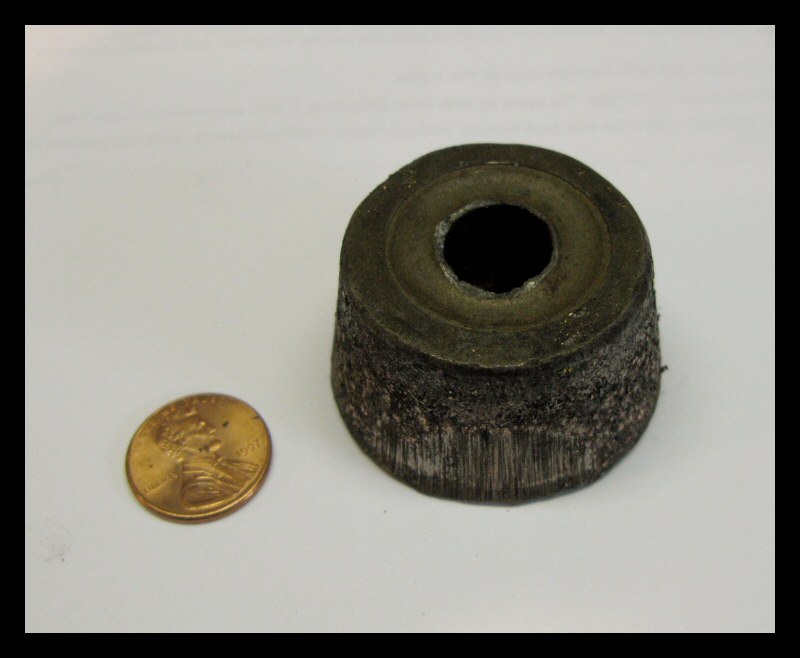
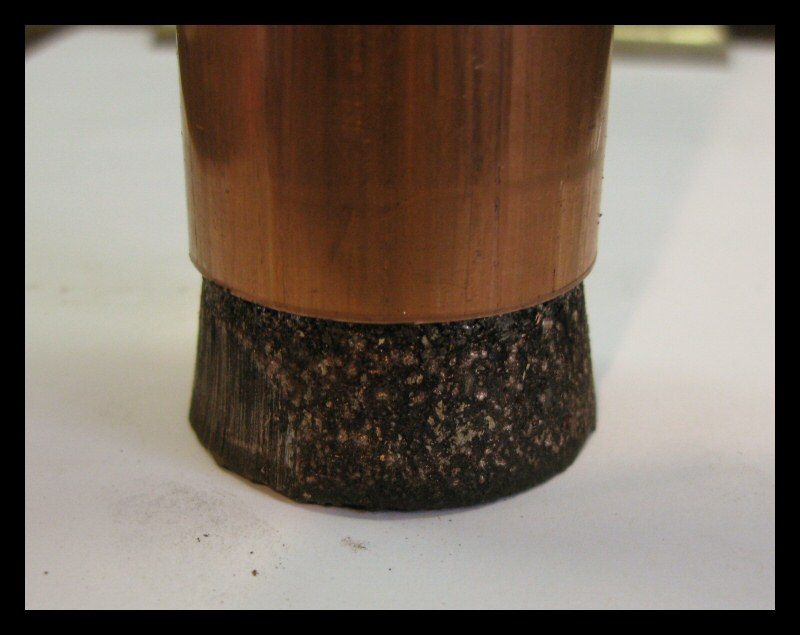
The pipes will have a slightly loose fit on the headers. They'll rattle, but the solution is dead easy—an application of Permatex Ultra Copper on the headers. | |||||
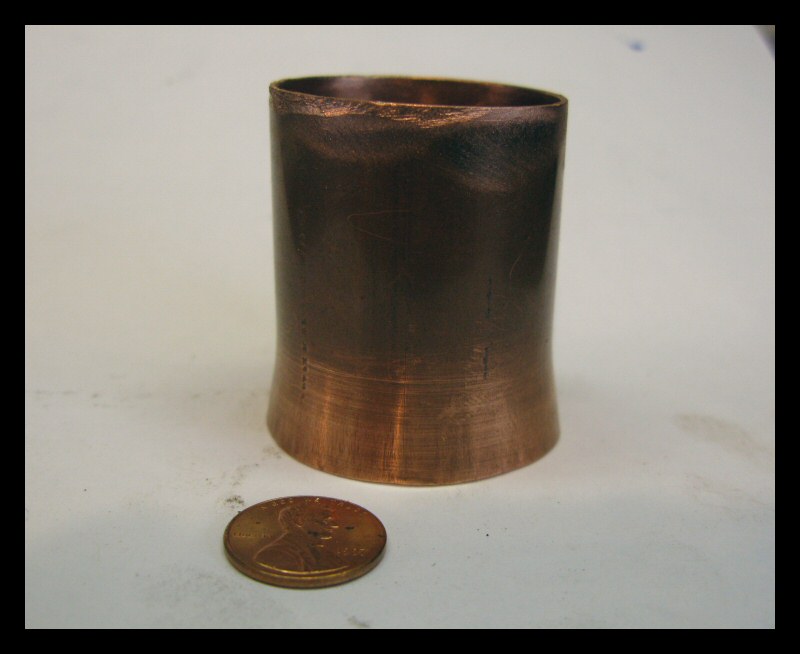 |
This tool is optional, but it makes the Permatex application easy. It's a piece of scrap 1½" copper pipe with one end flared. You can use a putty knife, or even your fingers. The smoother the application, the easier it will be to fit your straight pipes. | |||||
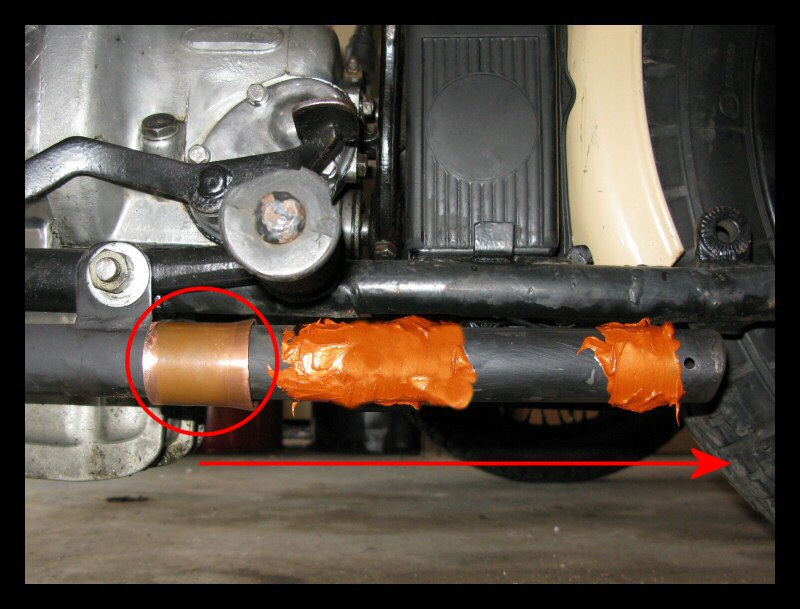 |
Slip the tool over the header, then smear on globs of Permatex. Slide it over the sealant, rotating it as you go. It smooths and distributes the sealant, leaving the desired thickness. | |||||
 |
There. We'll let it cure overnight. It's not very pretty, but those pipes won't rattle. Permatex is surprisingly solid once it sets up, and unlike other silicone products, it really sticks. Hot exhaust gas doesn't bother it in the least. I've used it in lieu of exhaust manifold gaskets on car engines. It does the job and lasts for years. | |||||
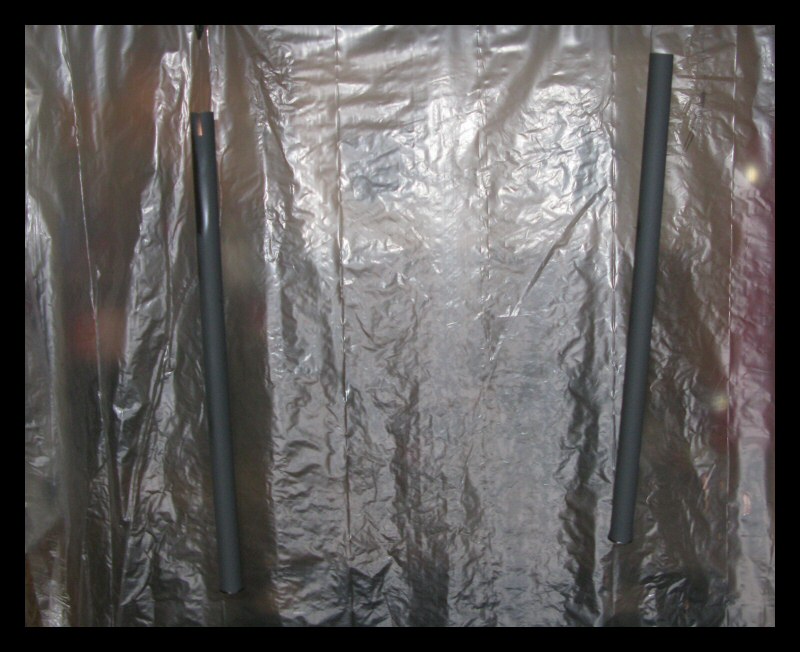 |
Meanwhile, back at the pipes... As you can see here, the paint dries flat. You can spray additional coats after a few minutes, hours or days—no problem. Application temperature doesn't matter, either. | |||||
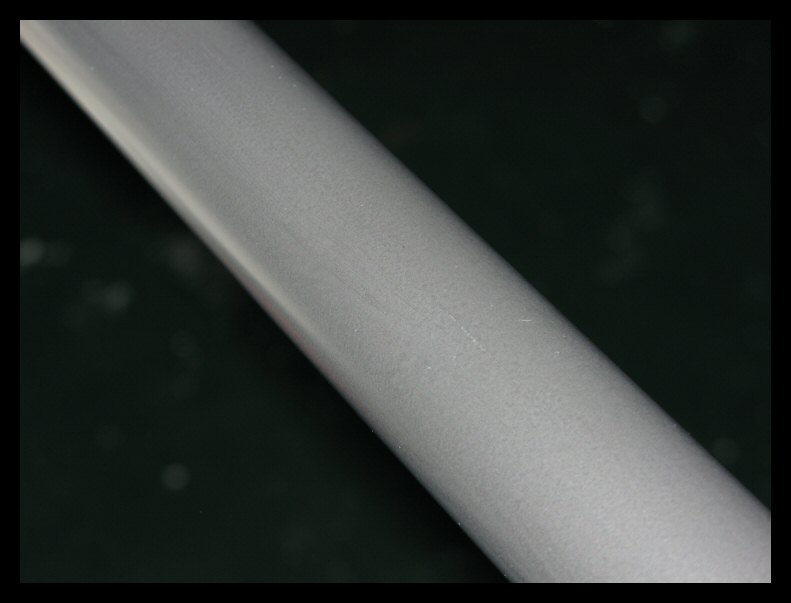 |
This is the flat finish before a good rubdown with a clean cotton cloth. | |||||
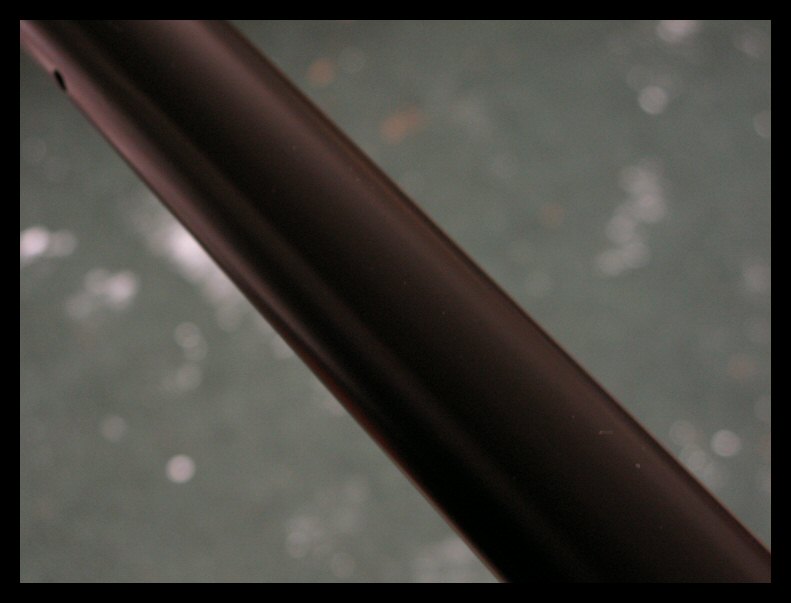 |
And this is afterwards. It buffs out to a really nice semi-gloss. | |||||
 |
It's the next day. Let's fit the pipes. | |||||
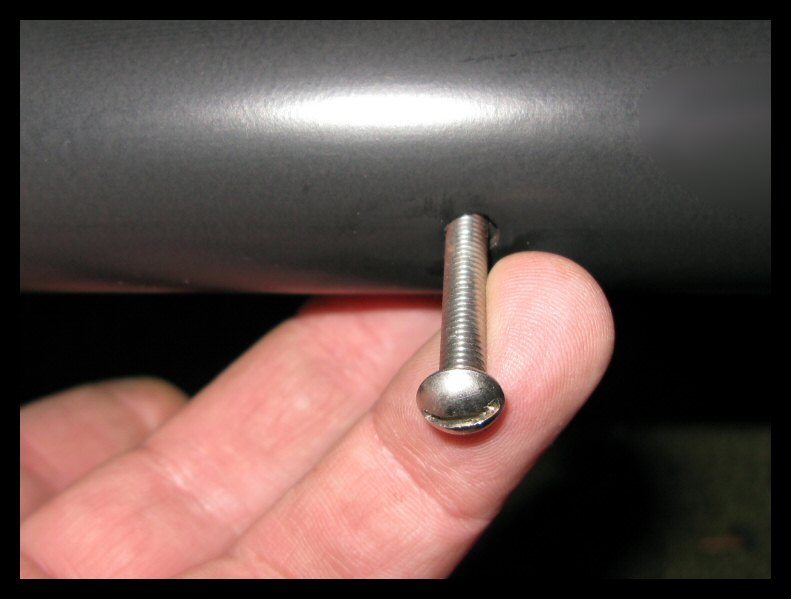 |
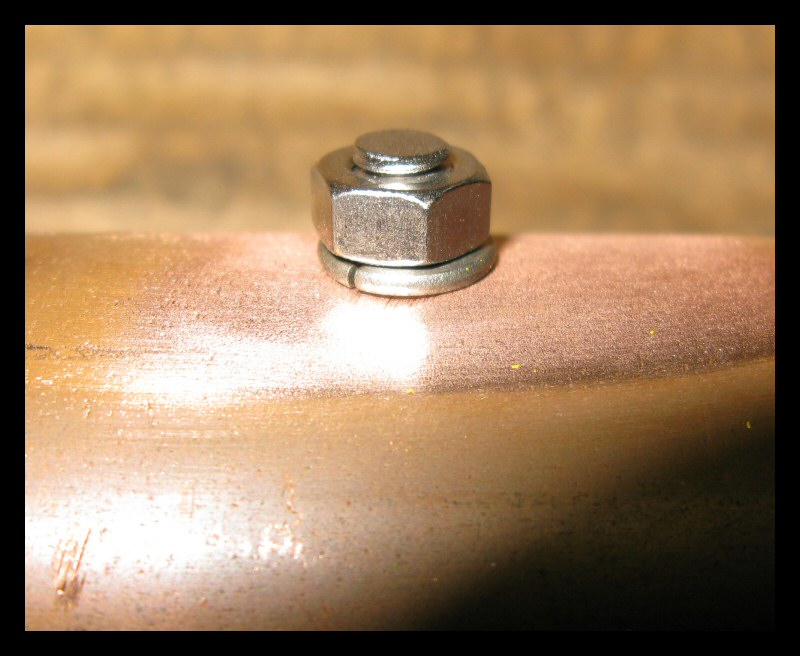
Insert the bolts and nuts. Be sure to use lock washers. I also recommend Loc-Tite. I used 2" long ¼" stainless bolts. They'll keep the pipes from shifting. | |||||
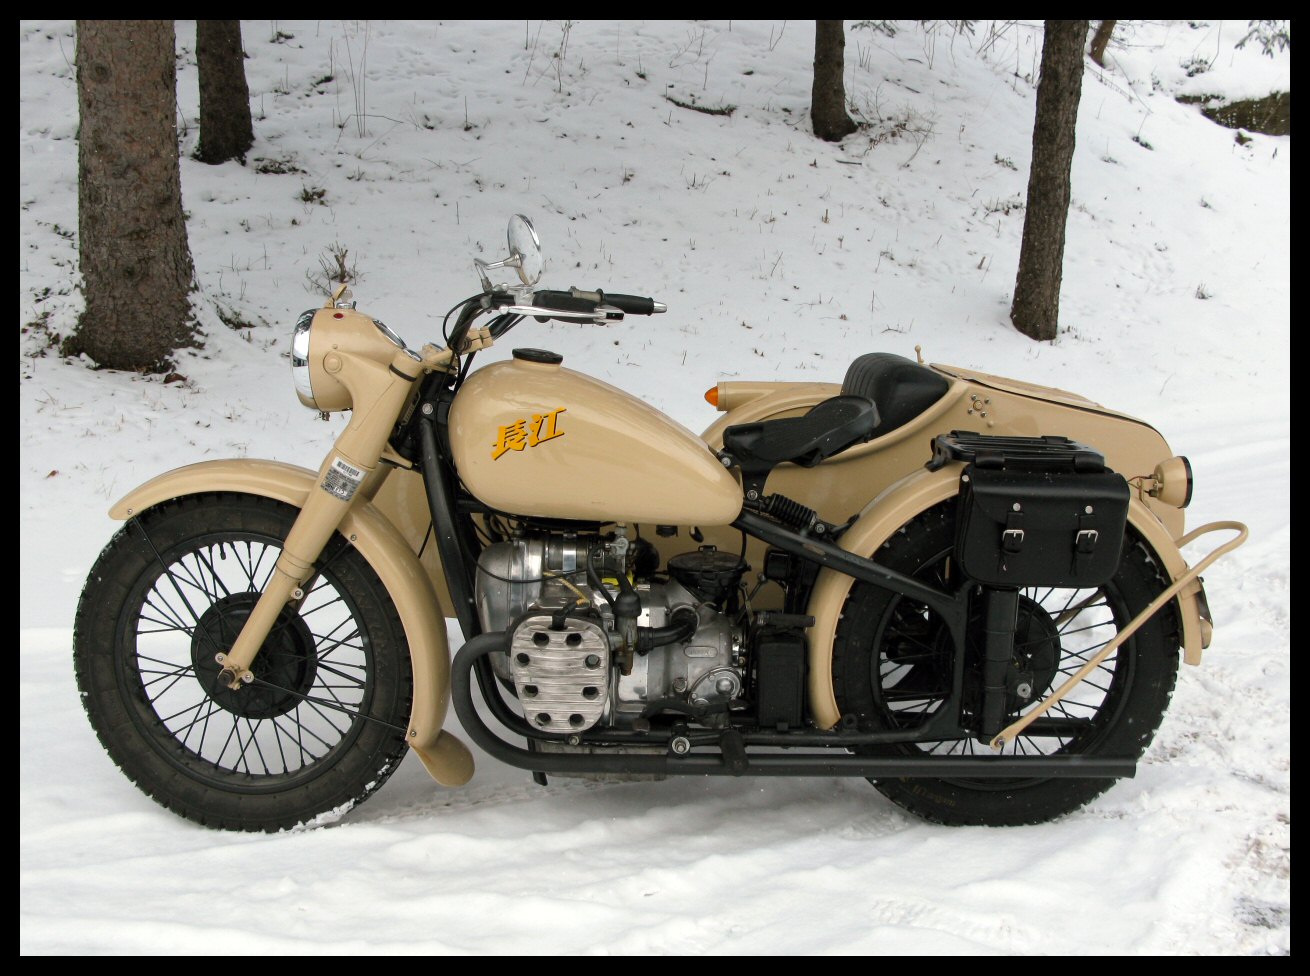 |
A dab of paint on the bolt heads makes them inconspicuous, and the project is complete. | |||||
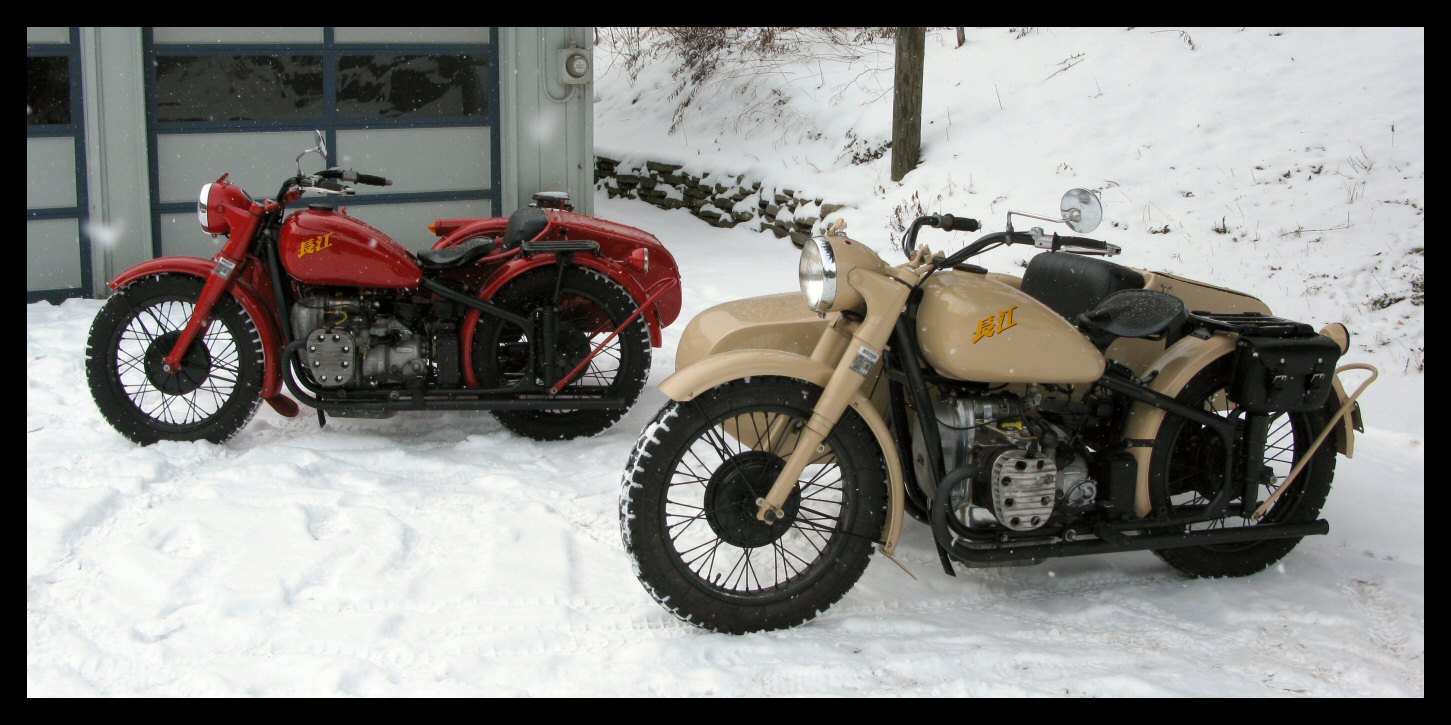 |
Both bikes now have these home-made copper straight pipes. | |||||