 |
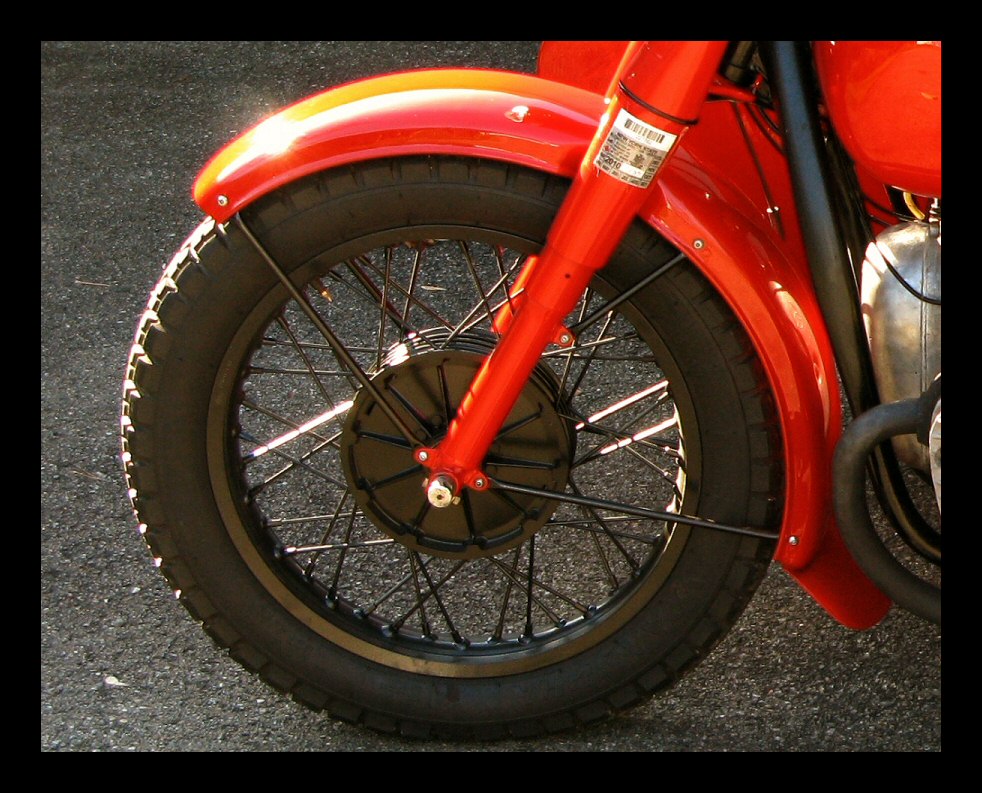
Mark-II Slim-Line fender
brackets |
| The Mark-I Slim-Line fender brackets were a
tad flimsy as demonstrated by crash test results. The
Mark-II model uses 5/16" fuel line instead of the
1/4" brake line used previously. Here you'll not
only see how to make them but how to get the fender
exactly how you want it. Don't think for a moment there's
any uniformity to CJ sheet metal parts. The fender holes
were probably drilled without a template, so careful
measuring is the order of the day. Let us begin. |
 |
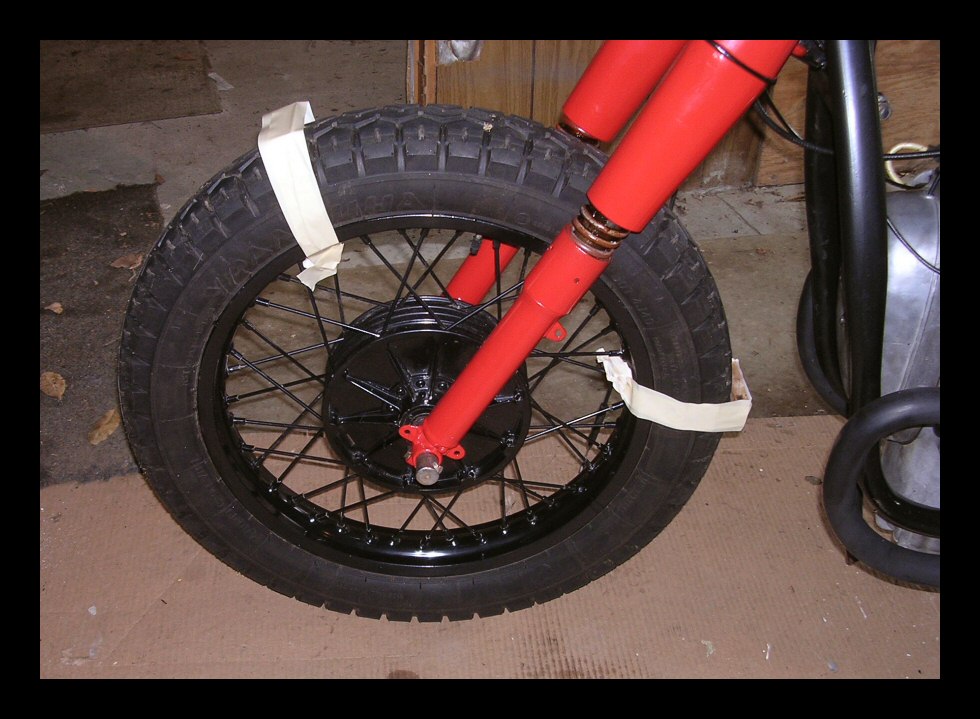
Tape blocks of wood to the tire to support
the fender while you fool around. |
 |
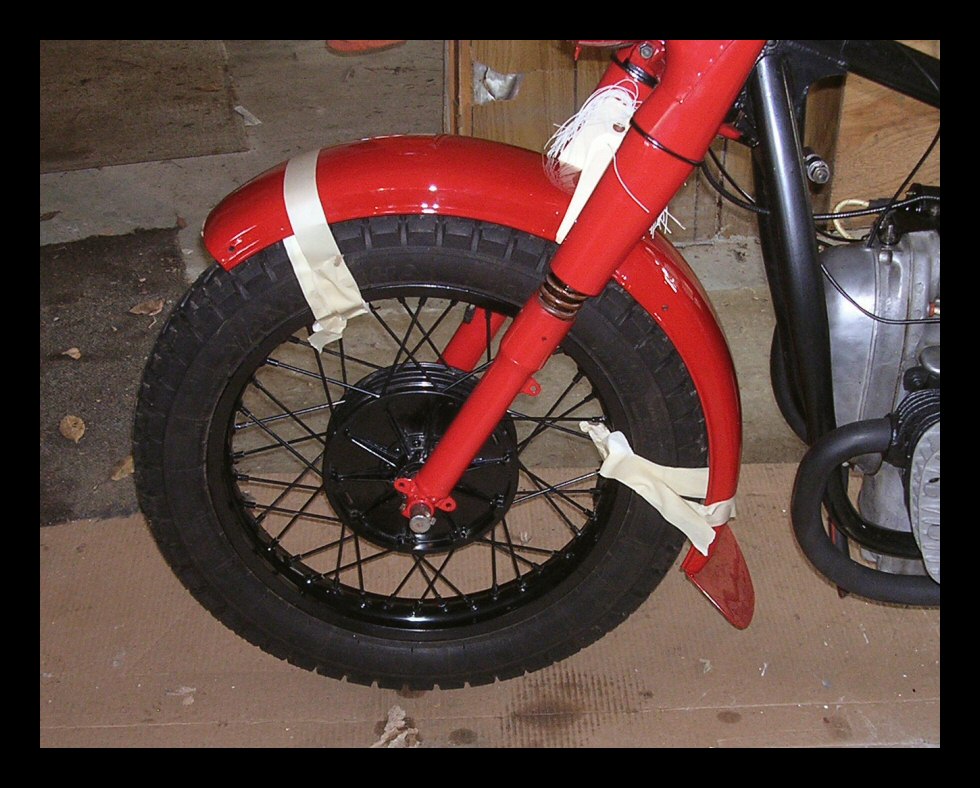
Once the fender is at the desired height
above the tire, tape it in place. |
 |
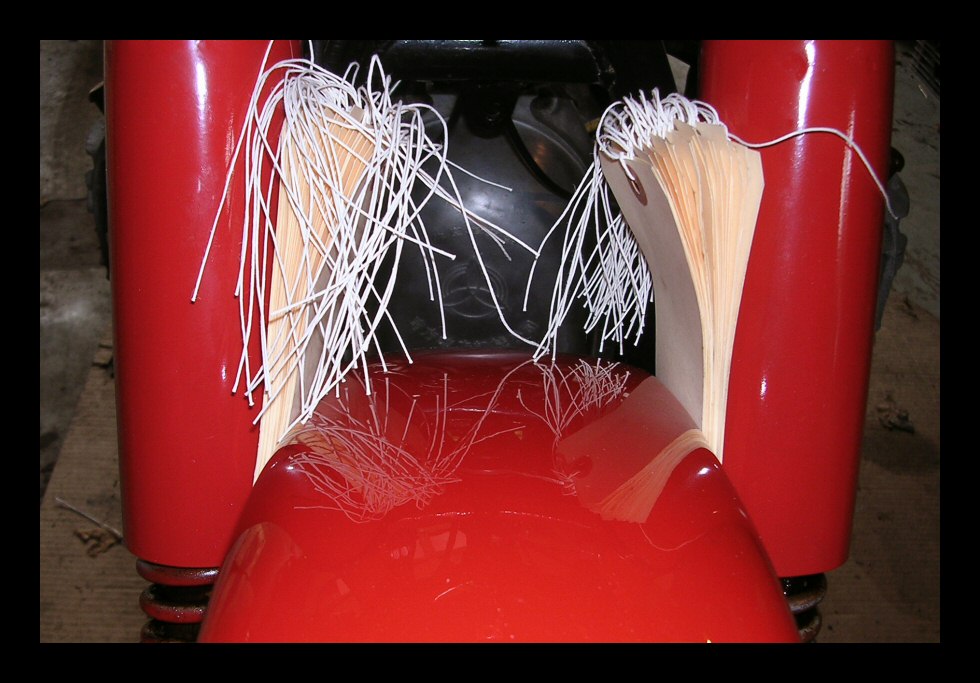
Find something to center the fender between
the forks. In this case, paper tags were used. |
 |
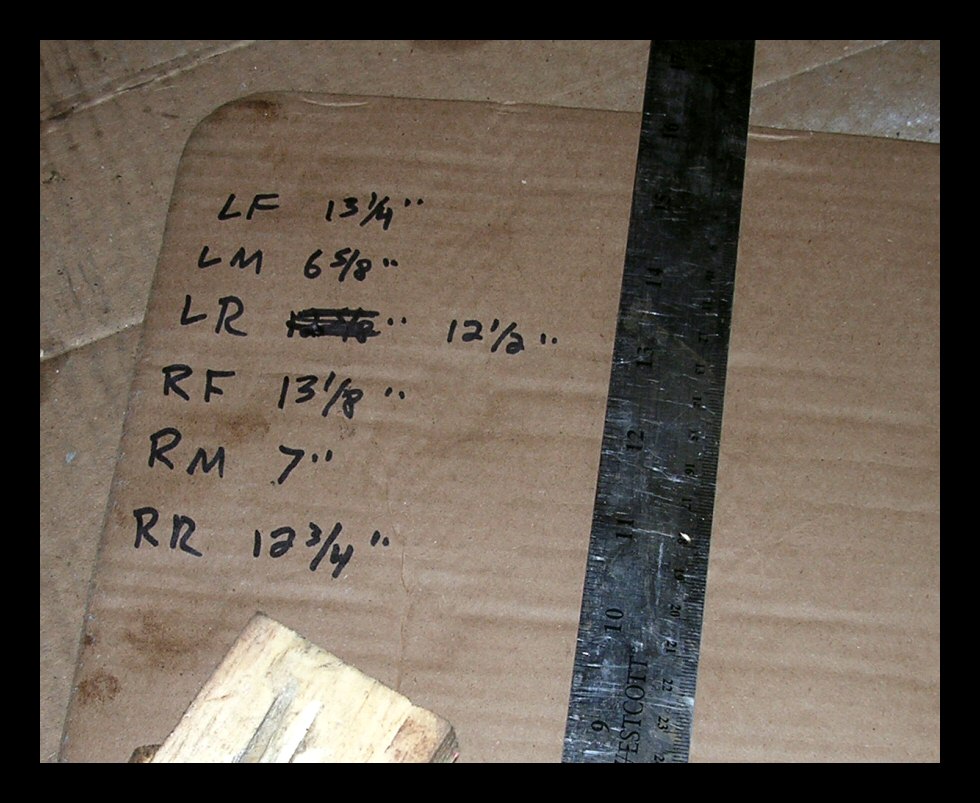
Carefully measure the
distance between the holes for each bracket. The results
might surprise you. In this case, they were not uniform. |
 |
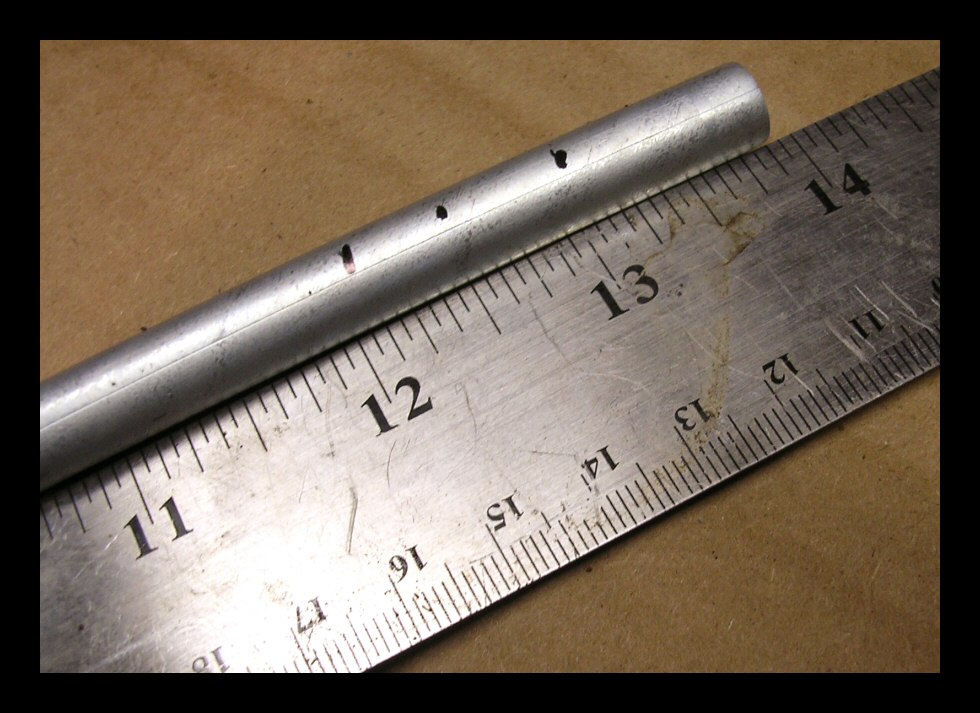
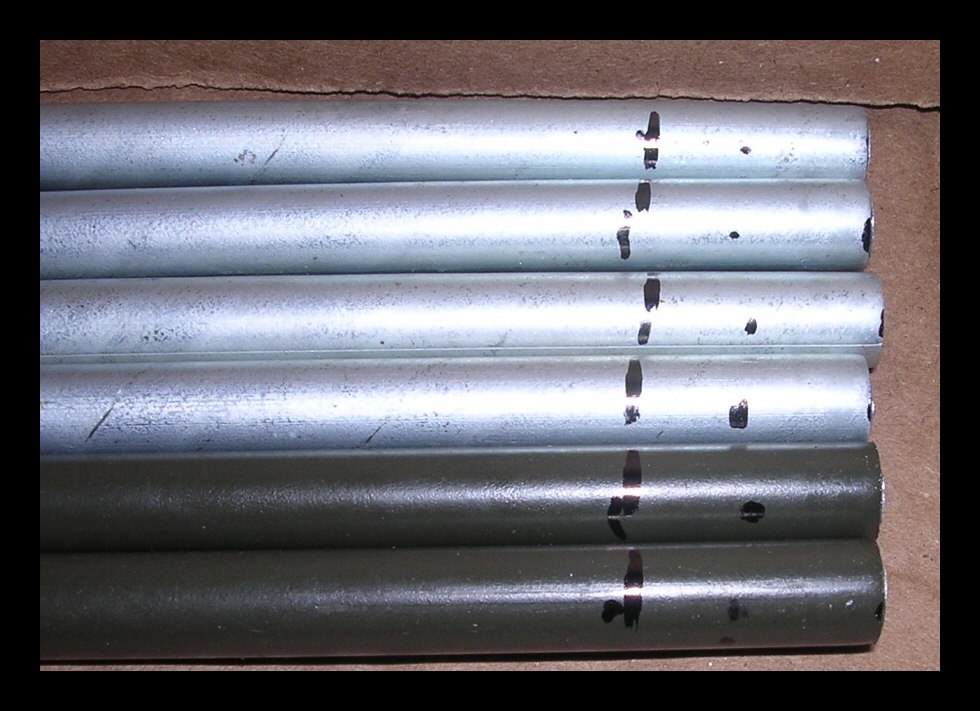
Mark the tubing accordingly. There are three
marks. The end mark is for cutting. The center is for the
hole, and the inner mark is for the squeeze. |
 |
I used tubing that already had one prepared
a few days earlier. The measurements run from the hole
centers. |
 |
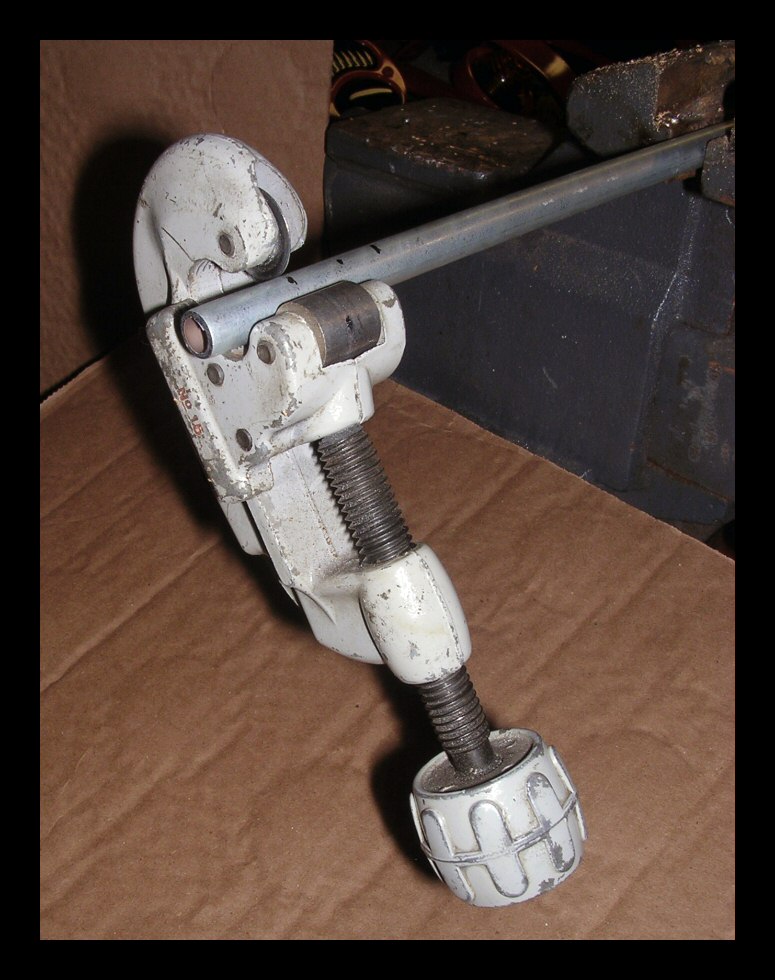
Cut on the cutting mark you just made. |
 |
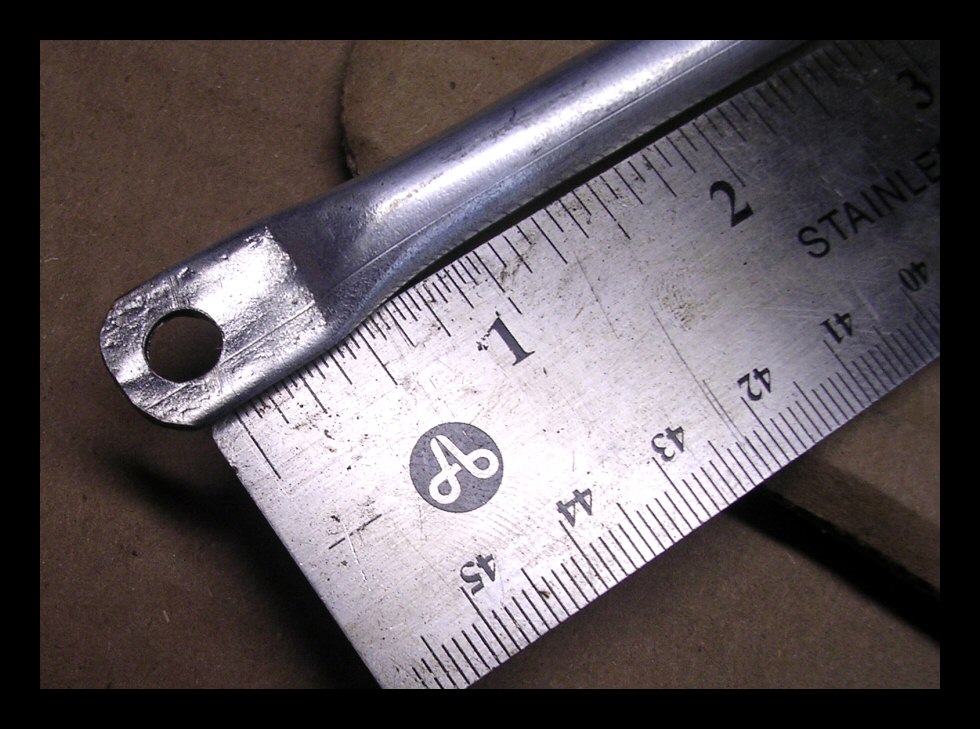
Finished. |
 |
Give each one a good squeeze in a vice using
the inner mark for reference. Re-mark the hole locations. |
 |
Punch the hole centers. |
 |
Drill pilot holes. |
 |
Drill the screw holes. |
 |
Grind off the square edges and run them
through the wire wheel. |
 |
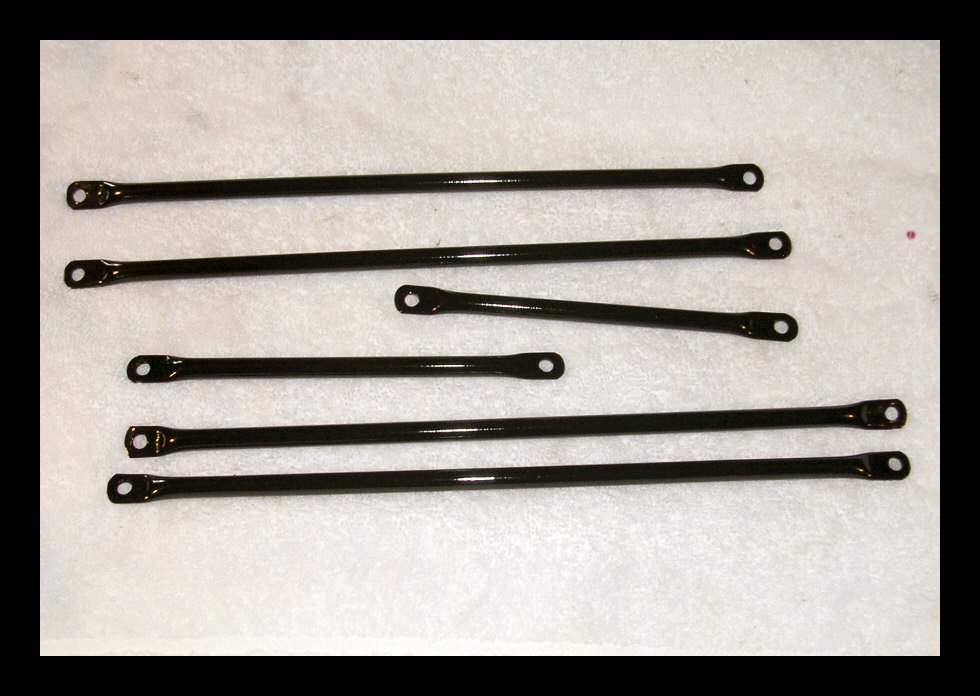
Primer. |
 |
Paint. |
 |
Done.This time, I wanted the fender slightly
higher than before. I also painted the brackets black
instead of the fender color as I like the way this looks
on Ross Kowalski's bike and wanted to do
the same with mine. |
 |
|
|
|
|
|