| Changing a gearbox output shaft seal | ||||||
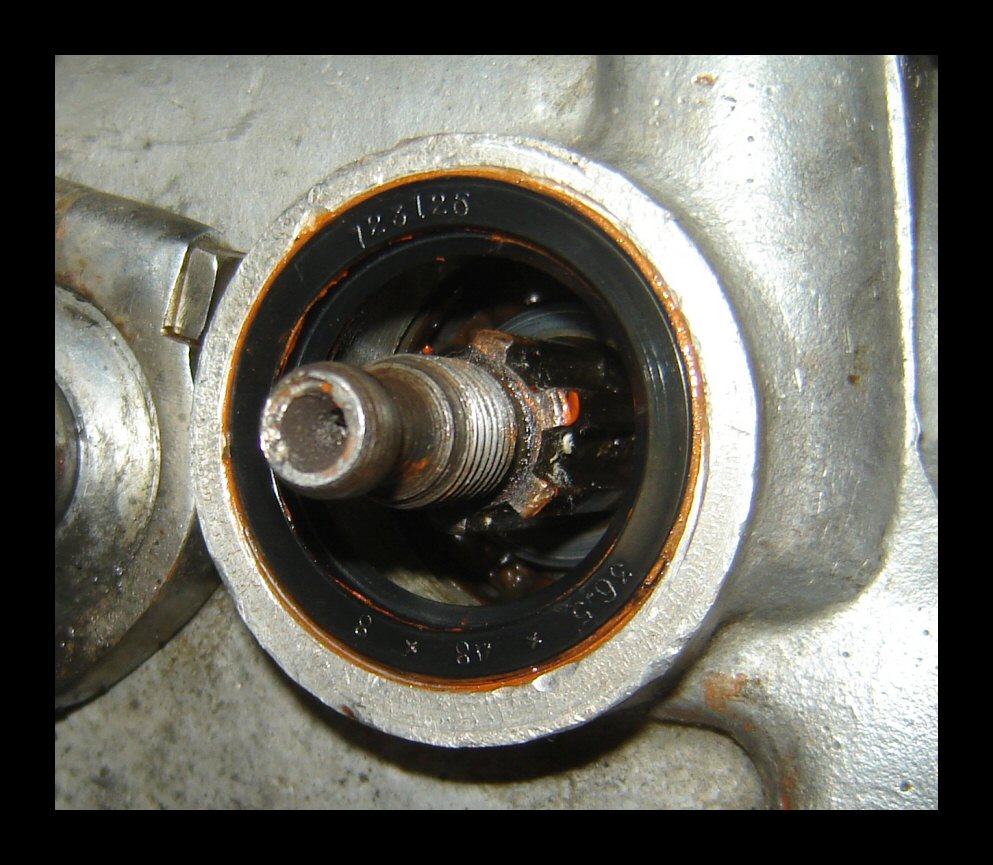
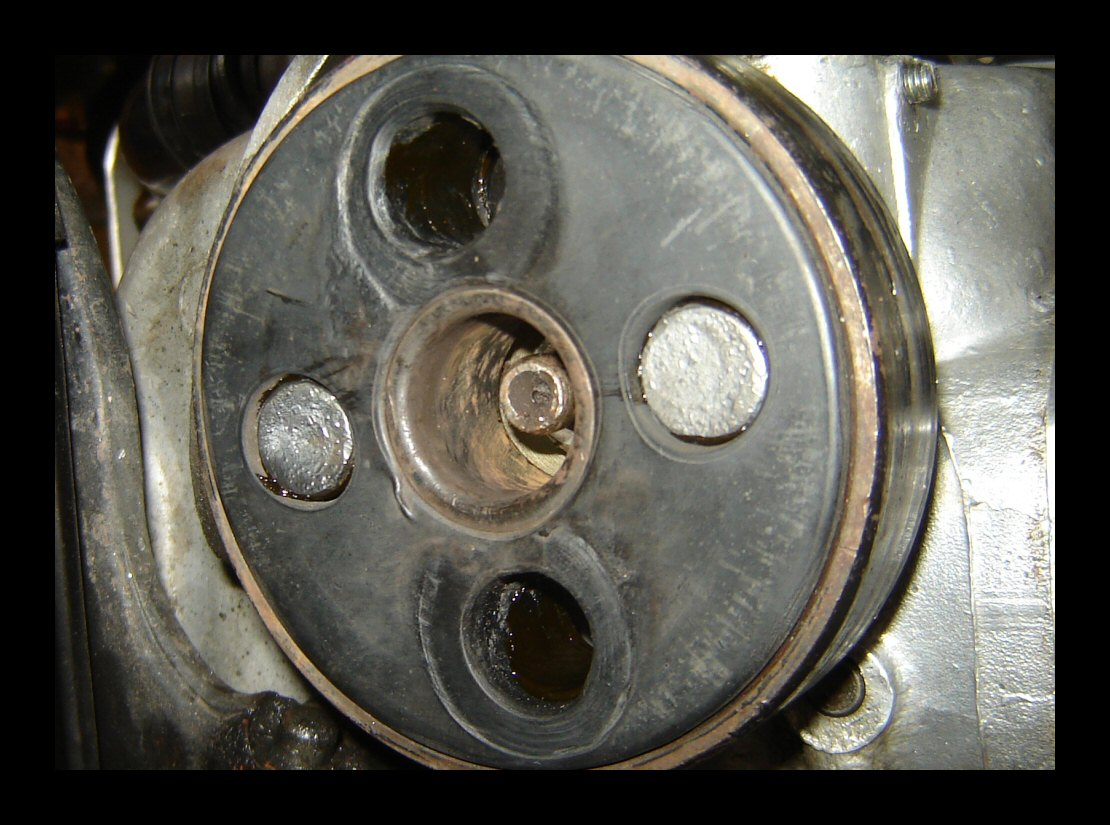
| When the output shaft seal fails, the rubber coupler becomes an oil slinger. Your leg, sidecar and passenger will get a lube job, not to mention everything else aft of the donut. When my seal failed, it broke loose from the gearbox and was spinning with the output shaft. They're definitely not supposed to do that. We'd better get to work. | ||||||
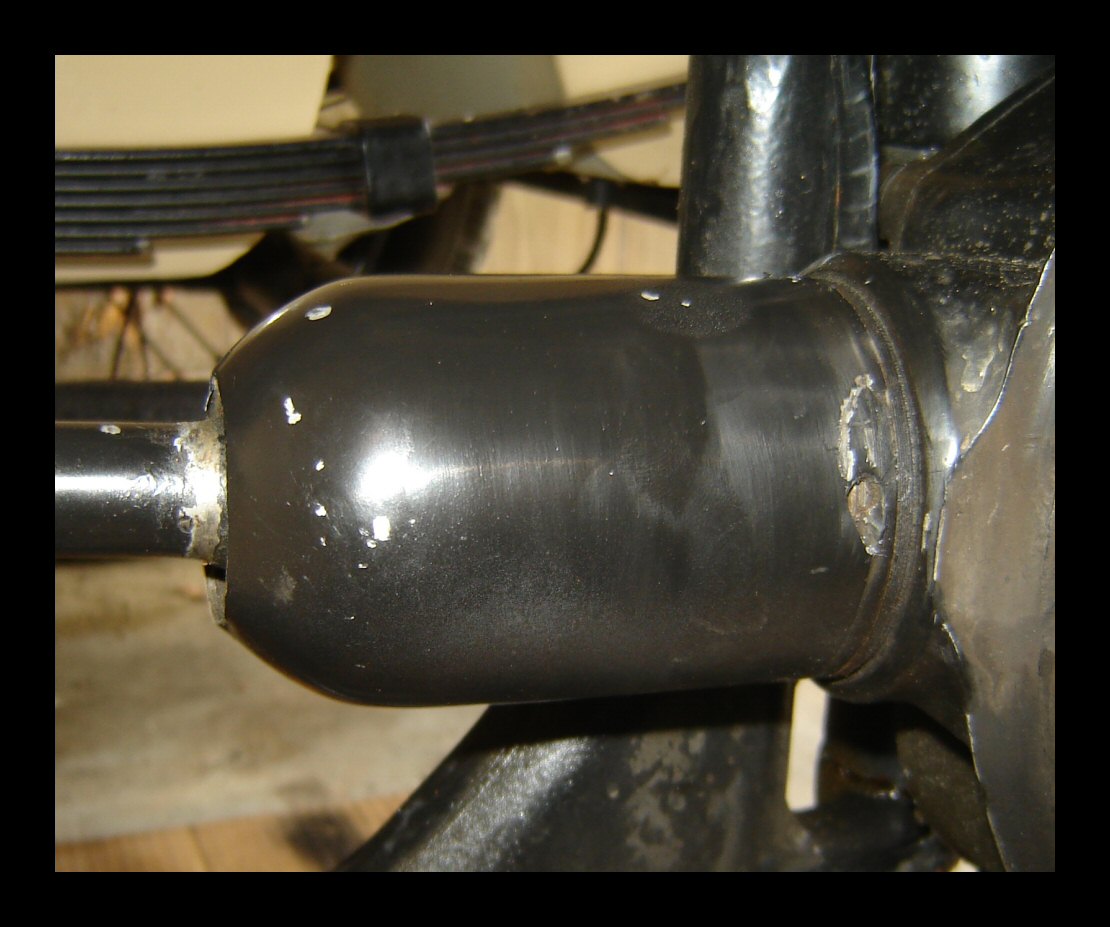 |
Start by jacking up the bike and removing the rear wheel. On my bikes, you must remove the U-joint dust cover in order to pivot the final drive inward far enough. That's the only way to separate the driveshaft from the donut (unless you'd rather pull the final drive. Screw that.) The rubber boot is missing here. Next time the U-joint's apart, I'll replace the boot. | |||||
 |
This is one of several specialized tools found in every CJ tool kit. The left end is used to loosen the dust cover (and other things.) | |||||
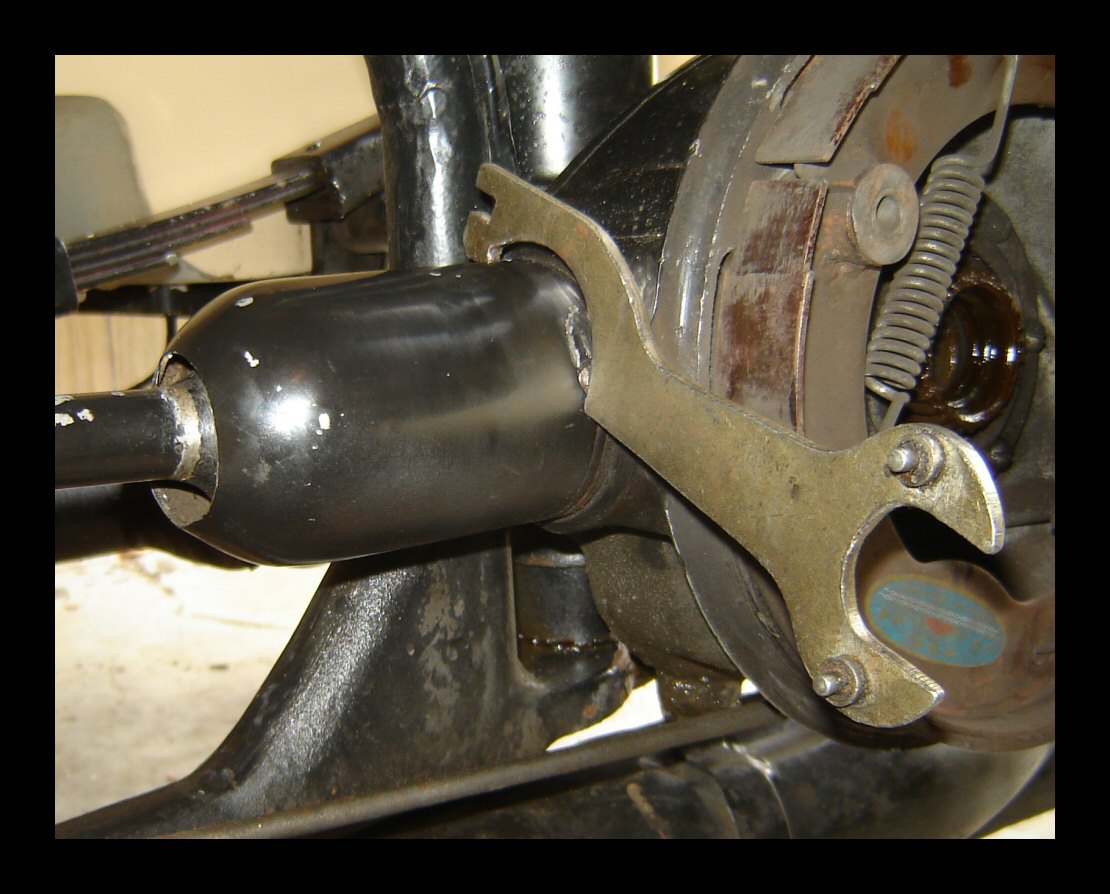 |
Yup, it has a left handed thread. The position shown here is for loosening. | |||||
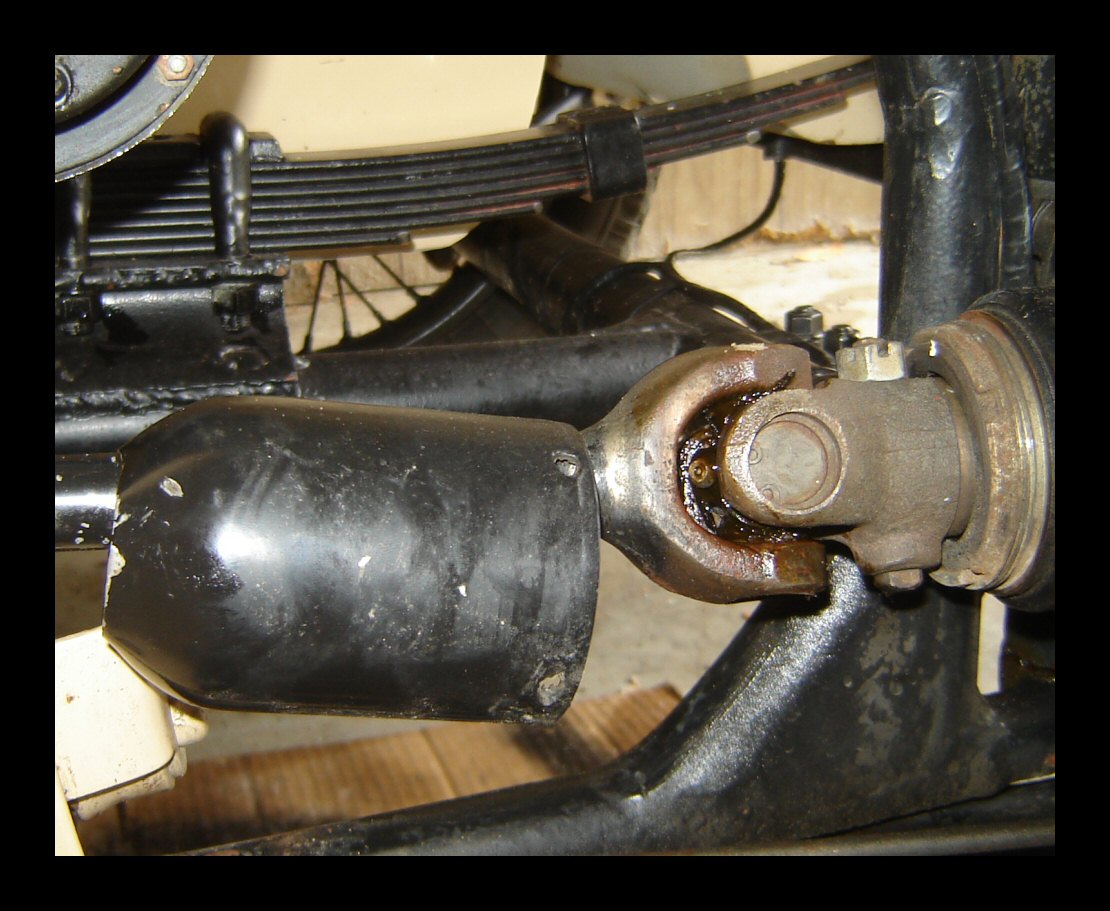 |
There, it's off. Now you can pivot the final drive inwards and disengage the driveshaft from the donut. (If your U-joint has a zerk fitting, use this opportunity to give it a shot of grease.) | |||||
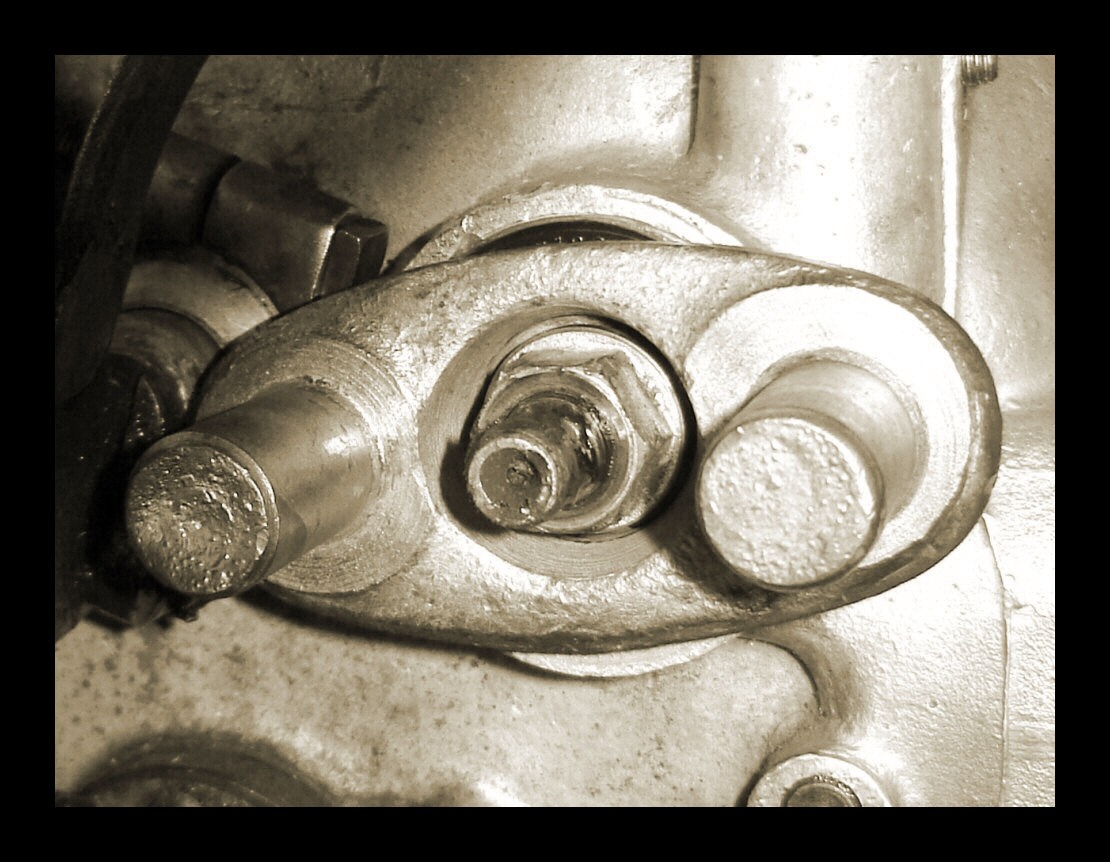 |
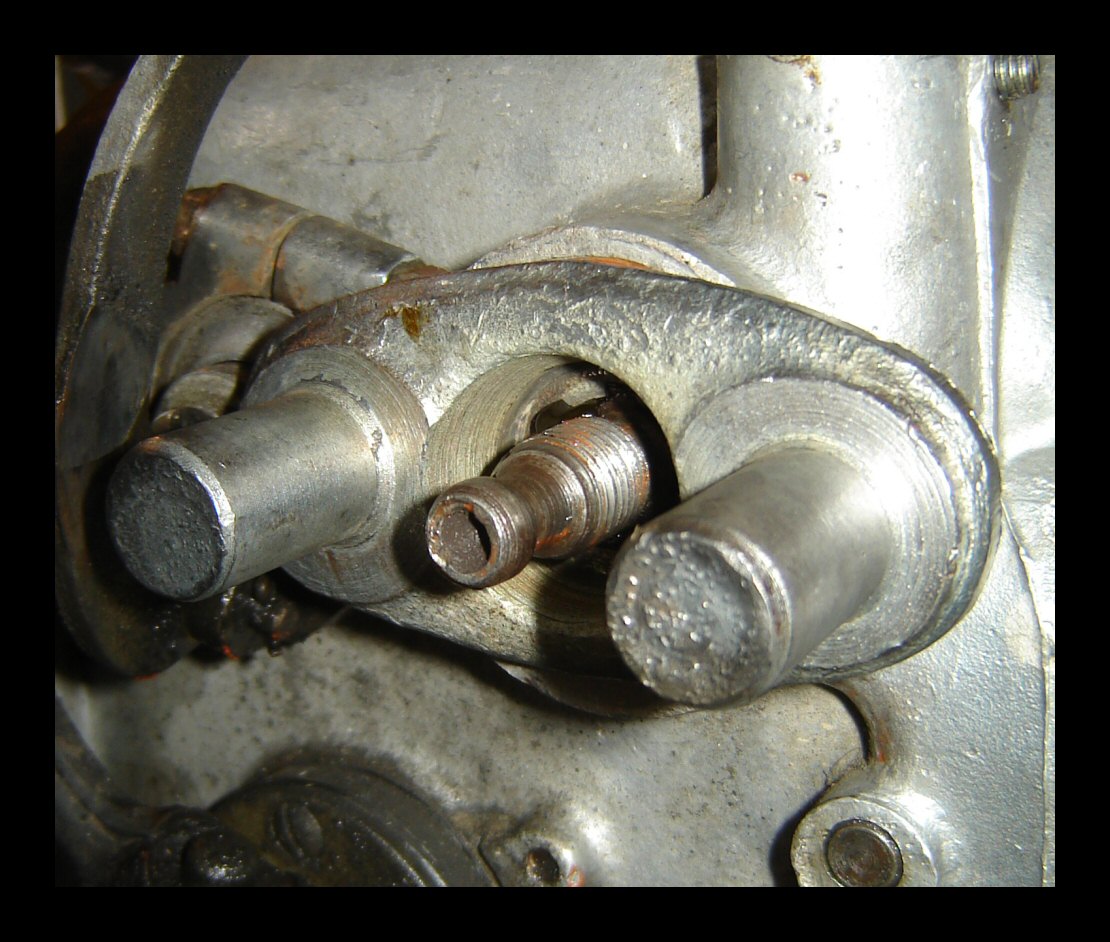
Using a 17mm socket, loosen the nut and slide the yoke out of the gearbox. In this session, the old seal came out with the yoke. It then had to be pried off. | |||||
 |
Here's the yoke. The red arrow indicates the surface that must be spotless and smooth. Nothing beats the wire wheel on a bench grinder to achieve that. | |||||
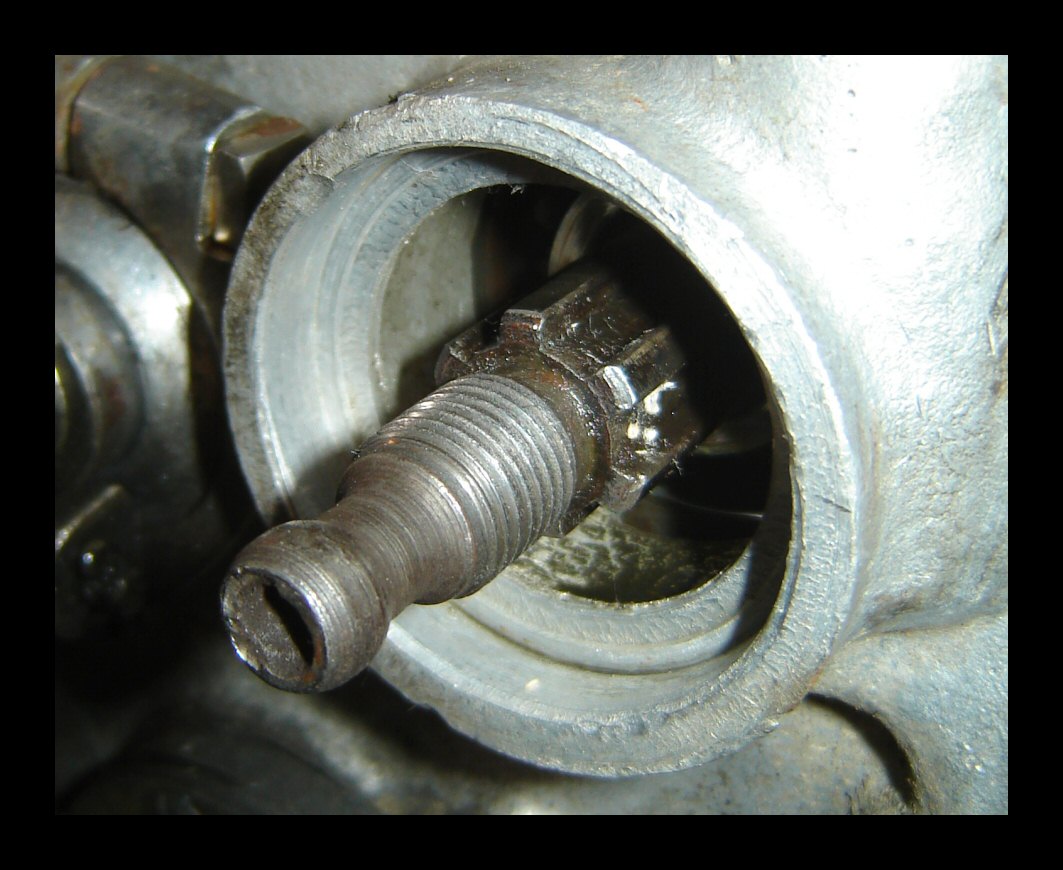 |
The seating surface for the seal must also be spotless. I used a wire brush, Q-tips and gasoline. | |||||
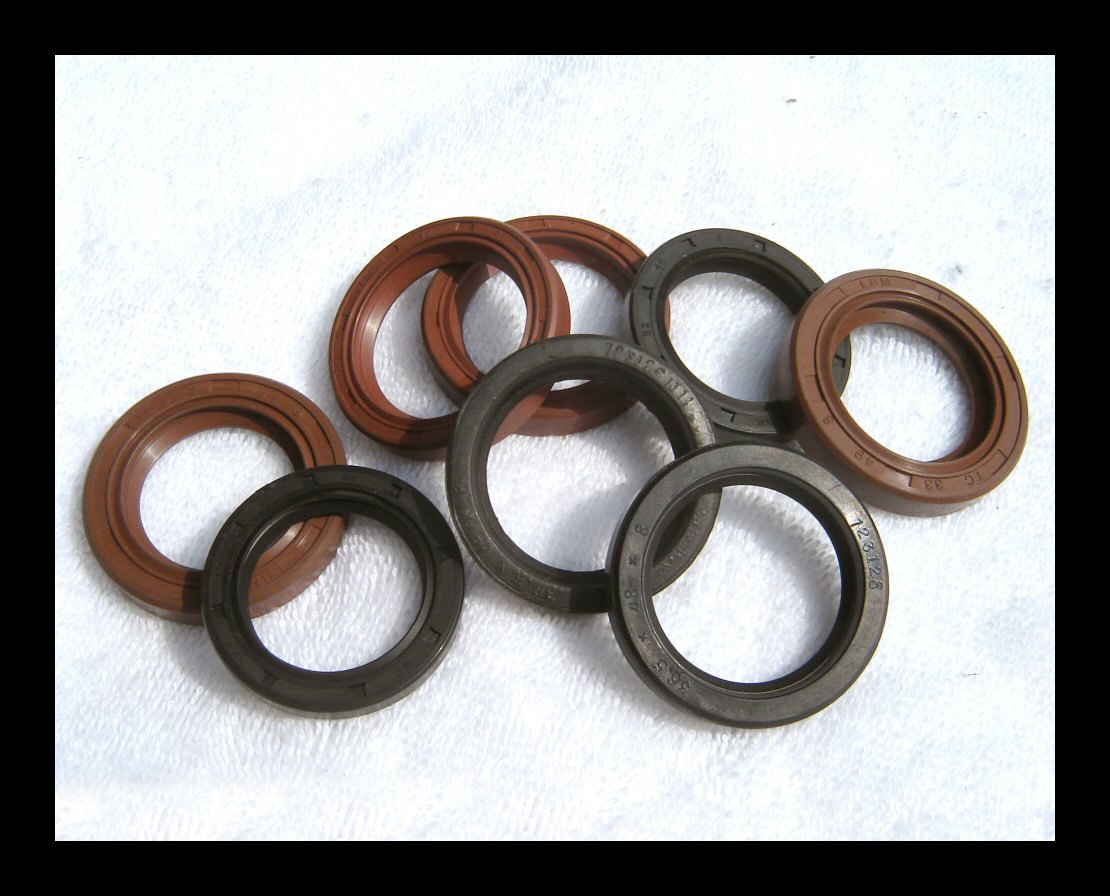 |
A selection of engine and gearbox seals from LRM. | |||||
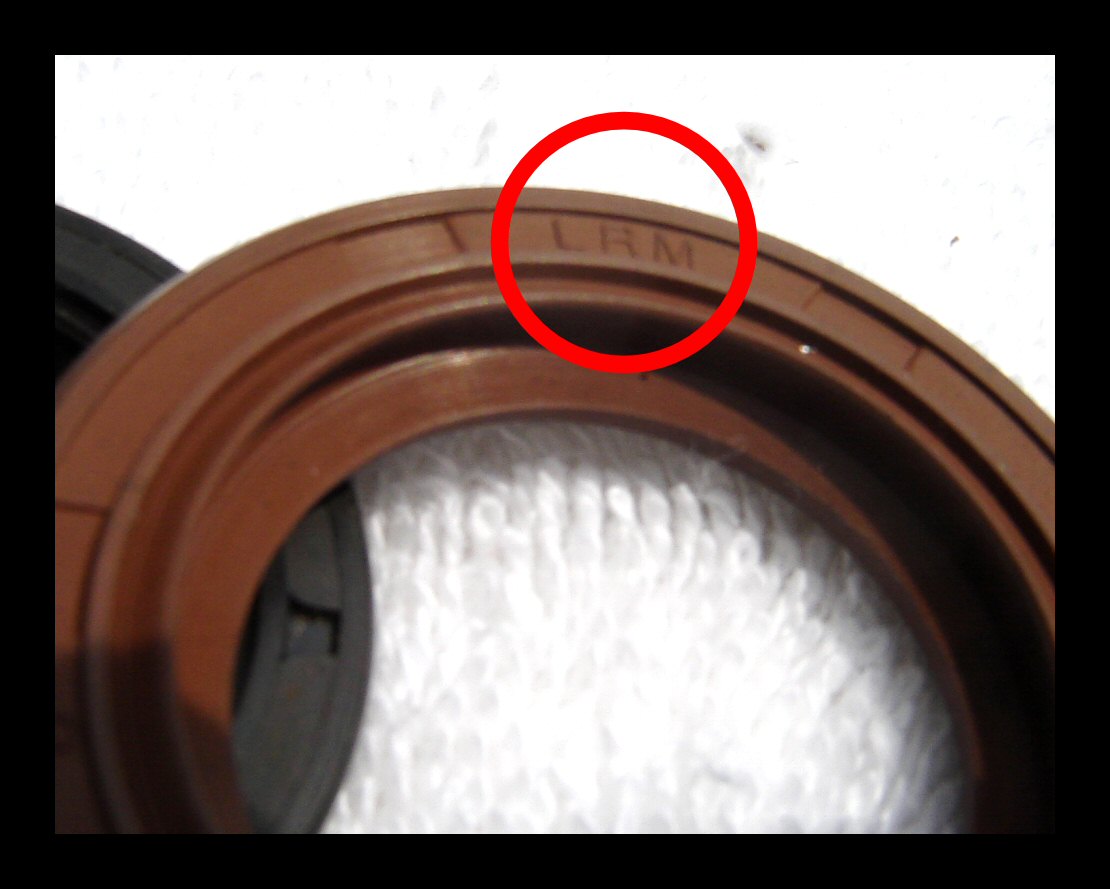 |
Some of them are marked LRM. These are the best seals you can get for these bikes. | |||||
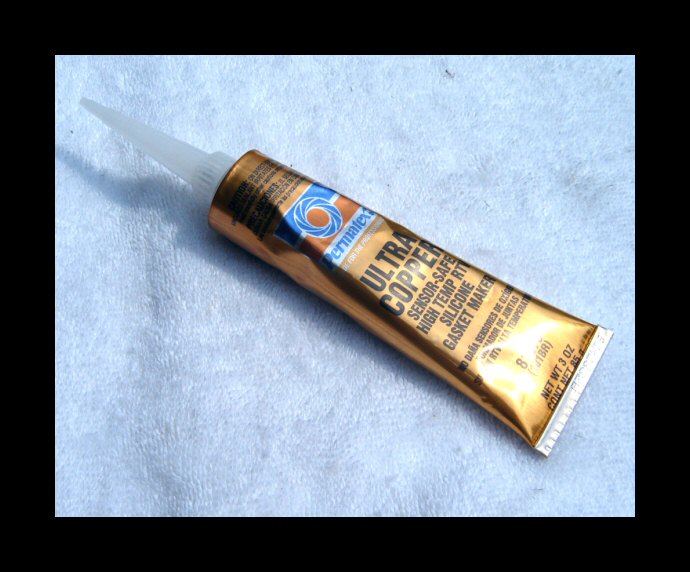 |
I use this stuff for just about everything. The seating surface gets a good application of it before pressing the seal into position. | |||||
 |
Viola. I always get the sealant in places where I don't want it as you can see. It's not really a big deal. | |||||
 |
The yoke gets a nice dollop of axle grease where it passes through the seal. | |||||
 |
Here's the yoke, back in position. | |||||
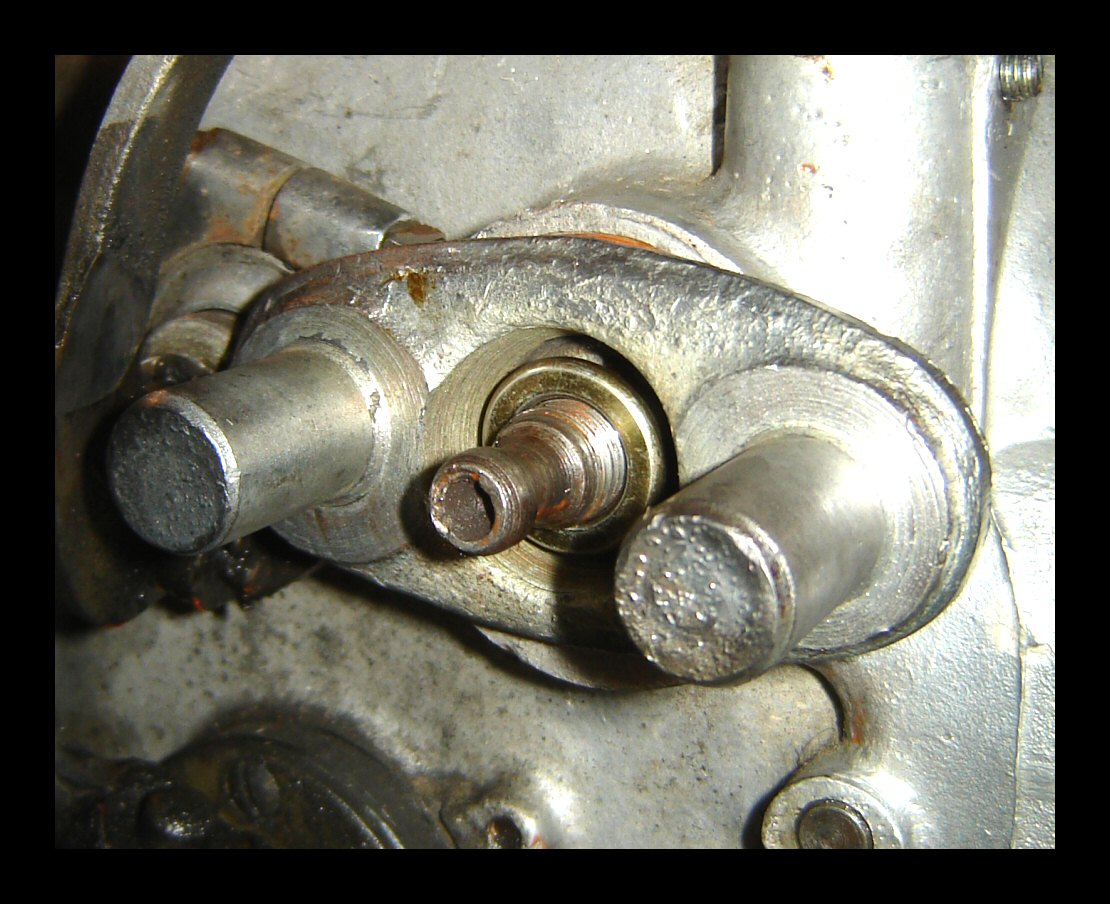 |
Something the bike didn't have when I started this task—a lock washer behind the nut. The reason it's there now is because the nut was loose when I took it off. | |||||
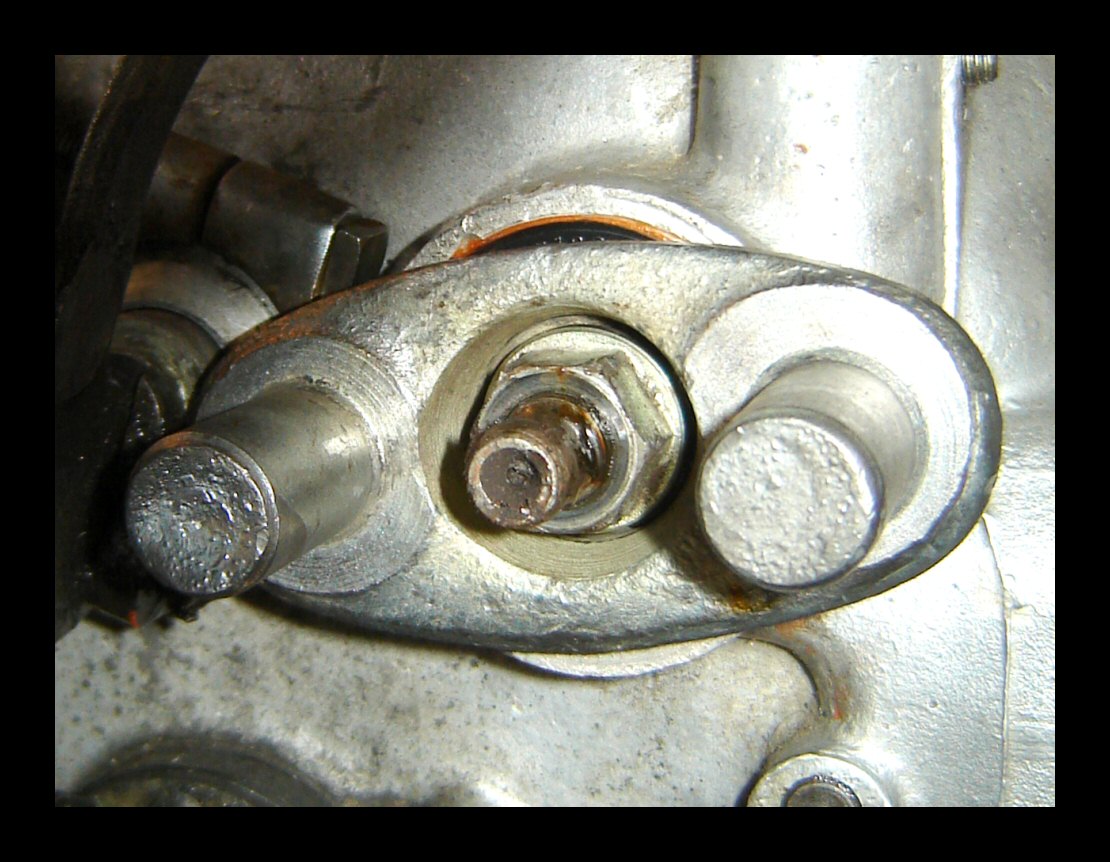 |
17mm nut, applied with an air impact wrench. Torque spec? Just get it tight. | |||||
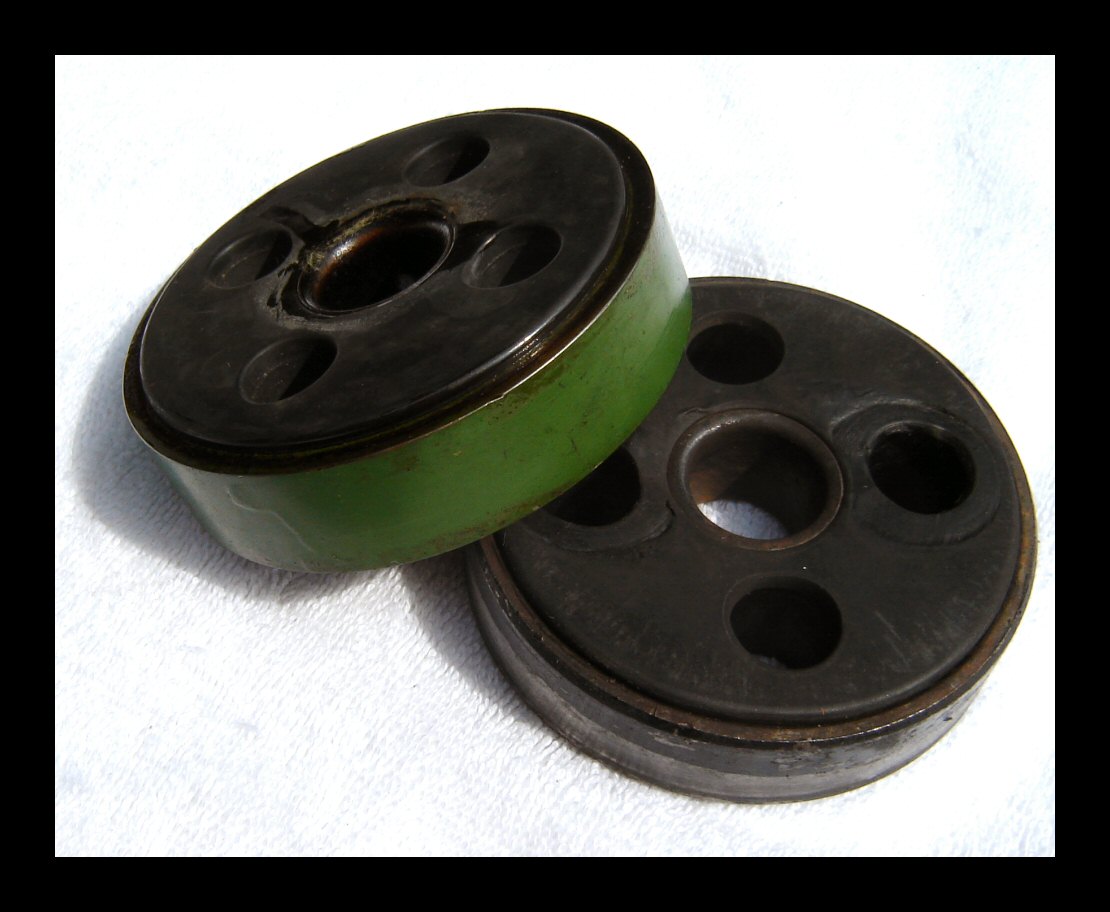 |
A couple PLA donuts. The green one is from LRM. The other one came off the bike. It has maybe 7000km on it and is still in excellent condition. | |||||
 |
I grease the donut holes with a thin application of axle grease to facilitate sliding everything back together. Some claim that petroleum products will harm the rubber, but I have yet to see any evidence of that. | |||||
 |
Thanks to the grease, the driveshaft sliiiiiiiiiiides into place, ever so smoothly. | |||||
|
Dust cover back in position. Remember—lefty tighty, righty Lucy. | |||||
 |
Whenever I have a wheel off, I always rough up the brake linings with sand paper. (Brake hub, too.) Once the wheel was back on, I went ahead and adjusted the brake, too. Might as well. | |||||
| I lost about a cup of gearbox oil. It was
replaced with SAE50 motor oil since I was out of gear
oil. (Yes, you can do that. These bikes don't care what
kind of oil you use as long as there's something
in there. Don't let anyone tell you different.) The task was followed by a test ride that ended up being close to three hours, and the mission was a success. If you ride your bike very much, it would be a good idea to have a stock of spare seals. Sooner or later, you're gonna need 'em. Both of my bikes have used rear-main seals and output shaft seals, so these are the ones I recommend you keep in your parts inventory. |
||||||