| CJ750 toolbox | |||||
| Changing steering bearings Before we get started, I have a confession to make. In the process of changing my steering bearings, I made one mistake and I forgot to do something else ahead of time. As a result, I've had to improvise with a couple of the pictures, but they still they convey all the main points for changing out these bearings. Let's get started! |
|||||
 |
The first step is a no-brainer. Jack up the bike and remove the front wheel. | ||||
 |
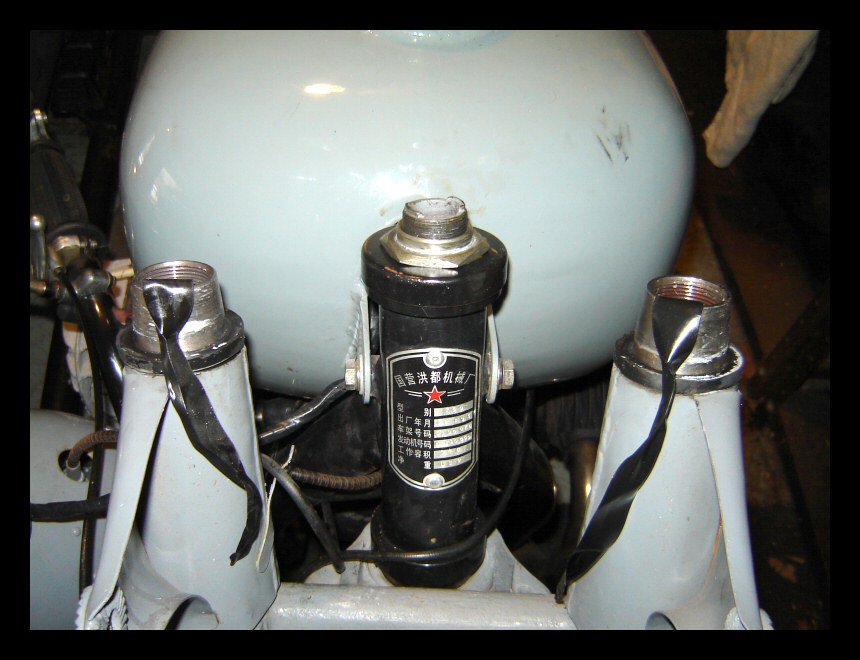
Remove the steering damper. It simply unscrews. | ||||
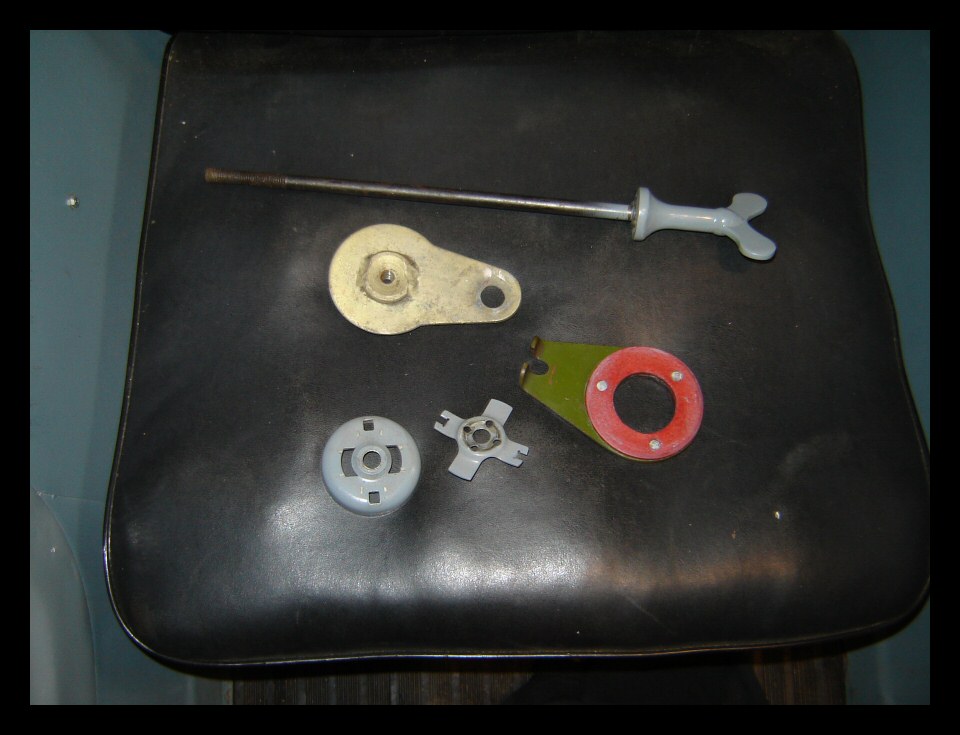 |
Here are all the steering damper components after they're off the bike. | ||||
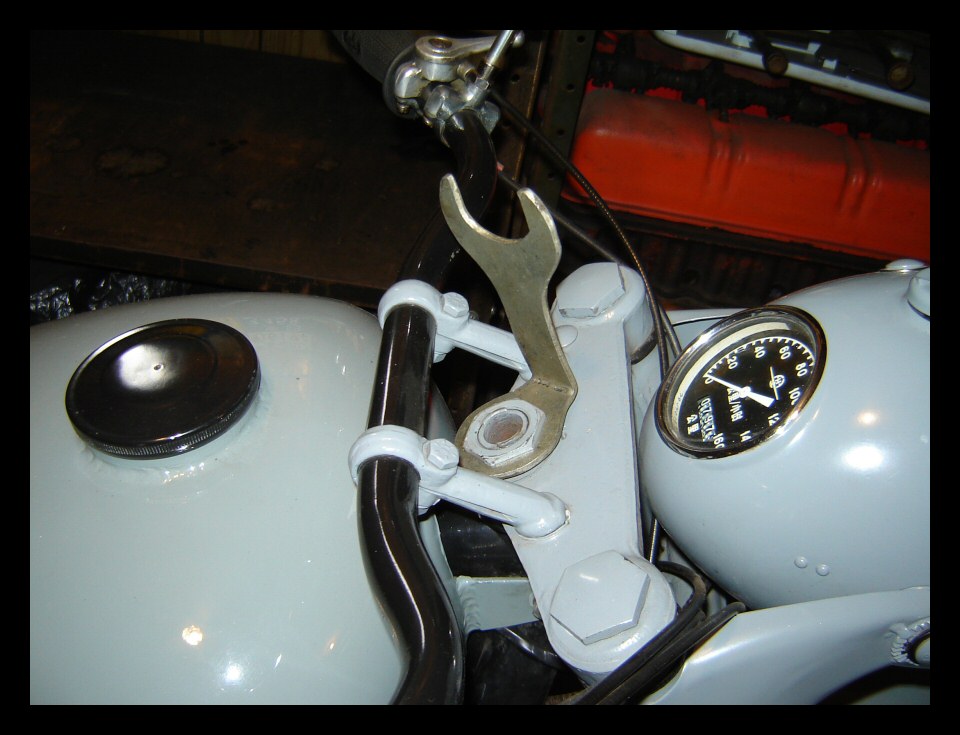 |
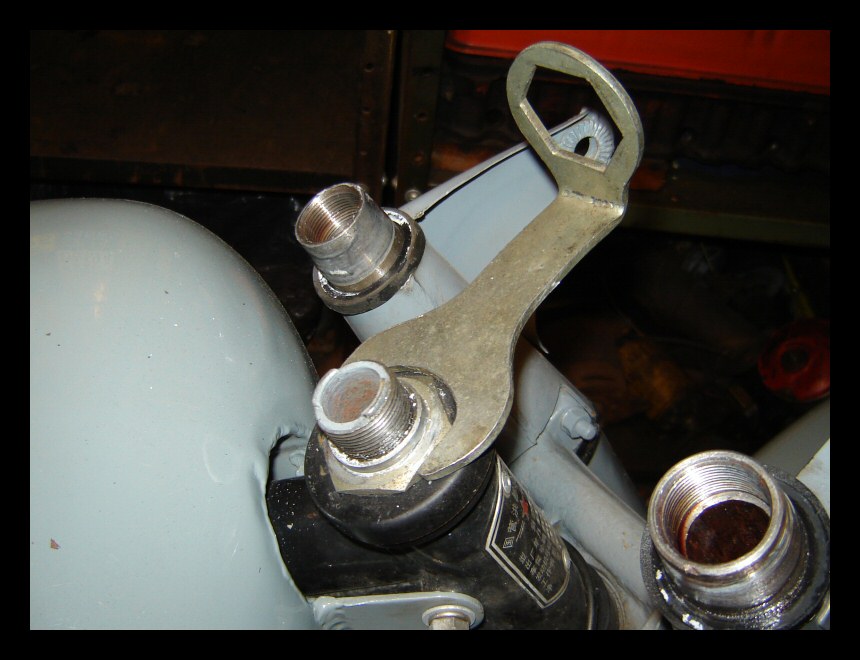
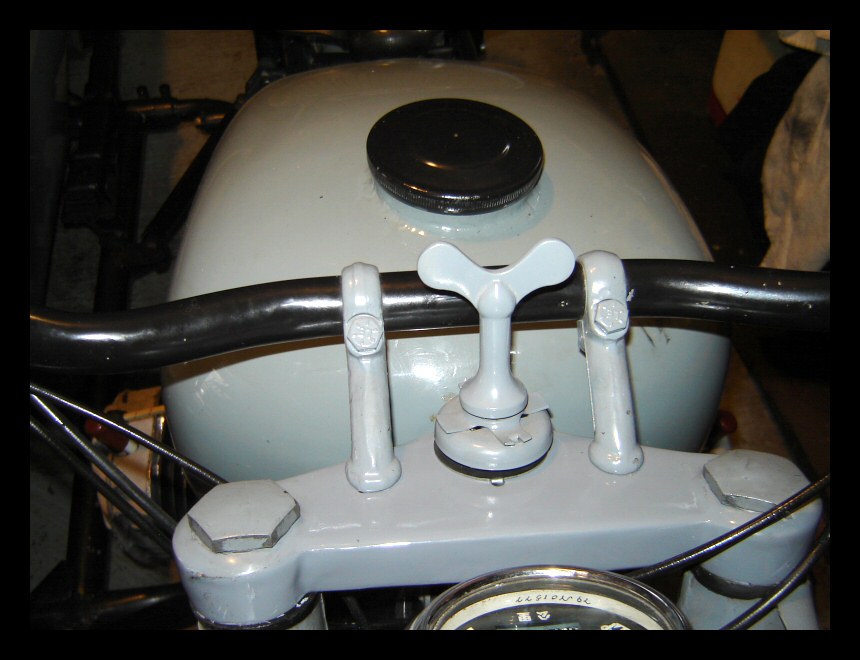
This tool comes with every CJ750 tool kit. Use it for all three nuts on top of the triple-tree. | ||||
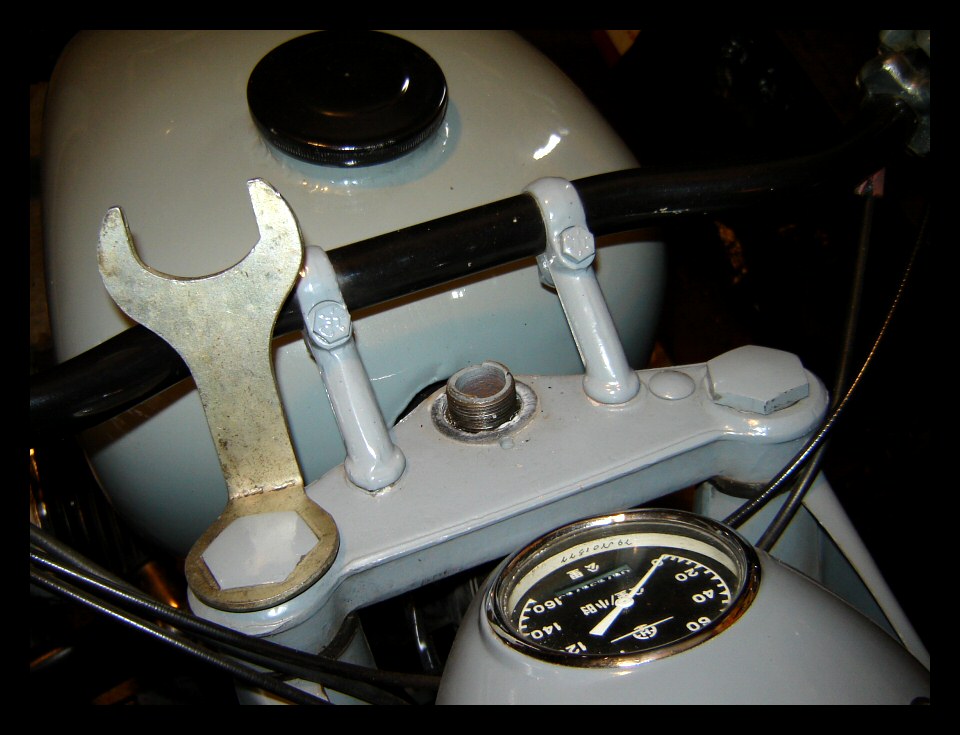 |
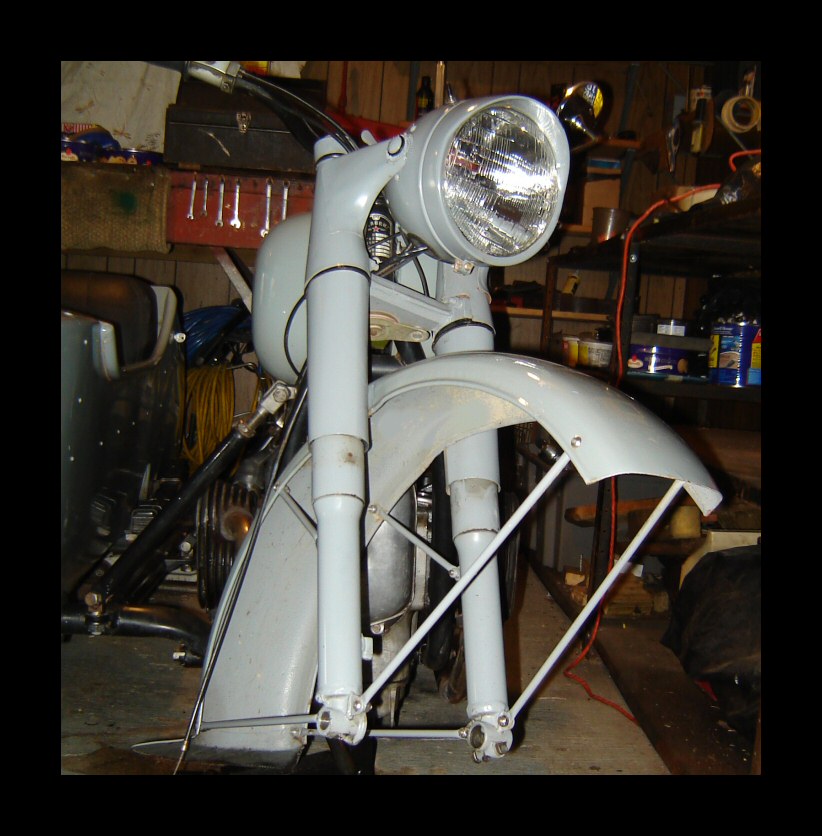
It doesn't matter what order. Also, this might be a good time to remove the headlamp and tuck it somewhere out of the way. | ||||
 |
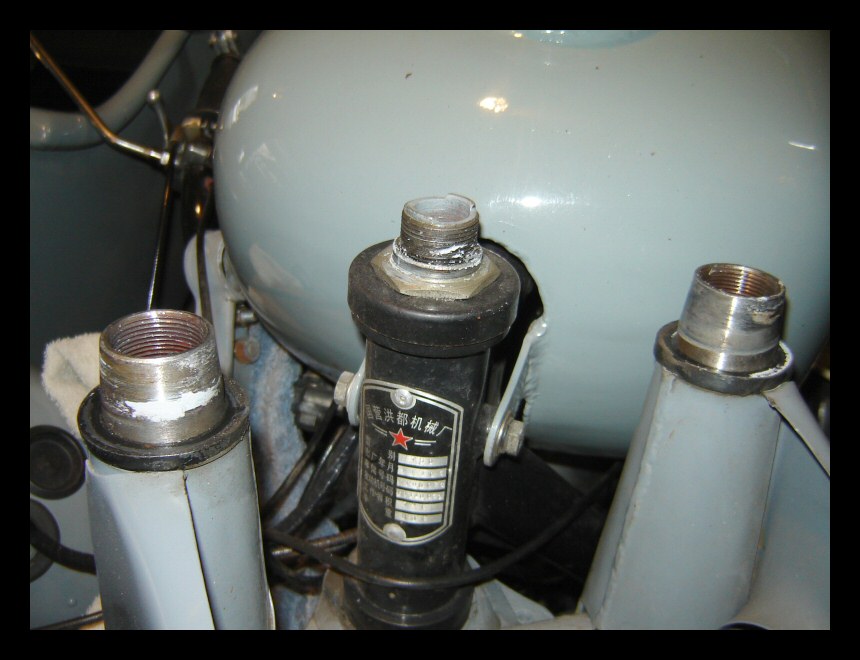
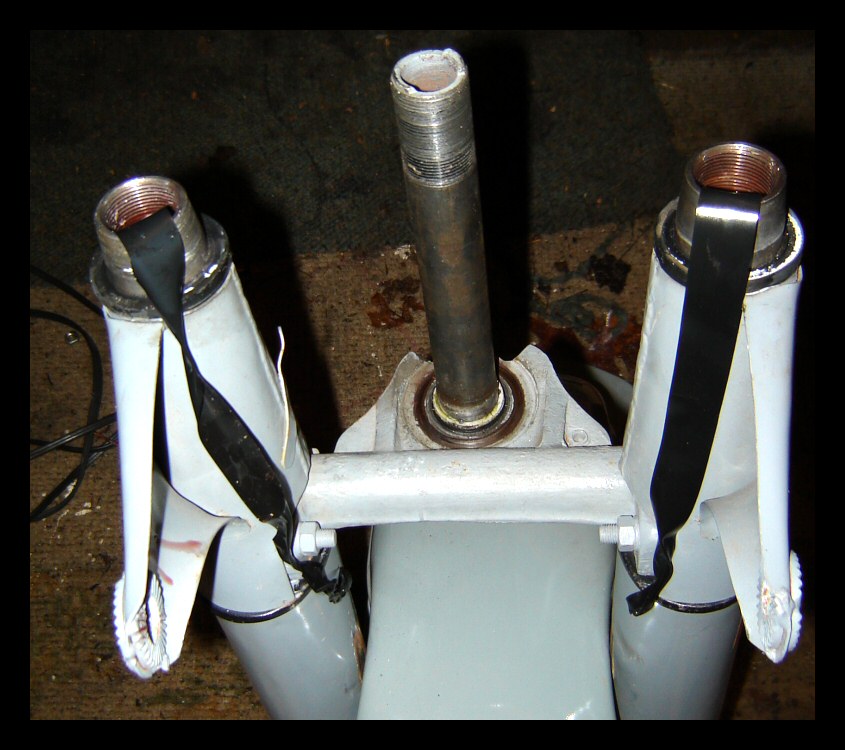
You'll need to separate the damper rods from the big nuts and find a way to pull them back up once they've slid down into the forks. (I used black tape for this.) If those nuts are stubborn, hold the rods with vice grips. The smaller nuts are 14mm. (This picture is improvised. The big nut in the center has actually been removed at this point.) | ||||
 |
Electrical tape will give you the means to pull the rods back out of the fork tubes when the time comes. (Again, pretend that big center nut isn't there.) | ||||
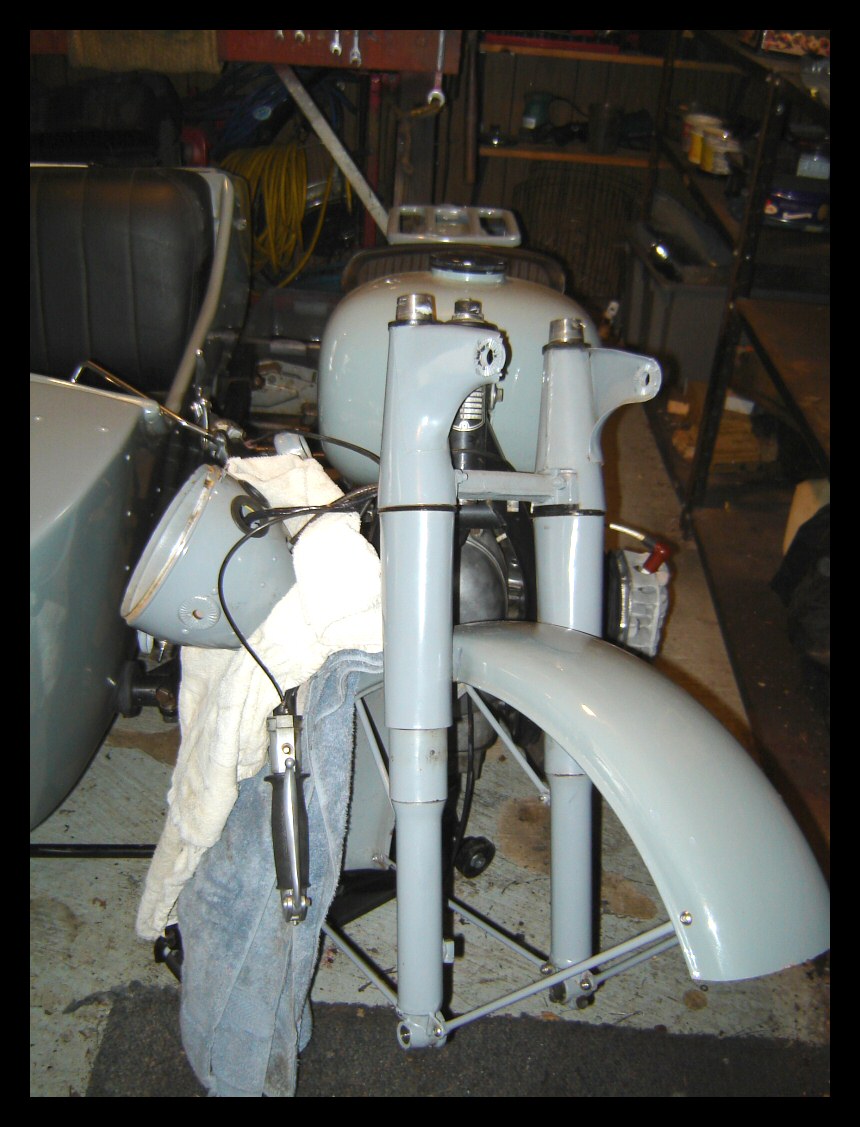 |
The headlamp and handlebars (attached to the top plate of the triple-tree) are moved to the side. I used towels to prevent scratches. | ||||
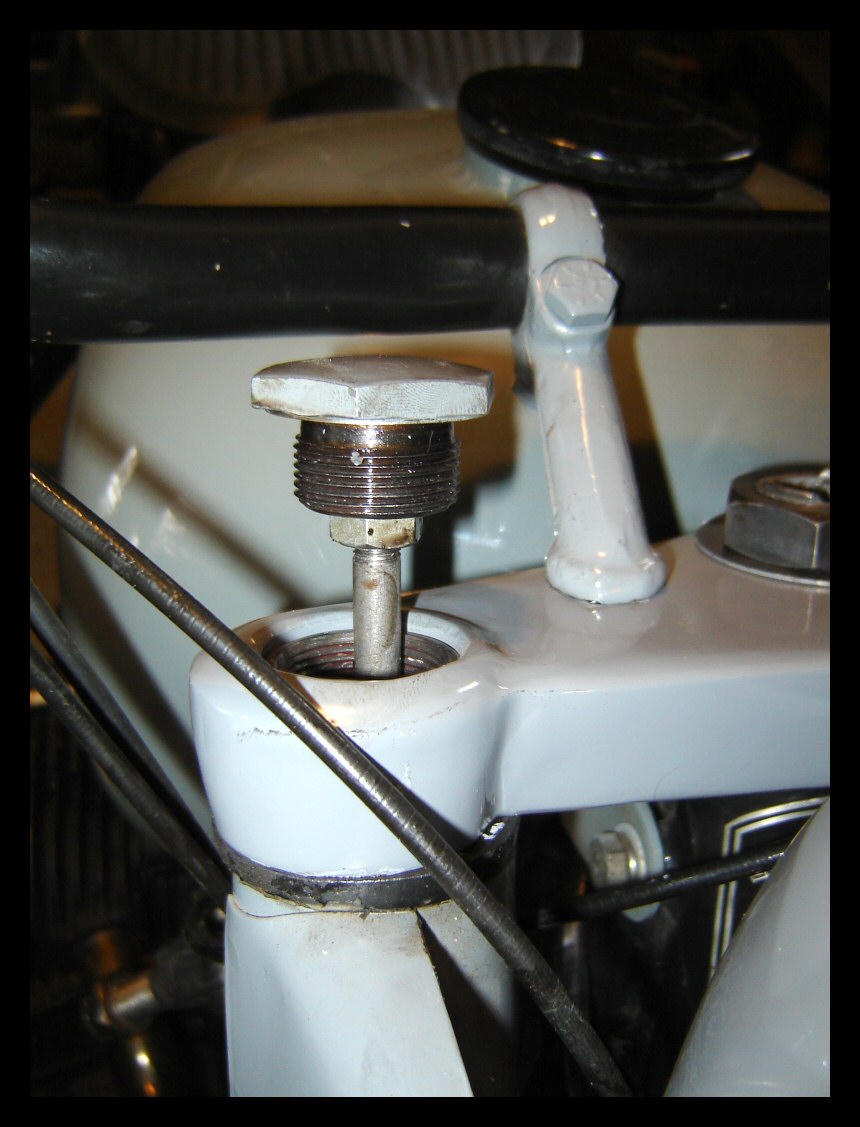
 |
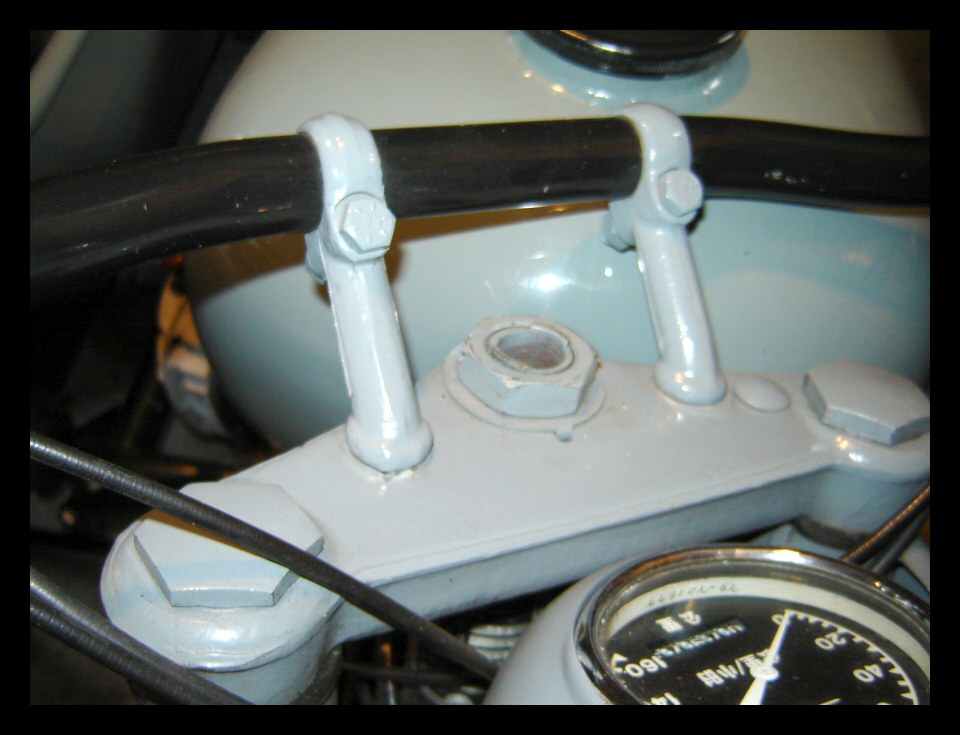
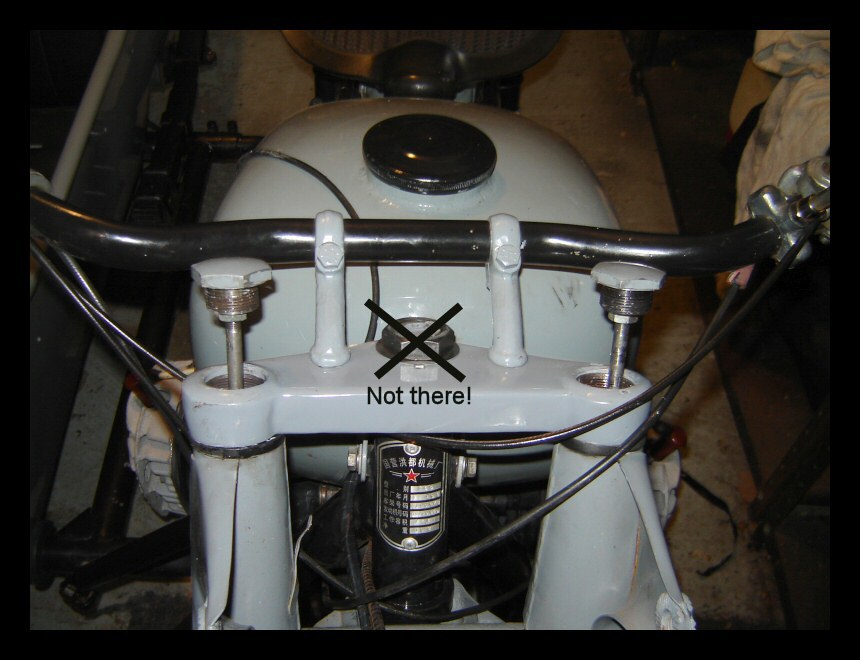
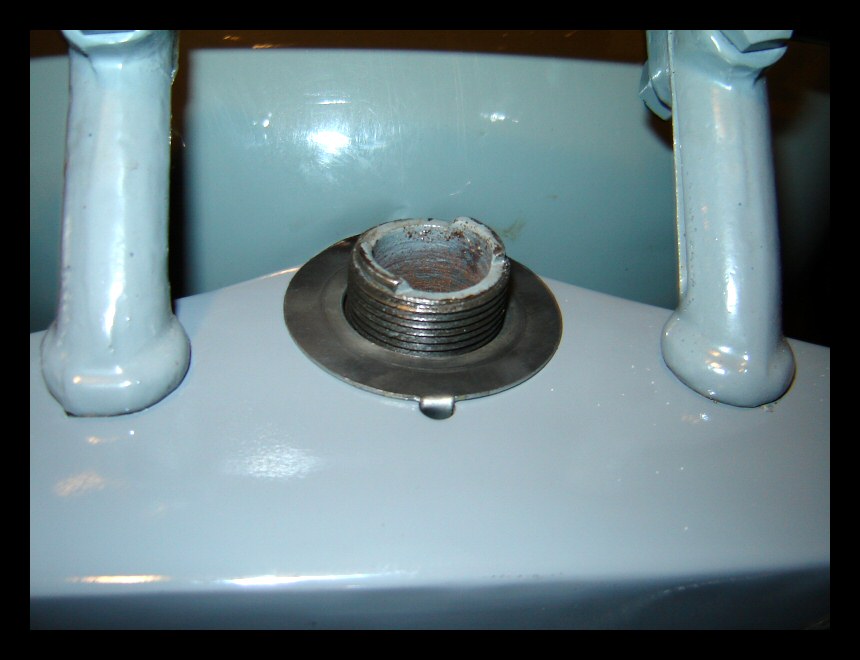
The upper bearing is underneath the big nut. | ||||
 |
Using the special tool, remove the big nut and dust cover. Make sure you've got ahold of the forks while you do this as the entire assembly will be detached from the frame. The forks will slide downward. Be aware—they're heavy. | ||||
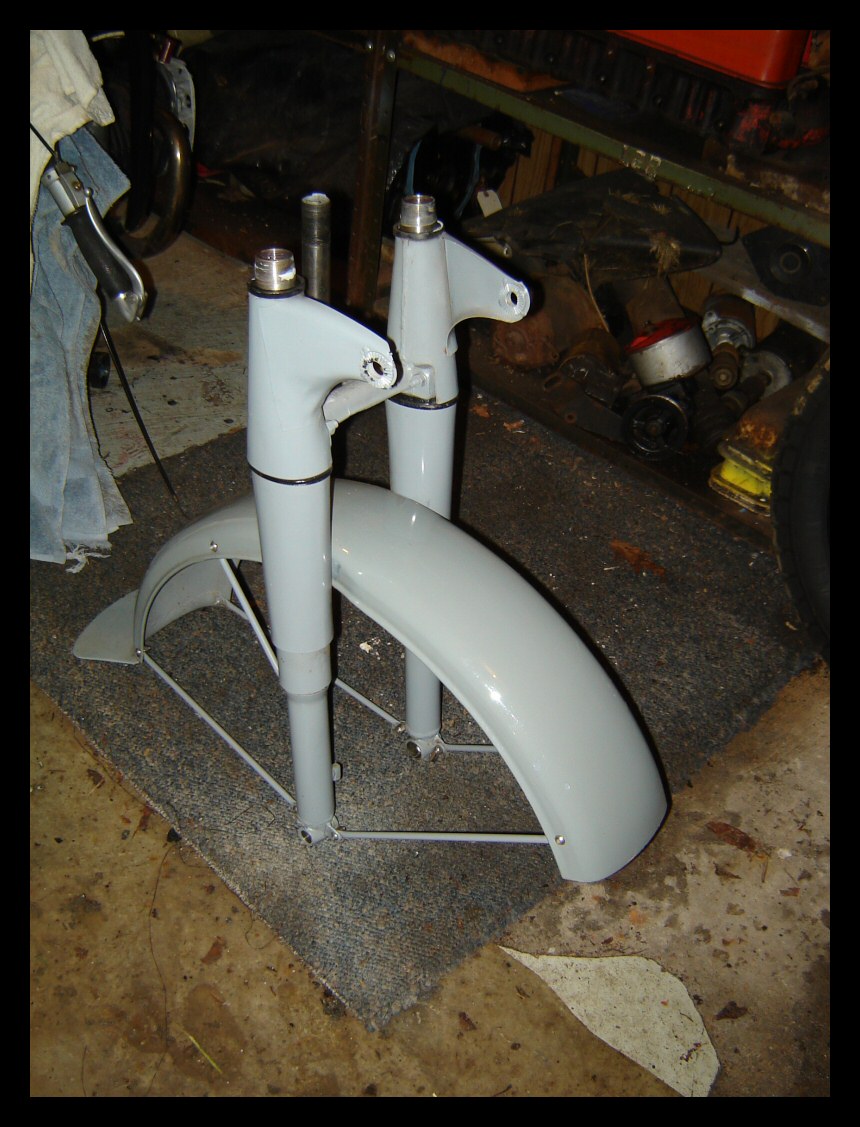 |
The forks are now off and set to the side. Hey! Where'd that electrical tape go? Pretend it's there. This is one of the errors I mentioned in the beginning. | ||||
 |
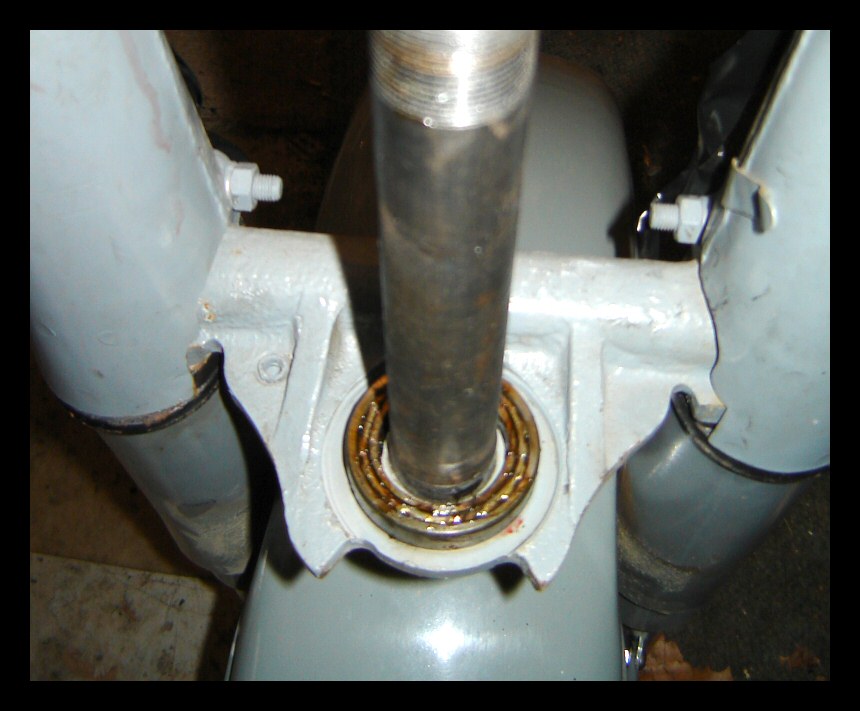
Here's the lower triple-tree plate that was removed along with the forks. In this picture, the lower bearing has already been removed, but you can see where it goes. Oh, and there's that electrical tape. | ||||
 |
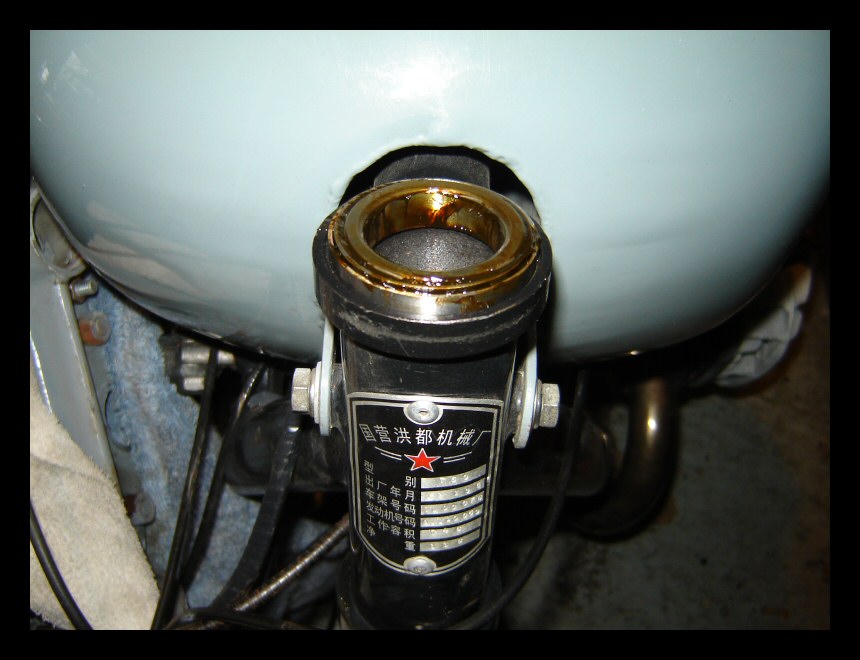
Underneath the dust cover lies the old upper bearing. | ||||
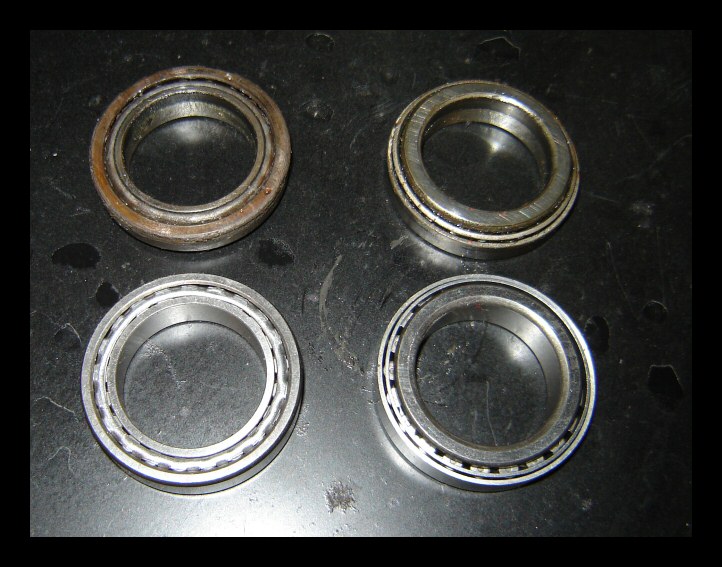 |
The old bearings and the new ones. These came from CJS by way of Miin Leong. They're tapered, roller bearings. | ||||
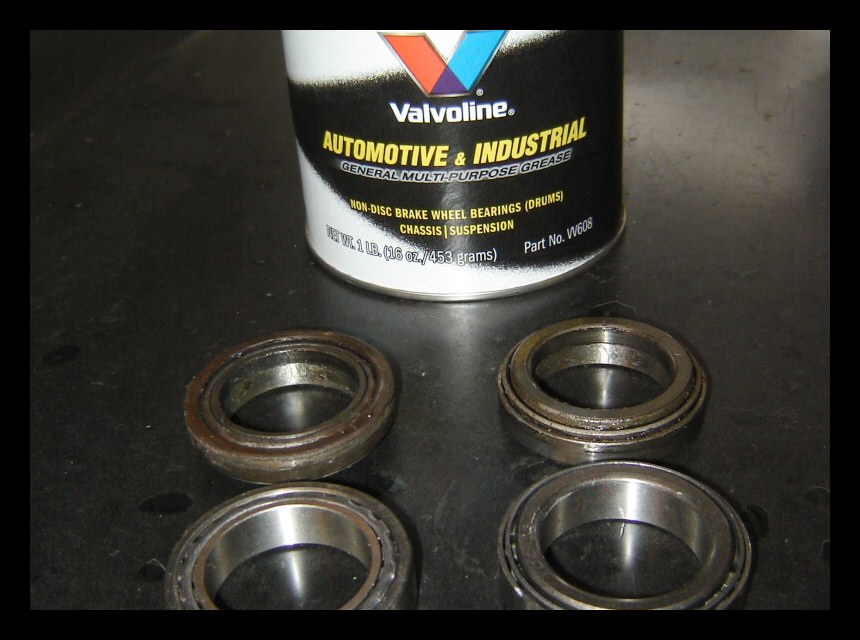 |
Some guys say not to pack this type of bearing. Others say pack 'em. The grease, if nothing more, will at least protect from corrosion. I use Valvoline W608. | ||||
 |
Use the opportunity to clean everything with mineral spirits before dropping the new lower bearing into place on the fork. | ||||
 |
Same with the upper bearing. | ||||
 |
The forks go back on the same way they came off, but in reverse. Here, they're back on the bike. The upper bearing, dust cover and big nut are back in place. I like to clean all the individual parts as I go. | ||||
 |
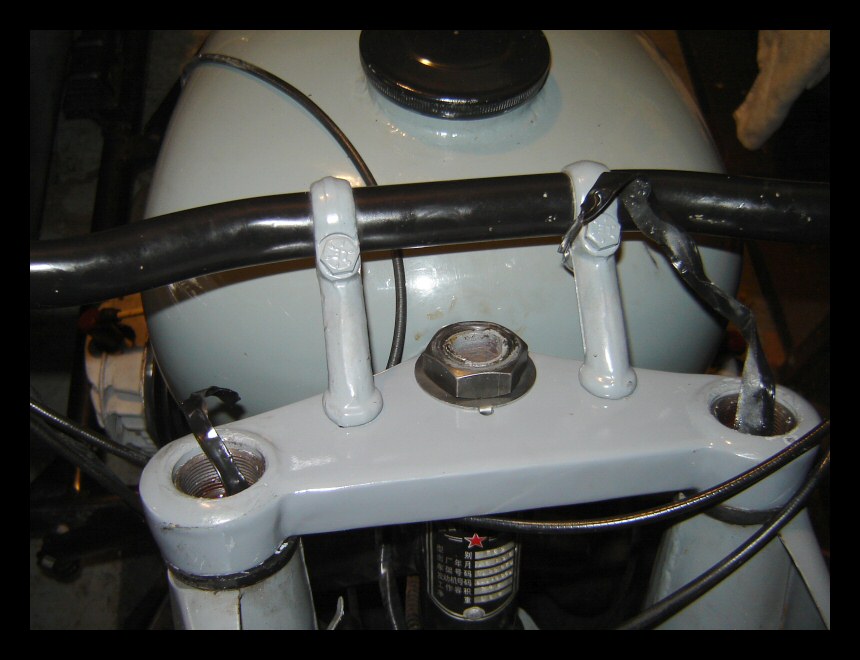
Now the top of the triple-tree is also in place. Here's the nut retainer. Once the nut is secure, you bend the rear-facing edge of the retainer upward and against the nut to prevent it from turning. You sure don't want any of these compenents to loosen up while riding. | ||||
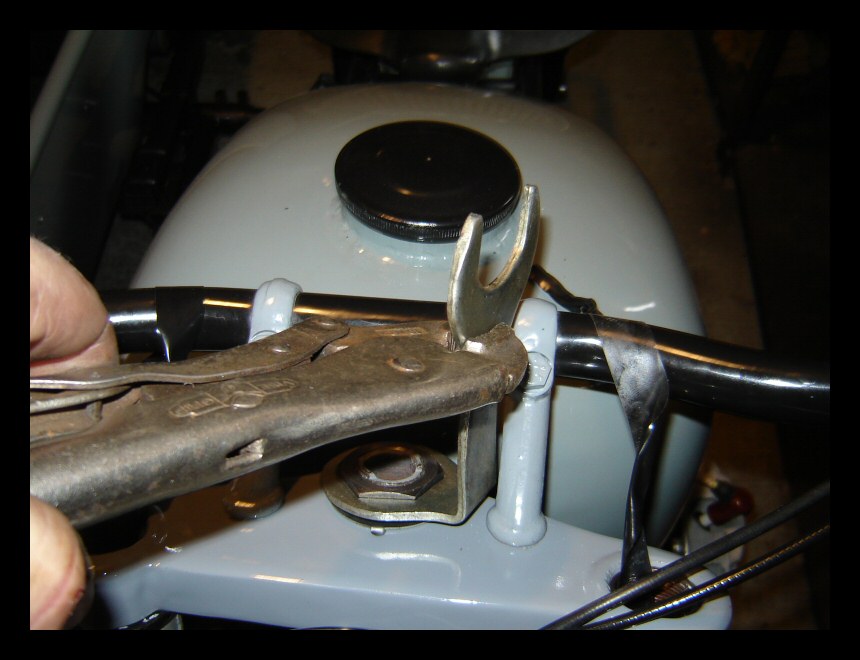 |
Want to get some torque on the wrench? Try a pair of vice grips. | ||||
 |
Now you'll see why we used that electrical tape. | ||||
 |
Raise the damper rods with the tape and screw the nuts back on. | ||||
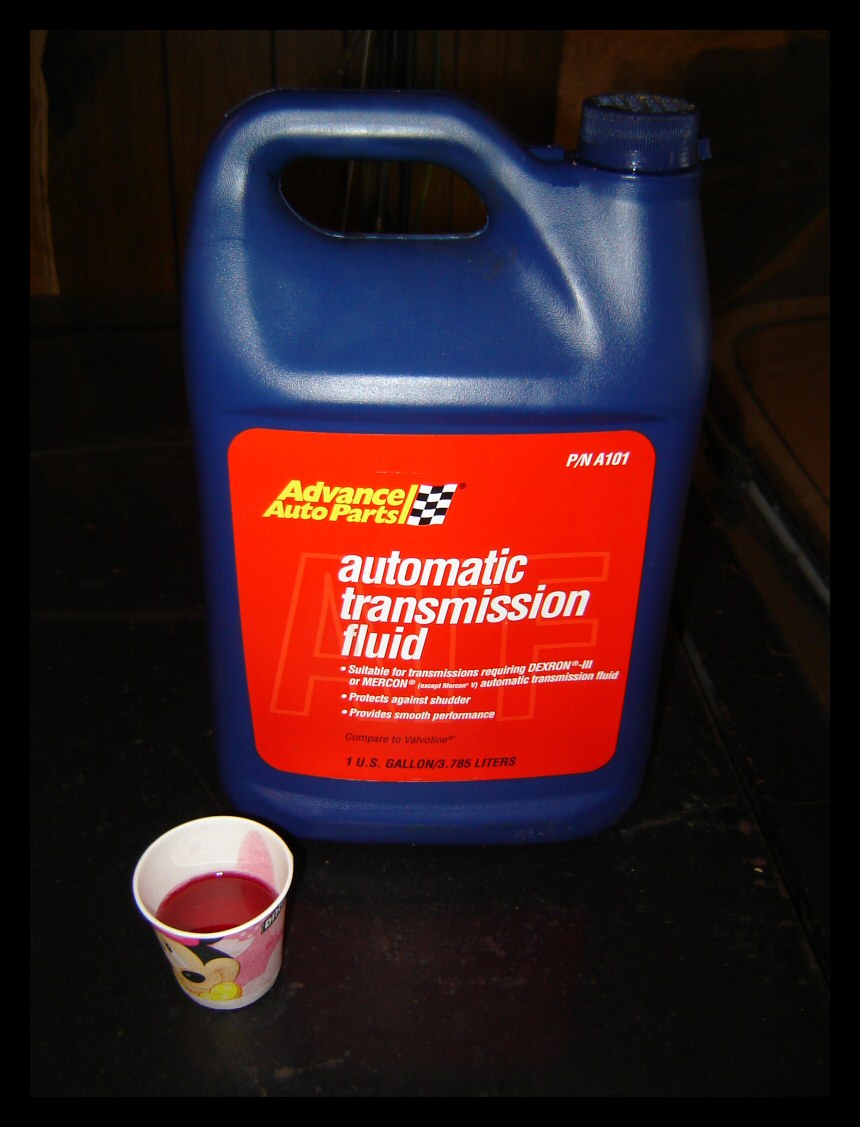 |
This is what I use in the forks, Dexron/Mercon ATF. Any ATF or power steering fluid works fine. I just happen to have this stuff on hand for my cars. | ||||
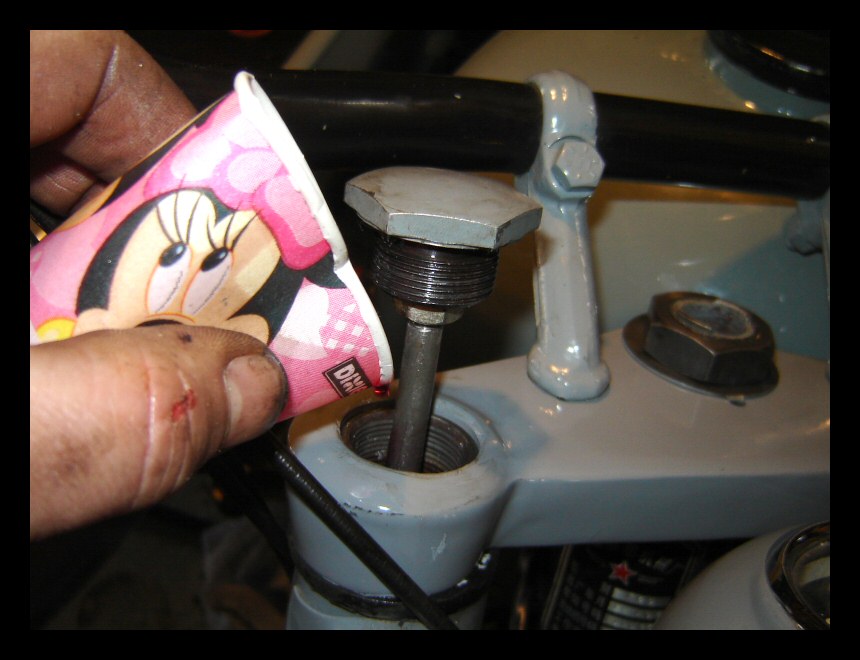 |
Just give them a little sip, in this case, about an inch's worth per side from this little paper cup. | ||||
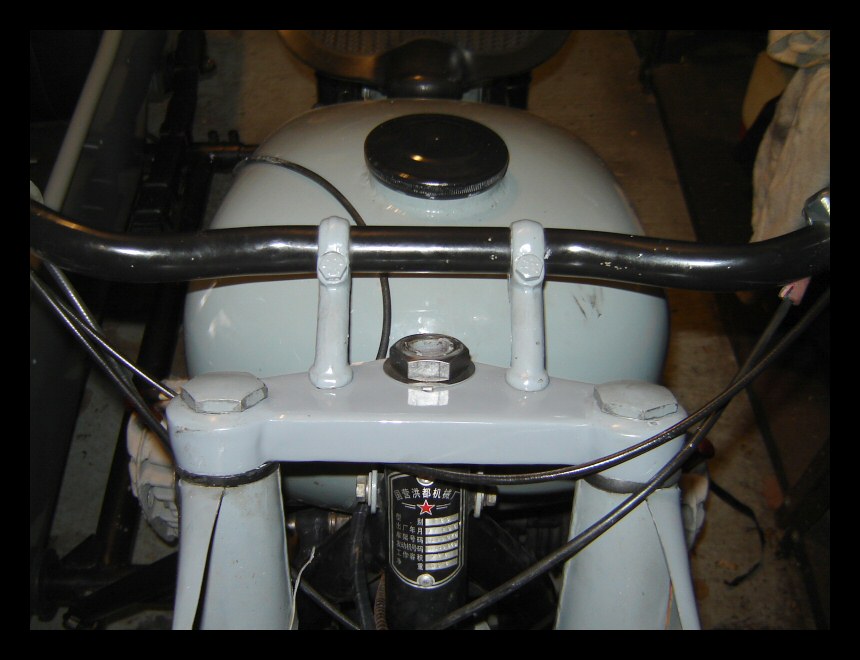 |
There. All buttoned up. | ||||
 |
Reinstall the steering damper. | ||||
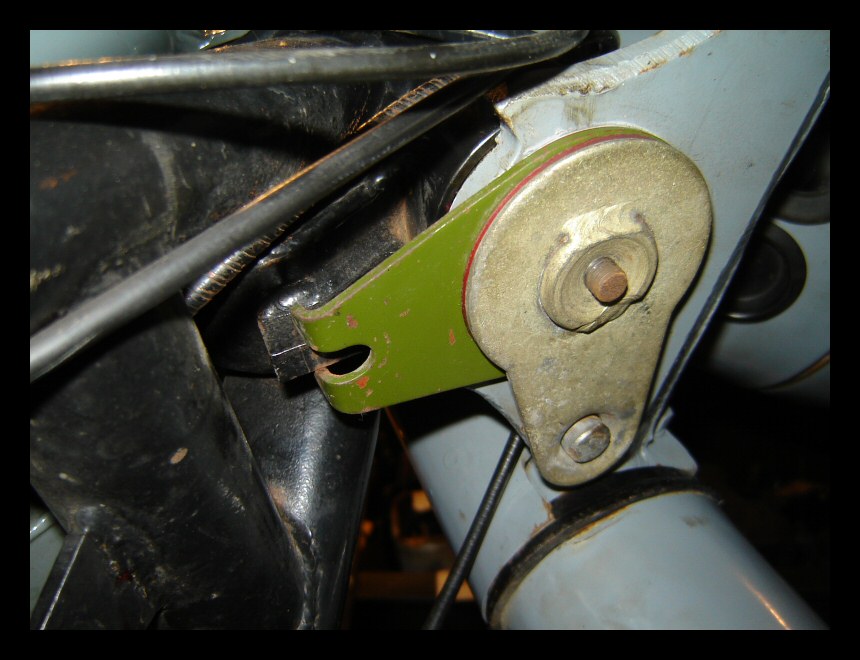 |
Here's how everything goes underneath. | ||||
 |
Front wheel back on... | ||||
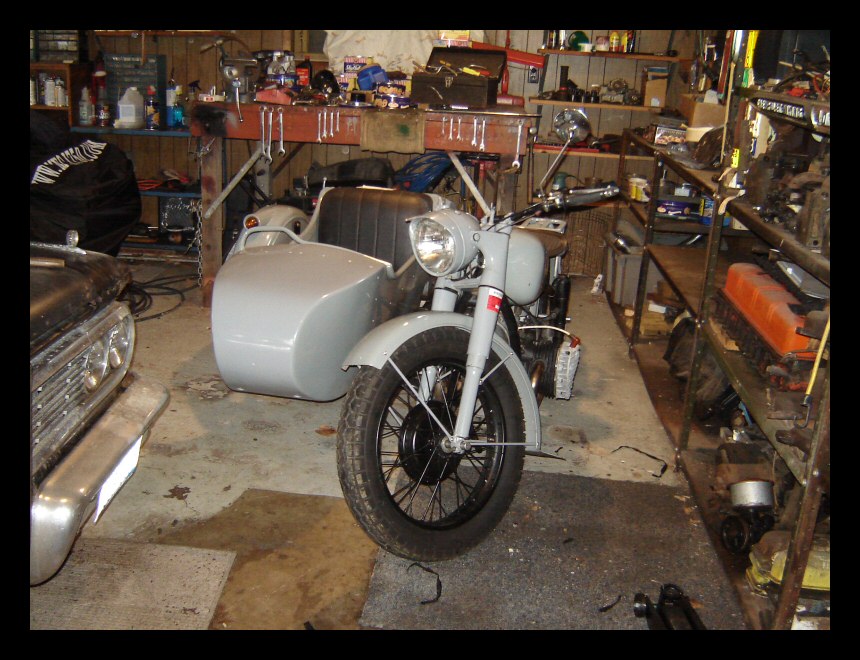 |
...and this baby is ready to roll. | ||||