

 |
Testing
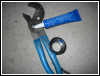
and replacing a defective ignition switch by Richard Cook You will need a hex socket and
ratchet, some type of pliers, I like small water pump
type, or if you have it a special socket for the switch
nut. Nobody ever has that sucker but the factory though,
just use care with the pliers and paint. Your headlight
fastener might also use another type of screw, so get
what you need for that. I used a standard test light sold
in any auto parts store, I carry one in my bike at all
times.
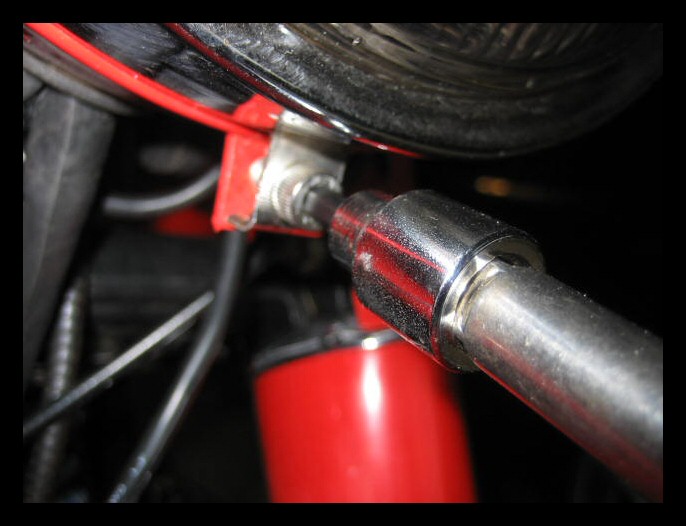
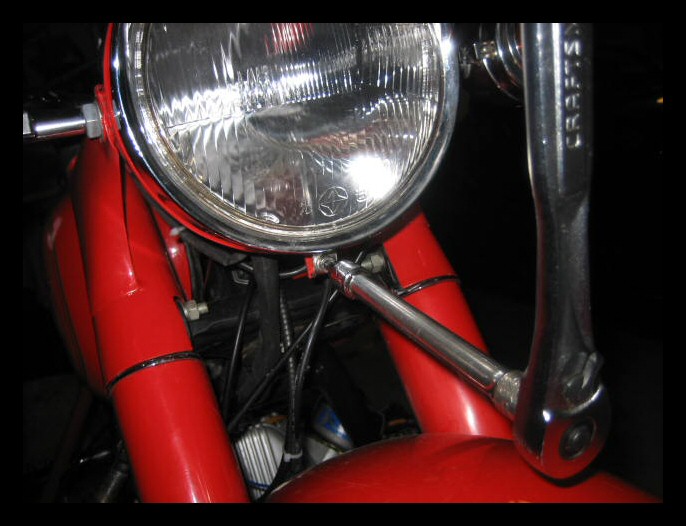
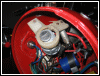
Remove the bolt on the bottom of the headlight and lift
it up and out to release. You can either put a rag down
to protect the fender or unplug the bulb to remove it
completely.
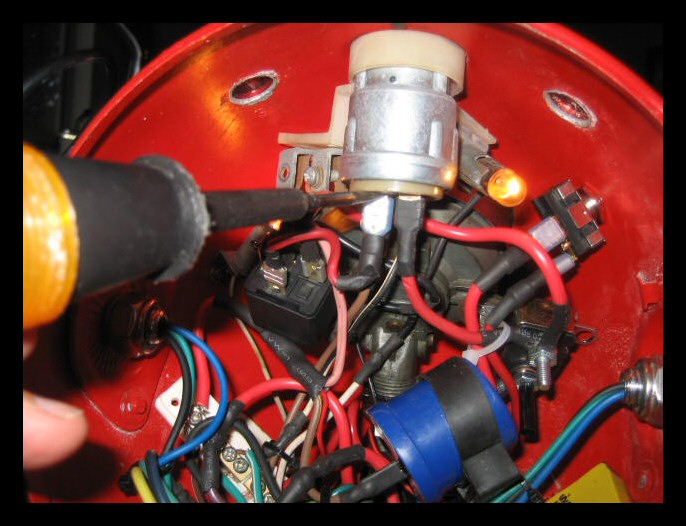
Ground the test light and put it on a hot lead to test. I
always test a light before depending on it. This is
something you learn the hard way. In this case I used the
breaker where I bring in my power. If we have light we
have power and ground, viola!
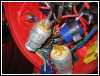
Since you can see where the lead comes to the switch from
the breaker you know the main power terminal. In this
case I only have my run with lights off circuit dead and
frankly, I already think it’s the switch. If they
give you three switches with a bike it may mean
something. They also gave me three petcocks, hummmmmm.
Ordinarily with a completely dead switch the first
terminal you would test is the main power to see if you
had juice to the switch. In this case I know I have power
since the bike runs on the lights on position. So naya,
naya, naya, I’m not going to bother.
I put a relay on my light circuit so if I’d been
thinking I did not have to test that one either but I did
out of habit. Of course it comes on with the switch since
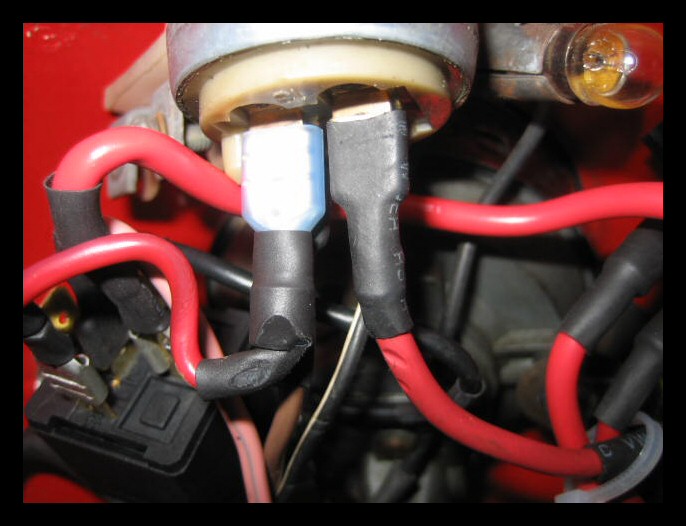
the lights work, duhhh. Your bike probably runs this wire
to a very poor imitation of a European terminal connector
a la BMW, Mercedes, VW, et al in the 60s. There are two
of these wire blocks on my bike, the one to the left is
the lights on terminal and the one to the right is the
hot with engine on block. Frankly they are poorly made
and should be replaced before any long trips. The screws
are capable of cutting the wires and corrosion would be
easy in the not very water tight headlight area.
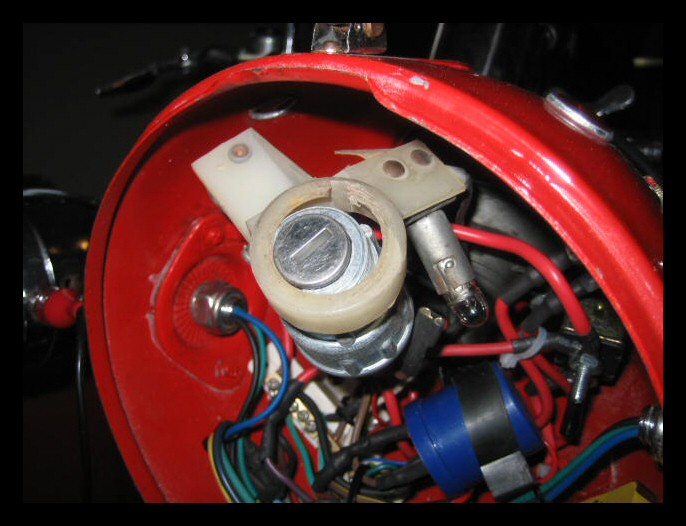
The terminal in question is the one way behind the switch
of course. This is the way life works. I’m pretty
sure the wire is good because if this did not make
connection I’d have no power at the hot while on
terminal with any position and the bike would not have
run at all. So I unplug the wire and put the switch in
the run only position and as you can see no light. Well
aren’t we surprised!
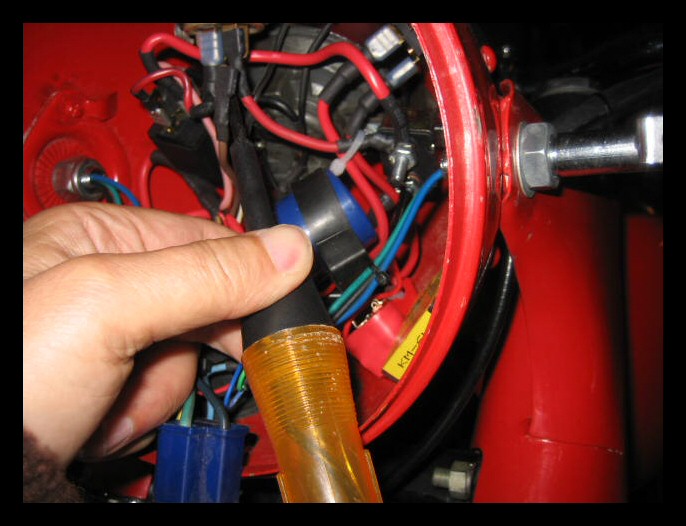
Now at this point a smart person would disconnect the
battery as testing is over. This switch is condemned to
be labeled “one bad terminal” and put on my
parts shelf for desperate emergencies like earthquake or
flood.
I suppose if I was smart I’d go get a universal
ignition switch and install it like I did my other bike,
but I have two more of these to use up and they seem to
last about a season. I would replace it before I took a
long trip with it, I don’t like the spade terminals
much either anyway. They are nice to replace quickly, but
far more likely to make you replace them quickly.
All you need to run without a switch is a piece of jumper
wire and for one of these spade types with a Chang, if
you hook three spade terminals together you have a plug
in jumper. You could then run a toggle outside to get
home or just twist a couple of wires together. An
ignition switch is no biggie on one of these. My brother
in law did not even know my switch broke one position and
I forgot to tell him when we got back home. I’m not
sure it would have helped his confidence.
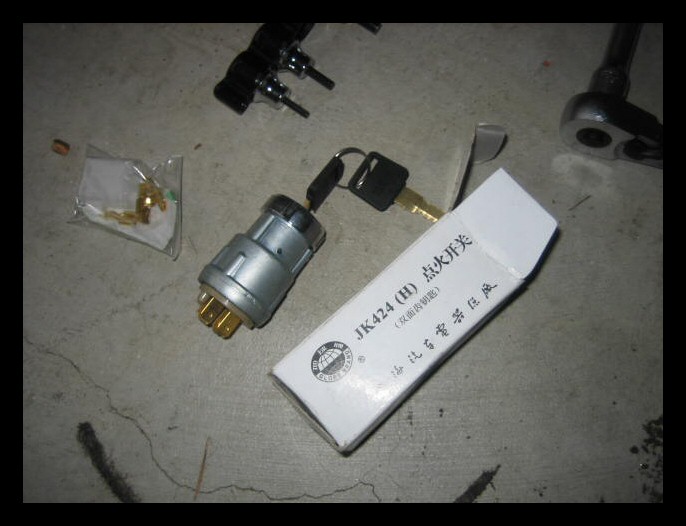
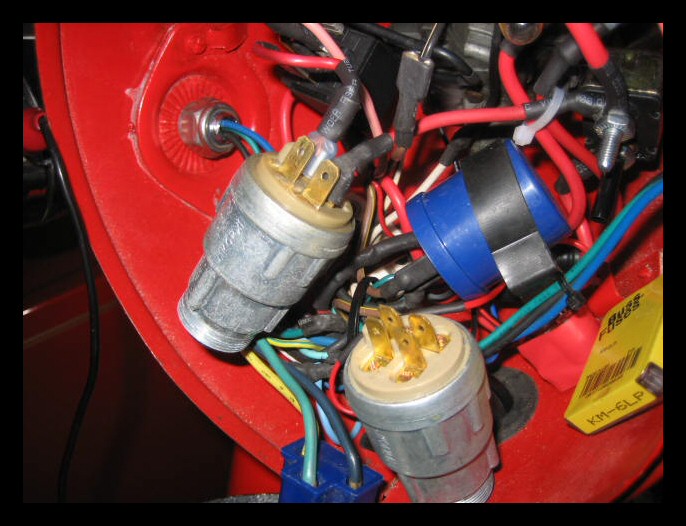
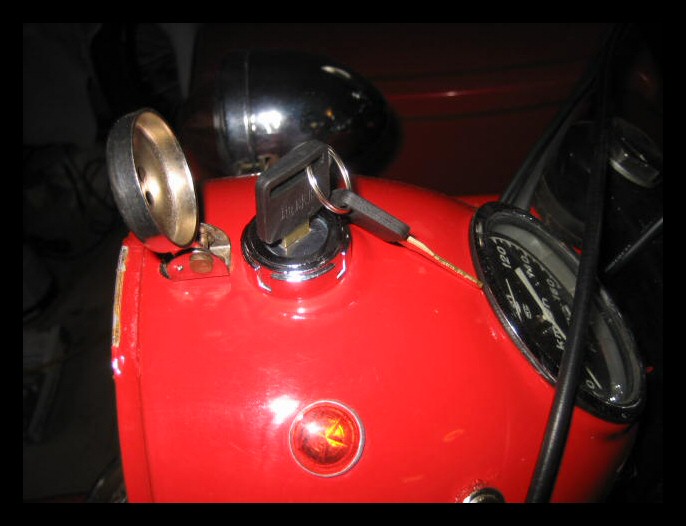
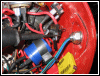
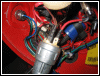
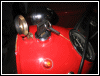
You can see the fine new ignition switch in the picture,
and if you have one of these you will be replacing it
sometime.
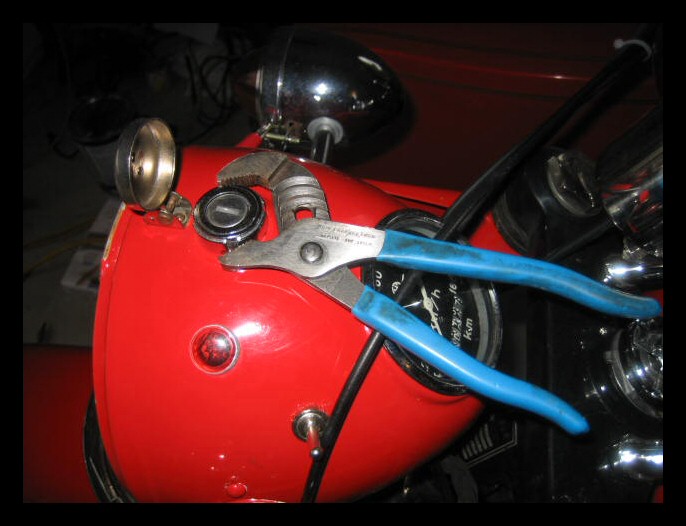
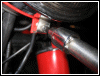
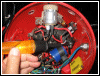
Hold the switch inside the headlight while you turn the
nut with your choice of high tech tool. In this case
small water pump pliars.
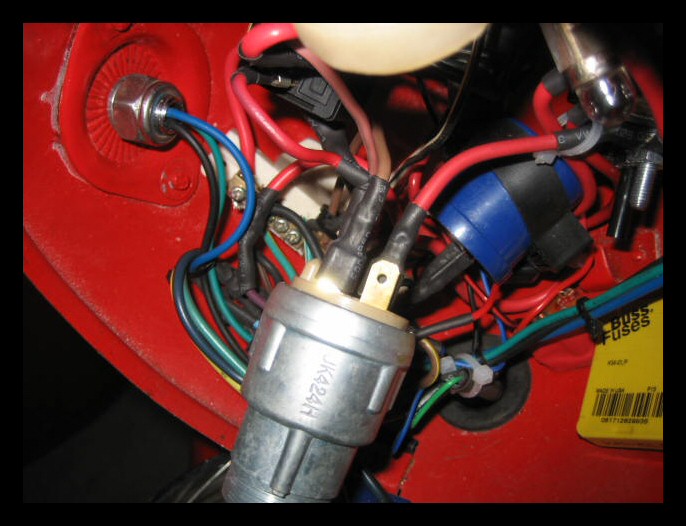
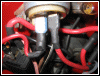
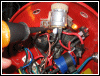
When the nut is off drop it back in the housing like
this. If you don’t remove the wires before this
point you will know where they go won’t you? I have
made a few trips to friend’s houses because they
failed to record where the wire went before removing a
component. If you just fold it back like this you can
locate a mark to be sure you have the order correct, in
this case both switches have a 24 marked on them in the
same position.
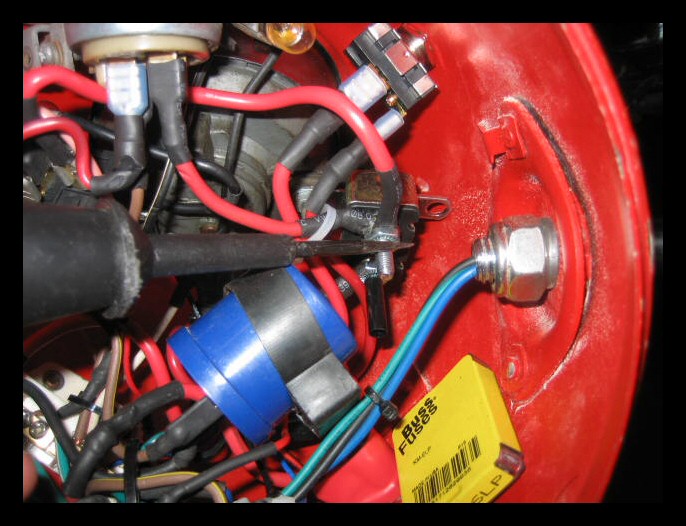
The old style fuse which might be used for a main fuse on
your bike, and the generator light are on the plastic
piece under the switch. Handle them carefully.
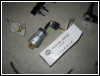
Note that I’ve placed the other switch next to the
old one while I transfer the wires.
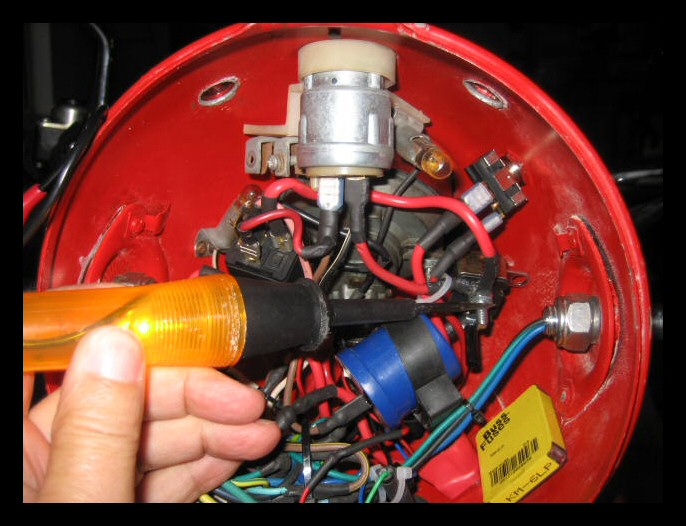
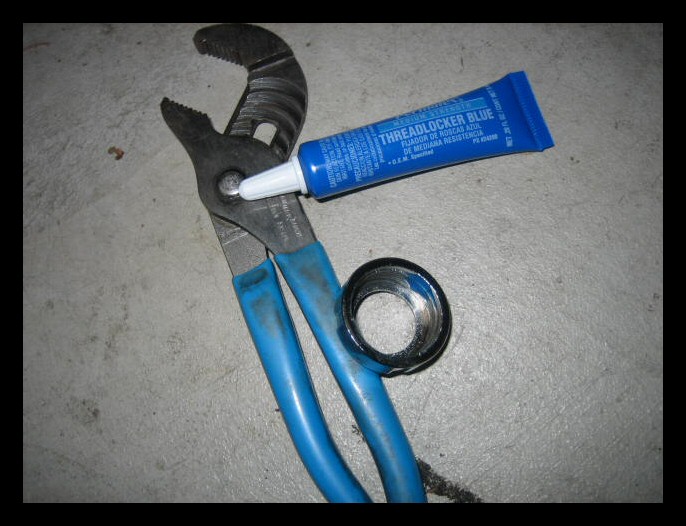
Now I test the switch before I reinstall it. Then
disconnect the battery again and fit the switch using a
drop of blue Loctite. Tighten carefully with your high
tech tool.
Now I like to test the switch again before installing the
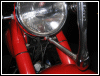
headlight.
Then do a final headlight installation as in the last
picture and you are ready for a road test. If you
disconnected the battery clean the connections and check
the water.
No actual road test for me though as since if it had not
been raining I would have just ridden the bike until it
rained.
|