
This started with a
question from Morris on how to adjust his OHV’s
valves. My answer is:
First look up the clearance and go over to your local
auto parts store and ask for a go feeler gage that covers
that size. (It’s .10 mm) By the way make sure is
narrow and bendable as some are not. I prefer go-no go
types for beginners but you would have to get one from a
tool truck or professional store. You will need valve
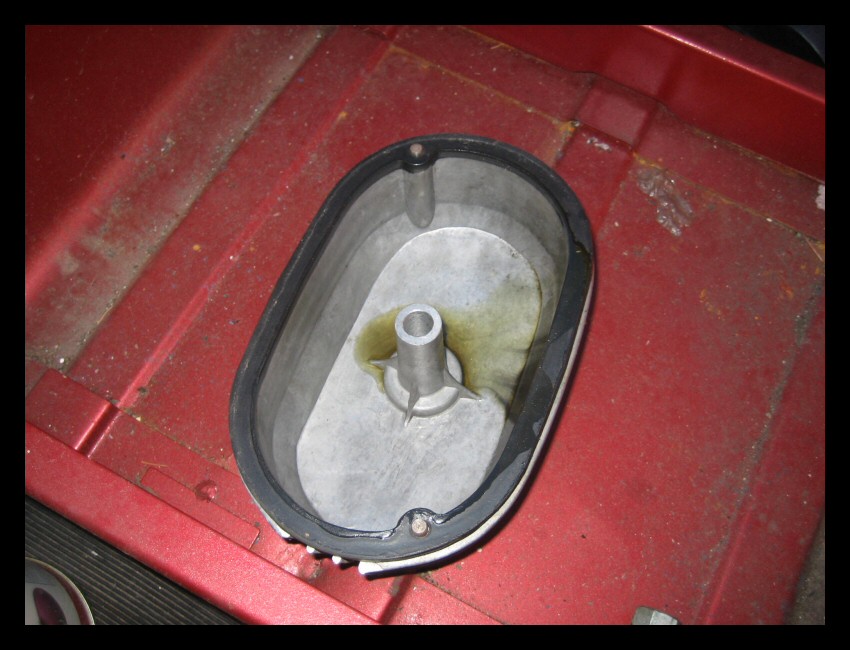
cover gaskets and sealer and a scraper just in case.
Start with the clear side with no sidecar to get a feel
for it. After doing that one tilt the sidecar for more
clearance by pulling the top bolts off each mounting
strut.
Take out the plugs. Take off the distributor cover. Take
off the valve cover.
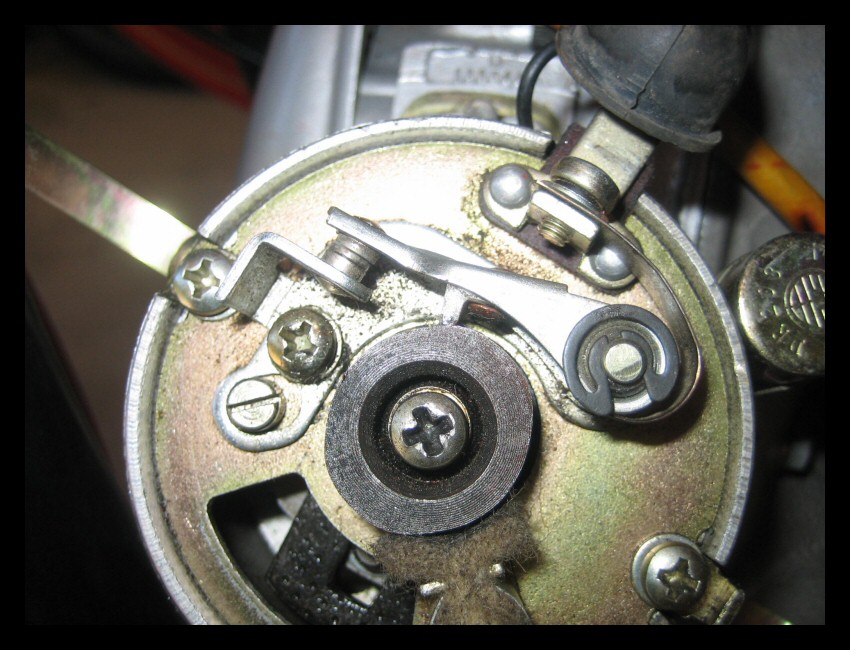
Turn the engine over until the points just open. One
cylinder should be at the top of its travel and its two
valves should allow you to rock the rocker arms. Loosen
the lock nut with a wrench and slide the go feeler gage
between the top of the valve and the rocker arm. You may
have to turn the adjusting screw back and forth a bit
until you can slide the proper section of the gage in and
slide it with a small drag. Now loosen the screw just a
tiny bit as when you tighten the lock nut it always
changes, usually tighter. You may have to repeat this
several times with each valve until you get the
adjustment lock nut tight with a slight drag on the
feeler gage. If you must err do so on the loose side as a
valve will tick and you lose a tiny bit of power if it is
loose. If you go too tight a valve can burn. Check the
lock nuts one last time and inspect the valve cover
gasket. If the gasket is damaged carefully clean the
cover and apply sealer on the side that meets the cover.
Apply the gasket to the cover making sure it is on
straight and let it dry. I clean the head surface and
apply a light layer of oil to the gasket mating surface.
This is so you can reuse the gasket if you have to remove
it on the road. Lightly tighten the valve cover hold down
bolts (don't break them) and you are done one side.
Roll the engine over until the points start to open on
the next cam and you are ready to adjust the other
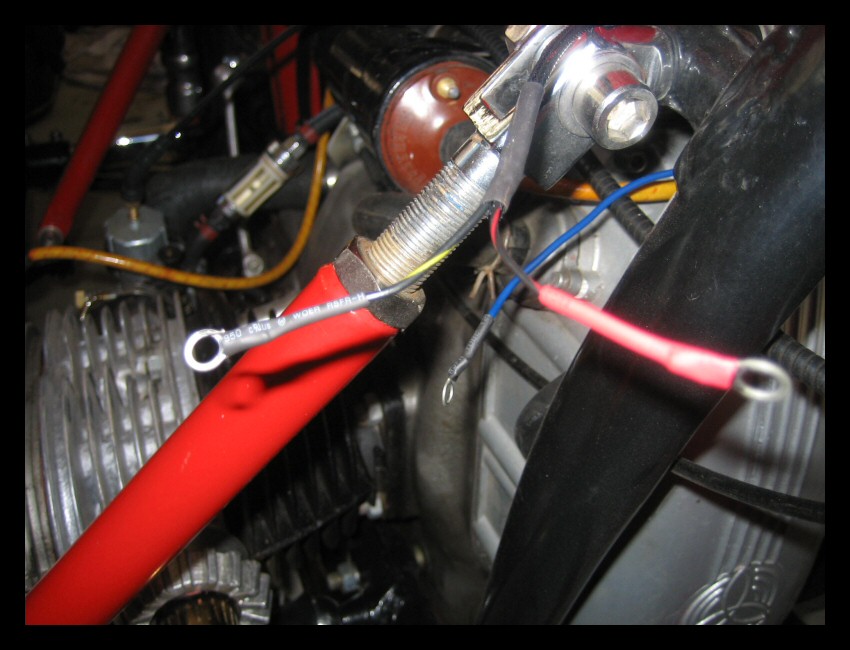
cylinder. Use a bit on Locktite on the strut bolts. If
you can get an old VW manual it might help as it is much
the same.
Jeff’s answer was much more thorough and shows that
there is more than one way to skin a cat. I was going to
take the best of both and co-mingle but I think some
folks might benefit from the slightly different points of
view. I learned to use the points to adjust valves by on
multi cylinder engines as timing marks do not work on all
cylinders. Either way will work fine on a Chang and if
you check the hole for the timing mark you’ll see
when the points open will be within a few degrees. All
you have to be is on the compression stroke and on the
back of the cam, there is quite a bit of latitude. I did
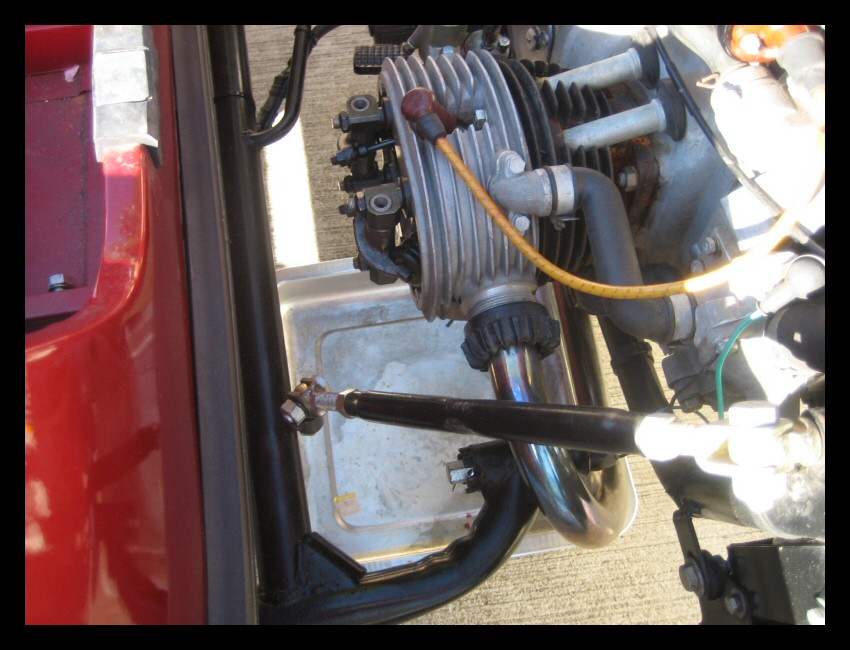
this job on my Chang Hong water pumper so I have included
pix of my other bike’s points distributor too. On
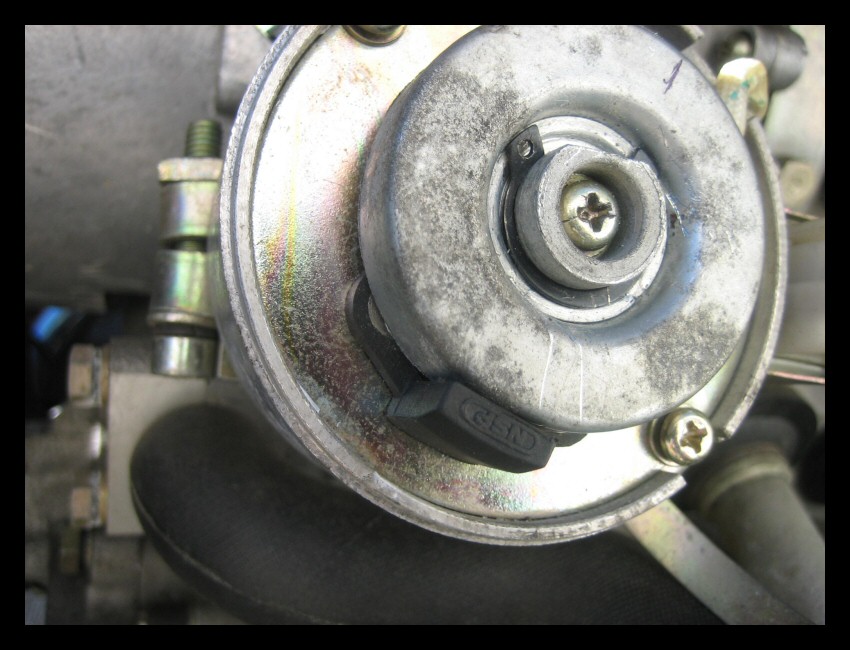
the Chang Hong I have a Hall Effect electronic
distributor and you can see the pencil mark on one side
of the top. This shows me cylinder number 1. When the
cutout is next to the magnet on 1 I adjust that side. A
full rotation and the other cutout next to the magnet and
I can adjust number 2. This works just like the points
just opening on number 1 and 2.
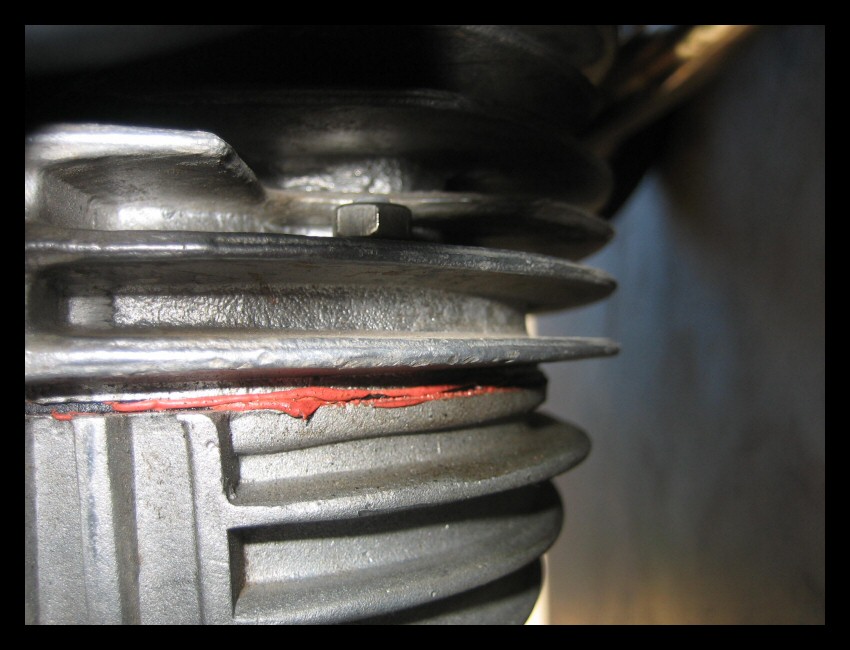
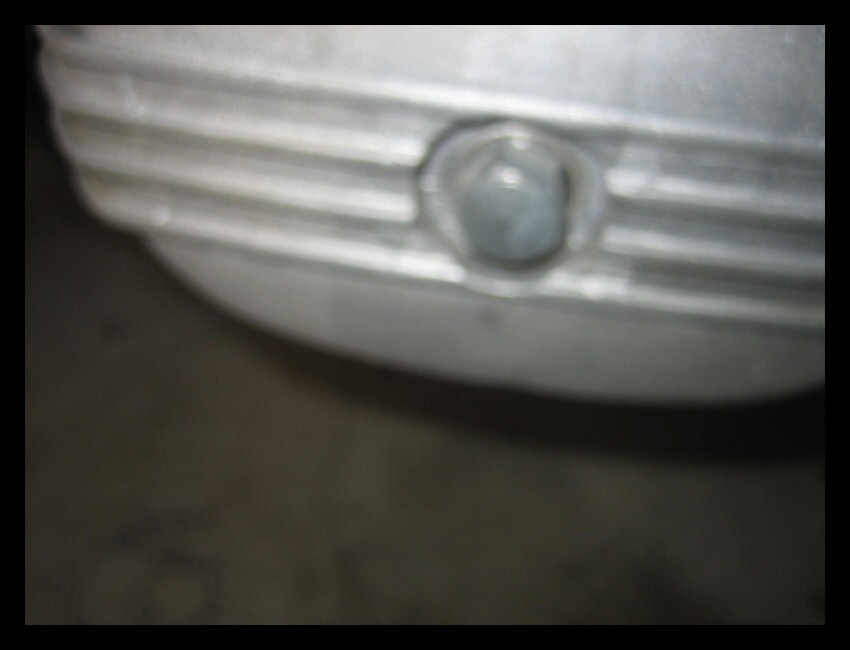
I have also added a couple of pictures of the small valve
cover bolts that my red bike has but the Chang Hong does
not. On the Chang Hong improvements were made to a better
gasket and the small bolts were replaced with pins. They
also added clearance to adjust the valves without tilting
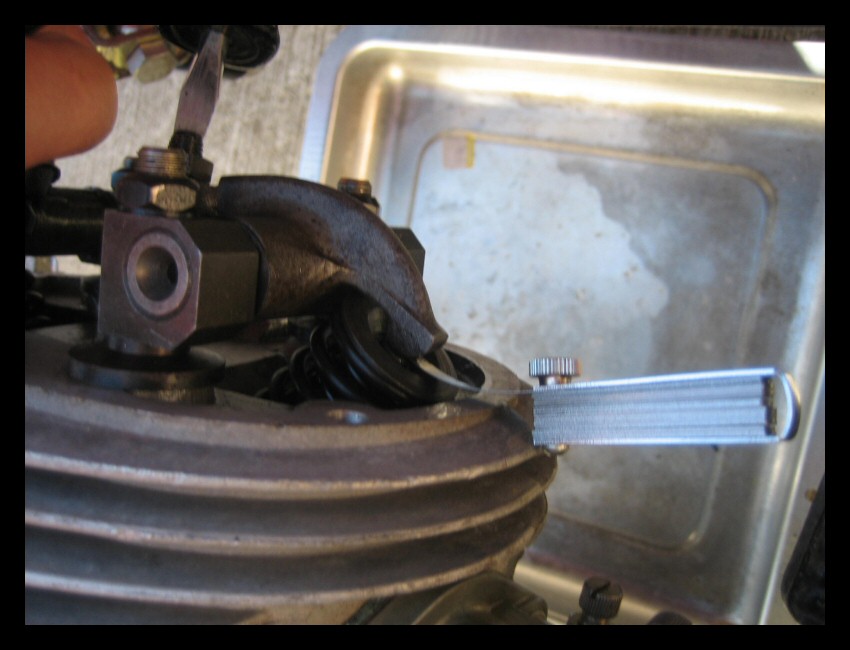
the sidecar. As an aside you may need to use a shortie
flat screwdriver like the one in the picture on the
sidecar side. Because of the additional room, the
improved reusable gaskets and having no need to tilt the
sidecar the valve adjustment took me fifteen minutes on
the Chang Hong. Figure another hour if you have to tilt
the sidecar and scrape off old gaskets.
Jeff’s answer:
Okay. It's kind of daunting if you've never done it before. If you mess this up, don't blame me. I'm trying to help but can give you no guarantees as I'm a self-taught mechanic...
Things you'll need:
Patience.
A dead cold engine. (Never do this with a warm engine. The gaps are so that heat can expand it without seizing everything up.)
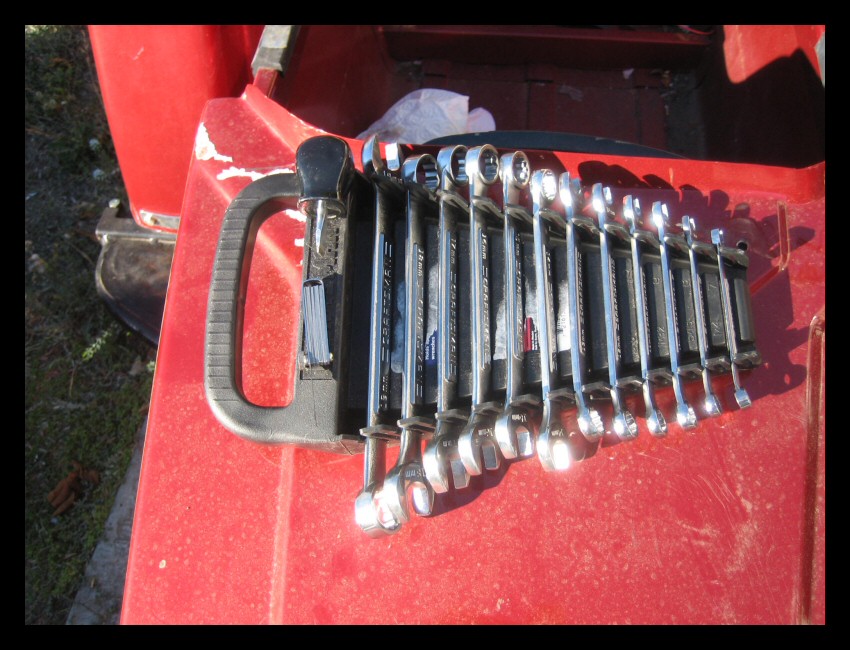
0.10mm feeler gauge
Flat head screwdriver
10mm crescent wrench
17mm (I think) on a torque ratchet wrench
Replacement gaskets
Heat resistant gasket sealer
Place bike on center stand.
Remove sidecar.
Place a pan under the left cylinder head.
Remove the the 10mm nuts. As you face the cylinder they are at 10 o'clock and 4 o'clock hidden from your view. Make sense? It will when you find them.
Remove the cylinder head cover bolt with the 17mm.
If you got both 10mm nuts you should now be able to remove the cylinder covers. You may spill a little oil into your pan.
Remove all the old gasket from the cylinder cover and head. Clean both.
Now, adjusting the valves. As you look at the head, the valve closest to the carbs is your intake valve and the valve closest to the exhaust is your exhaust valve.
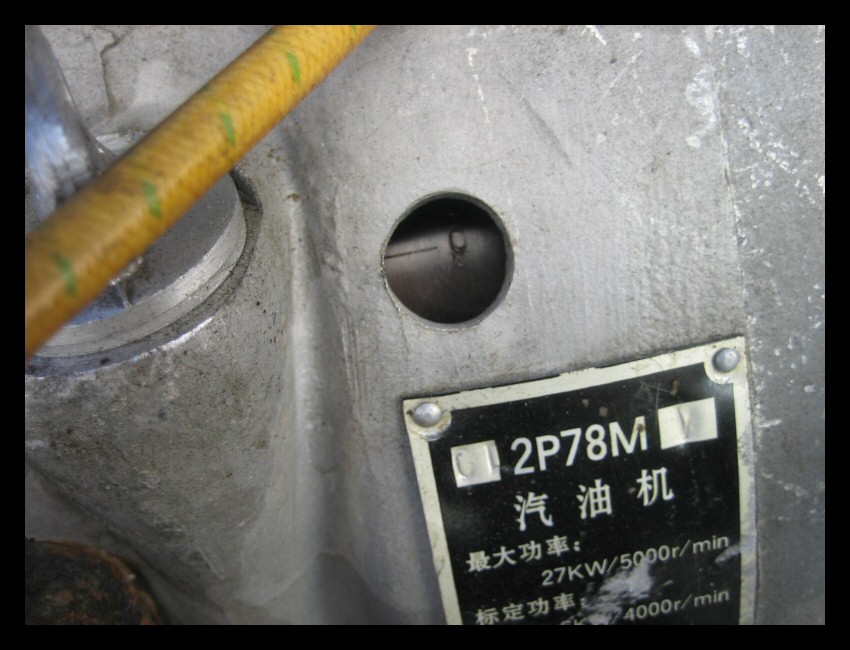
Remove the little black plug that is covering the little round hole which allows you to see your flywheel. Using your kickstart, gently and patiently rotate the flywheel until the intake valve starts to open and the "0" is dead center in the window. (This is TDC. You'll see marks for 36, 30 and 6º before you get to "0". While doing this, couldn't hurt to put a little dab of white paint on the "6". It'll help when you adjust the timing with a timing light.)
Valve clearances. Let's set the intake first. (The valve closest to the carb.) You'll see a lock nut on an adjusting bolt. Loosen that lock nut. Place the .10 feeler gauge in between the valve and the rocker arm.
Using your flathead screwdriver tighten the adjusting bolt until you get a .10 gap. Tighten the lock nut and doublecheck the gap. Readjust if required. Too tight and you'll run too lean. Too loose and you'll run too rich.
Repeat this adjustment on the exhaust valve.
Now, if you've got a sidecar, you'll need to have pulled it or at least leaned it by taking off the upper mounts. Better to take the time to remove it.
You're going to repeat what you did on the left side, BUT, you'll need to patiently operate your kick starter 360 degrees so that the "0" appears in the flywheel hole with the right intake valve now in the open position.
Once you're done there, place a reasonable amount of gasket sealer on each side of your replacement gasket. Place the gasket on the head. Replace the cylinder cover. Re-attach the 10mm washers and nuts.
Using your torque wrench, at 29 Nm, no more, no less, bolt the cylinder head back on. Don't overtorque! If you strip this bolt you're a little screwed.
Might as well change the oil while you're doing this.