| CJ750 toolbox | |||||
        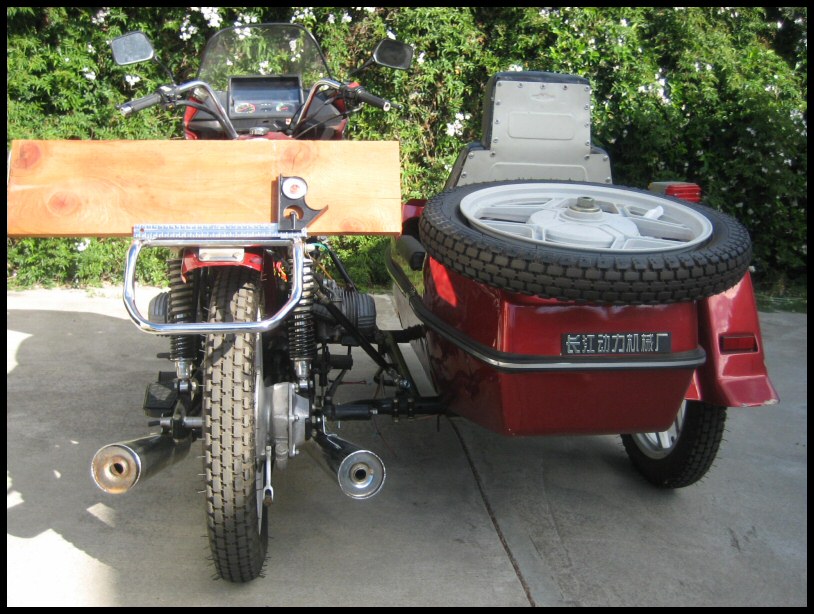  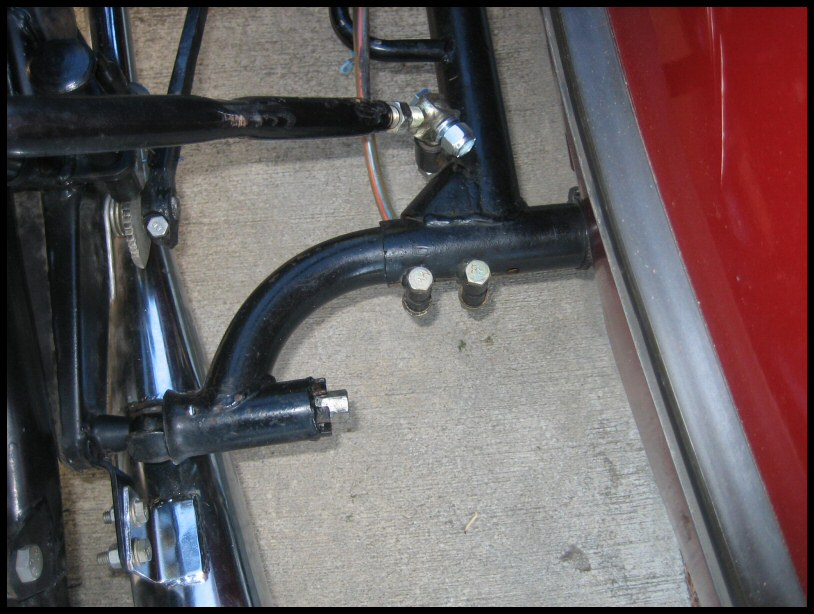 |
Installing
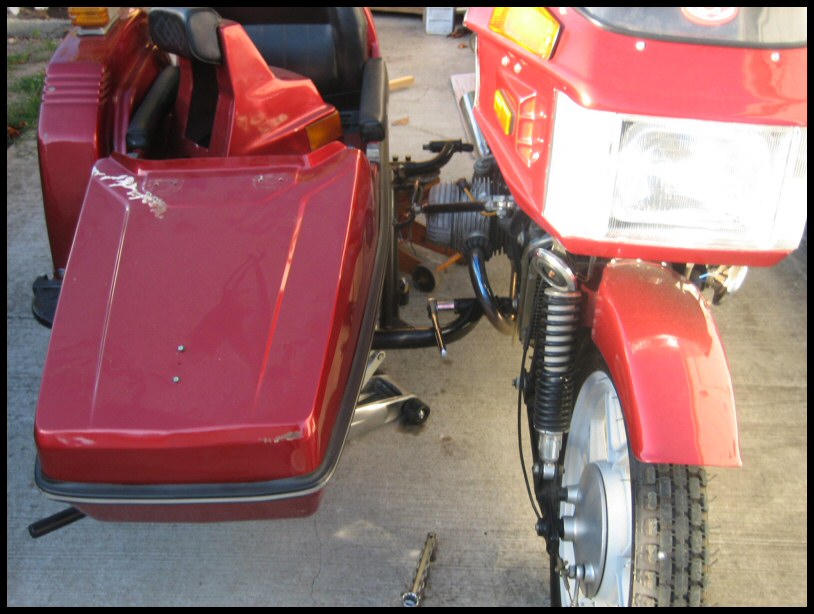
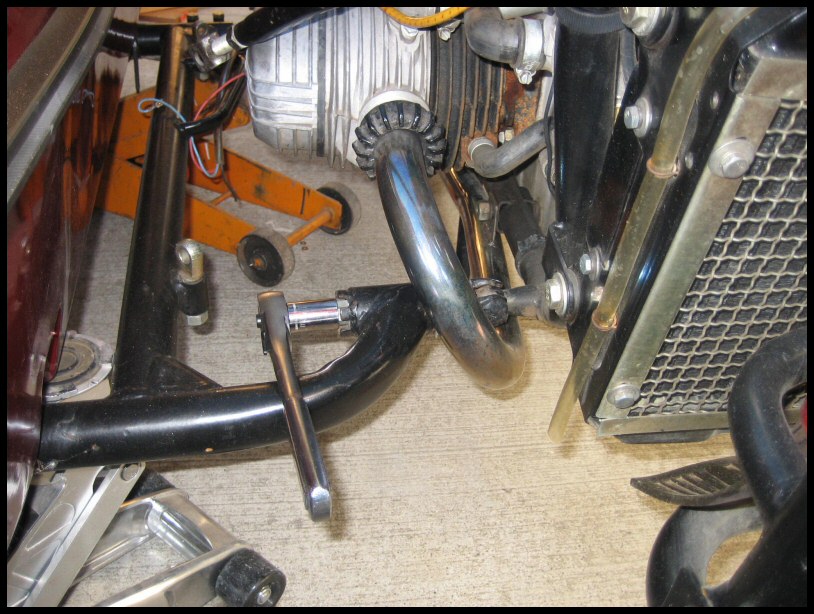
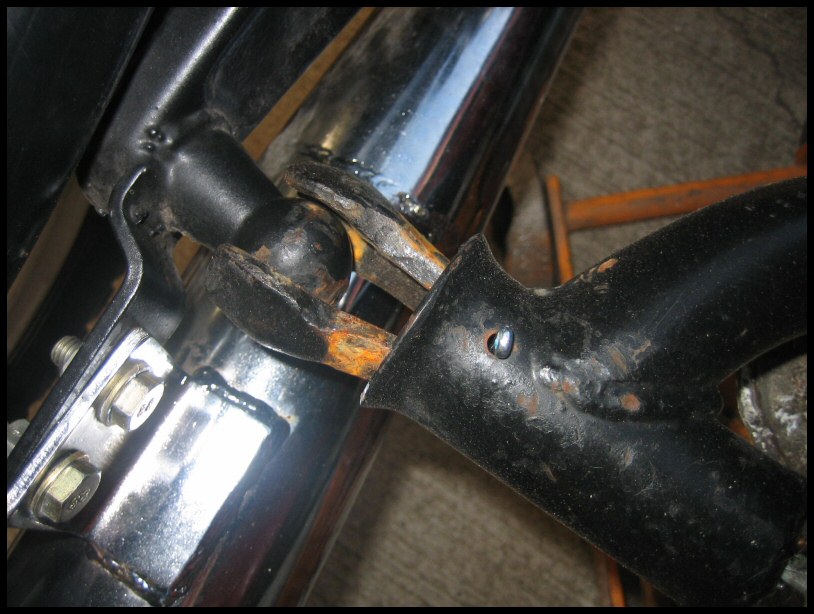
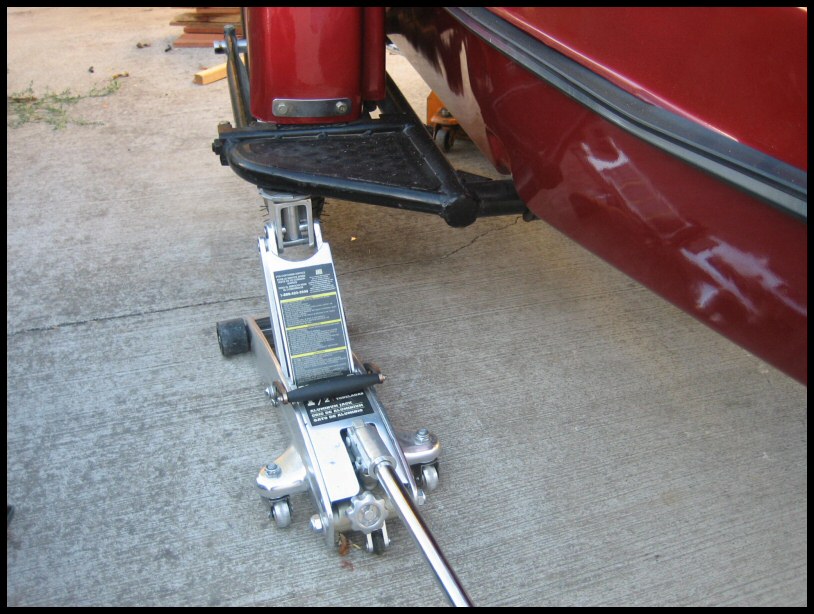
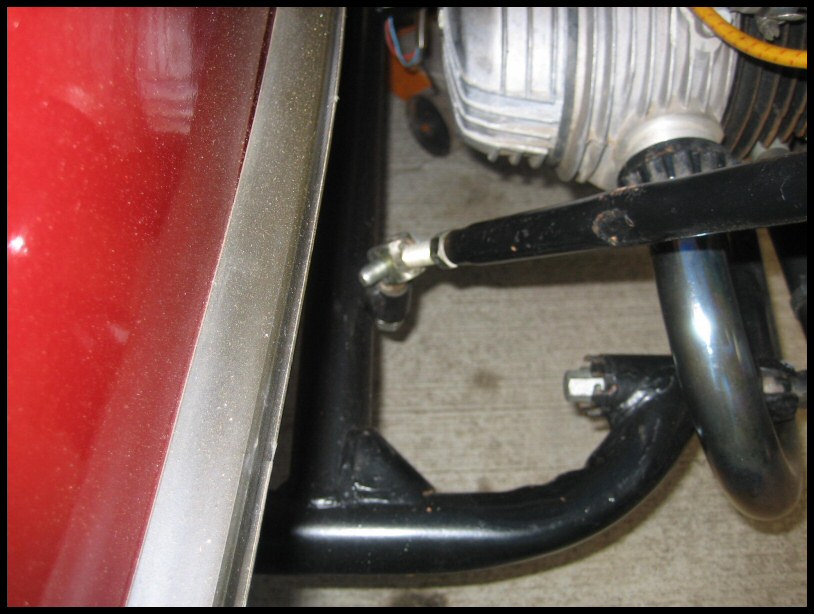
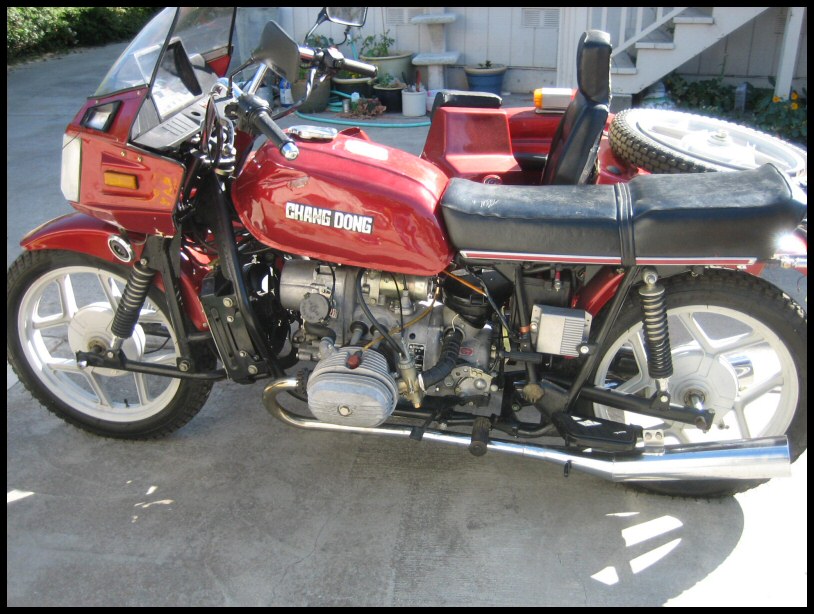
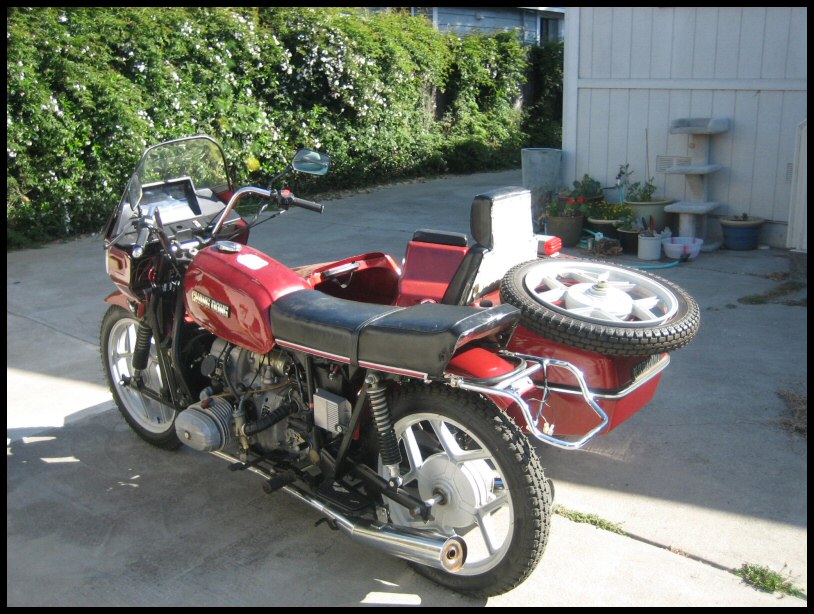
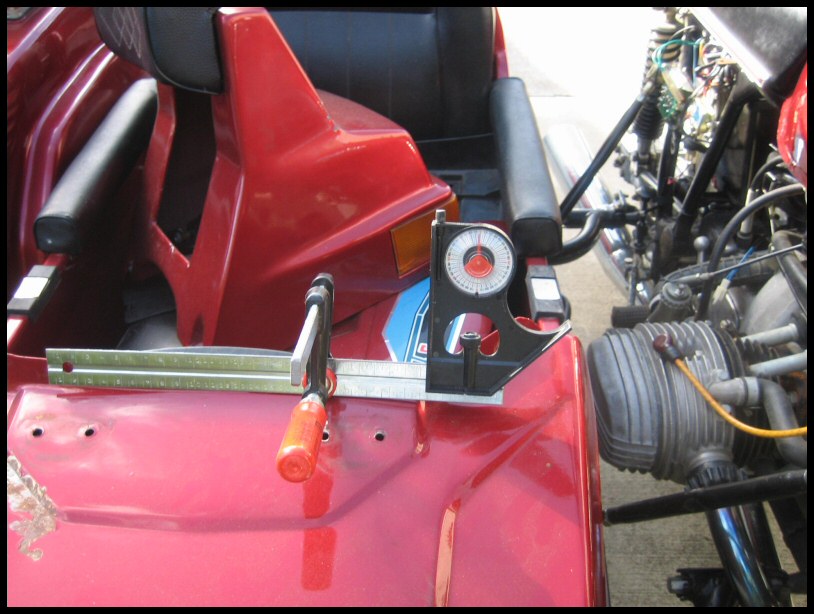
a sidecar by Richard Cook My sidecar has been off the bike since 2001. I assume it was ridden in China for a few kilometers to test, but it has not operated in the US. The adjustments were thrown off as the persons who disconnected it were probably not very mechanical. Of the four critical bolts holding the adjusting arms one was missing and one was nowhere near the correct size. Since it was only used here as a show bike in a couple of shows I assume they used any bolt handy to hold the sidecar on. I measured one of the bolts that seemed correct and it was about ½ inch in diameter. My local auto parts store had no metrics that large but had half inch fine with locking nuts. When I got home I found they were just a hair too large and I had to drill out the rod ends and the mounts to half inch. I used two roller jacks to wrestle the sidecar to bring it up to the side of the bike with the bike on the center stand. It was not worth making a dolly as I do not expect to handle the car separately very often. Get it close enough to align one ball mount to tighten up. Put a little lubricant on the ball mounts to prevent rust and wear and drop a cotter pin through the housing to keep the ball clamshells from turning while you tighten the nuts. Tighten the nut until the clamshells are firm but not jammed tight. Then you can control the other mount more easily to align and tighten it. Now you can mount the two struts or adjusting arms if you prefer that term. If you had an alignment try not to lose it. Both of mine had been screwed completely apart so I eyeballed it to get in the ball park and just snugged them up. Since the eye mounts were not going to be adjusted I locktited them. Now I fired the bike up and it drove for the first time in years to the flattest part of my driveway. This is a good time to air up the tires and some folks like to put weight on the bike. There are several good articles on aligning sidecars but all I want to do is get it close and make the final adjustments on the road. I used the level on my square to set the entire bike fairly level and started from there. This square also shows degrees in the little round gauge so I reckoned that would be close enough to get a couple of degrees of lean out. It took me several tries to get it close enough even though I am a government worker. In order to get some toe in I used boards and string to help my eye measure. If you lay boards along the side of a tire carefully it is easier to see or measure toe with a tape. My other bike works okay so I set it the same as that to start. Notice the bolts on the sidecar frame that let you move it in or out a bit to help set toe. After you are happy with the basic setup tighten everything and put all four cotter pins on the clamshells. By the way the big Ford ignition amplifier on the side of the bike is my Mark 2 electronic ignition. |
||||