| CJ750 toolbox | |||||
 |
 |
 |
 |
 |
 |
| Separate switch for
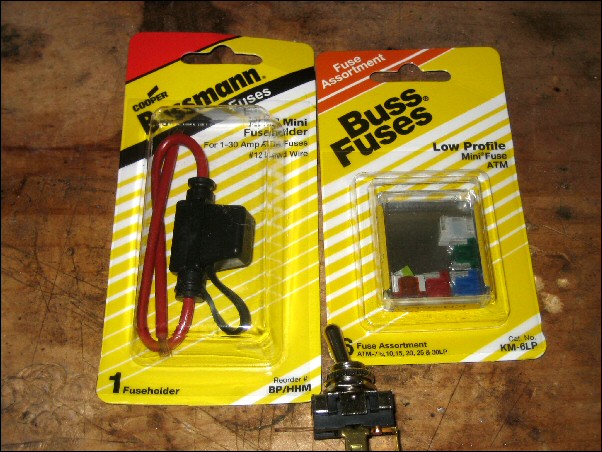
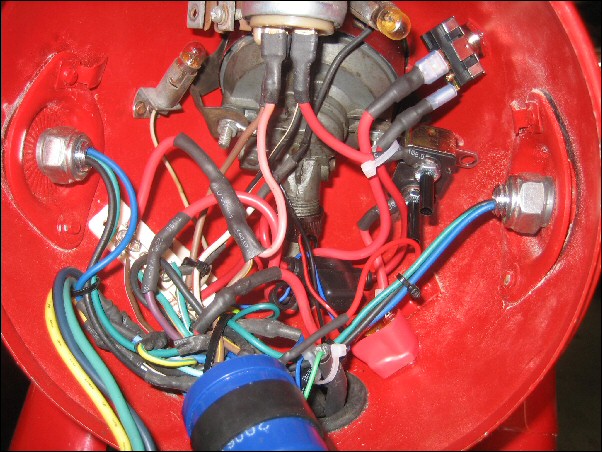
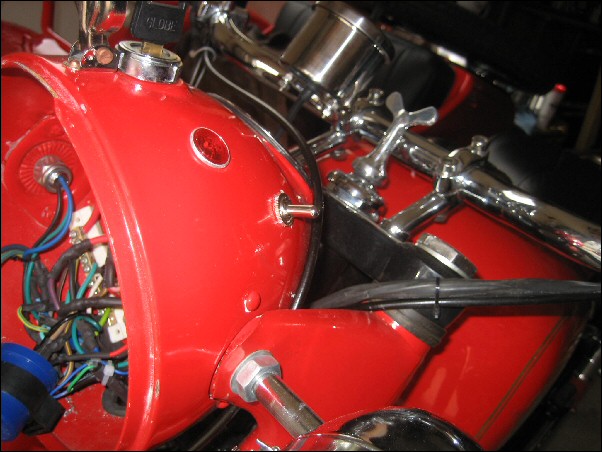
taillights and sidelight by Richard Cook I like to ride my Chang with the headlight on and over a period of months the battery has slowly gone flat. Luckily it failed here in the yard after sitting overnight or I’d still be cussing. After checking the water and connections which were fine I charged it overnight. Testing with a voltmeter shows a healthy 14.1 volts. Riding with headlight, sidelight, dash lights and taillight are just a tiny bit too much over a period of time. Since I have a solid state regulator I can’t adjust it up a bit, so the only option is to cut the draw. The easy way is a switch for the lights I don’t really need in the daytime. I’m sure some of your Changs may be wired to allow the other lights off but mine was not. As long as one is in a circuit this is a good time to solder more wires and add fuses. I have a 20 amp breaker as the main fuse but most of my motorcycle shorts were always in the taillight circuits. This is a good chance to isolate them with a fuse. I looked a fuse blocks but the ones around here are a bit large for what I want so I settled on the new mini blade type. The first ones I bought did not seat in the adapter well so on my next trip to Radio shack I bought the one with long legs in the picture. I used 15 amps as that should be double the draw and a bit more amps in a vibration prone machine tends to last longer. I opened up the headlight shell and as you can see I have two poor imitations of European wire blocks. They are poor because the screws are sharp and cut the wires and the heads do not hold a screwdriver well. The one on the left facing the bike is the hot from the key and the one on the right is headlight hot. There are only a few wires in the headlight circuit and the second one I removed, which was purple on mine, was taillights and fender light. Exactly what I wanted. 1) Figure out where you want the switch and mount it. 2) I wired two slide on connectors to a 20 amp water resistant off on switch with the fuse wire on one side. Use slide ons for possible emergency repairs later, although this switch is so tough this is unlikely. 3) One side goes to the hot block and solder one to the purple wire that goes into the harness. 4) Notice the fuse container velcroed to the inside of the headlight with a few spare fuses. This means I should not be searching my tool bag in the dark. Clean up, reinstall the headlight, test, enjoy an adult beverage of your choice and hopefully no further flat batteries. |
|||||