| CJ750 toolbox | |||||
| Changing an inner tube Below are two e-mails received in response to an inquiry I posted on CJE about dismounting a CJ tire in order to fix a flat. There were actually quite a few mails but these two cover everything. They are followed by some pictures I took during my first-time session along with a couple bits of information that are very important. First, John Boyles shares this wisdom: Don't be intimidated by changing out tires/tubes—very simple with a few tips. The best setup is if you have a waist-high trash can (or if you don't mind bending and squatting, a empty drywall bucket.) The idea being to have a work surface smaller in diameter than the rim that the hub will lie within so the support for the change is distributed around the spokes. Than be sure you get the majority of the air out by squeezing/pushing. If you pull the valve stem, all the better but not essential. Then get out the dishwasher liquid/water solution, fairly concentrated. (Use warm water to keep it comfortable if you're talking temps in the 30s.) Then break the tire from the wheel rim on both sides by pushing down all arround. If the tire isn't free, pulling the tube or tire is a bear. The idea is that if you get one side of the tire rim as close to the center of the inside of the rim then you'll gain the most clearance opposite that point. (I've often been able to pop off a tire barehanded if the size/lubrication factor works out.) Once the seal of the tire has been released both sides all around, SOAP IT UP and begin at the point of greatest clearance. As you force the opposite side of the tire toward the rim center and if pry tools are needed, carefully slip the bar beneath the tire rim and be careful you don't pinch the tube. Pry up and above the wheel rim then, with the second pry bar, repeat near the first. Keep repeating, walking them along. At some point (not very far) the tire will hold itself and you can slip a your fingers in and lift the remainder. With one side free it is easy to remove/insert a tube. To get the whole tire off—once the tube is out repeat the prying sequence around the same side of the rim, the KEY being that the side opposite of the side that's being pried needs to be squeezed close to the center inside of the rim (the smallest diameter.) This gives the best clearance on the "action" side of the work. The tip for getting it
back together (assuming only one side of the tire has
been released and only tube replacement is going on) is
to begin inserting the slightly inflated tube (to keep
pinching down) by securing the valve stem. Then starting
at the stem point of the rim/tire, pop the tire in around
both directions with the intent on meeting to pop the
final bit of tire opposite the stem side. Again, the more
you squeeze the tire inner beads toward the wheel inner
circumference, the less force required to POP the last
segment of the tire back into place. (Use the soap for
reinstalling as well.) Now, once popped into place by
hand or with prybar assistance, be sure to check to see
no bit of tube is positioned between rim and tire prior
to inflation. If the tube already was given slight
inflation prior to slipping it back into the tire/rim,
this shouldn't much matter. Slowly inflate and if all was
positioned correctly the slippery tire will seat back
into place around the rim. If you had removed the valve
body from the stem and replaced to inflate, be sure to
check it has seated well and not leaking with the soap
solution. Hope this helps. This how I've replaced many
tires and tubes. The bucket or can really helps in
holding things for better control. |
|||||
And from Brent Schapansky: There are some commercially available little
gems called "Bead Buddies" that you slip in
between the tire bead and the rim to hold the bead loose
while you maneuver your two tire irons around the wheel.
I had good luck with cutting several wedges out of an old
Frisbee, like pie wedges if you cut the Frisbee into
eight equal pie sections. I carry a couple in the tool
kit. I also used that rubberized dip for tool handles to
coat the tips of the tire irons. This makes them hard to
slide around between rim and tire bead but I always use
soapy water to lube the tire. I add about a teaspoon of
liquid dish soap to a Windex bottle and spray it on
liberally. On the road, I carry a smaller spray bottle
from insect repellent with the plastic top that fits over
the sprayer. I duct tape Another old trick is to use a good sprinkling of baby powder inside the tire when mounting a new tube. This helps the tube to inflate evenly inside the tire. When filling it with air, I always go 10 to 20 psi over the required pressure, then drain it again, bounce the wheel a bit, then refill to the proper pressure. One other item that I carry in my tool bag is a piece of closed cell high density foam, like from inside an equipment case. It makes a dandy waterproof kneeling pad. Mine is cut to fit the bottom of the tool bag, about 5" X 10" and is about 3/4" thick. It keeps the tools from bouncing around in the canvas bag, wearing a hole in it and beating up the paint on my rear frame. AND... when reinstalling
the tire, line it up so that it is in as close as
possible a position, relative to the wheel, as it was
before. This is so that you do not throw the balance off
too much. For instance, see if there is lettering on the
sidewall adjacent to the valve stem before you remove the
tire. When placing it back on, line the same letter up
with the valve stem and the thing may not shake or shimmy
too bad until you get it rebalanced. |
|||||
| My first motorcycle tire experience... | |||||
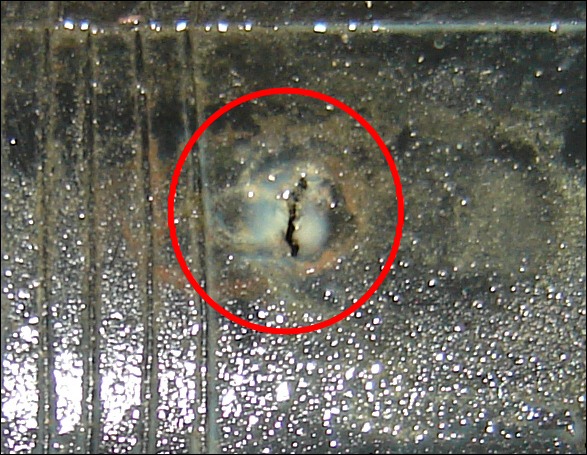 |
When I removed the inner tube, here is what I found. This hole was caused by the end of a spoke. The slimy stuff is Fix-a-Flat which, on a motorcycle tire, is usually wishful thinking. But the tube can be patched and that's my intention. Meantime, the tire in question got a brand new Russian tube. | ||||
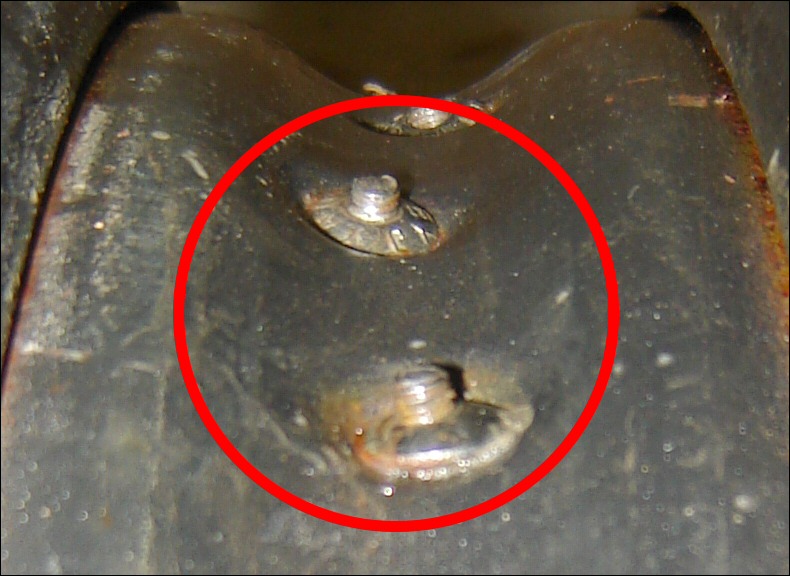 |
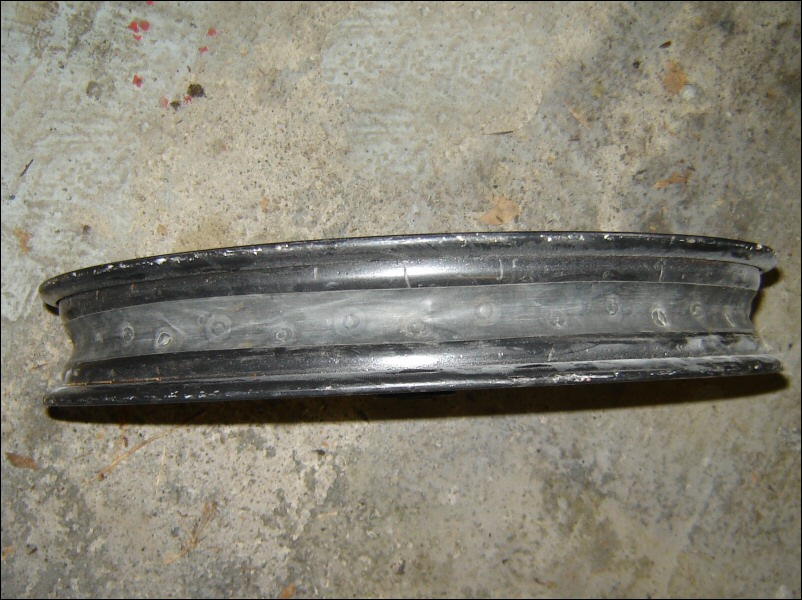
And it's no wonder. A dozen or more spokes were like this, but even worse, a "rubber band" hadn't even been installed! I'm amazed the tube lasted as long as it did and am not surprised that two of the four tires that came with the bike have gone flat so far. | ||||
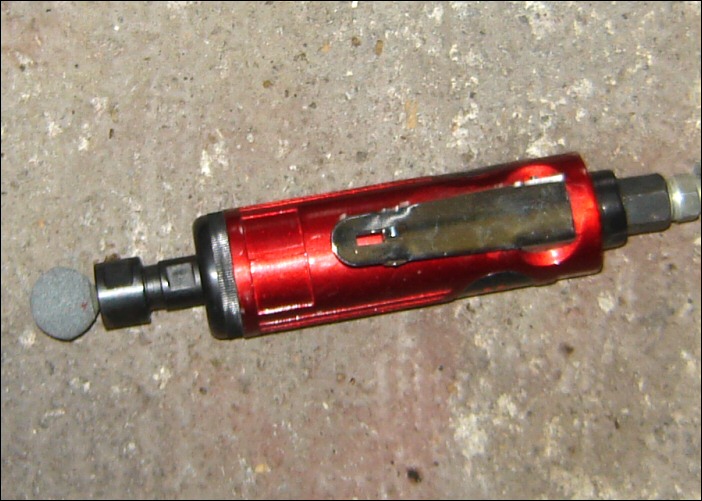 |
This el-cheapo grinder came from eBay for something like ten bucks. (Can you guess where it was made?) The tool itself is fine but the grinding stones were crap. Luckily they lasted long enough to attack all of the protruding spokes. | ||||
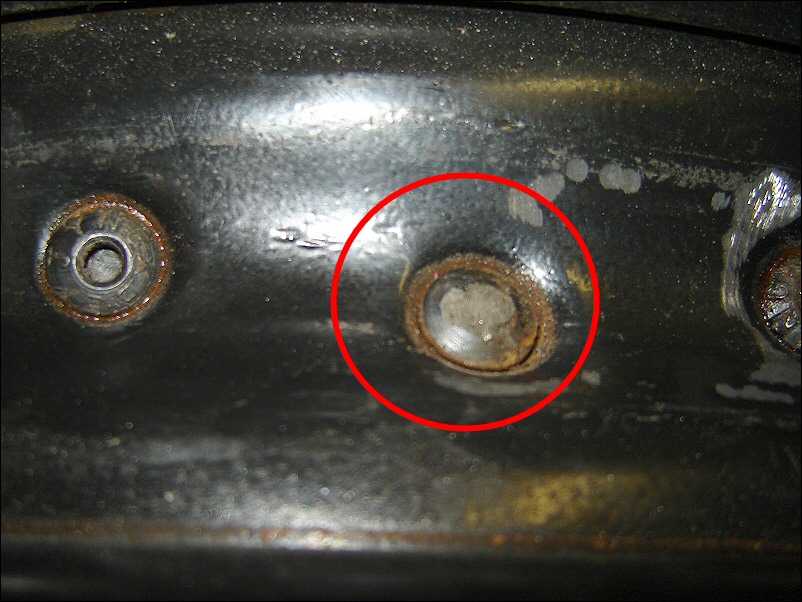 |
Now all the spokes are flush with the nipples... as they should have been in the first place. | ||||
 |
And, much to my own surprise, I had a used (but good) band in the parts bin! This little project, being my first go with a motorcycle tire, took about two hours, but thanks to the information from John, Brent and others, I managed to pull it off without any problems. My enthusiasm was gone toward the end so I'll put the wheel back on the bike tomorrow. | ||||